How to Etch Glass with a Cricut
Grab your Cricut machine and start etching glass with this easy to follow tutorial.
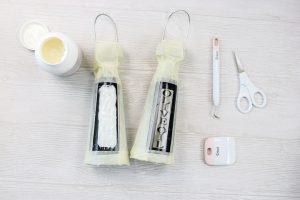
What You Will Need
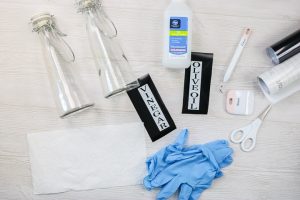
- Armor Etch glass etching cream
- Cricut Permanent Vinyl be sure to get the permanent version (this is used for masking so color does not matter)
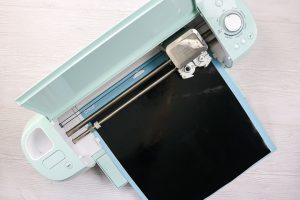
- Cricut machine
- Transfer tape
- Gloves
- Rubbing alcohol
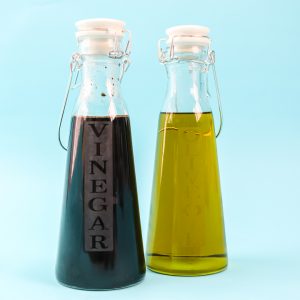
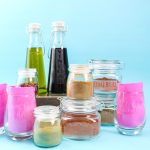
- Glass surfaces
- Weeding tools
- Scraper
- Paintbrush
- Scissors
- Water
- Cut file
- Masking tape
Instructions
- Take your vinyl and cut it to size to fit onto a Cricut mat with scissors. Lay this piece face up on the mat. Cut your design using the vinyl setting. You can see more about working with vinyl on your Cricut here.
- Then you are going to do almost the opposite of what you would normally do. So normally, you would remove everything and then apply a vinyl label. But in this case, we want to remove everywhere where we want etching cream to go. In this case, I removed the box around my letters and left the letters inside. The letters will end up being clear and the box etched. You also want to remove things like the centers of the letters.
- Now, it's time to put the masks onto the bottles. I recommend wearing gloves for this portion as well because the oils from your hands can affect the etching cream. First, be sure to clean the glass well with rubbing alcohol. Allow to dry completely, and then continue. Apply the vinyl with transfer tape right to your glass and use a scraper to remove any bubbles. You should also add some masking tape around the outer edge just to make sure the etching cream does not get on that portion of the glass.

- Apply the Armour Etch with a paintbrush. Again wear gloves for this step. You want to dab it on in a thick coat. Be sure to cover the area completely. You also want to brush in all four directions to help ensure that you have pushed the etching cream into all areas.
- Then set a timer for five minutes and allow your project to sit. Come back and just rinse it off with some water, remove the stencil, and your project is complete.