DIY Stenciled Cleaning Caddy
Make this DIY stenciled cleaning caddy using your Cricut machine and a few supplies. Make cleaning a little more fun with this craft project.
Equipment
- Cricut Maker or Explore
What You Will Need
- Vinyl (stencil vinyl or any vinyl color that you have on hand) (can also use contact paper)
- Transfer Tape
- Chalk paint
- Wood caddy
- Stencil adhesive (if NOT using stencil vinyl)
- Weeding tools (if using stencil vinyl)
- Transfer tape (if using stencil vinyl)
- Scraper (if using stencil vinyl)
Instructions
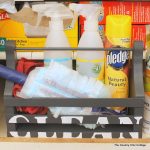
- I started with a red wood crate from the thrift store. You can try to find a similar one or a basket would work. Anything that will fit all of your cleaning supplies neatly inside is all that you need.
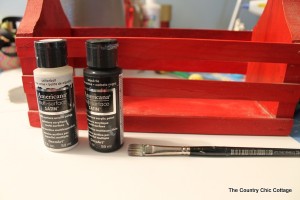
- Paint your caddy. The entire crate took two coats to cover completely.
- Next you can use your Cricut to design and cut your stencil for your caddy. You can upload an SVG to Design Space or design right in the application.
- You can use stencil vinyl, regular vinyl in any color, or even contact paper. See how to make your own stencil with a Cricut here.You can even use your own fonts.
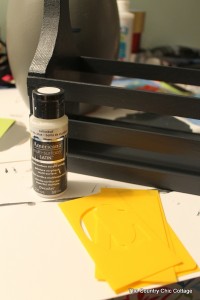
- Cut your stencil on a cricut.Once you have your phrase or design, cut it from stencil vinyl or even a stencil film to make a reusable stencil. Click make it in Design Space. Then pick the type of material you are using for the correct cut settings. Cut the material with your Cricut.If you are using stencil vinyl, make sure to weed any parts that you want to paint on your caddy. If you are using stencil film, the stencil is ready for painting!
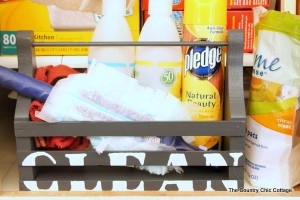
- Add the stencil to your cleaning caddy.I used a stencil with the letters “CLEAN”. Spray the back of the stencil with removable stencil adhesive (do this outside!).I added them to the front of my caddy.