

The WeCreat Rotary Pro is fairly new to the market and a big improvement over the last rotary attachment from WeCreat. I will compare the two options in this post and show you how to use the pro.
This new rotary tool is a great way to use your laser for engraving tumblers of all sizes.
Trying to decide if a WeCreat laser is right for you? I have reviewed both the WeCreat Vista and WeCreat Vision so you can decide which is right for you!
I have used the original rotary accessory with my WeCreat lasers. There were some issues with the older version, so I was excited to see if they were solved with this new option.
You can watch me try out this rotary tool by pressing play on the video below.
What is the WeCreat Rotary Pro
The WeCreat Rotary Pro is the new version of the WeCreat Rotary tool. This version is supposed to fix the issues that the original tool had.
If you own the original rotary tool, you can purchase an upgrade kit to avoid purchasing the full accessory again.
If you've never used a rotary accessory with your WeCreat laser before, this tool allows you to engrave all the way around any type of tumbler with your laser.
Because smaller tumblers were one of the issues the original rotary tool had, I am testing a small tumbler in today's tutorial.
What Comes in the Box
You'll get the rotary assembly itself and another piece to help balance the bottom of longer tumblers.

There is also a wide variety of accessories to attach blanks to the rotary tool to engrave on them. These will allow you to do cylindrical objects that aren't tumblers and the screws you need to use them are included.
Also included are a small tape measure and a small level.
Difference Between the Old Rotary Tool and the WeCreat Rotary Pro
Here is a side-by-side photo of the two different rotary tools.
On the left is the old version, and on the right is the Rotary Pro.
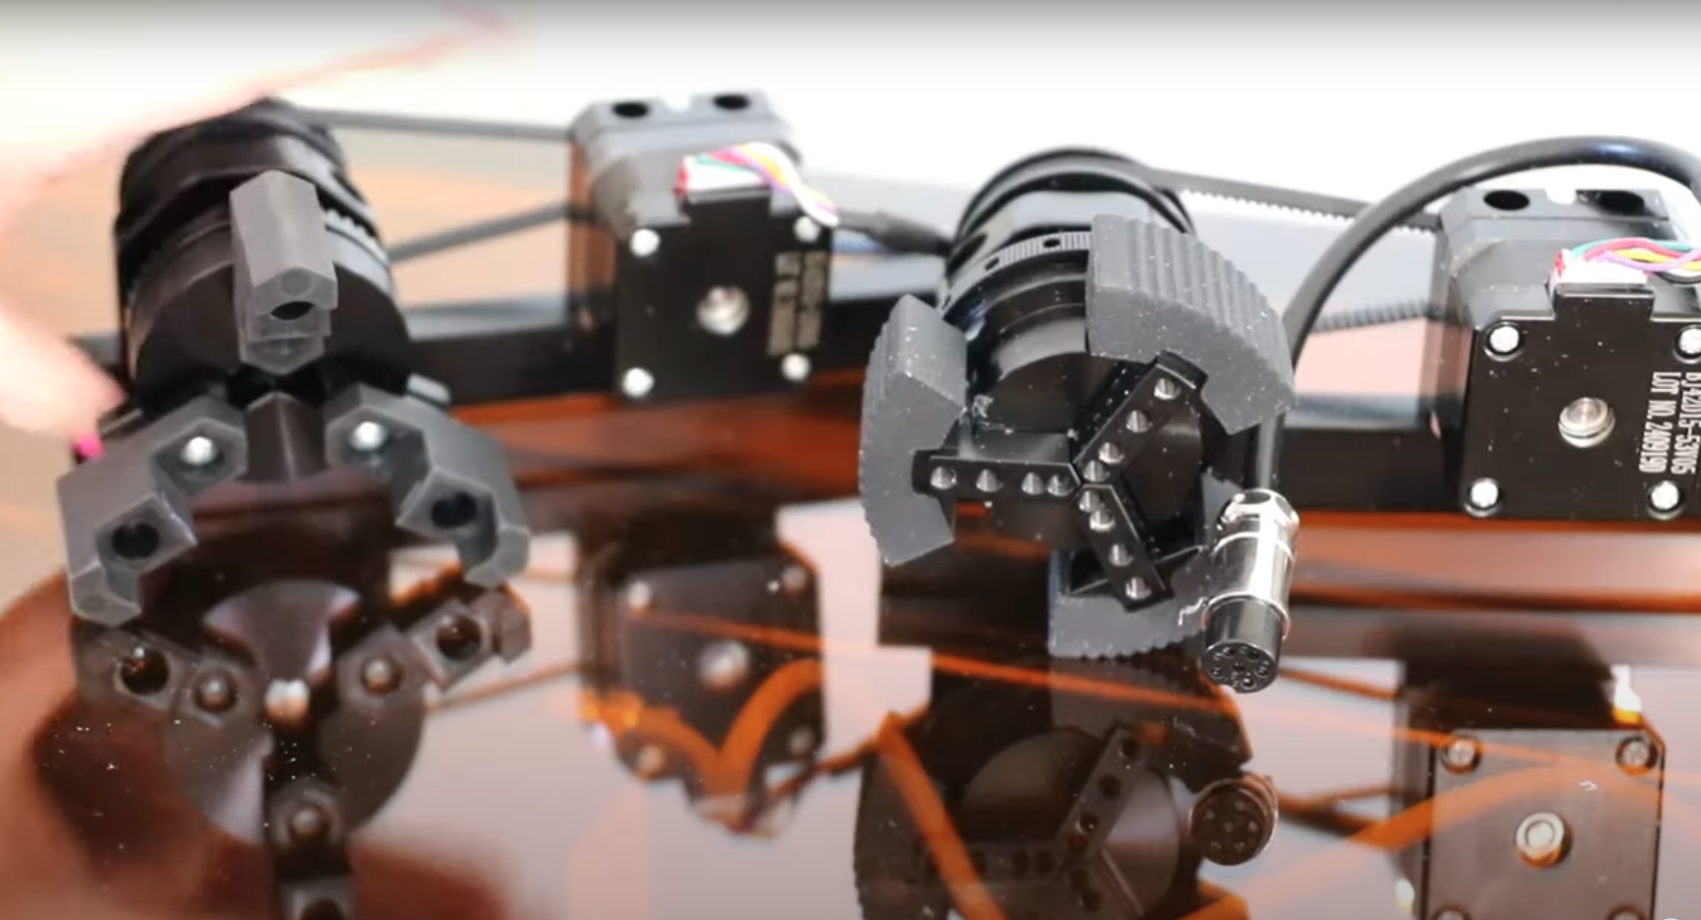
The old-style grips are around the outside of the tumbler, which means you cannot engrave in the area where the grips are.
The WeCreat Rotary Pro grips the inside of the tumbler. This allows you to engrave higher up on tumblers, which means it's easier to do smaller blanks like coffee cup-sized tumblers.
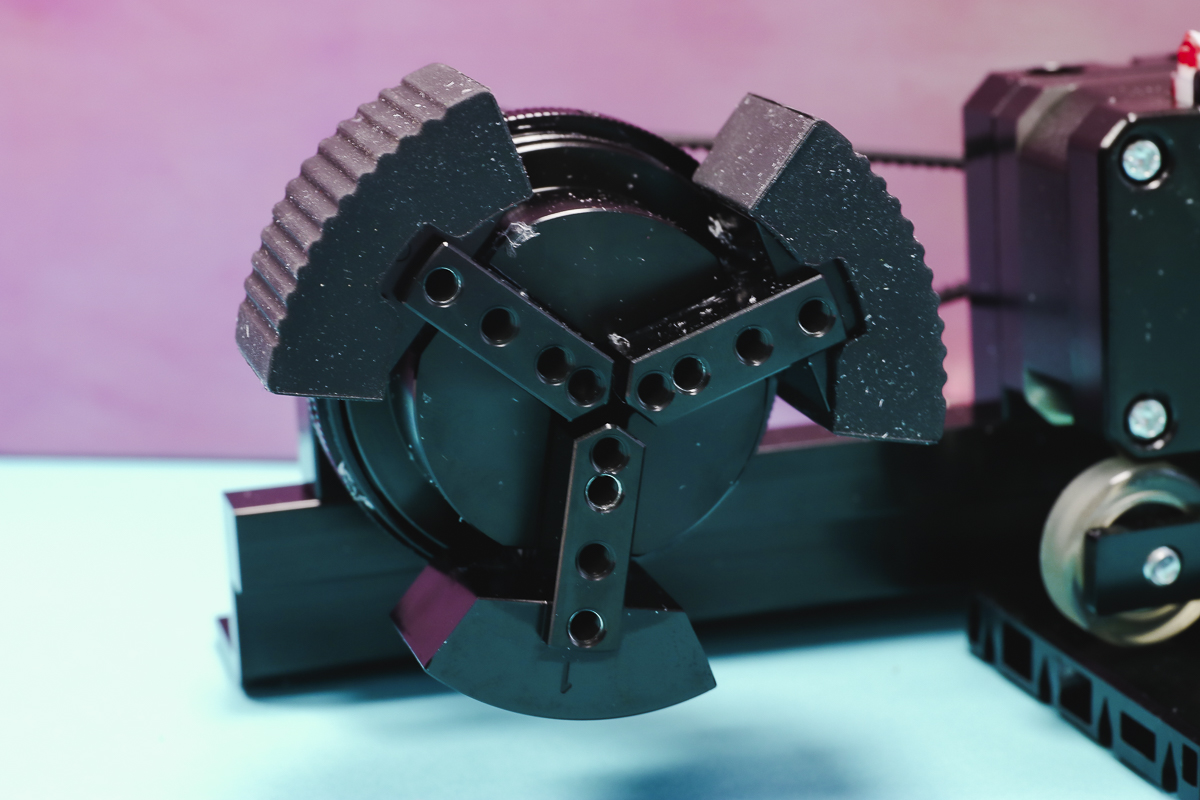
The Rotary Pro comes with a lot of chuck accessories that allow you to engrave on blanks that are a solid cylinder vs a tumbler.
How to Set up the WeCreat Rotary Pro
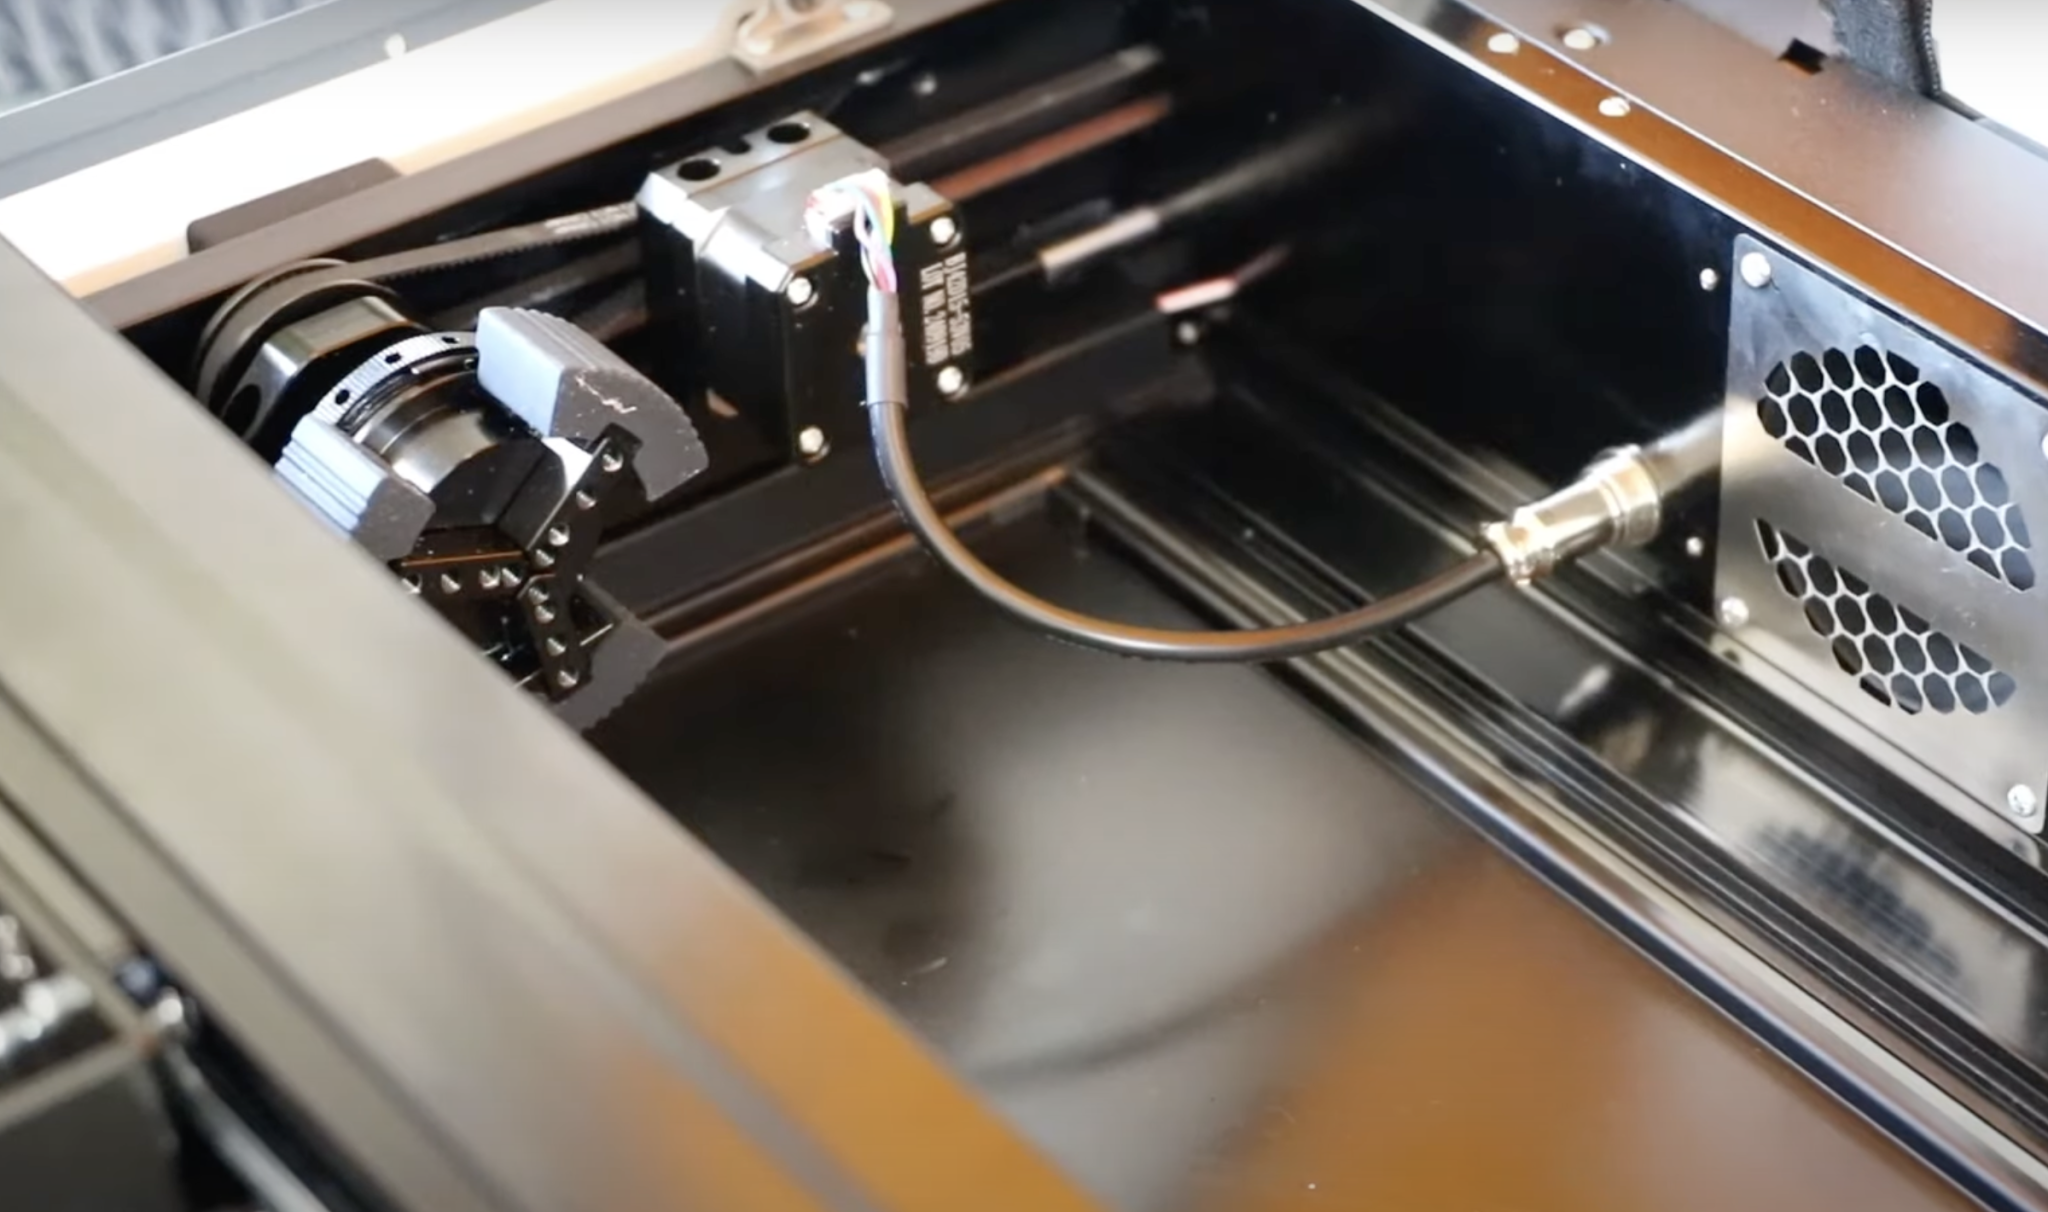
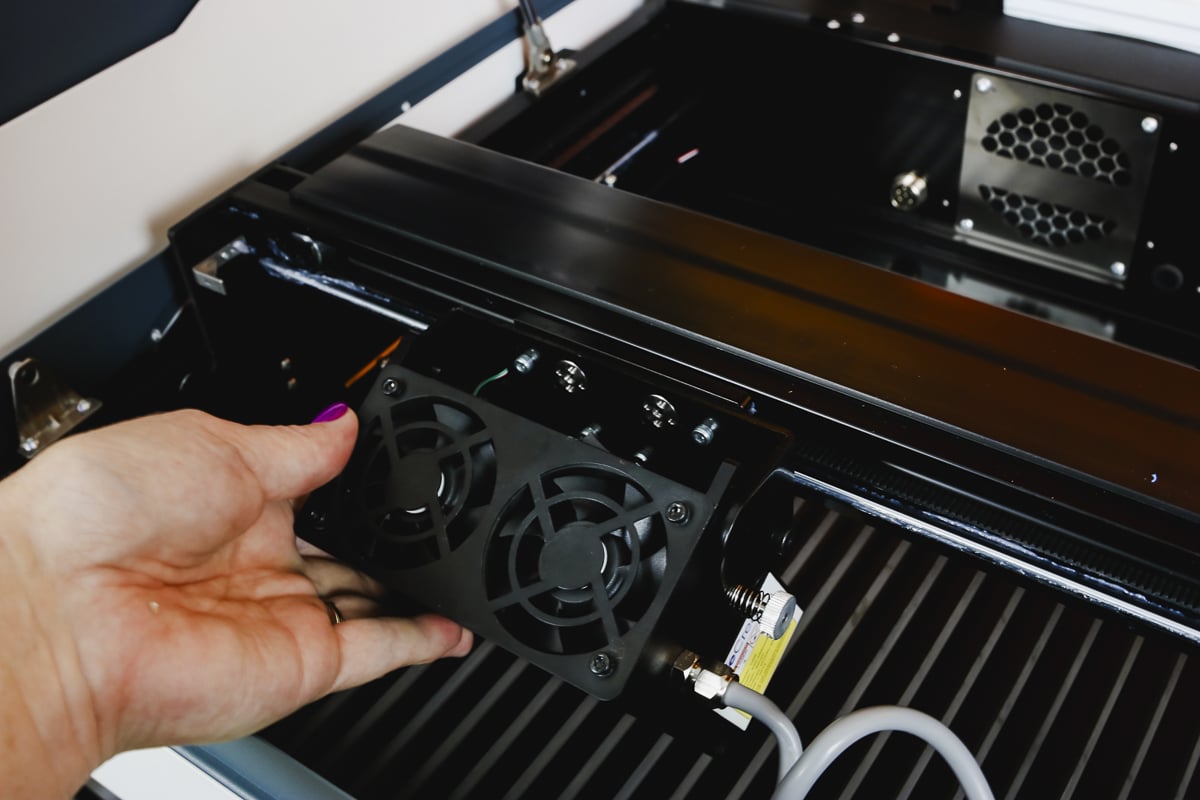
I am using the WeCreat Vista for this tutorial. To set up the Rotary Pro, you need to remove the laser beds first.
Next, move the laser all the way to the front. The rotary tool goes on the left-hand side. On the left, you'll see two screws, you need to remove those screws.
With the screws removed place the rotary accessory in that area and replace the screws.
Now, we need to flip the laser head. For regular laser projects, your laser is pointed toward the bottom of the laser bed. We're going to flip it so it faces the back, which allows you to engrave tumblers.
To flip the laser head, loosen the screw heads on both sides and flip the laser head down so the laser points to the back. Tighten the screws on both sides to secure laser head.
To finish the setup, plug the cord into the back of the laser.
How to Use the Rotary Pro
Now let's make a tumbler using the WeCreat Rotary Pro
Supplies Used
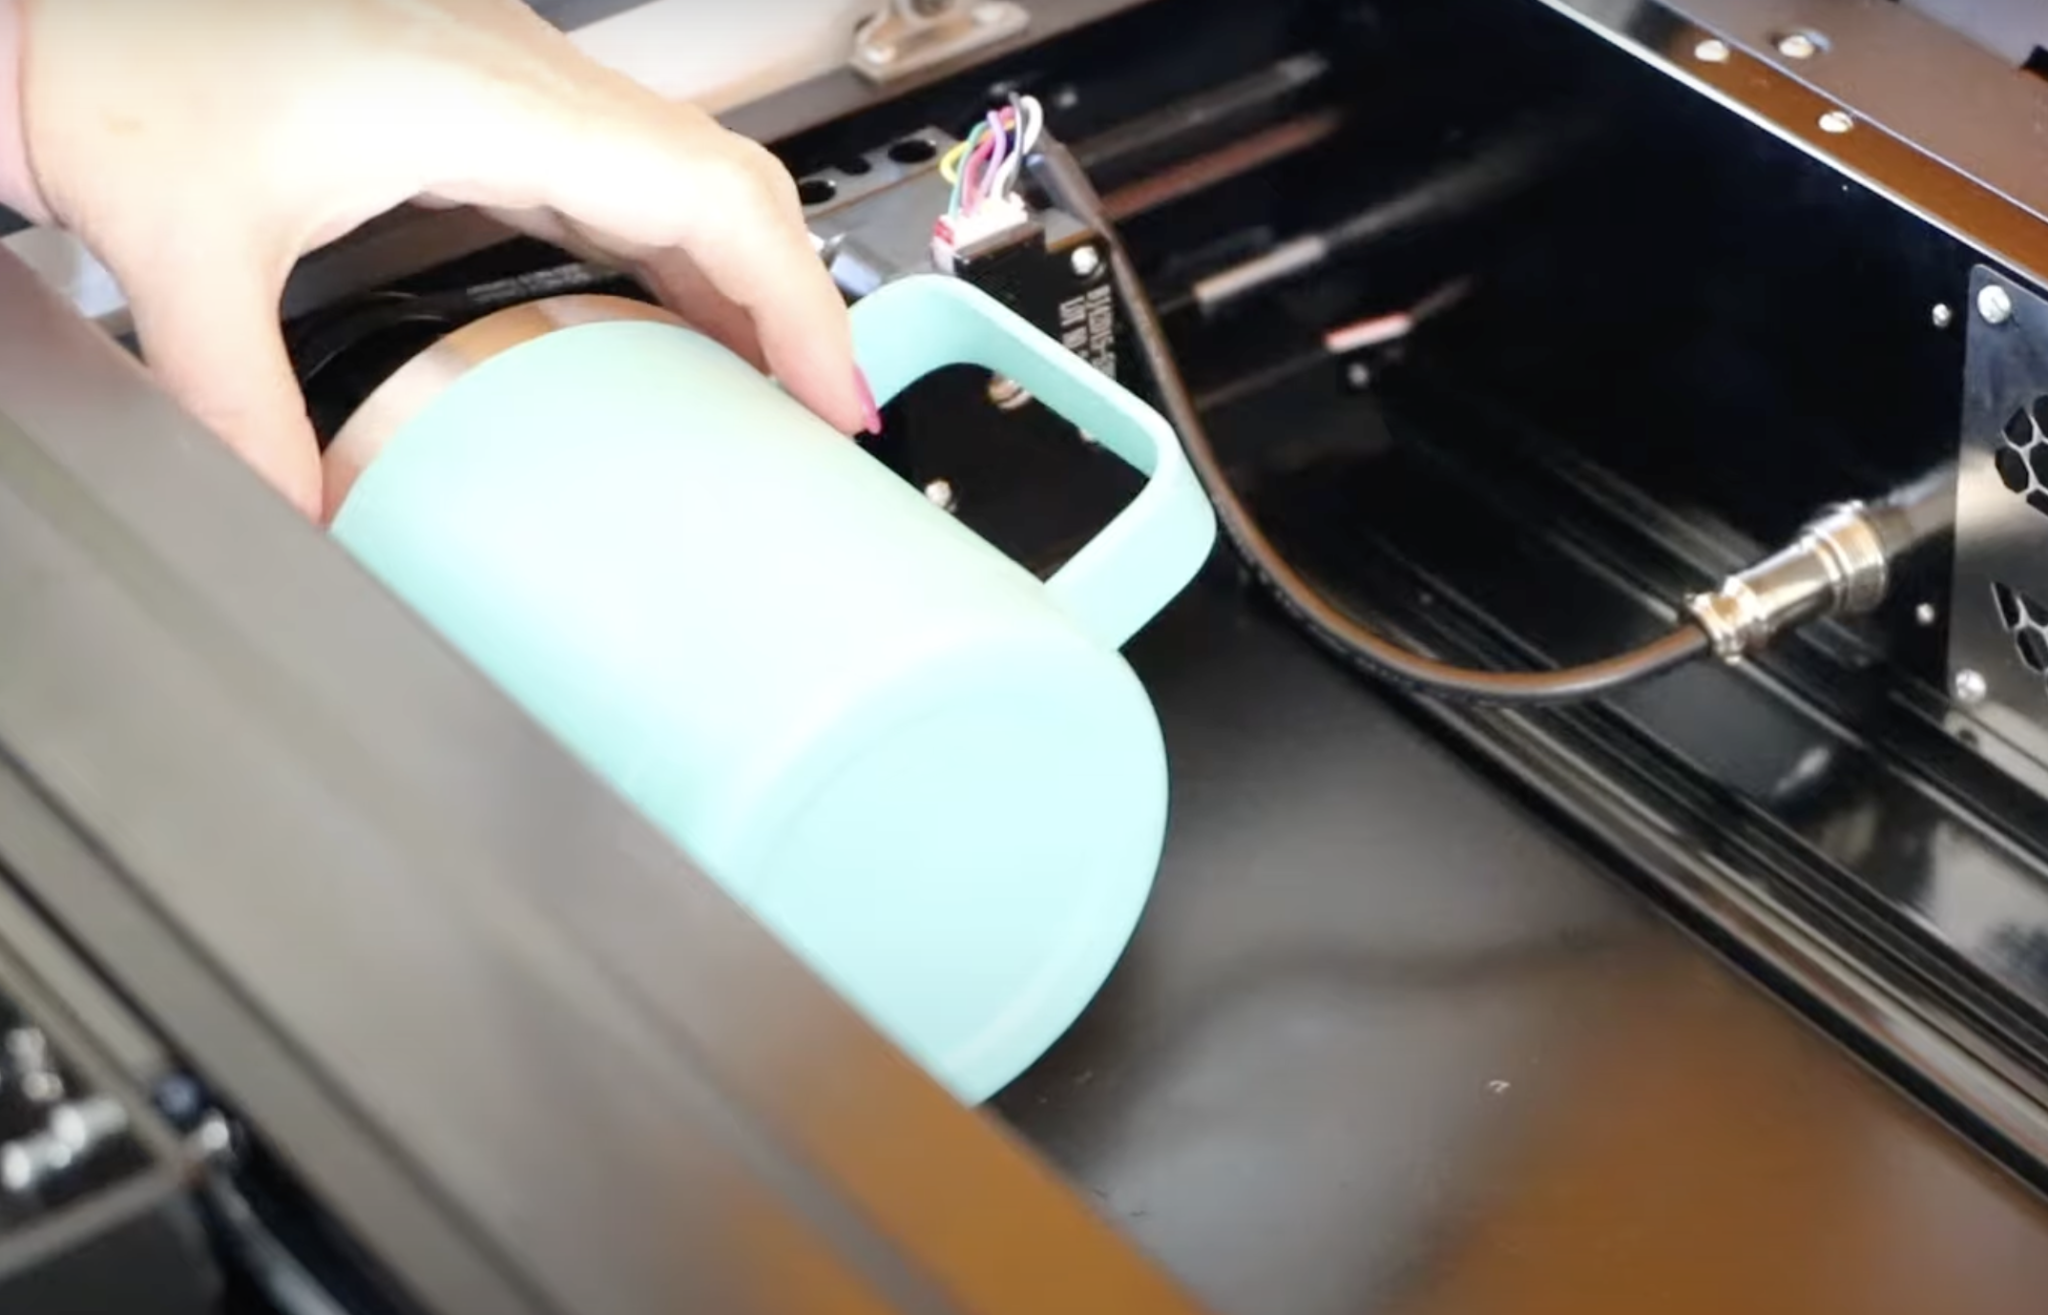
Step 1: Add Tumbler to the Rotary
To add a tumbler, place the tumbler over the end of the Rotary Pro and then twist the back so it expands to fit inside the tumbler.
You want the grips to be tight so the tumbler doesn't move or fall off. For longer tumblers, you may need to use the other piece to support the end.
The screw on top of the end piece is how you raise or lower the rollers to support the tumbler. You can use the level to make sure everything is level.

For anything with a handle, rotate the tumbler all the way around to ensure the handle is clear of everything as it engraves.
Step 2: Start Design in WeCreat MakeIt!
Now, we're ready to create our design in WeCreat MakeIt! Pull down the dropdown menu and choose Laser Cylindrical.
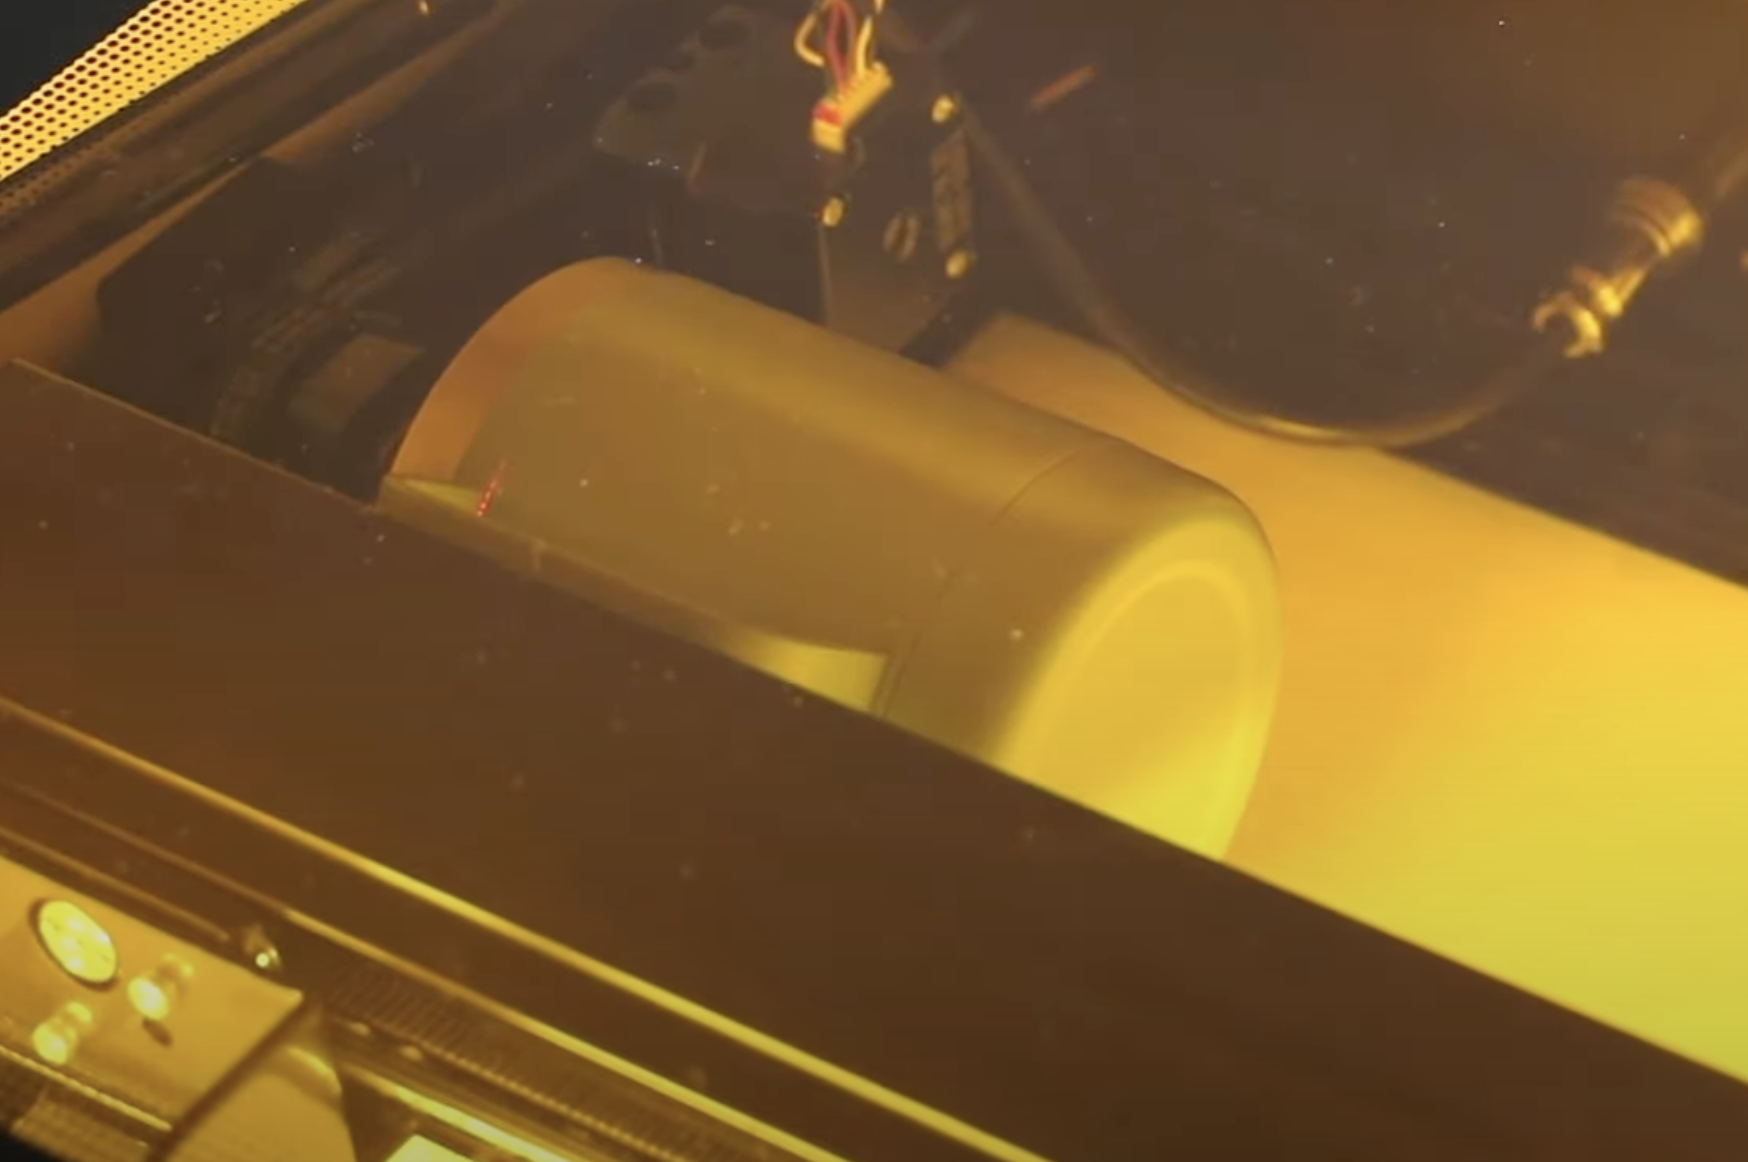
With your laser turned on, click Refresh and you'll see the bed of your laser with the camera inside the laser.
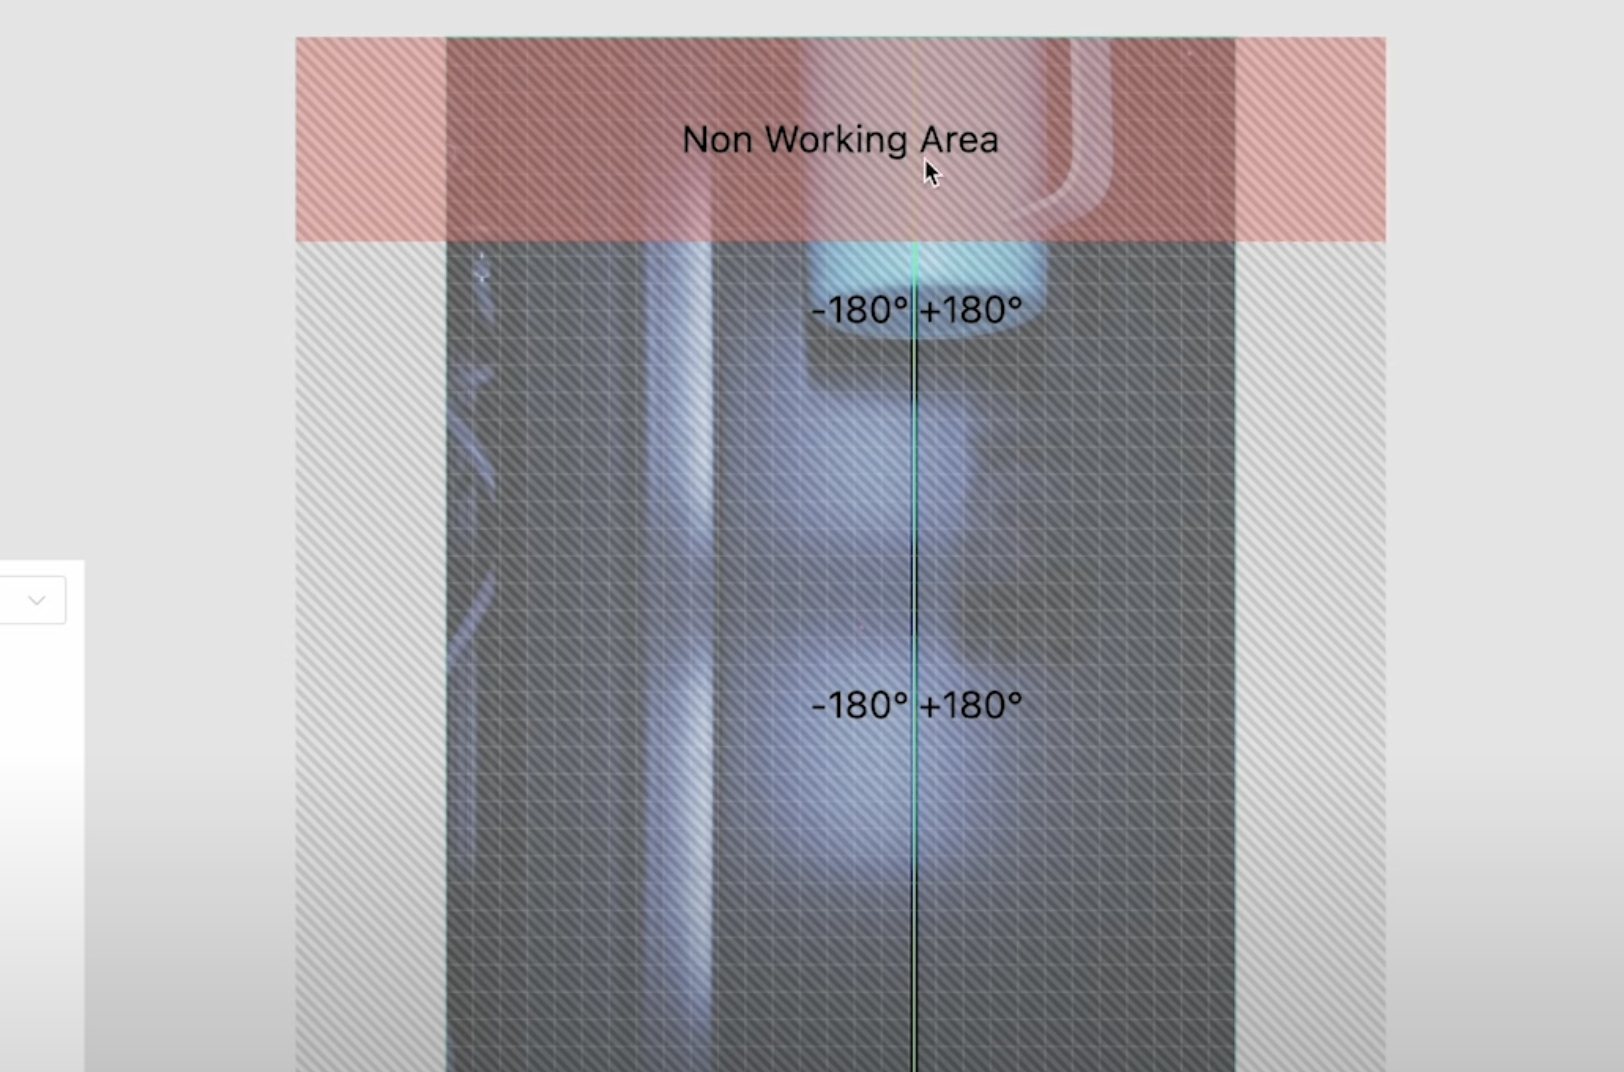
You will see on the screen that there is a non-working area. My short coffee mug is mostly in that non-working area.
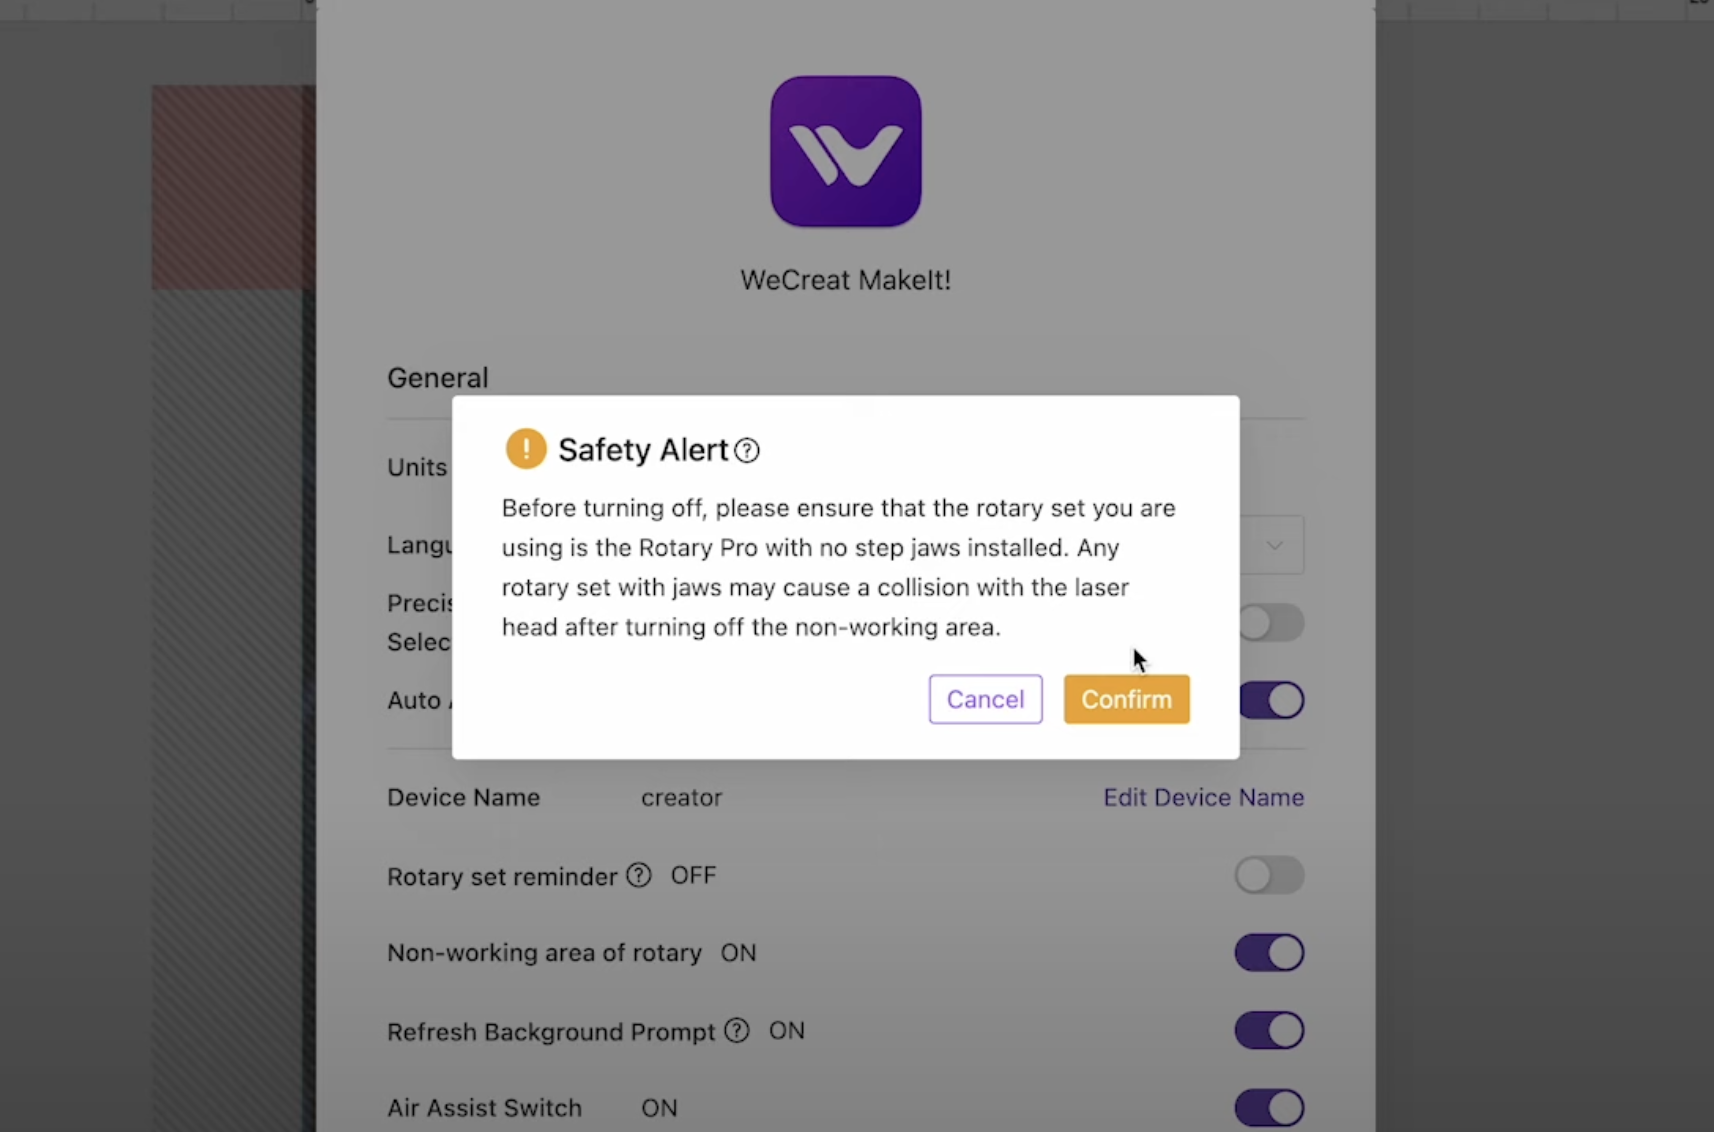
With the previous rotary tool, you could not turn off the non-working area. With the WeCreat Rotary Pro, go to Settings, and you'll see the non-working area of rotary is currently turned on. When you click that off, it will alert you that you need to be using the Rotary Pro with none of the outer jaws installed.
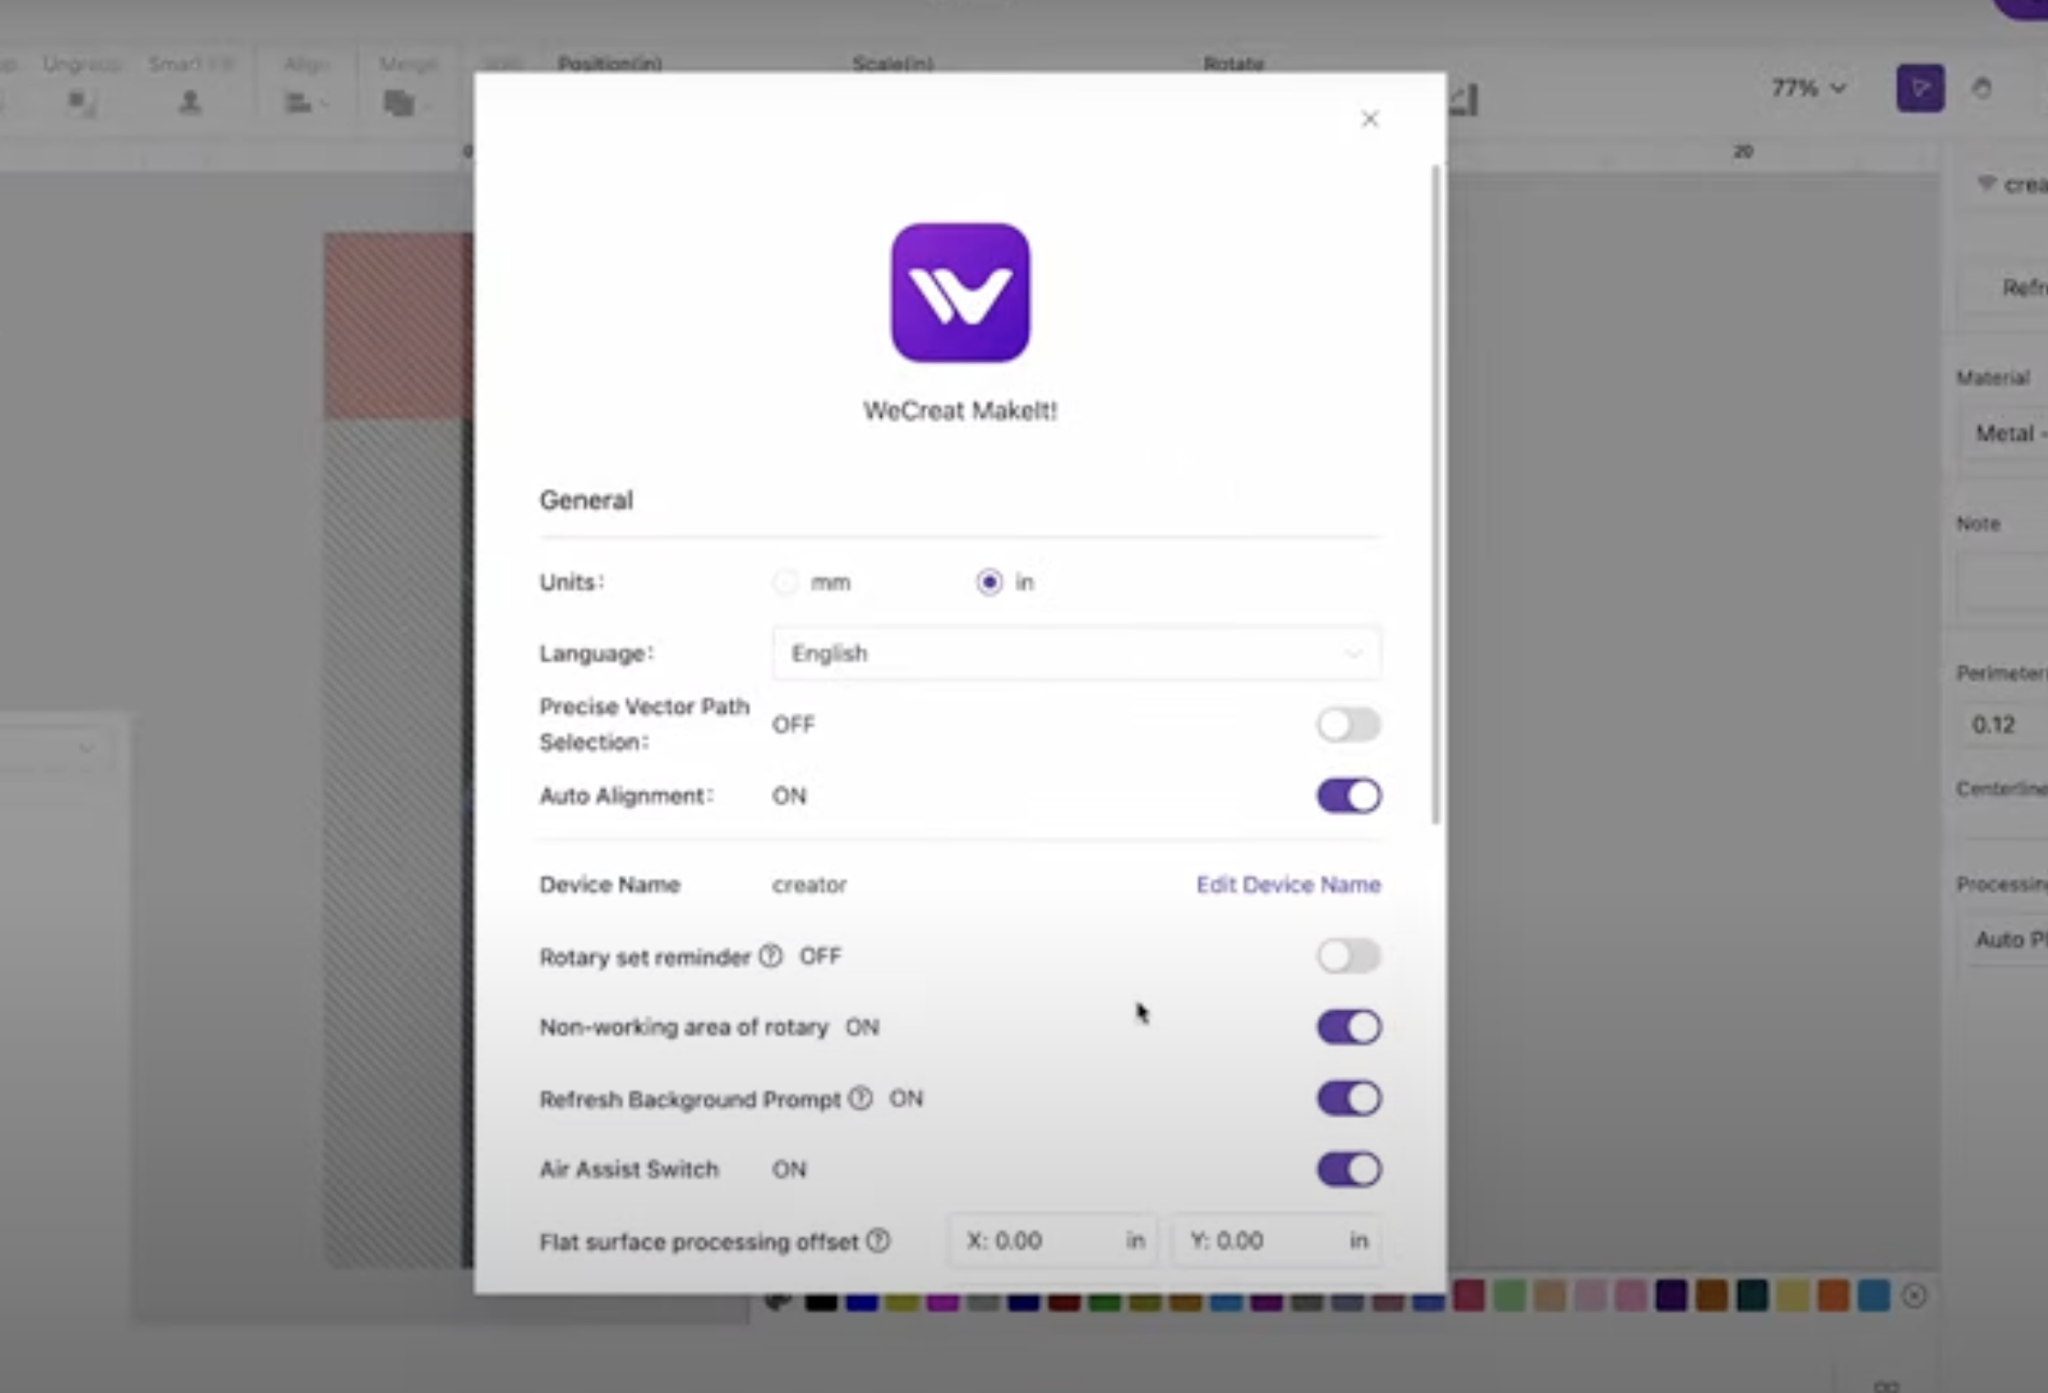
Because I have the Pro, and the holders are inside my tumbler, I can click Confirm. With that done, close out of the settings, and you'll see the non-working area is gone.
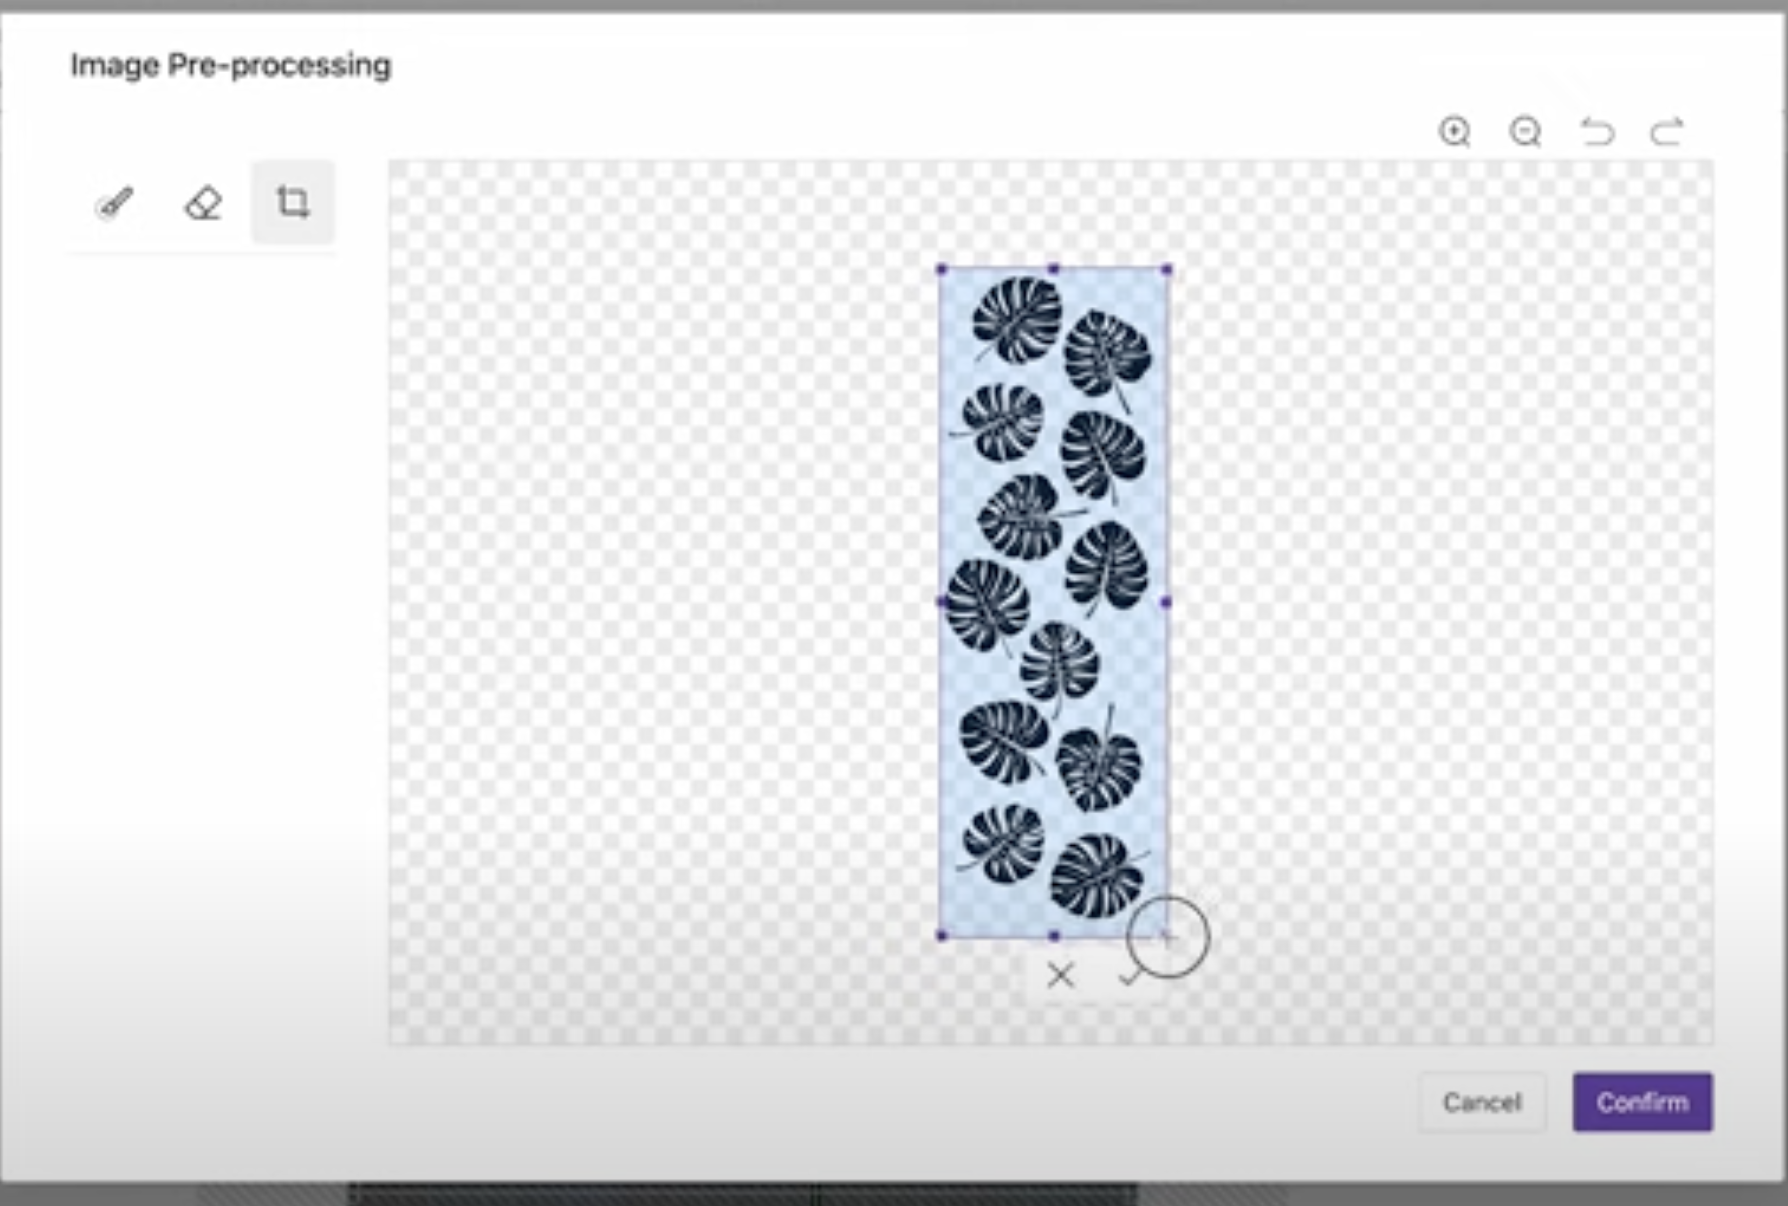
Click Import and locate the image you want to use on your computer. For my design, I clicked Edit Image and cropped away any portion of the image that was not needed.
Resize the design to fit your tumbler. You can click anywhere outside the image, and you'll see an option to add the diameter of the tumbler you're using.
Step 3: Measure the Tumbler
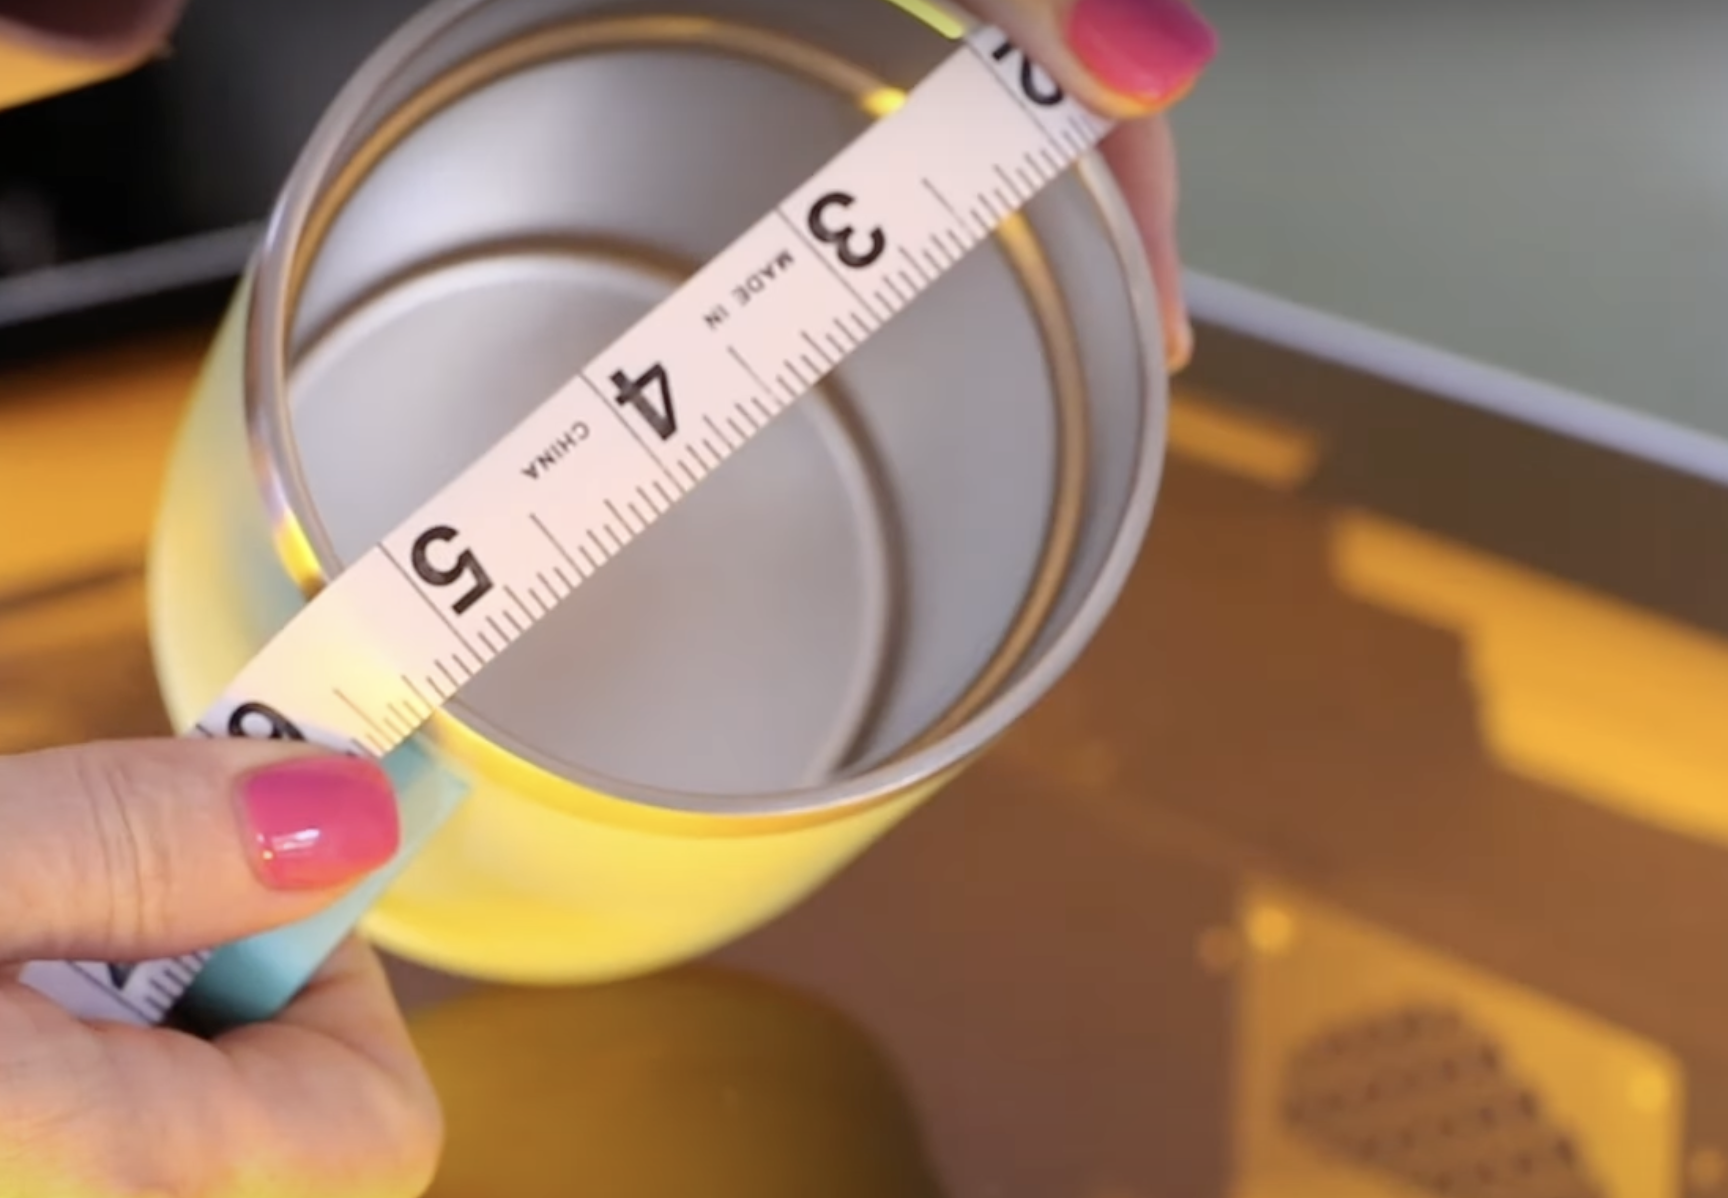
To measure the perimeter, use a flexible measuring tape and measure all the way around the outside of the tumbler.

If your tumbler has a handle, measure under the handle.
My perimeter is 11 inches. When I added that measurement to WeCreat MakeIt! it gives me a diameter of 3.5 inches. You can confirm that measurement is right by measuring straight across the top of the tumbler. Mine is correct, so we're ready to proceed.
Step 4: Locate the Design
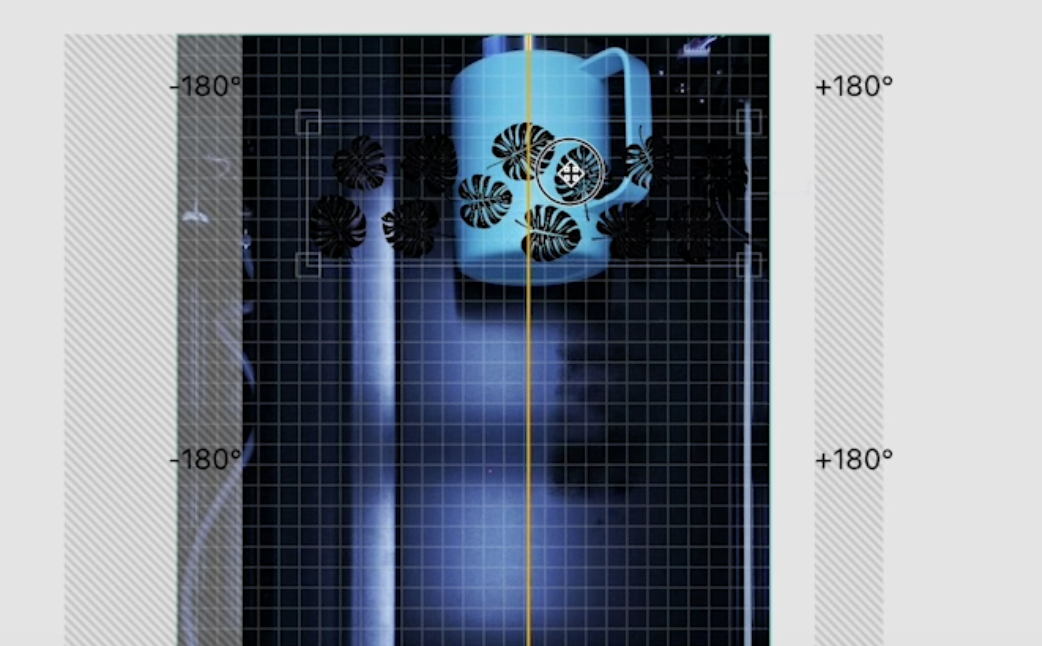
As you move the design around, you'll see a green line running down the center of the screen. That is the center line of the design.
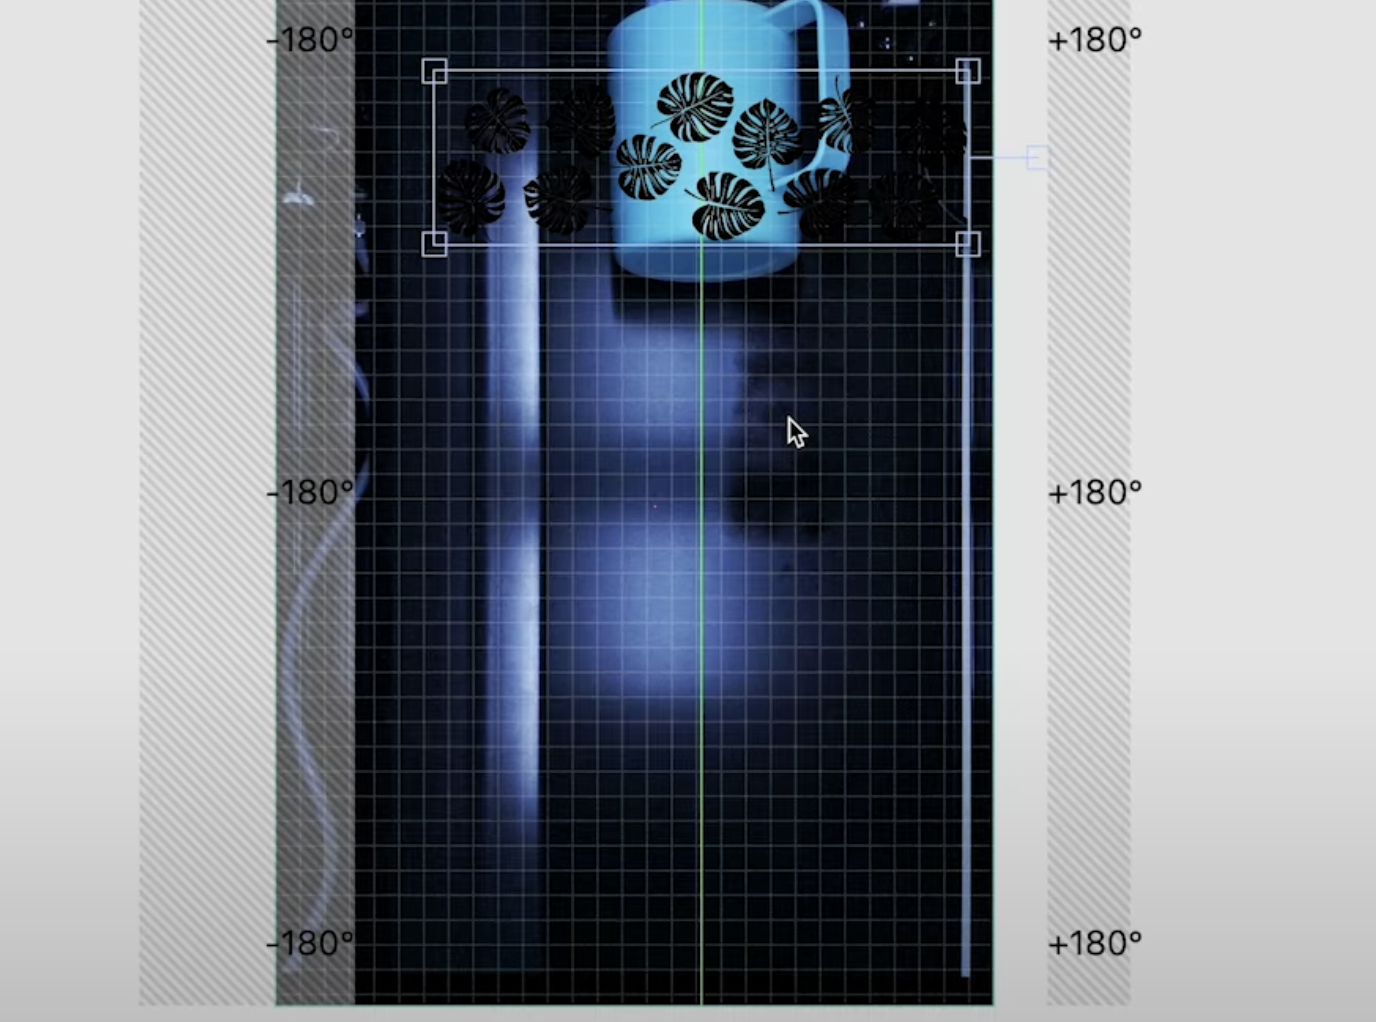
When the design is centered, the line will turn orange. You can move the design wherever you want on the tumbler.
Step 5: Choose the Material Settings
Next, we need to select the material settings we want to use.
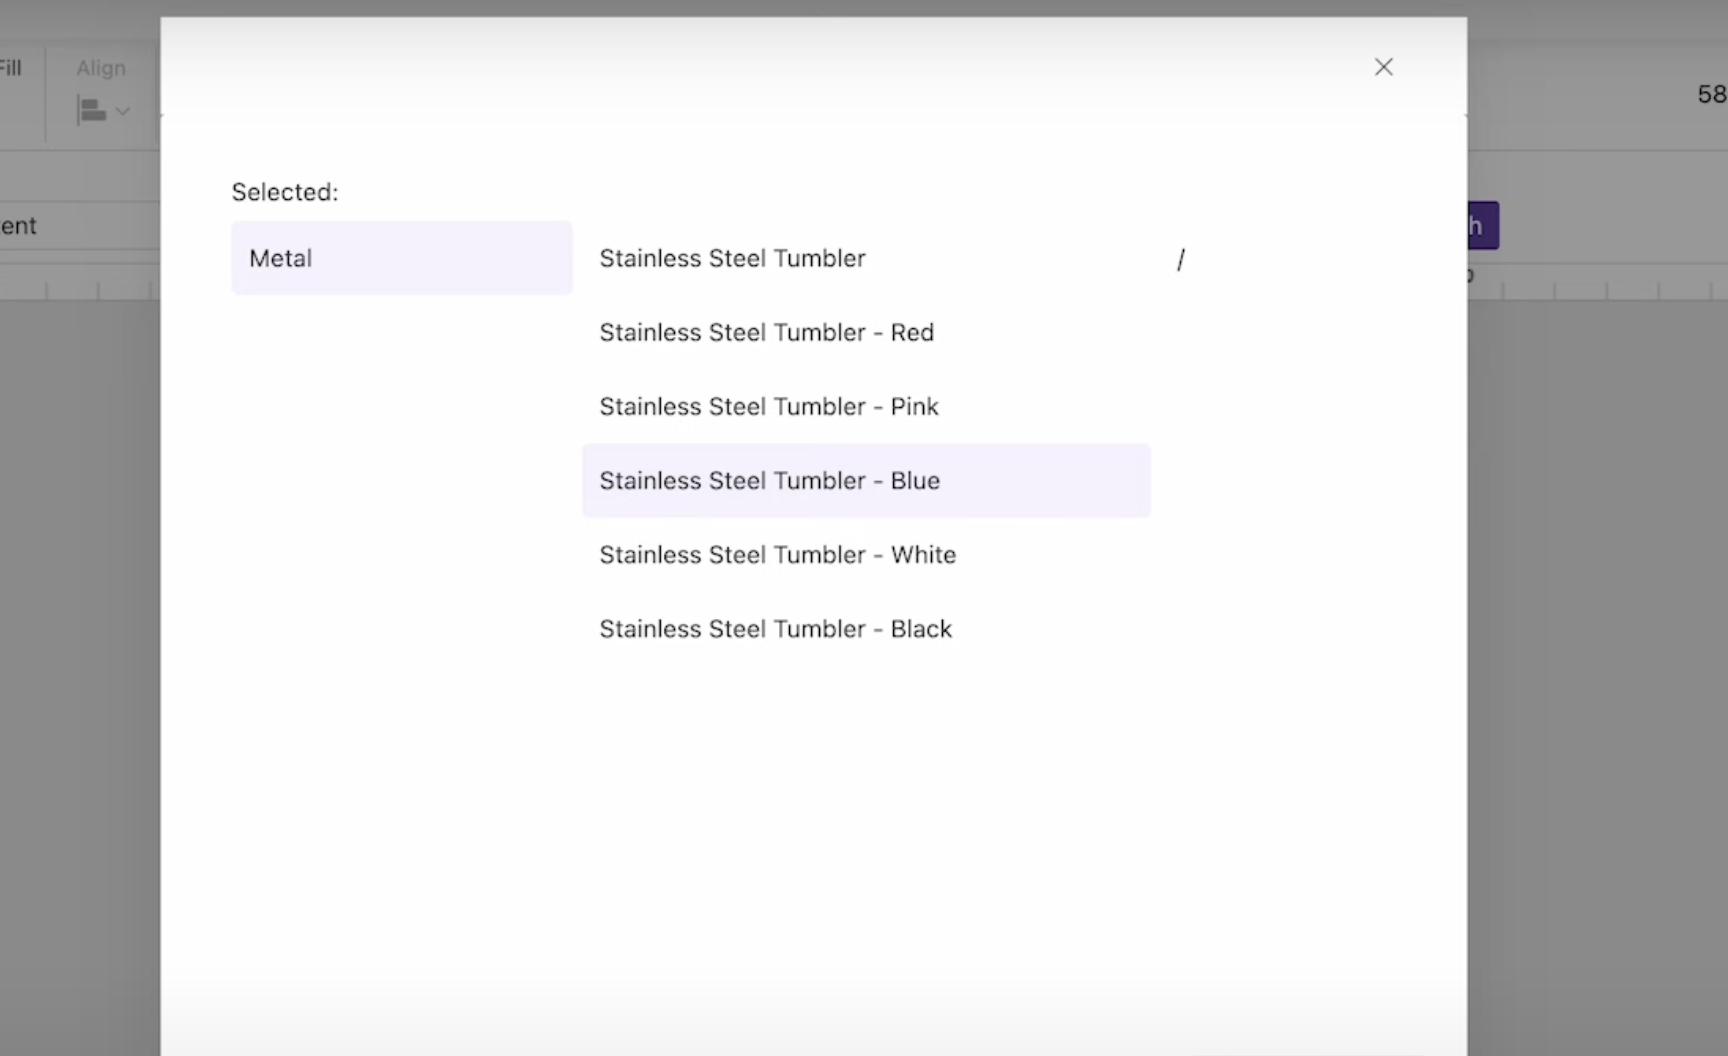
I am using an aqua blue tumbler, so I selected the Stainless Steel Tumbler – Blue material. Click Confirm, and an image will pop up in the corner.
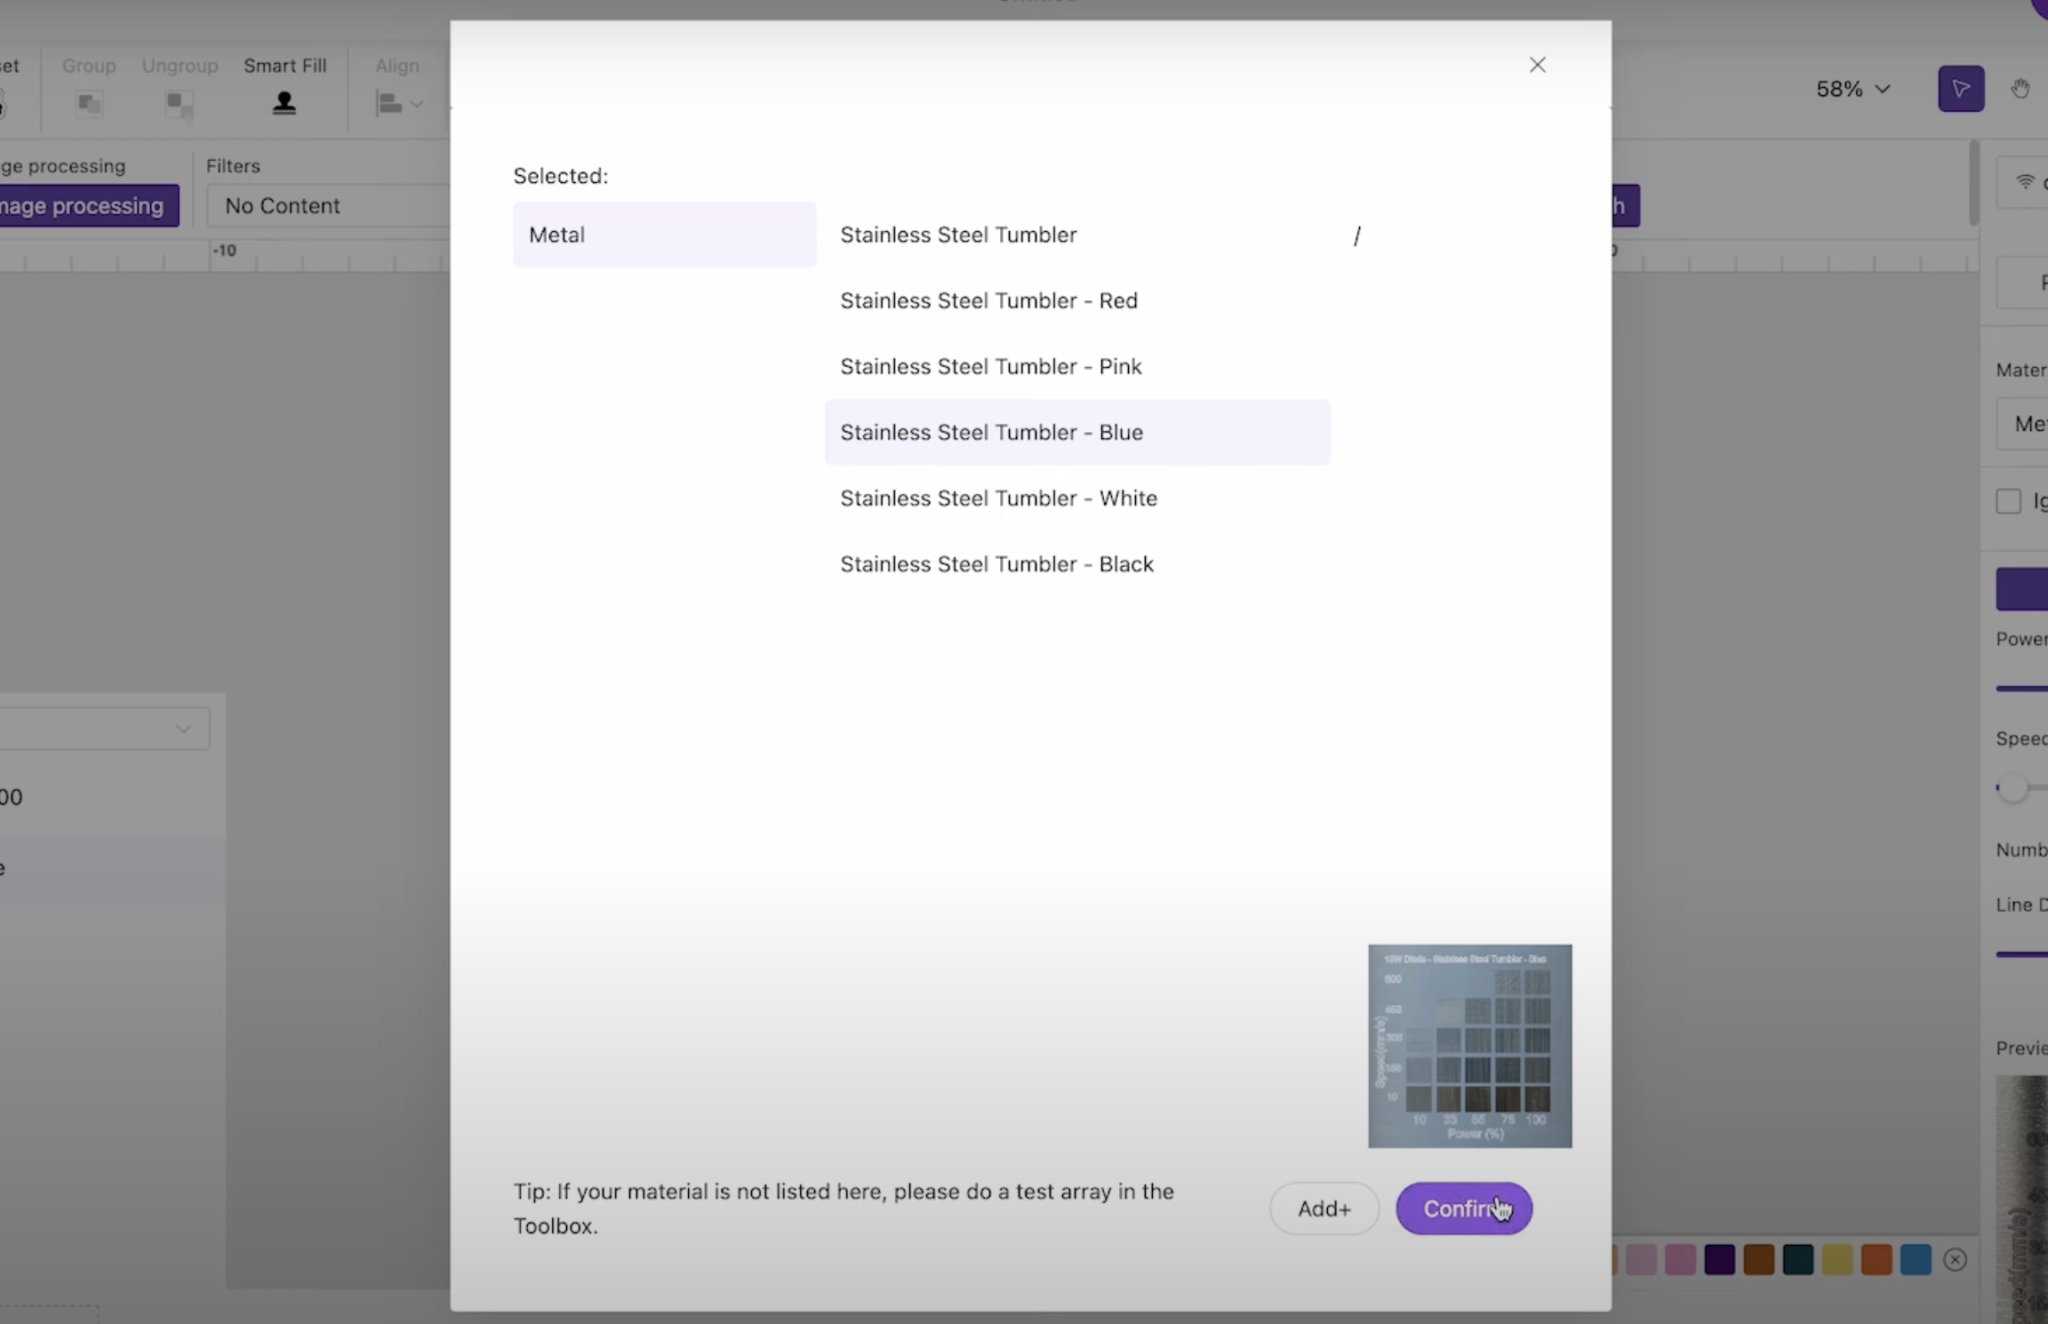
This image shows examples of what results you can expect with each of the different settings. There is a recommended setting, but you can choose a different option if you want a different look.
Step 6: Preview the Tumbler
When you click off the image, you can select 3D Preview to get an idea of what the design will look like on the tumbler.
The tumbler in the preview isn't an exact match to mine because it doesn't have a handle, but I can slide the design around and see how it looks all the way around.
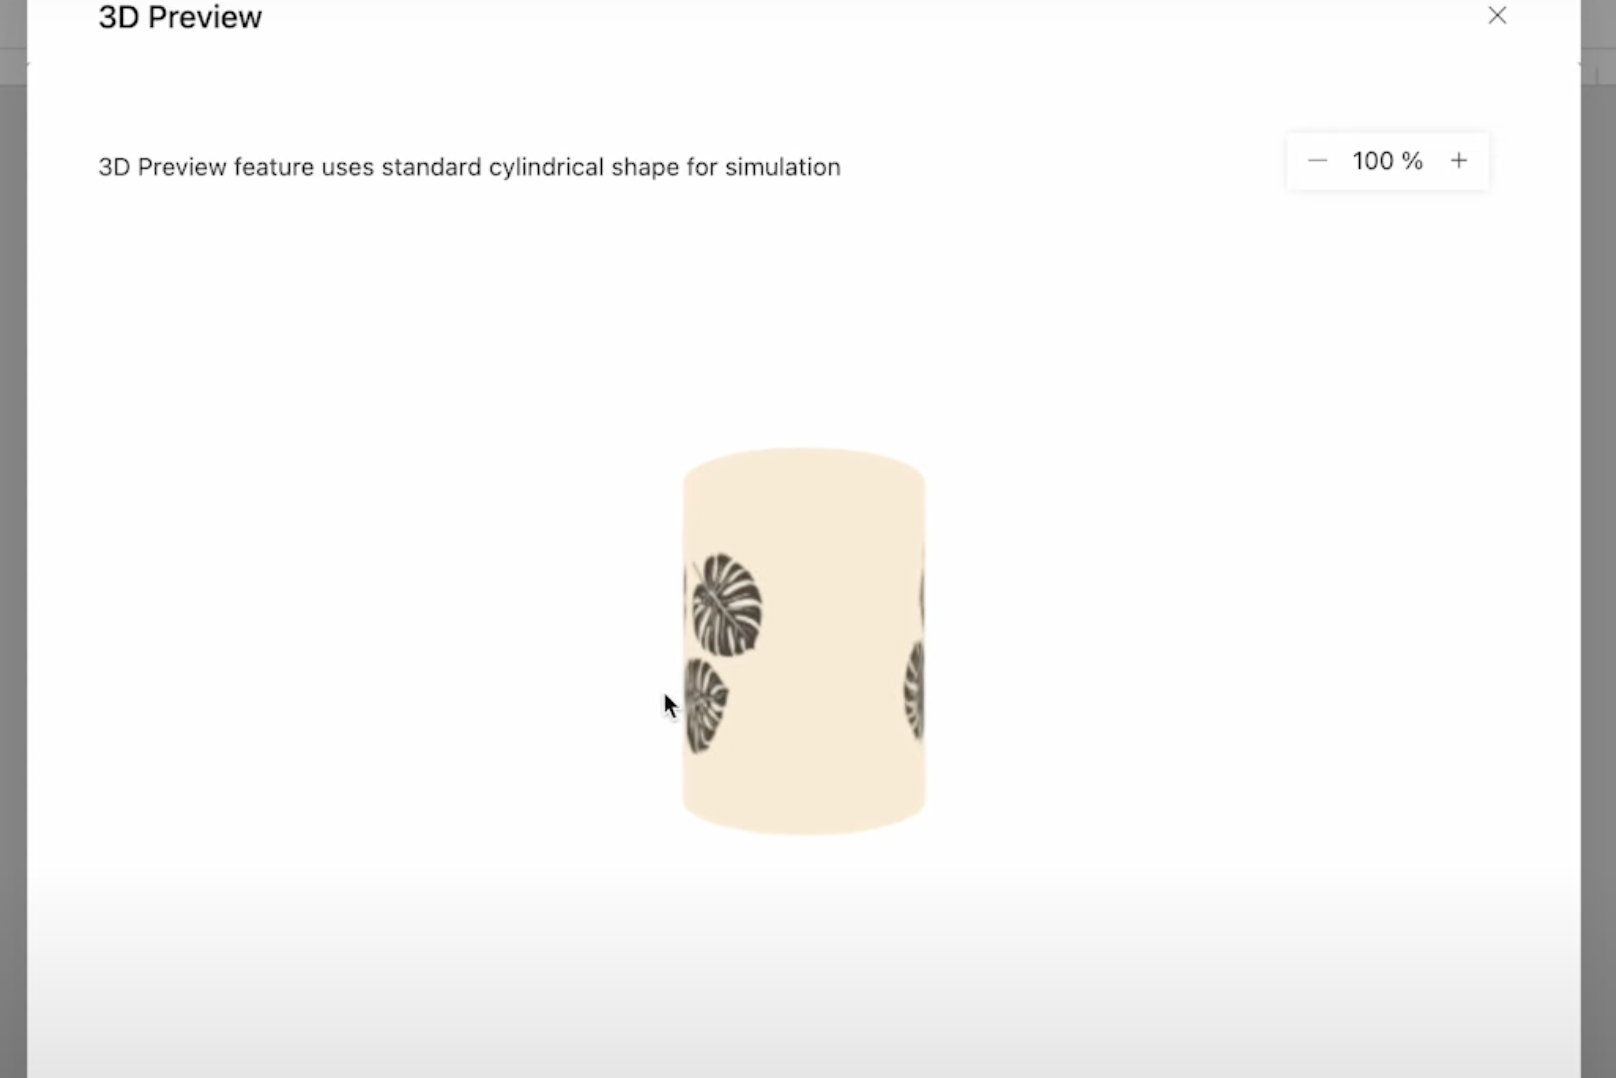
My design does not wrap all the way around because my tumbler has a handle, and you cannot engrave under the handle.
The 3D Preview can help you make sure the design is the size you want it to be.
Step 7: Frame the Design
With the design set up how we want it, it's time to click Start.
A warning about laser head collision will pop up. I am going to check everything before starting the laser, so I clicked Continue Processing.
Next, click Framing to double-check how things will work inside the laser. The Rotary Pro will rotate, and the laser head will move so you can ensure the tumbler doesn't catch on anything and that the design is going to be engraved where you want on the tumbler.
NOTE: I had to remove the bottom of my laser so the handle could rotate all the way around. Depending on your tumbler, you may need to use risers.
You can continue to press the Framing button and make adjustments as needed to get the engraving exactly where you want it.
When you're happy with the framing, close the lid, make sure the laser is ventilated out a window, and click Send within WeCreat MakeIt!
Step 8: Send the Design to the Laser
Check the processing time before starting. You need to stay by your laser the entire time it's working.
With the full engrave, this project was going to take over three hours. To speed up the process, click on the image and select Sketch.
This process sketched around the outside of all the leaves.
Instead of Fill Engrave, I selected Line Engrave.
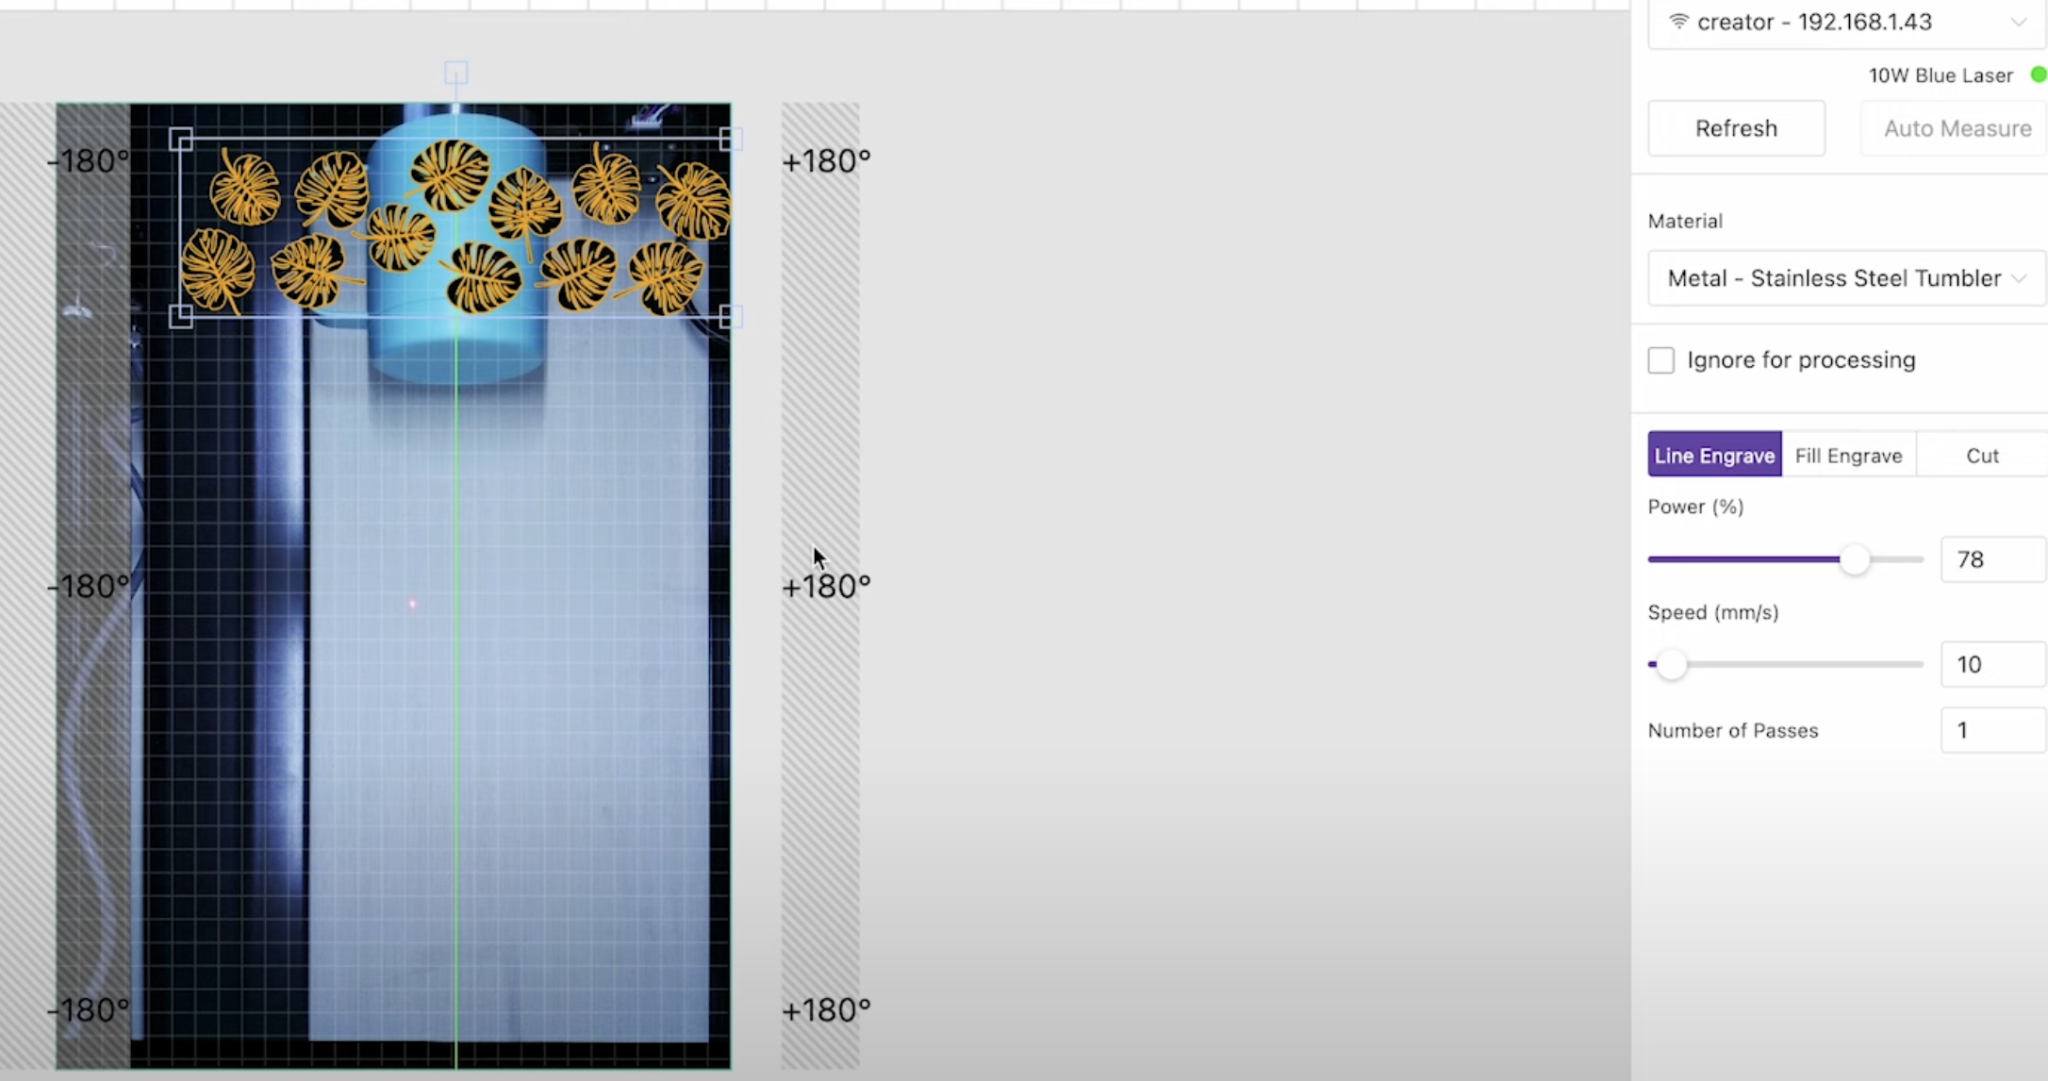
The Line Engrave option will engrave around the leaves vs engraving the entire leaf like the Fill Engrave.
In the layers panel, delete the image, leaving only the outline layer.
Now, my processing time is 13 minutes, which is much better than the over 3 hours the Fill Engrave was going to take.
Send the design to your laser and press the button on the front of the laser to start processing.
Step 9: Finish the Engraved Tumbler
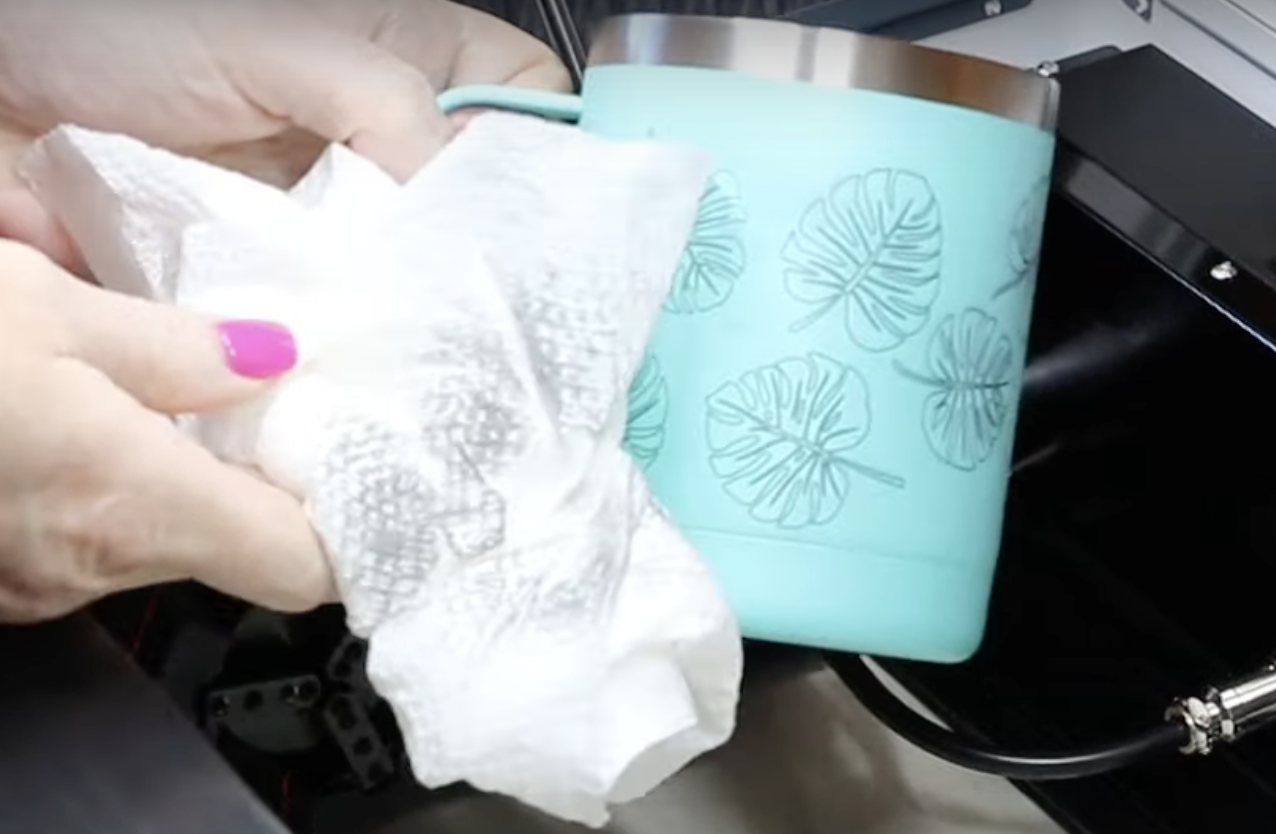
When the process is complete, open the lid and remove the tumbler from the WeCreat Rotary Pro.

Your tumbler will likely be dirty from the dust and debris that happens during the engraving process. You'll want to clean the tumbler really well with soap and water before use.
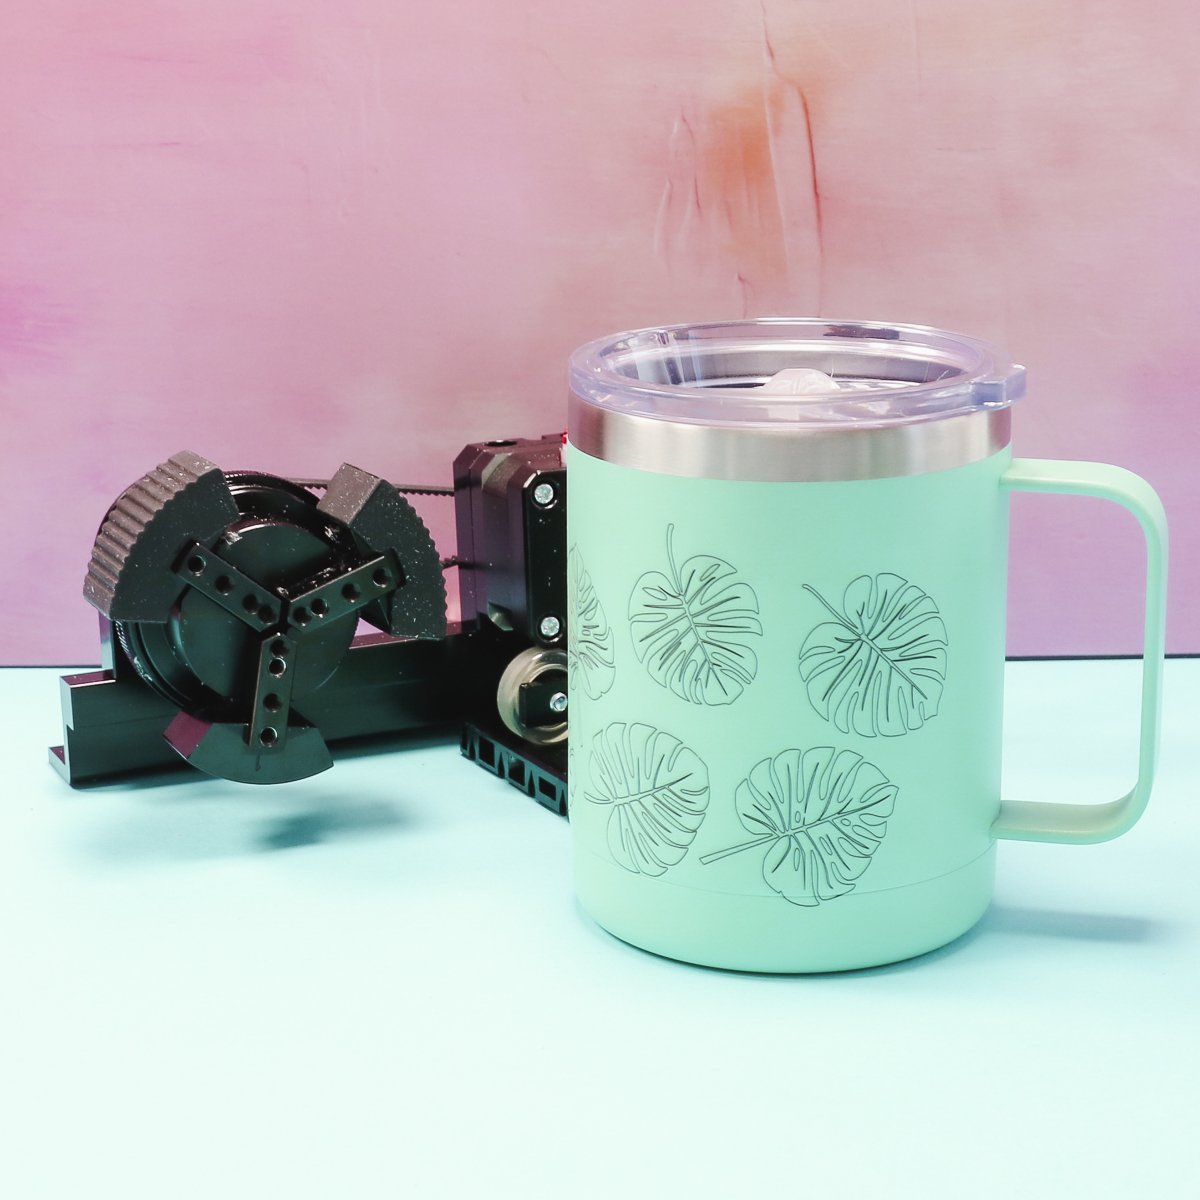
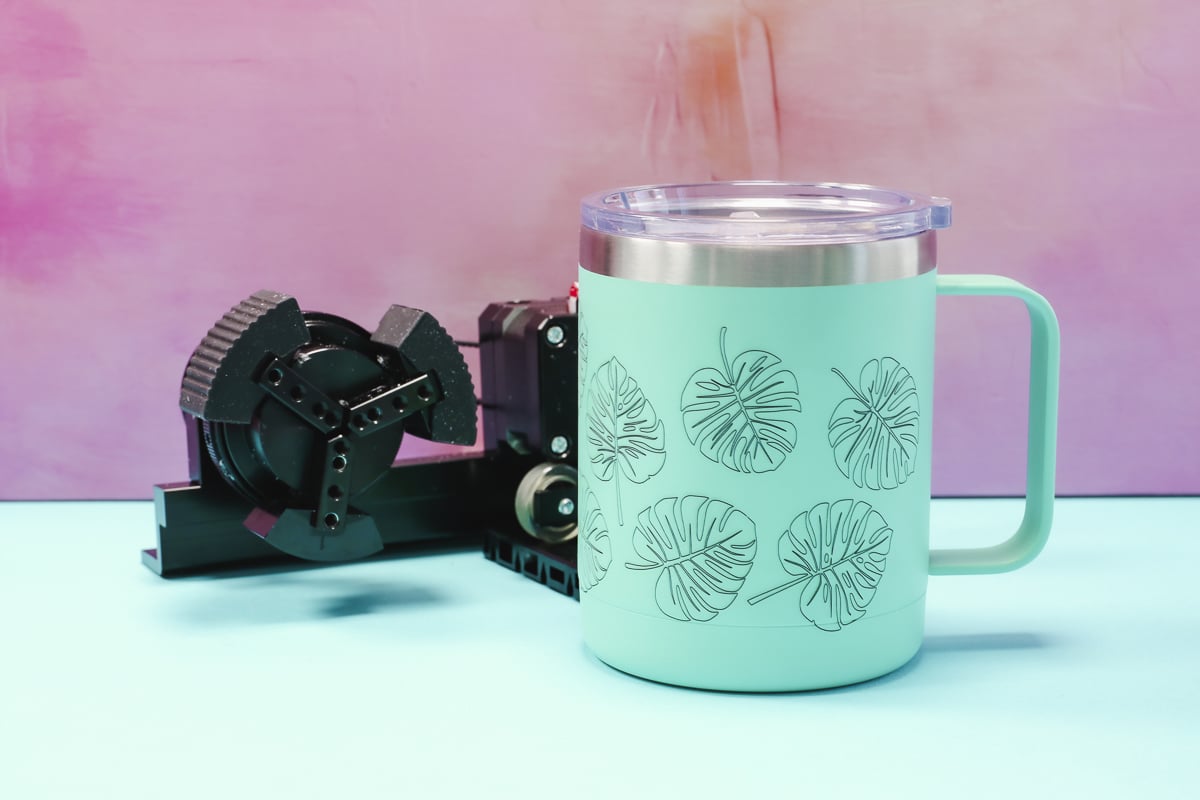
I am really impressed with how this tumbler turned out. The engraving looks perfect.
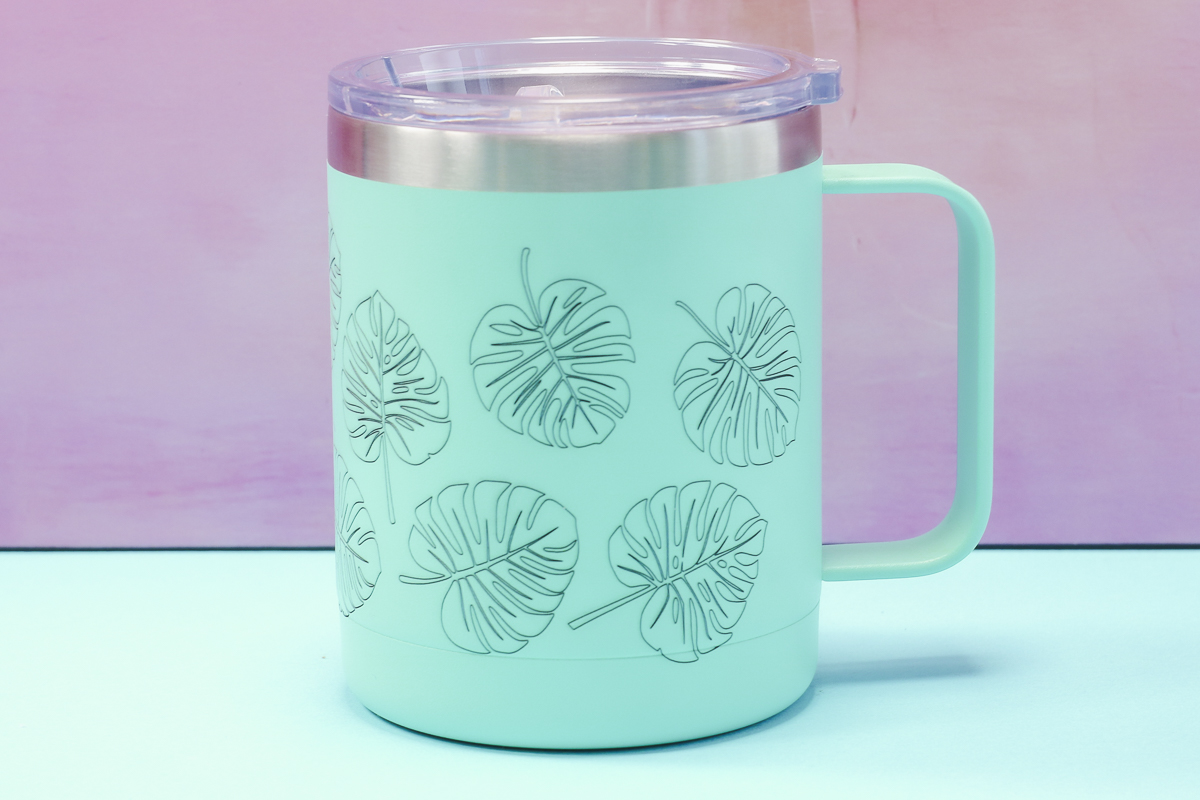
The WeCreat Rotary Pro did an amazing job, even though this is a smaller tumbler.
Should You Get the WeCreat Rotary Pro?
I found WeCreat Rotary Pro superior to the original rotary tool. It allows you to engrave smaller tumblers, and you can get closer to the top edge than you could with the old version.
If you had issues with the previous version, I think you'll be happy with this option.
I also really like that you can purchase an upgrade kit if you already own a WeCreat rotary accessory. Not having to purchase a whole new rotary tool is definitely a bonus.
The Rotary Pro fixes a lot of the issues I had with the original rotary accessory, I think you'll be really happy with the Rotary Pro.
I hope I've answered any questions you have about the new WeCreat Rotary Pro. If you have any additional questions, leave them in the comments, and I'll be happy to answer them for you.


How do you install the external arms for engraving a cylinder (wine glass)?
I haven’t done that yet. I am sure WeCreat has a tutorial 🙂