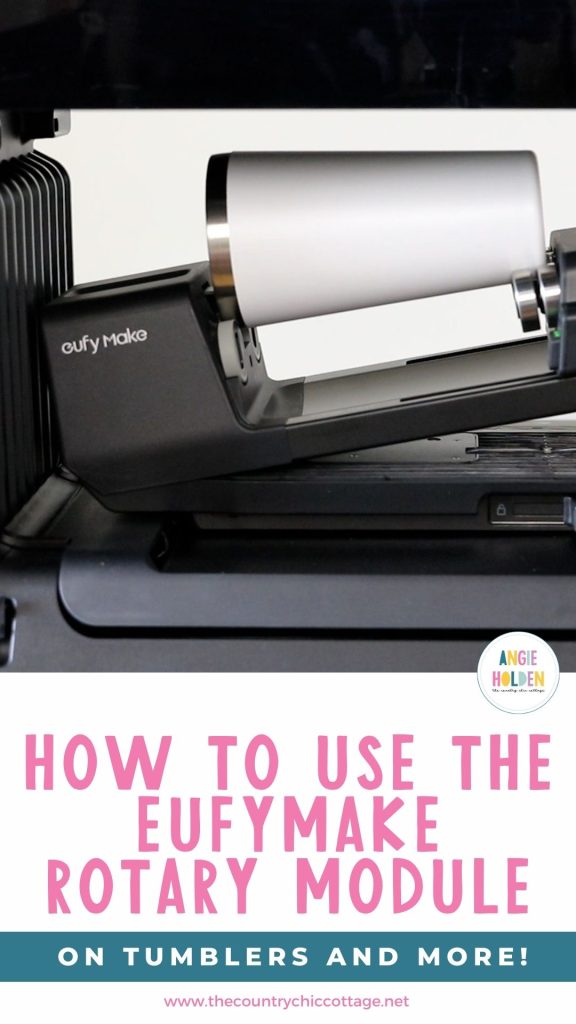
Are you ready to learn how to use the rotary module in the eufyMake E1 UV printer? This is an additional accessory you can purchase that will allow you to print on curved surfaces like mugs and tumblers.
This is just one accessory for the eufyMake E1. If you want to learn more about the eufyMake E1 UV printer, make sure to check out my full review here.
You can watch the rotary module in action by pressing play on the video below. Fast-forward to the 43-minute mark to get right to the rotary tool.
eufyMake Rotary Module
The Rotary Module is an additional accessory that you need to purchase as an add-on or in a bundle with the eufyMake E1 UV printer.
Maximum Size Restrictions
When rotary printing, the maximum height for 3D texture is 1 millimeter.
The maximum length for rotary tool blanks is slightly less than 10 inches. The diameter range is 40 to 100 millimeters, which is 1.57 to 3.94 inches.
If you are using a blank that is tapered, it needs to be less than 13 degrees or a diameter difference that is less than 35 millimeters or 1.38 inches.
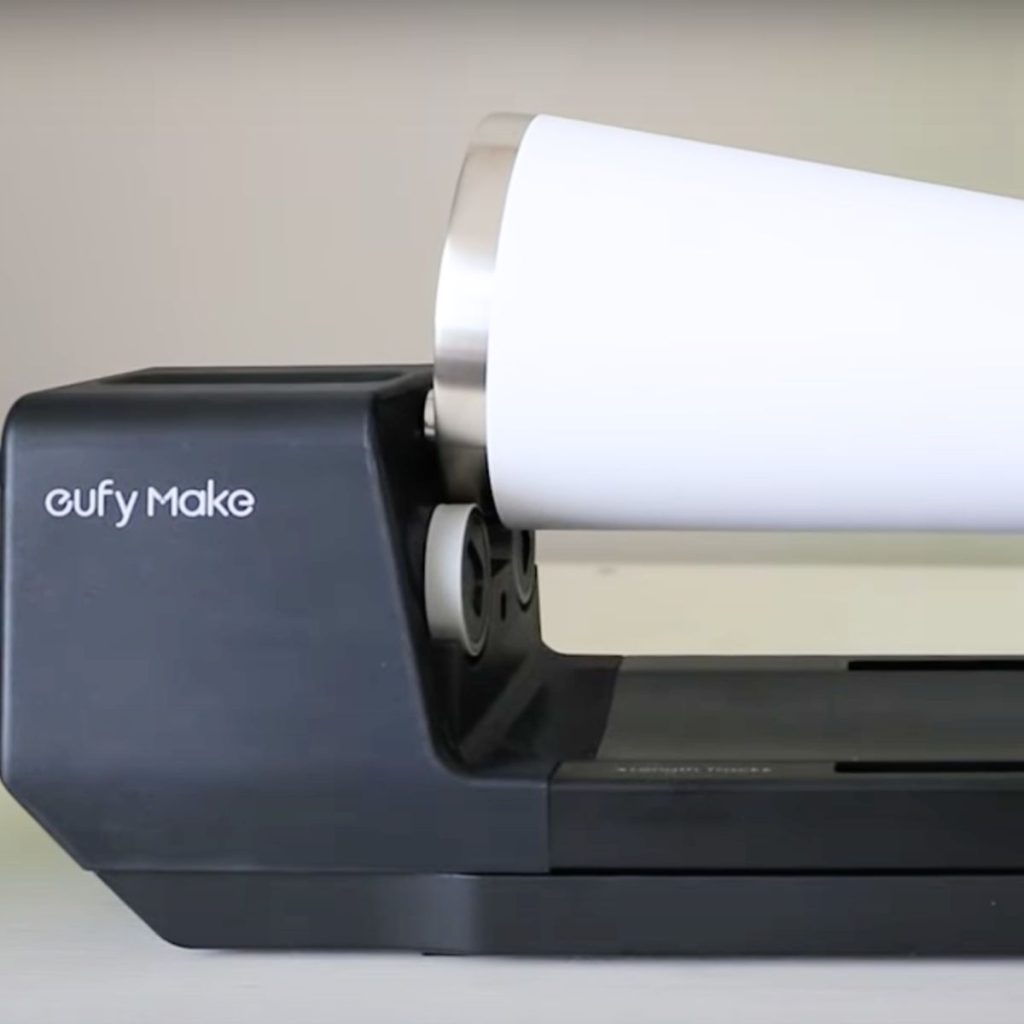
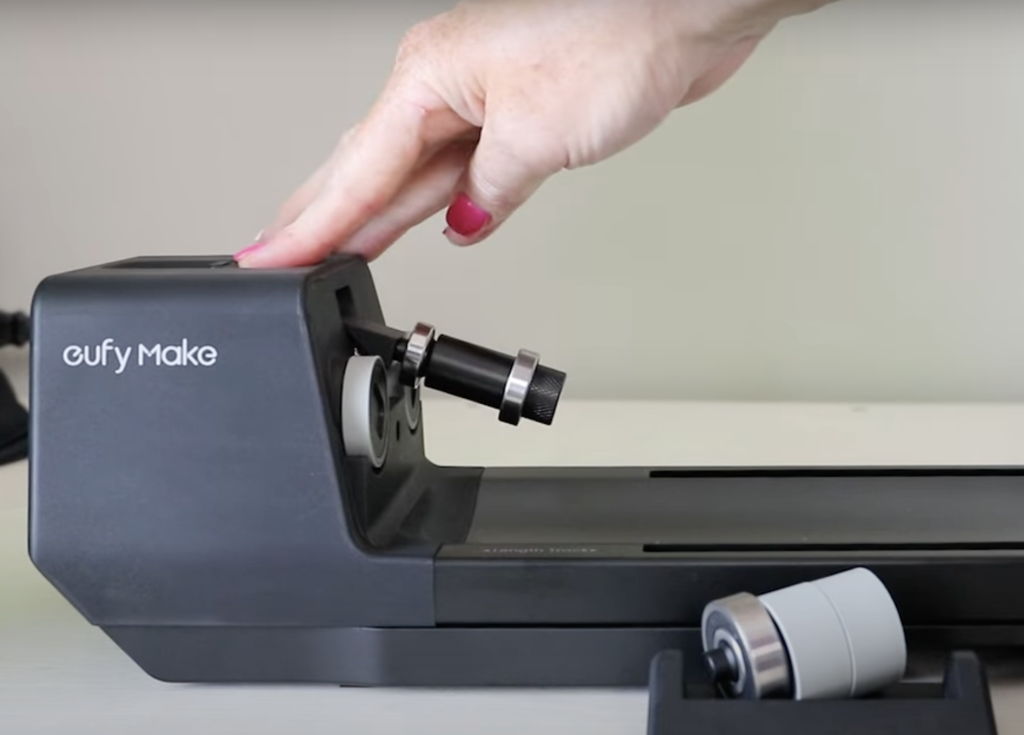
Step 1: Assemble the Rotary Module
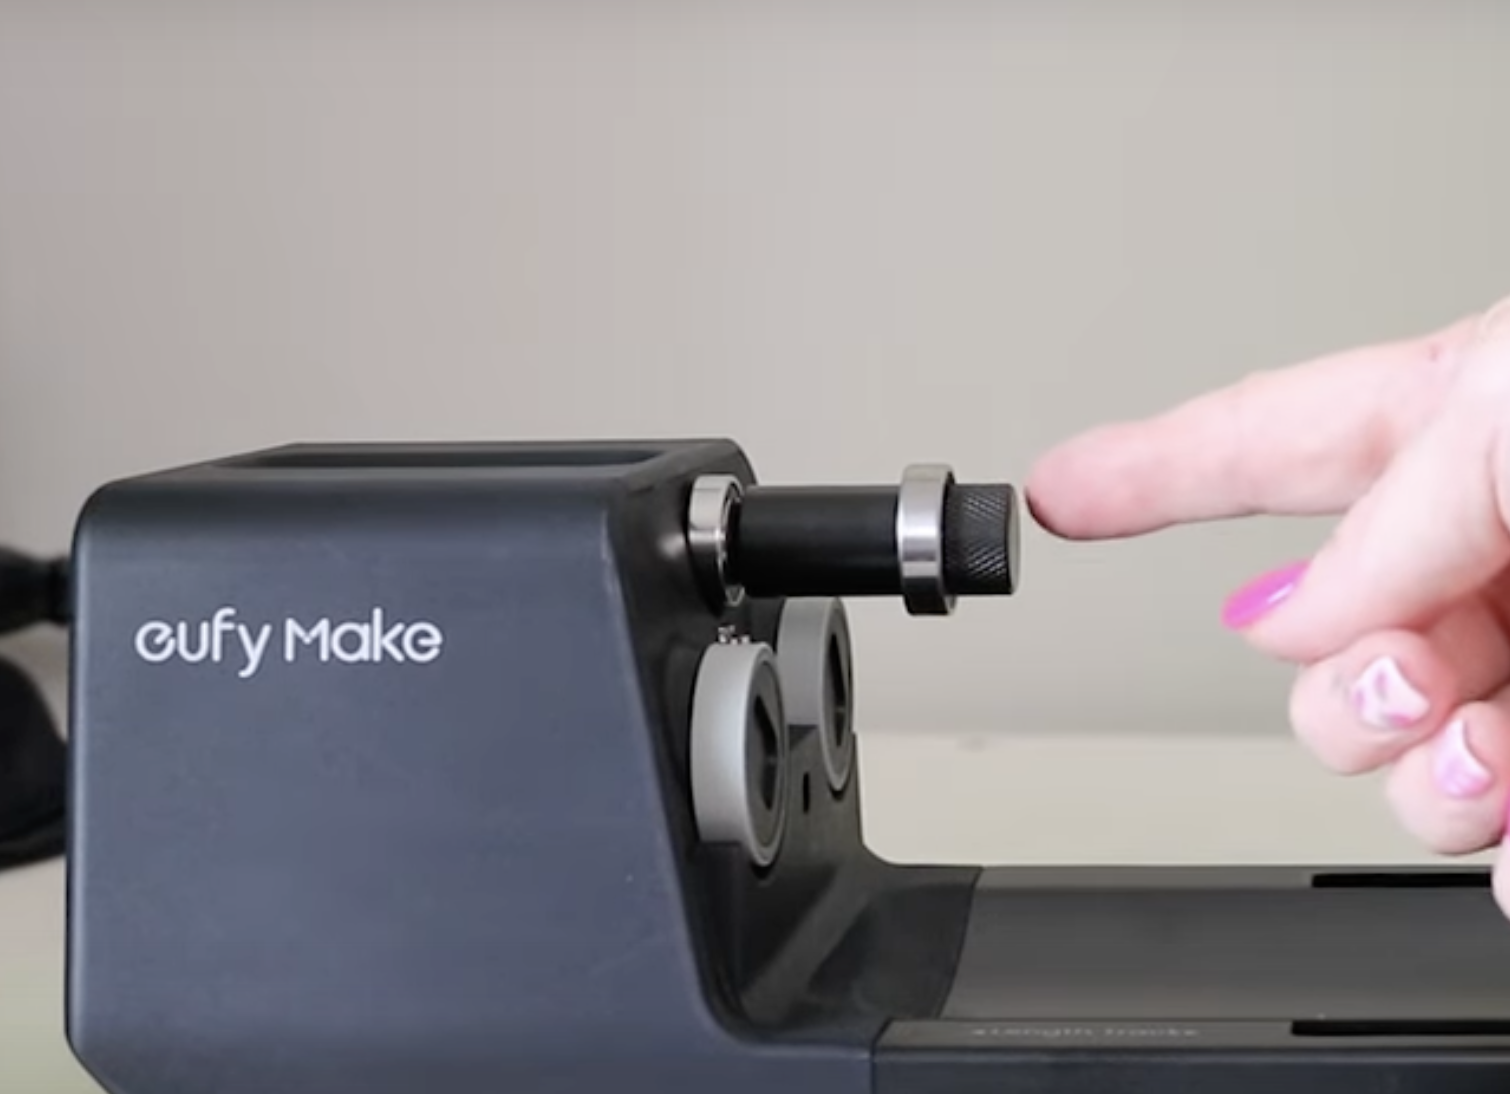
To assemble the rotary module, the only thing you need to do is install a small piece on one end. It simply screws into place.
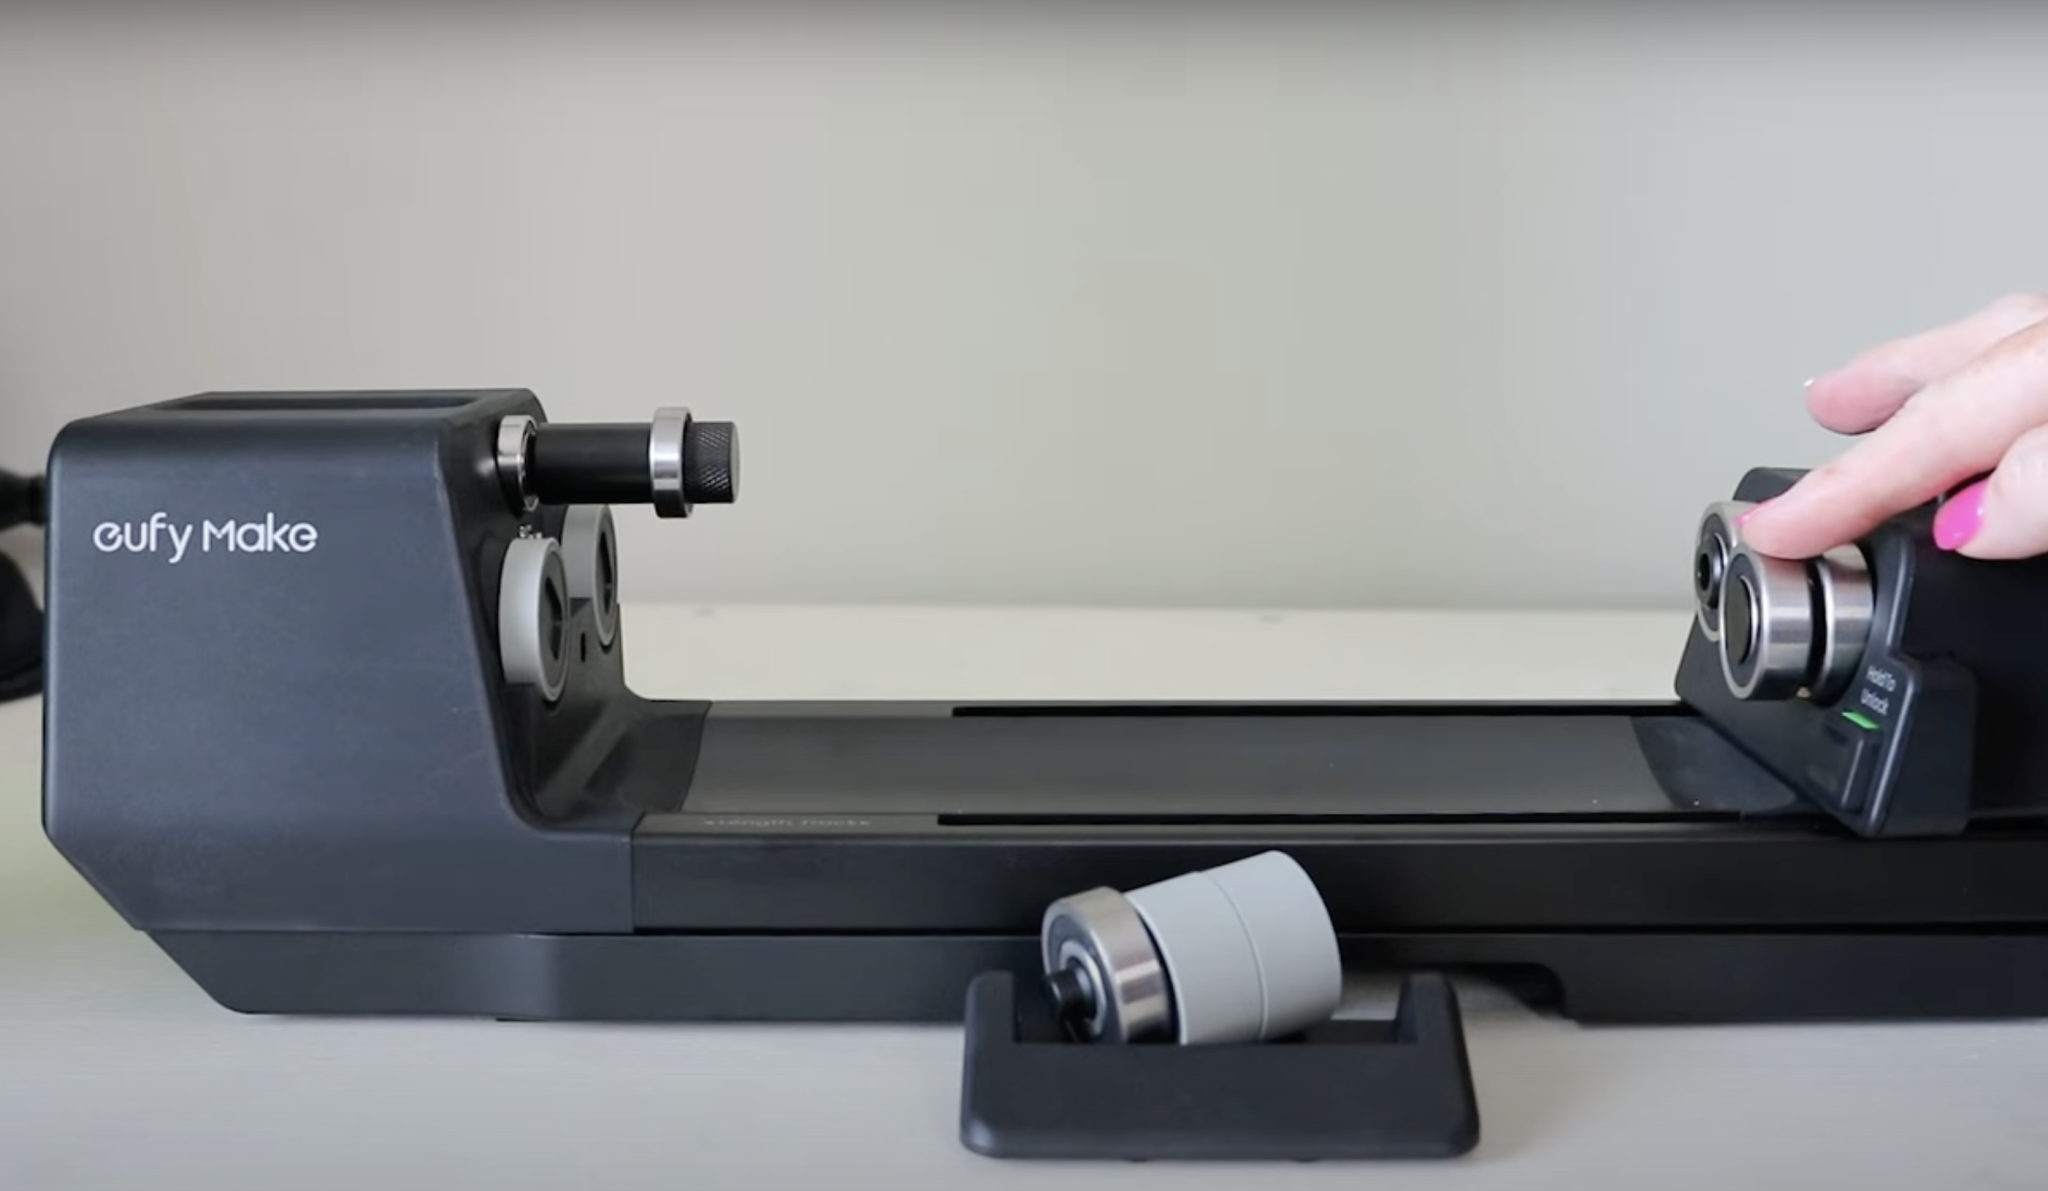
The rotary tool comes with a holder that has magnetic pieces in it that you can add to the end to extend the rollers.
Step 2: Add the Blank
The piece that we screwed into place sticks straight out but if you move the lever you'll see that it starts to press down.
This helps hold the tumbler or mug in place.
Slide the top of the tumbler between the rollers and the piece that sticks out, and add magnetic pieces to extend the area where the bottom of the tumbler will sit.
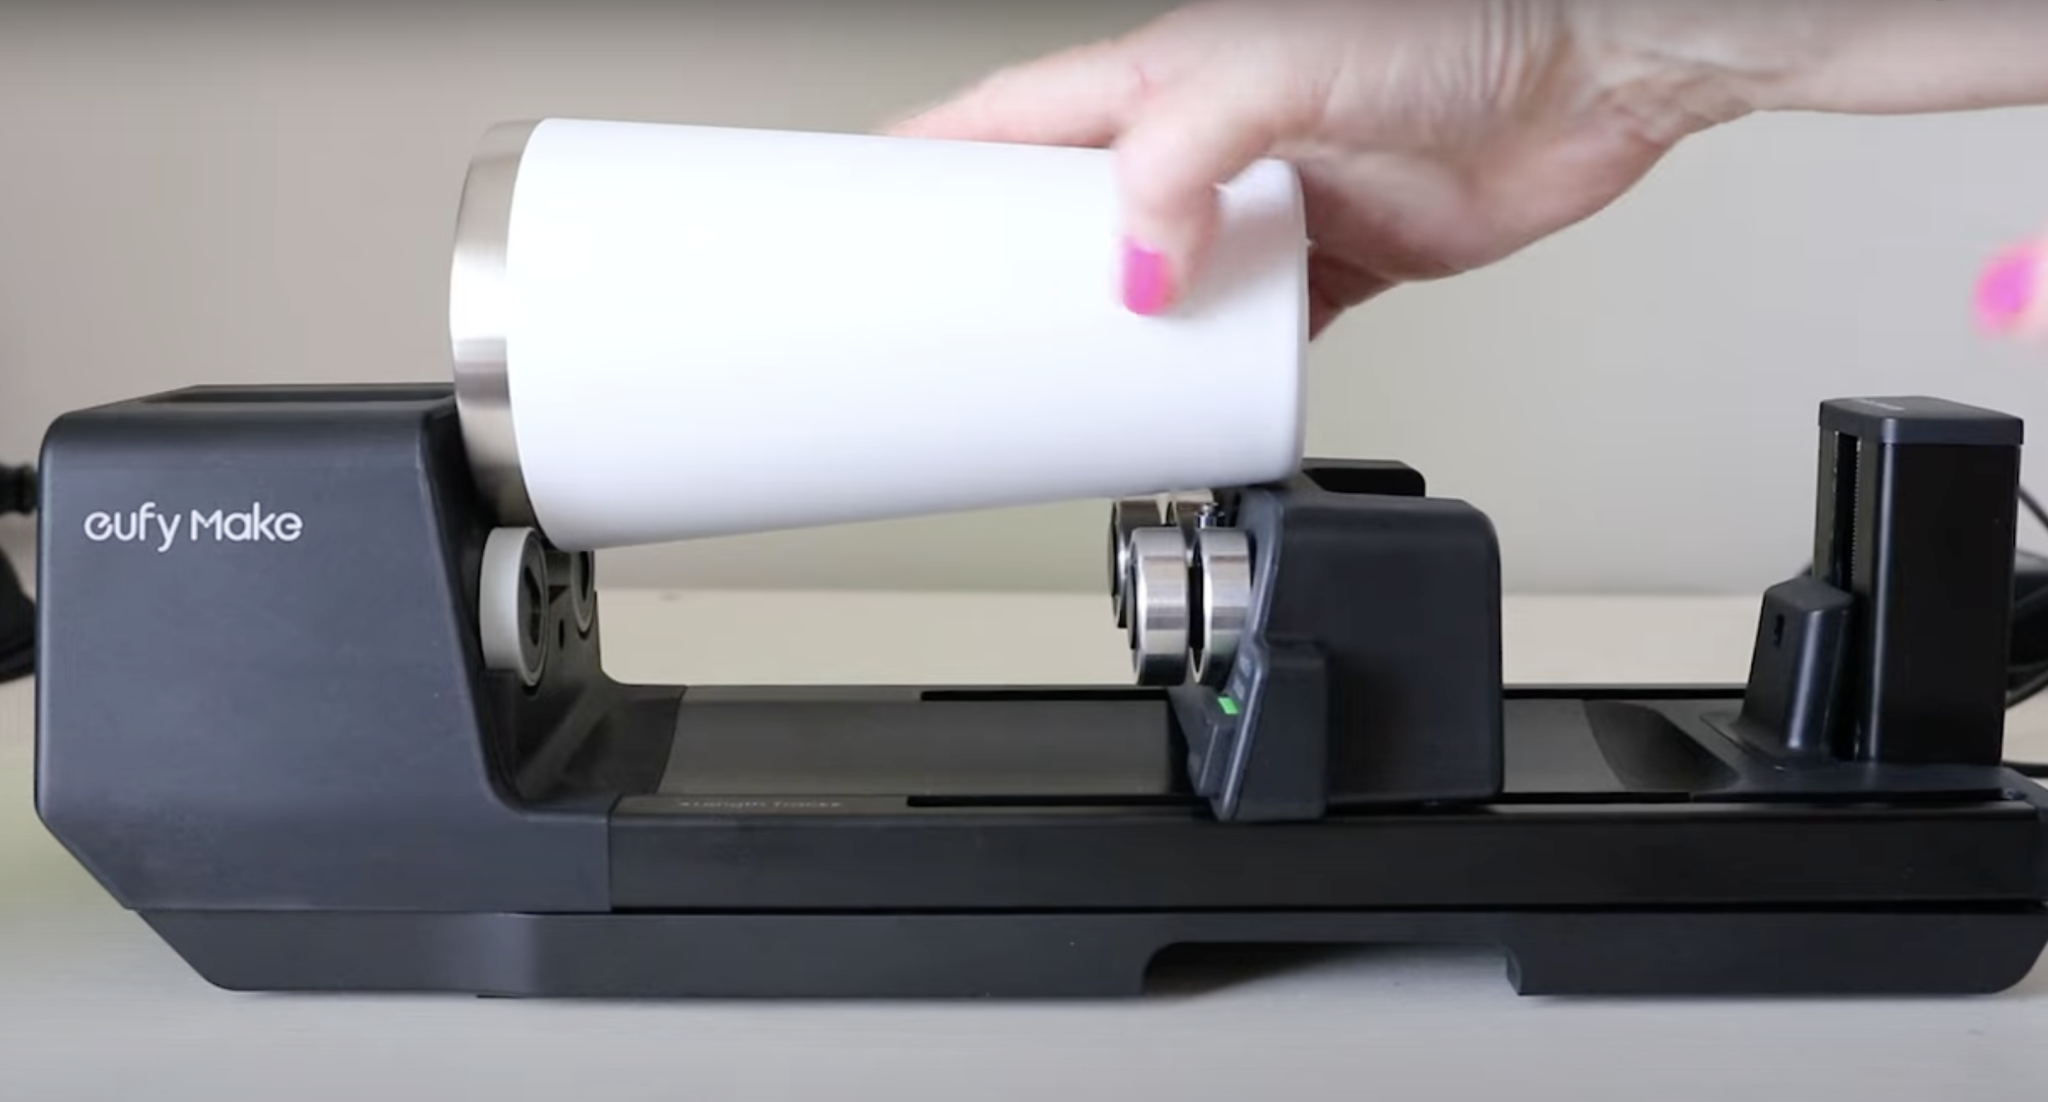
Slide the end of the rotary module forward so the end rests on the rollers and lock the lever into place so it is secure.
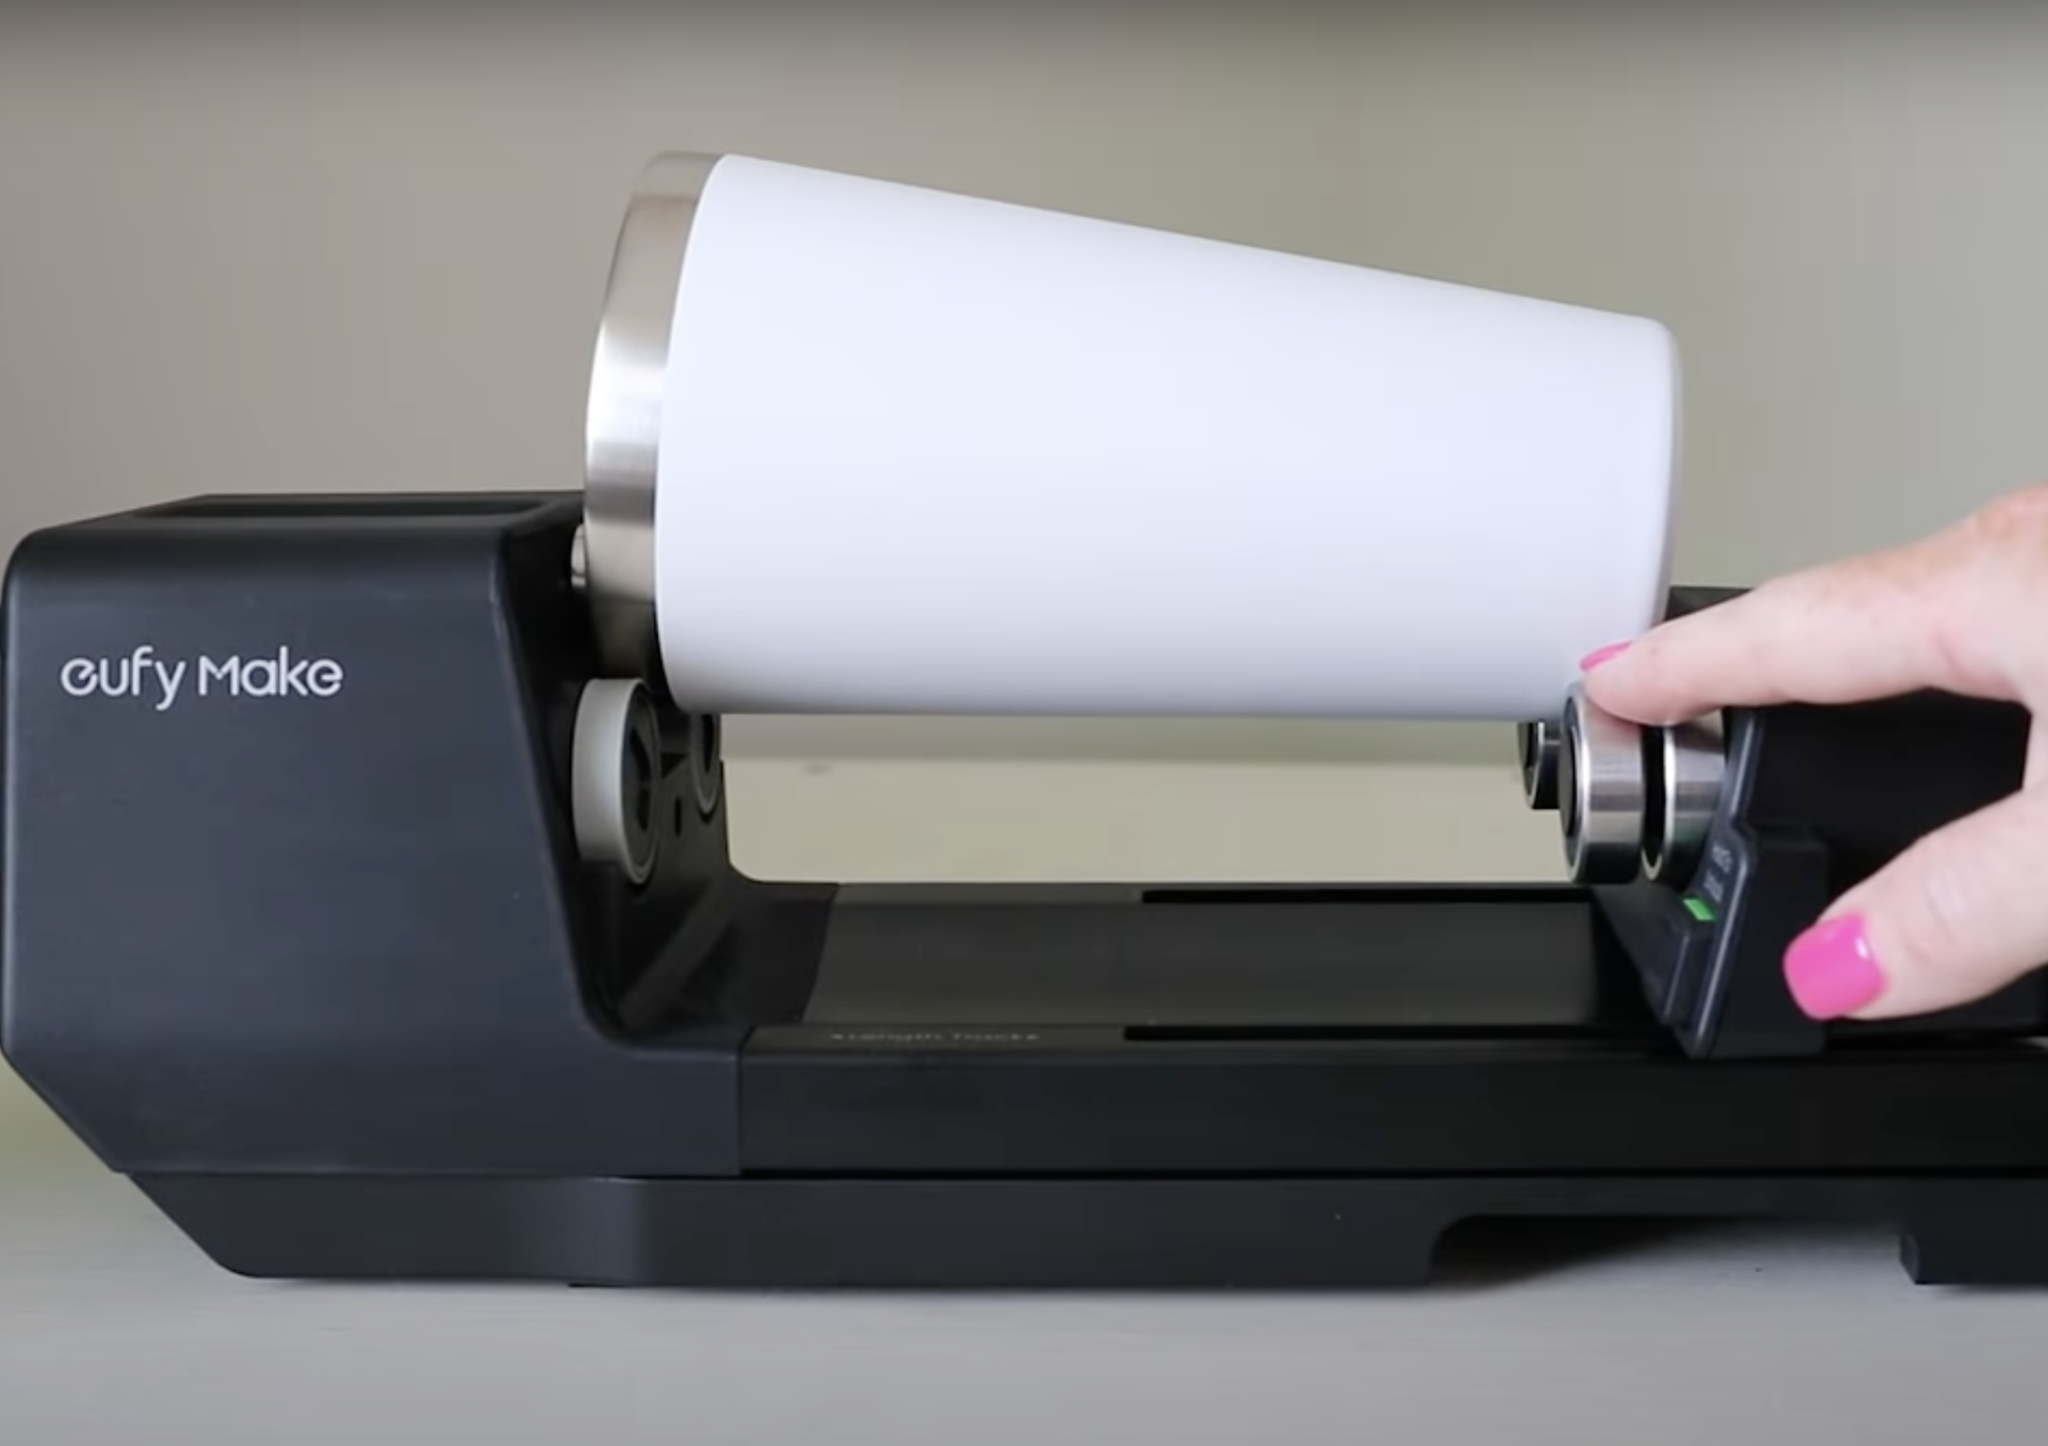
At this point, the tumbler does not look level, don't worry about that. I'll show you the magic inside eufyMake that auto levels the tumbler.
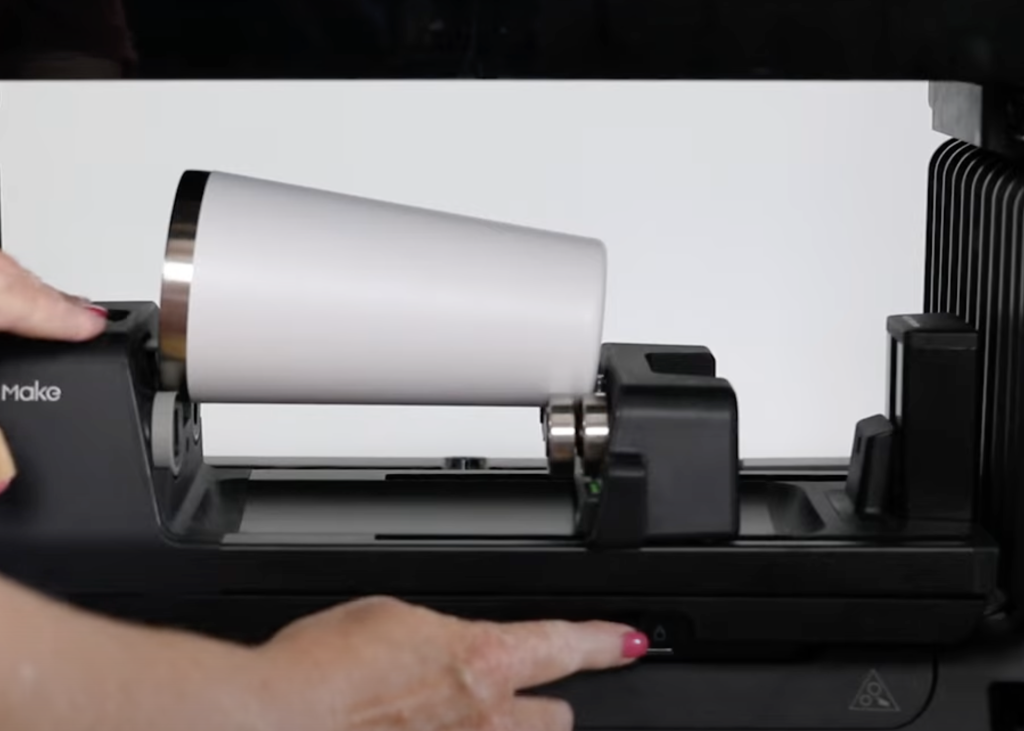
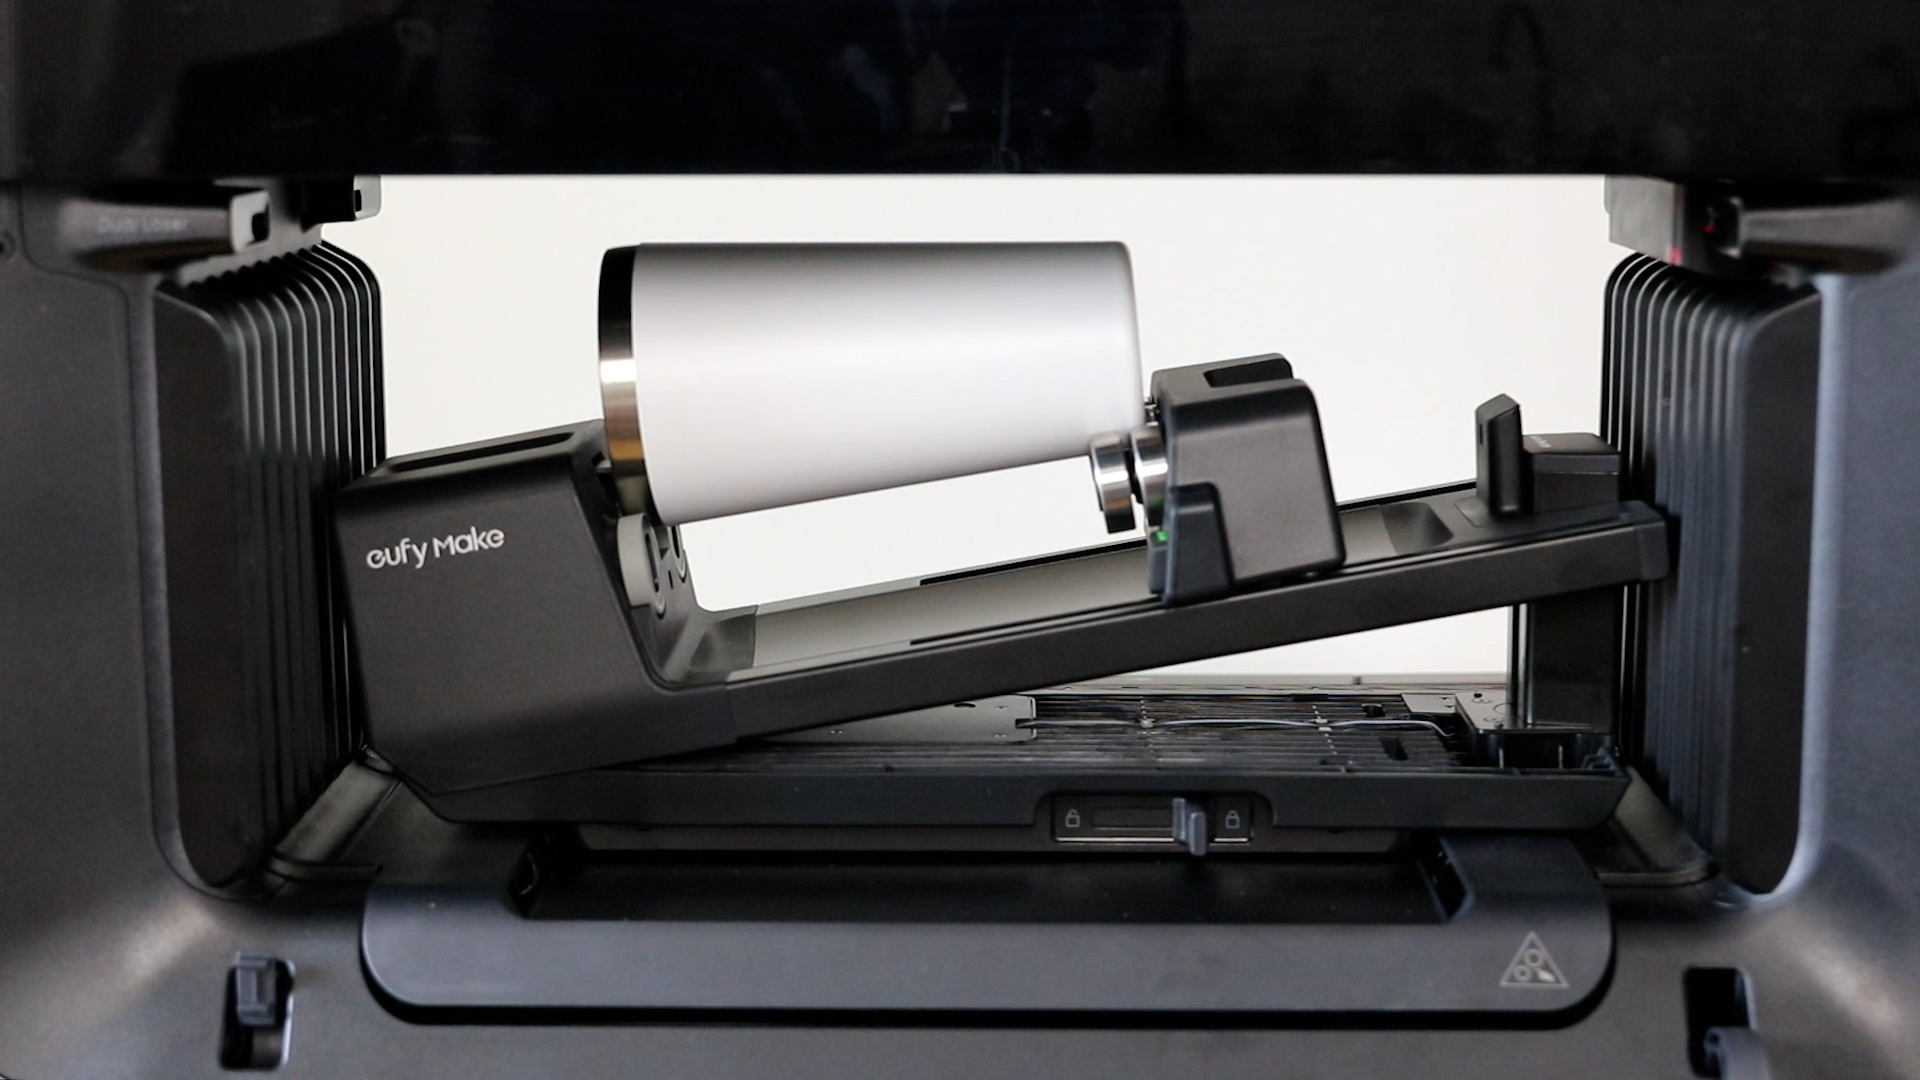
Step 3: Install the Rotary Module inside the eufyMake E1 Printer
If you have a bed inside your printer, you will need to remove that.
Installing the rotary module is the same as installing the beds. Place the module in place and ensure you lock it into place.
Step 4: Auto Measure Tumbler in eufyMake Studio
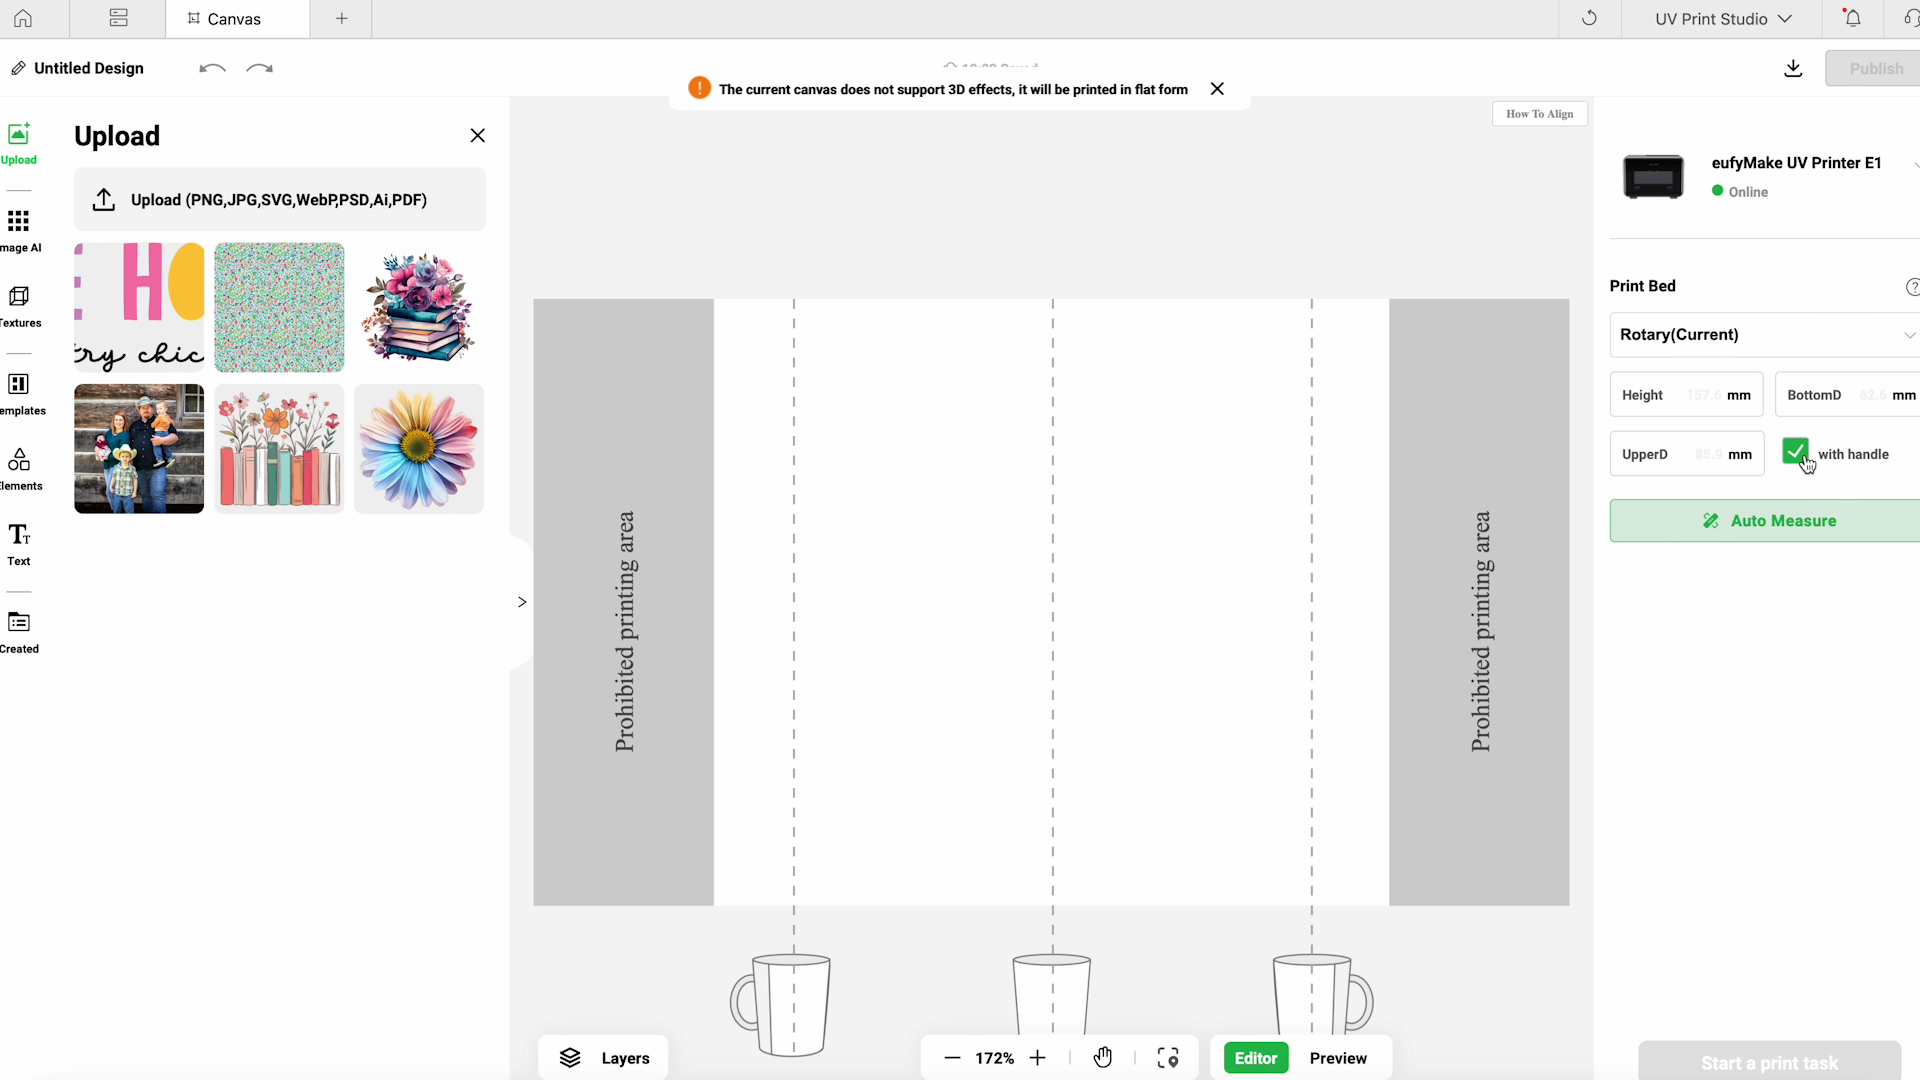
Open eufyMake Studio and change the print bed to Rotary, and you'll see the screen change, and lines will show up.
You need to be aware that the screen setup may not be right for your current blank.
If your blank has a handle, make sure you click the With Handle button. This tumbler does not have a handle, so I am not going to select that.
Click Auto Measure and then select the shape of your blank. Again, if it has a handle, make sure you click With Handle.
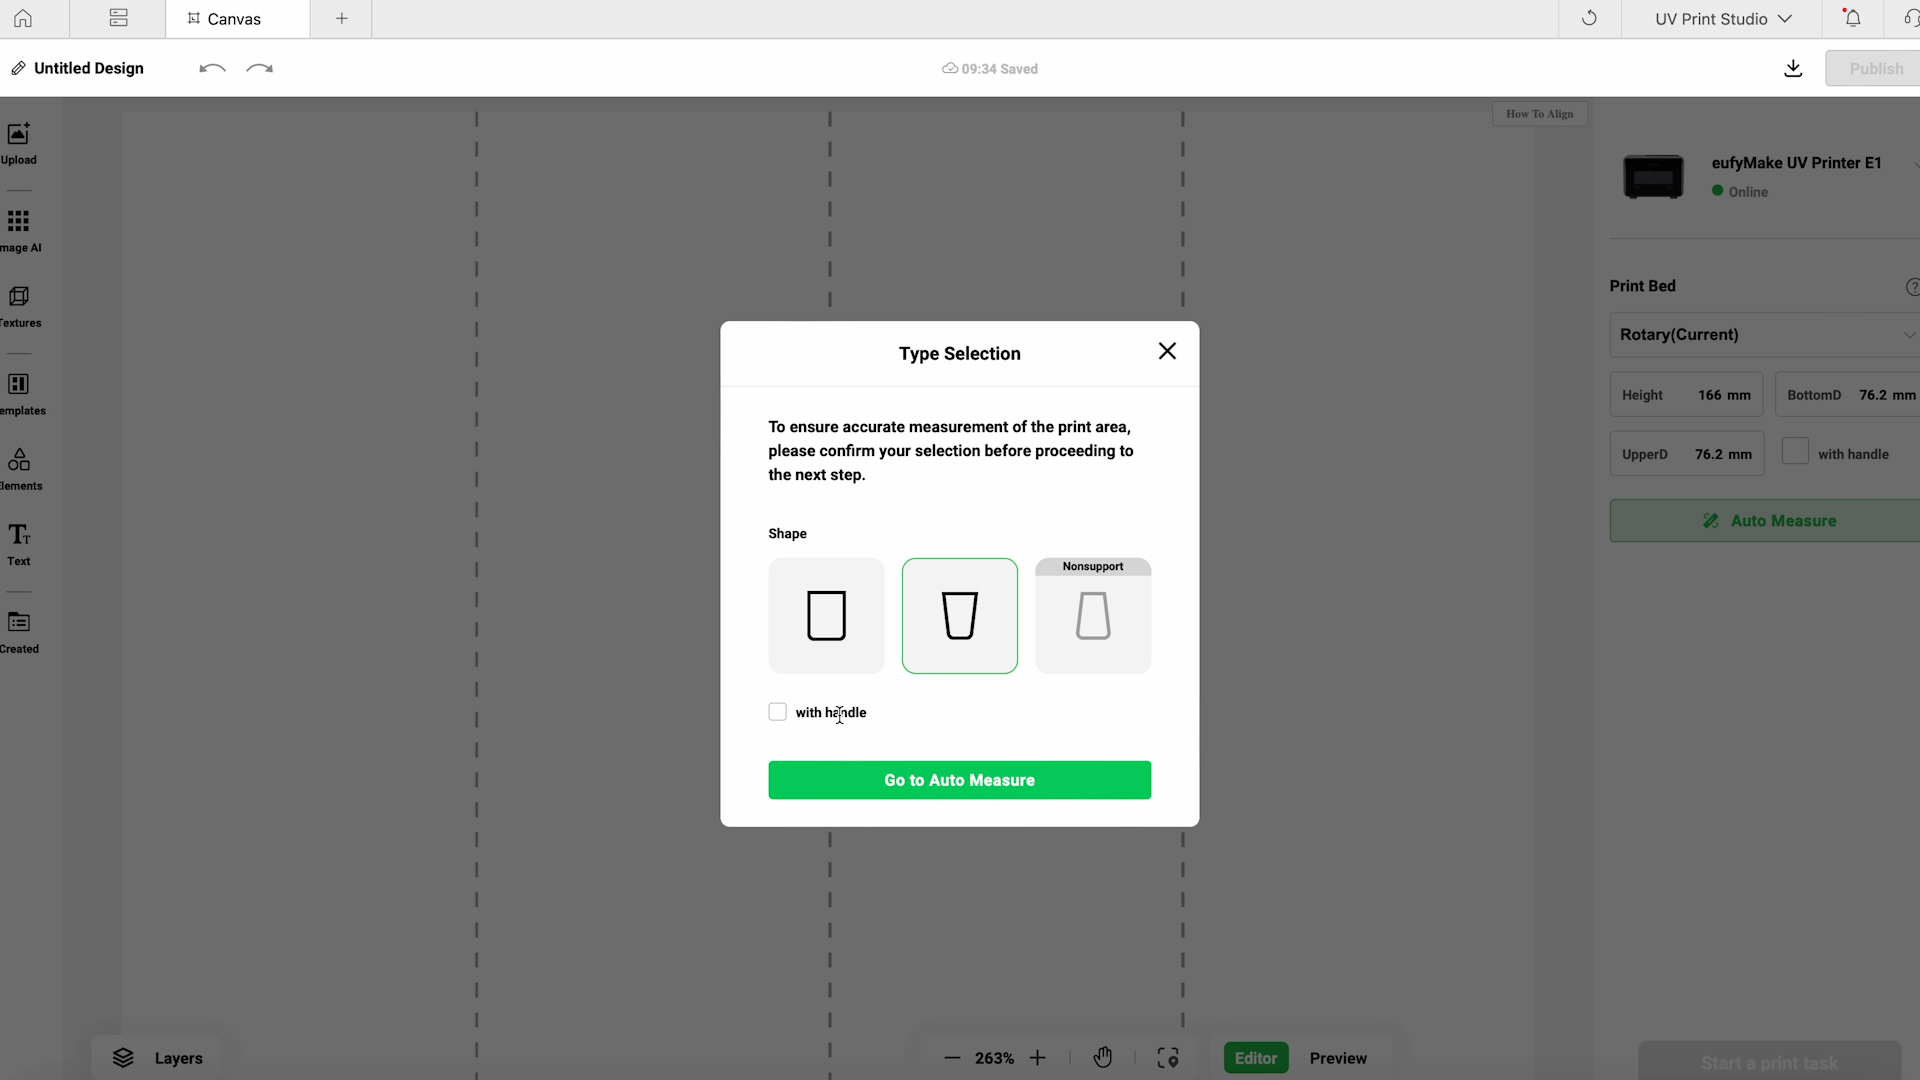
Click Go To Auto Measure, and here the rotary tool with auto measure the tumbler and auto level it.
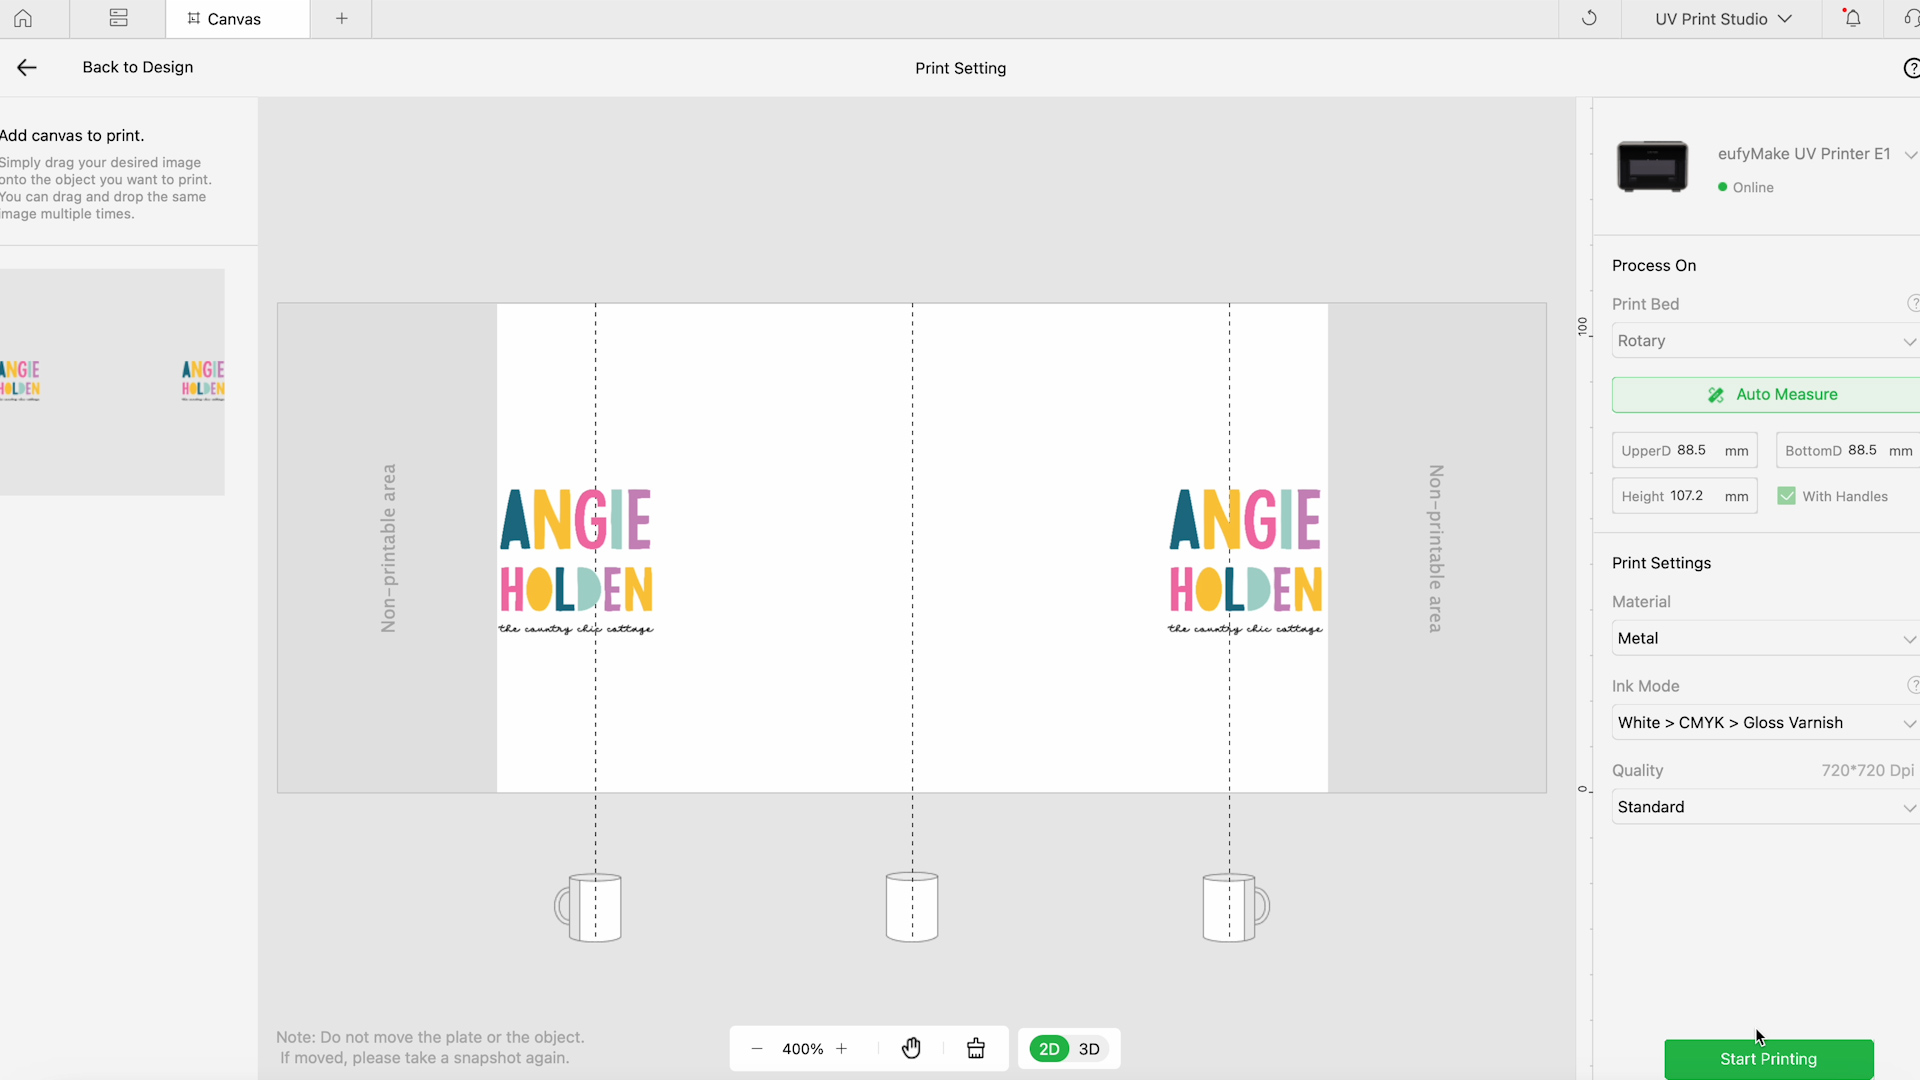
When it's done measuring, click Replace Canvas, and now the canvas is the size of the tumbler itself.
Step 5: Create Design in eufyMake Studio
Note: UV Ink is not food safe. Make sure you keep any designs away from the lip area of your blank.
The tumbler I'm using has a silver rim around the top, so I am going to make sure the design stays below that silver rim.
I am using a book design for my tumbler. I did have to duplicate the design for it to wrap all the way around the tumbler, but it is blank at the top, so I don't have to worry about the ink being in the lip area.
Because my tumbler is white, I am going to use the CMYK print setting with Standard Quality and I selected Metal for my material because it is a metal tumbler.

Step 6: Print on Tumbler
Click Start Printing and let the printer do its job.
When the print is complete, slide the lever at the top and remove the tumbler.
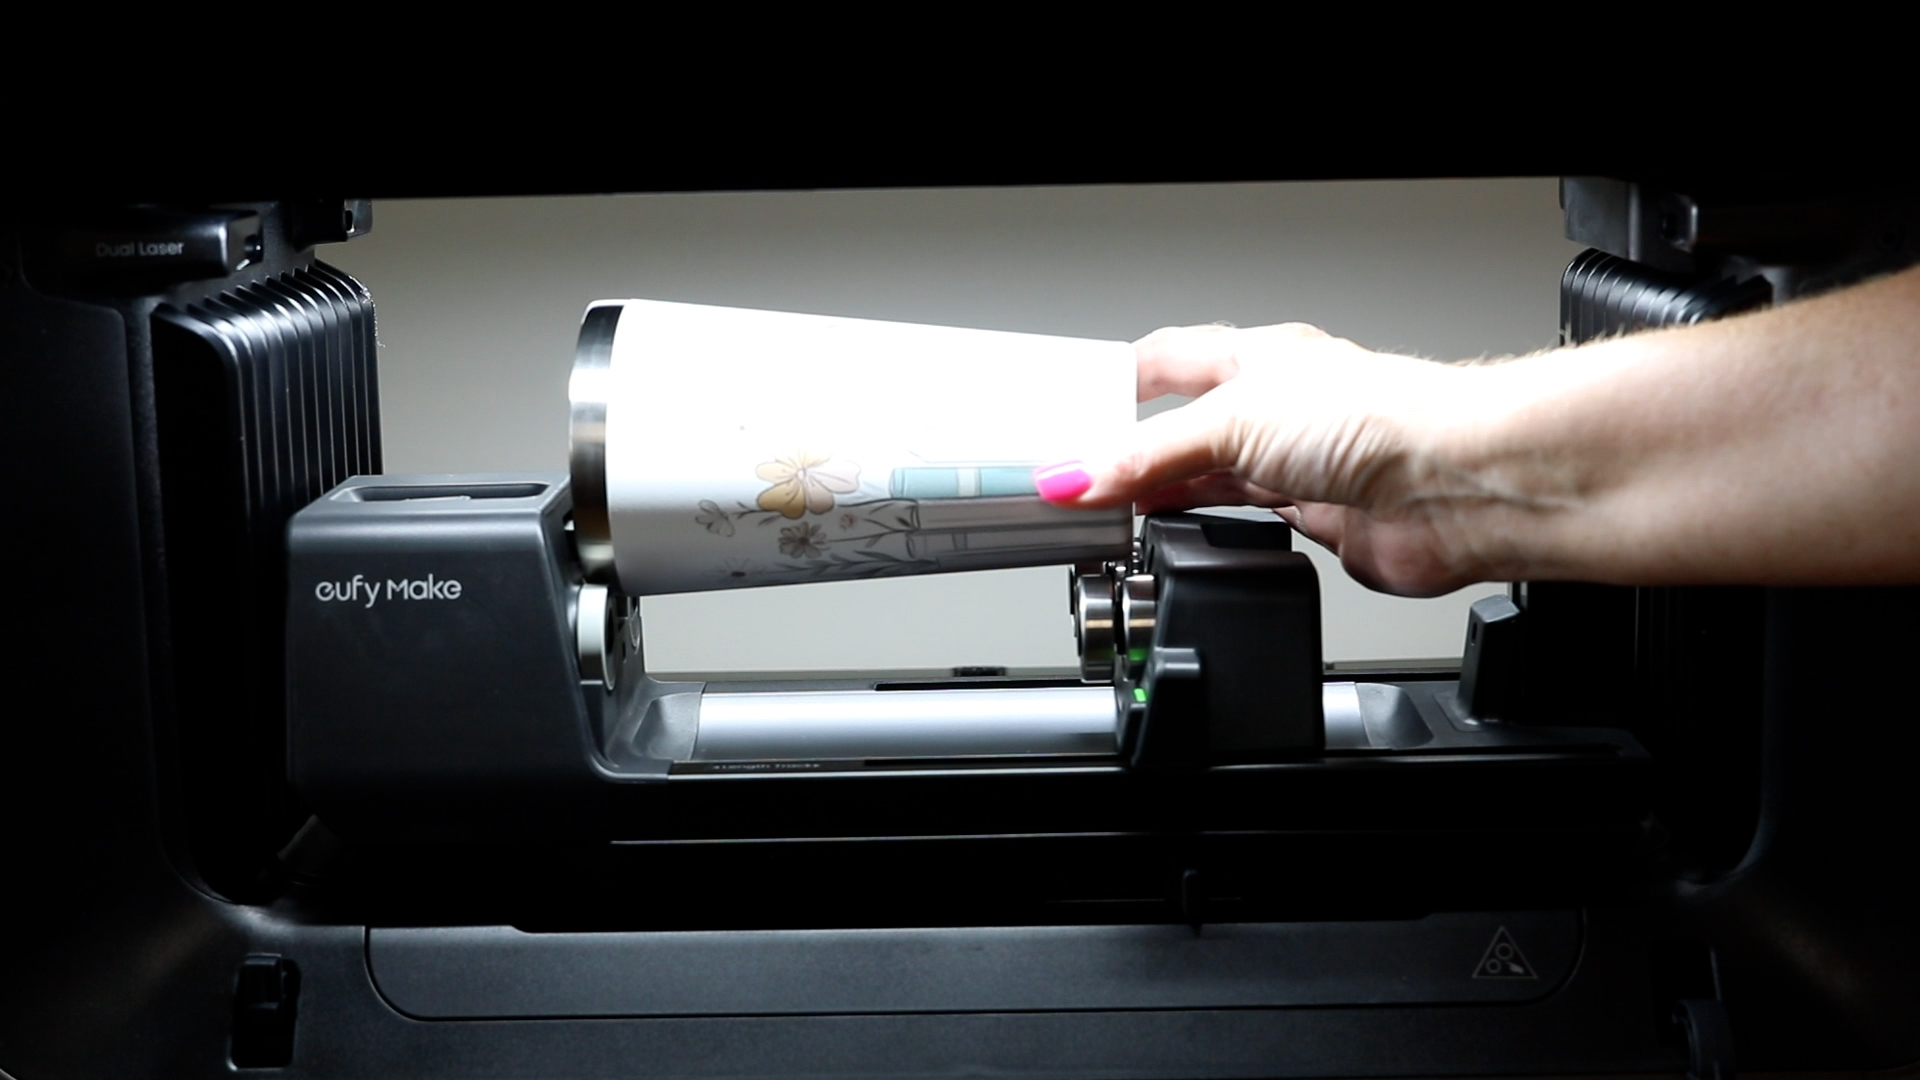
The tumbler is completely dry and ready to use right out of the printer.
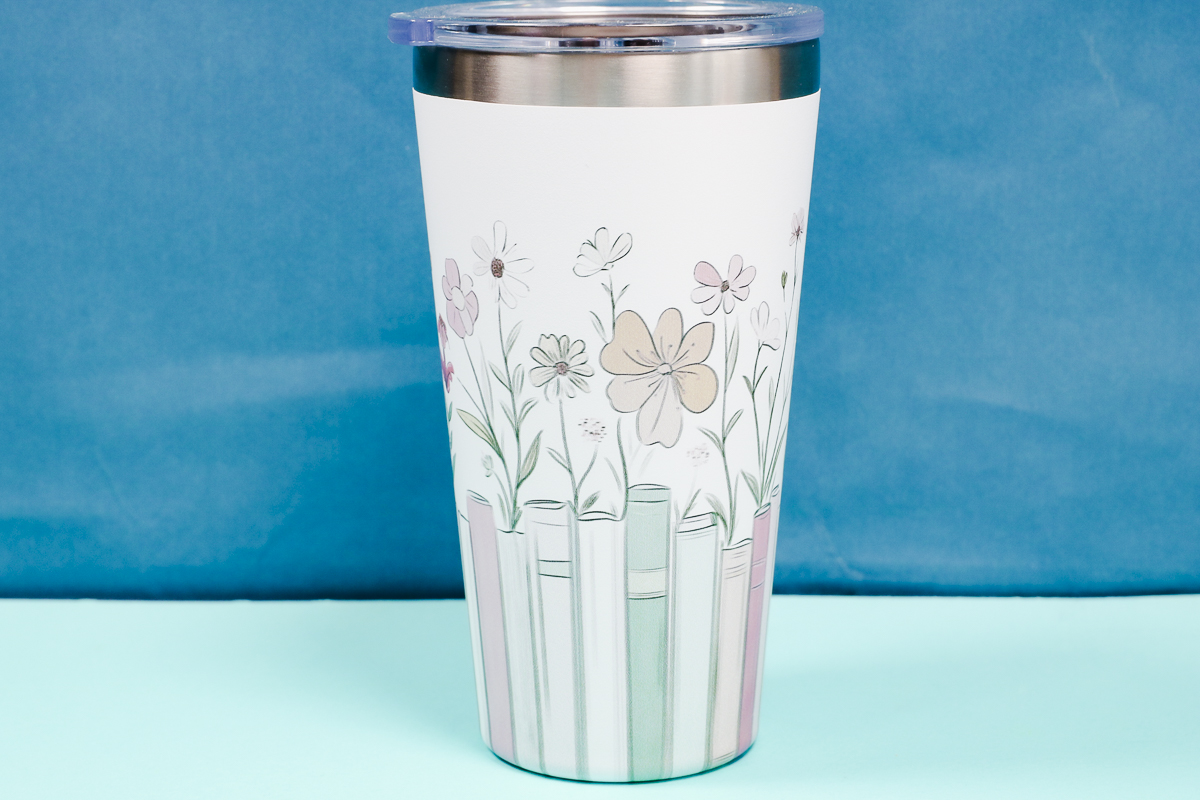
I chose this design for this tapered tumbler because the books have straight lines, and I wanted to see how it would turn out.
You can see that the books now taper with the tumbler because the program adjusted the design.
It worked well with this design, but I would expect to see some distortion to the design toward the bottom of your taper. Keep that in mind.
I love the way this tumbler turned out, and because I used a powder-coated metal tumbler, it is permanently on there.
How to Print on a Mug with a Handle
To make a mug with a handle, we're going to repeat the same process we did for the tumbler without a handle.
Step 1: Add to Rotary Accessory
Add the mug to the rotary module and make sure the handle is pointing down.

Tighten everything into place and within eufyMake Studio, click that you're making something with a handle.
Click Auto Measure and select the shape of your blank. Make sure to click With Handle and then Go To Auto Measure.
When it's done, click Replace Canvas, and you'll see that there is a large area that is prohibited from printing.
Step 2: Add Design to eufyMake Studio
You cannot do a full wrap design with a tumbler or mug that has a handle.
I want to test how close to the handle I can get, so I added the logo to both sides and moved them as close to the edge as possible.
This time, I selected White, CMYK, and Gloss Varnish to see how that looks on a colored tumbler.
Step 3: Print on Powder Coated Mug with Handle
Click Start Printing and let the printer print. Then remove the tumbler from the machine.
The logo on the powder-coated mug looks really great. It is printed onto the mug perfectly, and it's very durable. It won't come off if it is scratched or anything like that.
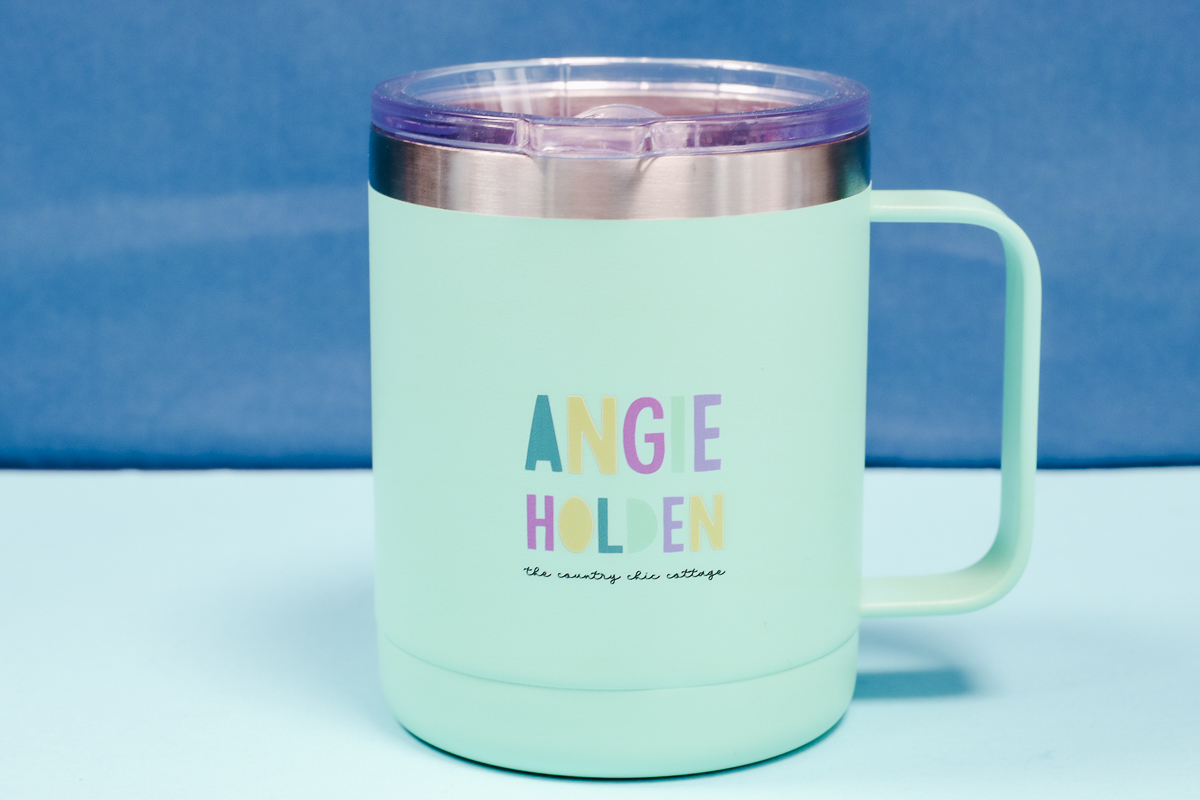
This is as close to the handle as you can get with the rotary tool. I think it looks really good, but you'll want to note that there is going to be a gap between the handle and your design.
Other Rotary Module Projects
I do want to note that none of these tumblers or mugs are dishwasher safe. Not even on the top rack. Anything printed with the eufyMake E1 printer is going to be hand-wash only.
I wanted to see how the 3D raised print would work on a tumbler, and I love the way this turned out.
This is a plastic tumbler I've had lying around for a long time, and it looks great.
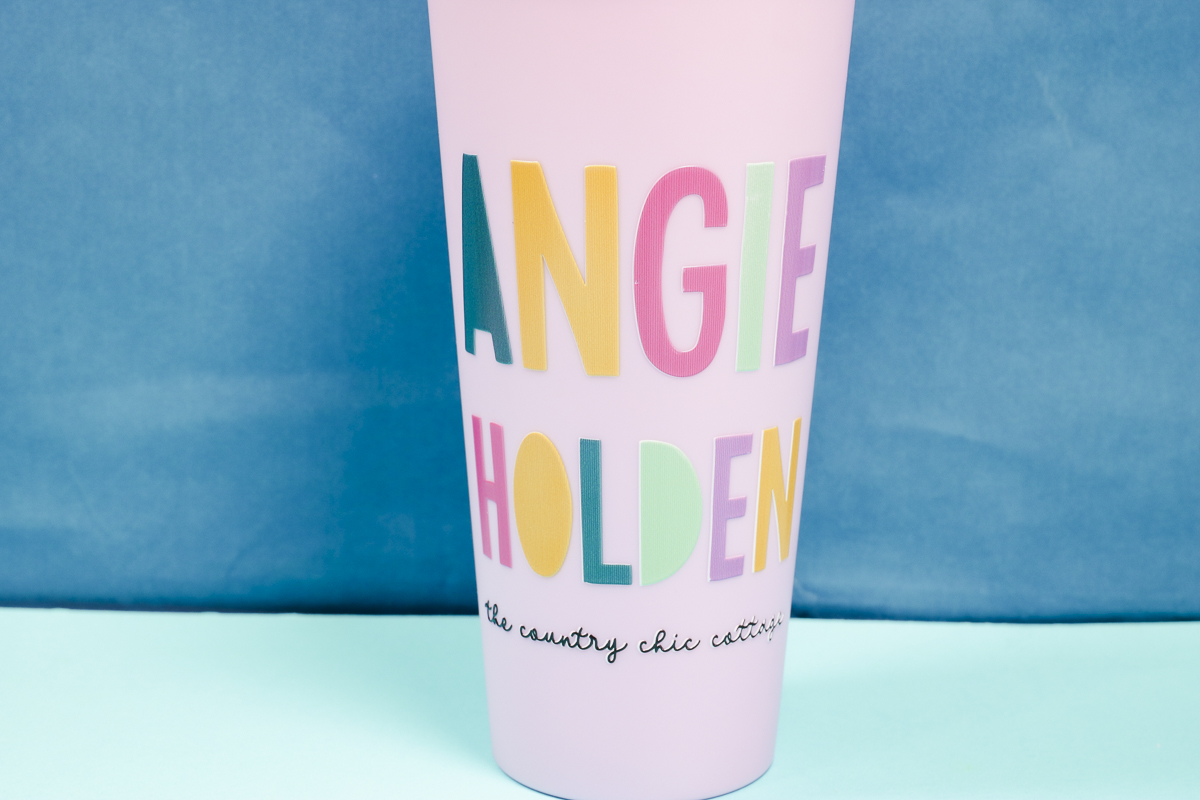
Even though the print is raised, it is not lifting at all, even when I scratch at it.
The eufyMake Studio program took my square logo and automatically adjusted it so it fits on the tumbler exactly how it should.
I also tested a ceramic mug I picked up from the Dollar Store. The print is down on the surface pretty well, but some of the smaller details can be scratched off.

I think you'll want to make sure that if you're using something glass or ceramic, that you have some type of special treatment on it so the print will be semi-permanent on the surface.
Should you add the eufyMake Rotary Module to your printer?
I love this Rotary Module. It is very easy to use, and the auto measure and auto level features save so much time.
The prints stuck on the plastic tumbler and powder-coated mugs and tumblers perfectly, and it even takes care of measuring around the handle for you.
I think you'll love this accessory if you like making tumblers or mugs.
I hope I've answered any questions you have about using the eufyMake rotary module. If you have any other questions, leave them in the comments, and I'll be happy to answer them for you.