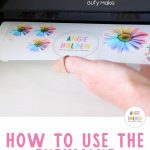
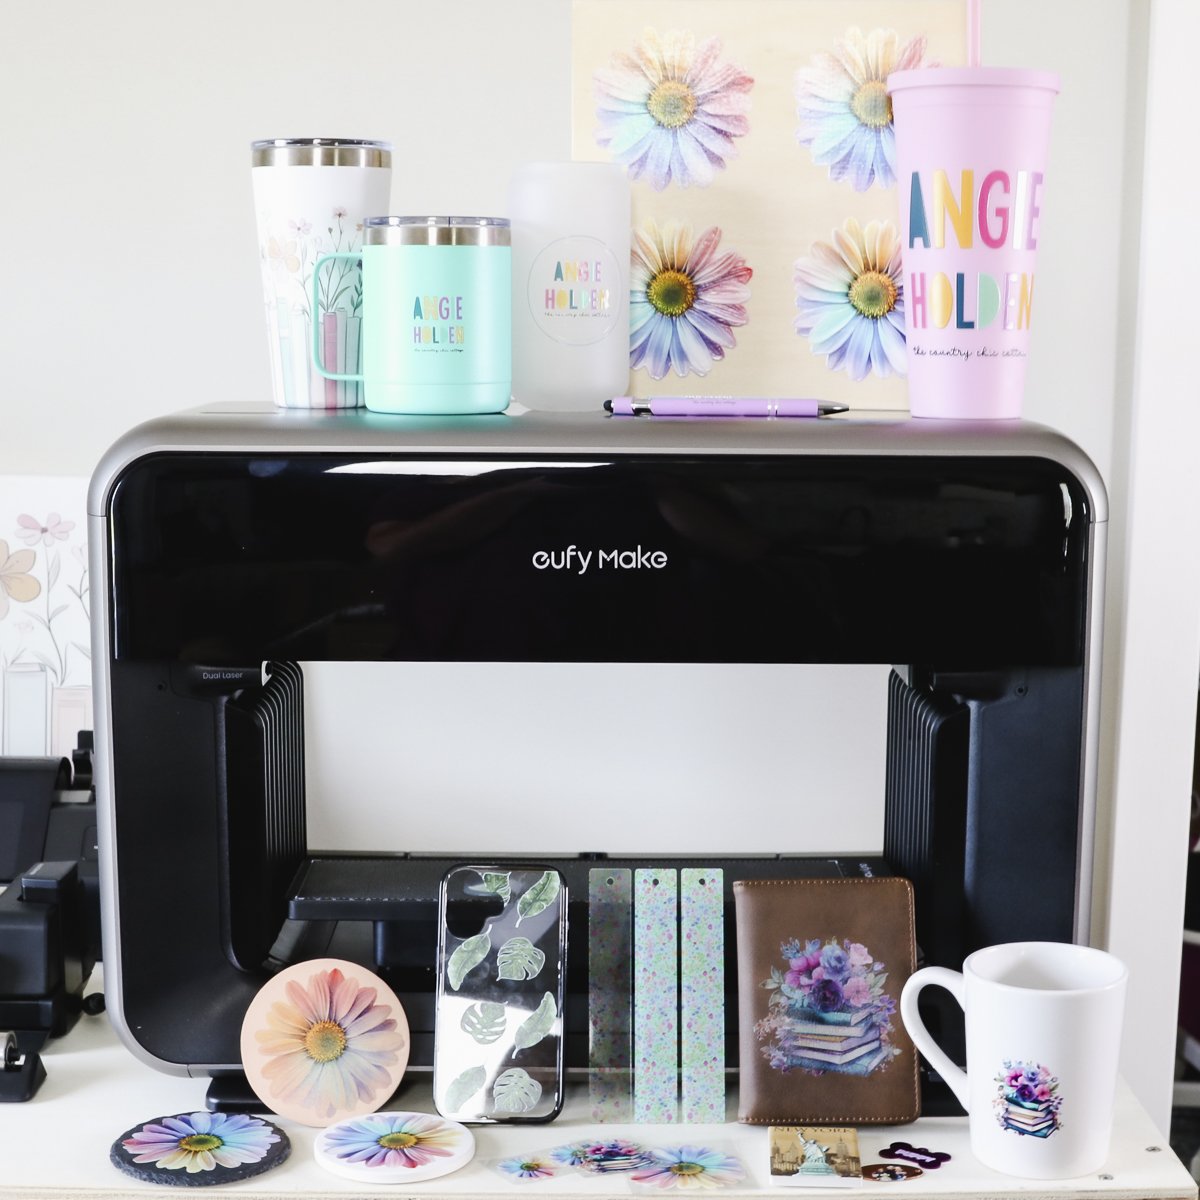
It is easy to use the eufyMake laminating module to make UV DTF stickers with the eufyMake E1 UV printer. If you want to make your own UV DTF stickers, make sure you get this module with your E1 printer and continue reading to see how to use it.
The eufyMake E1 UV printer allows you to print directly onto hard surfaces like magnets, phone cases, coasters, and more. Learn all about it in my full review.
The laminating module is an additional purchase. I recommend purchasing it as a bundle with the purchase of your printer.
If you're ready to see the laminating module in action, press play on the video below and fast-forward to the 51-minute mark.
How to Use the eufyMake Laminating Module
If you're researching the eufyMake E1 UV printer, you may be wondering what the laminating module is. Keep reading to see me use the module then you can decide if it is for you or see how to use one if you have already purchased.
Prepare the Laminator
If you haven't used the laminator yet, we need to prep it.
The film roll is already installed, however it does need to be fed through the machine.
The laminator has a cutoff tool in the back. You also get another cutter, weeding tool, and a scraper with this machine
There is also a board that you will add the film to when printing.
Turn the laminator on in the back. At this point, it is not heating up, it is just on.
Open the lid and remove the board from the top of the lid. This board will help you feed the film through the laminator. It is reusable, so don't throw it away.
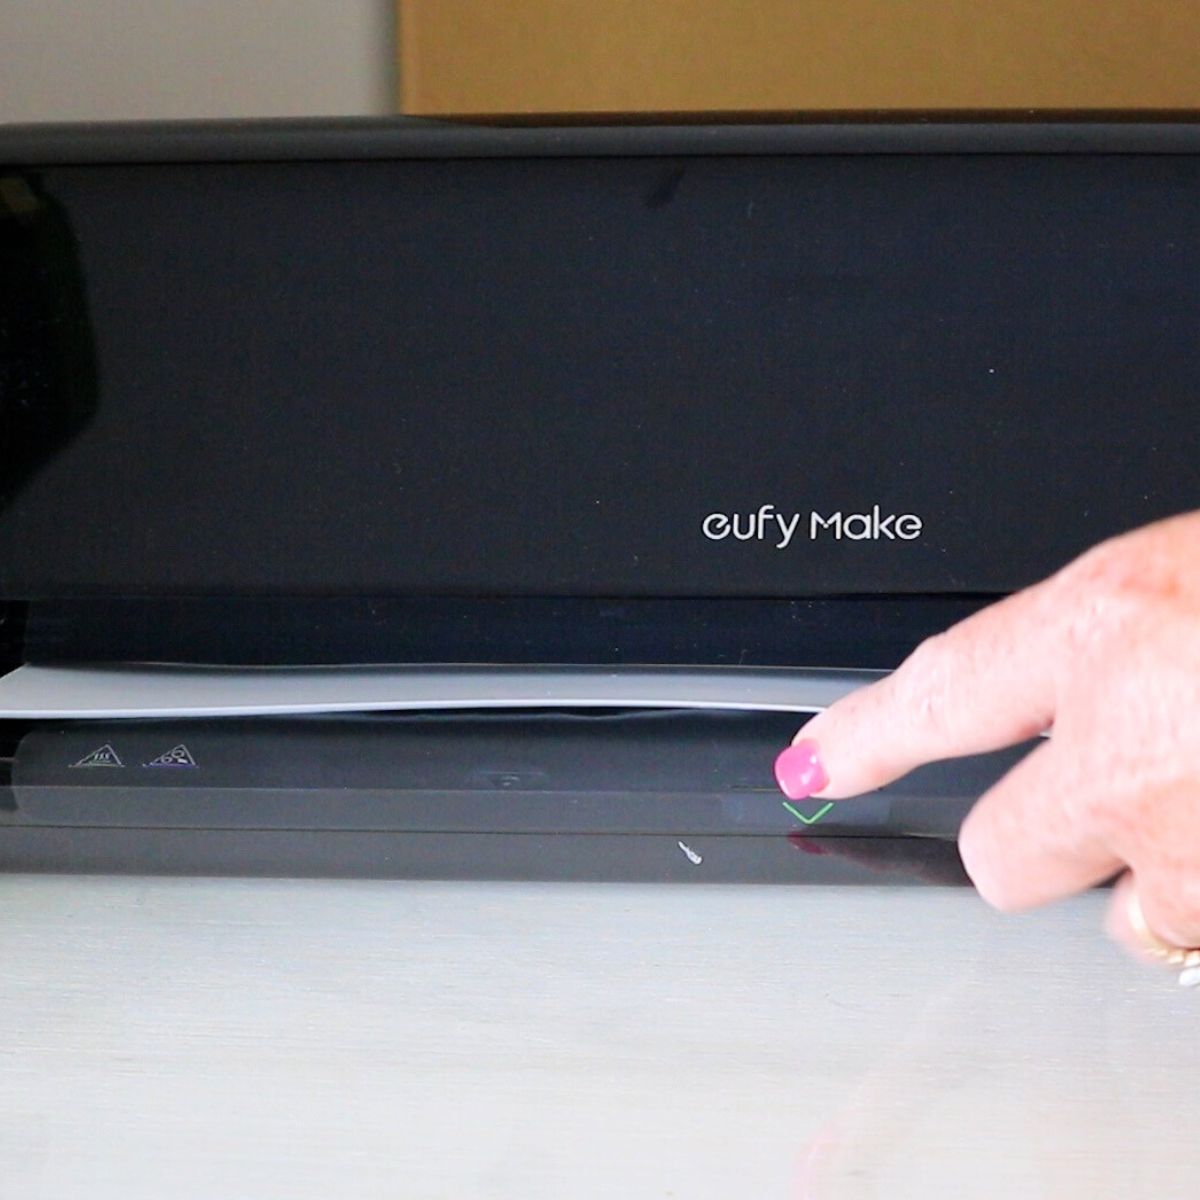
Find the end of the film and pull out a length. Close the lid and place the white board into the laminator and allow it to feed through.
Use the cutoff tool on the back to trim the laminator film, and then peel the film apart and place the board back inside the lid.
Step 1: Prep eufyMake E1 for Sticker Printing
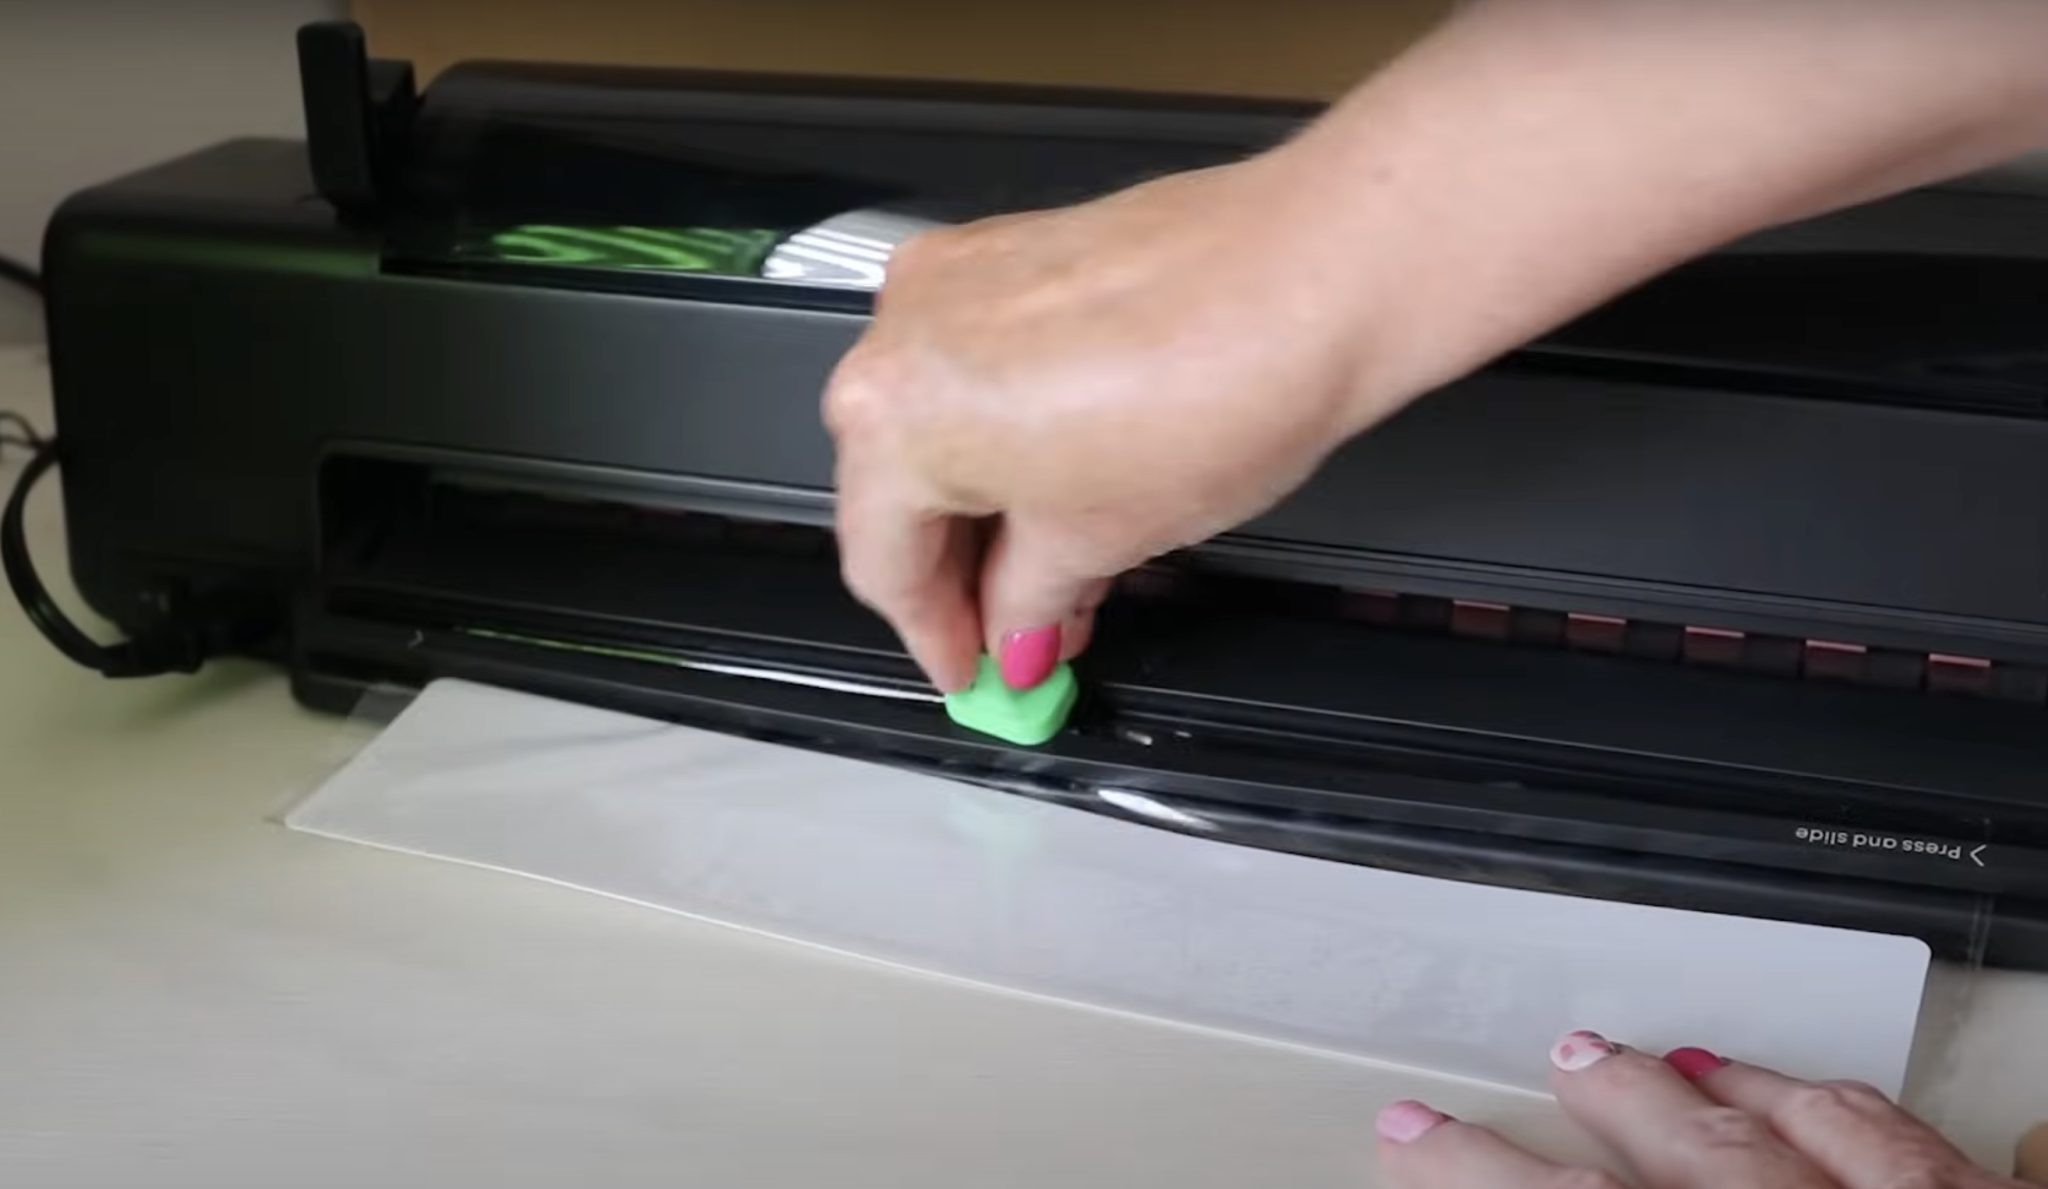
If you don't have the flatbed in the printer, make sure you install that. Then you'll place the board on the flatbed and line it up with the grids on the flatbed and press it down well.
There is a protective film on the board; you want to remove that film, but keep it because the board is reusable.
NOTE: You can get film for the small flatbed and film for the large flatbed. I am using the small flatbed today.
The film you print on has two parts. There is a thin protective paper and a stiffer layer. Place the stiffer layer down on the white board and stick it in place. Remove the protective paper, and you can throw that away.
Step 2: Design the Sticker Sheet in eufyMake Studio
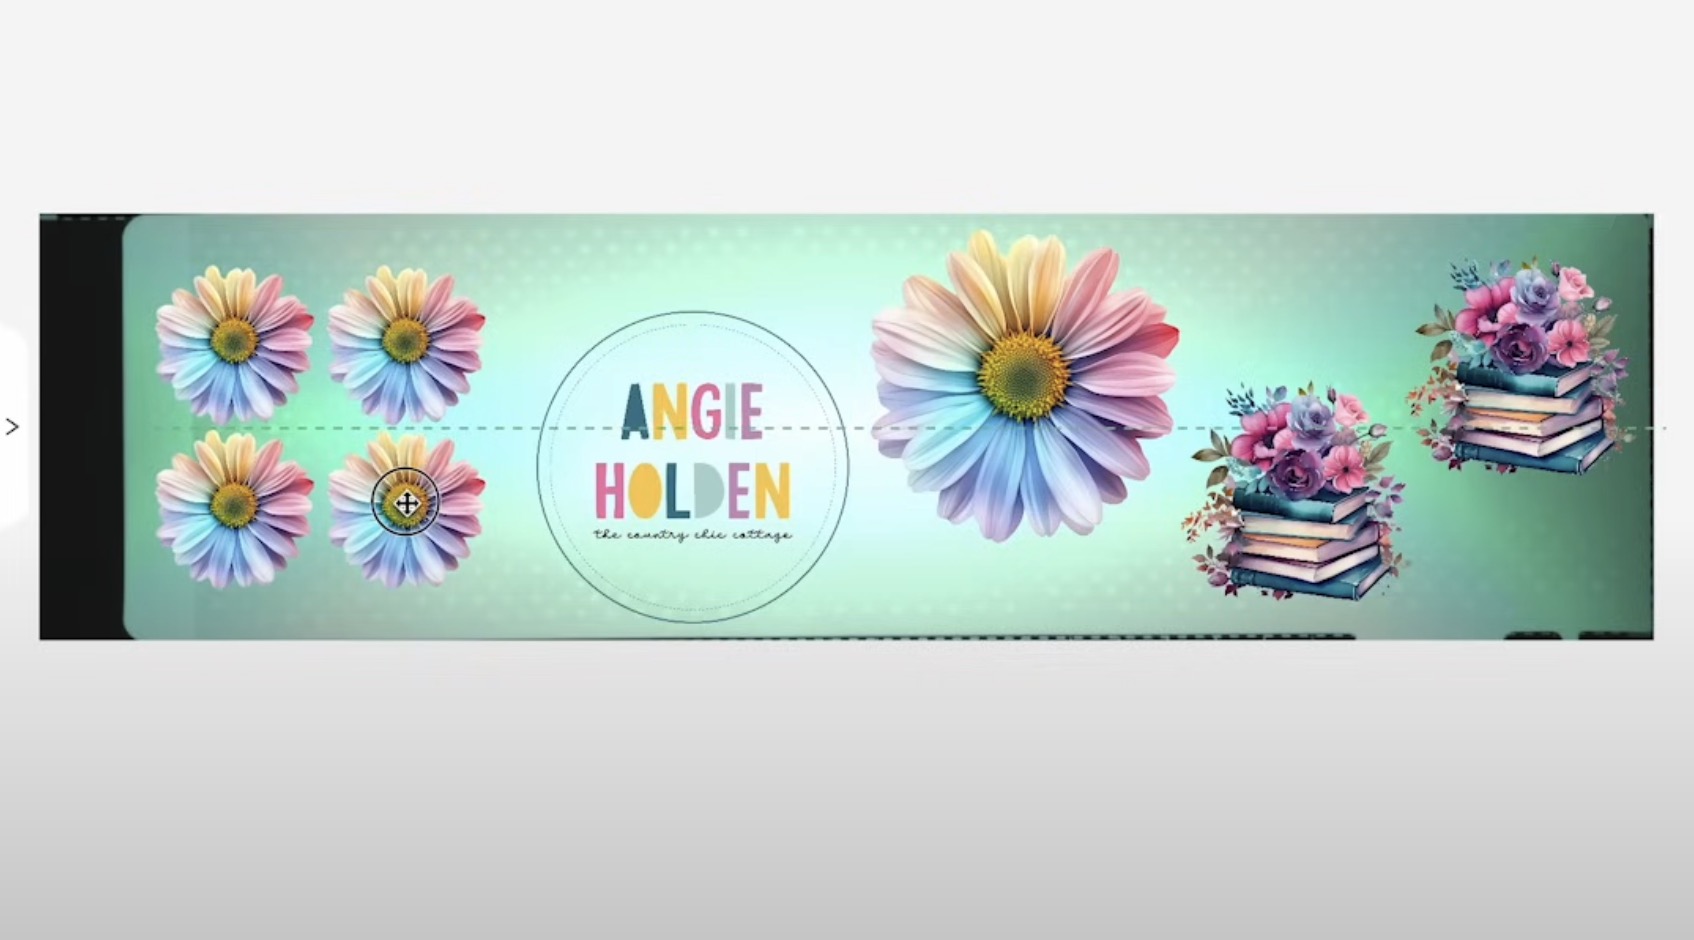
When using the sticker film, you want to fill up the sticker sheet. I am using a variety of designs I've already used today, including my logo, which doesn't have a background.
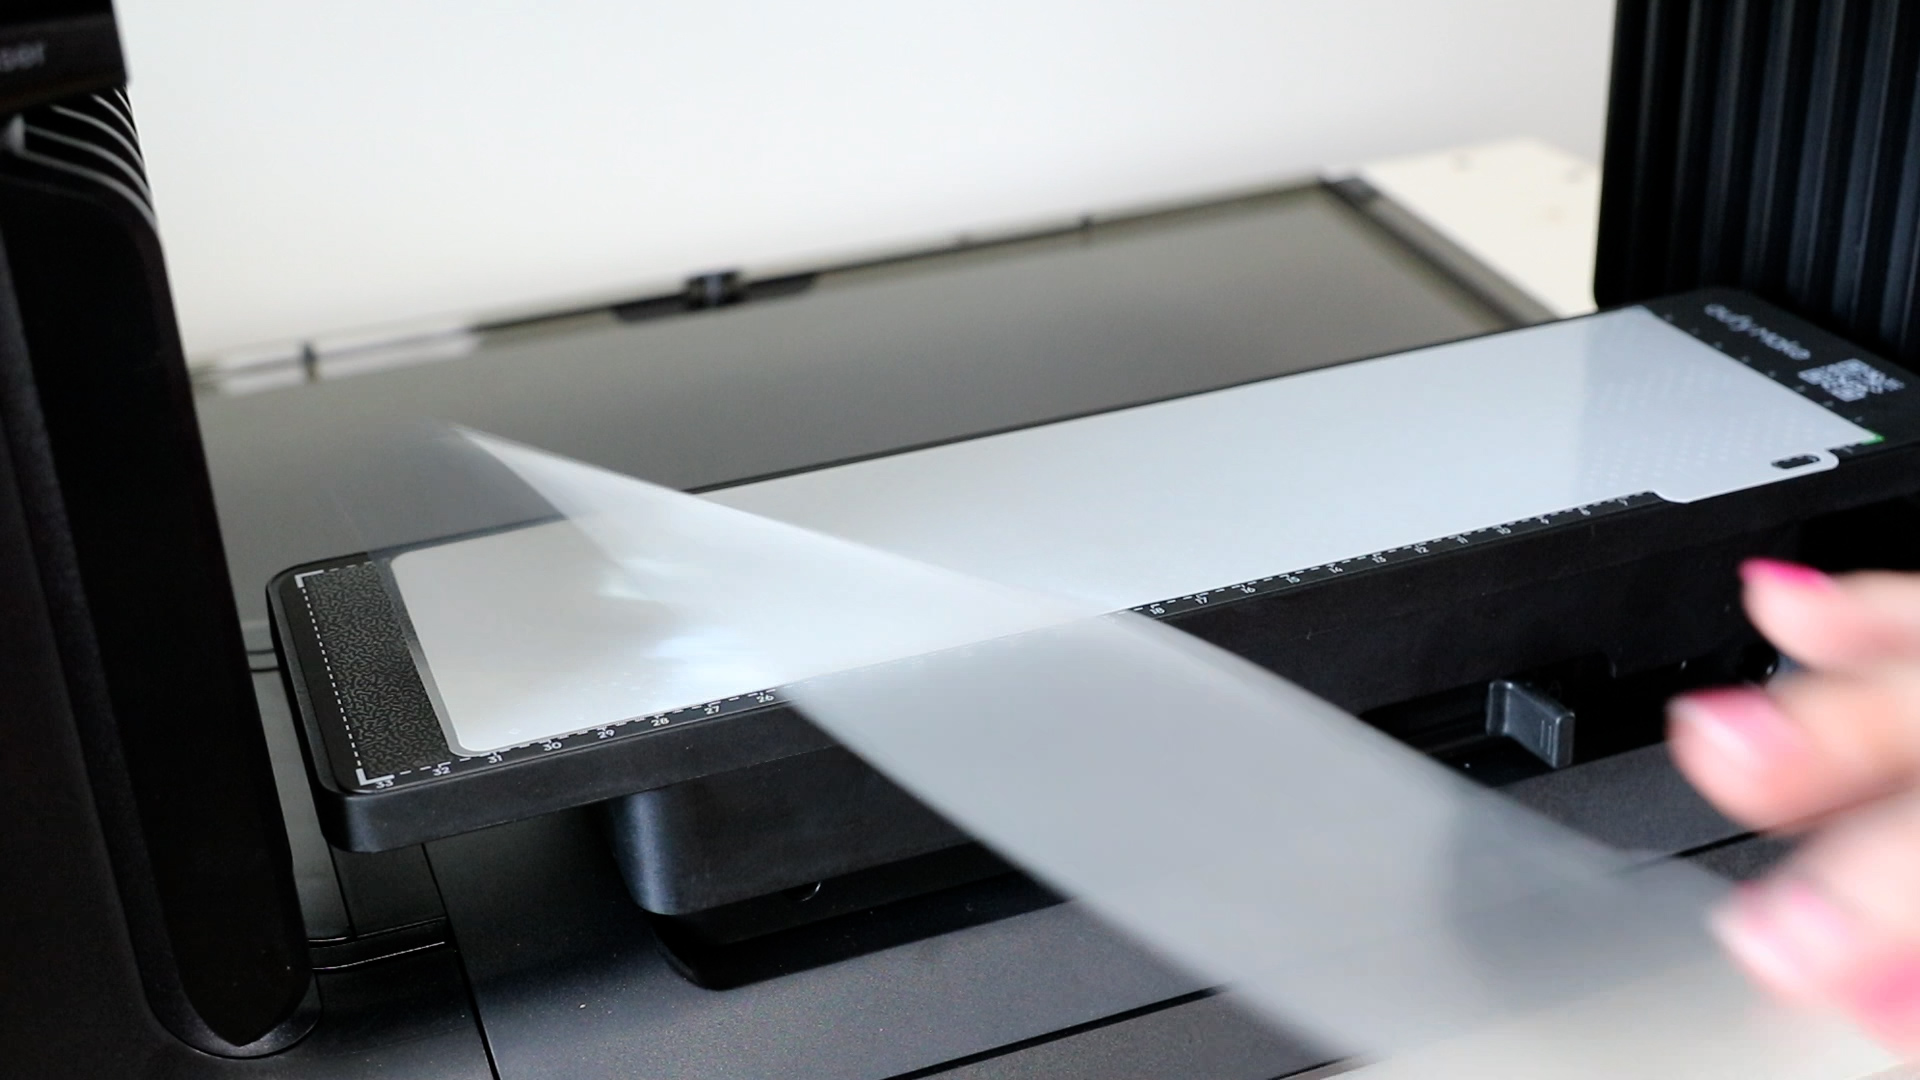
Take a snapshot of the bed, and you can see that the film is actually slightly smaller than the bed itself. I needed to rearrange the designs a little to get them to all fit on the film.
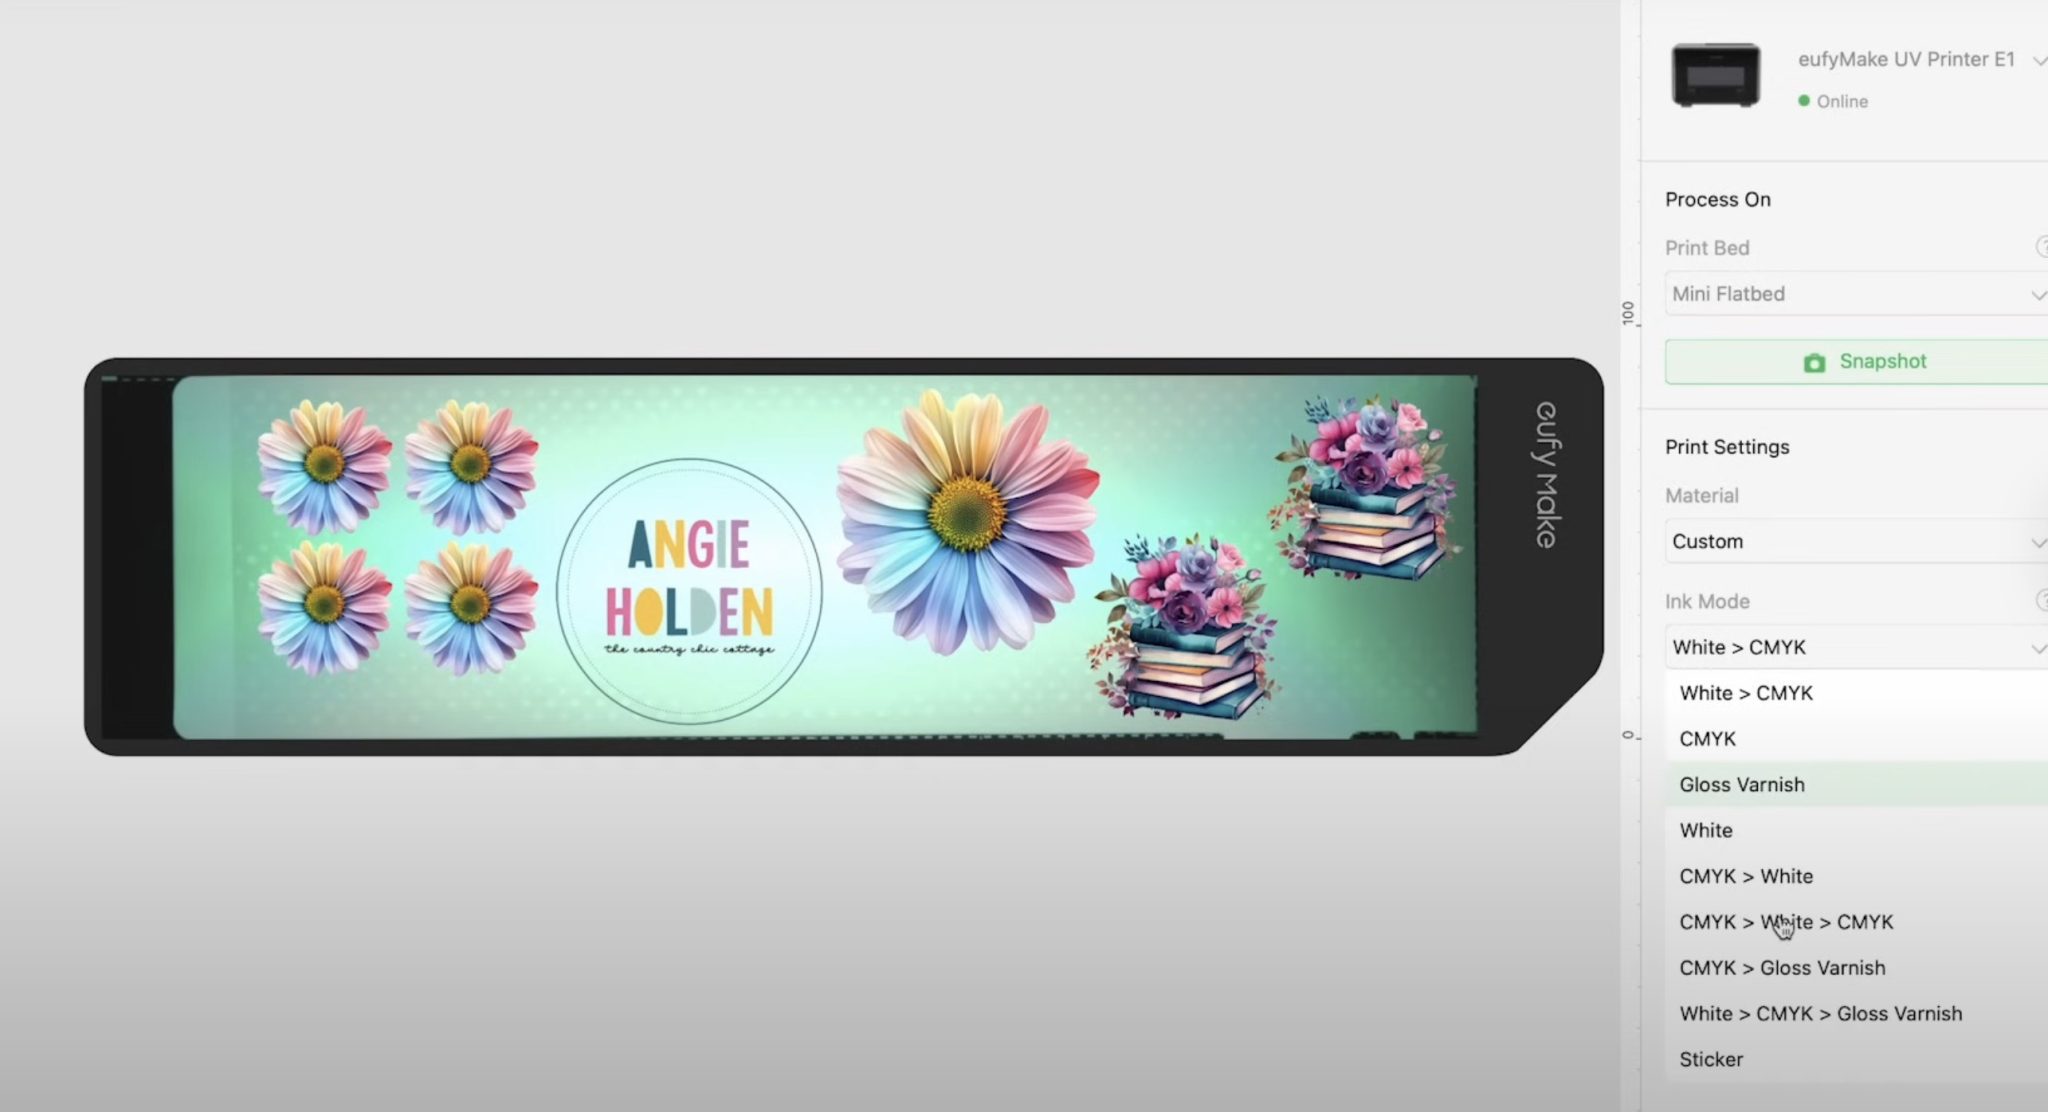
Click Start a Print Task and choose the Sticker Ink Mode. With that setting, all of the other settings will be set for you.
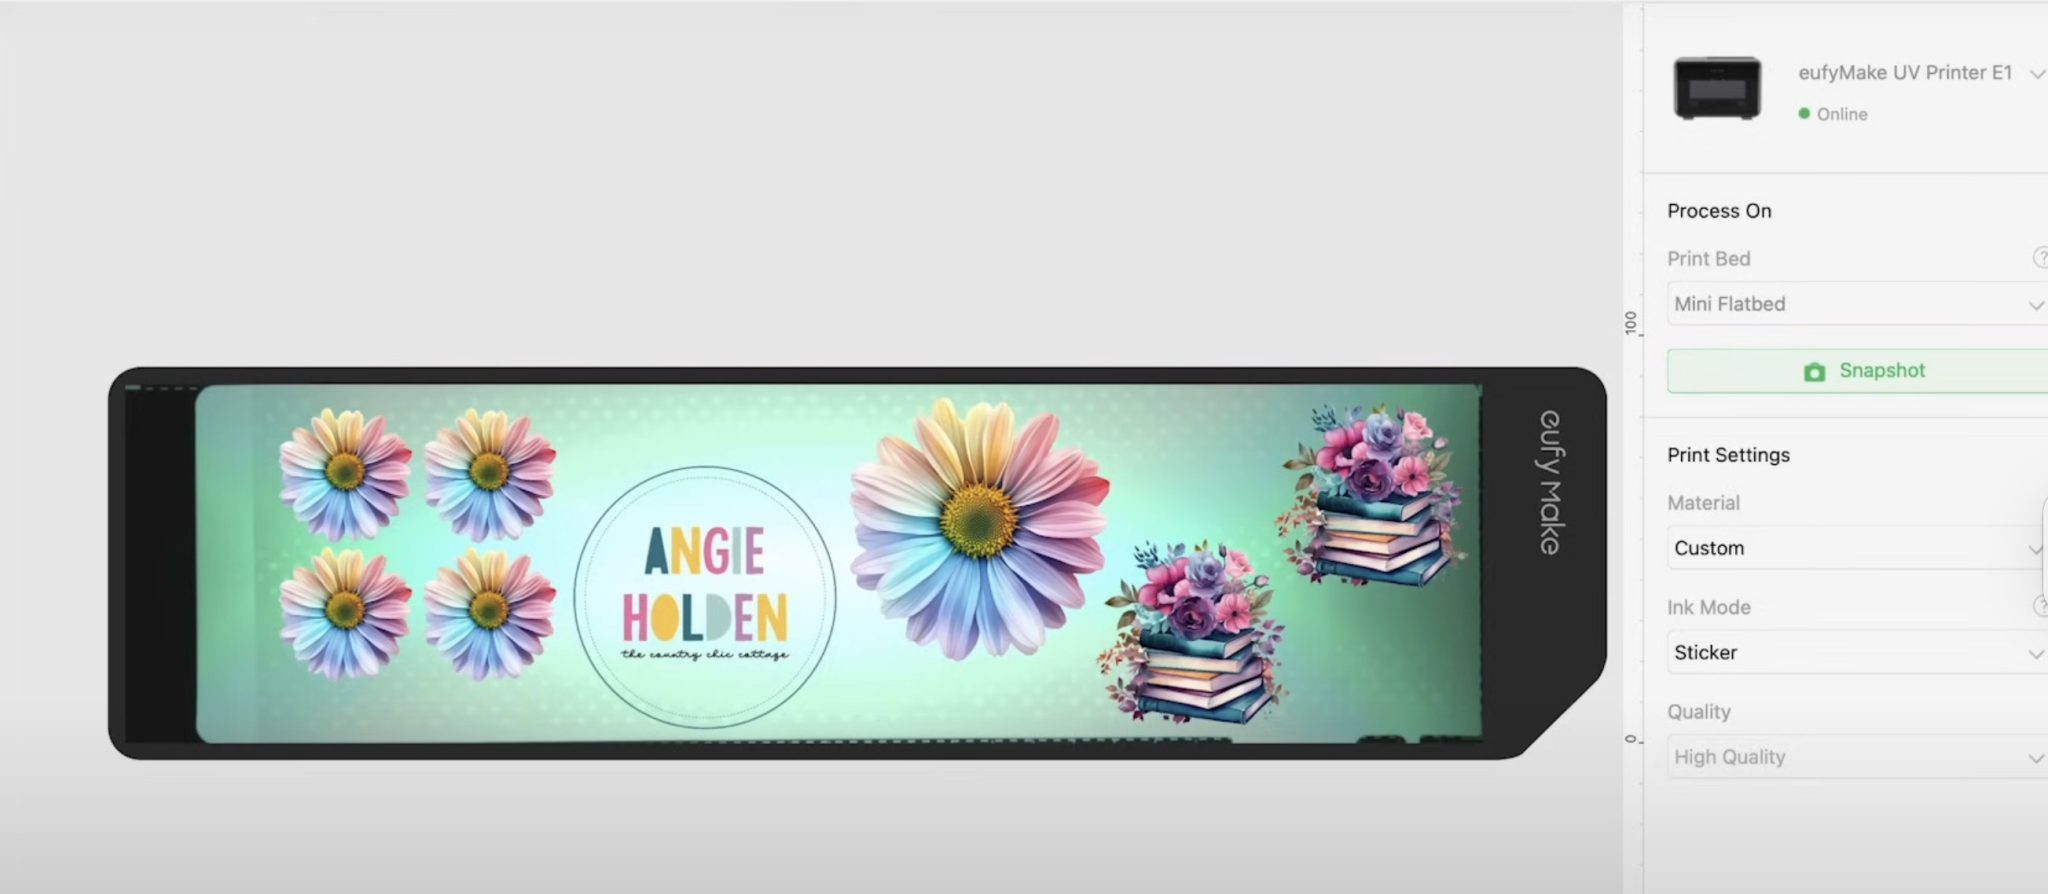
Click Start Printing and let the printer print.
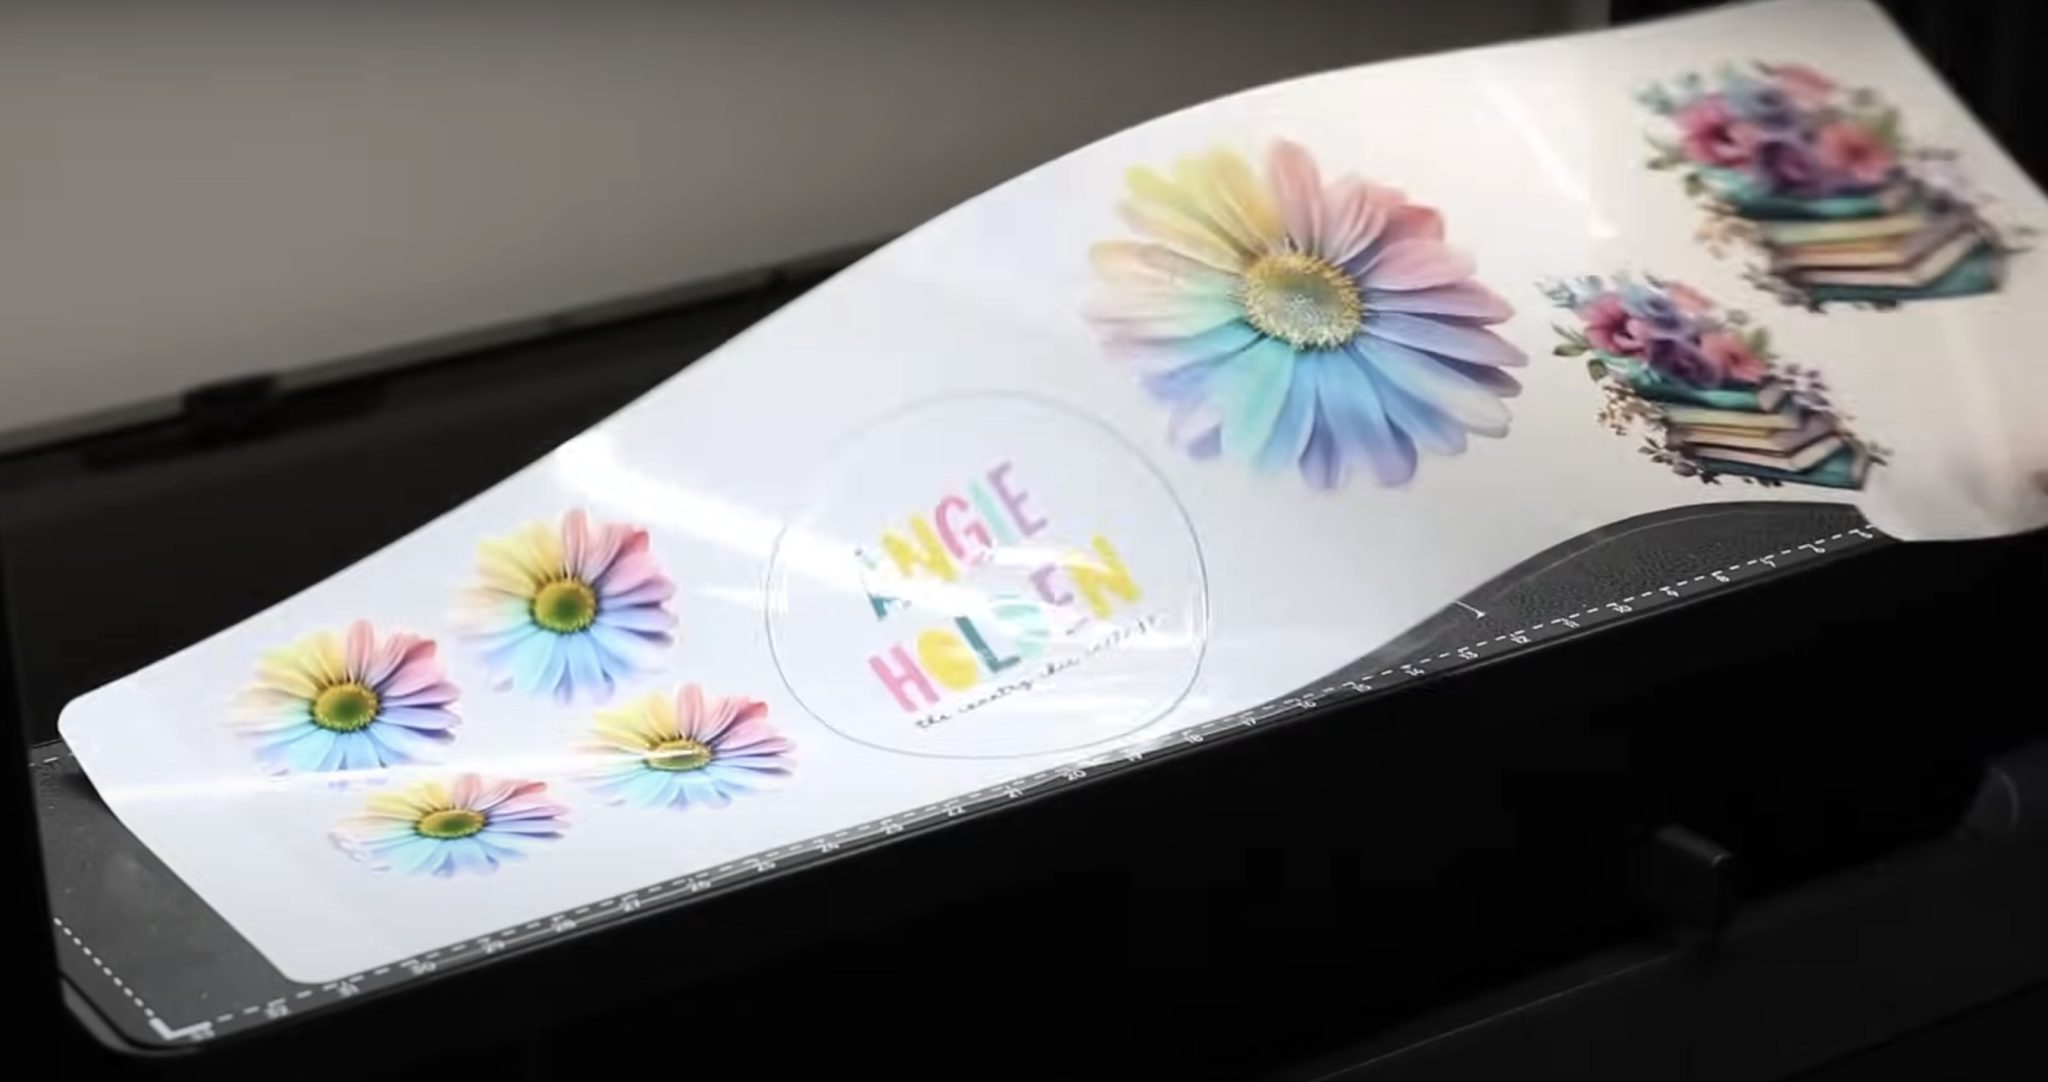
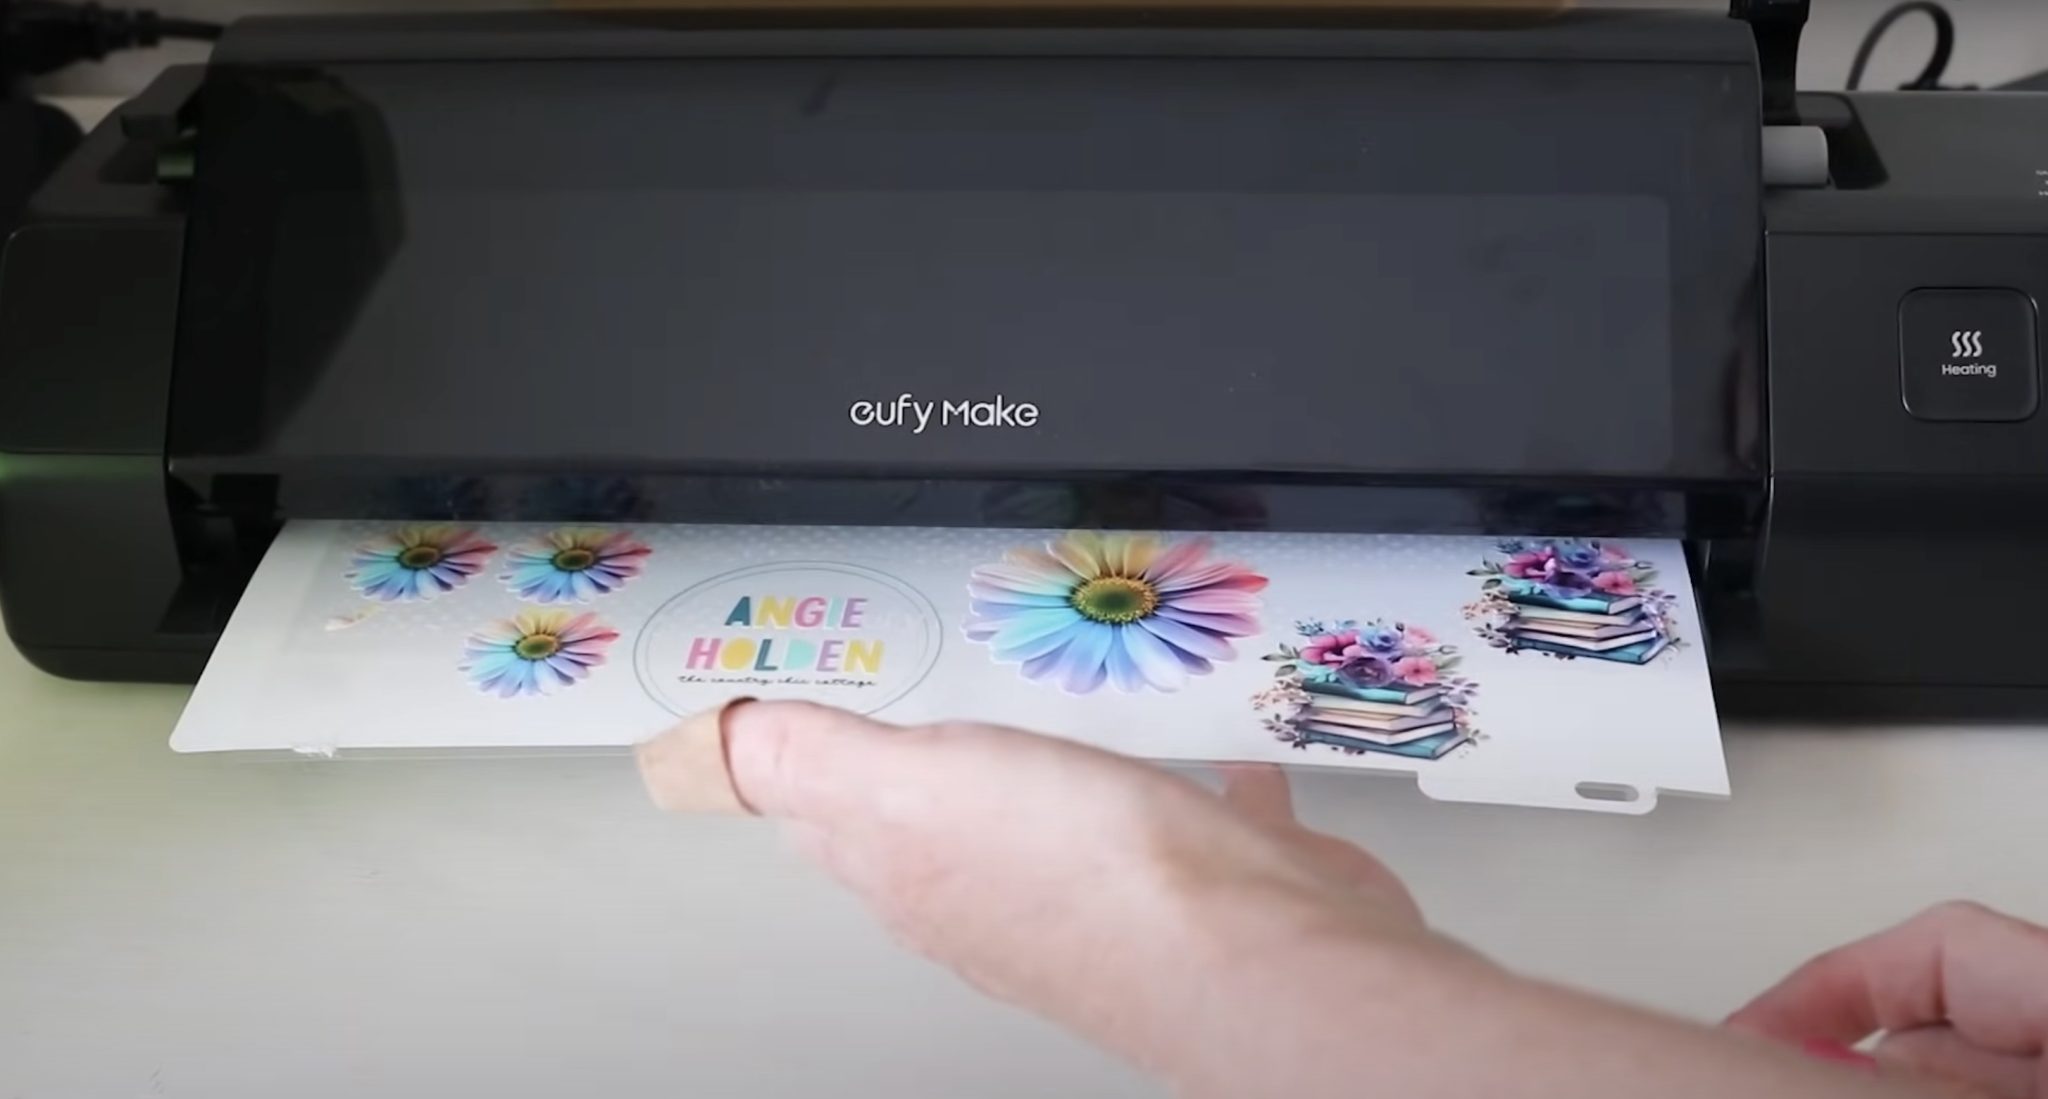
Step 3: Remove Sheet from Printer
When the printer is done, we are going to remove the whole thing, including the white board, from the printer.
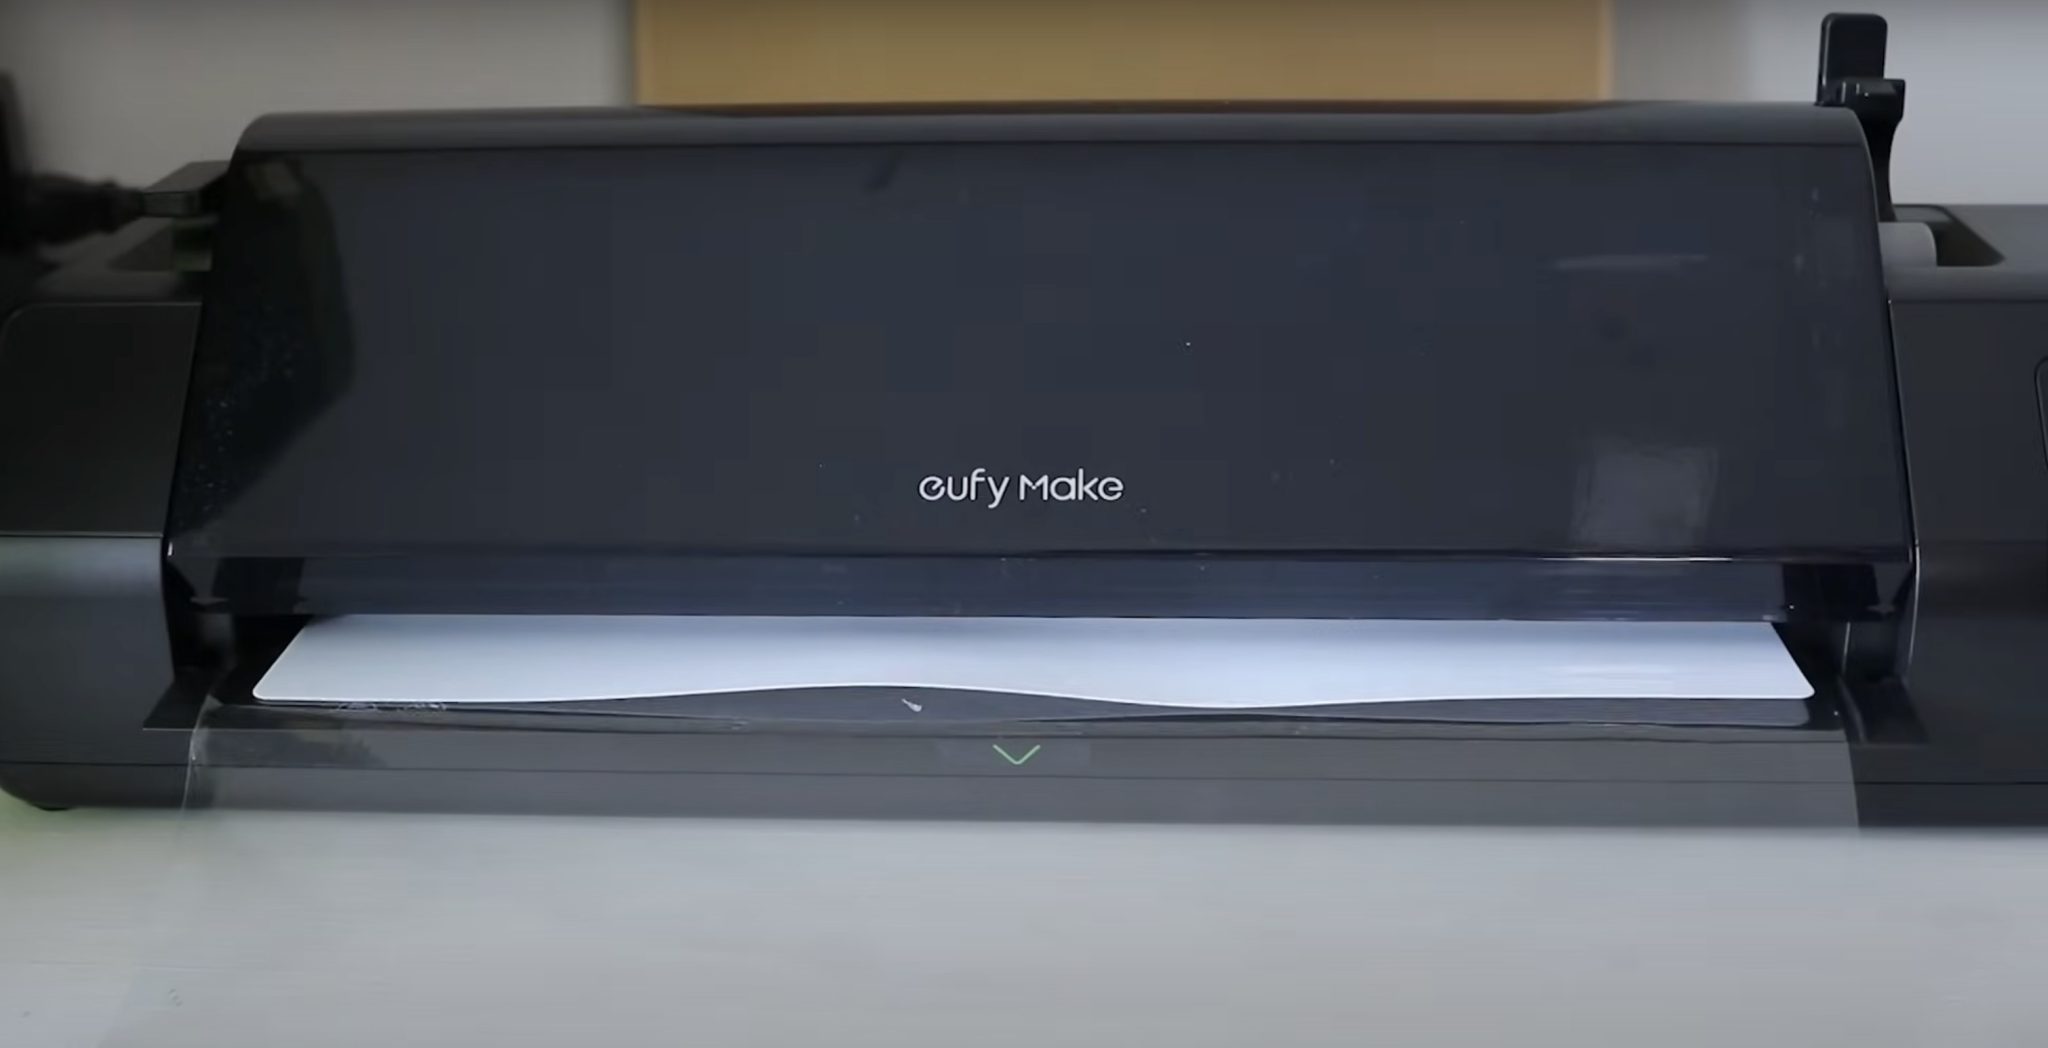
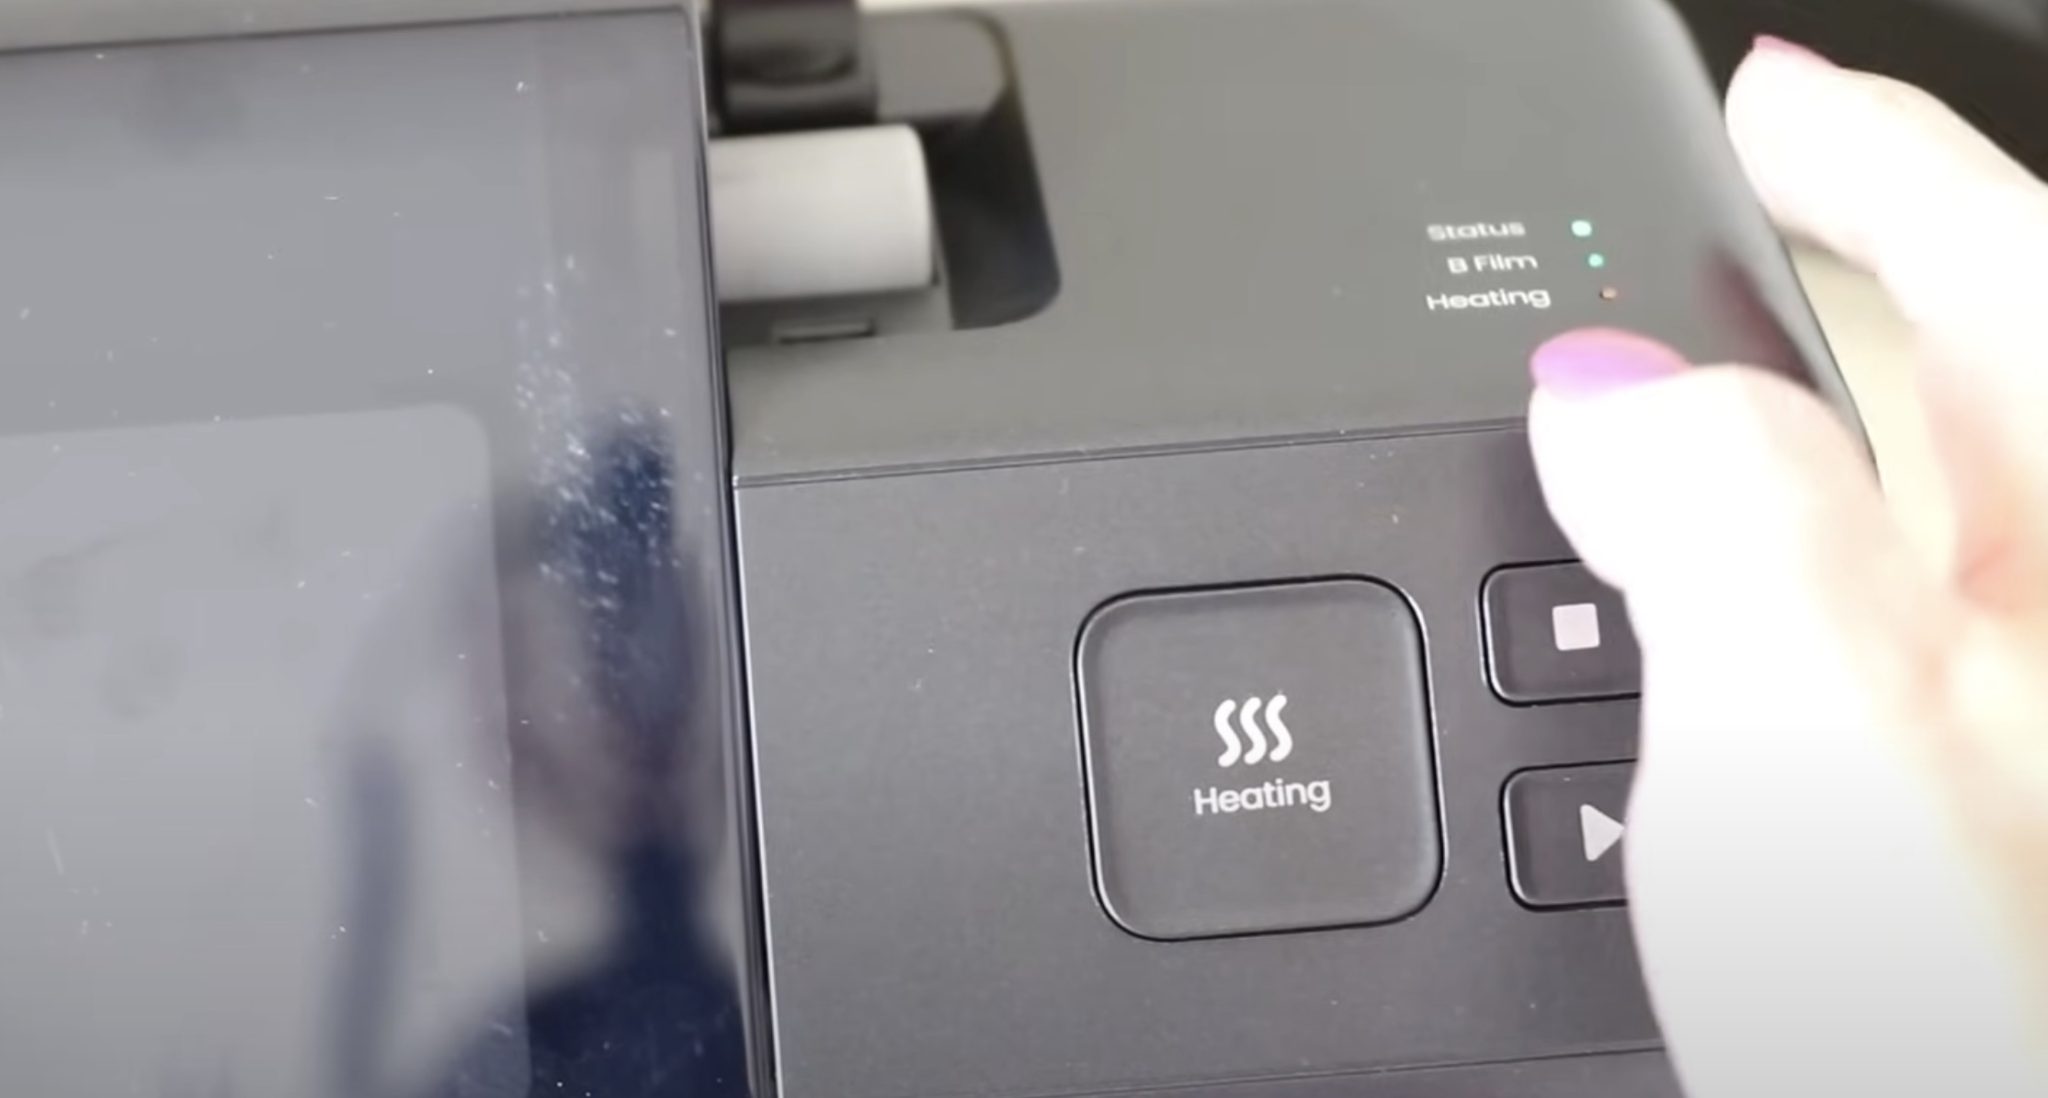
With the film fed through the laminator, click the Heating button to start the heating process.
There are lights on the top of the laminator. When all 3 lights are green, you can start laminating the stickers.
Why Do You Need to Laminate Stickers?
Unlike Print Then Cut stickers, there is no weeding required with these stickers.
The laminating process turns the eufyMake E1 print into actual stickers.
Straight out of the printer, if I try to peel up a sticker up it's not really a sticker yet. The sticky part will stick to everything, and the edges aren't clean.
It also doesn't peel away from the backing paper cleanly.
Running the print through the laminator fixes all of these problems.
Step 4: Laminate the Sticker Sheet
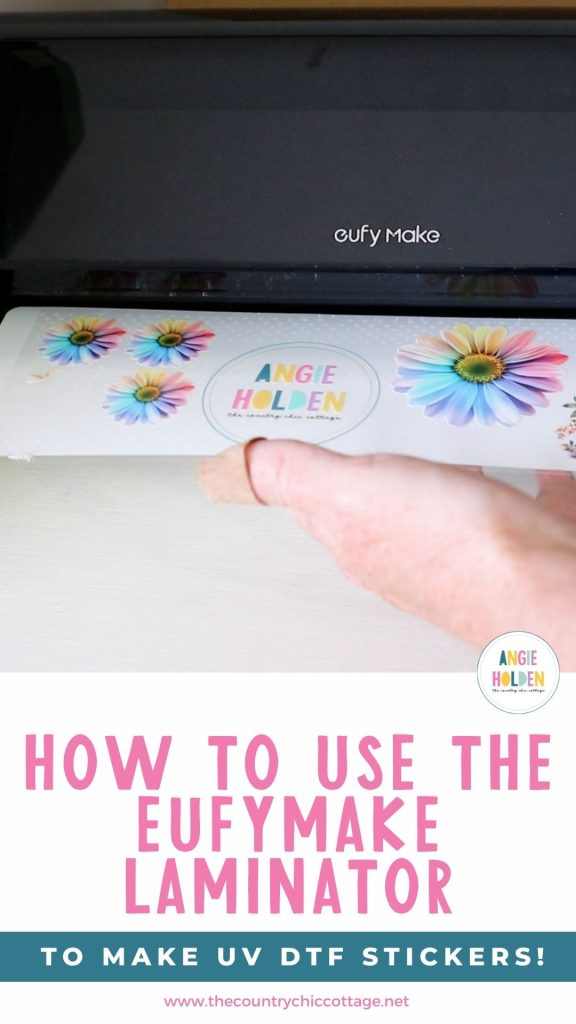
With the laminator heated up, feed the entire printed film into the laminator, including the white board.
When it comes out the back, use the trimmer to cut it off.
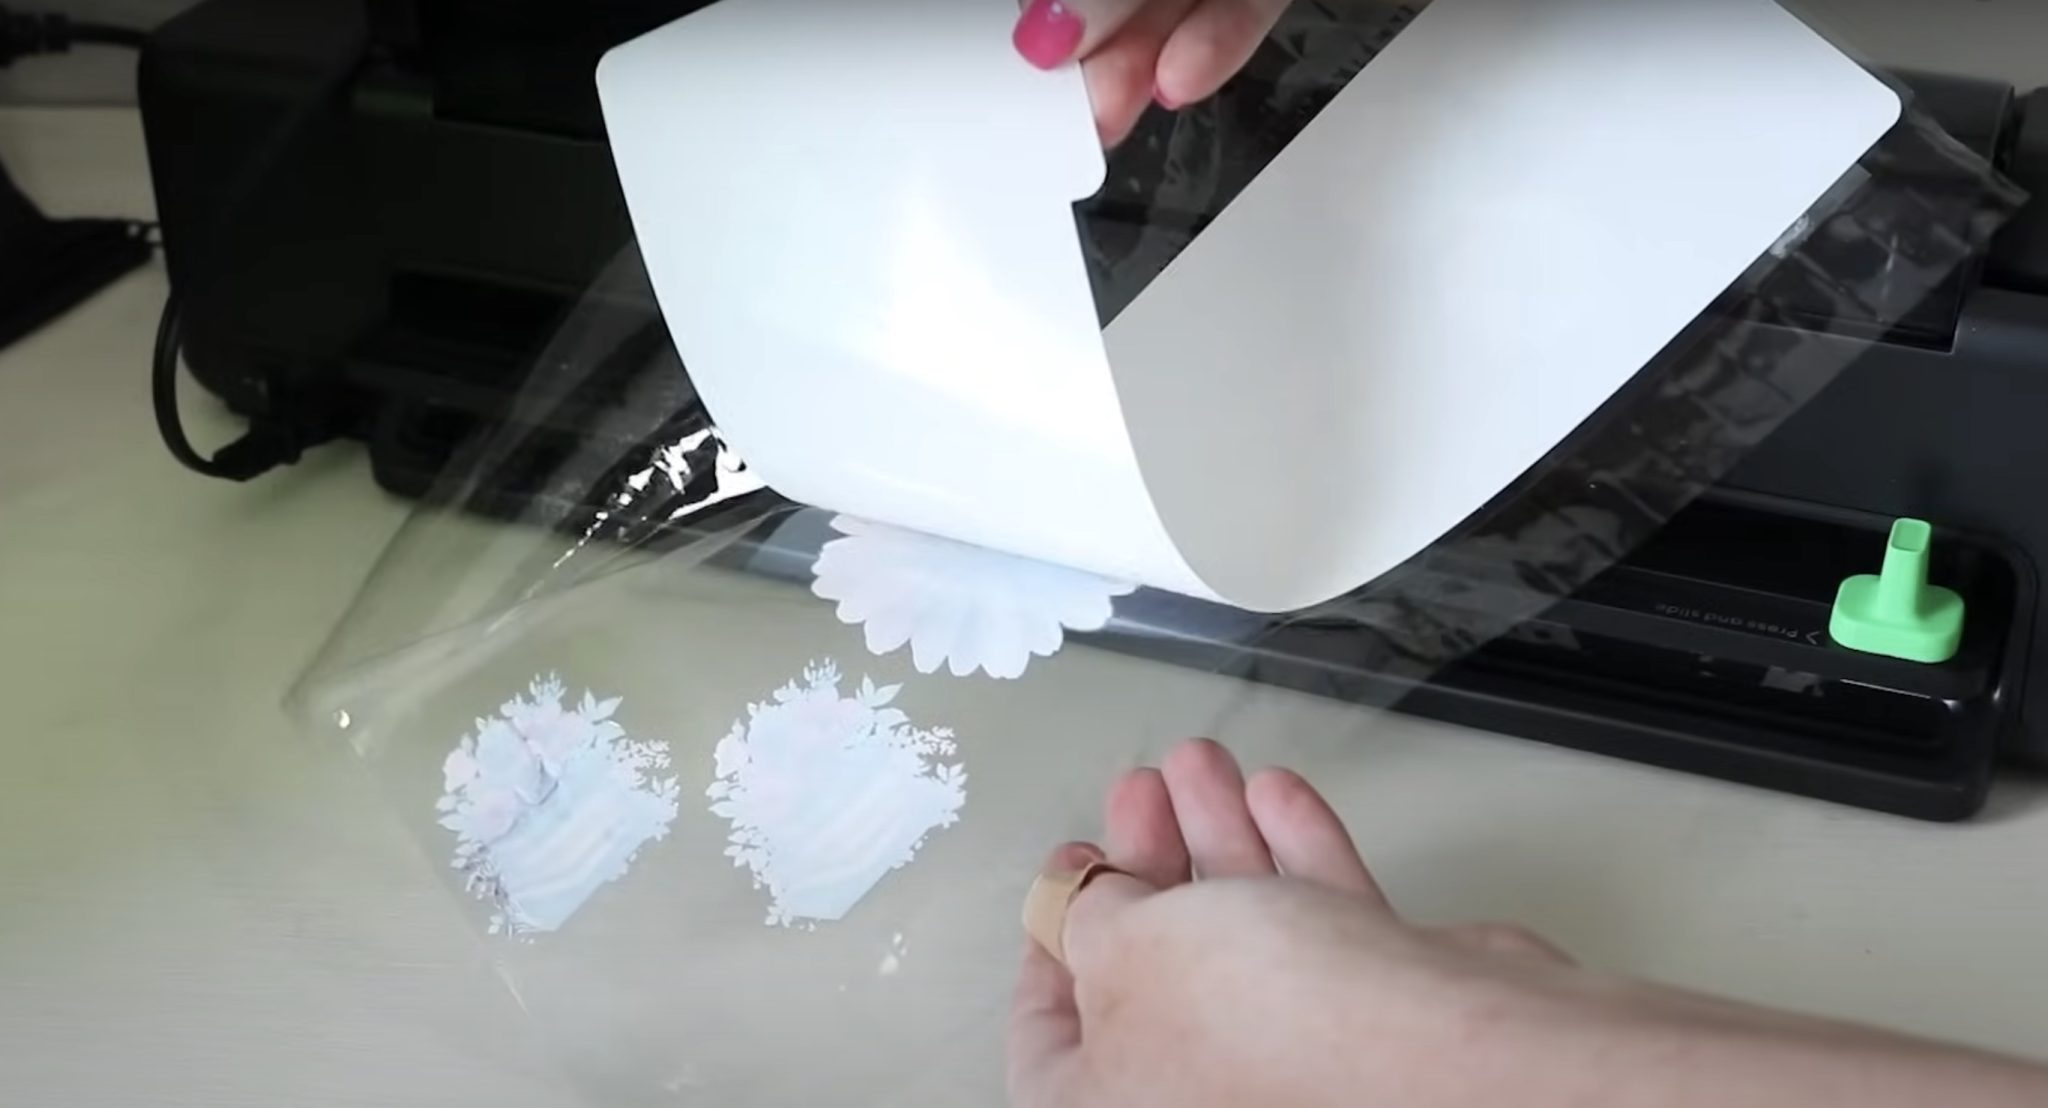
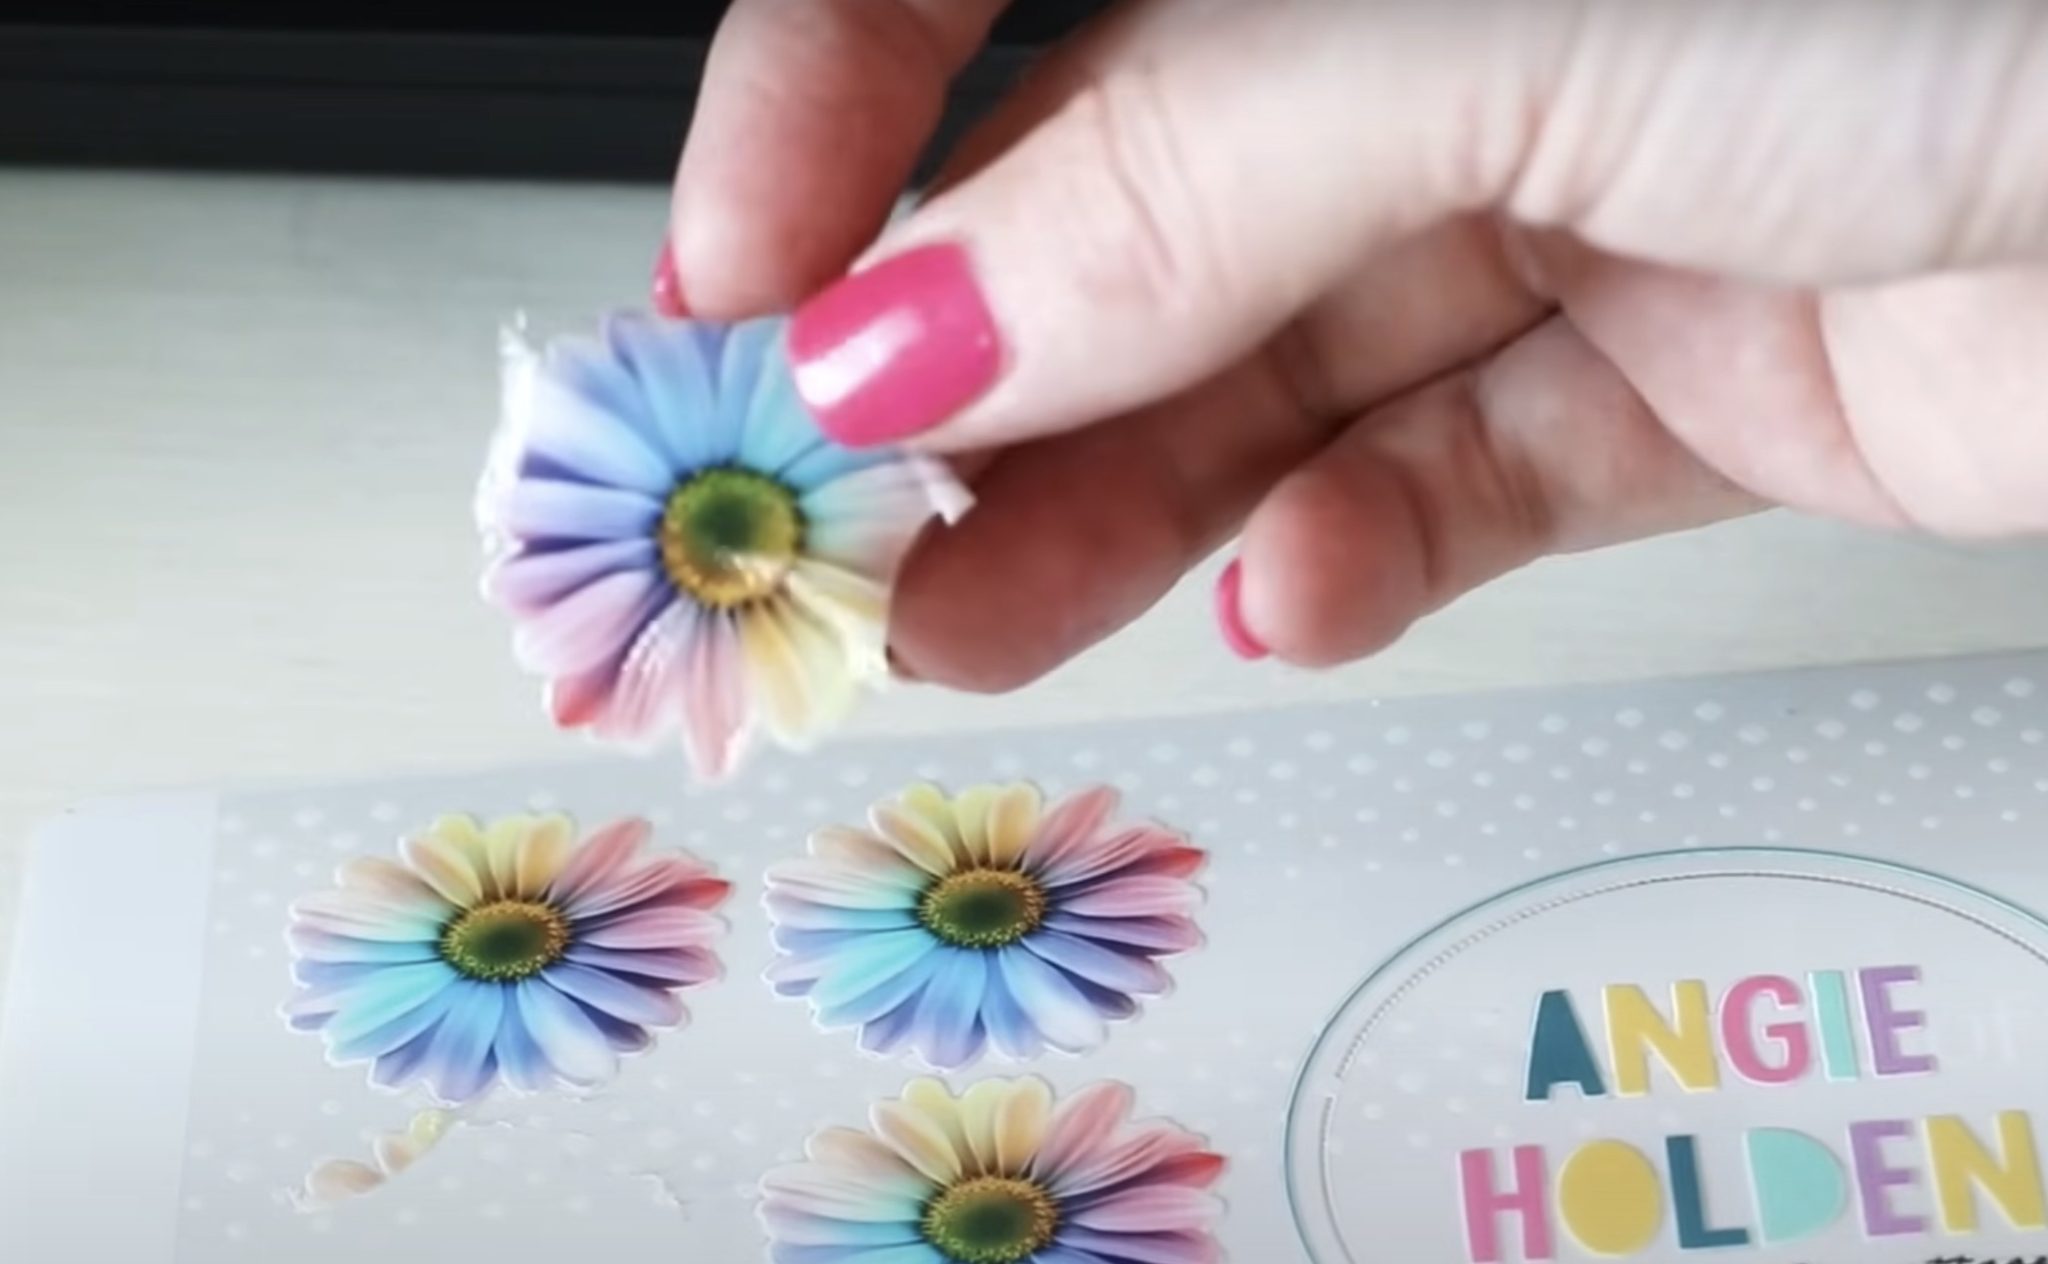
Flip the sheet over and peel away the white mat. Remember, the white mat is reusable. Replace the protective sheet, and it's ready to use again next time.
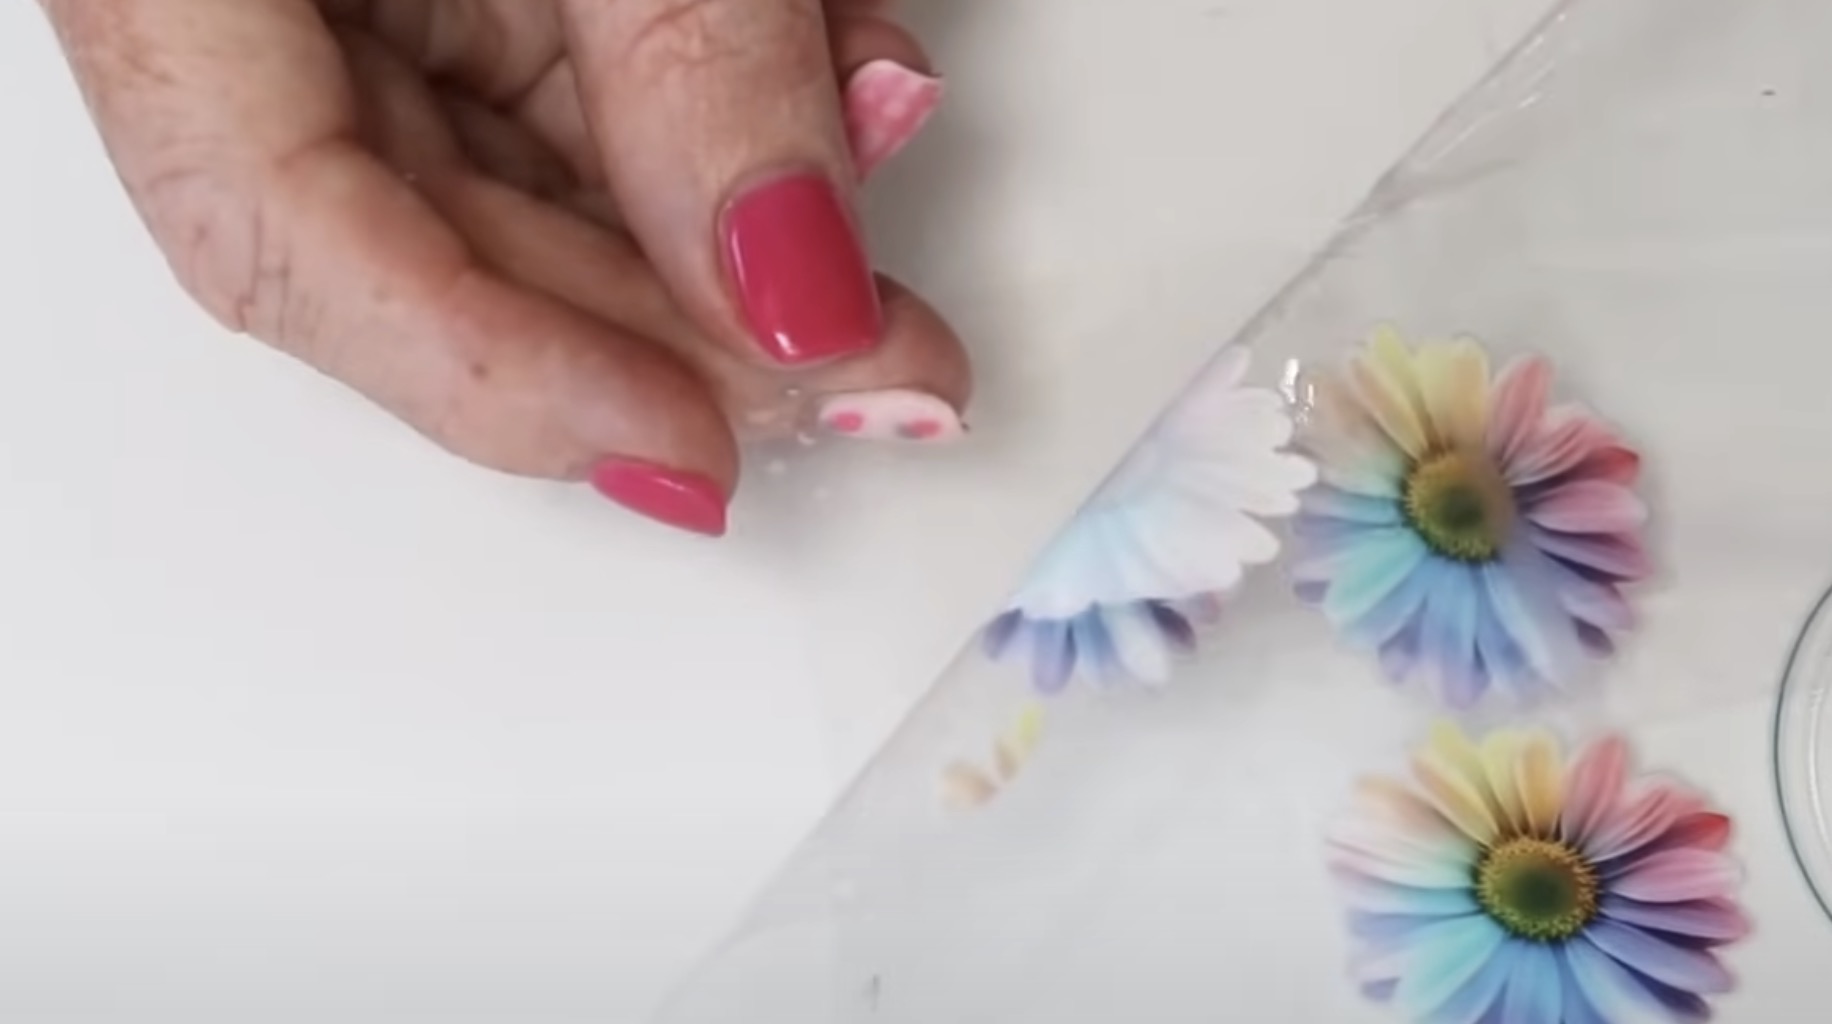
Now that the stickers are laminated, they're ready to use.
Use a scraper tool to make sure the sticker is stuck to the top well. Peel away the backer, and now you have a sticker you can apply to any surface.
How to Apply UV DTF Stickers
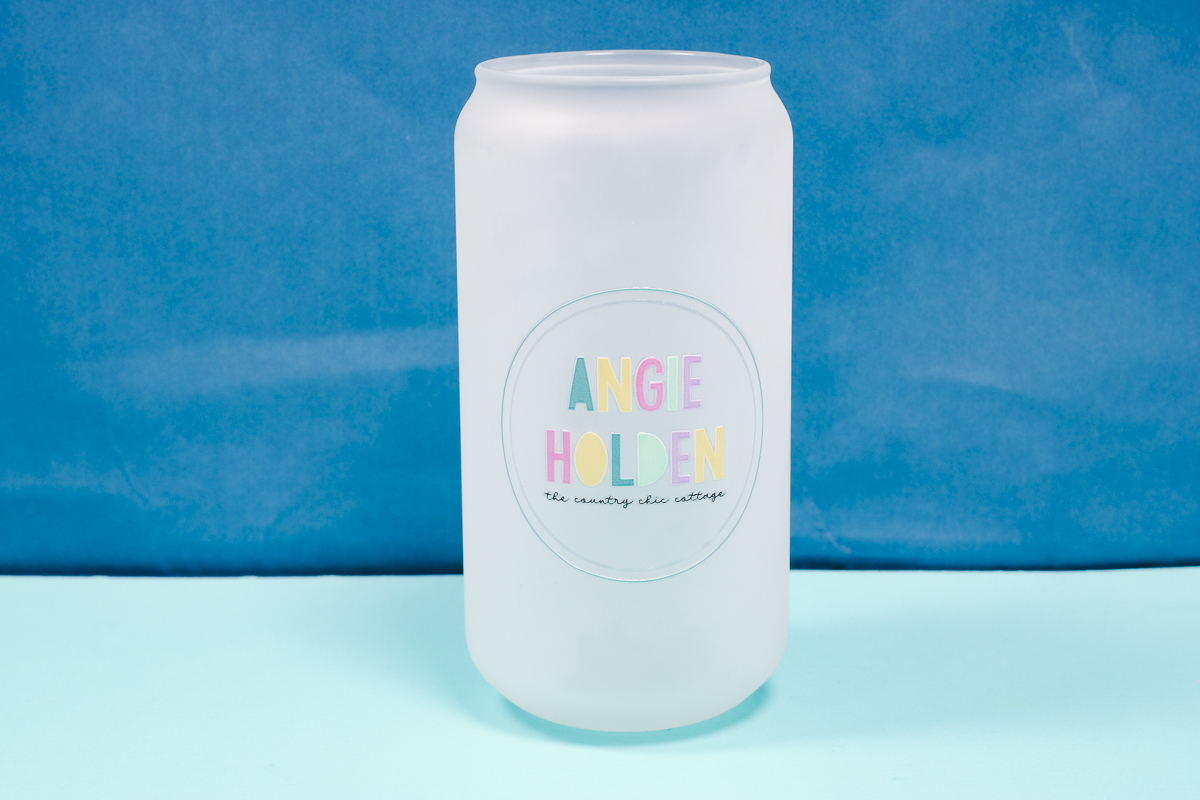
You can apply UV DTF stickers to many surfaces. They are great for glass can wraps.
Make sure your surface is clean. If it has a protective film, make sure you remove it. If it doesn't, use a lint-free cloth or a lint roller to remove any dust or other debris.
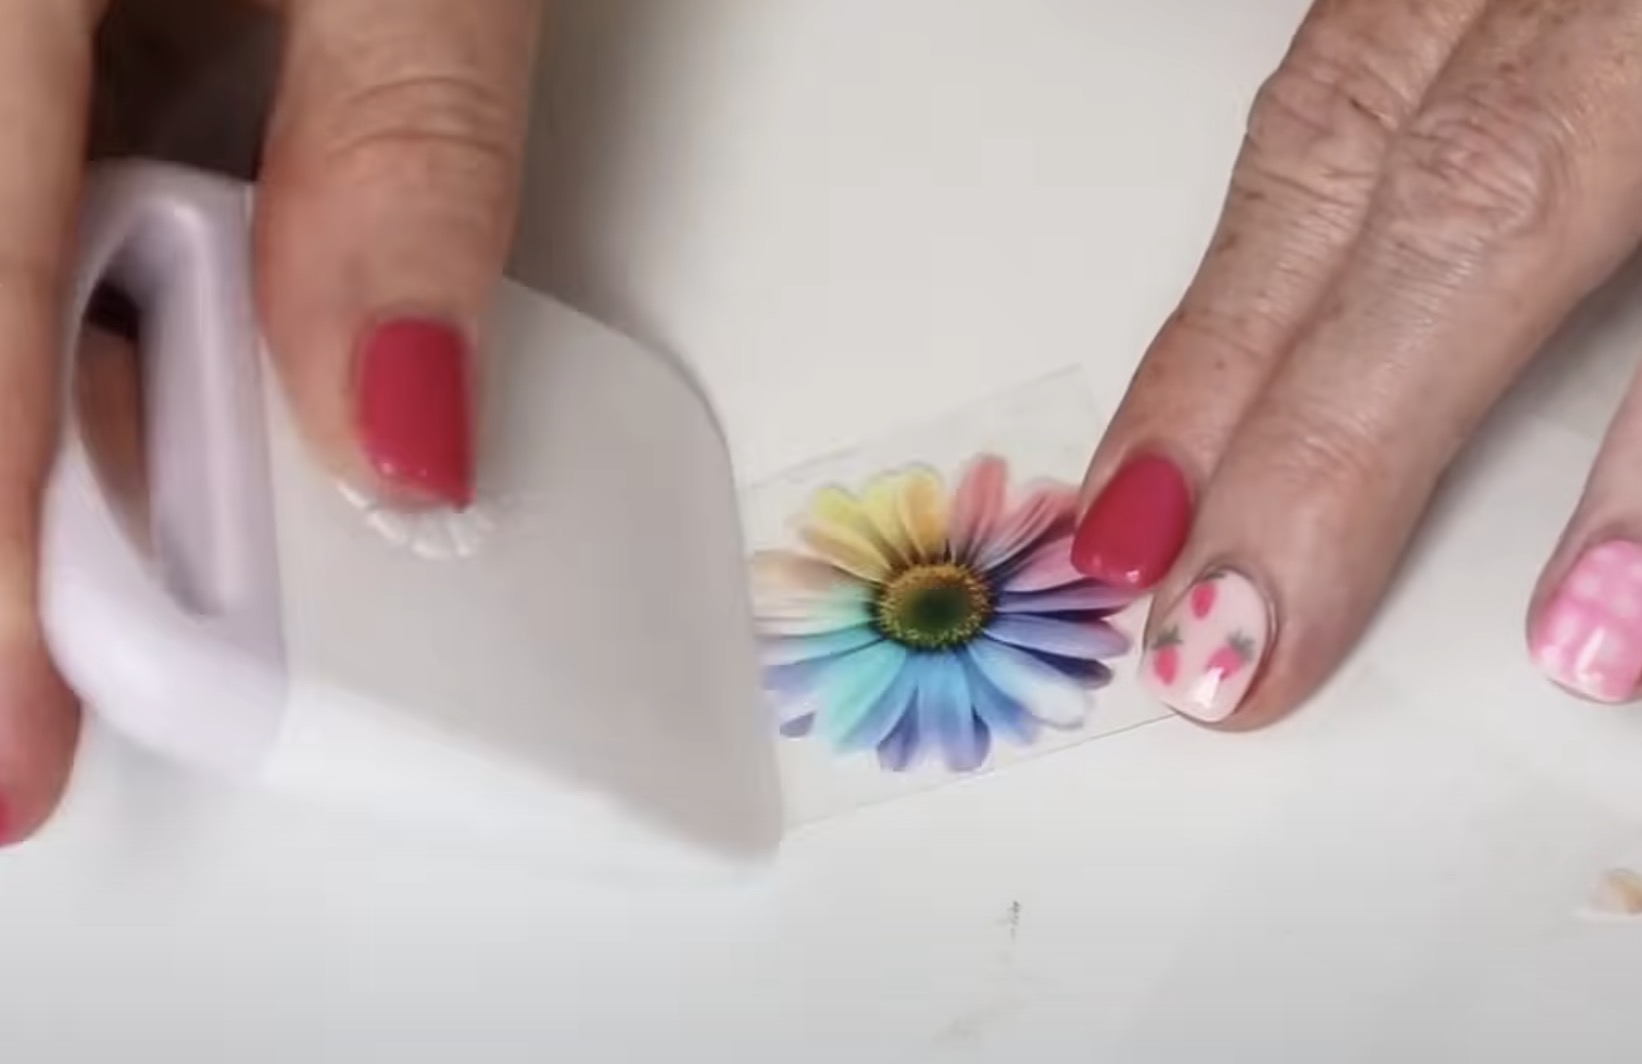
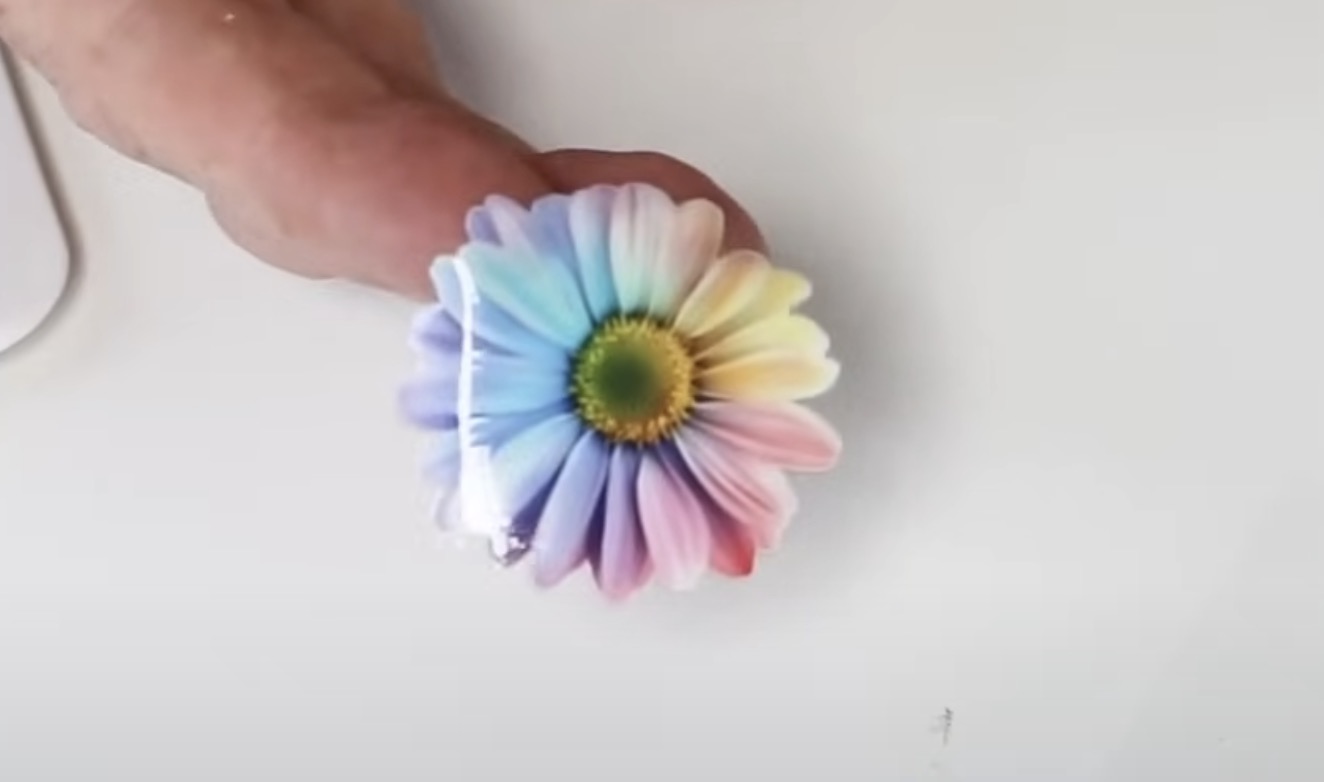
Start by peeling away the backing paper, leaving the sticker on the front laminate.
Note: The adhesive on these stickers is very sticky. You will not be able to make adjustments after it sticks down.
When you have the design located where you want it, press it down from one side to the other.
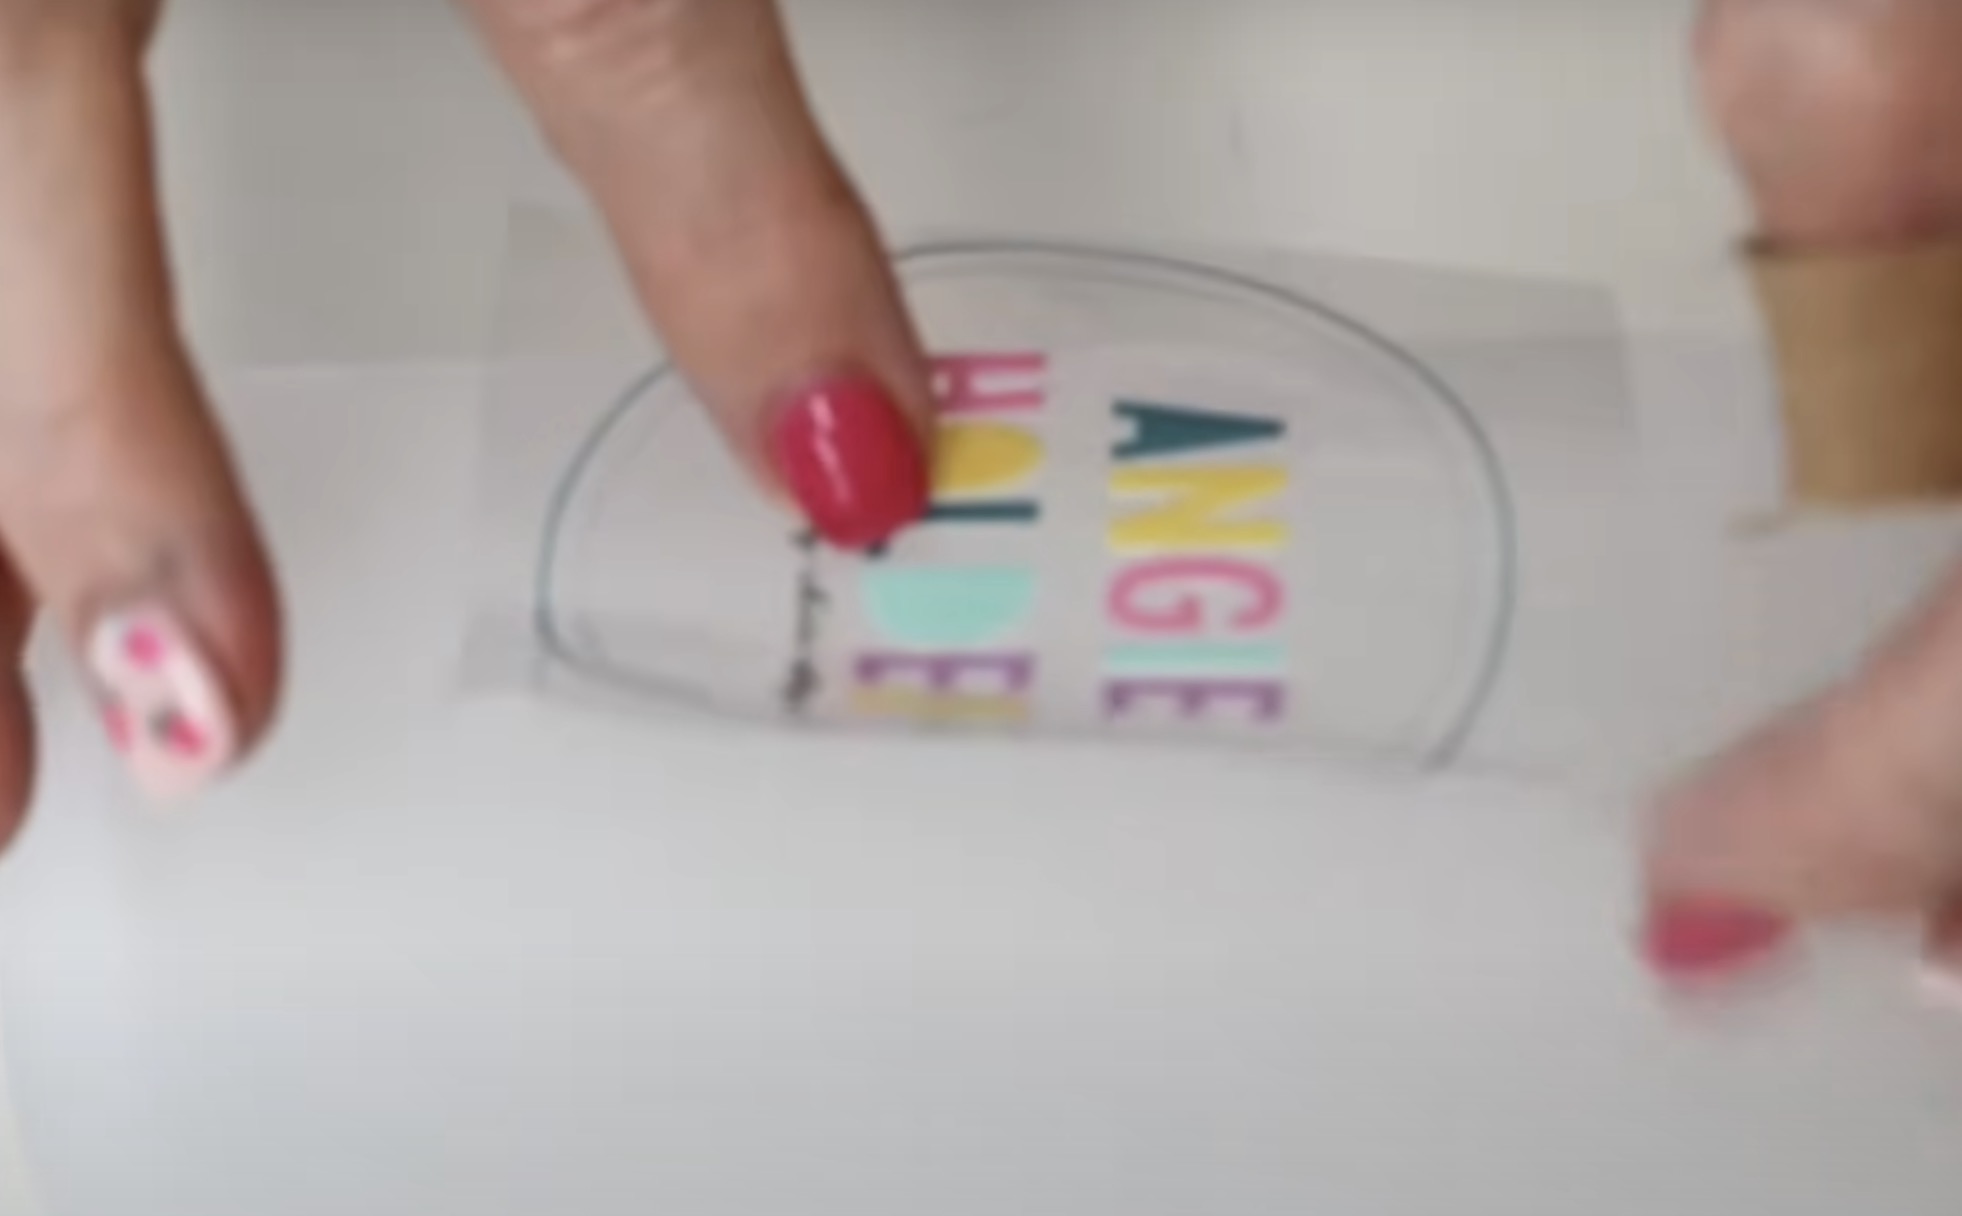
Use your fingers or the scraper to press it down really well, all the way around the sticker.
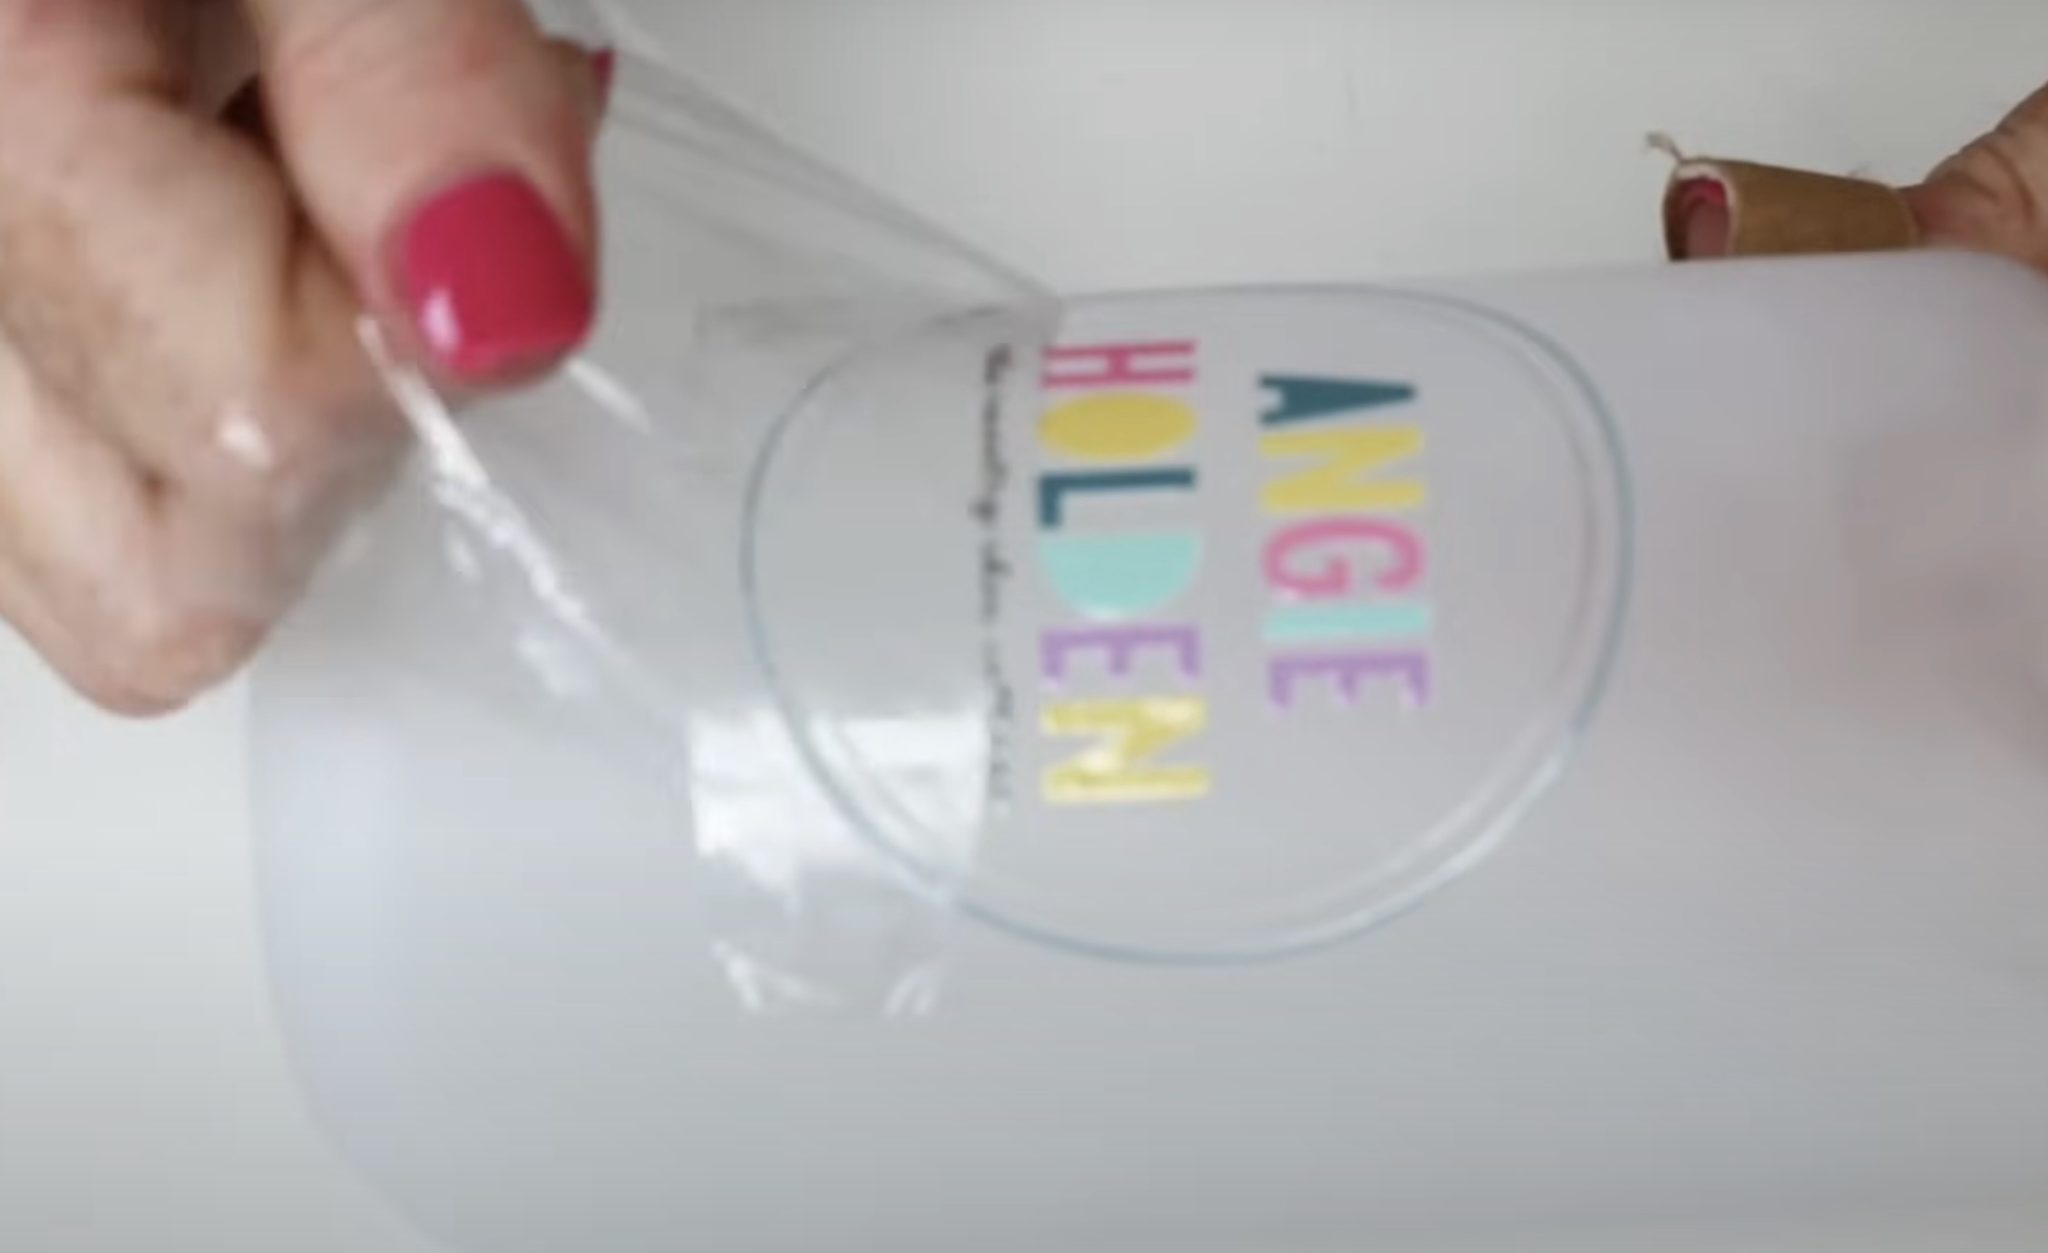
Peel the top film back carefully, leaving the sticker stuck down on the surface.
I did choose a design with a lot of small details to show you how well these stickers print and transfer.
Do You Need the eufyMake Laminating Module?
I am a fan of the laminating module. If you want to make your own UV DTF stickers, make sure you bundle the laminating module with the purchase of your printer. You won't be sorry.
When you apply the UV DTF stickers, you'll notice they do feel like stickers on the surface. Don't worry, they are really stuck down and won't lift with normal wear and tear.
Even though you cannot print directly on the larger Stanley-style tumblers or glass cans, you can still customize them by using your own UV DTF stickers.
Remember, UV DTF stickers are hand-wash only; do not soak the stickers, and don't place them in the dishwasher.
I hope I've answered all the questions you have about the eufyMake laminating module. If you have any further questions, leave them in the comments and I'll be happy to answer them for you.