
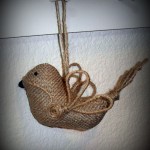
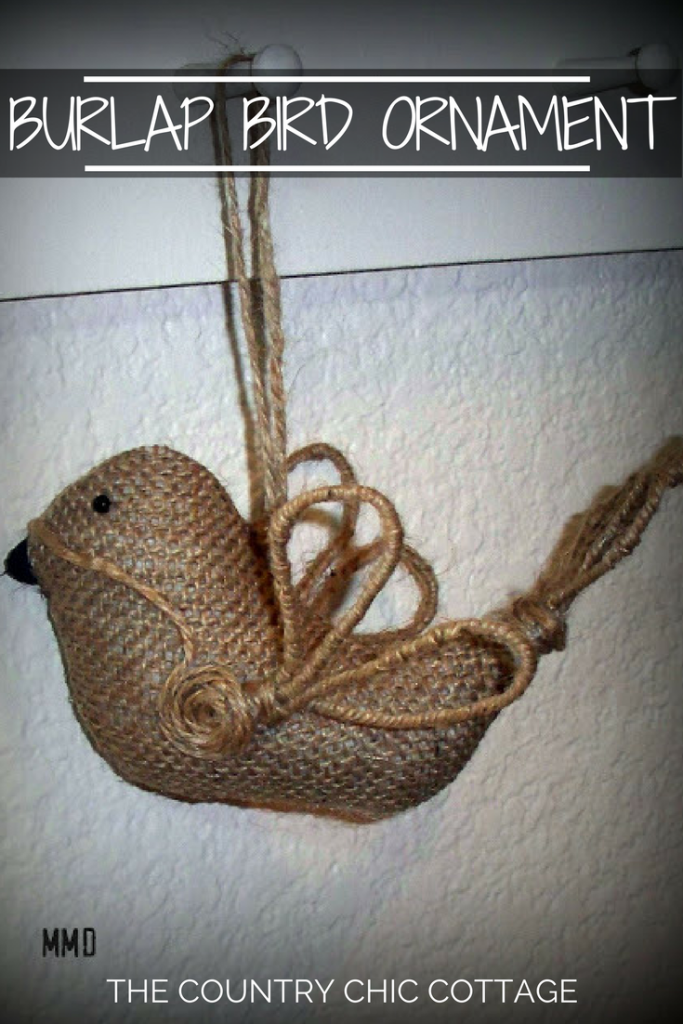
Heather from Me Making Do is here today to show you how to make a gorgeous burlap bird ornament! This project includes a free printable that you can use to make bird ornaments for either yourself or for all your friends as gifts!
How To Make A Burlap Bird Ornament
Hello Country Chic Followers, it's Heather from Me Making Do! On my craft blog, I share tutorials of crafts I make on a budget. Come visit me sometime, I have a fun link up party on Mondays called “Your So Very Creative”, where you can show off what you have been creating. I am so excited to be part of Angie's Handmade Gift-o-Rama!
Today, I have a fun little craft tutorial for you that I hope you will like. I will be showing you how to make a burlap bird ornament that is perfect for any farmhouse or rustic Christmas tree!
UPDATE: Heather's craft blog, Me Making Do, is no longer available.
Supplies Needed To Make Burlap Bird Ornament
- Pattern
- Burlap Fabric
- HeatnBond
- Polyfill
- Black Seed Beads
- Black Acrylic Paint
- Small Craft Paint Brush
- Glue Gun and Glue
- Floral Wire
- Jute Twine
- Needle and Thread
- Sewing Machine (optional)
Note: You can also cut the burlap bird and interfacing with a Cricut Maker. I've added instructions below if you'd like to use this method.
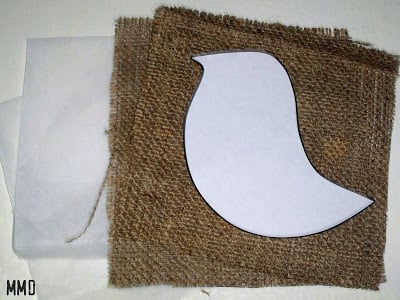
Step 1: Cut Burlap & HeatnBond Into Squares
To start, cut 2 squares of burlap and 2 squares of HeatnBond, a little bigger than your bird.
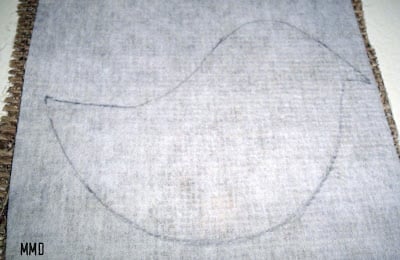
Step 2: Iron & Trace
Sandwich your pieces together as follows: HeatnBond, burlap, burlap, and HeatnBond. Your burlap sides should be facing each other, and the HeatnBond sides should be facing out.
Iron your HeatnBond to your burlap.
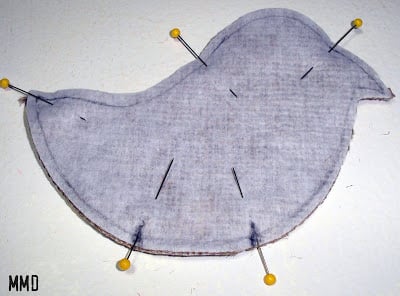
Once everything has been ironed together, trace your bird onto one of the HeatnBond sides.
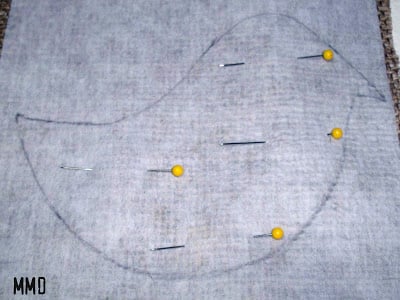
NOTE: Pin your pieces (once you have ironed everything) so they stay in place while you are cutting and sewing in the next steps.
Cutting with a Cricut
If you'd like to cut the burlap and interfacing using your Cricut machine, start by uploading the SVG file into Cricut Design Space. If you need a refresher on uploading, check out this video. NOTE: My recommendation is to use the Maker for all fabric projects including this one.

Once the SVG is uploaded, add it to your canvas and then duplicate it.
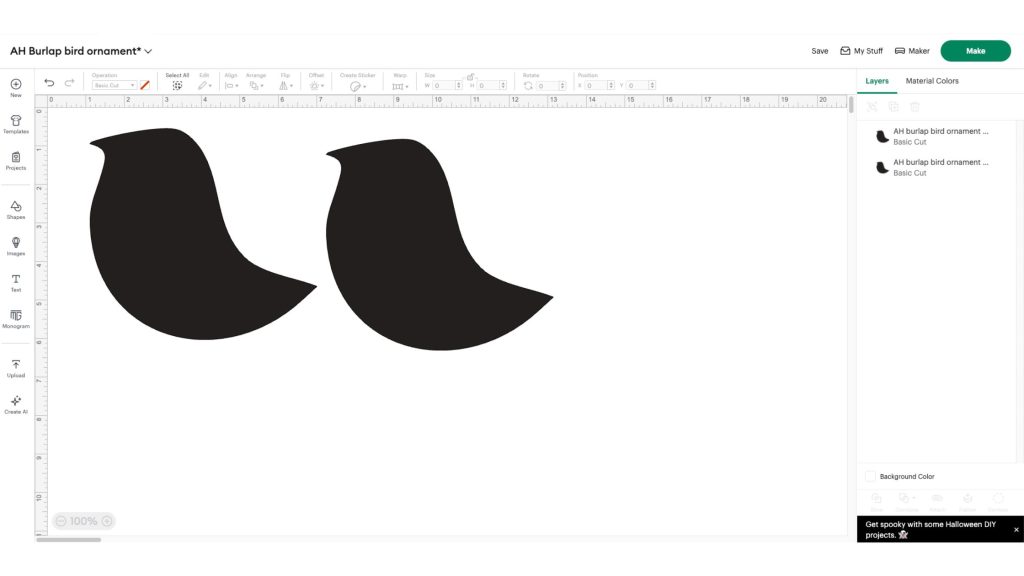
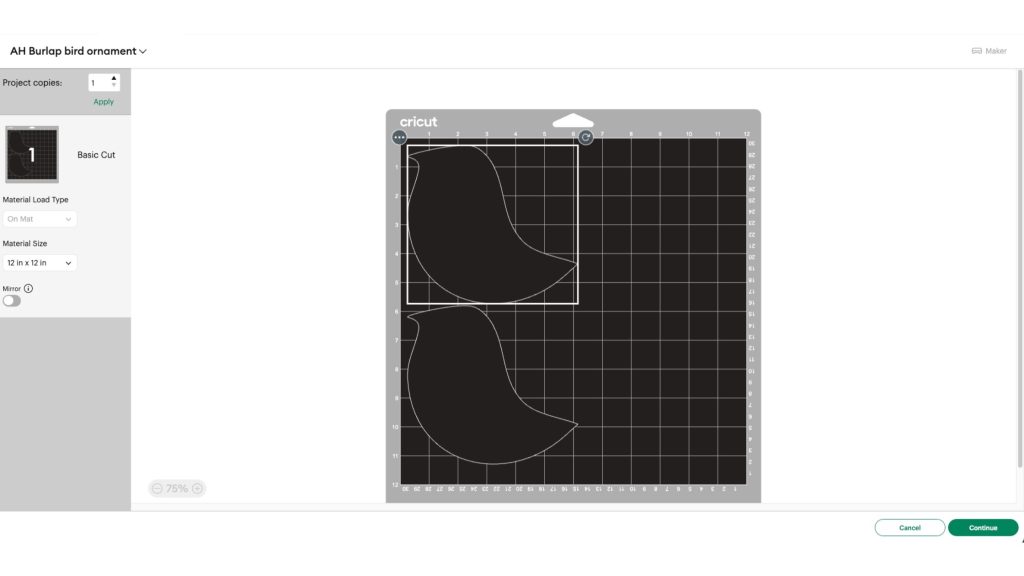
Size the birds on the canvas to be the size you'd like them. Then you can send them to cut.
Pro Tip: Before you place the fabric on your cutting mat, you can adhere the interfacing to the back of the burlap pieces by following the instructions for your stabilizer. This way you are ready to sew them together once the pieces are cut.
Step 3: Cut & Sew Bird
Cut around the bird, leaving a seam allowance for sewing.
Sew around the bird, leaving a hole at the bottom (where I have marked with two pins), so you can turn the bird right side out for stuffing. When sewing, make sure you backstitch on either side of your opening, where the two pins are.
NOTE: You can sew your bird by hand or use a sewing machine.
Step 4: Stuff Bird
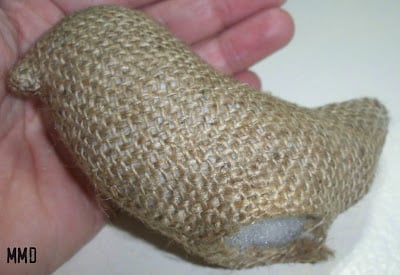
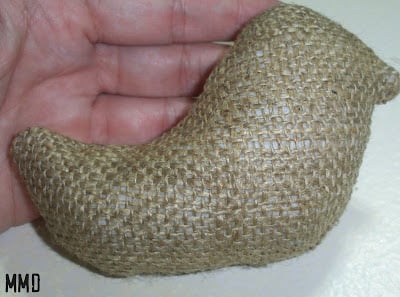
Stuff your bird with Polyfill.
Step 5: Sew Hole Closed
Sew the hole closed at the bottom of your bird.
Step 6: Create Feathers For Burlap Bird Ornament
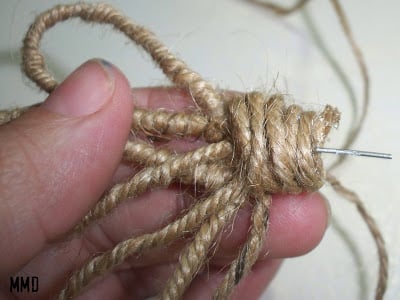
With floral wire, make a shape for the tail feather. Then (I forgot to take a picture), wrap twine tightly around the wire and hot glue it into place after a few wraps.
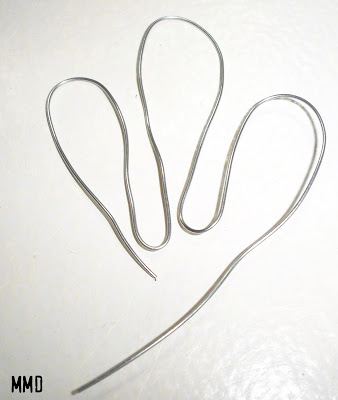
Once your feathers have been wrapped, continue wrapping the base, but leave part of the wire exposed.
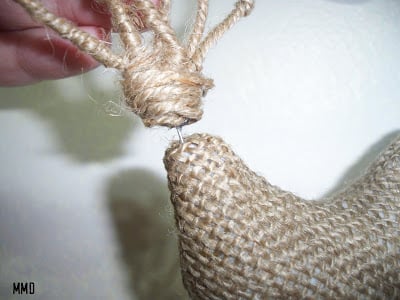
Step 7: Glue Feather To Bird
After the base has been wrapped, cut off the excess twine and glue the end piece down. Then poke the feather into the end of the bird and glue it in place with hot glue.
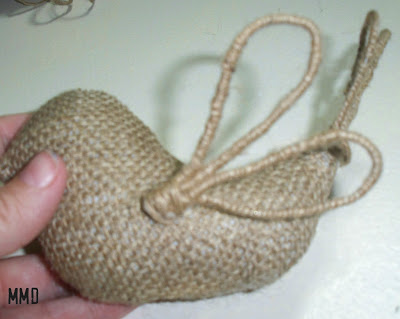
Step 8: Create Bird Wing
Repeat step 6 to create the wing pieces, but they will only have two loops. Also, you will need to create two wings for your bird.

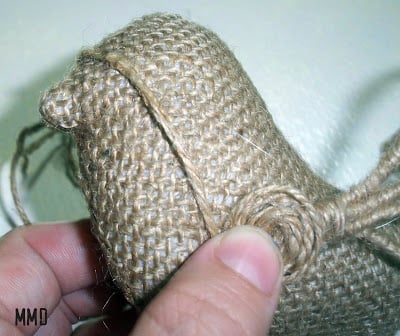
Step 9: Glue Wings To Bird
Glue the wings into place on each side of the bird.
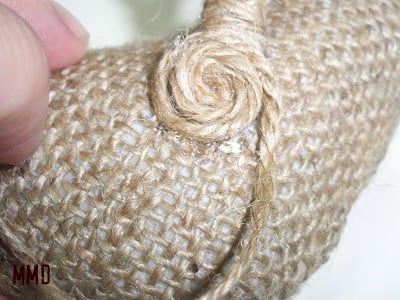
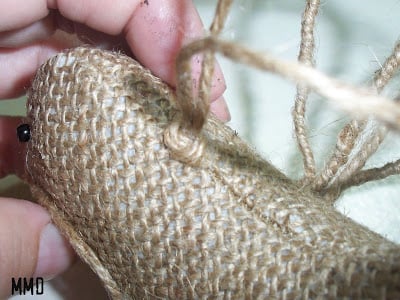
Then take some jute and swirl it into your fingers.
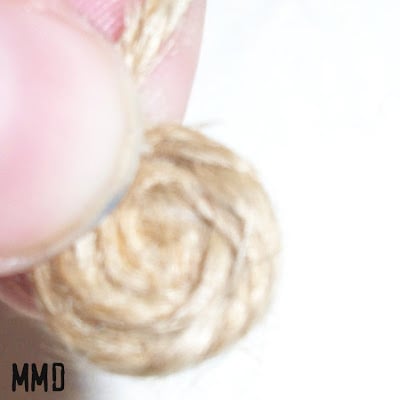
Glue the swirl onto the wing, and add more swirls around it, keeping a long piece of jute to add another swirl to the other wing on the other side of the bird.
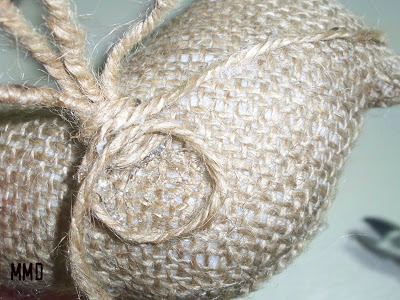
Once you are happy with the look of the swirl, bring your long piece of jute over the beak.
Add your swirl around the second wing, glue it into place, and cut off the excess jute.
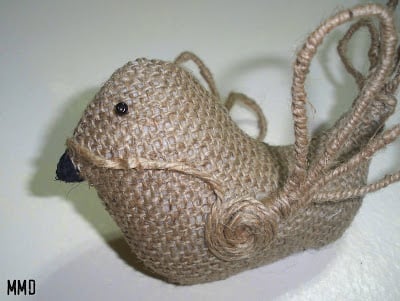
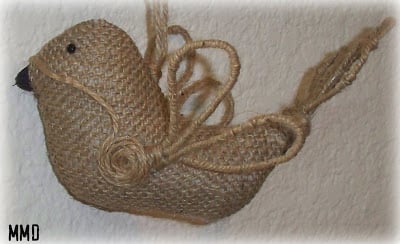
Step 10: Add Facial Features To Burlap Bird Ornament
Glue on your seed beads, and paint the beak.
Step 11: Add Loop To Burlap Bird Ornament
Make a loop of jute and tie the end.
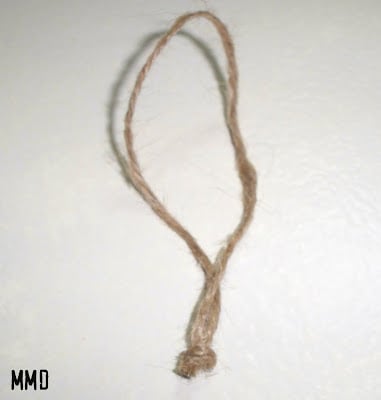
Then glue the loop into place on your bird.
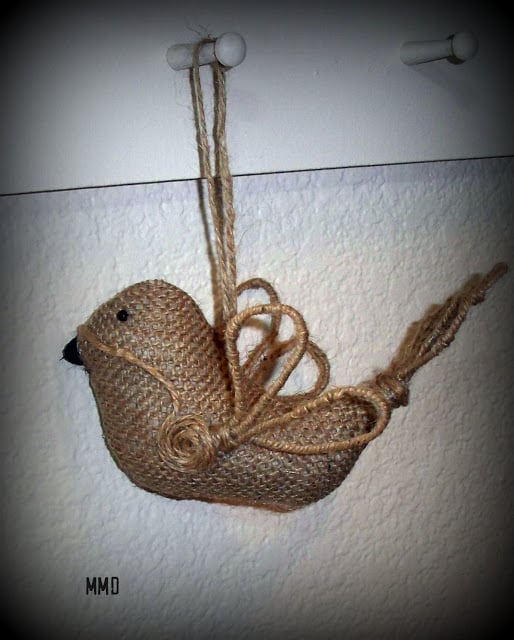
Once your loop has been added, you can now enjoy your Burlap Bird Ornament!
Thanks, Angie, for having me!!!
Heather

Thanks, Heather, for showing us how to make this adorable burlap bird ornament!
Don't miss any of the handmade goodness we have been sharing!! Follow along with the series and see tutorials and shops to complete your holiday shopping list!
Tips and Tricks for Burlap Bird Ornament
Now that you’ve seen this fun burlap bird ornament, are you ready to make your own? Here are a few tips and tricks to ensure your project goes as smoothly as possible!
- Adjust Your Ornament Size – When you print out the pattern for this ornament, you can adjust the size to make it as big or as small as you would like.
- Have Fun With Color – For my burlap bird ornament, I chose to use the brown burlap (aka your traditional burlap color). However, you can use any color of burlap that you like for this project.
- Add More Embellishments– If you want to dress up your burlap bird ornament even more, you can add other embellishments like buttons, beads, or even scraps of fabric!
- Use Hot Glue – When making this project, I highly recommend using hot glue! This is because it will give your ornament a stronger hold, and you will be able to make your ornament faster.
5 More Burlap Crafts
If you loved learning how to make this burlap bird ornament and are looking for more burlap crafts, check out the projects below!
- DIY Burlap Hanging Wall Art
- Vintage Jewel Burlap Wall Letters
- Heart Wreath Made with Burlap Ribbon
- Burlap Pumpkins
- DIY Storage Box with Burlap


ok this little guys is just so stinkin cute!!!! i want a whole flock of them 🙂
~Emily N. from “too Blessed to Stress”
heather, what a sweetie that little bird is! i love it!
These are fabulous — so beautiful! Love the burlap on these natural looking birdies!
Thank you so much for your kind comment today about my gathered pillow. I truly appreciated it! – Suzanne
I have a post where I attempted this and couldn’t get it done. It’s awesome that you did.
Absolutely adorable! You did a fabulous job and I know my daughter would covet them. 🙂
Thanks so much for sharing!
Pat
I love the little bird – the burlap and jute are just such a charming rustic combo. Thanks for showing the step-by-step instructions.
I just love those! So charming!
I couldn’t find a link to Me Making Do, is it just me? Would like to check out her blog, these birds are really great! I’m featuring this on Craft Gossip, so I will link to this tutorial and see if I can find Me Making Do on google to give her credit too. 🙂
Birds are so my “thing.” Your tutorial is awesome. Thank you for taking time to do this for us.
OMGosh! These are waaaaay to cute! What a brilliant design. love. it.
Love your ornaments. Gosh, they look just the the originals! Great job!
bonjour j’adore !!!!il est tres beau cet oiseau en toile de jute!!
merci pour le tuto!!
These are WONDERFUL! Thanks for sharing.
Those birds are so cute! I’ve posted them in my Link Love roundup on FaveCrafts Blog: http://www.favecraftsblog.com/link-love-burlap-bonanza/
Just found these today. I have showcased them on my new blog site about wedding DIY stuff. Check it out at http://theweddinggals.net
Thank you for sharing the tutorial!
I just found you (and these adorable ornaments) on pinterest. Thanks for sharing! I’ve just subscribed. 🙂
Super !!!