
These baker's twine pumpkins are probably my favorite Fall project this season. They're simple, timeless, and can complement any home decor style. You can even add them to a display with these sweater pumpkins. Have you made any of your own yet? What are you waiting for?!
How To Make Twine Pumpkins
These twine pumpkins can be made in 3 easy steps and are the perfect addition to any Fall decor! I chose traditional Fall colors, but you can make your pumpkins in any color that you like!
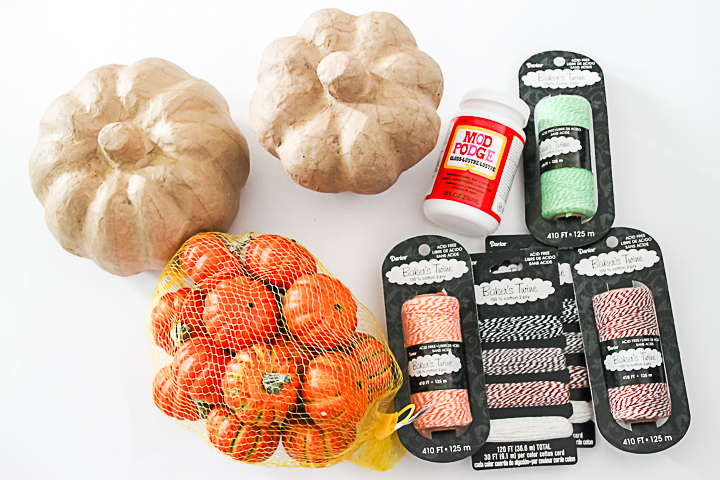
Supplies Needed To Make Twine Pumpkins
- Baker’s Twine – in the color of your choice
- Paper Mache Pumpkins
- Small Pumpkins
- Mod Podge
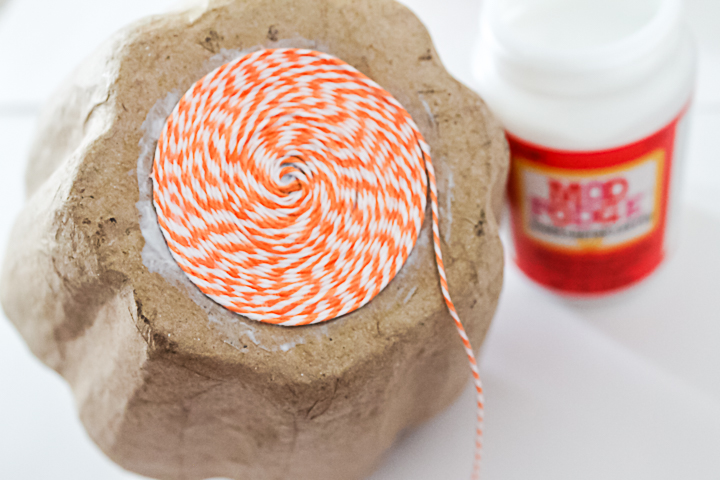
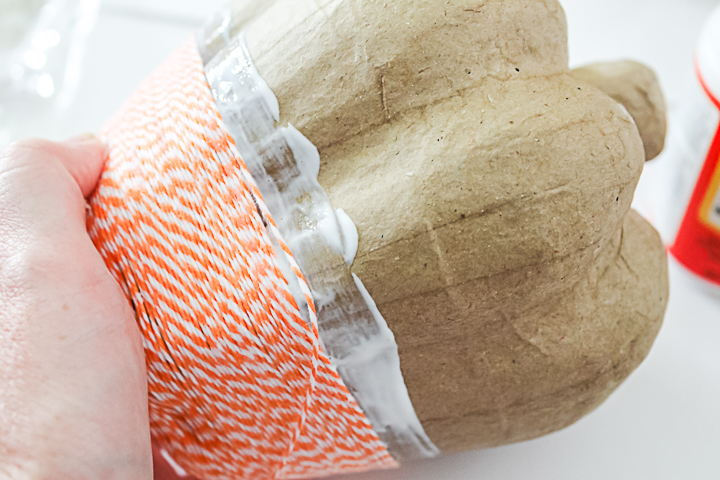
Step 1: Begin Gluing Twine To Pumpkins
Begin on either the top or the bottom of your pumpkin. I actually started on the top of the small pumpkins and the bottom of the large one. Coat a small area in Mod Podge and begin to wrap in twine.
This craft is messy, as you will get Mod Podge on your hands, but I found it was the best adhesive for the baker’s twine. You can pretend you are in school as the Mod Podge peels off your hands and looks like skin. Please tell me you did that, too.
Step 2: Keeping Wrapping
Keep wrapping and wrapping and wrapping. Be sure to pull your twine tight as you wrap so you don’t get any gaps. Using lots of Mod Podge worked best because the surface is bumpy, and it can be hard to work the twine around. Push your twine down next to the row before it as you work your way up.
Step 3: Wrap Stem (Optional)
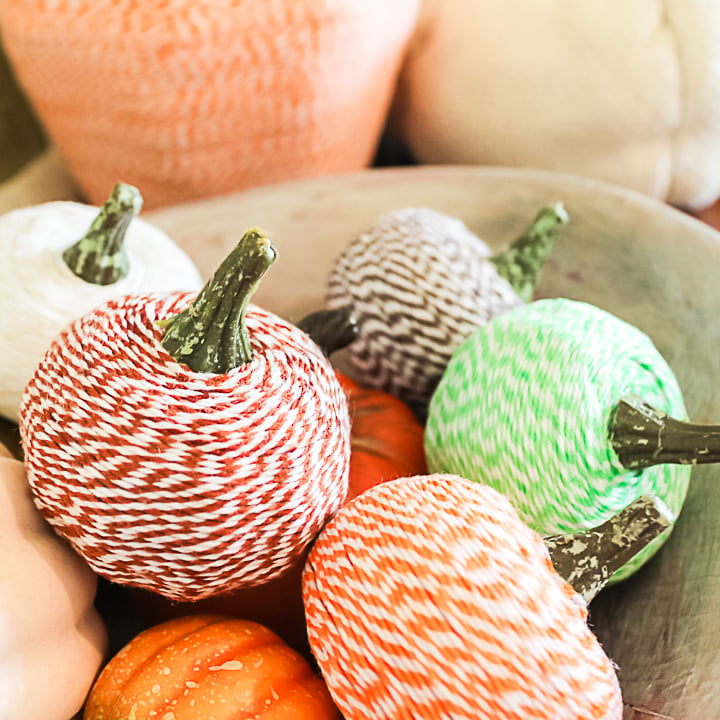
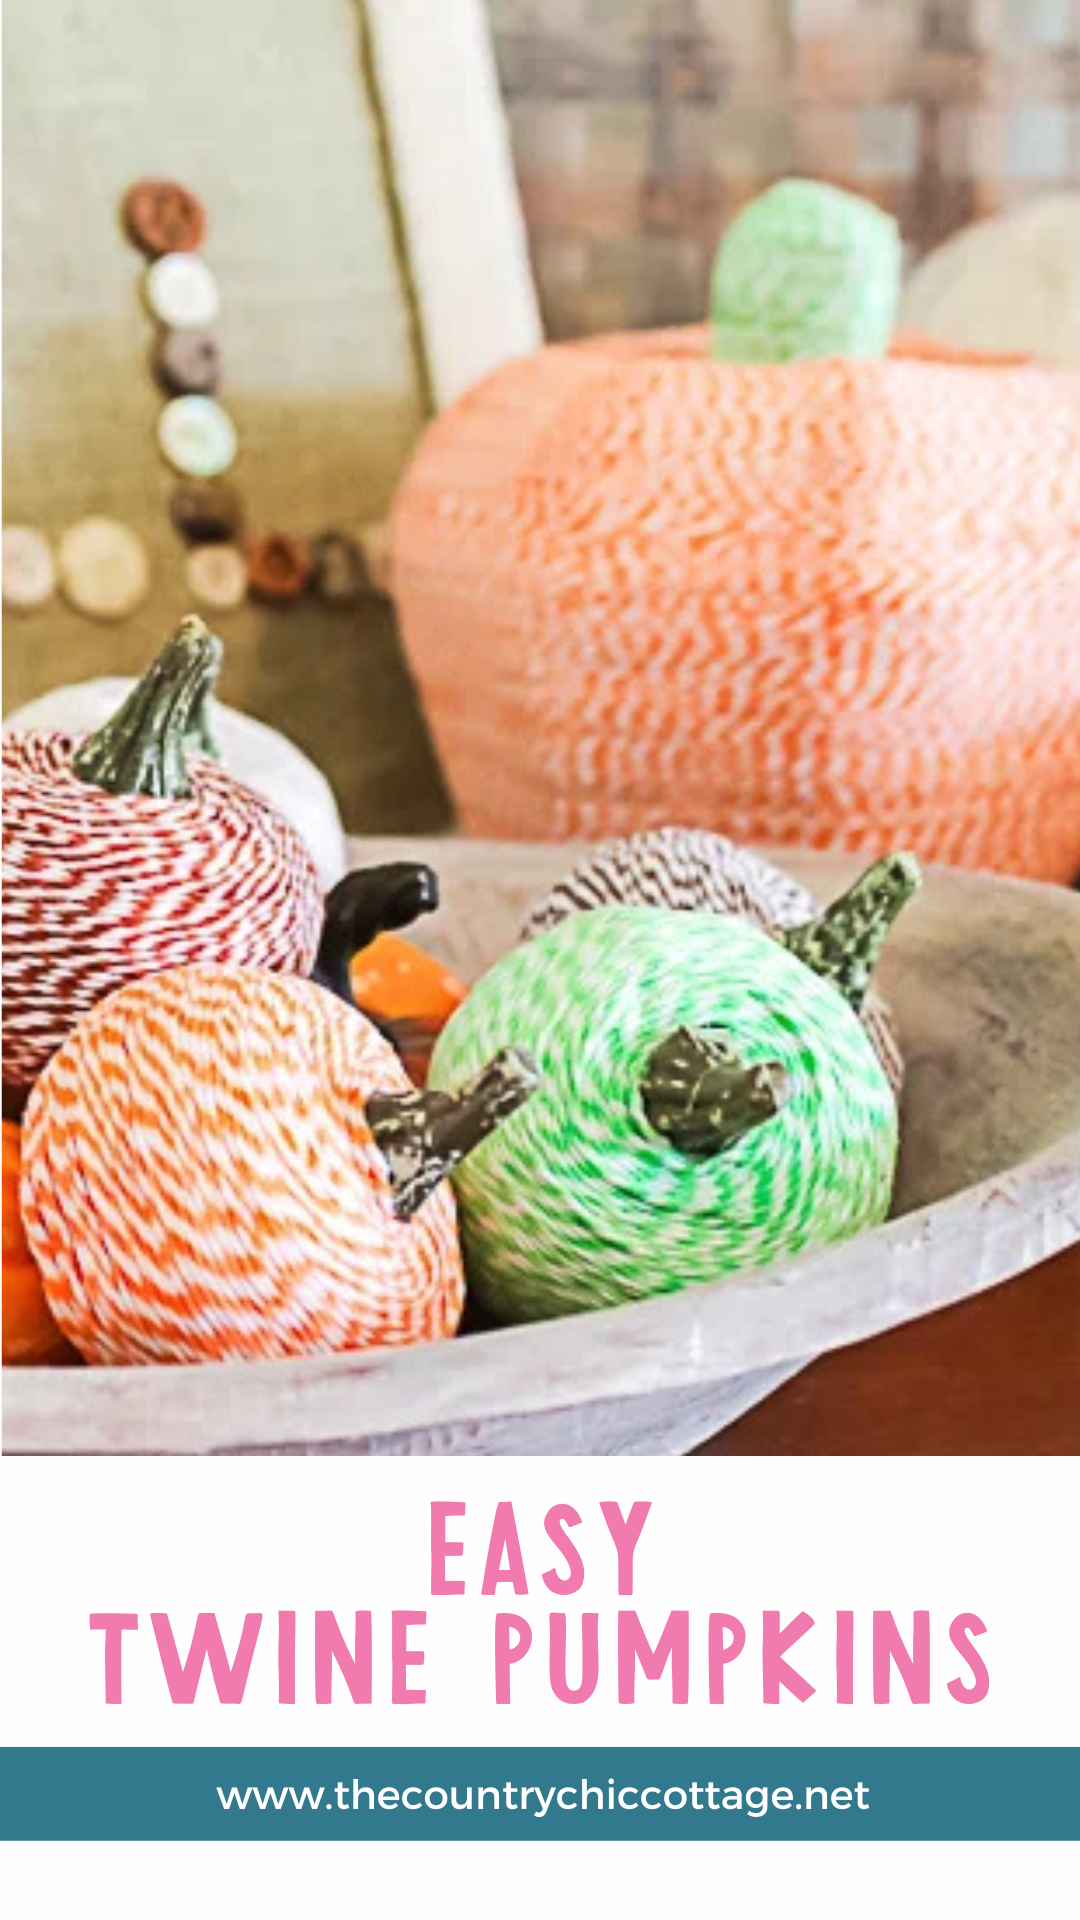
On the smaller pumpkins, I left the stem alone. The end of the twine can be tucked under the stem on this end. I liked the natural appearance of the stem on these.
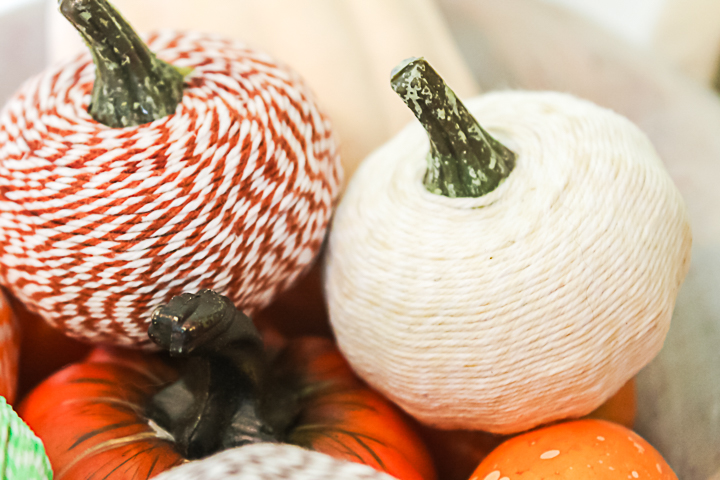
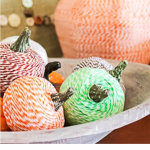
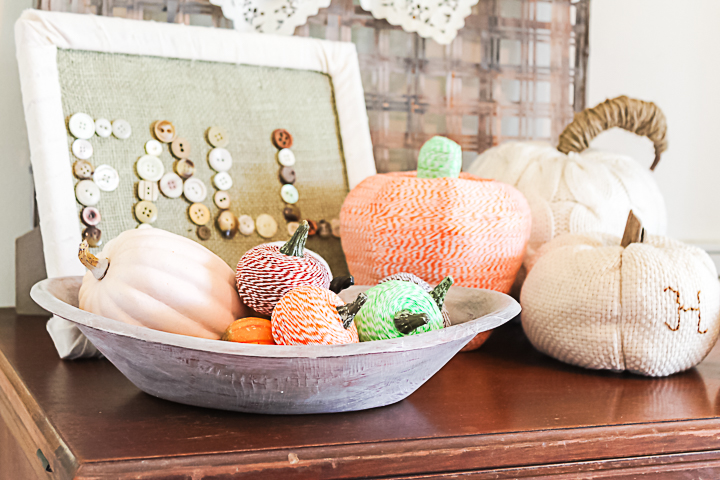
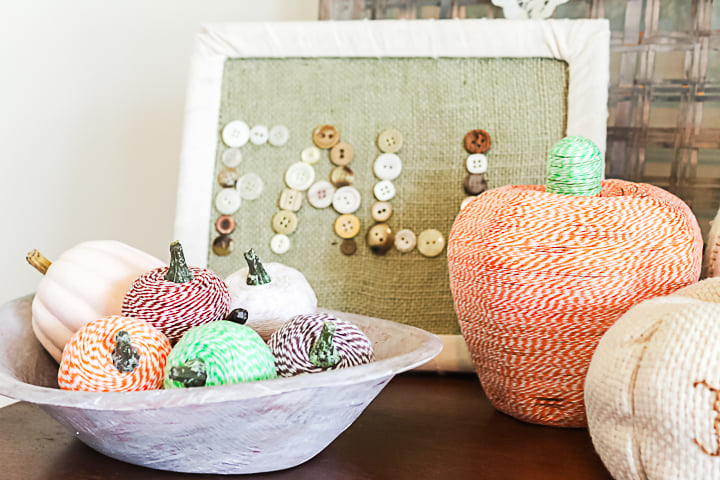
The larger pumpkin has a green baker’s twine stem and an orange body. Making the larger pumpkins takes a while, so you may want to pop in a movie before starting this project!
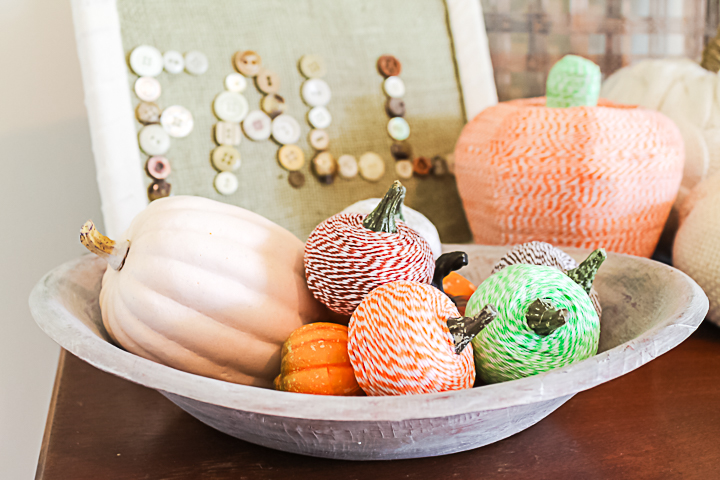
Within the span of a movie, I had a large pumpkin and five smaller ones. Just enough to add a charming baker’s twine touch to my Fall decor. I think it was well worth it, don't you?
Are you intimidated? Don’t be! Start with a small mini pumpkin and some Mod Podge. Wrap the small ones until you get the hang of it. Then, you can dive headfirst into a large pumpkin. One large roll of baker’s twine will easily do a large pumpkin, so don’t worry about running out.
You can also use any leftover baker's twine to make twine acorns. Add these to your home for Fall and to impress your Thanksgiving guests. They will be amazed at your little creations!
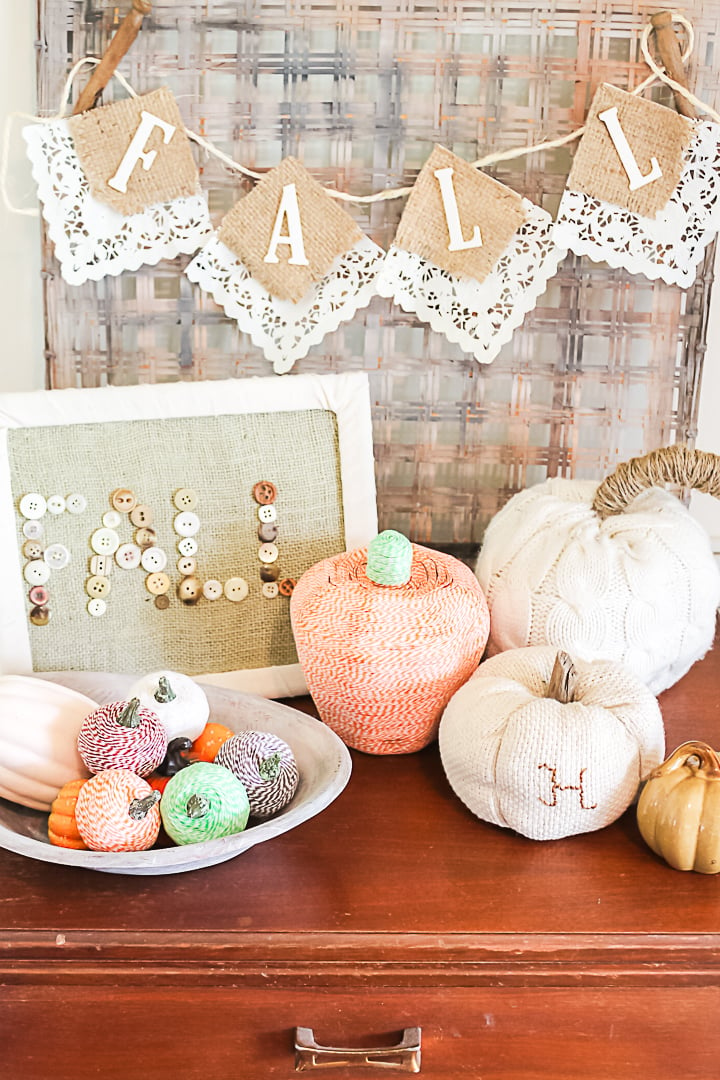
Also, in case you were wondering, the rest of the items on my Fall display include Sweater Pumpkins, a Monogrammed Pumpkin, and a Fall Button Sign!
Now that you know how to make baker's twine pumpkins, you can make a bunch for your home this season!
FAQs About Twine Pumpkins
Here are a few questions we get about these twine pumpkins. If you have a question but don’t see it below, please leave it in the comments so I can answer it.
Where Do You Get Paper Mache Pumpkins?
You can find paper mache pumpkins online or at your local craft store!
Can I Use Solid Color Twine For This Project?
Yes, you can! You can use any type of twine, whether traditional baker's twine, solid, or glitter, for this project!
Can I Use Hot Glue For This Project?
No! I don't recommend hot glue for this project because the baker's twine is very thin, and you need to wrap it ”tightly” around the pumpkin.
If you don't have Mod Podge, use Tacky Glue or Elmer's School Glue instead.
How Can You Display These Twine Pumpkins?
Depending on the size of your twine pumpkins, you can display them in various ways! Below are just a few ideas.
- On a shelf
- On a mantel
- On a single stand or tiered tray
- In a wooden bowl
- in a vintage bucket/basket
5 More Pumpkin Projects
Do you love these twine pumpkins and want more pumpkin projects? Then check out the ideas below!
- How to Paint Pumpkins and Add Texture
- Paper Mache Vintage Farmhouse Pumpkins
- Pumpkin Hoops
- DIY Metallic Painted Pumpkins Idea


Cute pumpkins! Great idea!
These pumpkin design were awesome. They are all well prepared and crafted. Great creation.
Super cute!! I also love your fall banner!! Are those paper doilies? Cute idea!! I’m now following!! =)
Very very clever. I will have to save this for next year. Thanks. 🙂
Just wanted to let you know that I’m featuring this post in a fall decor compilation post I’ve put together on my blog! For the past couple weeks I’ve been gathering some great ideas for fall decor and I loved this! ~mysnippetsofinspiration.com Hope you have a great day!
Danielle! These are precious! I have a large jar that sits on a shelf in my den and every season I try to think of something new I can use as a filler for it. I can just see it full of these little minis.
Guess I better get started!