
These DIY stenciled favor bags are super simple and may be customized to your theme. I have a super simple secret for stenciling these quickly — ink! Ink gets the job done fast and dries in a flash. See the full post for five different stencil designs and bag ties then make them for a wedding or just a party you are hosting.

This is a really simple and easy craft – perfect for a beginner! All you need are paper bags, a stencil of your choice, bag ties, and an ink pad.
I found that the small ink pads worked best with the stencils. Stencils like these can be found at most craft supply stores or you can always order online. Because the supplies are super inexpensive, you will save a boat-load of money by making your own, instead of purchasing favors that are prepackaged.
If I'm honest, party favor bags were always my least favorite thing about throwing a party. But, since I found my own way of creating favor bags, it's a project I look forward to!
Because you choose your own stencil, bag ties, and size, you can dress these up however you like. In fact, you could even kick it up a notch and purchase burlap bags instead of brown paper bags.
These are a great way to pass out favors at birthday parties, showers, weddings, and any other gathering!
Here are a few other favor bag ideas for your next party:
- Woodland Animals – free printable
- Candy Corn Treat Bags – so easy to make
- Unicorn Party Bags – free template included
- Valentine’s Day Treat Bags – for boys and girls
How to Make Stenciled Favor Bags for Parties and Weddings
Supplies needed for brown bag favor bags:
- Brown bags
- Small Ink pad
- Stencil of your choice

Instructions for easy favor bags
These instructions are super simple!
All you need to do is place your folded brown bag on a flat surface. Then, place the stencil where you want the design.
Then, apply the ink with the ink pad until your design is complete.

Using the ink pad to stencil makes this project so fast. It is much easier than using any type of paint plus it dries very fast. I did find that the small ink pads worked best so look for those at the craft store.
Favor Bag Ties
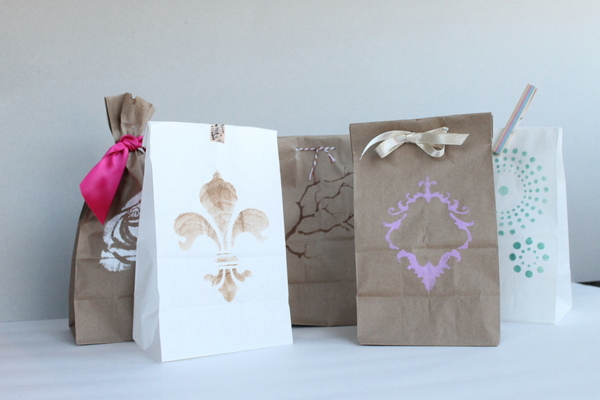
After I stenciled a few different favor bags, I thought about the different ways you could close them to get different looks. I came up with five different looks to choose from.
My first favor bag uses a stencil that is a series of circles.

I held this one closed with a clothespin. This clothespin actually has a piece of scrapbook paper that I used Mod Podge to adhere to the top. You can also use glitter or paint on clothespins for a different look.

My next favor bag has a branch stencil that I just loved for a slightly rustic look.

I folded this one over and punched a couple of holes. I added baker's twine to close.

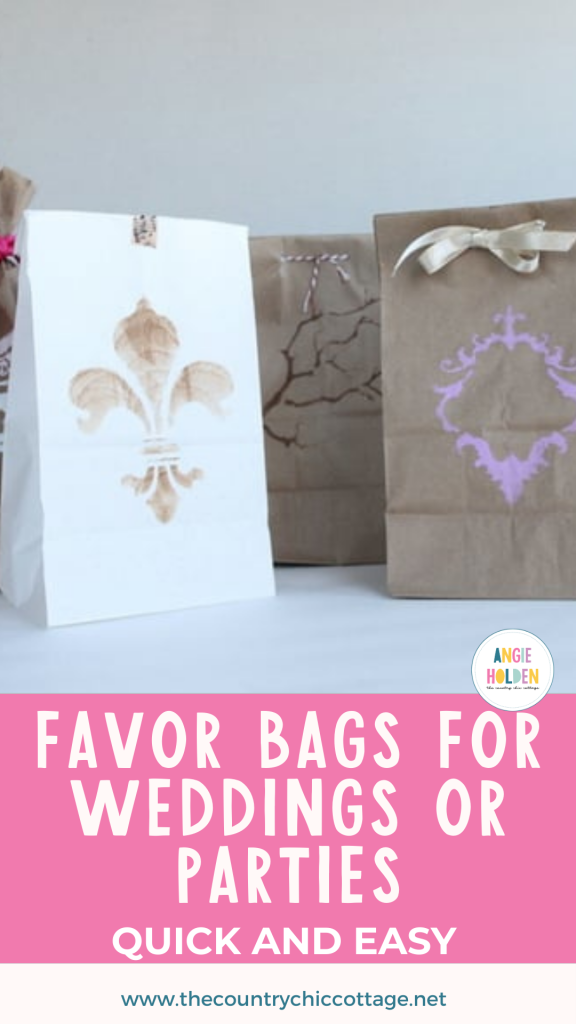
My next bag has a lovely frame stencil and I used lavender ink.

Again I used the two punched holes method of closing but this time threaded in a ribbon. Using different materials can give a completely different look!

Next up is a fleur de lis stenciled on a white bag.

I actually used washi tape to close this bag. I love this sheet music washi tape.

I allowed the washi tape to hang over the front slightly. I also really like the way you can see the circles from the ink pad. Be aware that this will be visible in stencils with large open areas such as this one.

For the last version, I chose a rose stencil and put it on a brown bag with white ink.

This time I bunched the bag closed with a wide ribbon. Loving that bright pink!

I bet you never knew you could do some much with a paper lunch bag. Turn these plain jane bags into the perfect favor bags for your ceremony with just a few simple supplies. These favor bags are an easy DIY project that can save you money on your big day.

So, take a few minutes with an ink pad and a stencil, and design your own favor bags. Use them at your wedding or party and save cash. I hope y'all enjoyed these quick and easy favor bags.
Equipment
- Brown bags
- Small Ink pad
- Stencil of your choice
Supplies
- Brown bags
- Small Ink pad
- Stencil of your choice
Instructions
- Place your folded brown bag on a flat surface.
- Then, place the stencil where you want the design.
- Apply the ink with the ink pad until your design is complete.
- Allow to dry completely.
- Secure the bag with decorative twist ties, clothespins, or ribbon.


Hi Angie,
These are adorable!! A little birdy told me that I missed your birthday, so a very belated HAPPY BIRTHDAY, to you sweet friend!!! I hope it was a good one!
xoxo
Karen
I decorate treat bags for our church for Easter, Halloween (a fall festival), and Christmas. I usually use inks and stamps from Stampin’ Up. Stamps are easier and faster than stencils. The company has some that are the size of the circles. You can even stamp in different colors. I have even used bags I stamped as gift wrap.