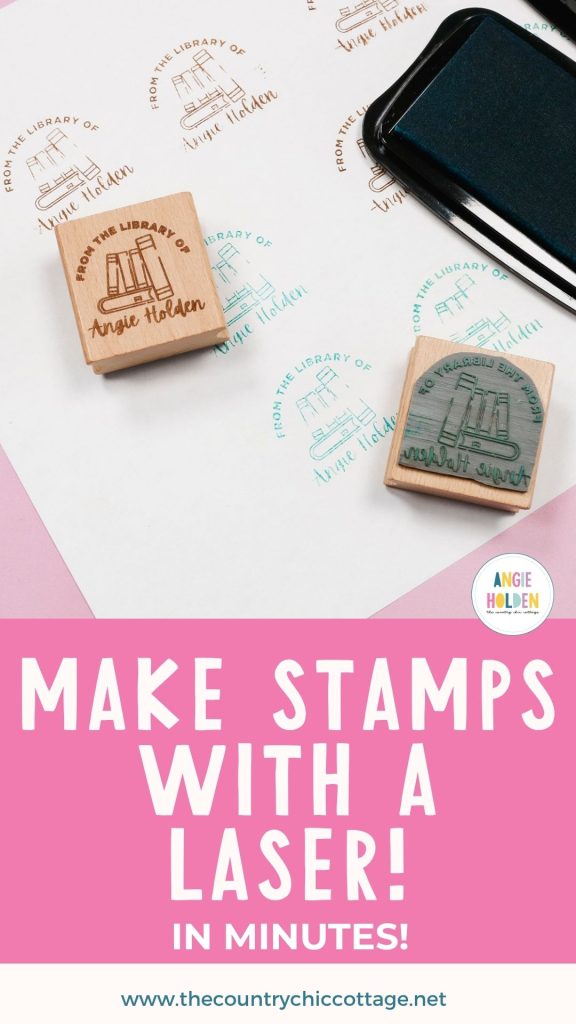
Are you ready to make a custom DIY laser stamp? The process is fairly simple and you will have a handmade stamp in no time at all!
I'm using the xTool F1 Ultra for this tutorial, but you can use other diode lasers as well. If you own a laser or are trying to decide if a laser is right for your craft needs, a custom stamp is one more project you can create with a laser.
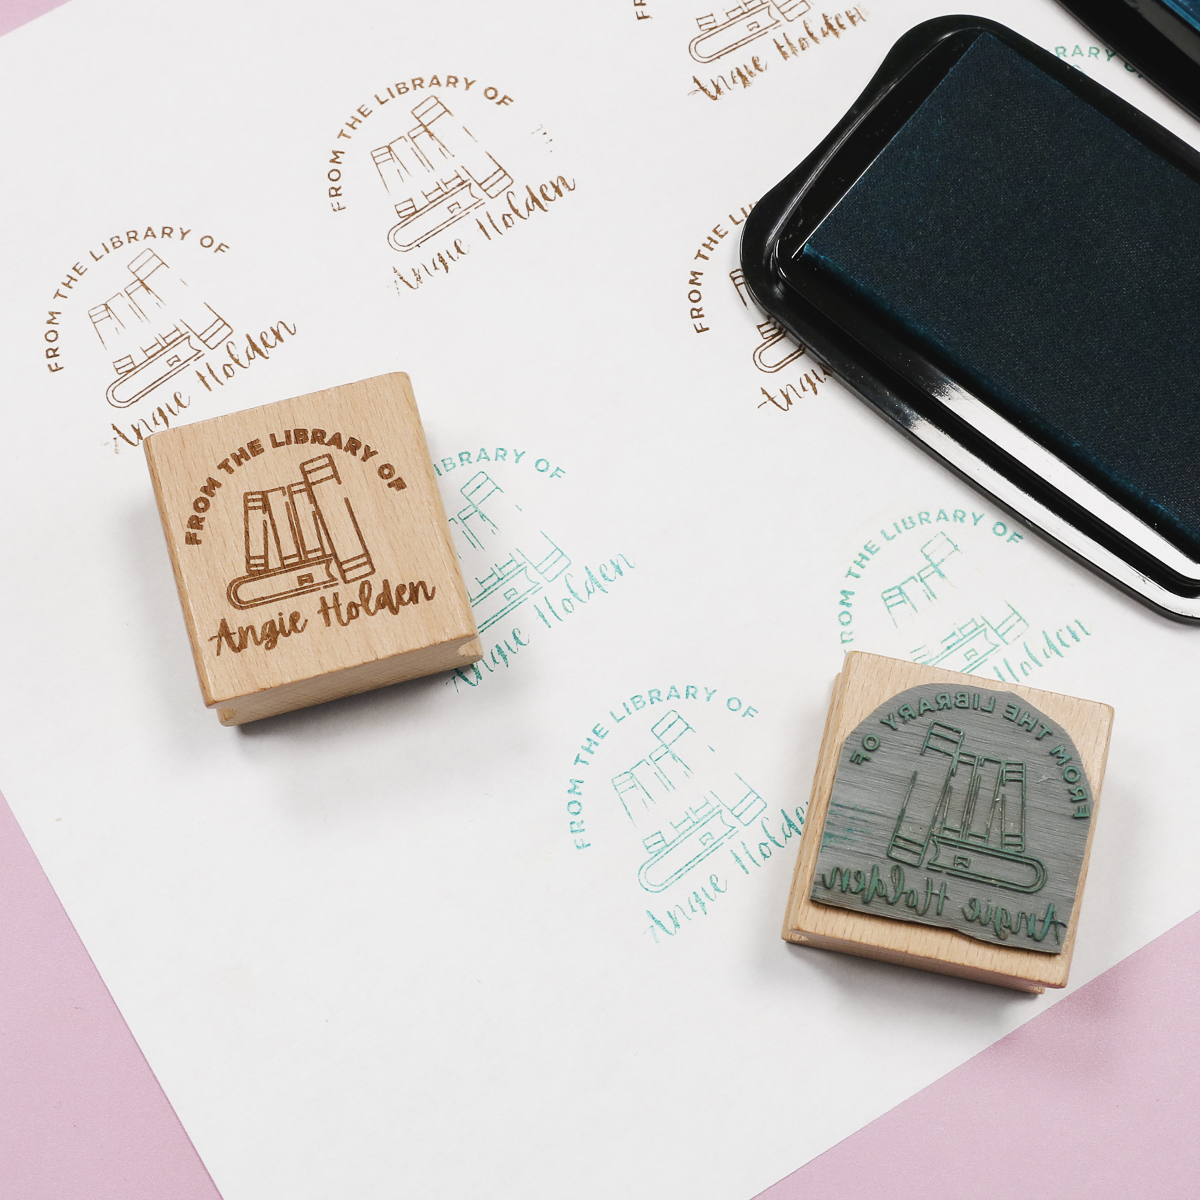
I'm making a “From the Library of” book stamp with my laser, but you can use this tutorial to create any type of custom stamp.
Before starting a custom laser stamp, ensure the materials you're using are laser-safe. I am using laser-safe rubber and wood for my stamp.
How to Make Custom Laser Stamps
To make a custom stamp, we need to create a design. I tested a variety of designs to help figure out what settings can help ensure a successful finished stamp.
I'm also going to show you how to engrave the wood block handle to give you a finished custom stamp that looks professional.
Custom Laser Stamp Supplies
In the laser template below, you can customize the name and image. The portion of the design that says “From The Library Of” is fixed. Make sure to read through the full tutorial before customizing to make sure you get the right design.
- Free Laser Stamp Template
- Laser Stamping Set
- xTool F1 Ultra Laser
- Stamp Pad
- Double-sided Adhesive
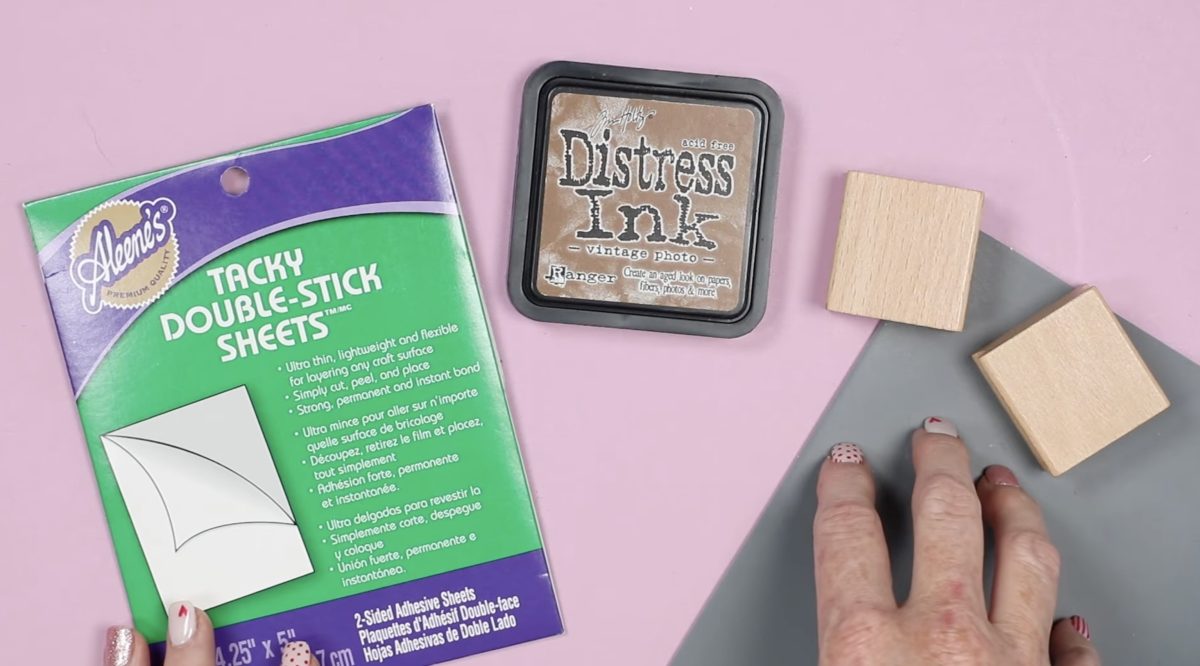
The stamps I'm using today are 1.5 inches by 1.5 inches and came in a stamp set. Both the wood and rubber are laser-safe. I like this size stamp, especially for marking books.
Because of the size of the stamp, you'll want to use a design that has a nice thick line. If your stamp size is larger, you will likely have a little more freedom with the design.
The stamp set didn't come with adhesive to attach the rubber to the wood block. I used a double-sided adhesive sheet that I had in my craft room.
You'll also want a stamp pad of some sort. The color of the ink doesn't matter because we're just going to use it to test the finished stamp.
Step 1. Create the Stamp Design
I'm going to test a few different designs to see which types of designs work best for a finished stamp.
To get the free Canva template, click the link above, add your name and email address, and the template link will be emailed to you.
Open the template and add a square to the canvas. The size of the square doesn't matter; we just need the entire stamp design to fit on the square since the stamp blocks are square.

Move the square layer to the back of the canvas.
You can now customize the design and move things around to make the design look how you want it. I am trying a few different variations. Different text for the name and images.
When you have things how you want them, click Share and then Download. I saved mine as a PNG with a transparent background.
Repeat this process for any other designs you create.
Step 2. Upload the Design in xTool Studio
I am using an xTool F1 Ultra to make my stamps, so I am using xTool Studio. If you're using a different laser, use the software for your laser.
The xTool F1 Ultra is a diode laser. If you're using a different diode laser, the process should be similar.
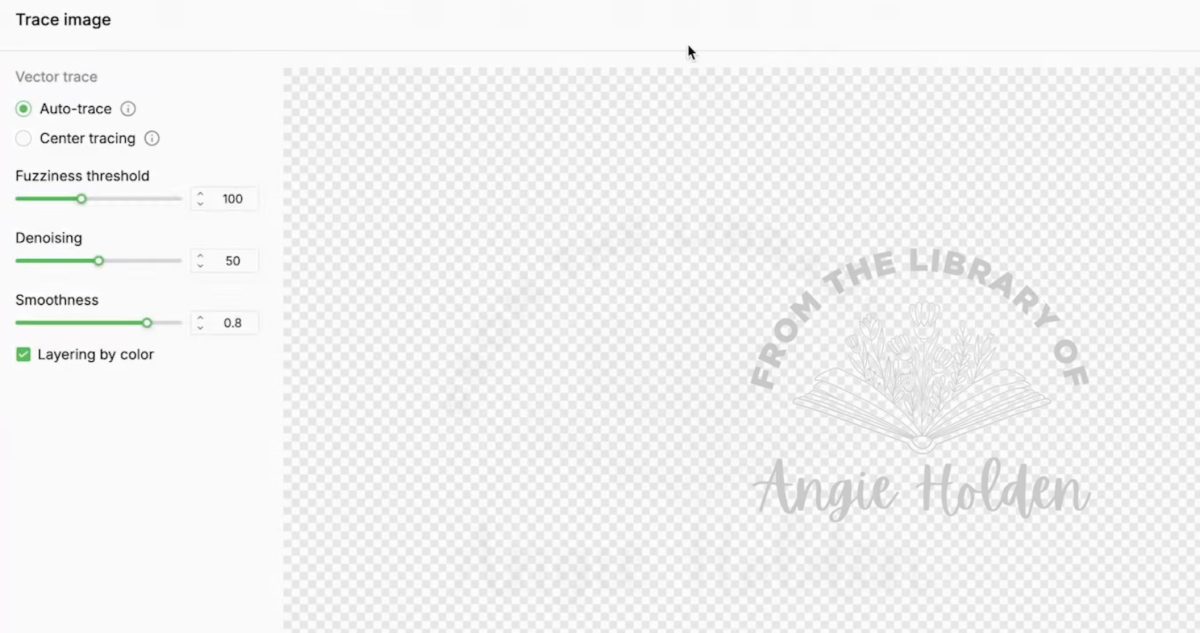
Click Upload and upload the file into the program. With the design in xTool Studio, I traced the file.
I tried different Denoising settings to make the tracing lines as good as I could get them.
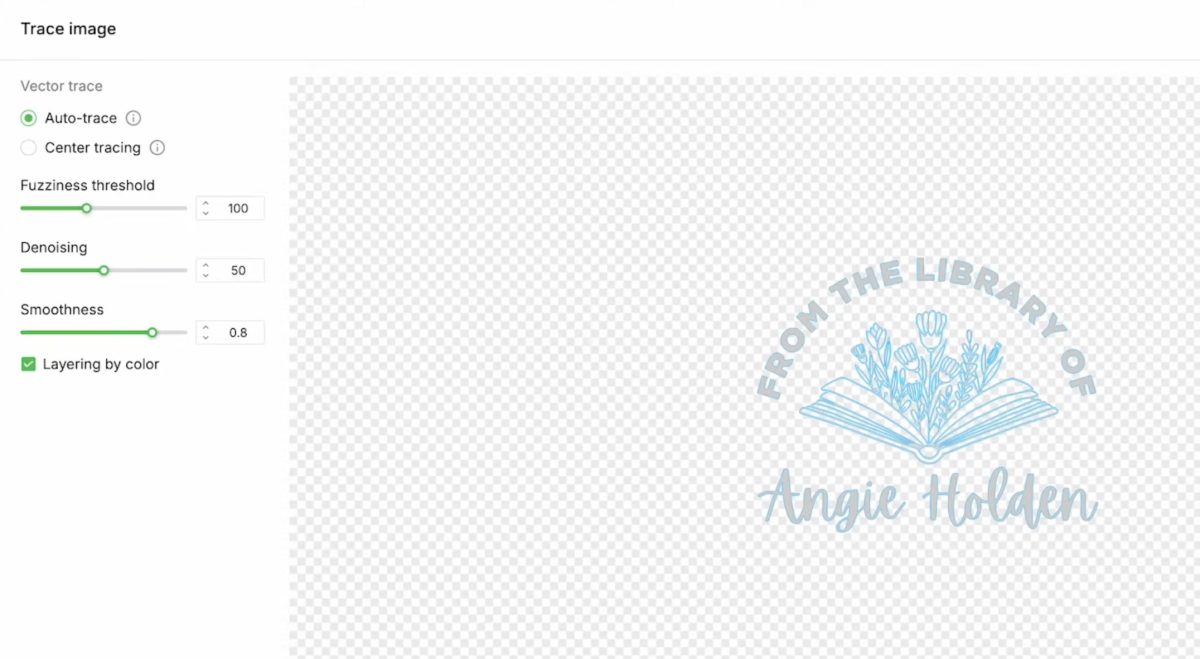
With the tracing done, you can delete the original image.
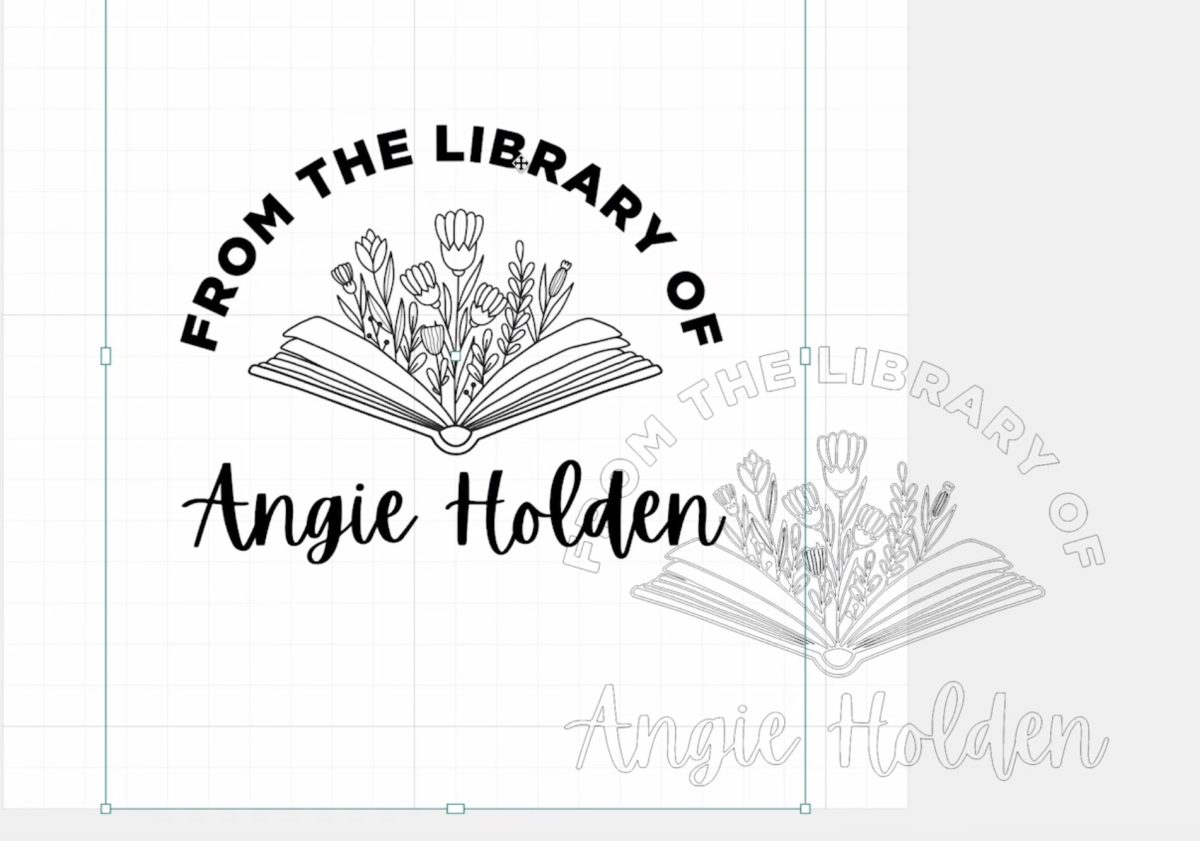
Select everything that was traced to make a compound vector. That will turn it all into one engraving.
Now, we can resize the design so it will fit on the 1.5 by 1.5 stamp block. To ensure it's the right size, I added a 1.5 by 1.5 inch square on the canvas and resized the design so the entire thing would fit within the square.
1.5 by 1.5 inches is the size of my stamp block. You can make the square smaller than that if you want; just make sure it is no larger than the stamp block.
Select all the layers and Align to Center.
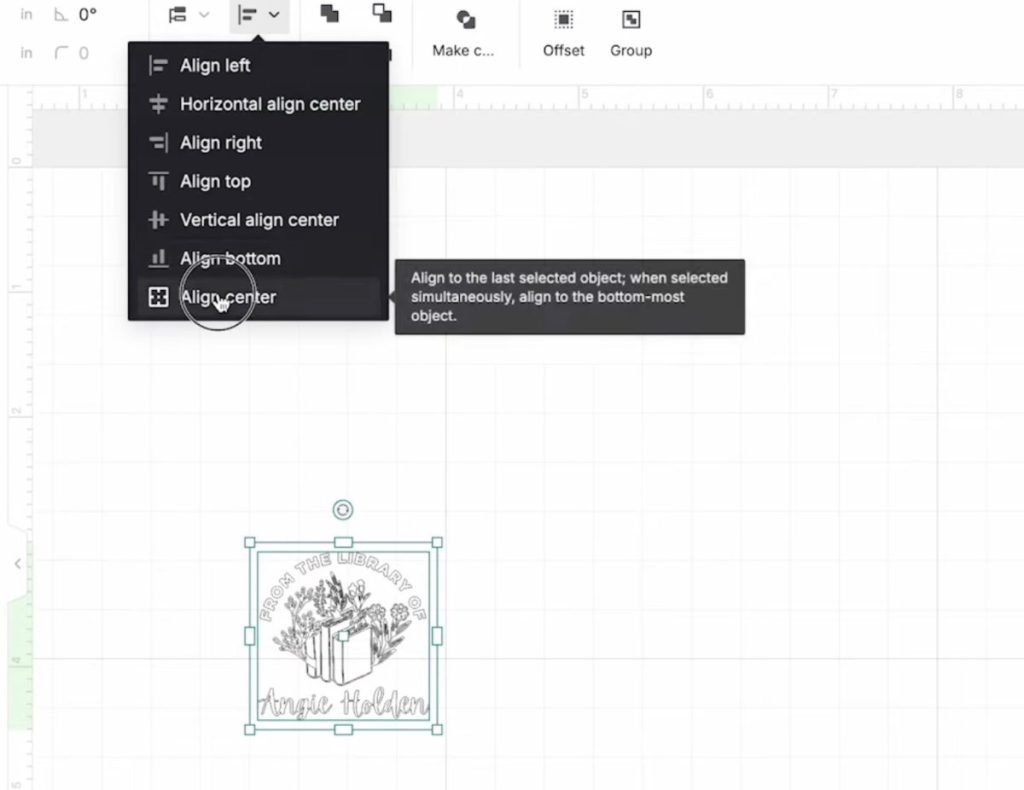
Select the design and mirror the image. In xTool Studio, to do that, you'll flip the design horizontally. This will ensure that when it's stamped, all the text is oriented the right way.
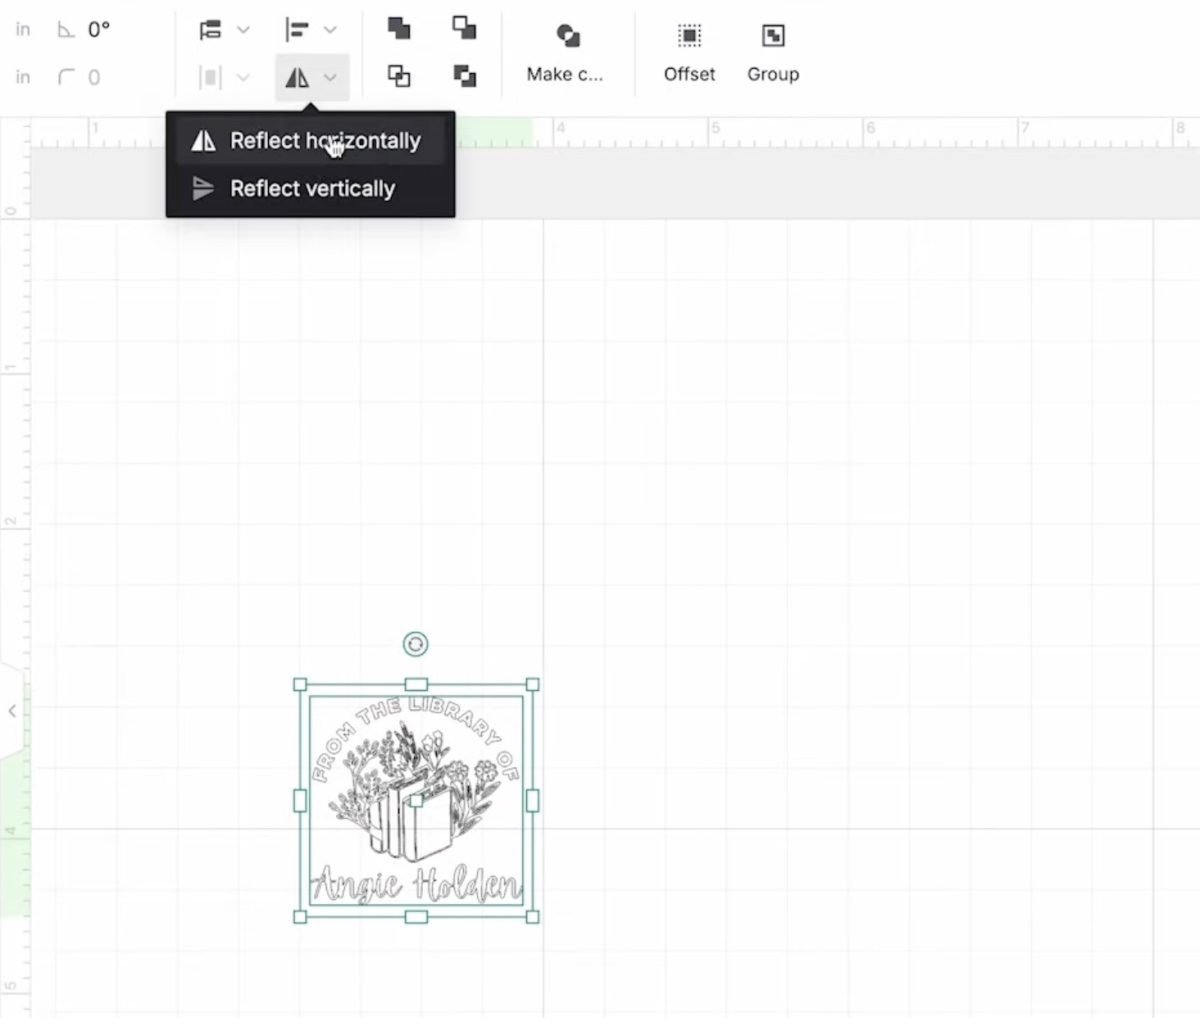
With everything selected, click Subtract at Overlap.
This step makes it so that, instead of the design being engraved, the area around the design will be engraved, so the design is raised higher than the material outside the design.
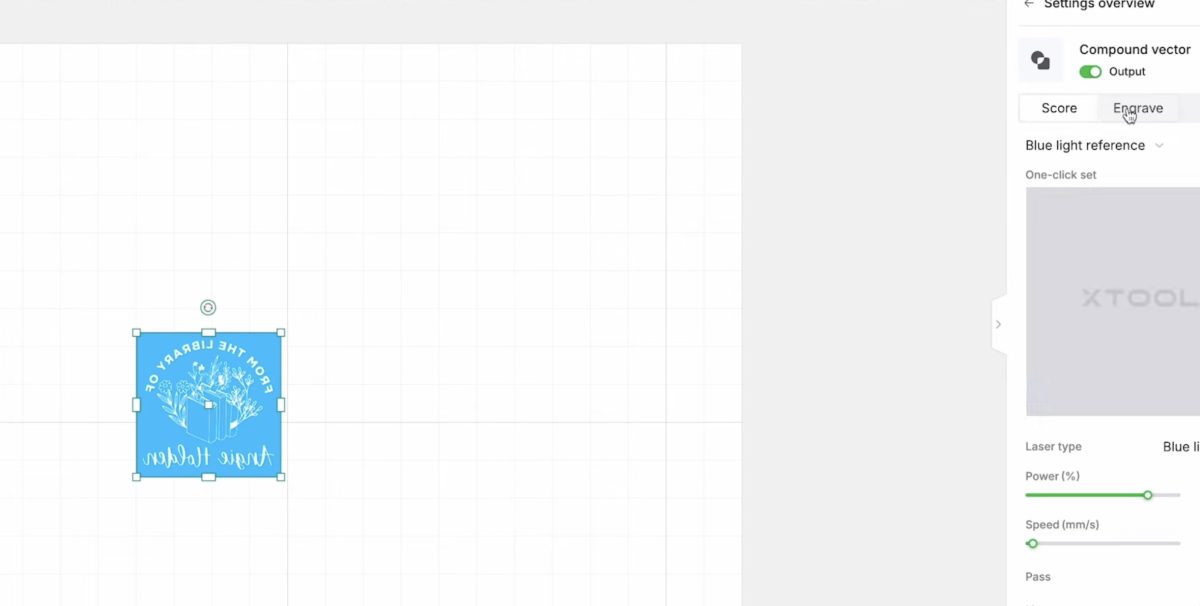
Step 3. Adjust the Engraving Settings
For the settings, I selected Gray Laser Engraving Rubber Sheet as the material and made adjustments to the settings.
The recommended settings did not work for the laser-safe rubber material I used. I tested a variety of different settings and found that the settings that worked best for my material + laser combo were:
- Power – 80%
- Speed – 250
- Passes – 3
- Limes per cm – 260
- Engraving Mode – Bi-directional
- Engraving Angle – Incremental
It took quite a bit of trial and error to find what worked best. I recommend starting with the settings your laser gives you for a similar material, or the settings recommended by the product manufacturer.
The great thing about the size of these stamps is that the testing process doesn't use much material.
Do be aware that you can go too far with your settings. One of mine was too high/too powerful and resulted in burned material.
Step 4. Engrave Stamp Design on Laser-Safe Rubber
Place the rubber sheet on the bed of the laser. I manually focused the laser head and then used the framing tool to make sure the design would be engraved on the rubber.
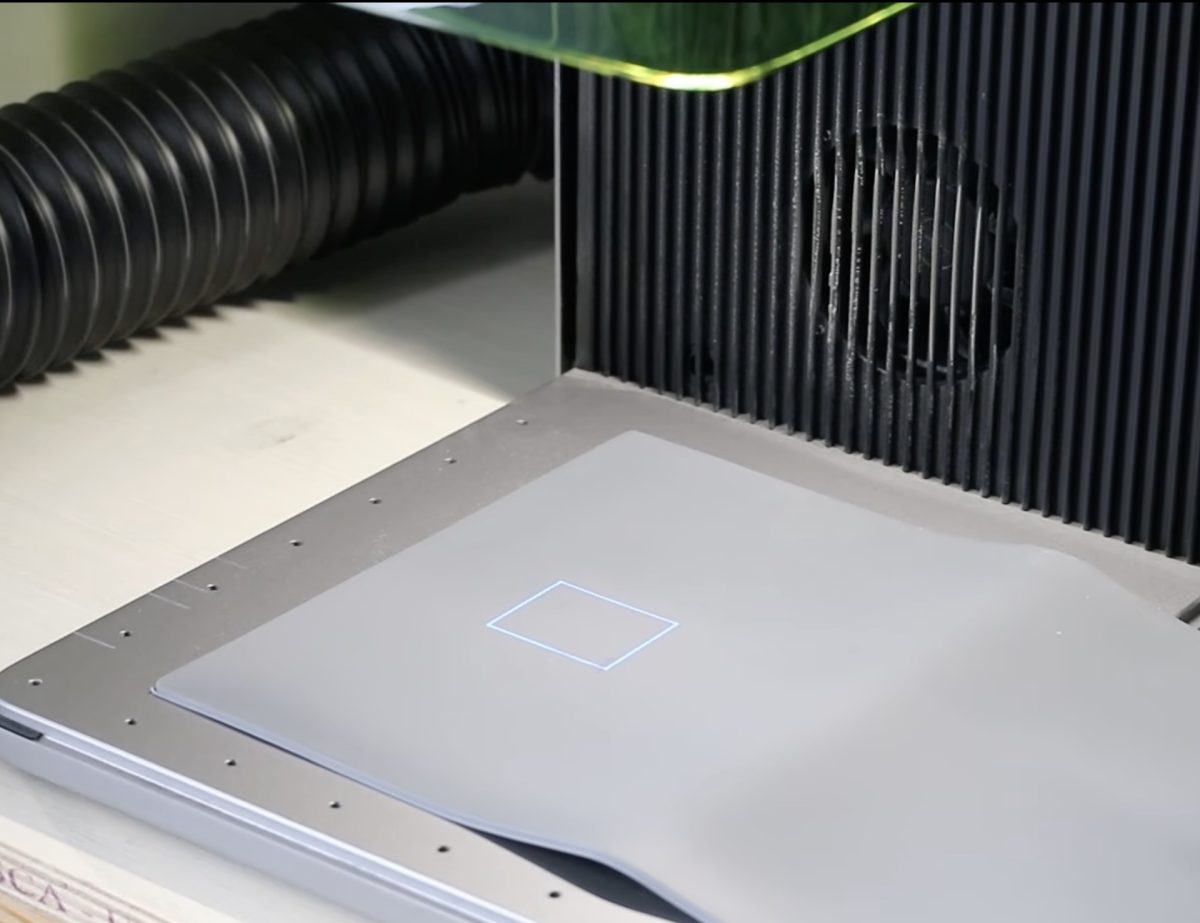
I moved the material so the design would be in the corner so I could use the material for other stamps.
Pull down the protective cover. Press Start in xTool Studio and then press Start on the machine. When the engraving is done, raise the protective cover and remove the rubber sheet from the laser.
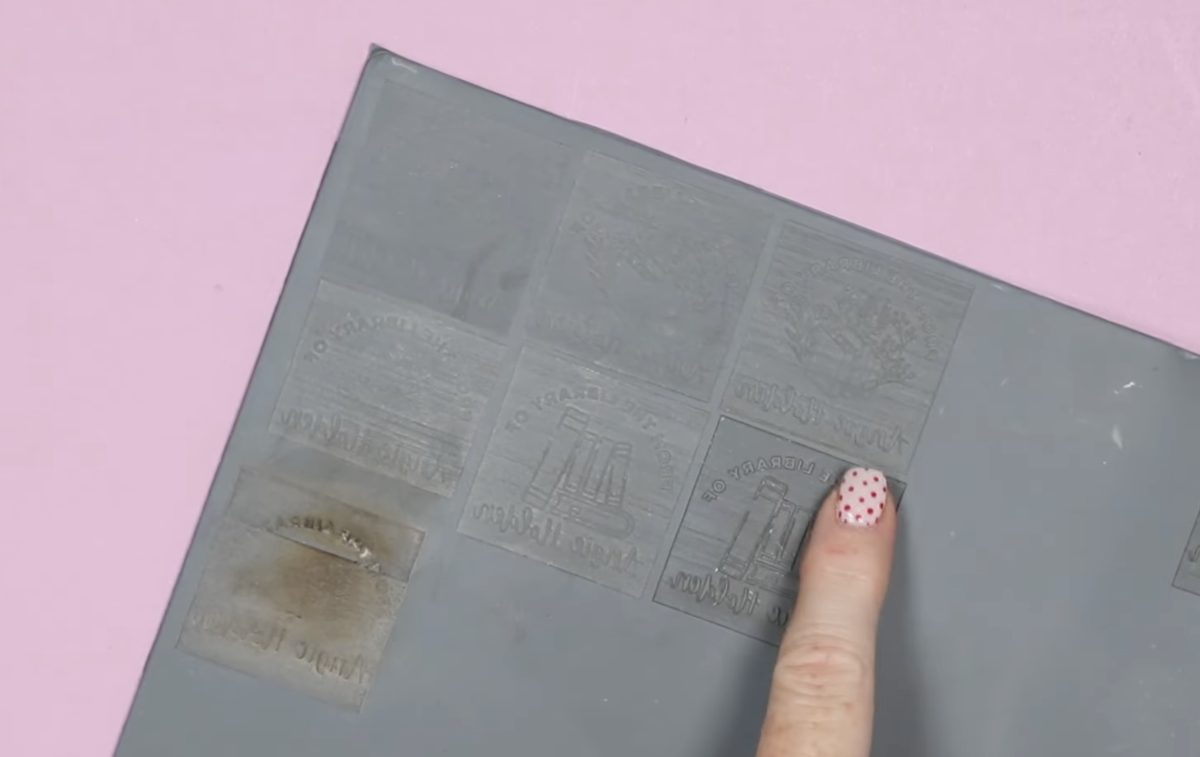
You can see the different tests I did below. Some are very light, and there is one that is too powerful.
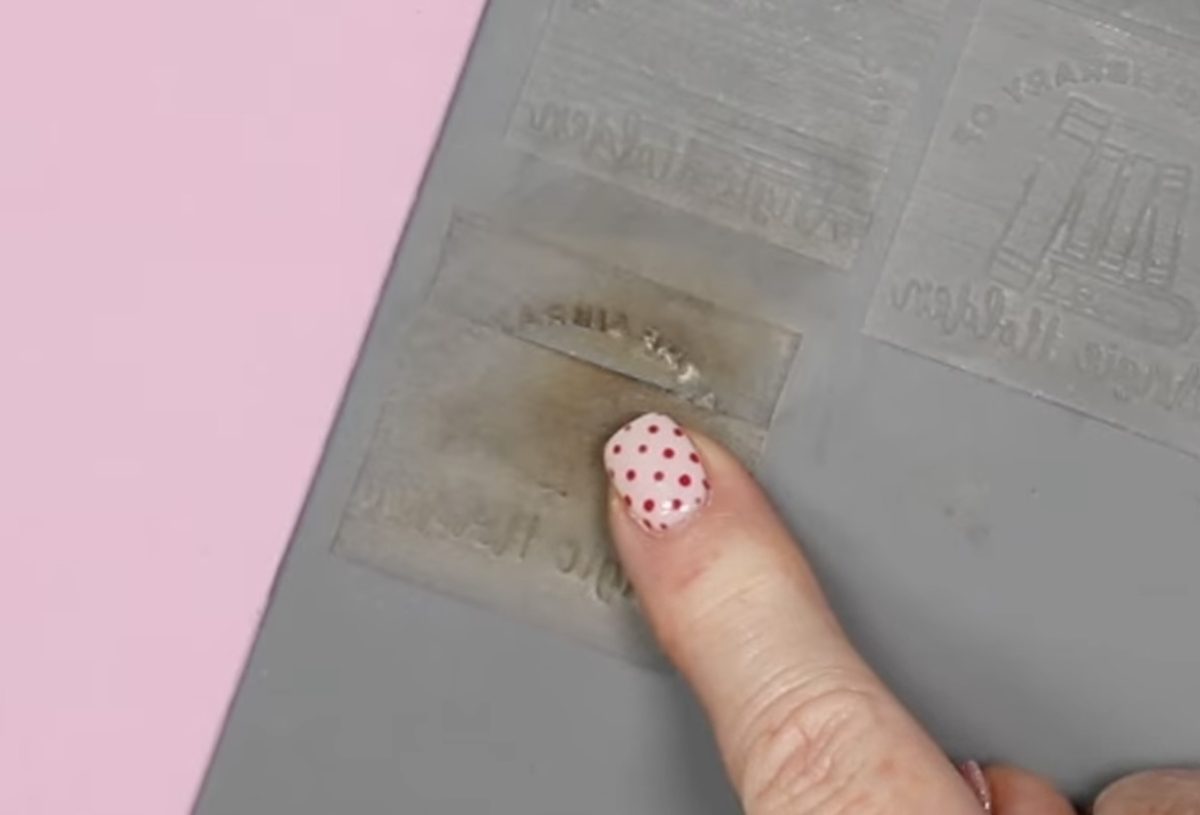
Depending on your laser and the material you use, you may need to use settings different than the ones that worked for me.
Step 5. How to Assemble a Custom Laser Stamp
Before we cut the stamp away from the rubber sheet, we're going to need to clean it. This material gets really dirty during the engraving process. Because of the details in the stamp, I recommend using a brush to get into all the grooves.
To assemble the laser stamp, we need to cut the design away from the rubber sheet. My material can easily be cut with scissors.
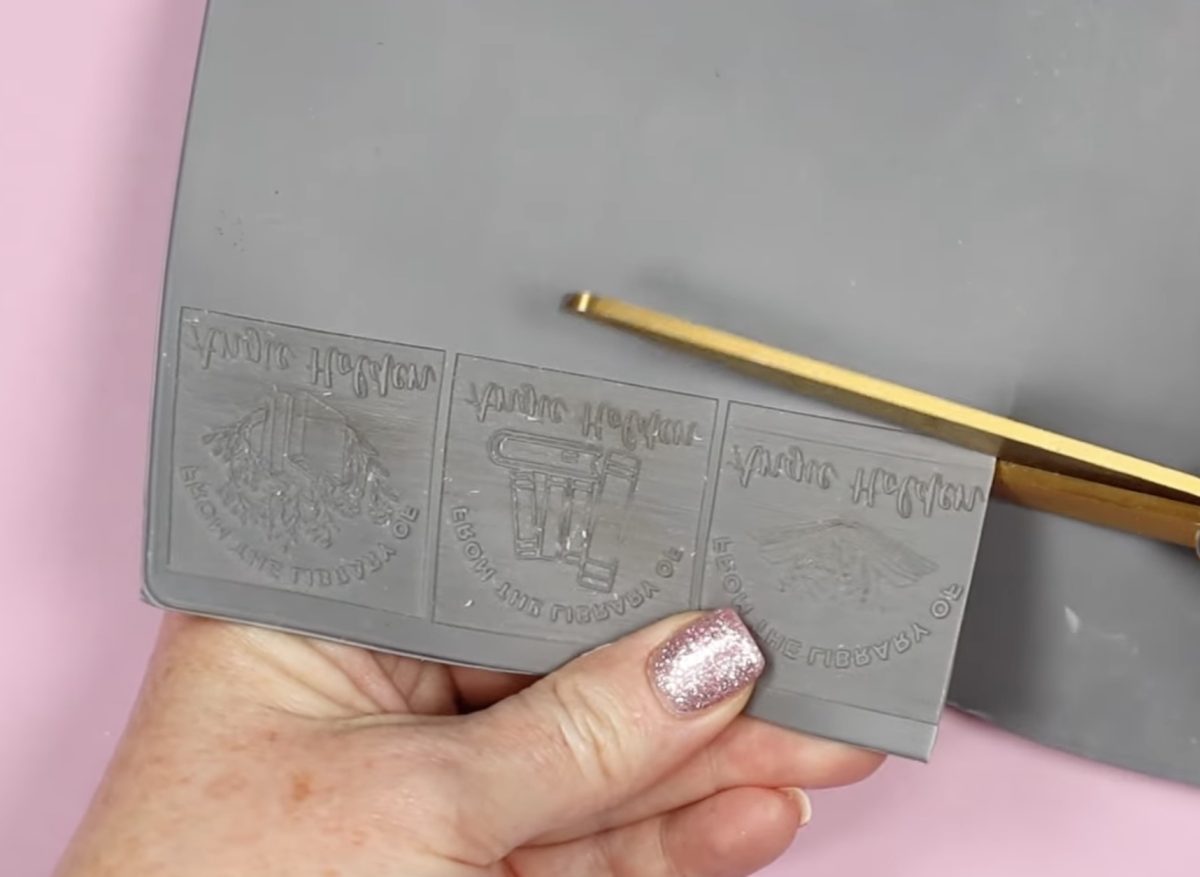
I have three different stamps I want to test with ink. The best way I've found to test the design is to mount it on the wood block.
The adhesive I'm using is an adhesive sheet and can be removed with some effort. So I'm not wasting a block by testing the stamp.
Trim the adhesive sheet to fit the stamp. You don't want it larger than the stamp piece. Remove the backer, and stick the adhesive to the stamp. You can also stick it to the wood block as well if you want.
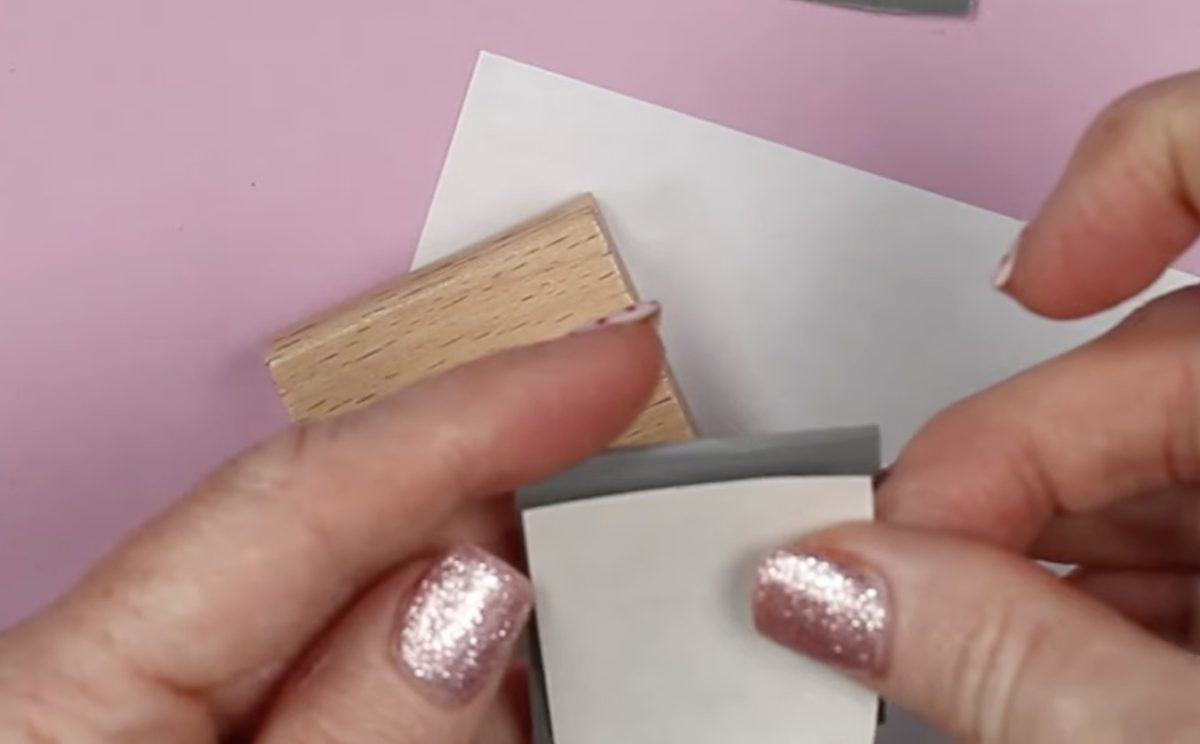
With the adhesive on the stamp, peel back the other adhesive backing and stick the stamp to the wood block. Make sure it's stuck down really well.
Step 6. Test the Custom Stamp
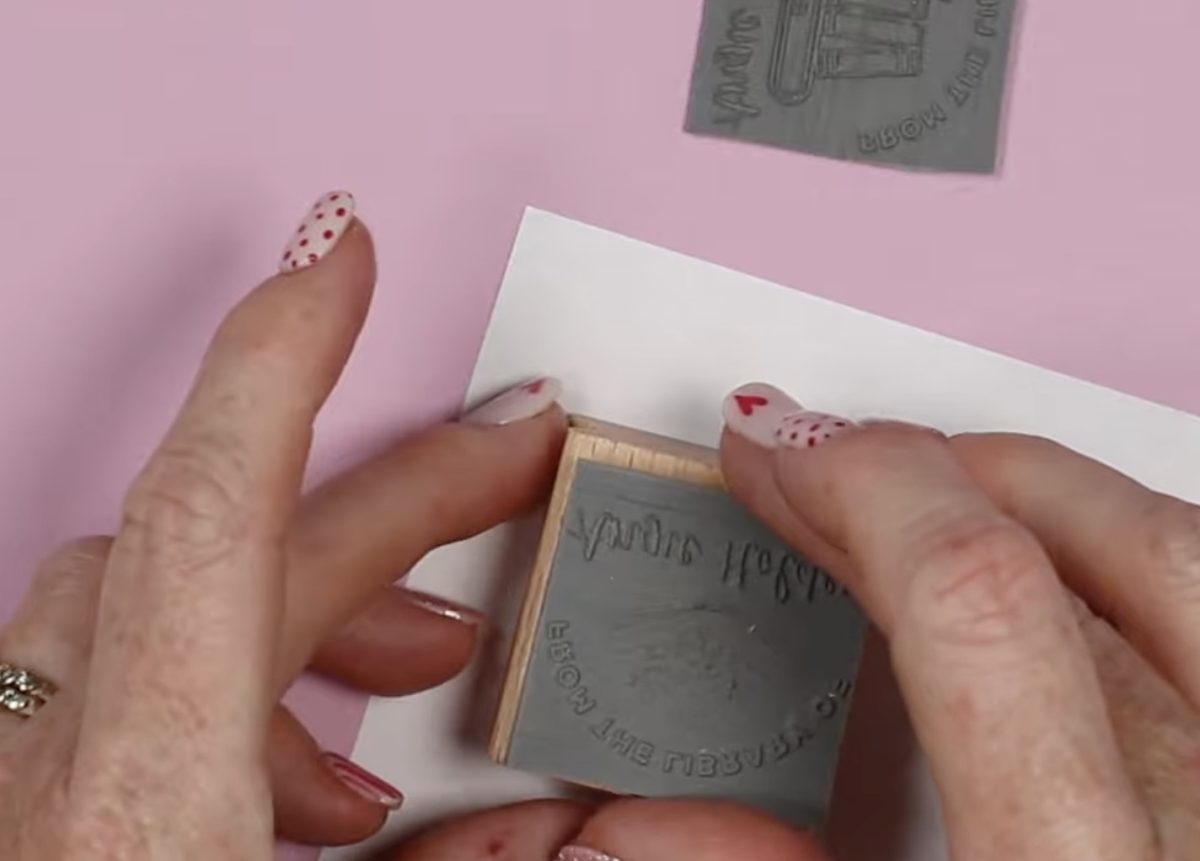
Now that we know how to assemble the custom stamp, we can test it. Since we're just doing a test, the color of ink doesn't matter.
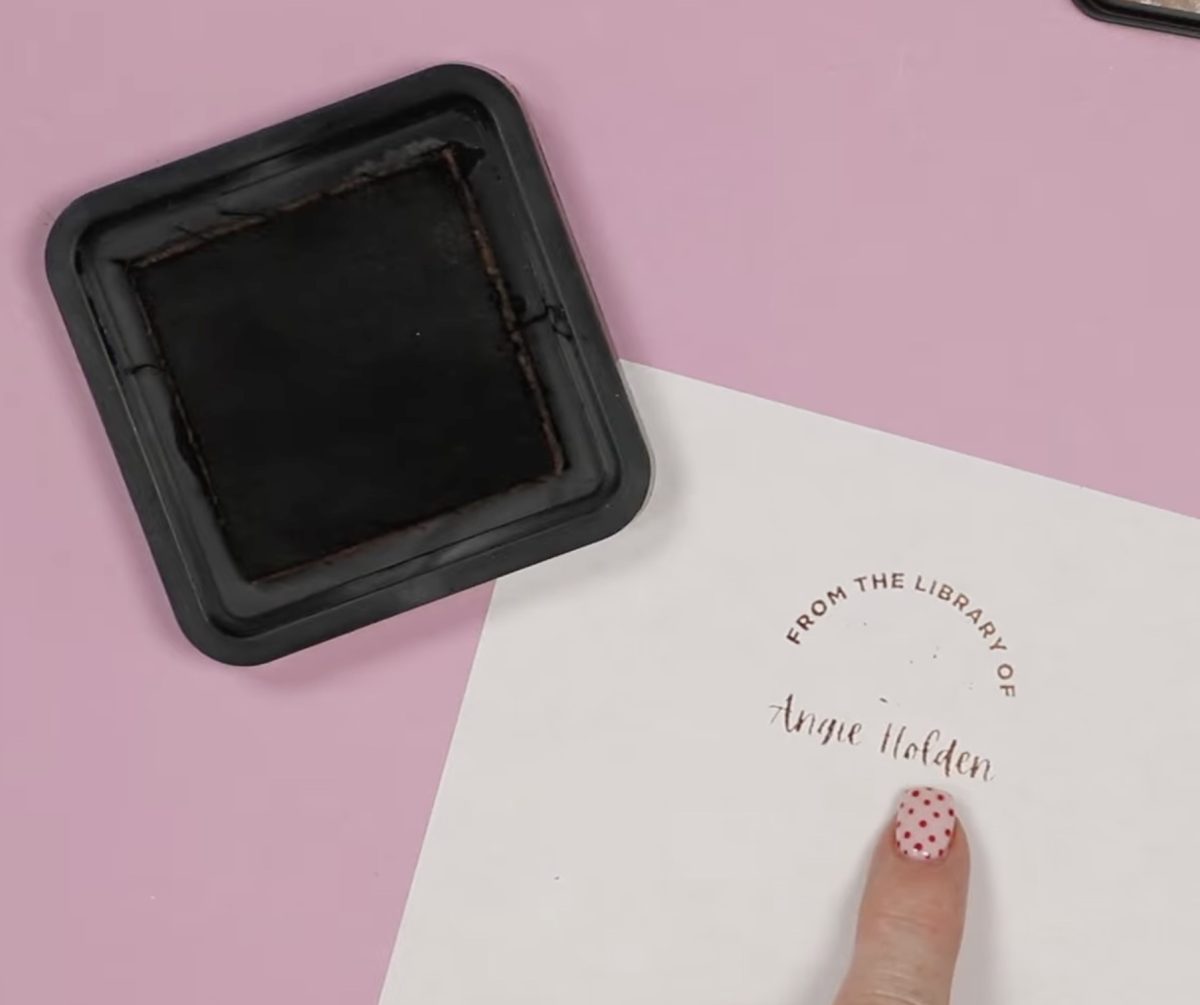
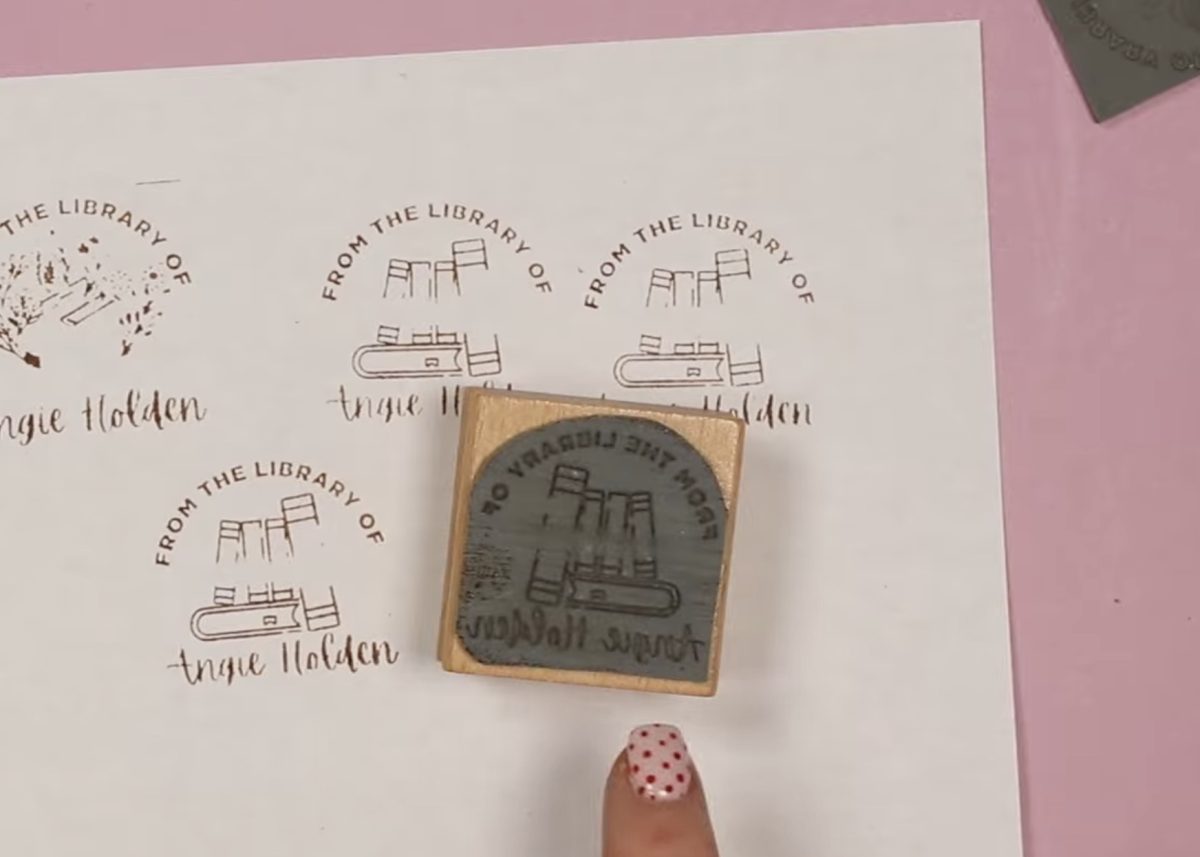
First, we have this stamp, and I could tell just by adding the ink that this isn't going to be great. The fine lines in the middle didn't show up when stamped.
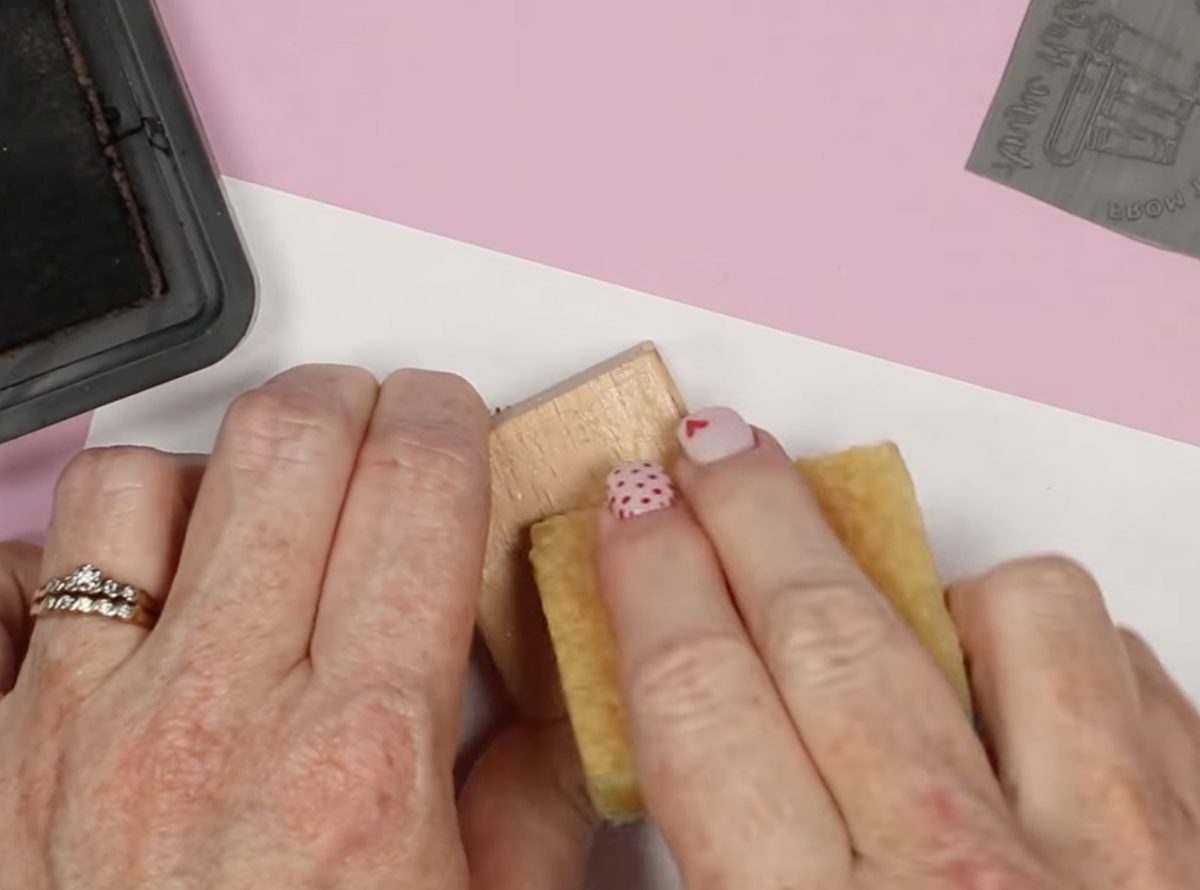
To test the next stamp, we need to remove the rubber piece from this stamp. I was able to peel the rubber off the adhesive, and then I used an adhesive eraser to remove the adhesive from the wood block. Once I got it started, I was able to roll the majority of it off with my fingers. With the bulk of the adhesive removed, I used the adhesive eraser again to clean it up the rest of the way.
Repeat the process above for the next stamp.
This one is a little better but still not perfect. I think the one with the bolder lines will work better.
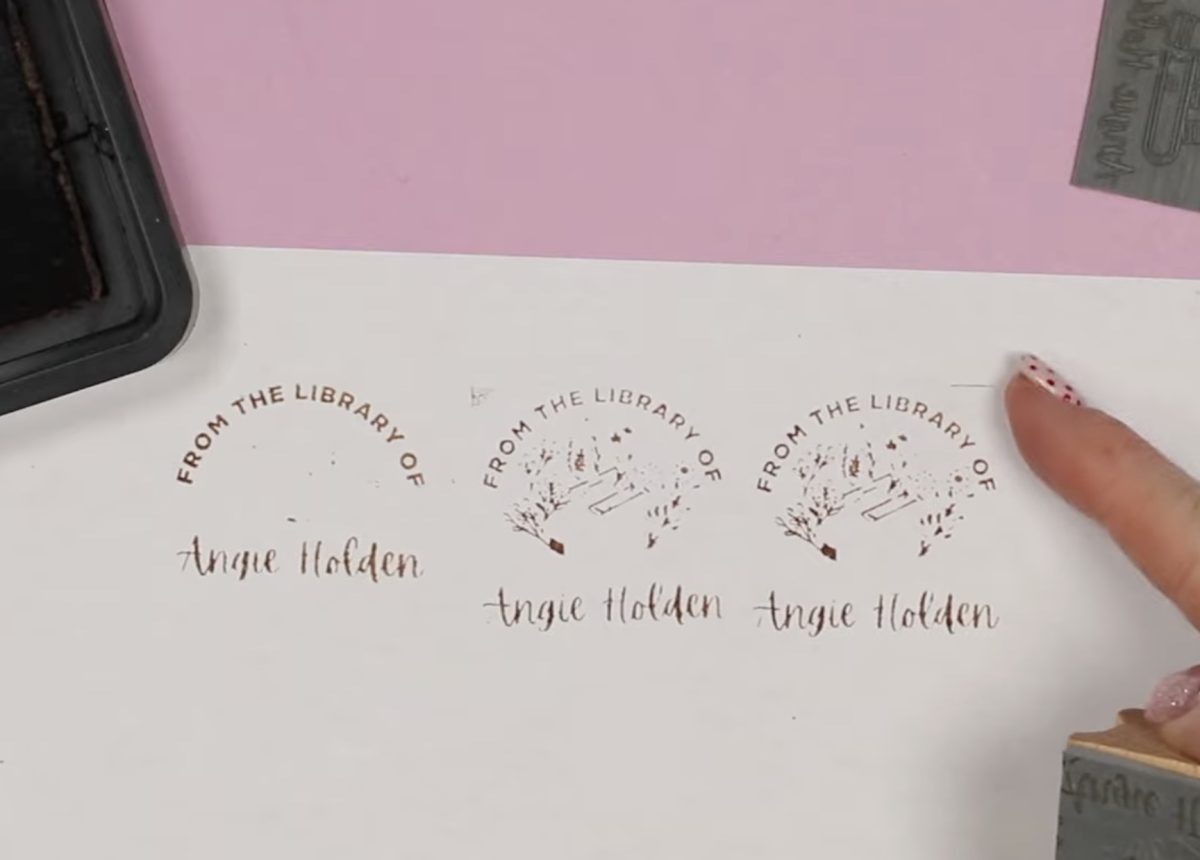
Remove the stamp and adhesive again, and we're ready to assemble the stamp that I think is going to work.
Step 7. Engrave the Stamp Design on the Wood Block
Because I want the stamp surface to be nice and flat, I'm going to engrave the design before I add the rubber stamp.
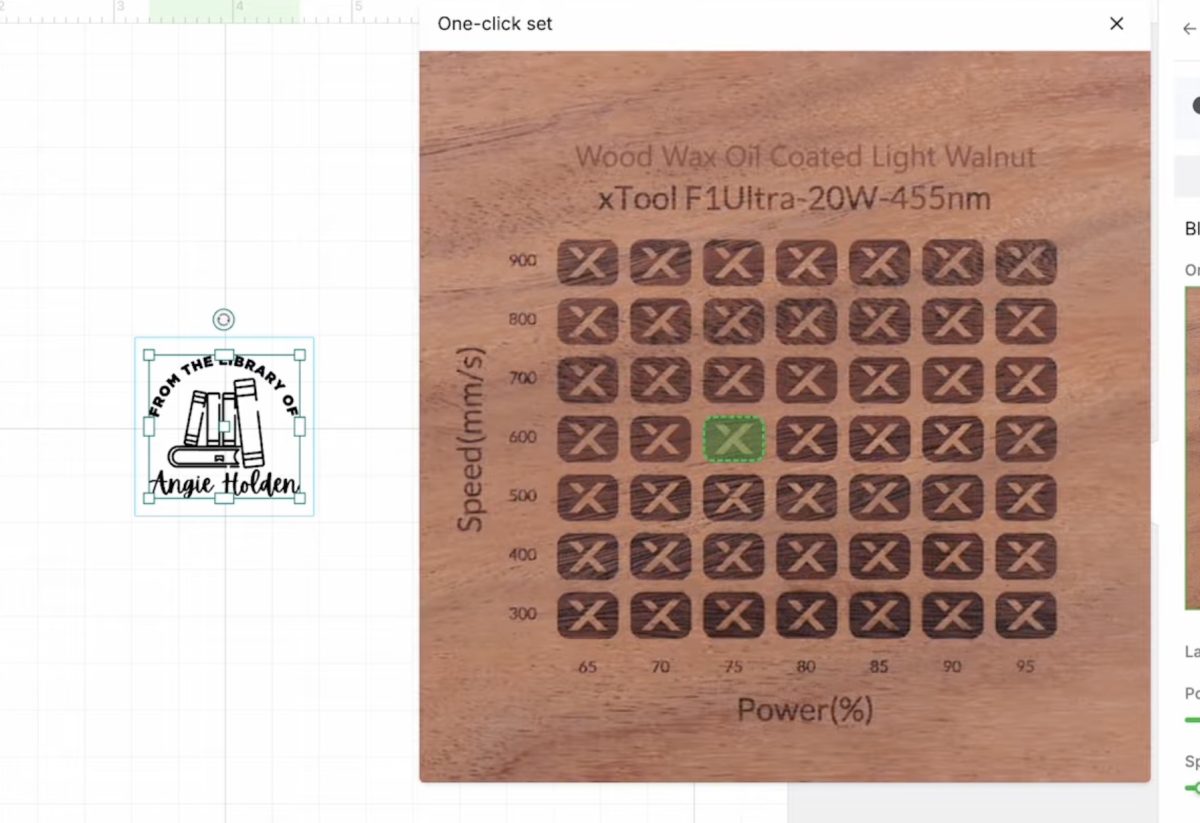
Upload the design again and resize it so it will fit on the 1.5 by 1.5-inch square. If you add a square to help with the sizing, remove that before sending it to the laser. This time we don't need to flip it or change anything other than the material and engraving settings.
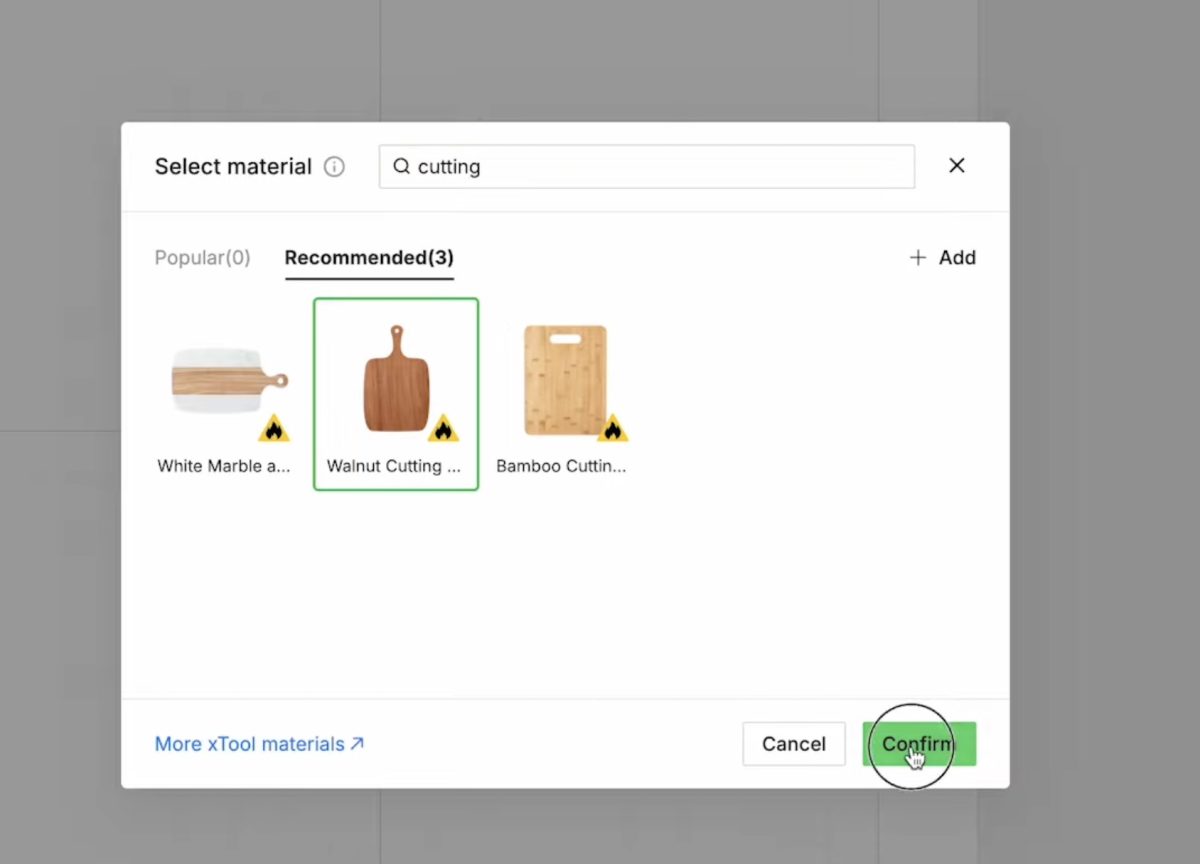
I used the cutting board setting.
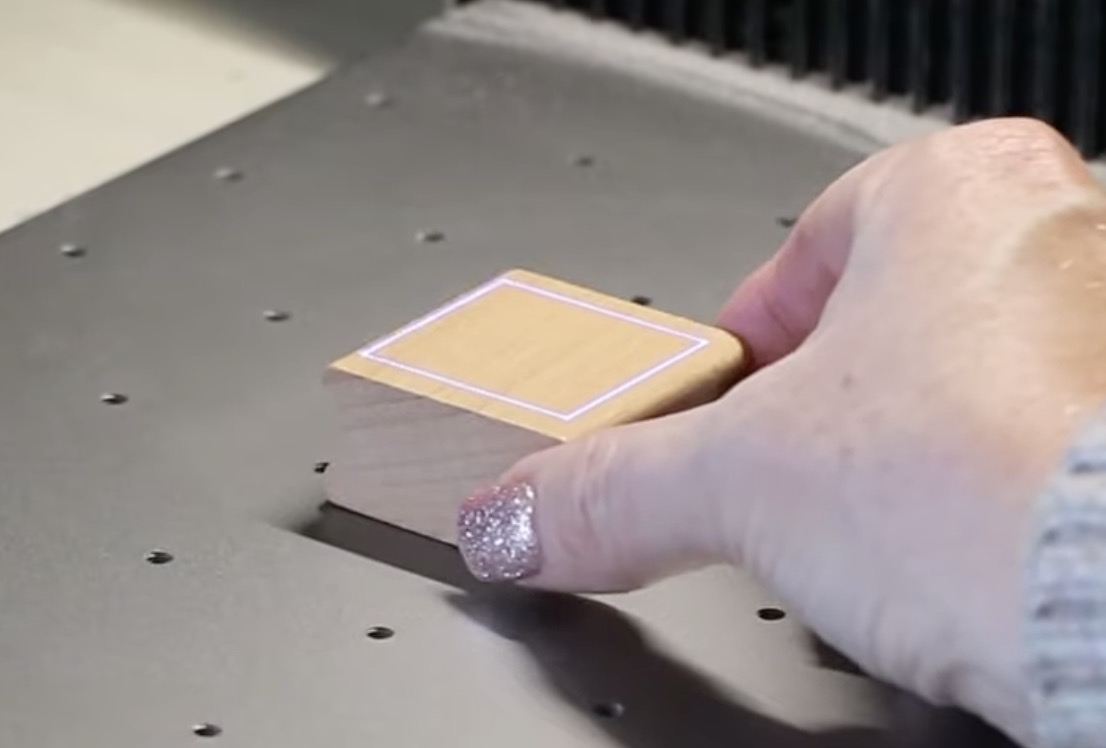
With the wood block in the laser, use the framing tool to make sure the engraving will all be on the wood.
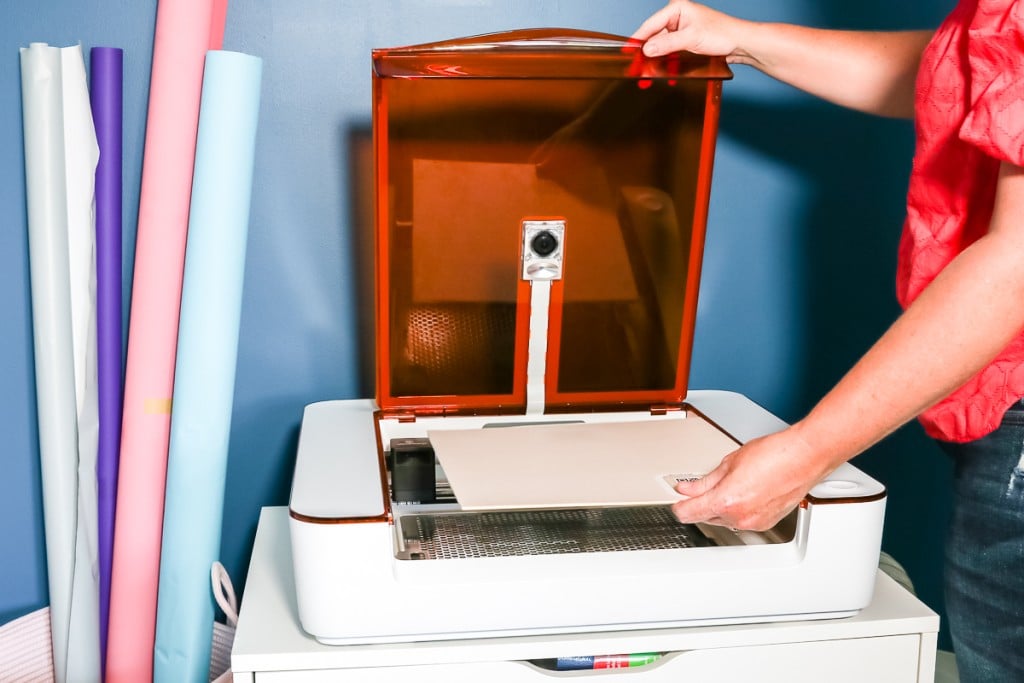
Close the protective cover and click Process, then Start on the laser.
It actually engraved really quickly and looks really good. I think having the design engraved on the stamp block makes it look like a more professional stamp.
Step 8. Finish the Custom Engraved Stamp
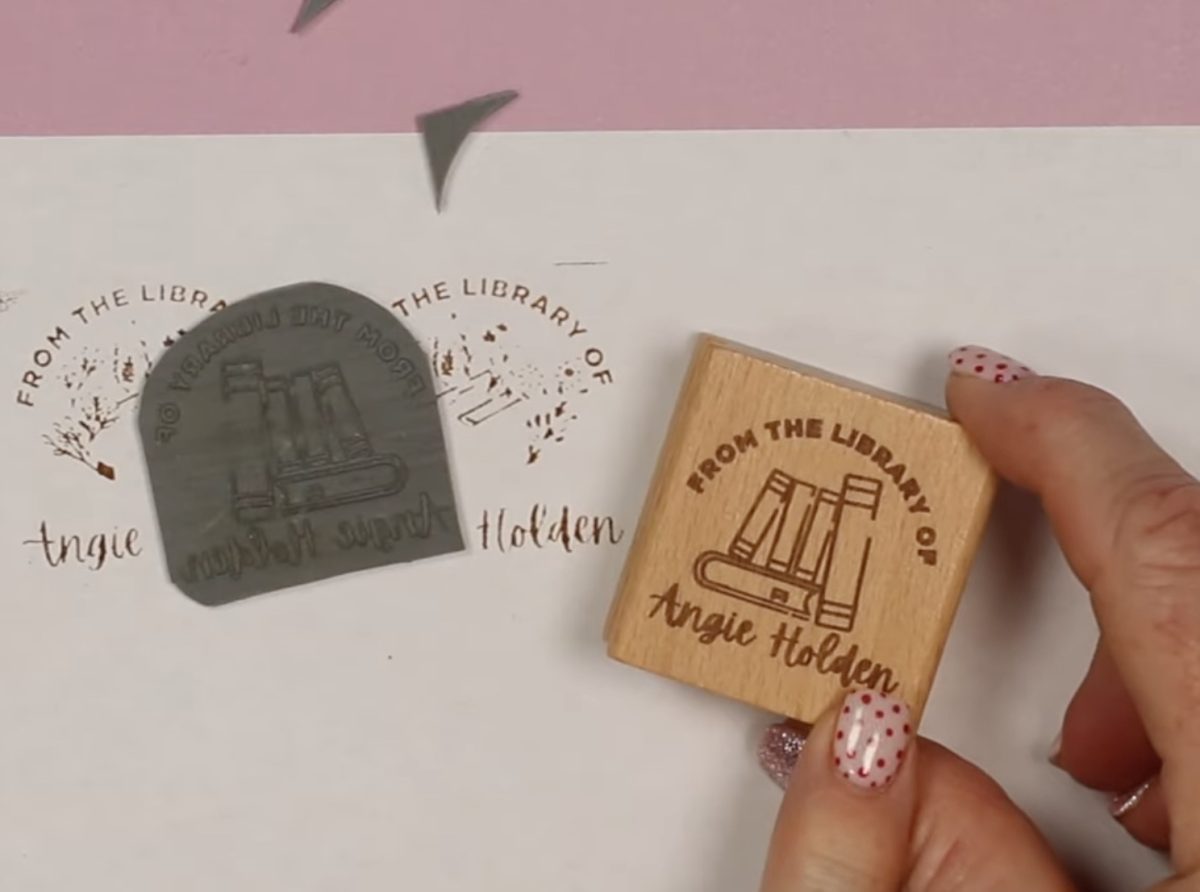
For this stamp, I trimmed the corners a bit and then mounted the rubber to the wood the same way we did for the first stamp.
Make sure you orient the stamp so it's the same direction as the design on the wood block.
Just adding the ink to the stamp, I can tell it looks much better. When it's stamped, it looks better too.
Get my FREE Laser Ready course!
Learn everything you need to know about getting started with laser crafting with this free video and guide. We'll discuss the different laser options, how lasers work, and what types of materials you can use.
What Type of Designs Work Best for Custom Laser Stamps?
I think designs that have thicker lines are going to work much better. After the engraving, more rubber is left to transfer the ink from the stamp pad to the paper.
So, when looking at designs, I'd look for bold fonts that have thick lines and for the designs themselves to have thicker lines.
I did want to note that I made a variety of stamps. Some of them have personal information on them, so I won't show photos here, but they all turned out really good.
I'm not sure what happened with this one where there is a little section in the middle that won't stamp. Looking at it, I think it may be a combination of the design and the tracing. When I traced the design in xTool Studio, it's possible it left too much noise around that section, and then when it engraved away the noise, it also engraved away some of the design.
This is just another example of the importance of doing some testing. The good news is, we can remove the rubber piece and try again without wasting the wood block.
Are You Ready to Make Your Own Custom Laser Stamp?
I had so much fun creating these stamps with my laser. The good news is, since I used a diode laser, you know you can do this with pretty much any laser.
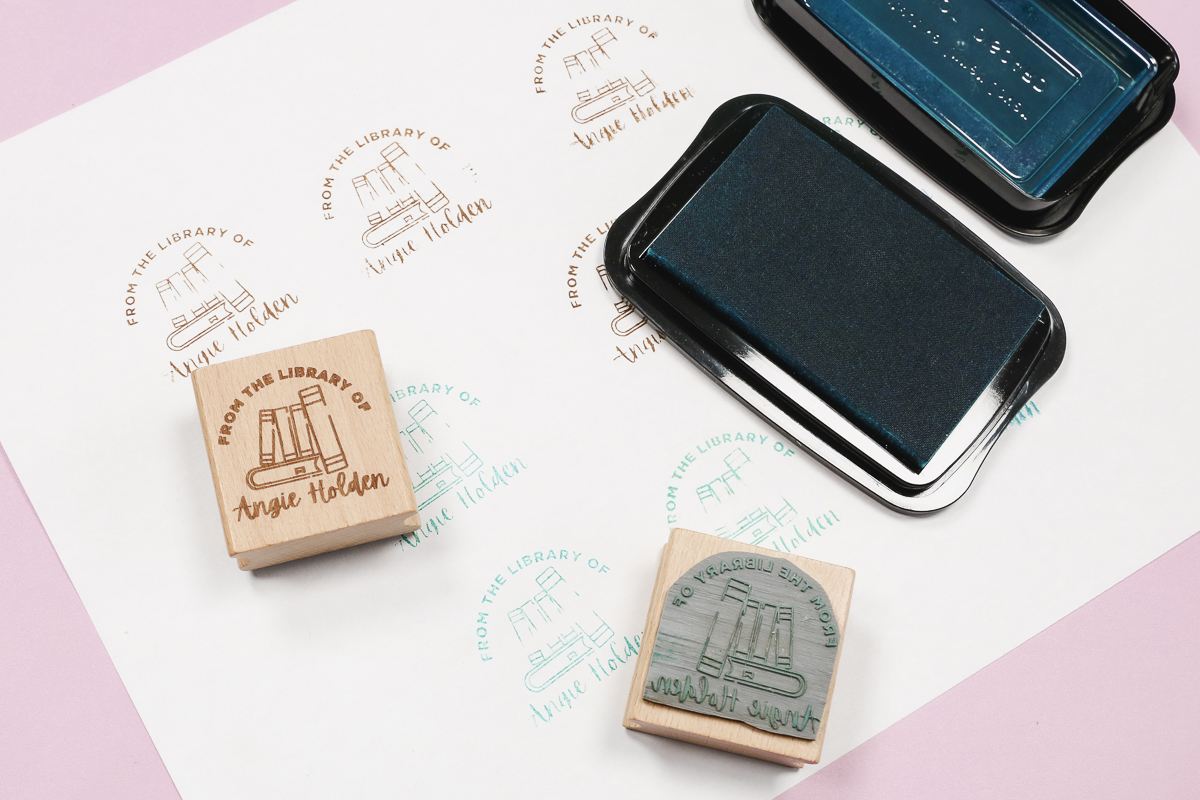
The options for making custom stamps are endless. From book stamps to return addresses, and business logos to teacher gifts, you could customize these for anything.
Don't forget to plan for a little extra material for the testing process and, of course, time to do the actual testing.
And you don't have to use the same wood block I did. There are a variety of stamp handles you can experiment with.
I hope I've answered any questions you have about making your own custom laser stamps. If you have any additional questions, leave them in the comments, and I'll be happy to answer them for you.