Have you ever wanted to make your own wax seal? If you have, you’re in luck. Today, I’m going to show you how to make a custom wax seal stamp, so you can make your own wax seals using an xTool F1 Ultra Laser.
I have seen wax seals popping up everywhere, which has had me wanting to make my own wax seal stamp, and I’m excited about how well this turned out.
If you’re trying to decide if the F1 Ultra laser is right for you, don’t miss my full review.
To make a custom wax stamp, you need a fiber laser. From my research, other lasers don’t get deep enough in the brass to create a wax seal.
How to Make a Wax Stamp with the xTool F1 Ultra laser
If you own a small business, are planning a wedding, enjoy writing letters, or just love the look of a wax seal, you’re going to love the ability to create your own stamps.
Supplies Used
IMPORTANT: You do need a brass blank wax stamp. Because we’re using it with hot wax, it needs to be brass to hold up to the heat.
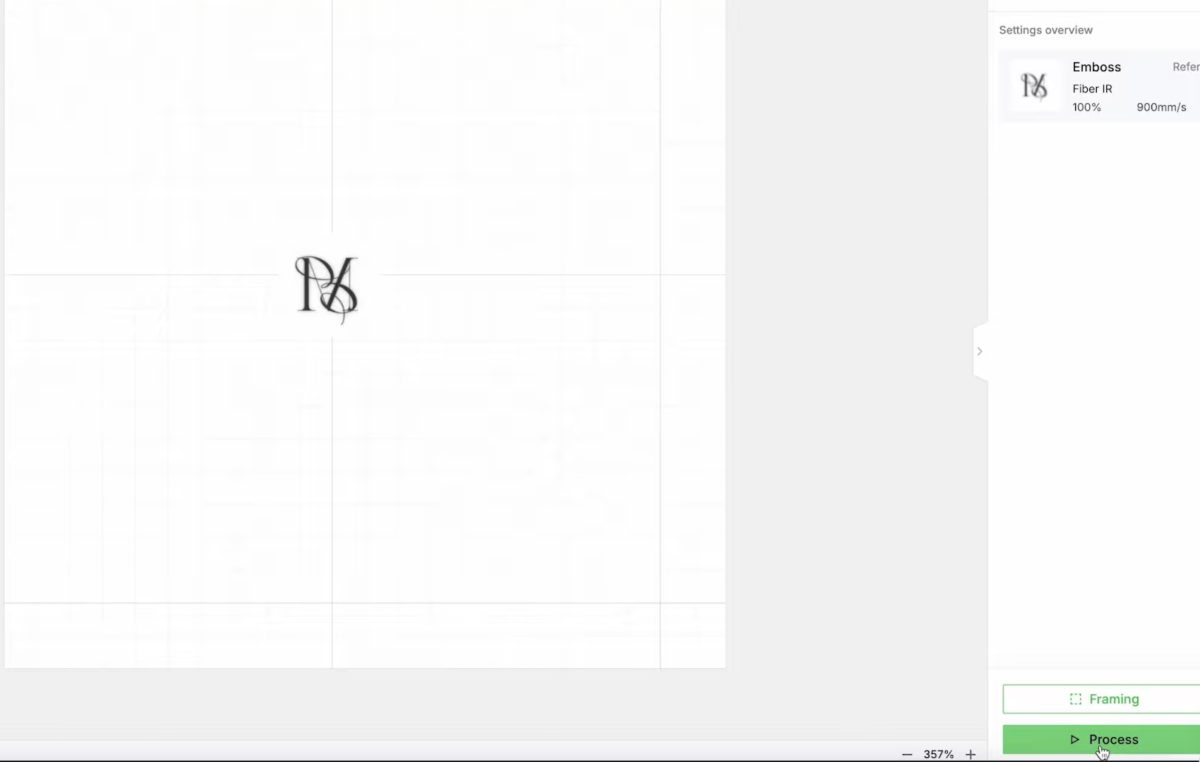
Step 1. Create the Design in the xTool Software
First, change the Processing Mode to Embossment.
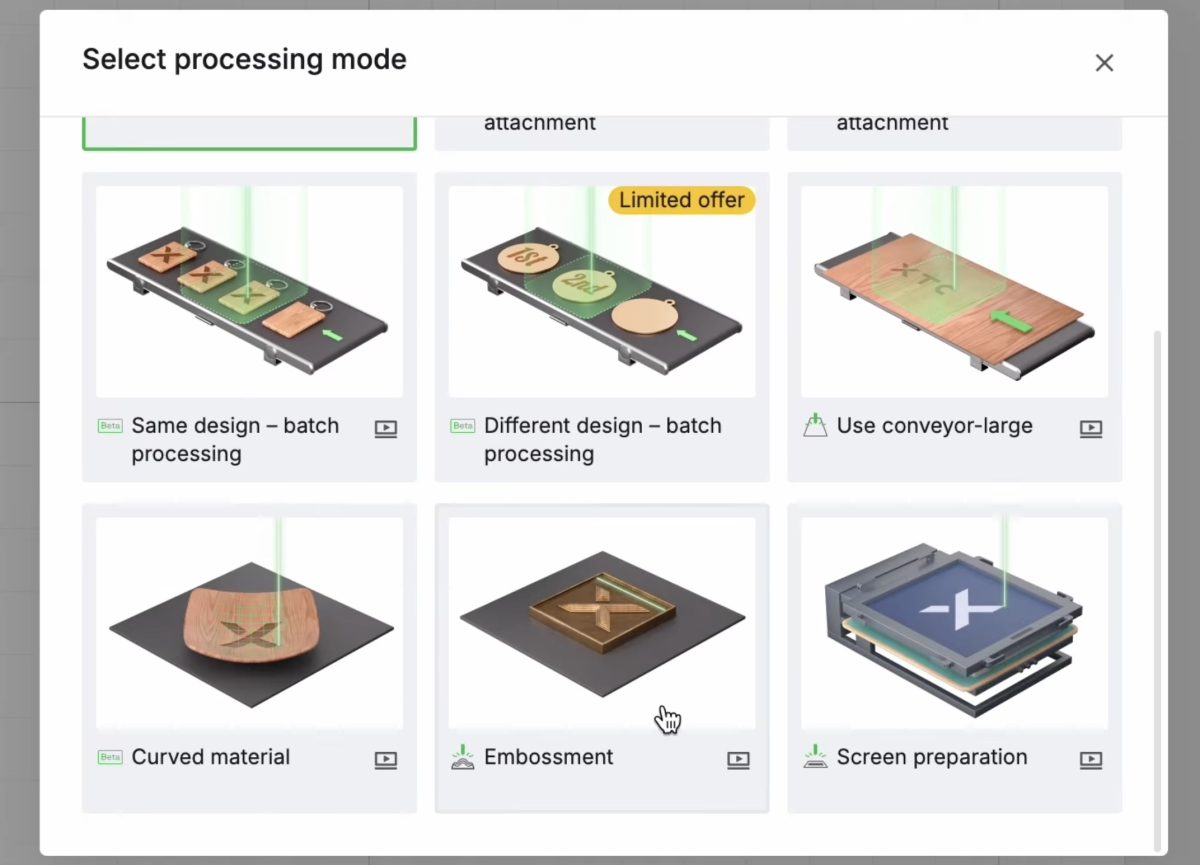
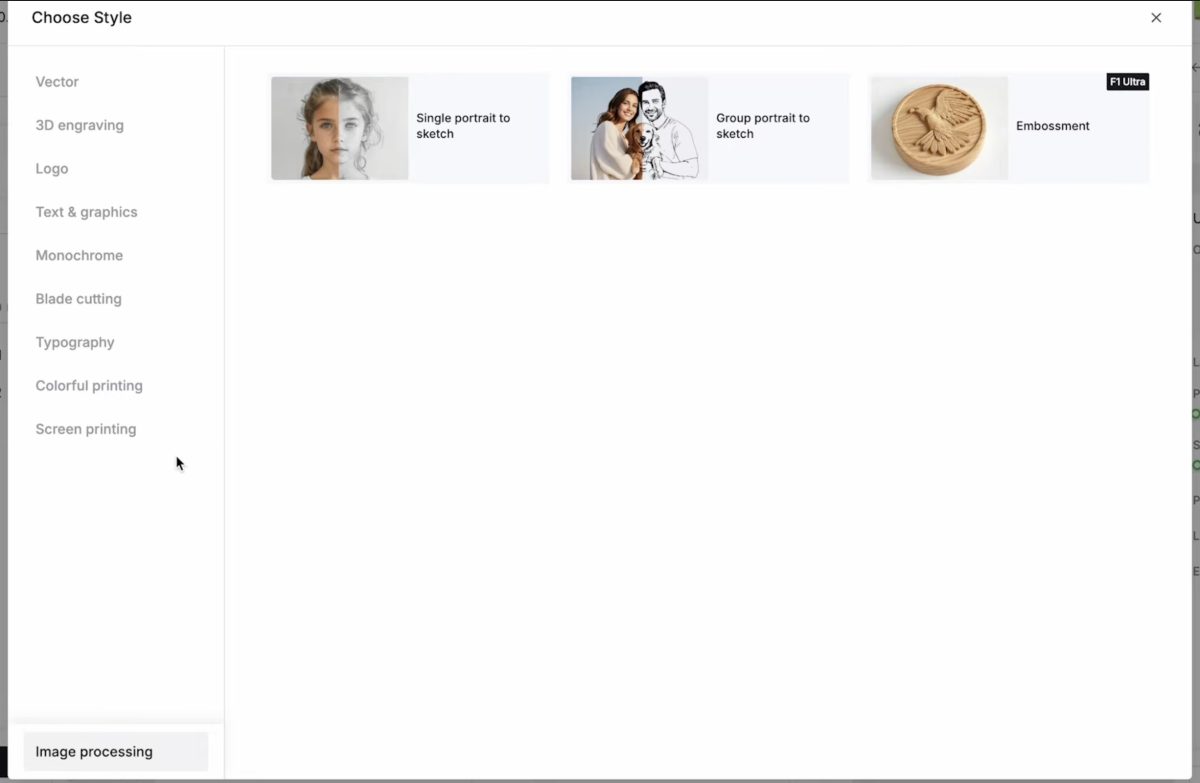
Click the AI tool on the left-hand side and Image Processing. Click the Style and then choose Embossment.
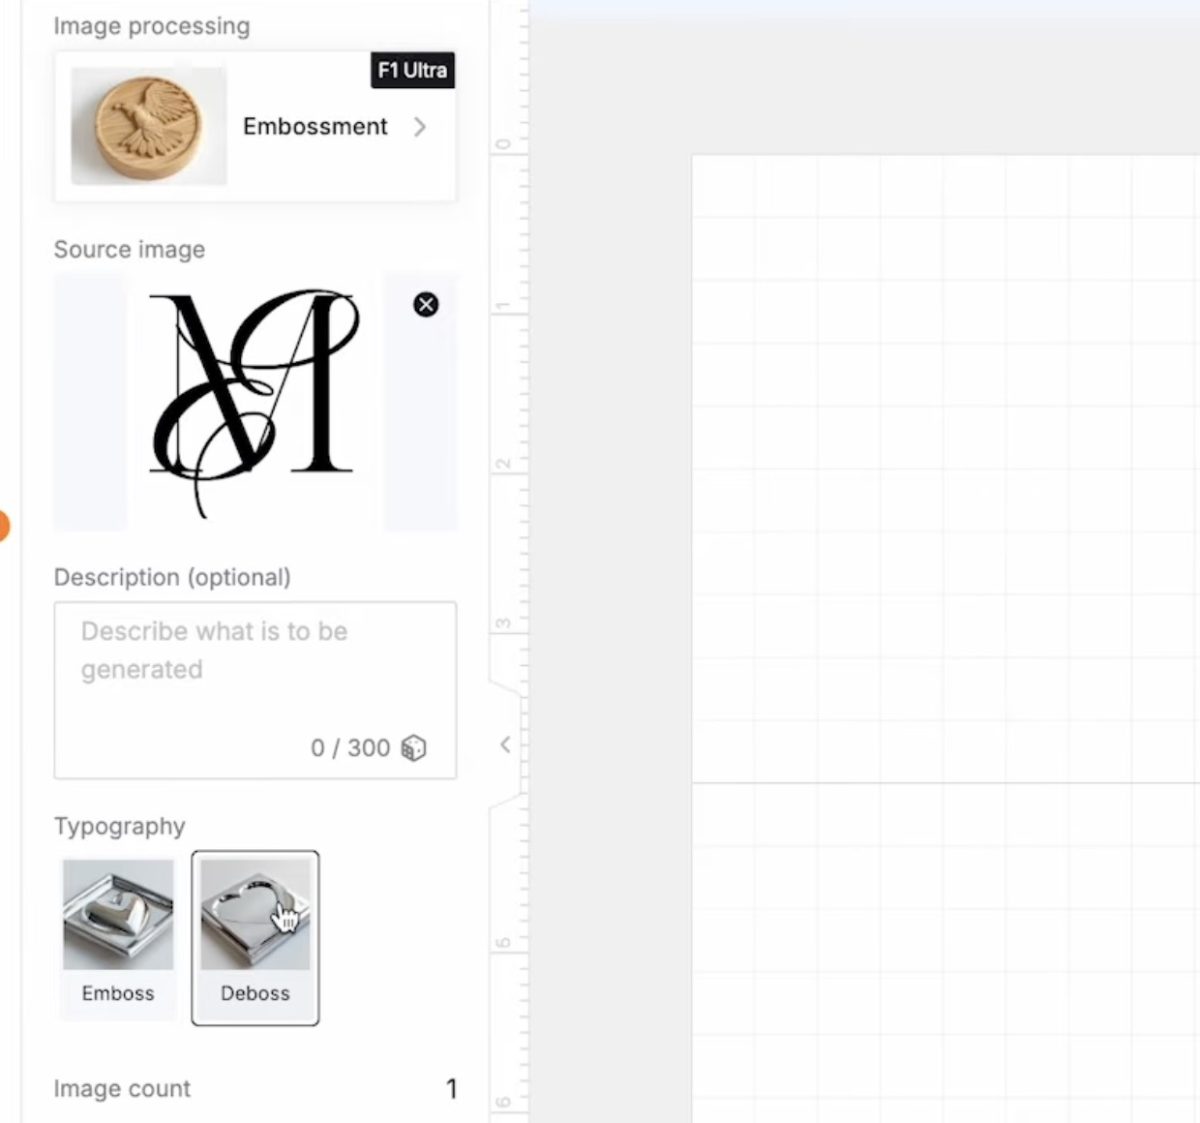
Next, upload the design you want to use.
Your design must have a background. You do not want an image with a transparent background for this project. You also want to make sure that the background covers an area larger than your stamp base.
My image is a PNG file with a white background, and the background is not removed.
Select Deboss and click Generate. The software will generate the depth map you’re going to need.
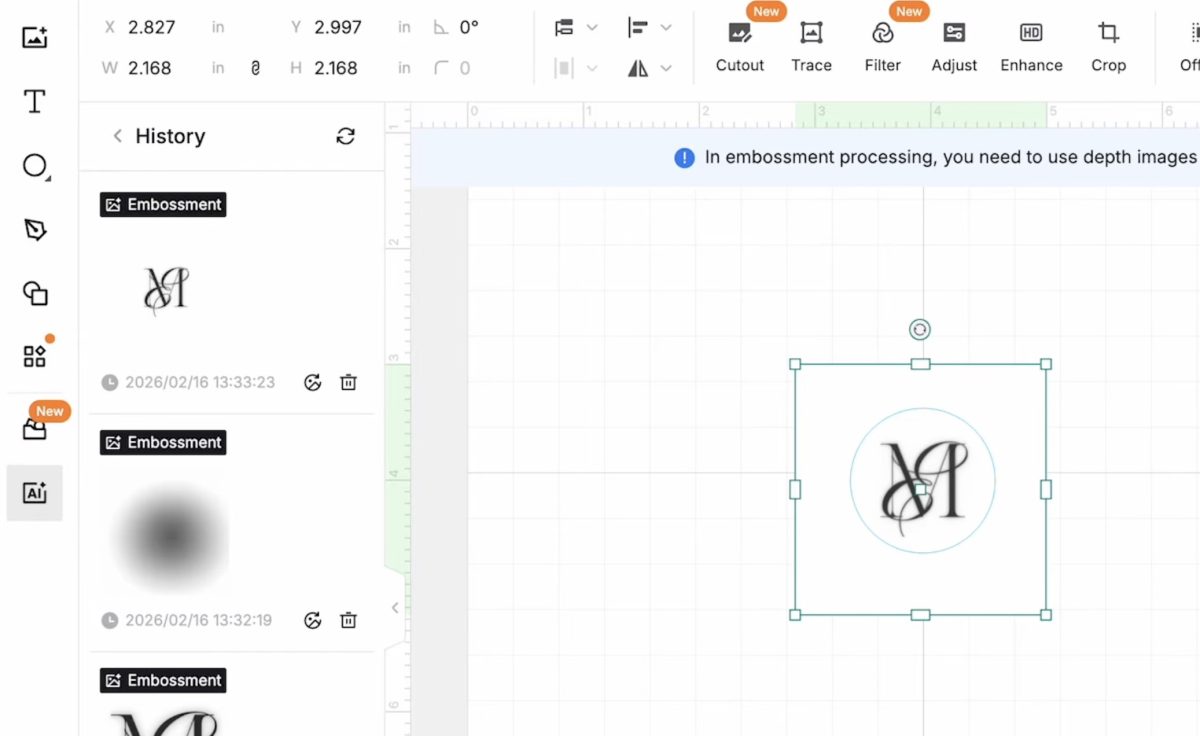
On the left-hand side, you can see a few different images. The top image is the file I am going to use. It is the PNG with the white background.
The image below it is the design without a white background, and the xTool software could not work with that.
Now that we have the design uploaded and mapped for deboss, we’re ready to finish the design.
Create the Stamp Design
My stamp blank is a circle, so I’m going to draw a circle in the software that is the same size as the blank.
If your blank is a square or other shape, you’ll do the same thing using that shape.
My circle is 1.25 in by 1.25 in.
Resize the design to fit inside the circle and make sure the white background covers the entire area.
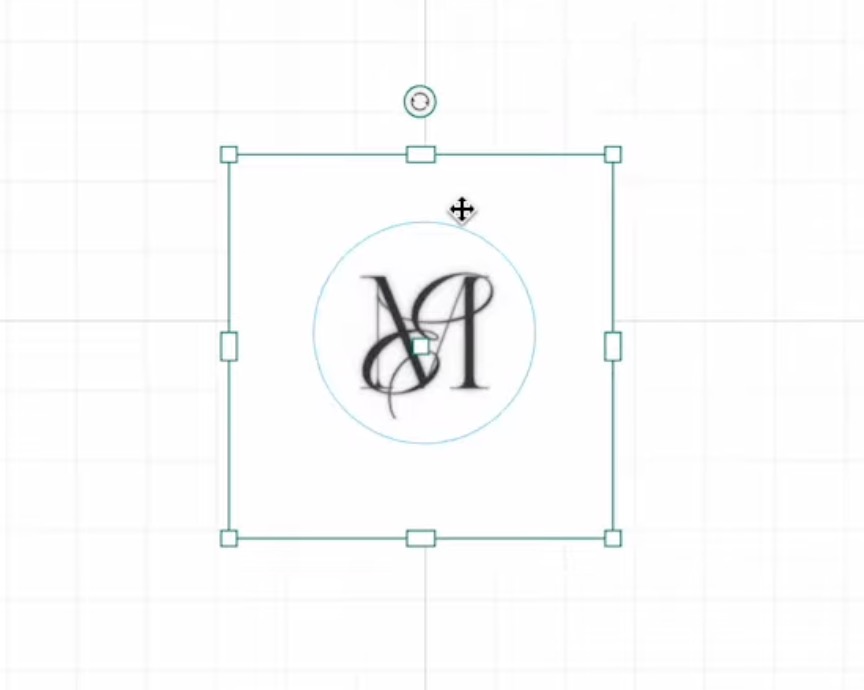
You do not want any area of the circle to not have the white background.
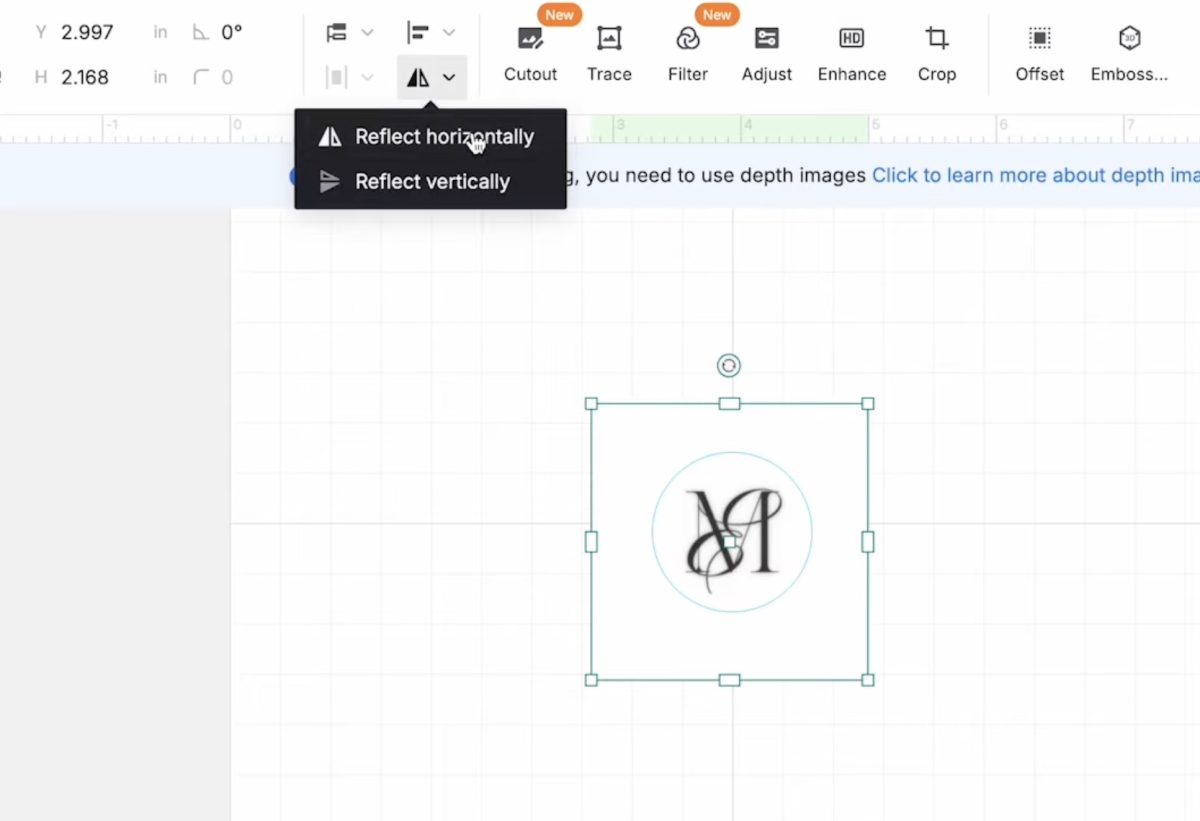
Click on the image, go to the top toolbar, and click Reflect Horizontally. This will mirror your image so that when you use the stamp, the text will be facing the correct way.
Select the circle and the image and click Create Mask in the top toolbar. This will mask everything outside the circle.

Now the image is ready to engrave.
Step 2. Locate the Wax Stamp Blank
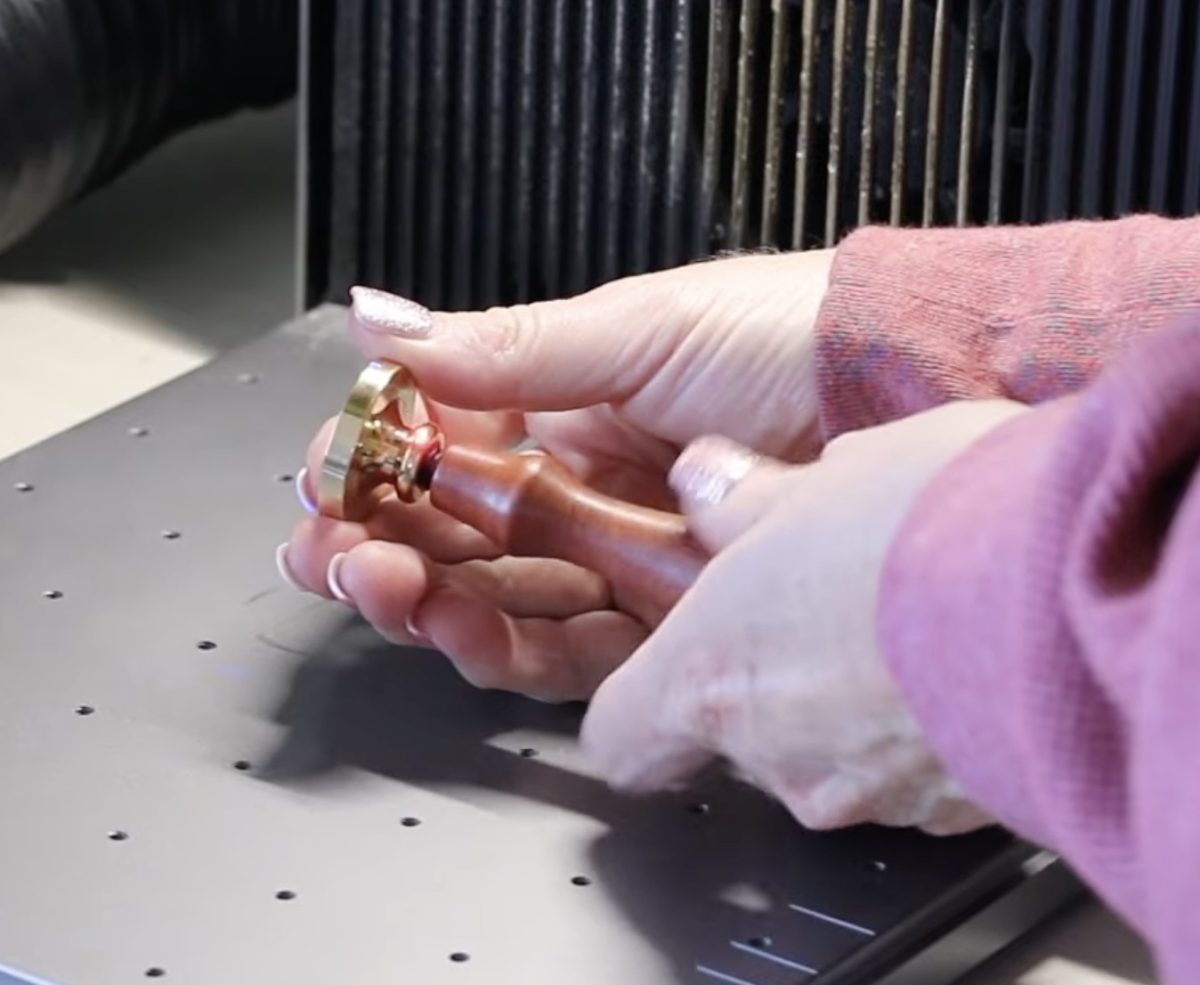
My wax stamp came as one piece, and the brass end can be unscrewed.
Because the white area of my design goes edge to edge on the stamp, I placed a piece of scrap metal under the stamp piece to protect the laser bed from any engraving that may go over the edge.
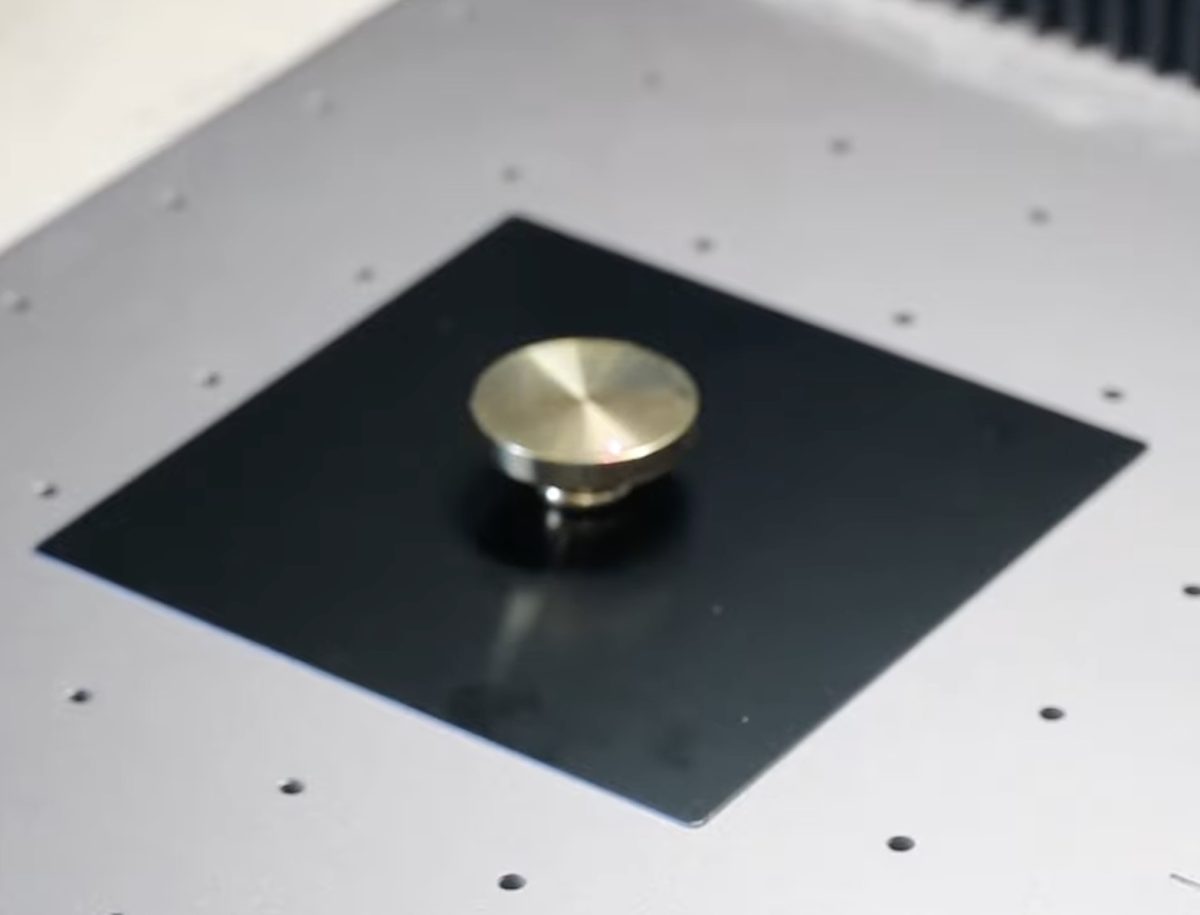
Remove the handle from the stamp and locate it inside the laser on top of the scrap metal piece.
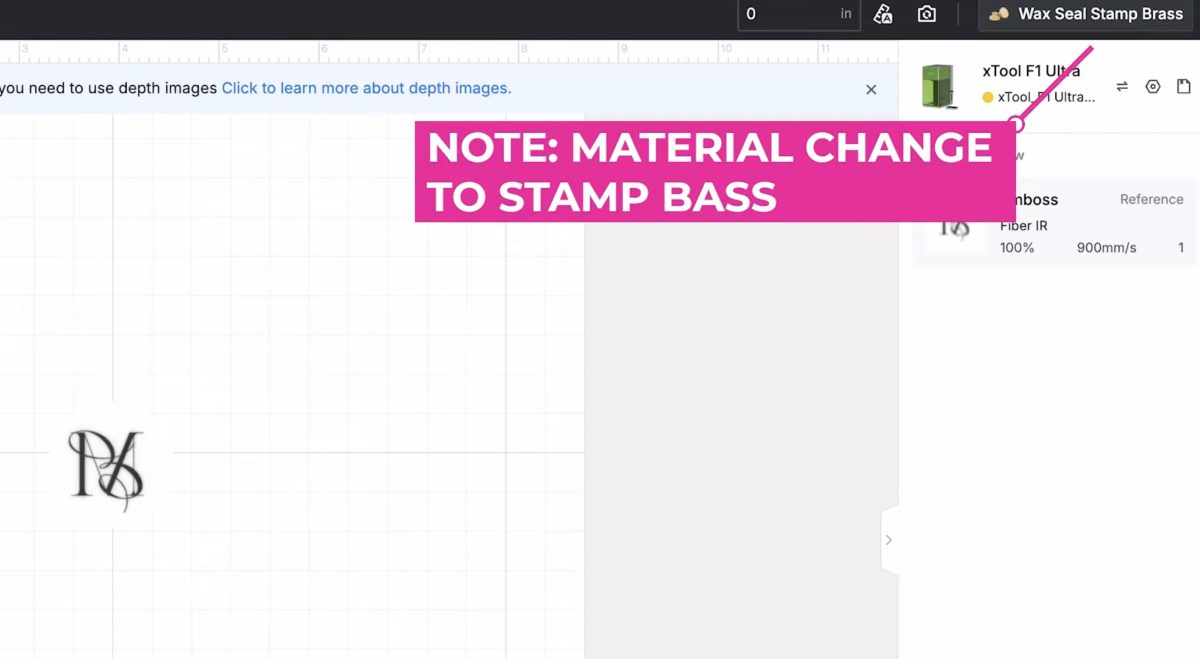
Inside the xTool software, change the material to Wax Seal Stamp Brass, and either autofocus or manually focus the laser.
Click Framing in the software so you can see exactly where it is going to engrave, and move the stamp blank if needed to ensure everything is located correctly.
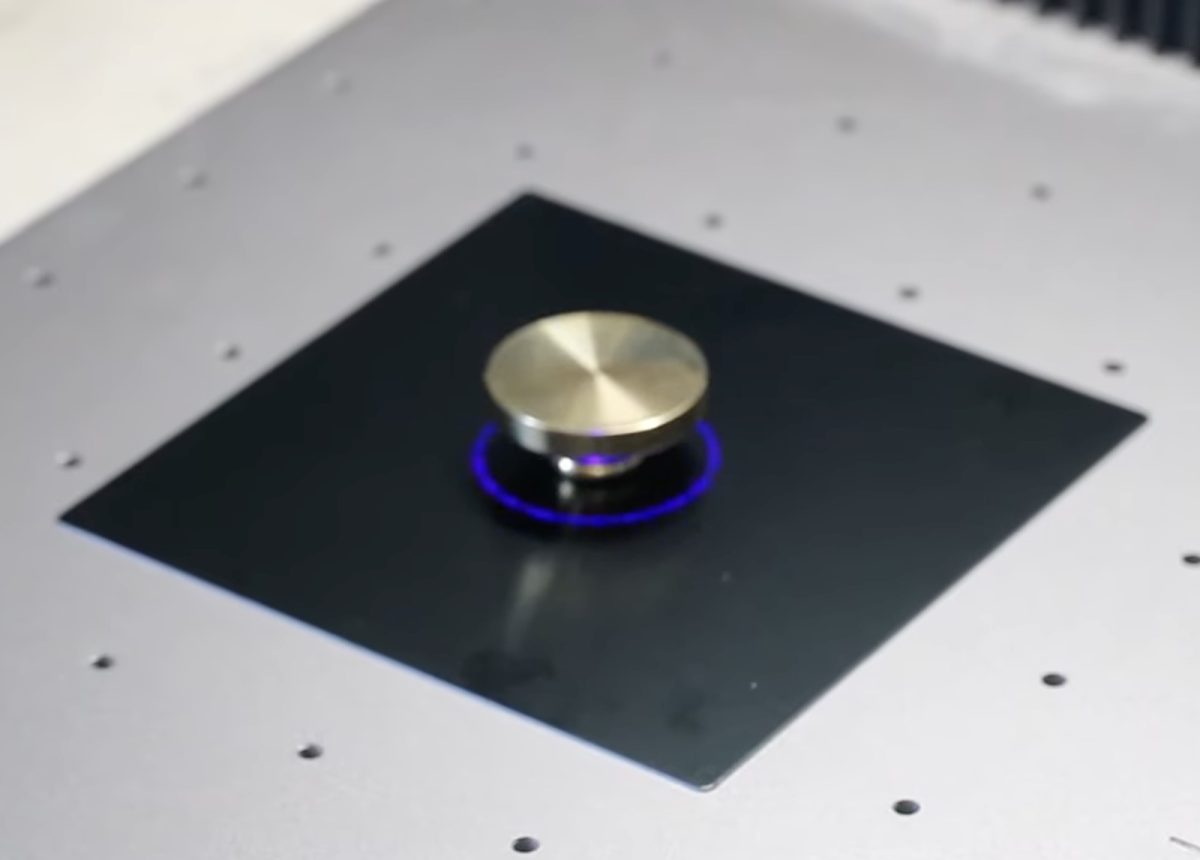
Step 3. Engrave the Brass Wax Stamp Blank
Inside the xTool software, click Process. Pull down the protective enclosure and click Start on the laser. This will start the actual engraving process.
For my design and the size of the blank, it took just over 30 minutes to do the engraving.
From my research, the timing seems typical for this type of embossment.
When the laser is finished, carefully remove the stamp blank from the laser.
The brass blank will be very hot; don’t try to grab it with your bare hands.
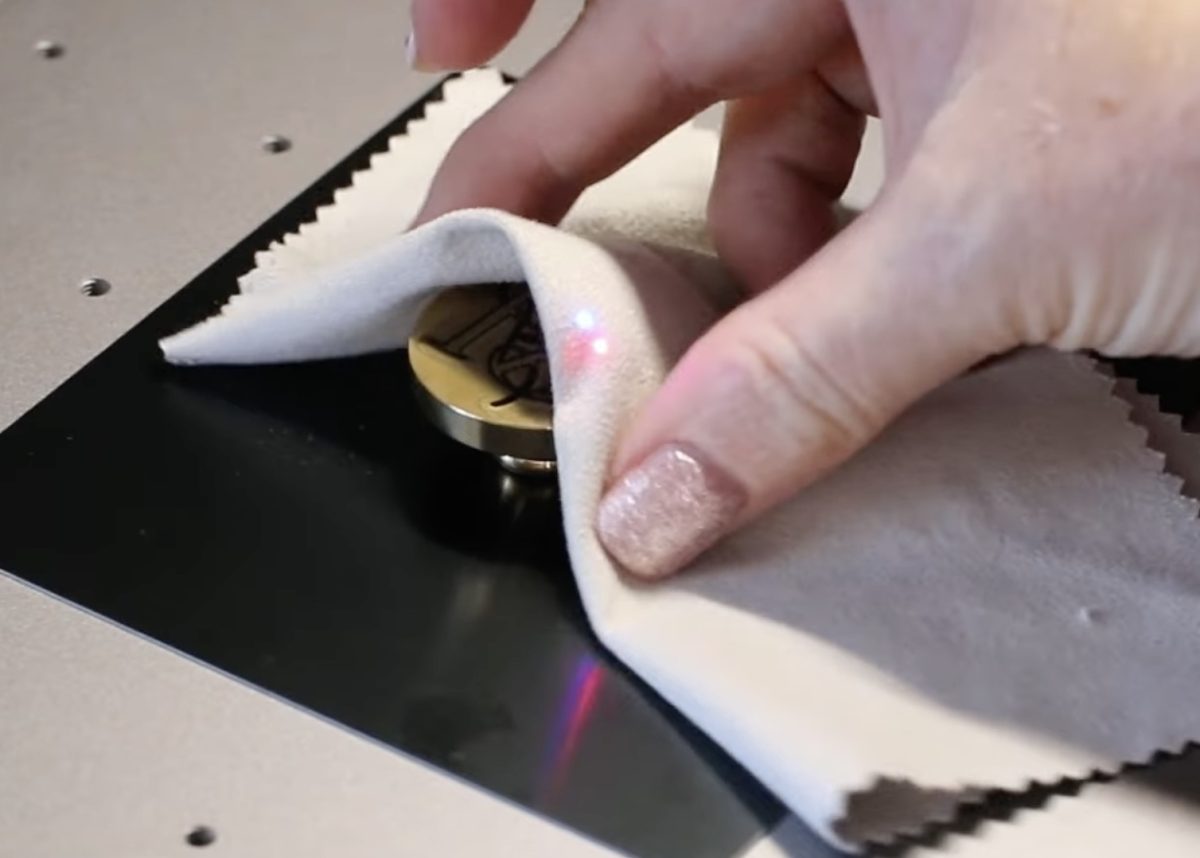
Step 4. Clean the Wax Seal Stamp Blank
The stamp will need to be cleaned. A lot of material has been engraved away from the surface, so there will be a lot of debris on it, and it will be very dirty.
Allow the stamp to cool down and then clean it under running water. You may find it helpful to use a soft scrub brush to get everything out of the engraved area.
When the stamp is clean, screw it back onto the handle.
Step 5. Create a Wax Seal with the Wax Seal Stamp
If you’ve never used a wax seal stamp before, there are a variety of ways to melt the wax and create a wax seal.
I purchased a wax seal set that included a brass melting cup, candle, and a wide variety of colored wax cubes.
This is just one way to do this. I’ve also seen wax sticks that you can run through a glue gun.
Melt the Wax
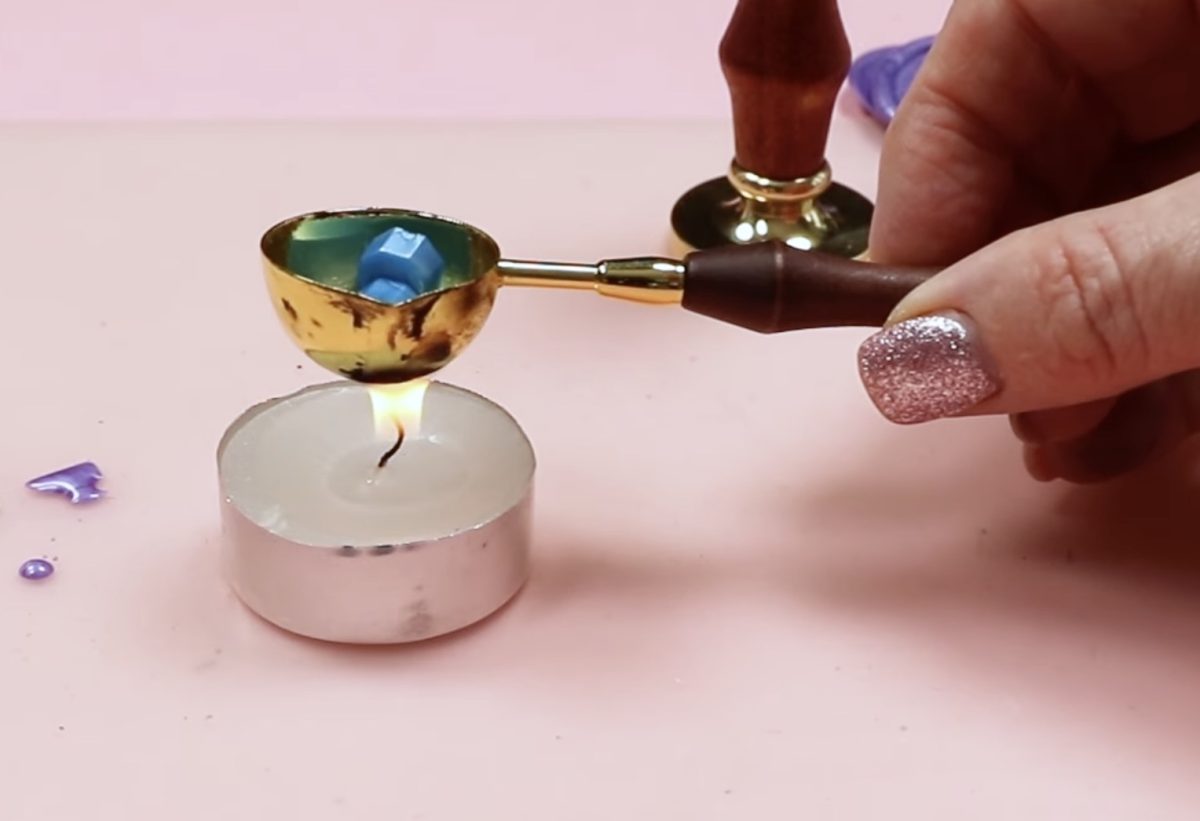
For my set, I liked the results best when I melted three of the wax melts at once.
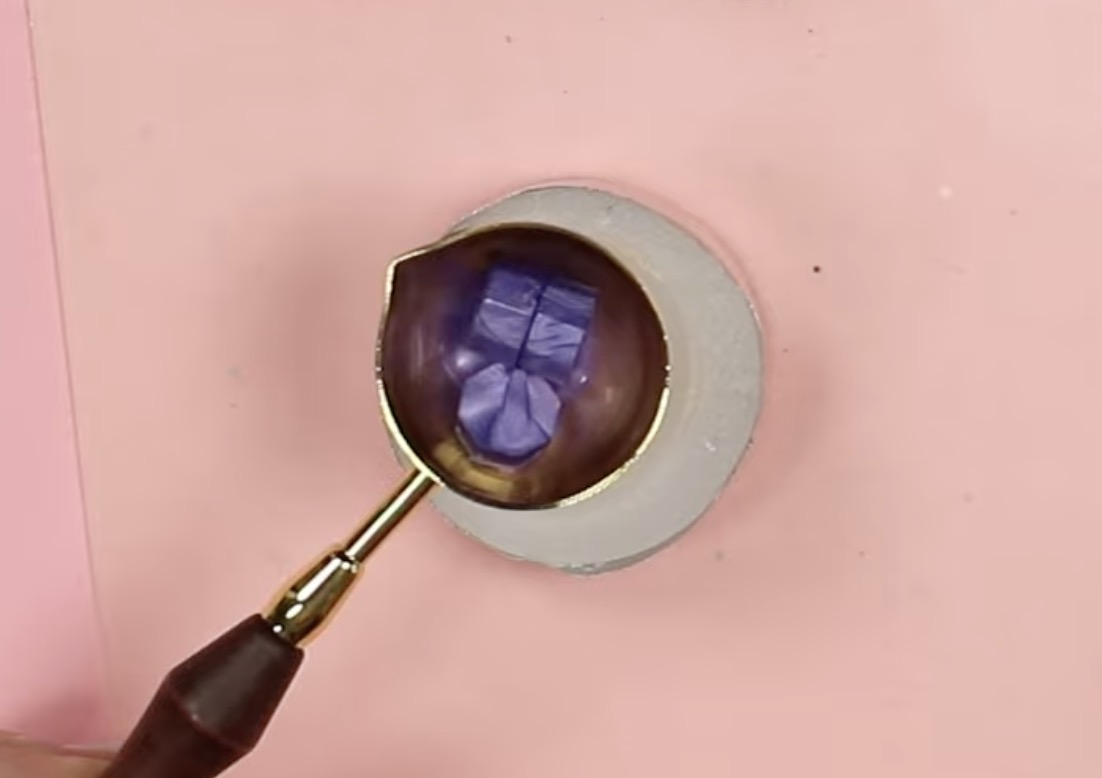
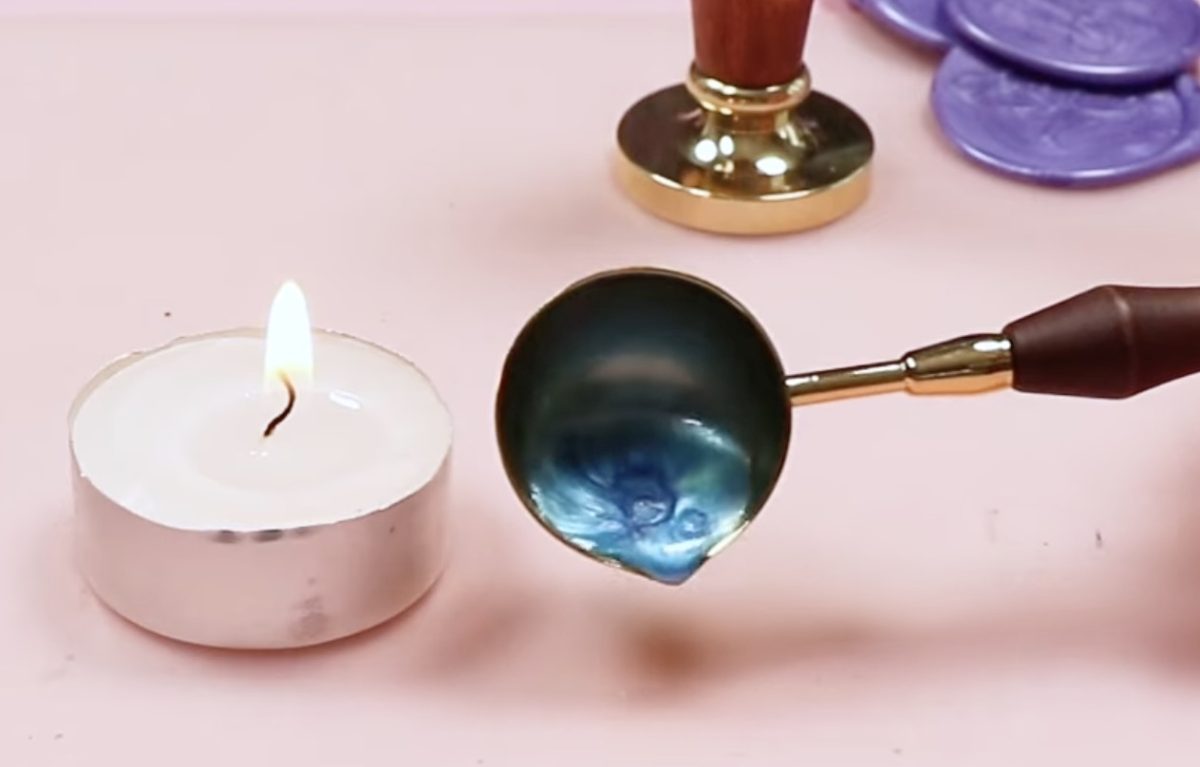
Place the melts inside the brass cup thing and hold it over the candle until they melt. You want the wax to be melted completely with no chunks or lumps.
For the wax seals I am making today, I am dumping the melted wax on a silicone mat. Doing it this way, I can create a lot of seals that I can use at a later time.
To use them later, simply add a little melted wax to whatever surface you want the seal adhered to and press it in place.
You can also dump the wax directly on the surface, for example, an envelope, and press the stamp into it that way.
If you are making multiple wax seals, one right after the other, the brass melting cup stays hot, and the wax melts more quickly for the following seals.
Create the Wax Seal
With the wax melted, we’re going to pour the wax into a pile.
The brass melting cup that came with my kit has a little spout on one end.
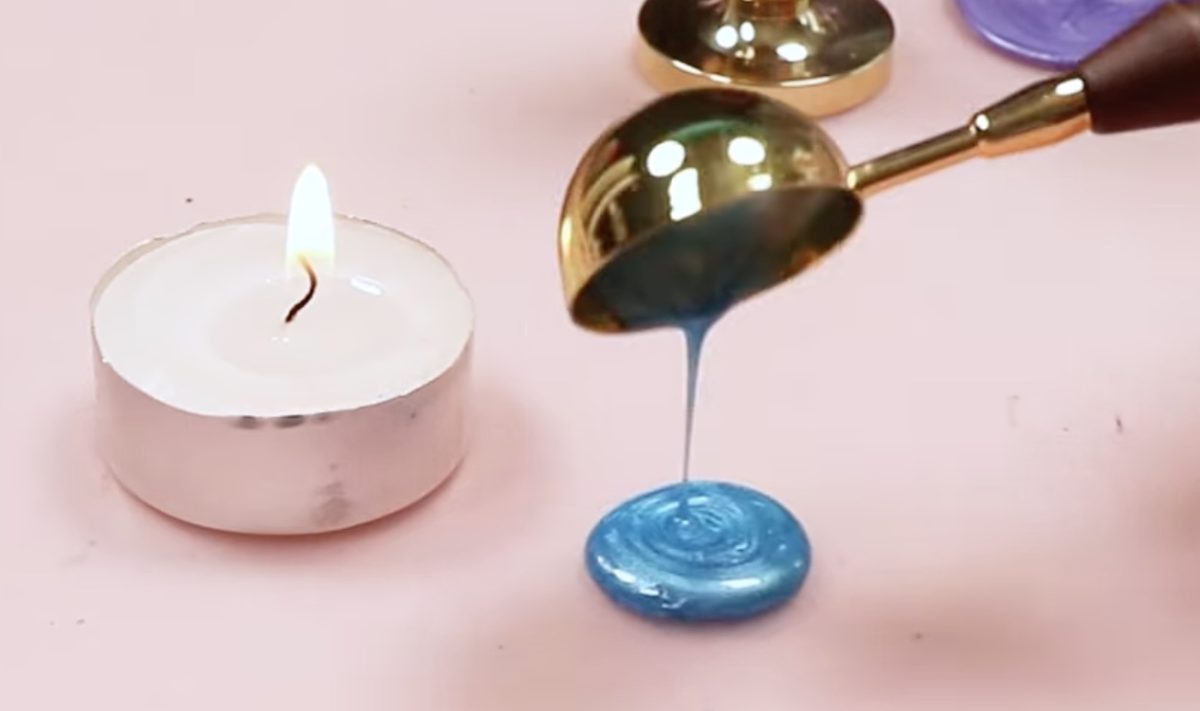
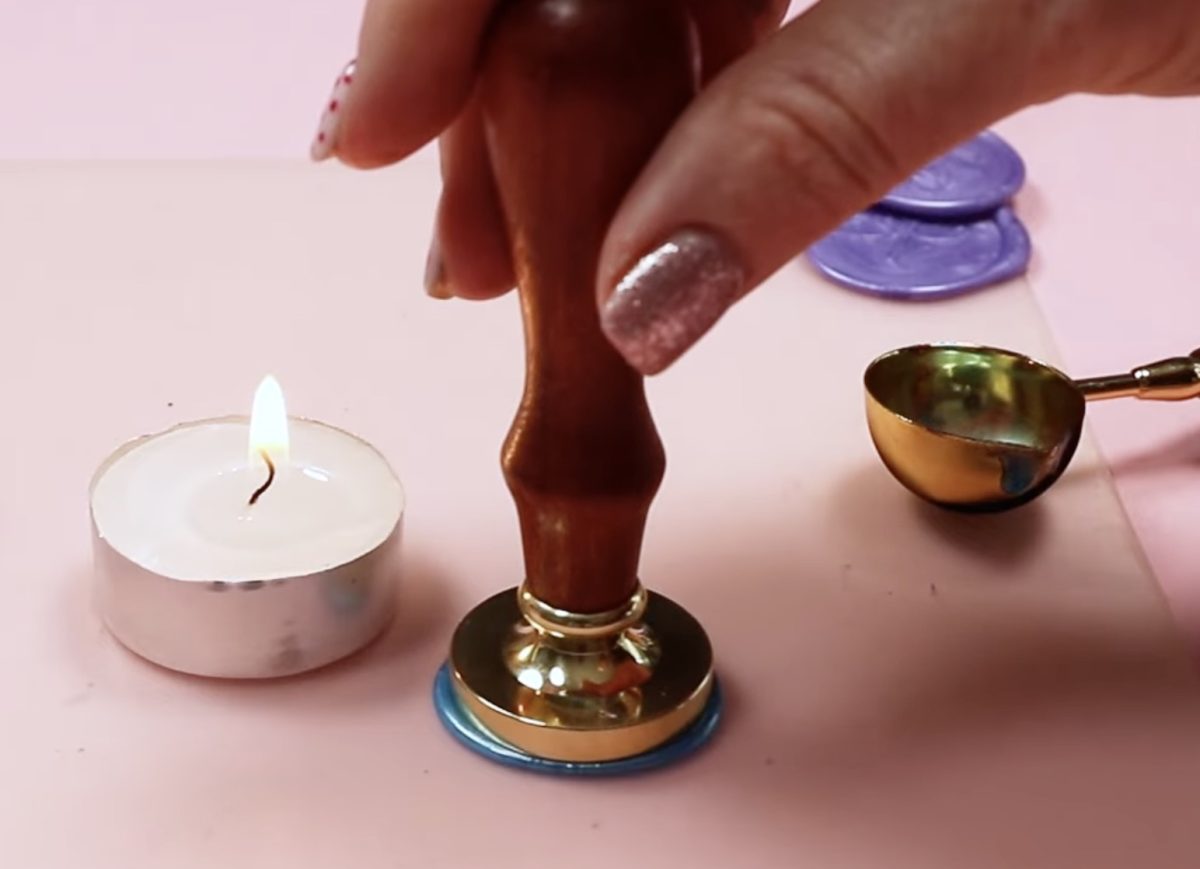
Don’t spread the wax out; it will naturally spread when you set the stamp on top.
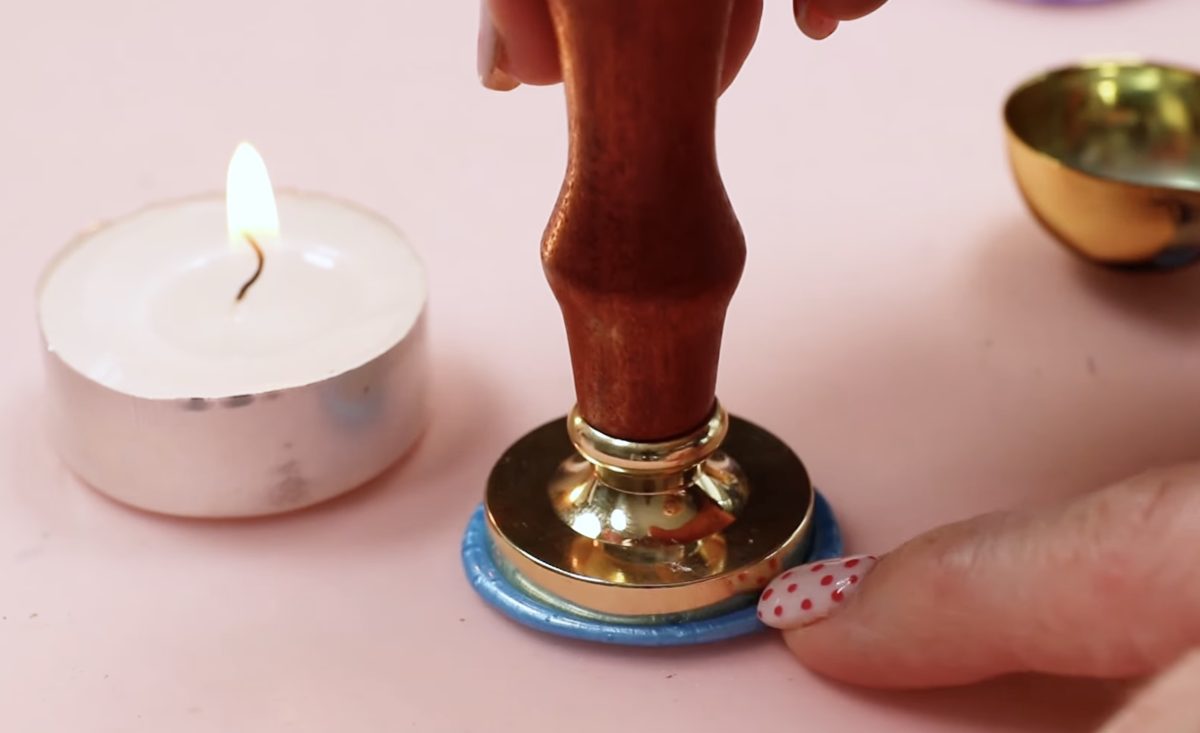
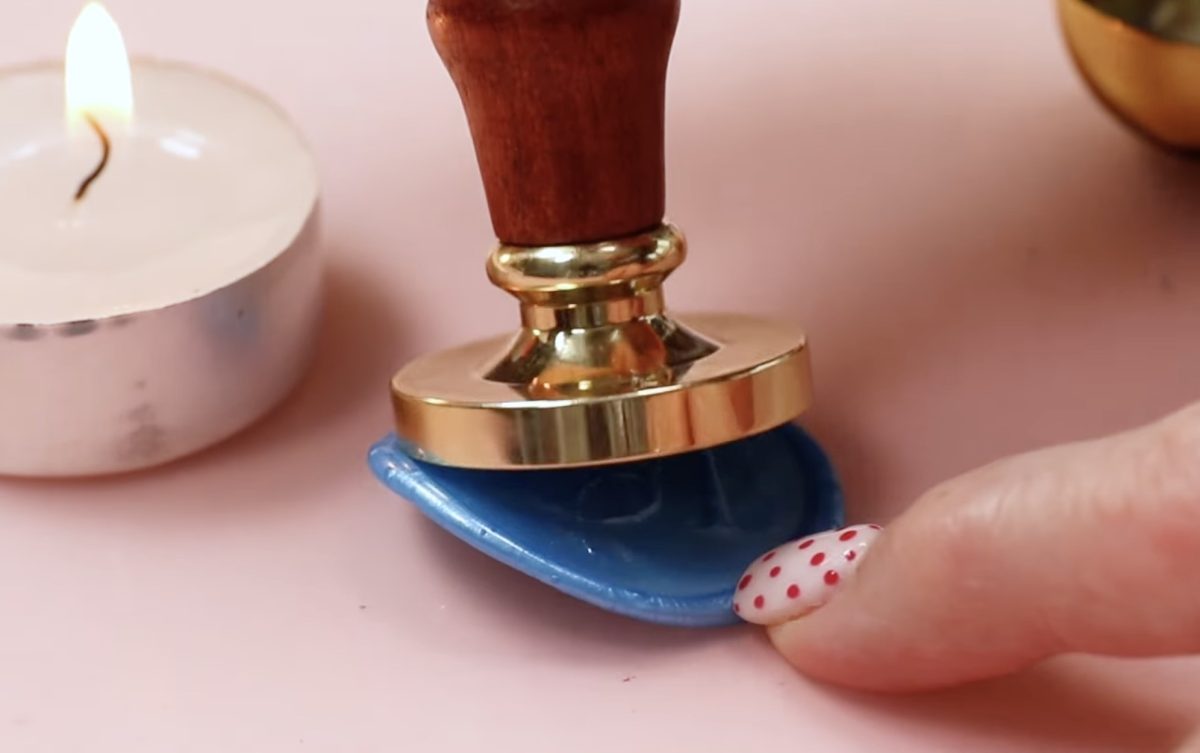
Place the stamp in the center of the pile of wax, keeping it vertical. You’ll see the wax seep out the sides, and the stamp will settle.
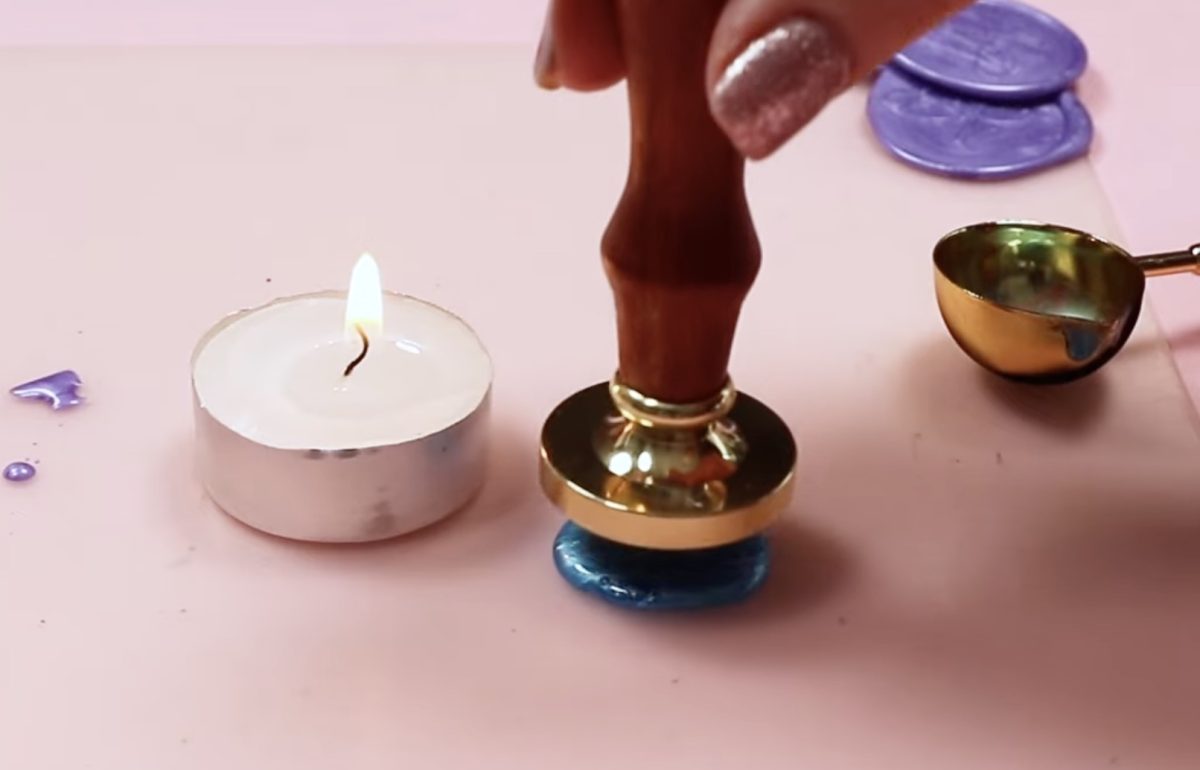
You shouldn’t need to do anything other than hold the stamp handle vertical while this happens.
Allow the wax to cool completely before removing the stamp. I used the area outside the stamp to check if it was cool.
Press the wax with your finger; if it is solid and doesn’t push in at all, you can remove the stamp.
To speed up the process if you’re making multiple stamps, melt the wax for the next stamp while the first stamp is cooling.
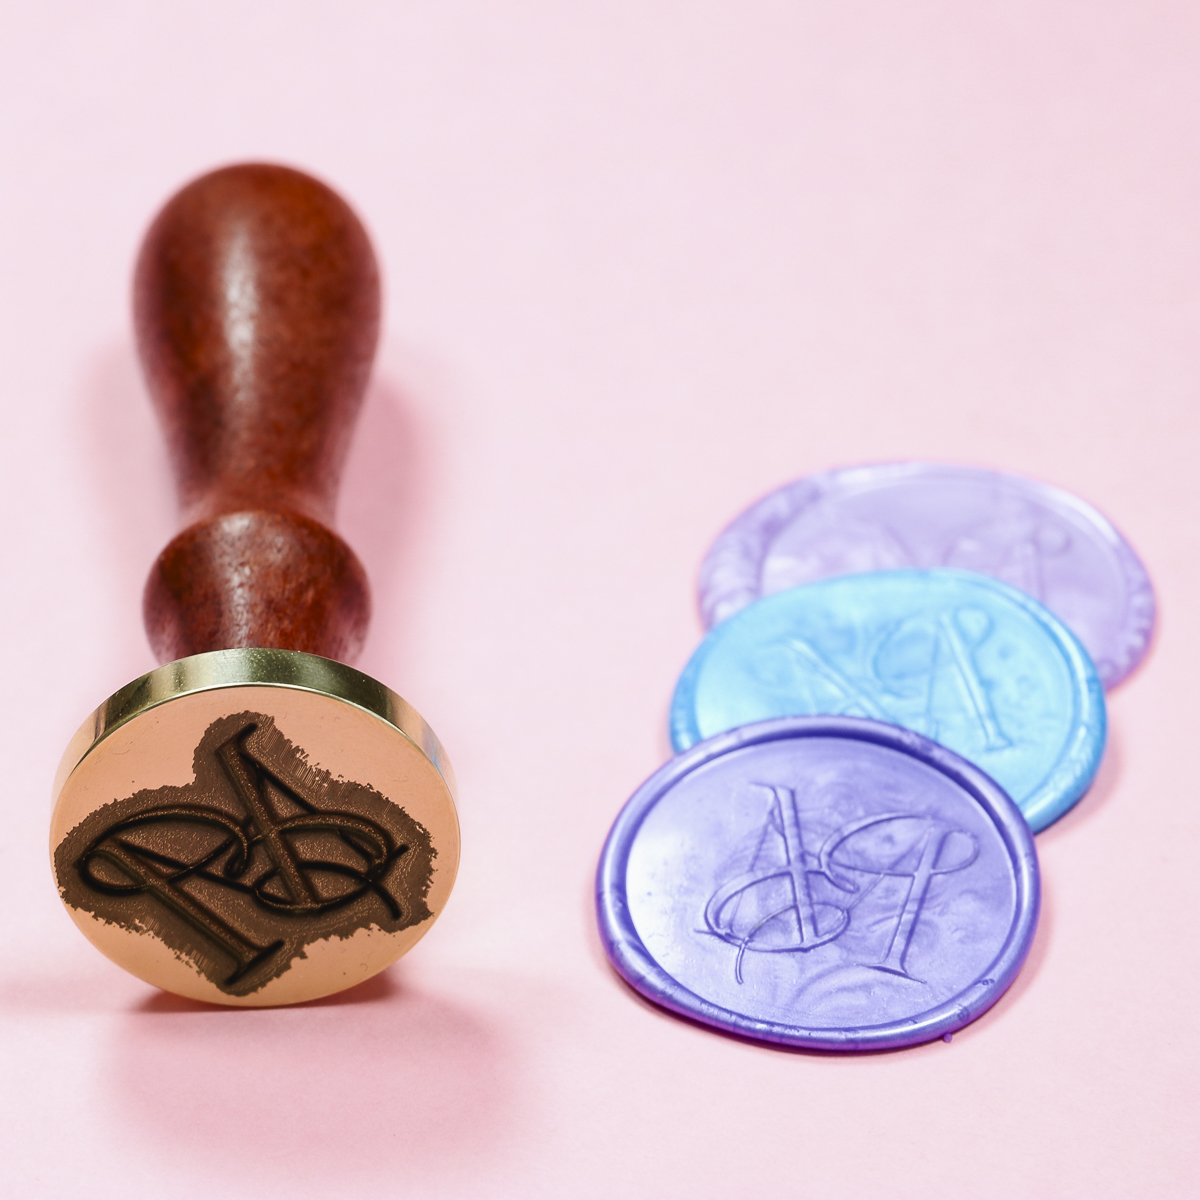
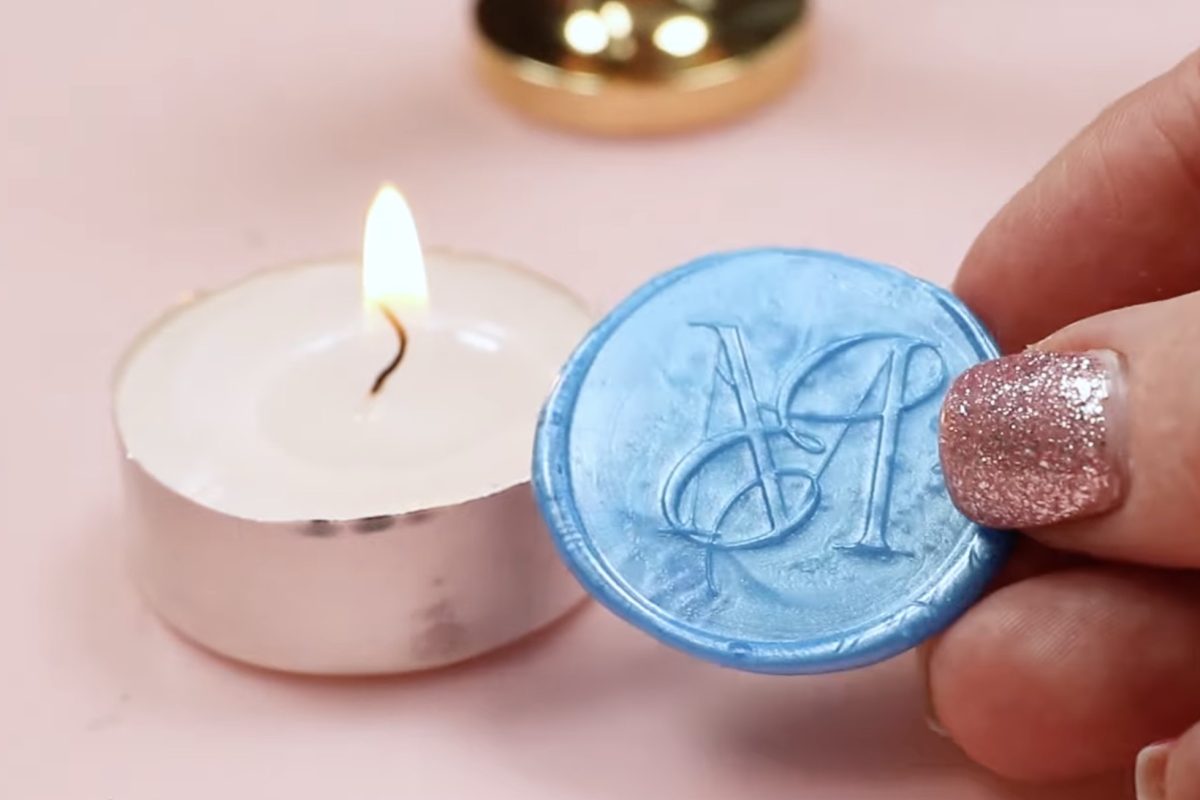
Step 6. Reveal the Finished Wax Seal
When the wax is cool, lift the stamp straight up.
Because my stamp is on a silicone mat, the wax lifted with the stamp. Wax will not stick to silicone.
If you apply the wax directly on a paper envelope, gently lift the stamp, making sure the wax seal sticks to the paper.
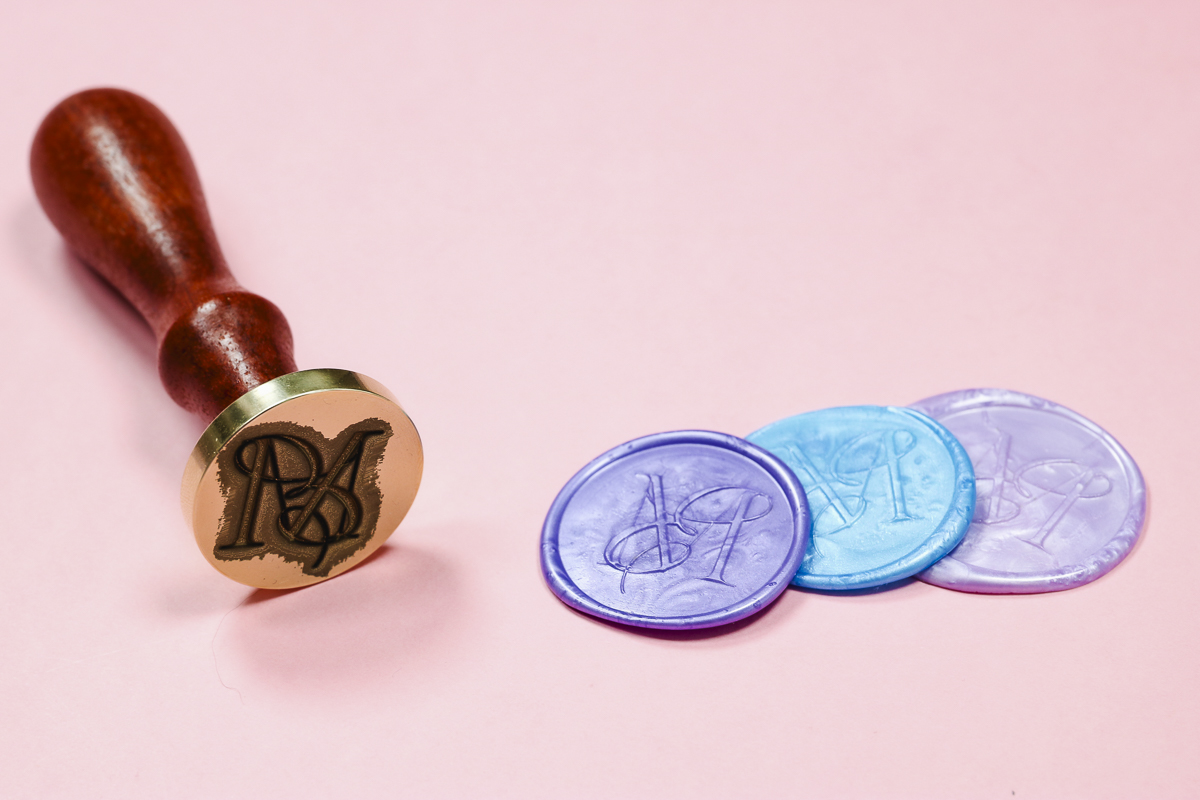
I love how these wax seals turned out, and I was surprised at how easy it was to create a wax stamp with the xTool F1 Ultra.
Important Things to Note
I mentioned during the design process that you need to make sure the white background portion of your design is big enough to cover the entire brass stamp blank.
If you don’t have enough white space around the design to cover the entire blank, the depth engraving file will not be right.
Here you can see that the design I used, where the white background was cropped close to the letters, actually engraved a white square around the letters.
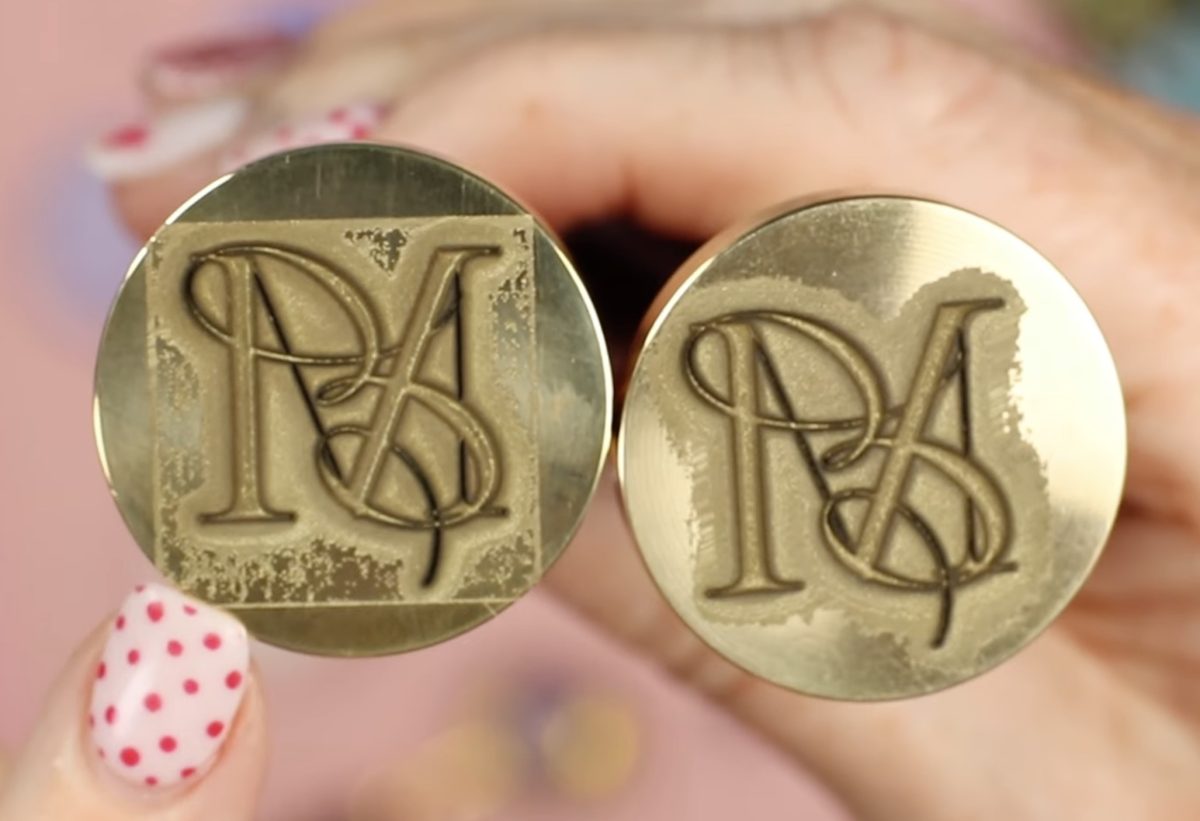
I did test the stamp to see if the square would show up in the wax seals, and it did.
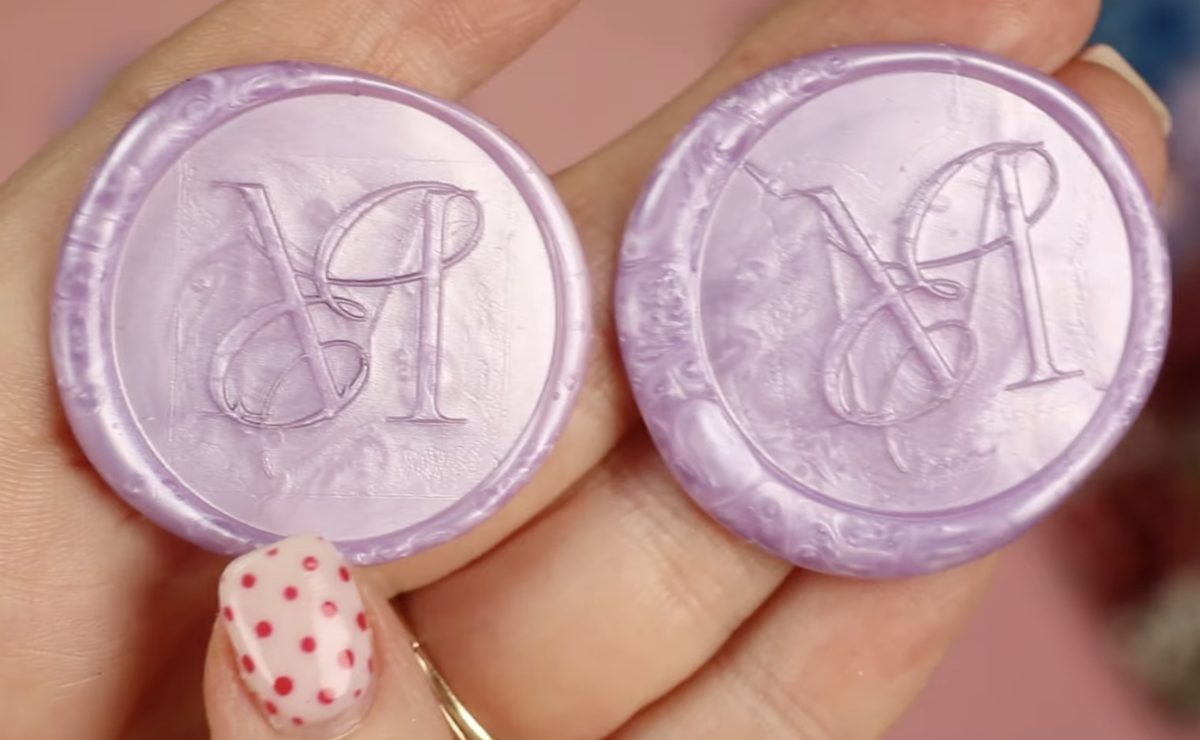
Make sure when creating your design you leave plenty of white background so you don’t end up with an unexpected shape engraved on your stamp.
Are You Ready to Make Your Own Custom Wax Seal Stamp?
If you’re ready to create your own custom wax seal stamp, I think you’re going to be excited about how easy it actually is.
You want to make sure you have the right type of laser. You need a fiber laser like the xTool F1 Ultra to engrave brass deep enough to create a wax seal.
Make sure you follow all the steps and tips I shared above.
- Upload a design with plenty of white background to cover the entire stamp blank.
- Don’t forget to mirror your image.
- Ensure the design is framed so it will engrave in the middle of the brass stamp.
- Don’t burn yourself touching the stamp while it’s hot.
Remember, wax seals aren’t just for weddings. Create a custom wax seal stamp with your initials, just your last initial, a favorite flower, your business name or logo; the options are endless.
I really do love how this project turned out. It was easier and faster than I expected, and after just a little trial and error, I ended up with a custom wax seal stamp that can be used for years to come.
I hope I’ve answered any questions you have about creating a custom wax seal stamp with the xTool F1 Ultra laser. If you have any additional questions, leave them in the comments, and I’ll be happy to answer them for you.