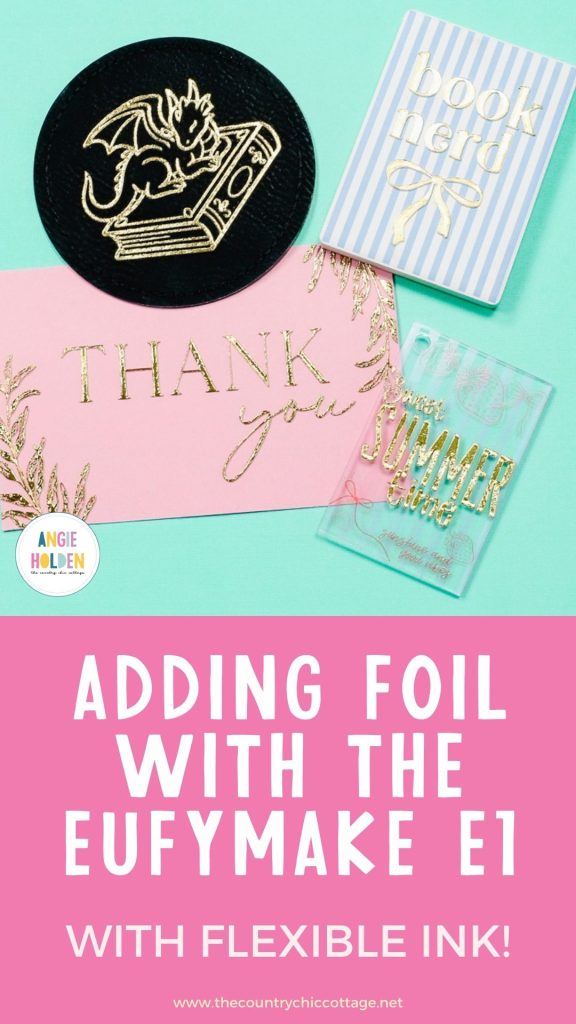
If you own an EufyMake E1 UV Printer, get ready to fire it up and foil all the things. I'm going to show you just how easy gold foiling with the EufyMake E1 can be.
There is something special about a project made with gold foil. It can make parts of a design really pop or add a touch of elegance to your project.
Whether you already own an E1 UV printer or have been considering one, make sure to read to the end for all my best tips and tricks.
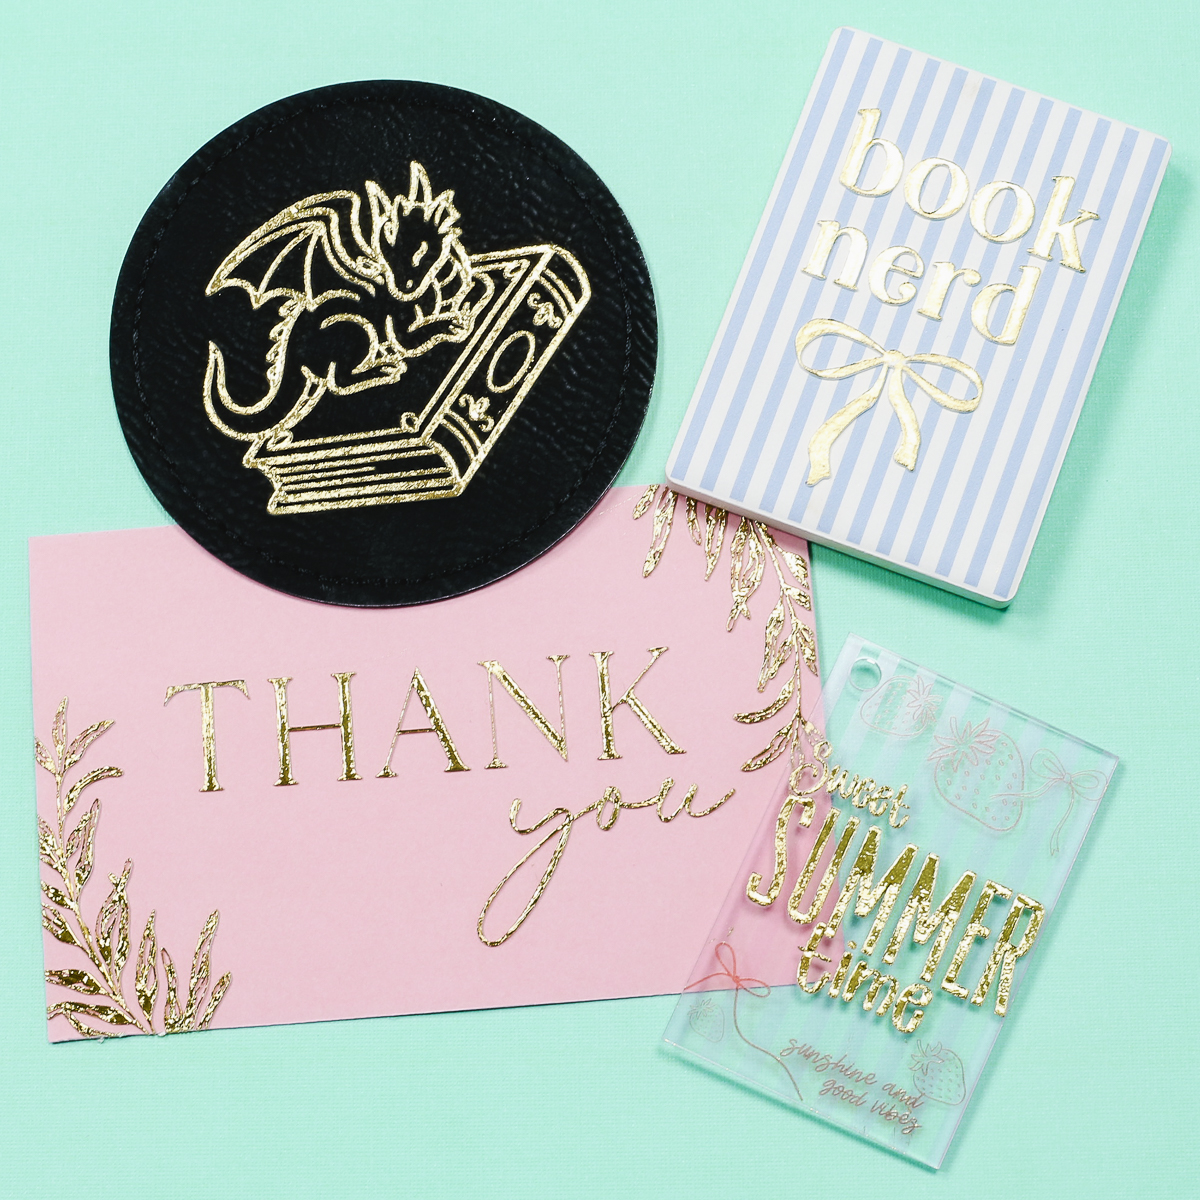
If you haven't already tried flexible white ink in your UV printer, you're going to need it for the projects I'm making today.
And if gold doesn't really fit your project, don't worry. There is also silver and other foil colors that you can choose from.
How to Add Gold Foiling Using the EufyMake E1 UV Printer
Because there is a bit of trial and error when you're first getting started, I'm sharing everything I learned to help you get successful, gorgeous foiling results from your first project.
I'm obsessed with these projects, and I can't wait to see the foiling projects you make. Make sure you read through the whole tutorial before you begin.
Supplies Needed
You do not need everything listed. I am using the EufyMake laminator for some of the projects, but I was also able to successfully foil using the EasyPress Mini.
IMPORTANT: To foil with the EufyMake, you need flexible white ink and toner foil. I've learned there are some toner foils that are really good and some that are not.
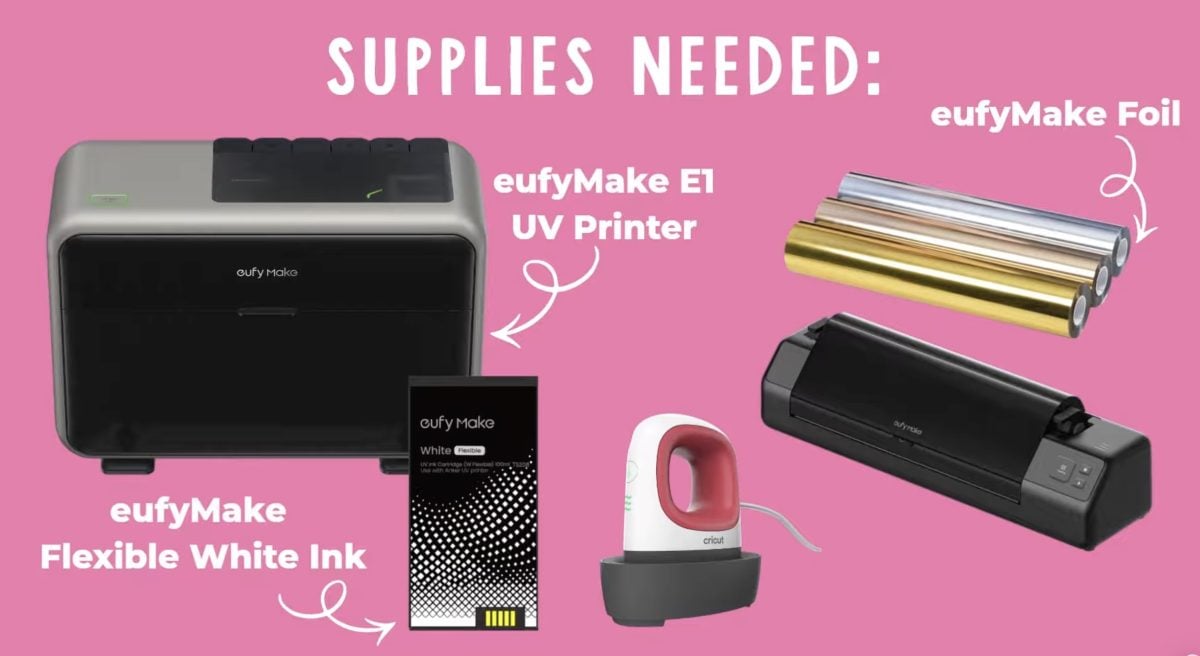
I'm testing a variety of blanks today. The EufyMake E1 can print directly on a wide variety of surfaces. I'm going to test foiling on paper, a leather patch, acrylic, and a ceramic magnet.
The thinner projects can go through the laminator, and I'll show you how to use the EasyPress Mini on projects that won't fit in the laminator.
Add Flexible White Ink
If you haven't already installed the flexible white ink cartridge, do that now. If you are changing from regular white ink to flexible white ink, you will need to get the ink flowing into the printer.
Single Color Design Foiling
The first two projects I'm going to make today will first be printed all in one color. The EufyMake will print the flexible white, and then we will do the foiling step.
Open EufyMake Studio and upload the design you want to use. I found it easiest to upload the design with the background already removed.
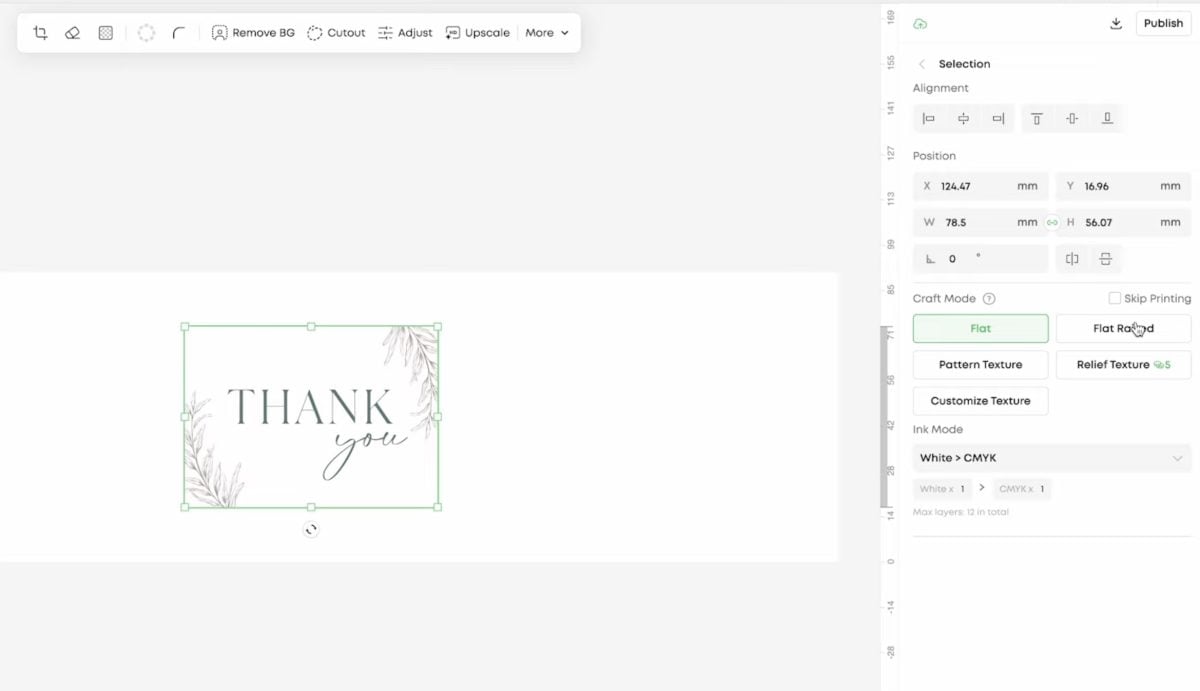
Upload the file and place the blank you want to use on the Eufy printer bed. My first project is a piece of paper cut to the size I want. This will simply be a test to see if foiling works on paper.
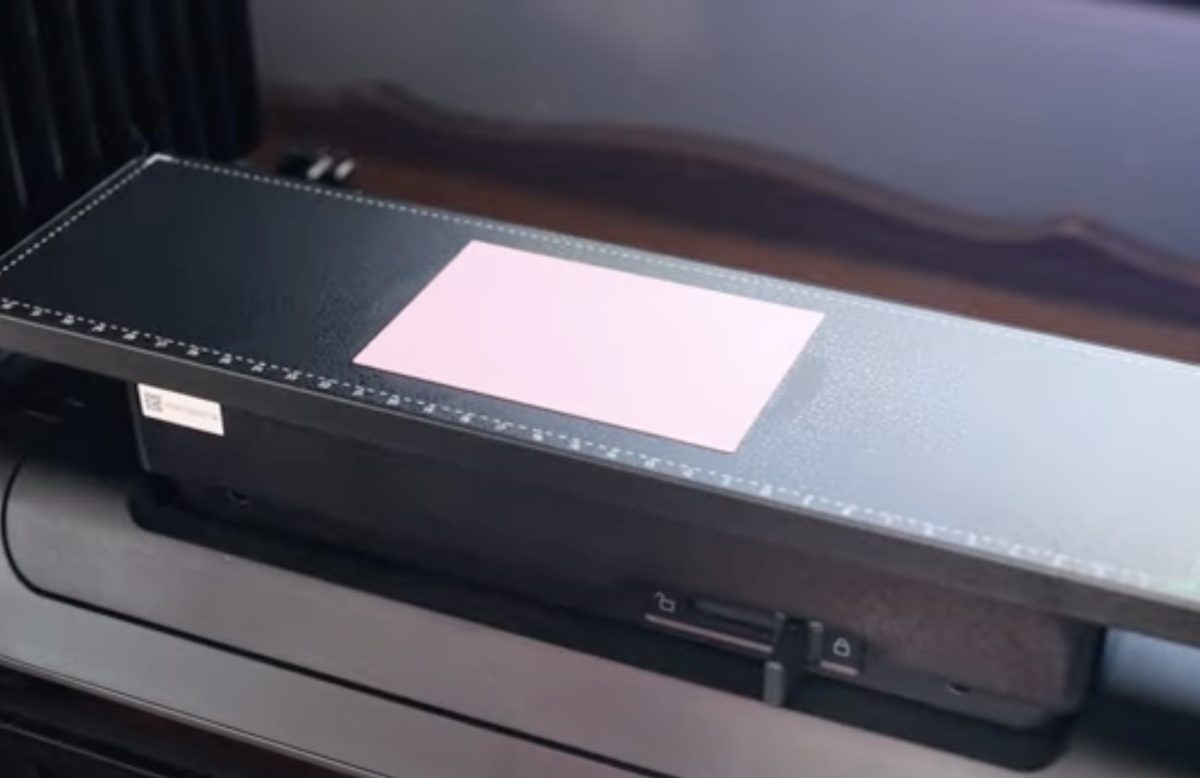
Take a snapshot of the paper in the printer, and you'll see it on the screen. Resize the design to fit the paper.
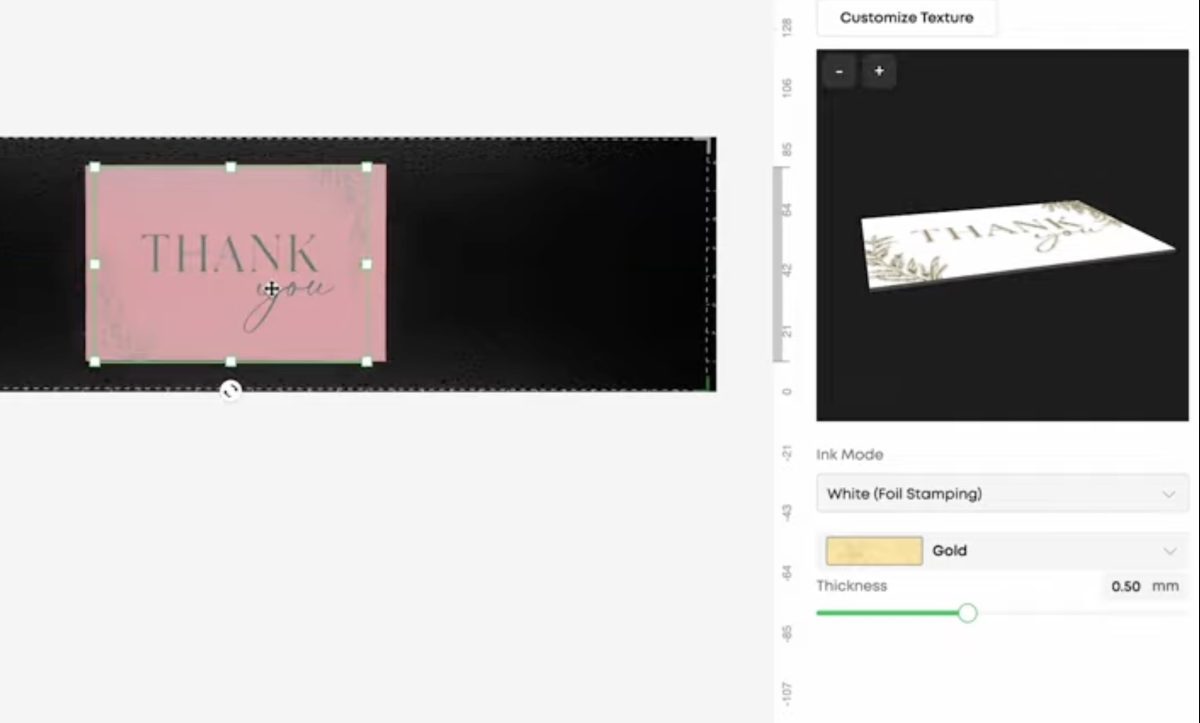
This gives me a visual of how the image will look on the paper. Make sure everything looks exactly how you want it to when it's done.
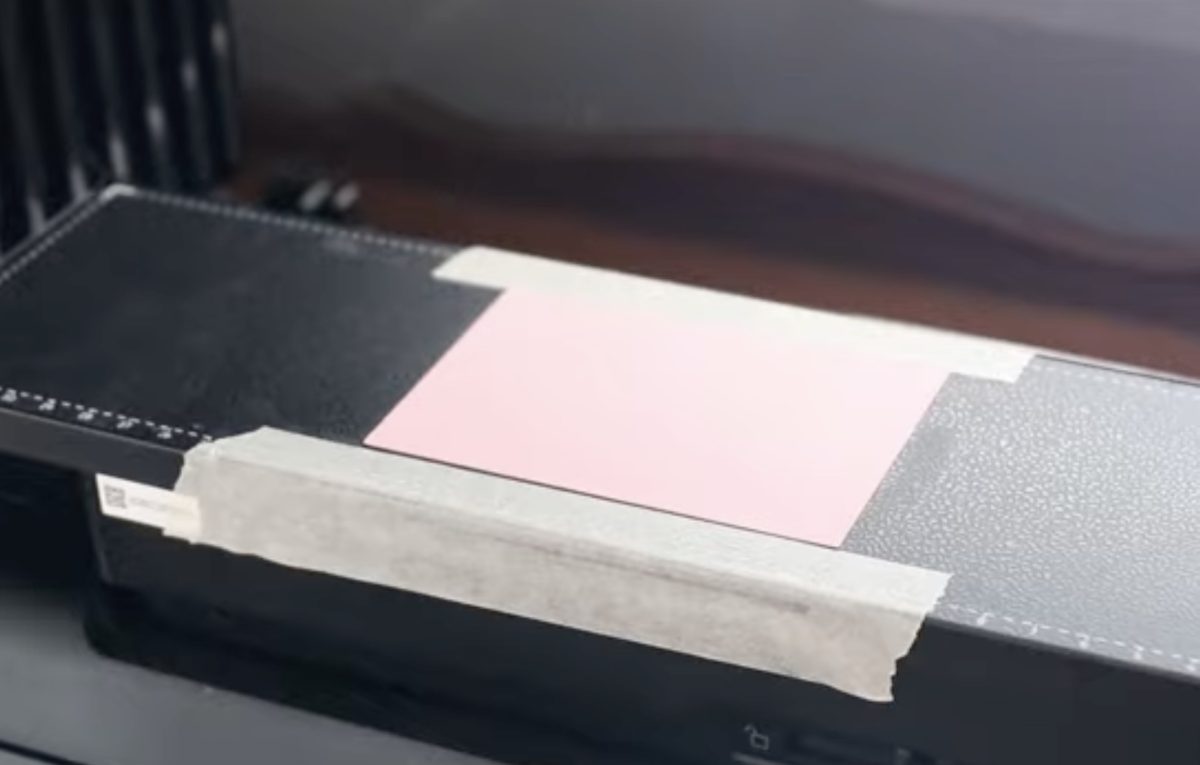
To prevent the printer from printing on the mat and ruining it, I added some masking tape to the paper to keep the ink on the paper.
I have the material set to cardboard and changed the file so that it is set to flat raised. For the Ink Mode, I have it set to White Foil Stamping and set the foiling to gold.
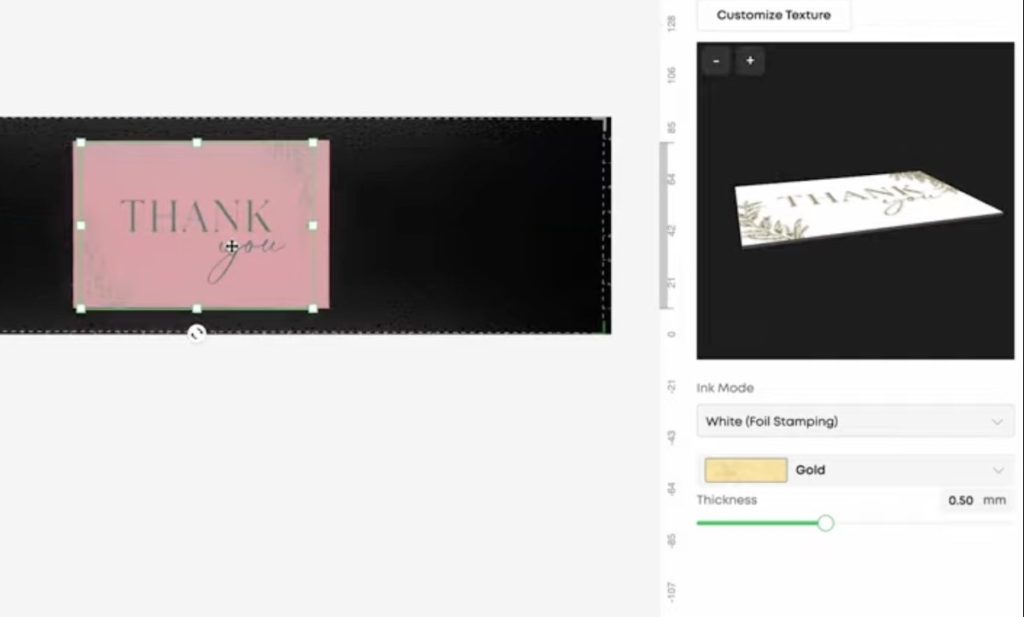
I like the thickness to be set at 050mm. I got the best results with it a little thicker than the minimum setting.
Print the Design
Click Print, and the EufyMake will print the design directly onto the paper. In EufyMake Studio, you will be able to see the estimated printing time and estimated ink volume. For my design, the time was approximately 30 minutes, and the ink volume was about .37 ml.
This will allow you to determine how much the foil prints will cost, so you can price items accordingly.
Note: My estimated time was way off. The design only took about 16-18 minutes to print.
During the printing process, the EufyMake lays down layers of flexible white ink until it reaches the thickness you set. Each layer is cured as it's printed.
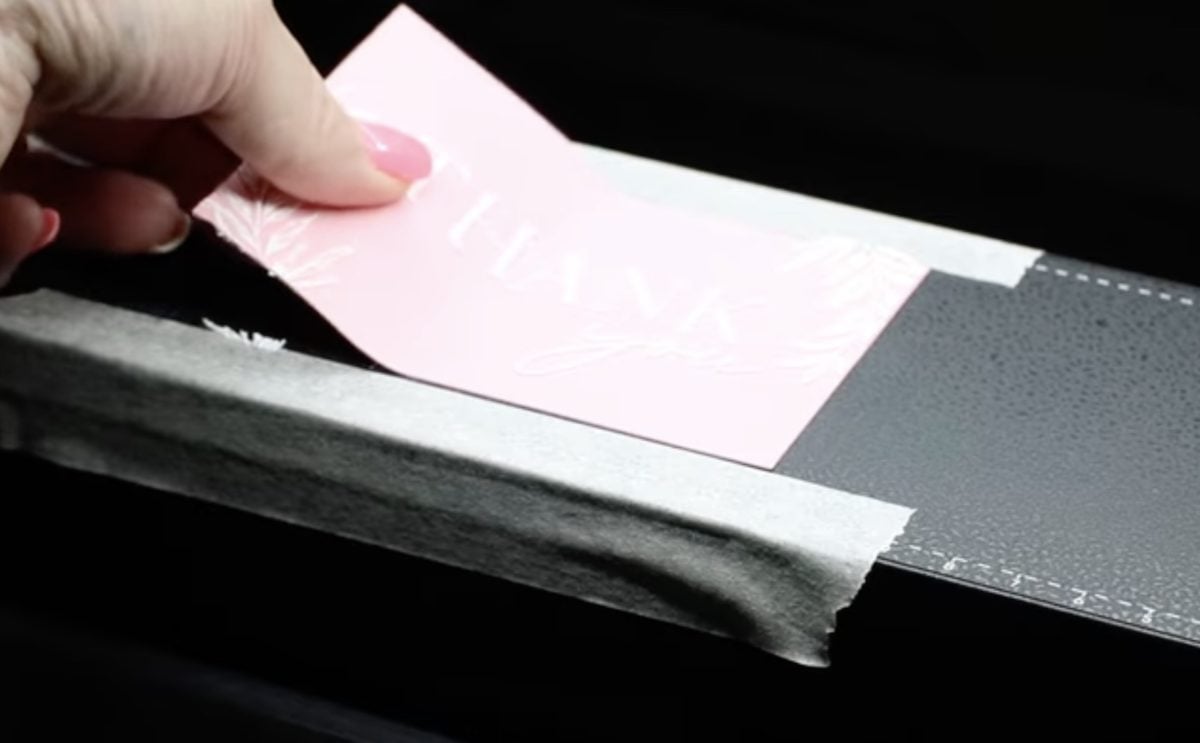
When the printing is complete, remove the paper from the printer. Here you can see that the white ink is raised off the surface. This is exactly what we wanted it to do.
You may find that the flexible white ink is slightly tacky/sticky to the touch. That is okay and will help with the foil adhesion.
Now that we have a card with flexible white ink on it, we're ready to foil.
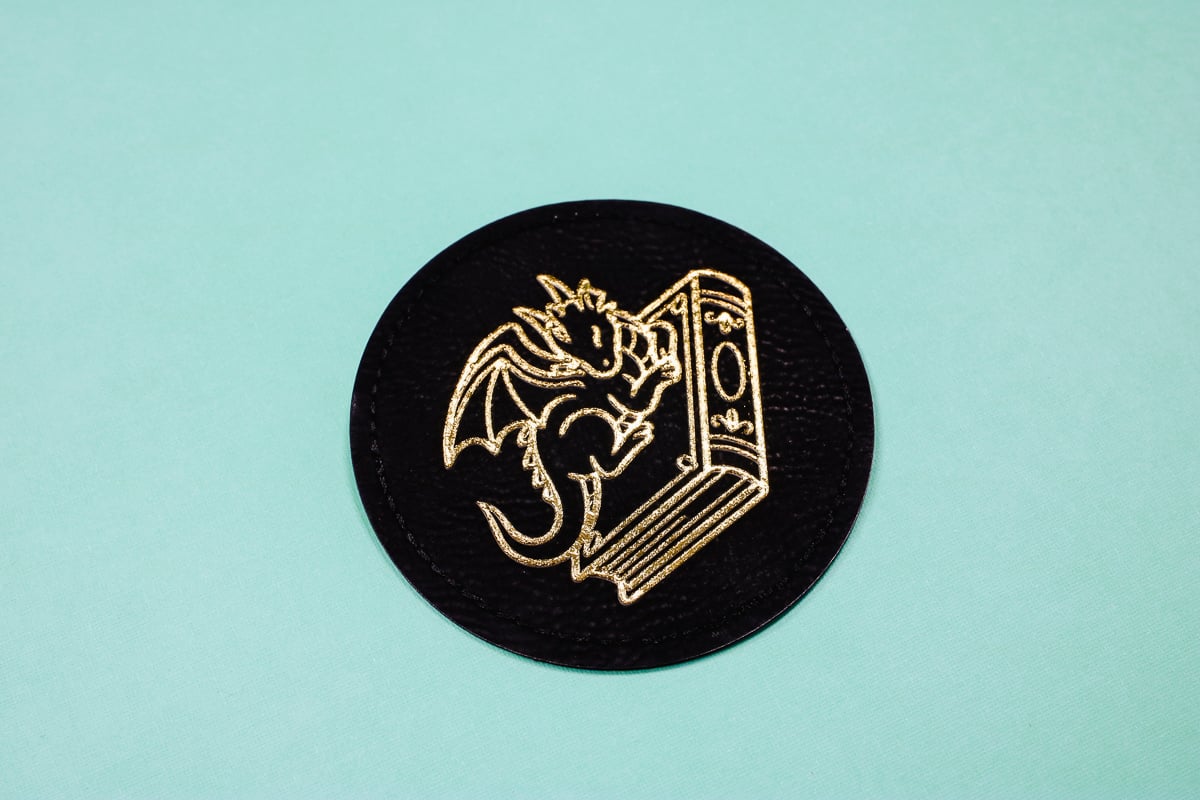
I repeated these same steps on a round leather patch, and it printed beautifully.
Prepare the Laminator
First, add the roll of gold laminate to the laminator if it's not already installed. To do that, lift the lid, remove the inner piece, and flip the switch to open the rollers to remove any material already loaded in the laminator.
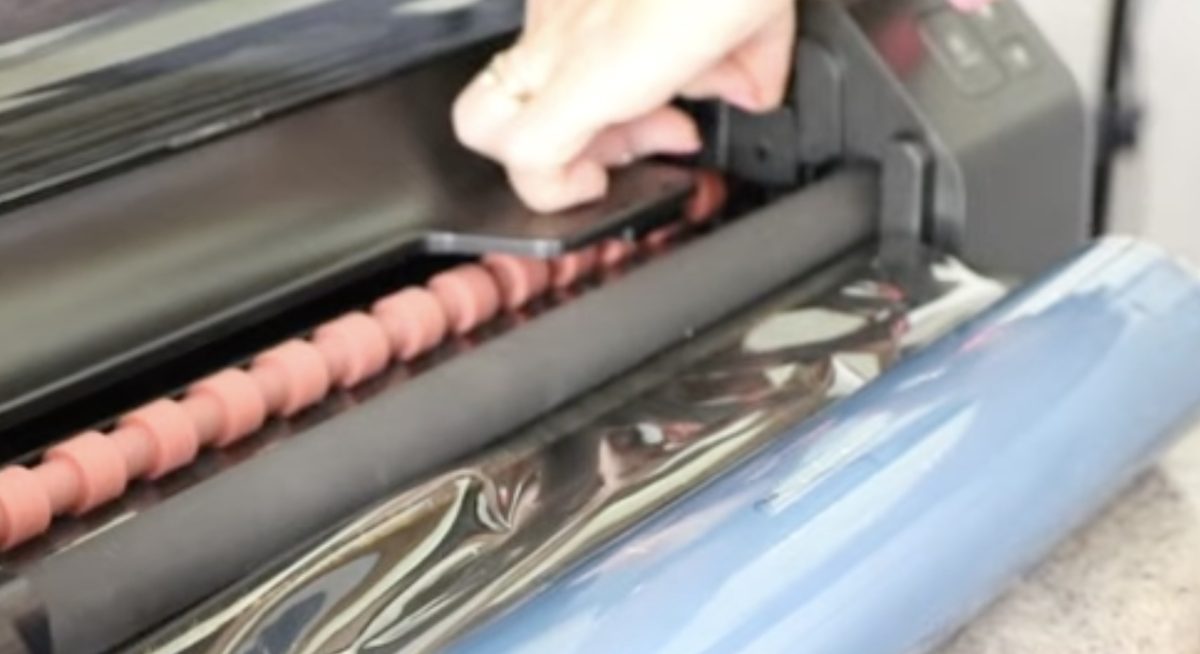
Remove the pieces on the ends of the material you removed from the laminator and add those to the roll of foiling. Close the switch that closes the rollers, replace the inner piece, and place the roll of foiling material inside.
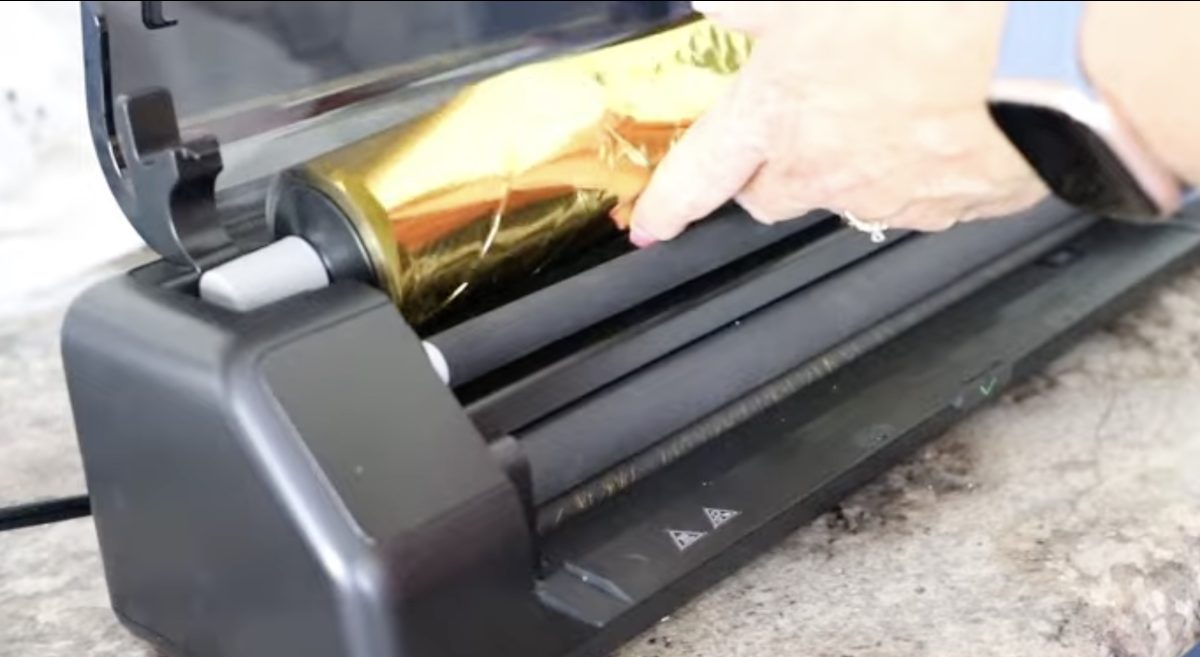
Before closing the lid, pull the foil out so you can grab it with the lid closed.
Take the white piece that comes with the laminator and use it to feed the foil into the laminator. With the foil fed into the laminator, it is ready to go.
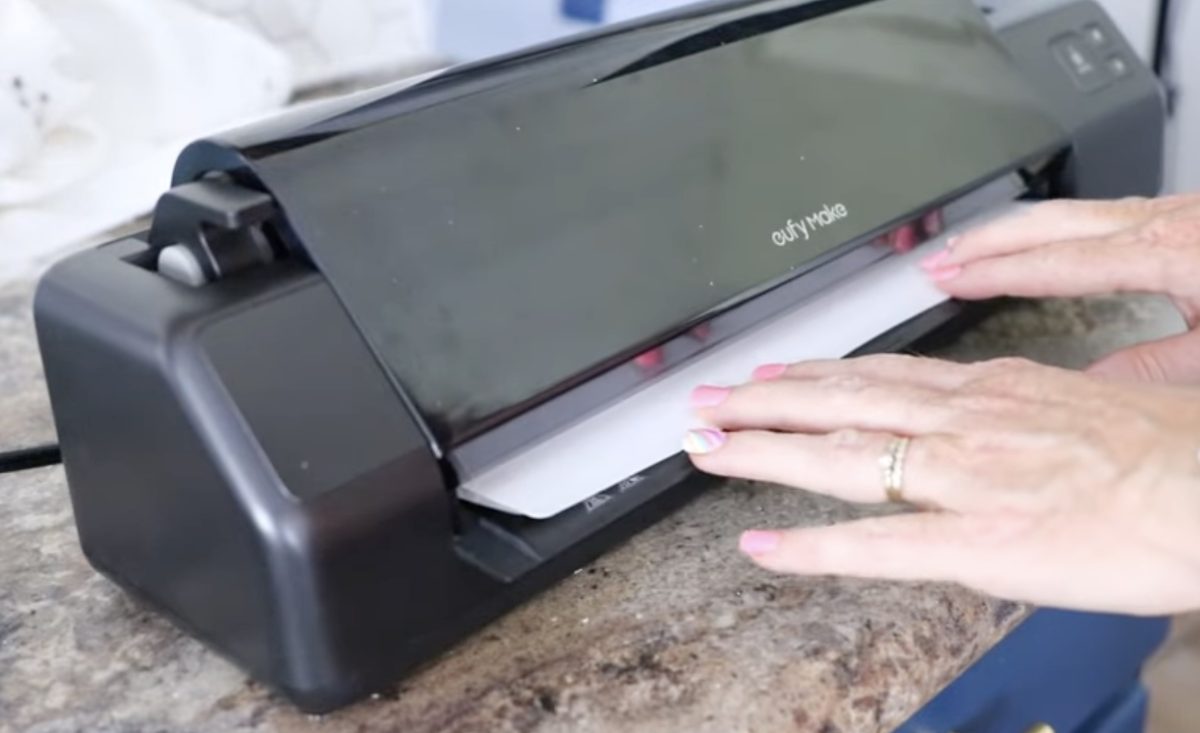
You do need to preheat the laminator. The light will turn green when it's completely warmed up and ready for your material.
Foil the Print
With the laminator preheated and the flexible white ink printed on the blank, we're ready to foil.
Note: The laminator may not recognize the material you're putting in it. It kind of automatically feeds the material through, but it doesn't always recognize the material.
If your laminator isn't recognizing the material, there are a couple of options. You can feed the white piece through first and then put your material right behind it.
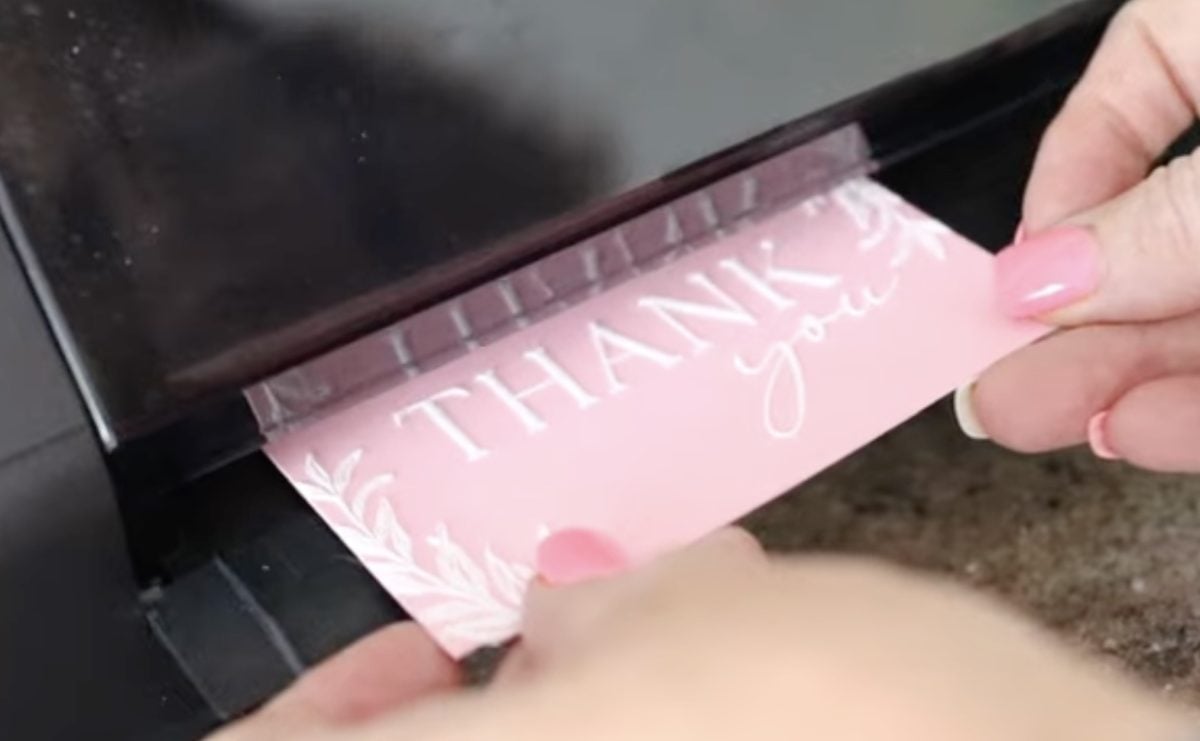
Or, if your material is thin, you can place it right on top of the white piece and feed it through that way.
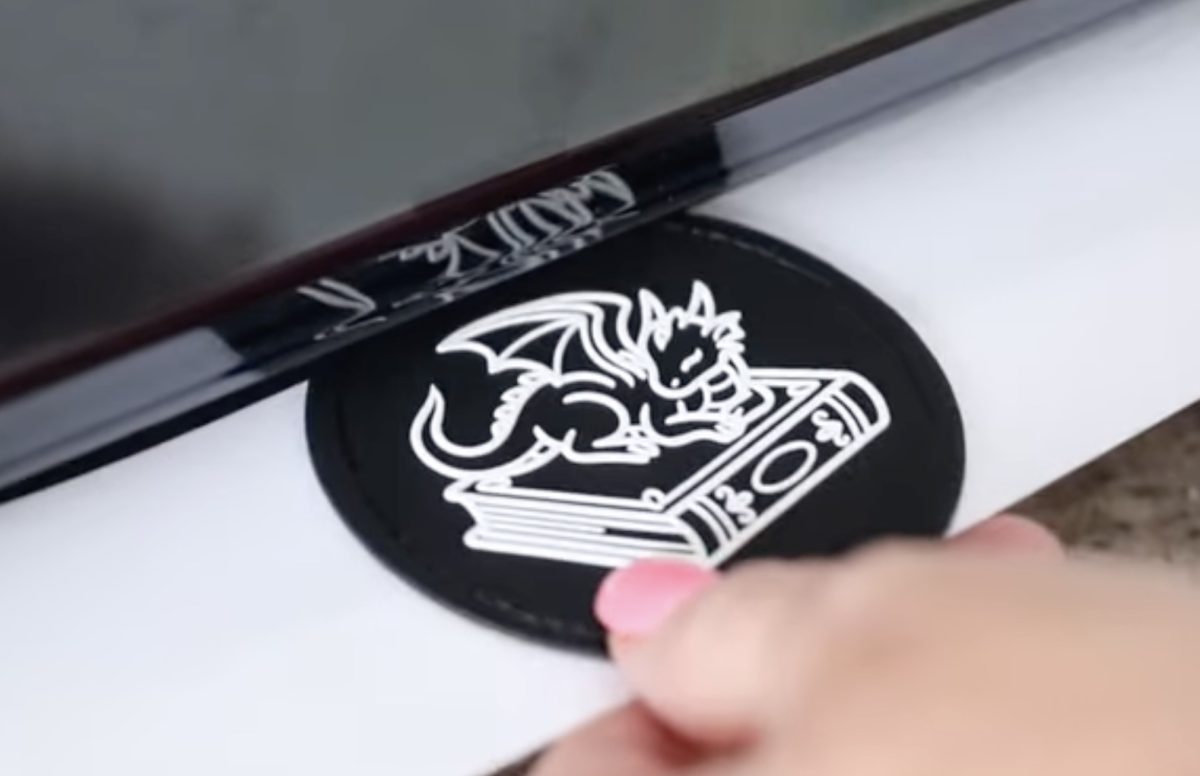
I tried both, and both worked. Feeding the white piece through first will result in more wasted foil than placing the material on top.
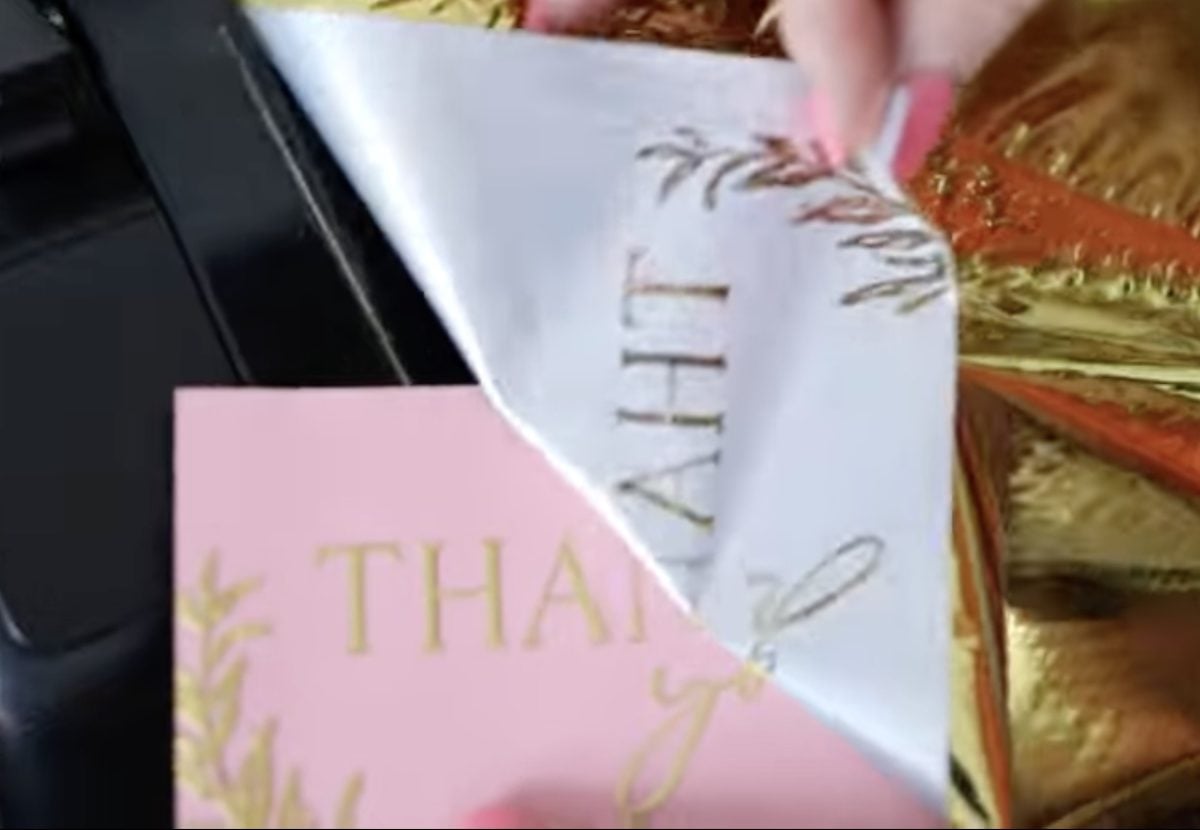
Foiling inherently has a lot of wasted material. To decrease the waste, make sure you have plenty of projects to foil at the same time.
Line up the projects so you can feed multiple through at the same time to use the full width of the foil.
When the material is done in the laminator, peel back the foil to reveal the finished product.
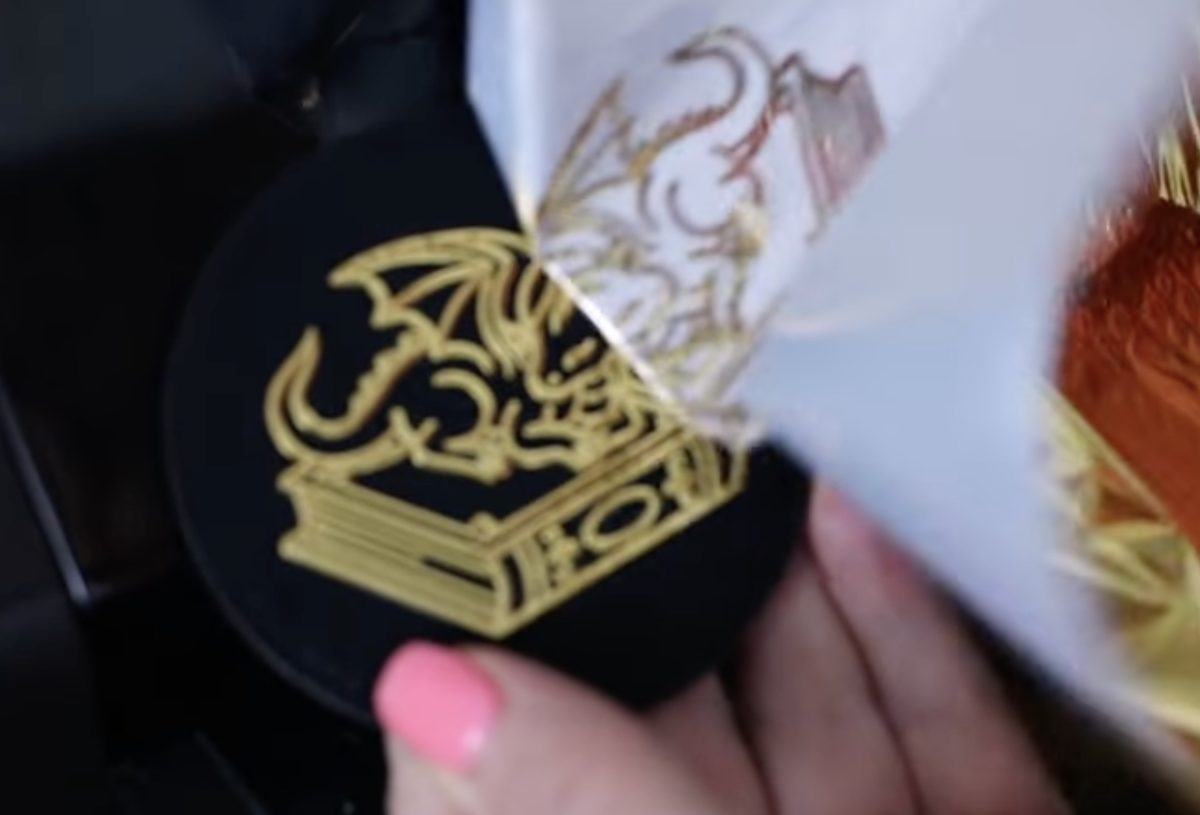
The gold foil on both prints is absolutely stunning. It looks good everywhere on both the paper and the patch.

Because the white ink is flexible, you don't have to worry about it cracking or releasing from the surface.
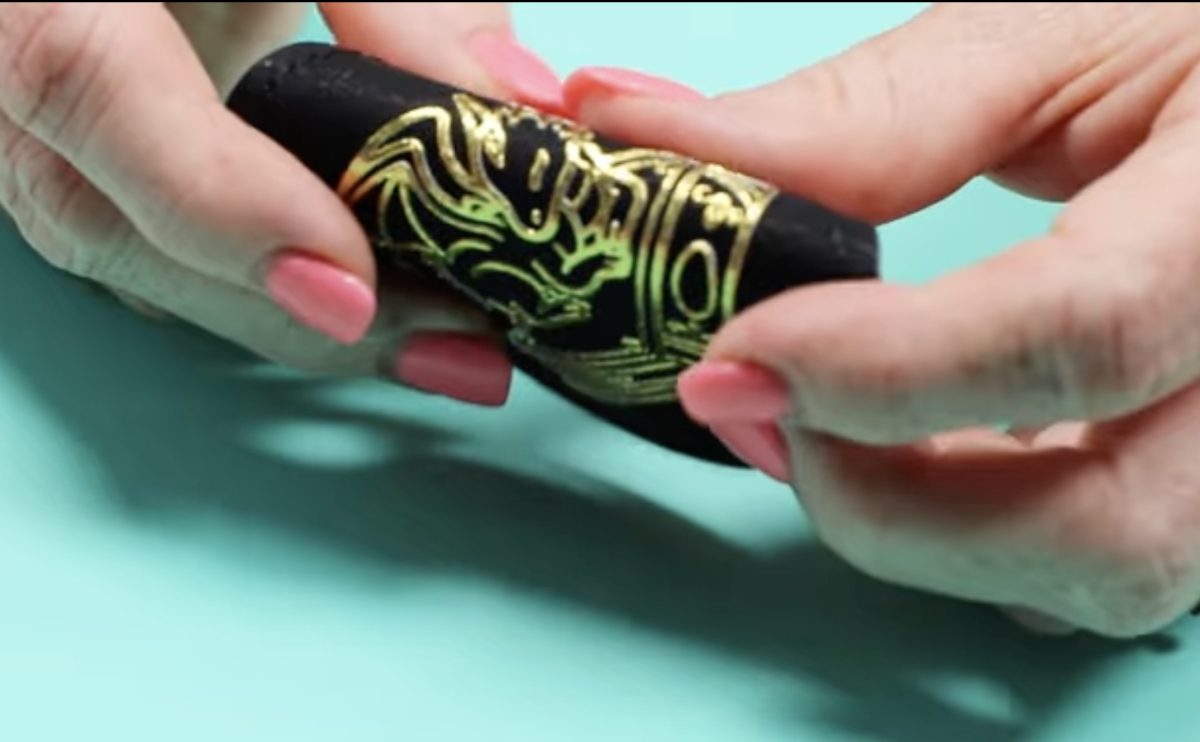
I think it's perfect for wedding invitations, thank-you cards, patches, etc.
Can You Print in Color and Foil Certain Parts with the EufyMake E1?
Now that I know I can add foil to an entire design printed in flexible white ink with the EufyMake, I want to do more.
Next, I'm going to try printing one color and then adding another element with the flexible white to see if I can have a color design with a foiled element.
Create the Design
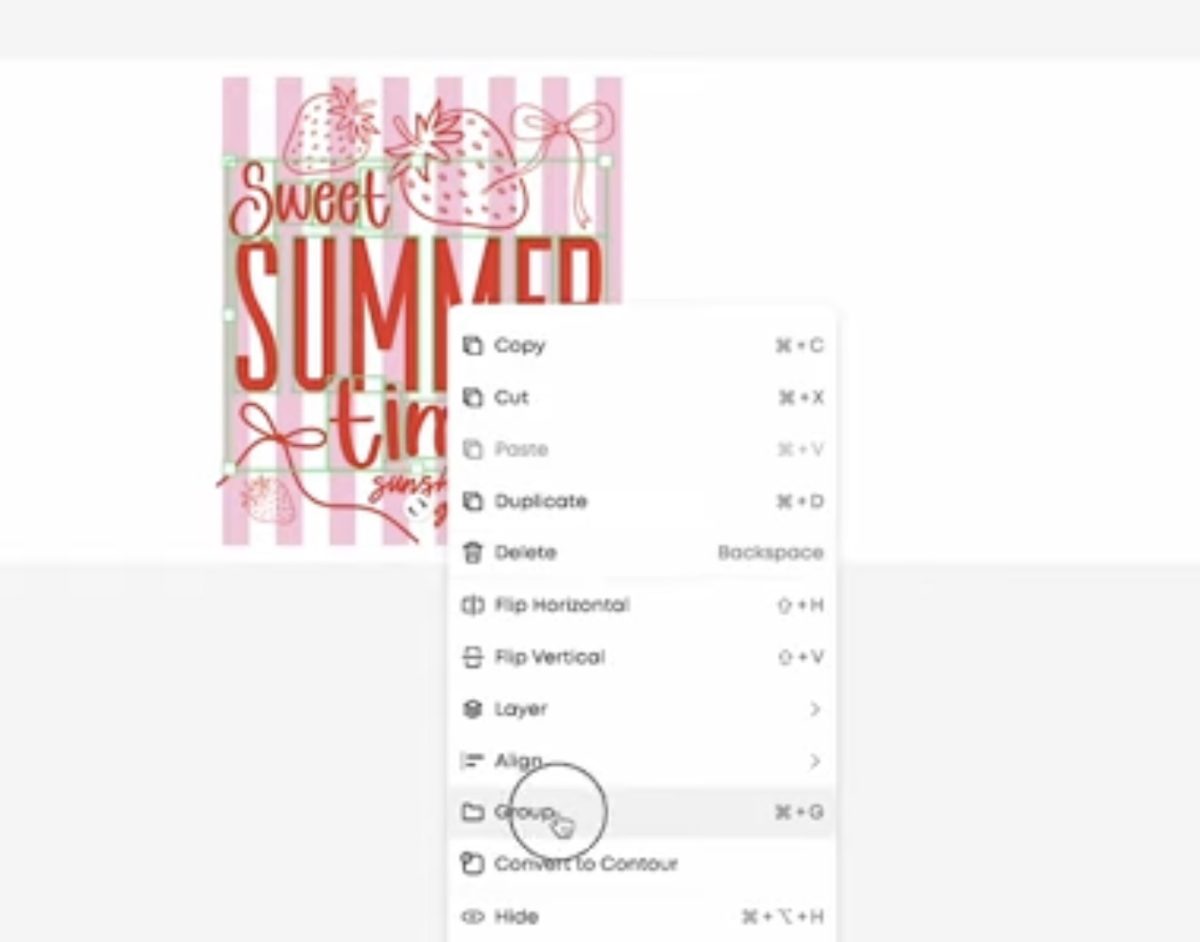
Open EufyMake Studio and import a file. I found that SVG files worked best for this process. Since SVG files come in layers, you can designate what you want different layers to do easily.
I am using a piece of acrylic for this project, so I'm going to place that on the bed of the EufyMake E1 and take a snapshot, so I know exactly what size I need my design to be.
Resize the design while it's still grouped to ensure everything stays proportionate.
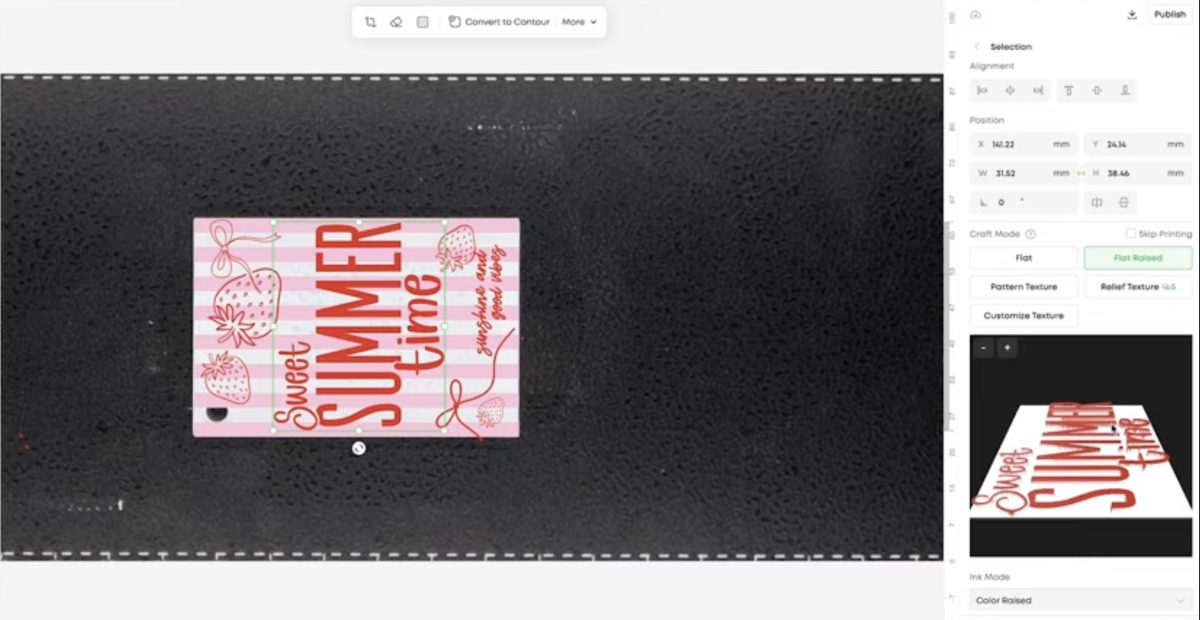
Next, ungroup the design and decide what elements you want to be foiled. I want the words foiled, so I selected each letter/word and then grouped them together and moved them to the side.
All the other elements I want printed regularly, so I selected them and grouped them together.
Locate the elements you want printed regularly on the blank and send it to the back.
Note: If you want to print the regular print and the foiling layer at the same time, the regular print Ink Mode setting must be CMYK. I will talk about those results more below.
Merge the CMYK layers, move the foiling layer into place, and merge that layer. Choose Flat Raised and select White Foil Stamping for the ink mode, and adjust the settings so they're the same as we did for the single color design above.
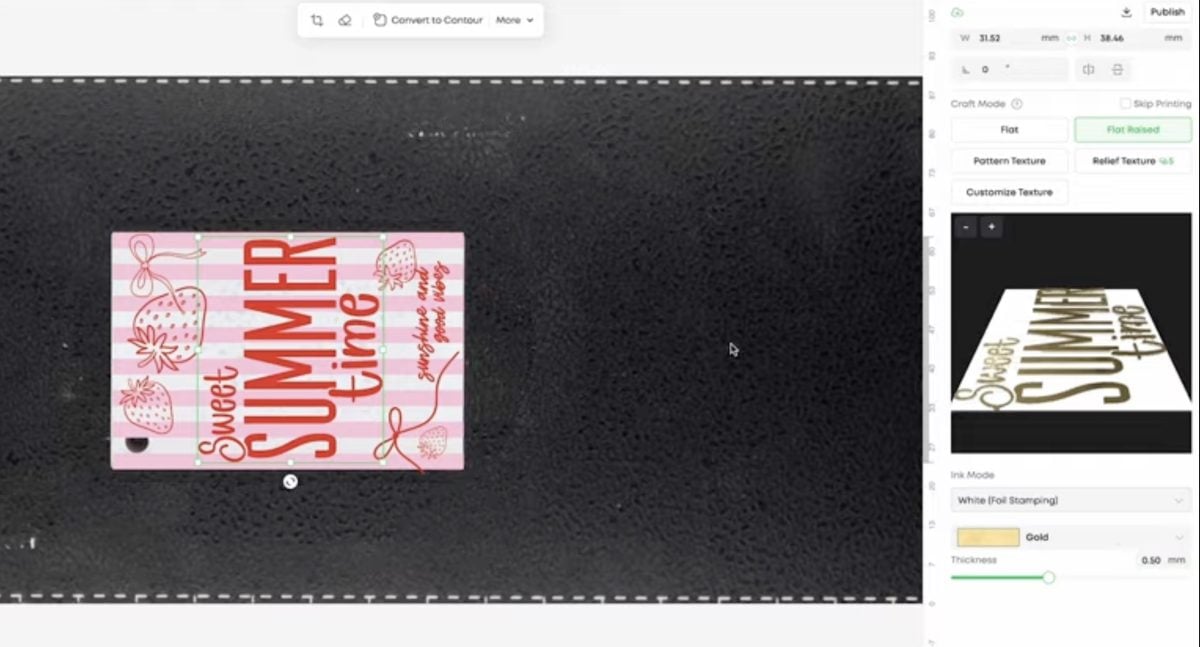
Press Print and send it to the EufyMake E1.
I repeated the same process for a white ceramic magnet project and will show you the results for both.
Print the Multi-Colored Designs
The EufyMake will print the CMYK layer first and then print the Flat Raised, white Foil Stamping layer on top.
Both the acrylic and ceramic printed really well, and you can see the white layer right on top.
Can You Foil Flexible White Ink with an EasyPress Mini?
The acrylic piece I used was really thin, which allowed me to feed it through the laminator like I did the patch and paper.
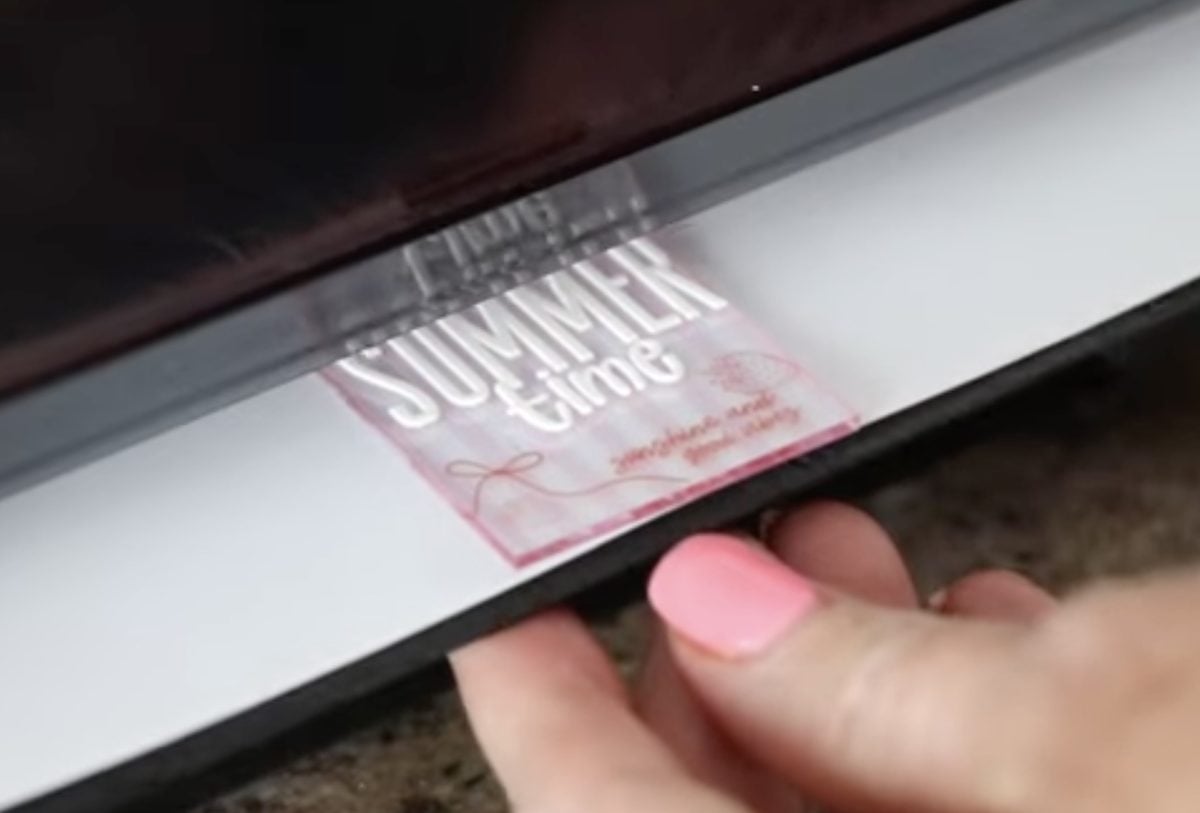
The foil looks beautiful on the acrylic.
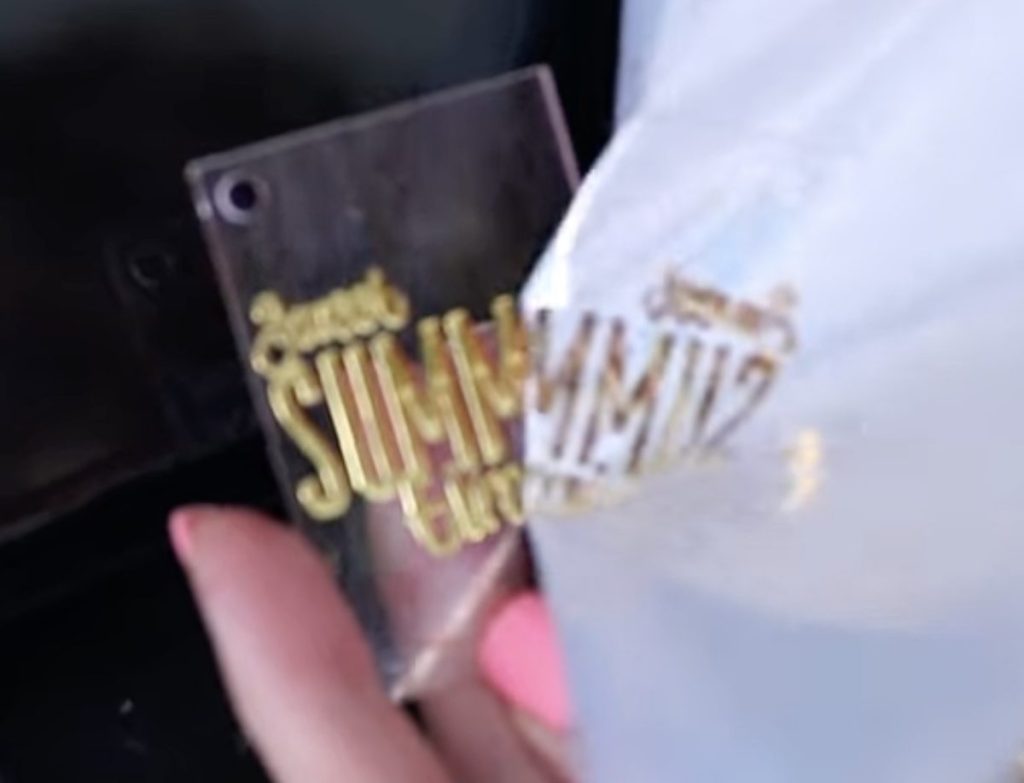
Because the ceramic magnet is thicker, it can't fit through the laminator. This gave me the perfect opportunity to see if I can foil with an EasyPress Mini.
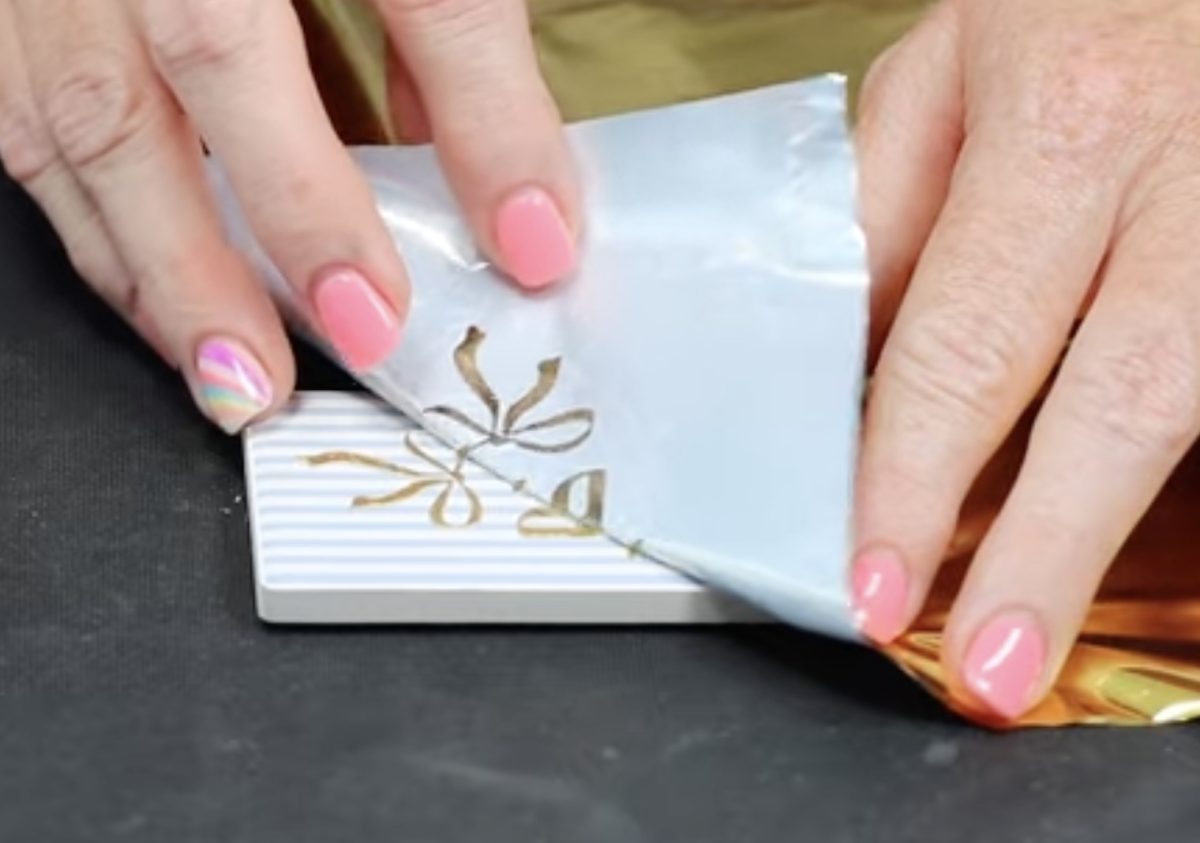
Preheat the Mini to the second setting. While that is preheating, place a piece of foil over the ceramic.
When the Mini is at temperature, press the foil for a few seconds with a little pressure.
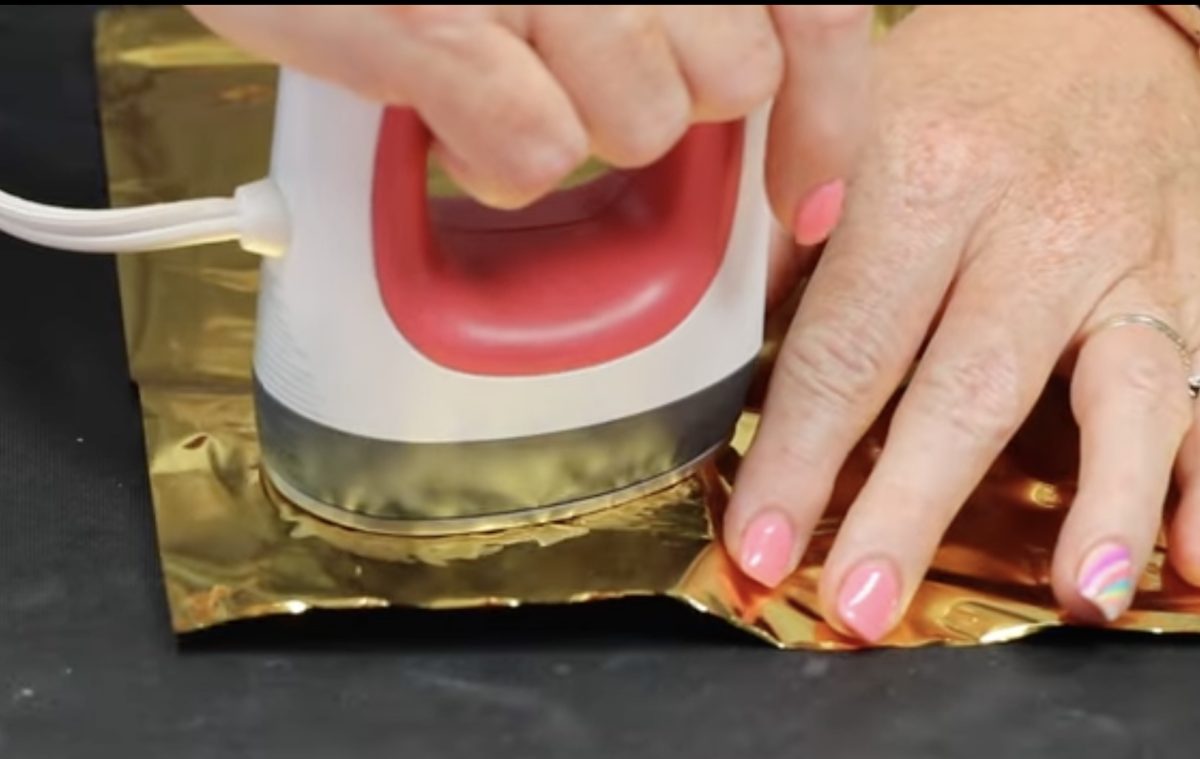
Allow it to cool for a few seconds and peel back the foil. It worked! That means you don't need to have the laminator to do foiling with the EufyMake E1 UV printer!
Foil with Color Layer Results
I'm really excited to show you how these turned out because I think you're going to love them.
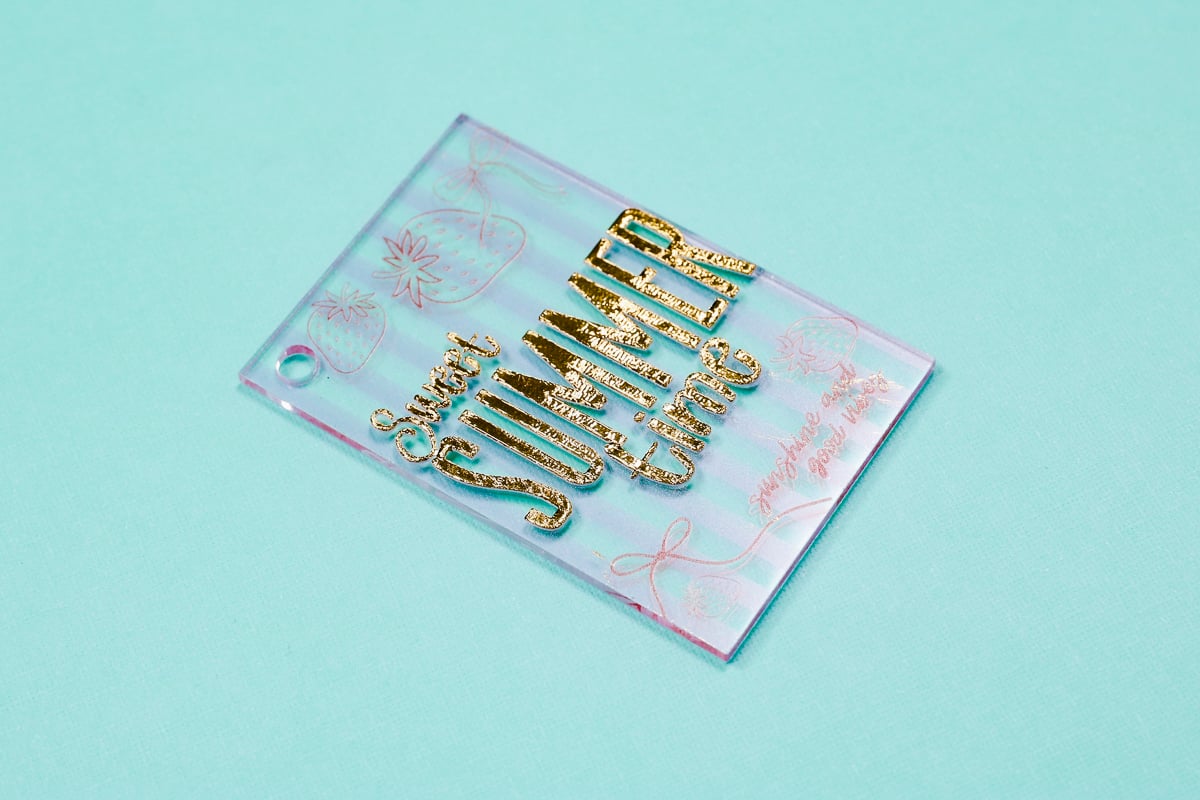
First, let's talk about the clear acrylic. I do like how this turned out, and depending on the project, this may be exactly how you want your project to look.
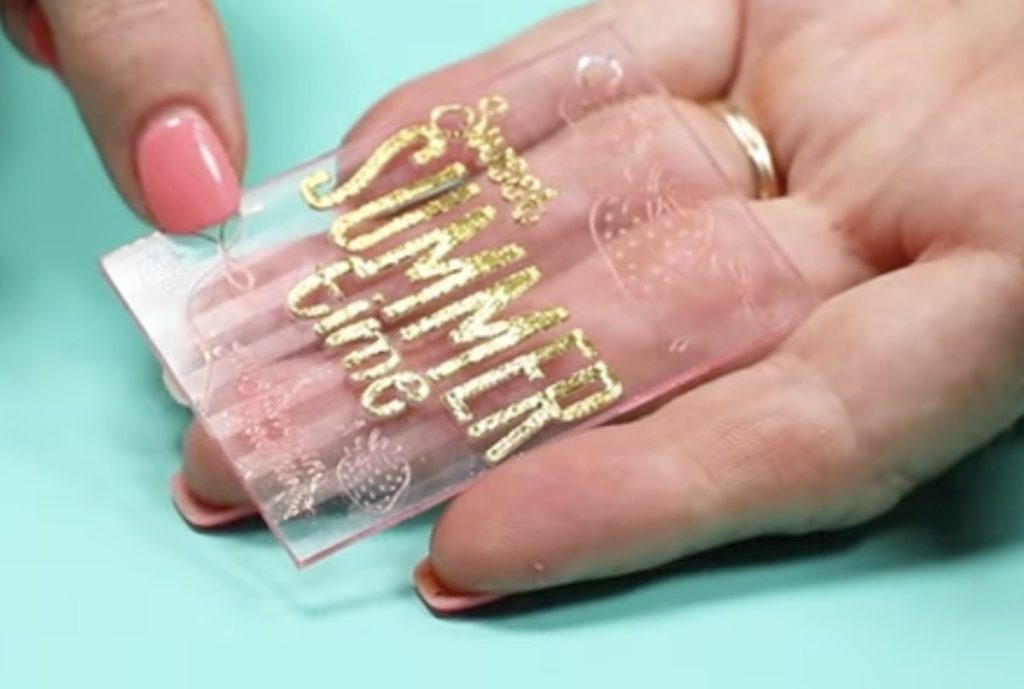
Since I wanted to print everything at the same time, the only print option for the background colors was CMYK. I could not add white. Because my acrylic is clear, the background colors are harder to see unless it's sitting up against something.
There is a workaround, and that is to print it in two steps. I've been really happy with the placement I'm able to get with the snapshot, so I think the two-step process will work.
With clear acrylic, you can either choose White + CMYK and print on the top, or you can choose CMYK + White and print on the back. Adding the white will make the CMYK colors more opaque.
Regardless of the option you choose, make sure that when you print the flexible white, you print it on the correct side.
For the white ceramic magnet, I used that same CMYK + Flat Raised, White Foil Stamping setting, and because the background is solid white, the colors look fantastic!
In both projects, the gold foil looks really good, and I think there is a place for both of them.
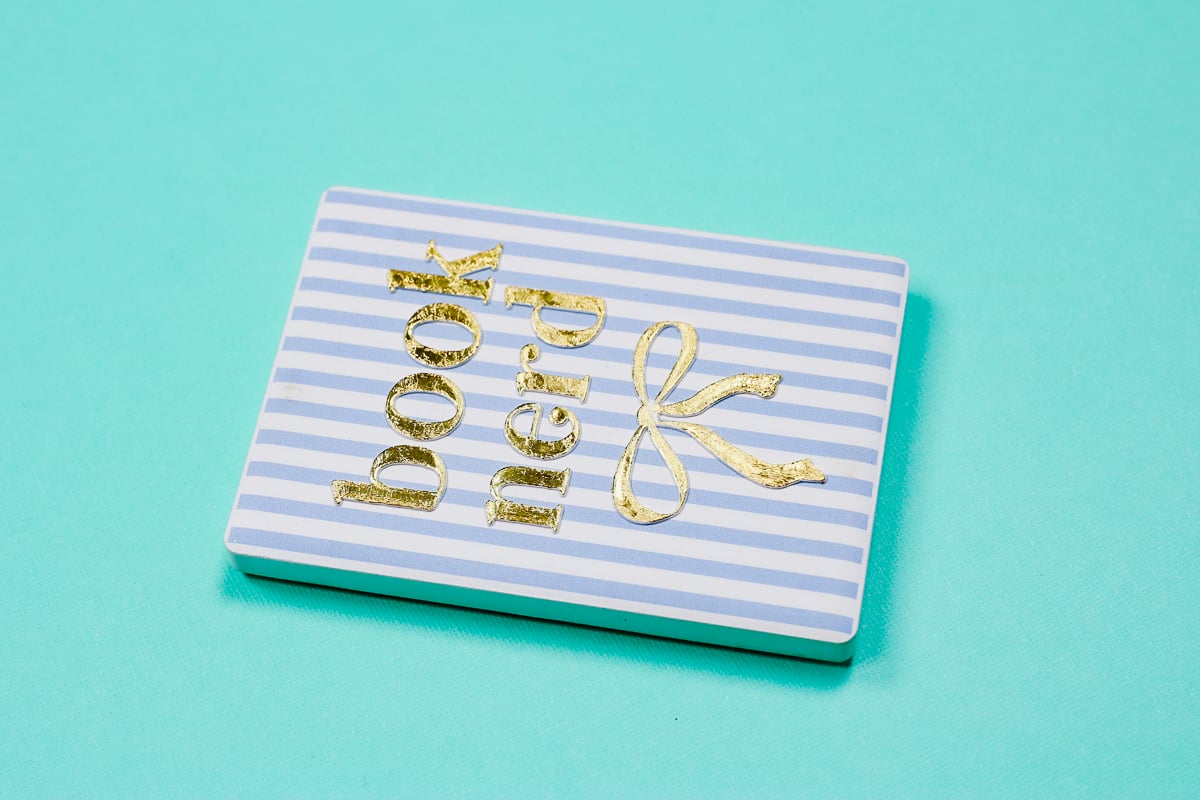
If I have to pick a favorite project, I think the magnet wins. Part of that may be because it was also the last project I made, and I was better at the foiling process. But really, the colors, design, plus the foil- it's just perfection.
What Blanks Can You Foil with the EufyMake E1 UV Printer?
The items you can foil with the E1 printer are probably a lot more than you expect. Basically, if you can put the flexible white ink on the surface, you can foil it.
By using something like an EasyPress Mini, you aren't limited to items that can fit through the laminator. I've even seen people add foil to tumblers and rounded surfaces like that.
I would make sure you have time to test your settings. I had better luck raising the height to 0.5mm vs leaving it at the base setting. That setting gave me beautiful foiling results, no matter what I put it on, and that's the end goal here: beautiful foiling.
How Long Will the Foil Last?
I haven't put these through a lot of wear and tear yet, but because the ink is flexible, the foil moves with it without any lifting or cracking. When I rubbed over the surface, it didn't come off at all. I would consider it permanent.
Are You Ready to Start Foiling with the EufyMake E1 UV Printer?
If you've been looking for an excuse to buy the EufyMake, maybe this is it. Foiling with the EufyMake is really impressive and looks so good.
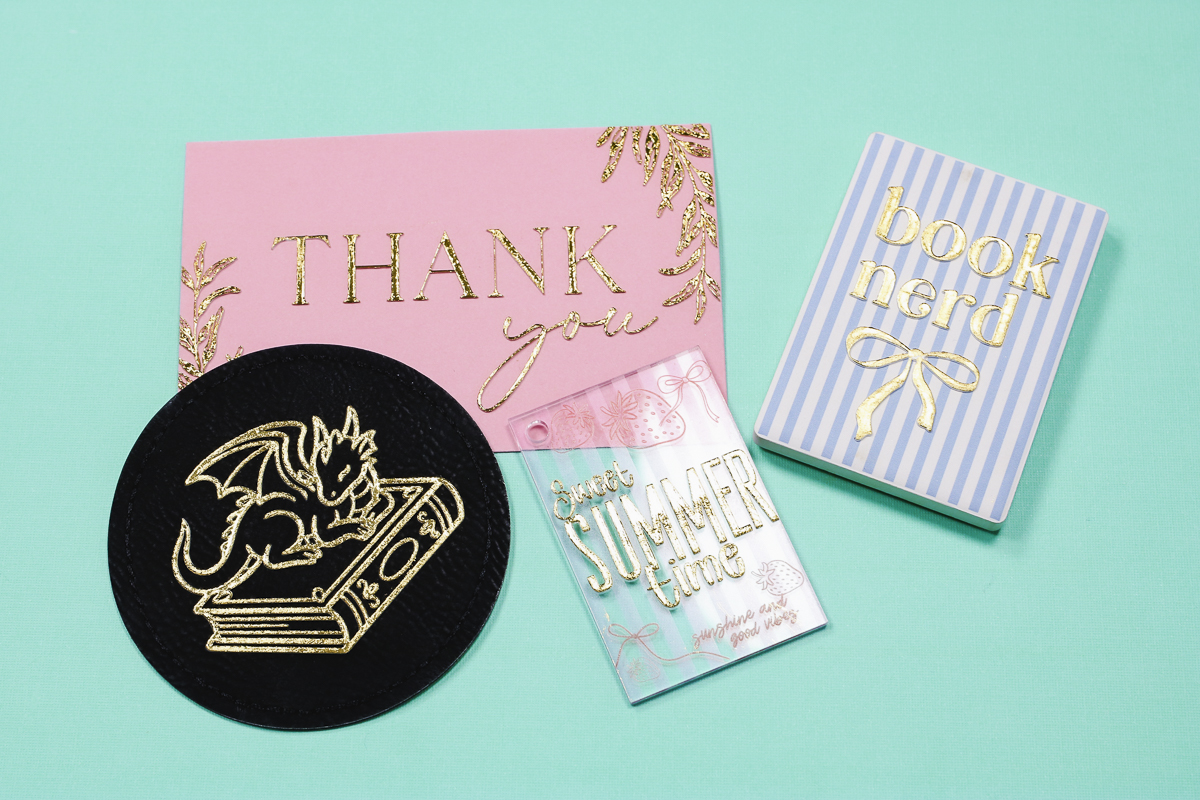
Don't forget, gold isn't the only option. You can also foil in silver and a variety of other colors. I have found that there are good foils and bad foils. If you're using a different type of thermal foil and are having issues, it may be the foil.
There is a little bit of a learning curve in the beginning; you will likely make mistakes, so be prepared for that. If you've already used the EufyMake with regular white ink, the flexible white ink is different.
When changing the white ink, you need to push out all the previous white ink to ensure the final results are what you want.
I hope I've answered any questions you have about foiling with the EufyMake E1 UV printer. If you have any additional questions, leave them in the comments, and I'll be happy to answer them for you.