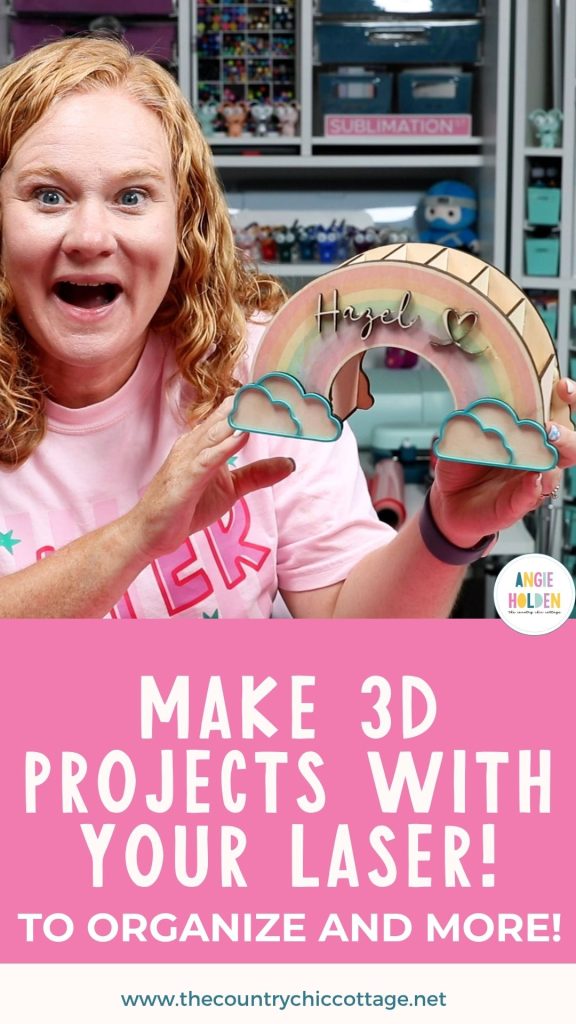
Are you ready to make 3D laser projects? I'm going to show you how to make a 3D laser organizer using the xTool M2. I really like that the M2 can print and cut right inside the laser, so I don't have to worry about painting the rainbow on this project. Simply print, cut, assemble, and it's ready to go.

If you're struggling to find 3D projects to make with your laser, I'm going to show you, right in xTool Studio, how to search the community for 3D projects you can make today. You can even search for free projects if you're just starting out.
You can watch me go through the whole process by pressing play on the video below.
How to Make a 3D Laser Organizer with the xTool M2
I am using the xTool M2 for my laser today because I want to be able to print and cut the project right inside the laser. If you own a different xTool laser that doesn't have printing capabilities, you can still make this project; you'll just skip the printing step.
Step 1: Find 3D Projects in xTool Studio
I'm going to walk you through the entire process for making this cute rainbow organizer. If you like the idea of a 3D organizer but don't love the rainbow I'm going to show you how to find other 3D options in the xTool Community.
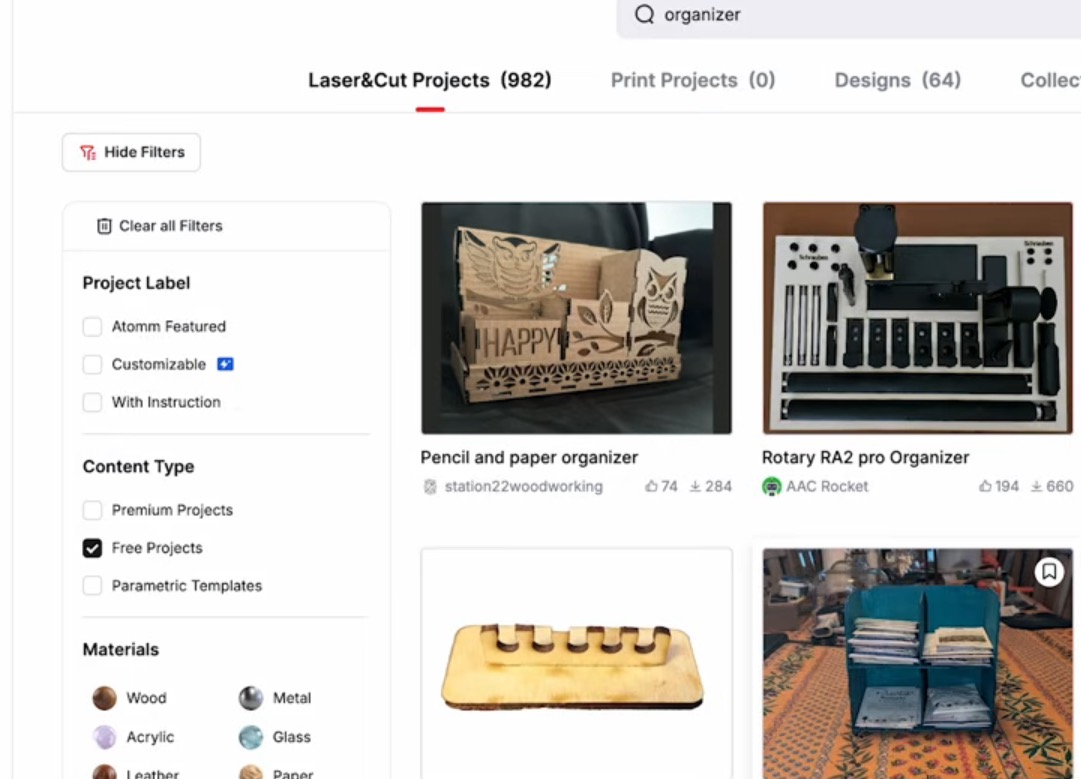
xTool has a community where people can share the projects they make. I searched the community for organizers and filtered the projects so it would only show me projects that are free to make.
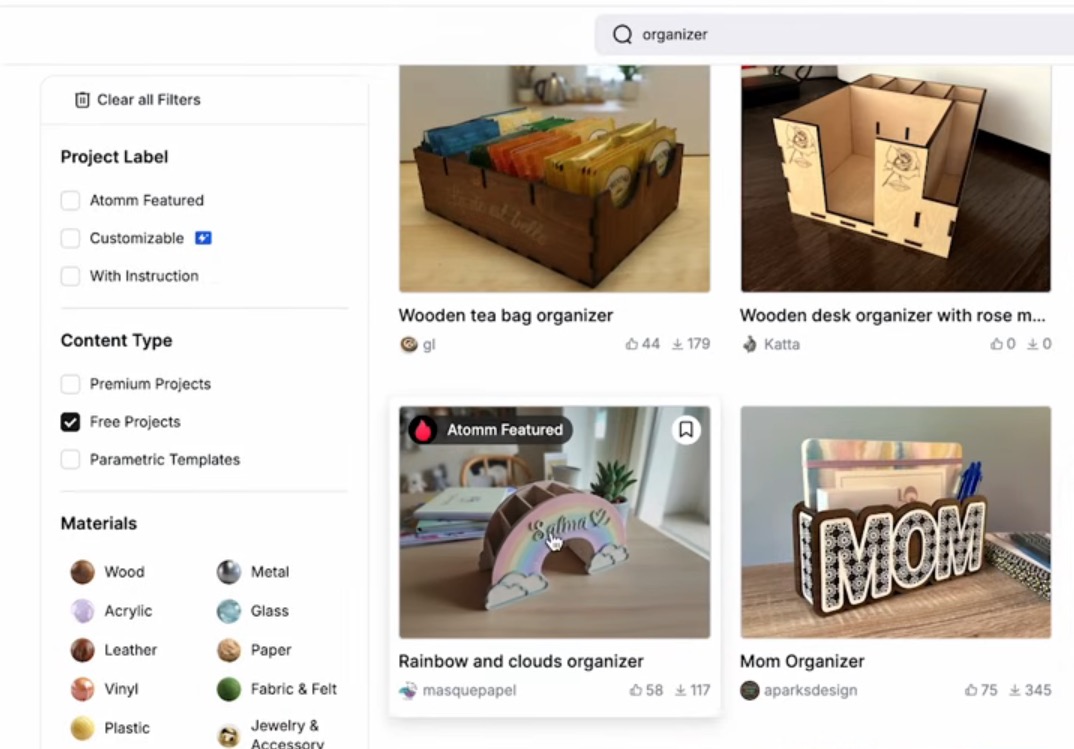
There are free and paid projects, and I think you may be surprised by how many free options there are.
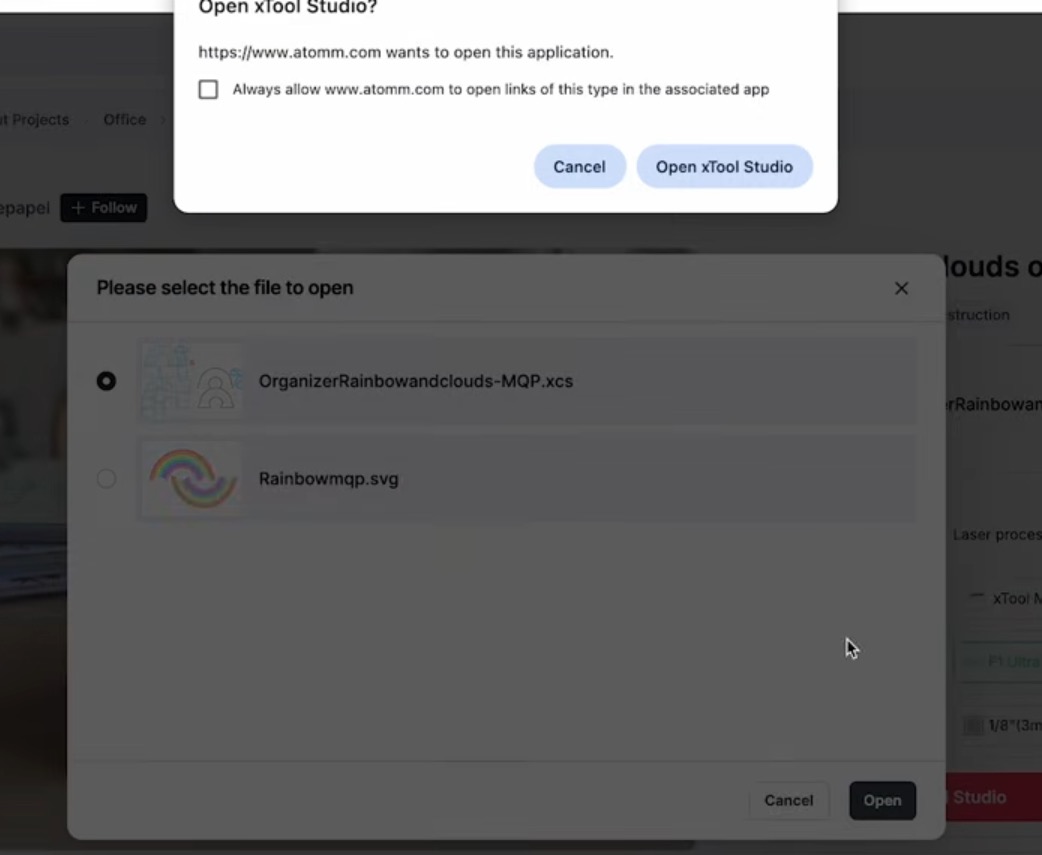
Once you find a project you like, you can open it right in xTool Studio, you don't have to download it or make adjustments in a different program.
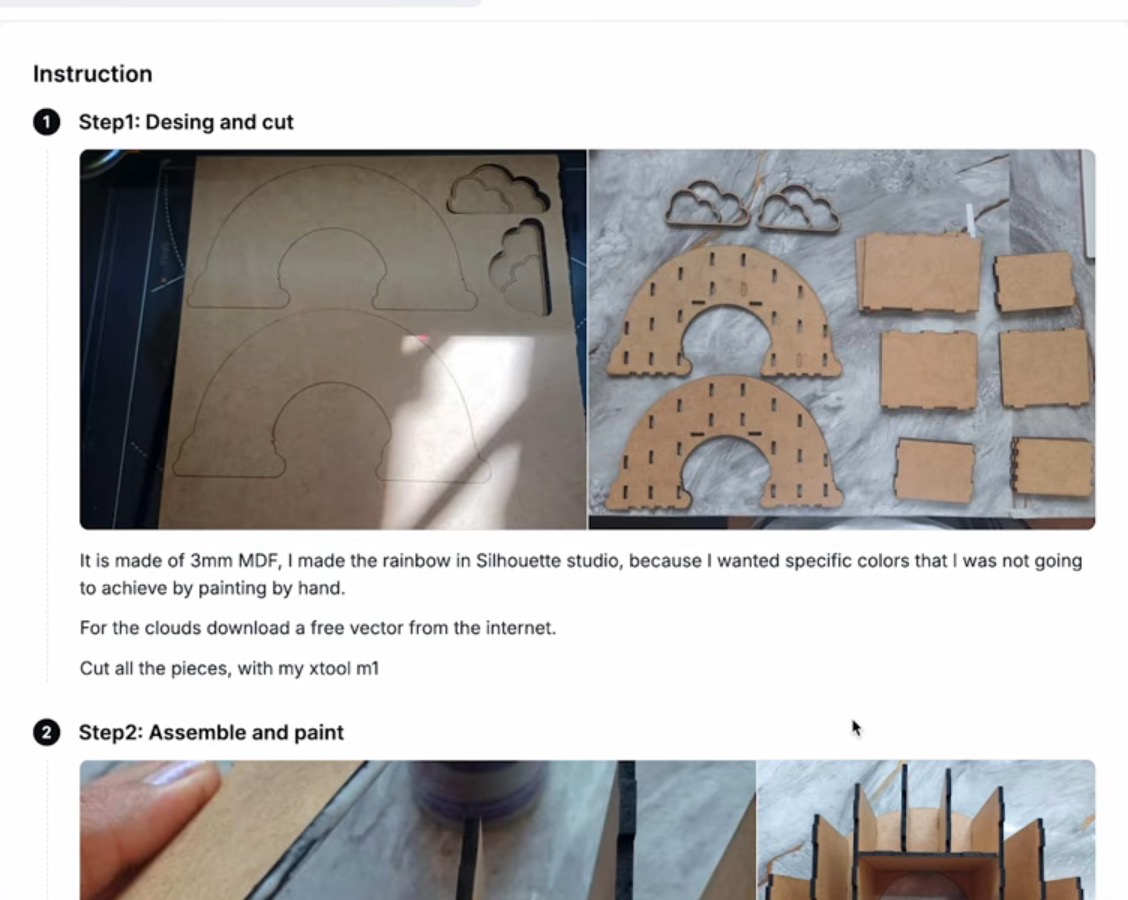
If you scroll down on a project in the community, many of them have instructions that make them easy to cut out and assemble.
Step 2. Adjust the Design
The 3D organizer file I found came in as two files. One file is the print layer and the other is the cut file.
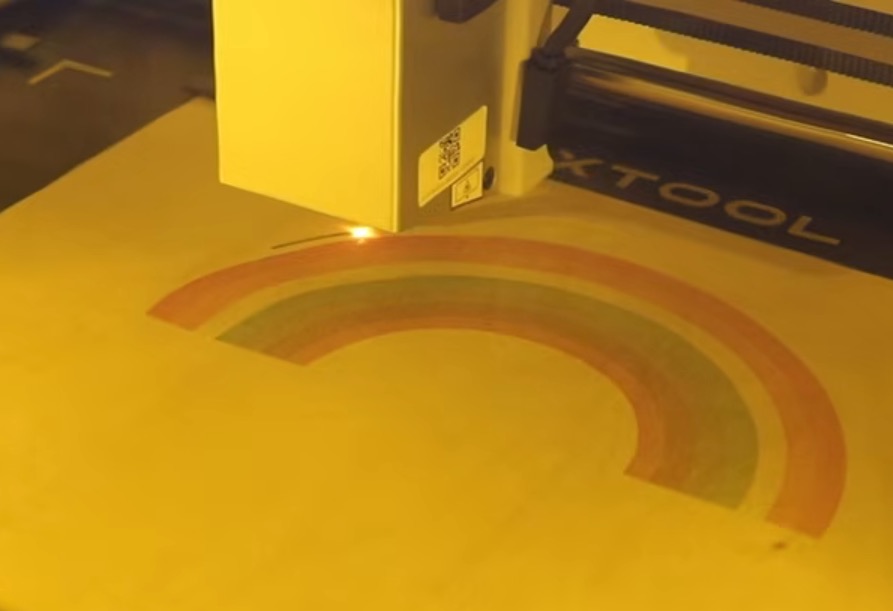
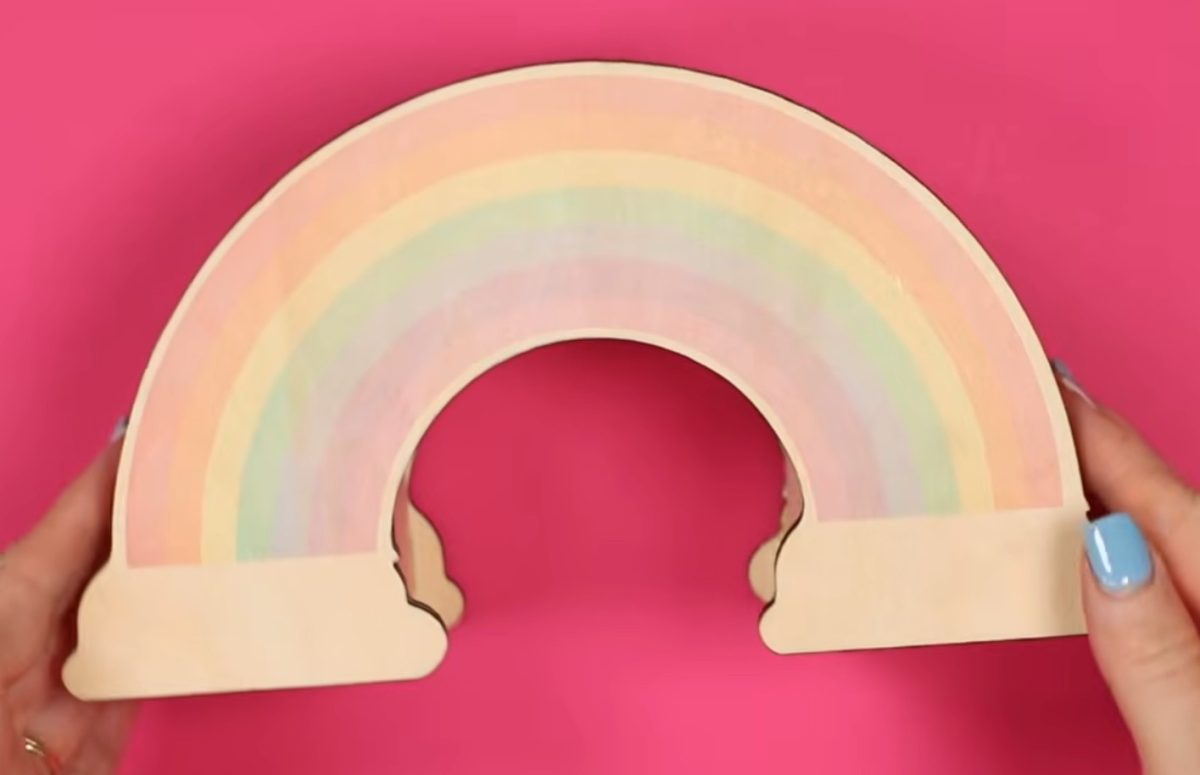
I opened both files in xTool Studio. Since I'm using the xTool M2, I can print directly on the wood before I cut it out. I love how easy it makes projects like this: no paint, no cutting vinyl on a different machine, just print then cut and done.
Make sure you adjust the project size to fit your material.
Add a Name to the Design
I wanted to customize the organizer by adding a name to it. In xTool Studio, I clicked the text tool, typed out the name Hazel, and chose a font I liked.
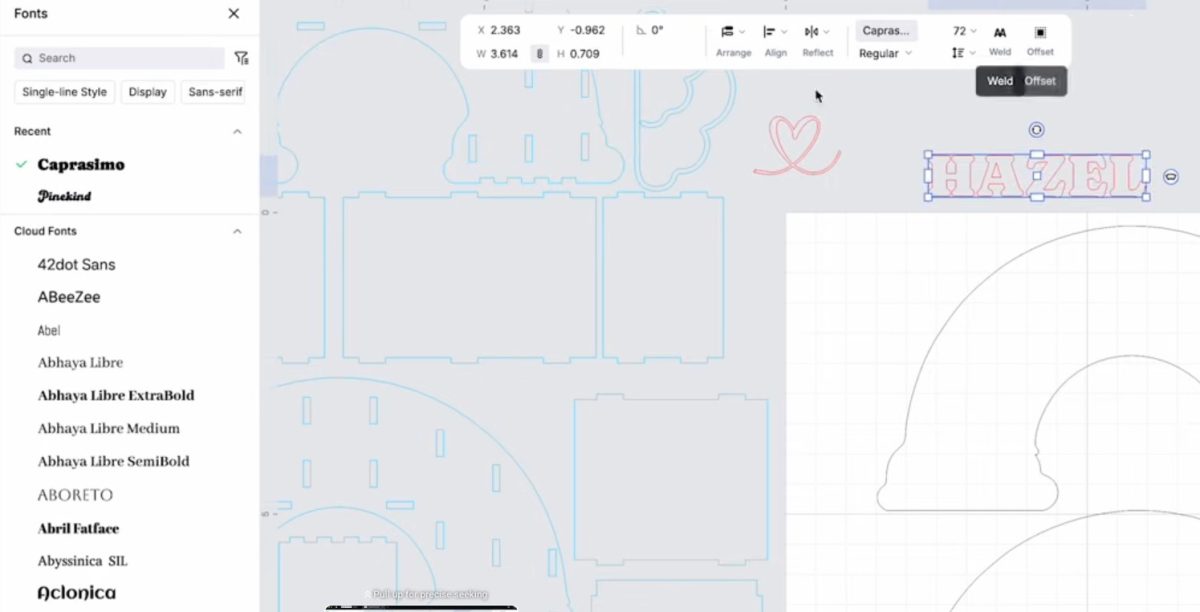
This is a script font, so I moved the letters so they touched and then welded them so they'd cut in one piece. Because of the font I selected the H will actually cut separately but the rest will all cut together.
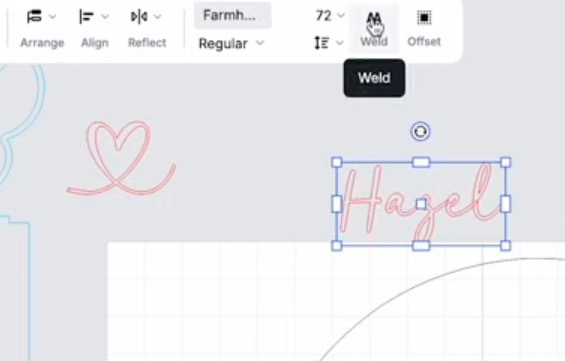
I moved the text to the rainbow layer to ensure the size was correct. Now, I'm ready to print and cut everything out.
Step 3. Cut Out the Design
I am going to cut out all of the wood pieces that do not have color added first. I need multiple pieces of wood to cut out the entire project.
First, I added the wood piece to the laser bed, using the magnetic material holders to lift it off the bed. Close the lid, and the M2 will snap a photo of the laser bed.
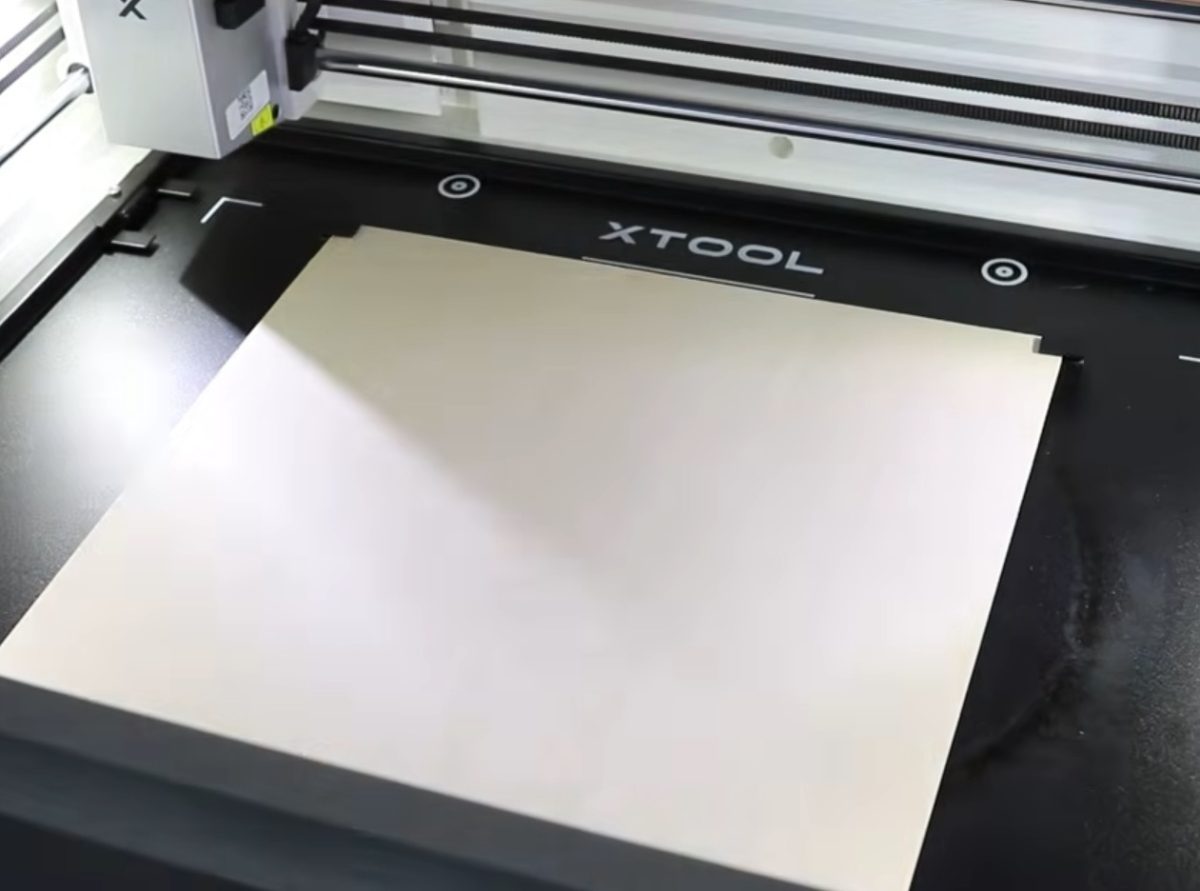
Second, I moved design pieces onto the wood and filled it up so it uses as much of the wood as possible.
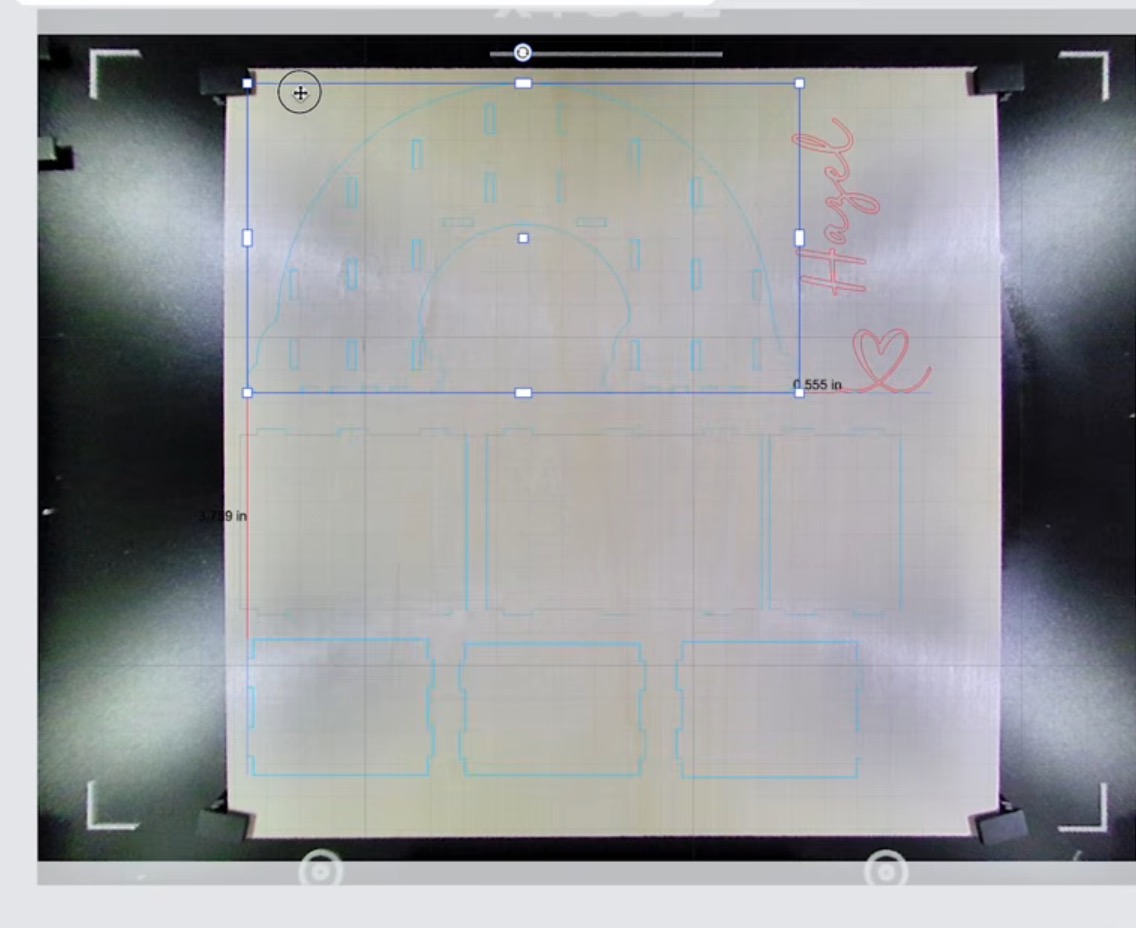
During this step, make sure to click on all the pieces you're not cutting right now and turn the Output to Off. This will make sure those other pieces aren't sent to the laser.
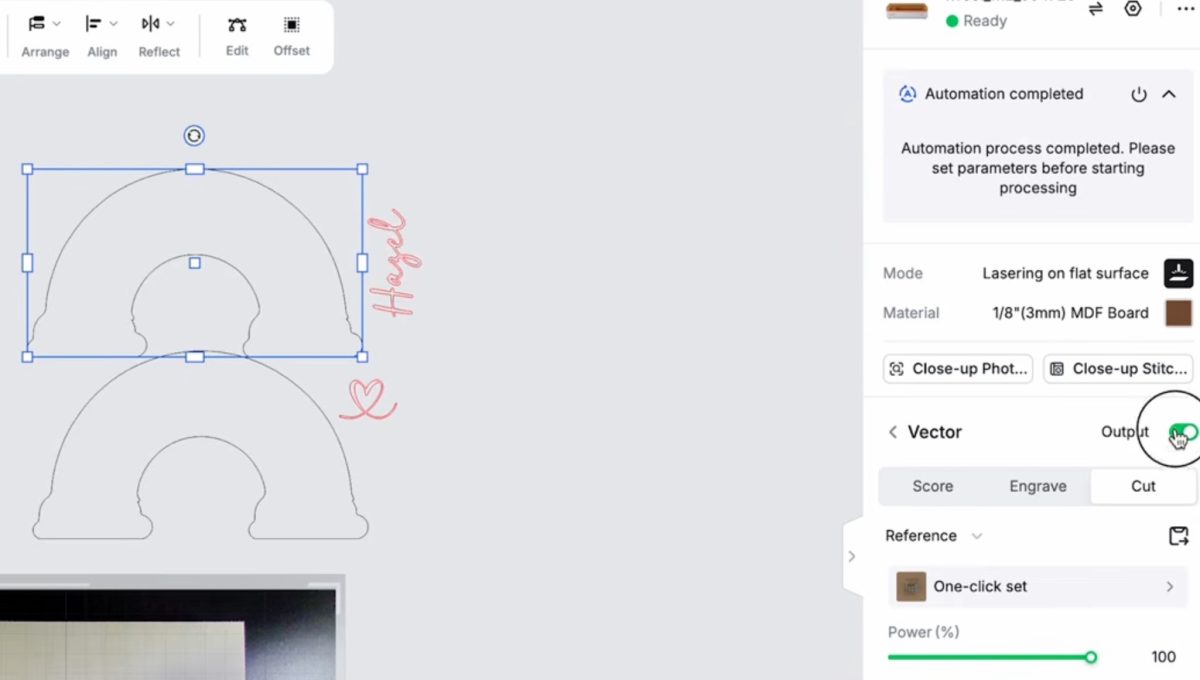
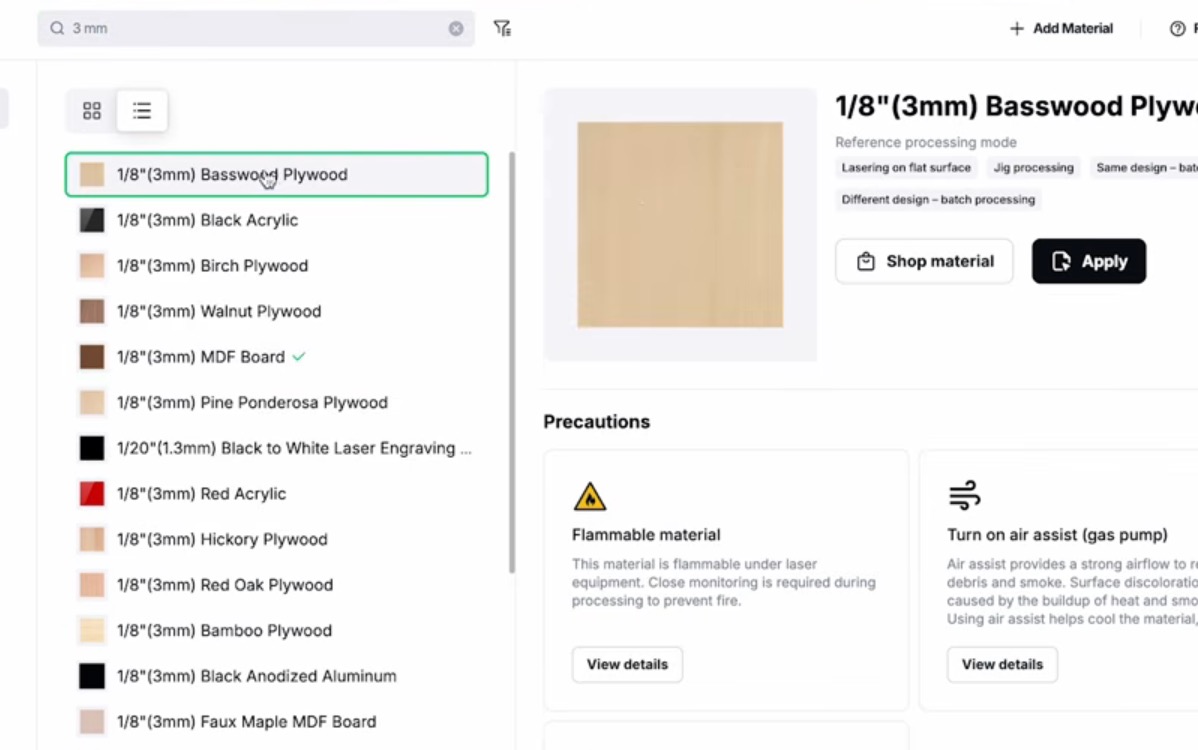
Third, select the material type. Make sure your material type matches the material you have in the laser. Make sure your laser is either vented outside your space or connected to an air filter.
Fourth, send the project to the M2. Press Process in xTool Studio. Here, you can click Framing to ensure all of the pieces are located on the wood.
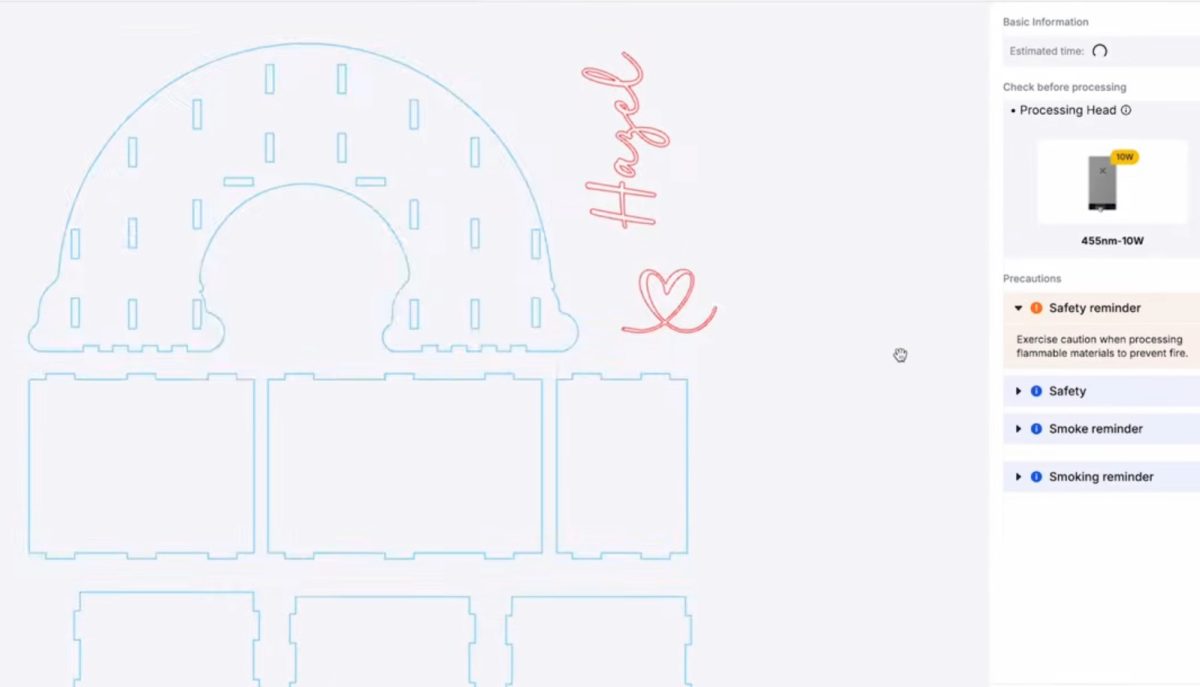
If everything looks good, press Start in xTool Studio and then press the button on the front of the laser.
Step 4. Remove the Cut Pieces
When the laser is done, open the lid and remove all of the pieces.
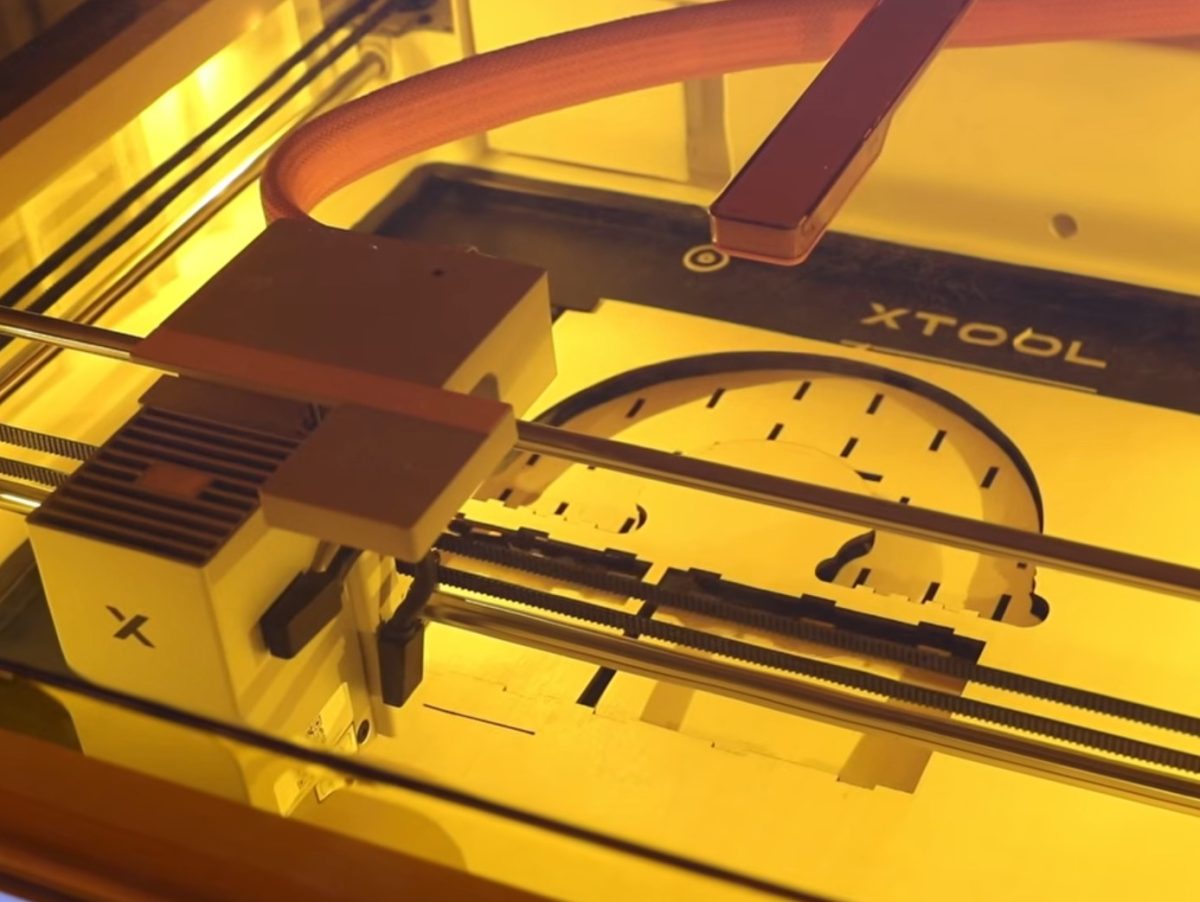
If you notice small pieces on the bed or a lot of dust, clean out the bed, and then repeat these steps for the other pieces that are not printed.
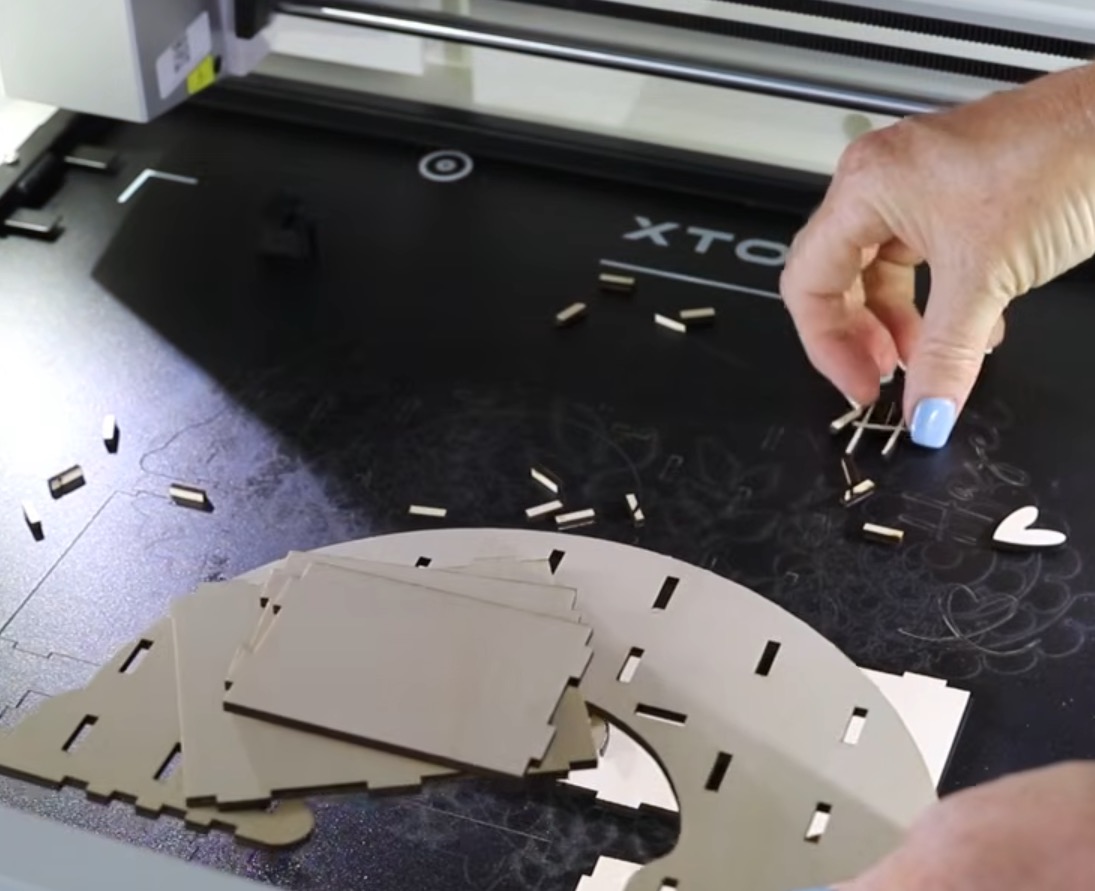
The cloud pieces of my design are cut out of colored acrylic. So I cut those pieces during this step as well.
Step 5. Print and Cut on Wood
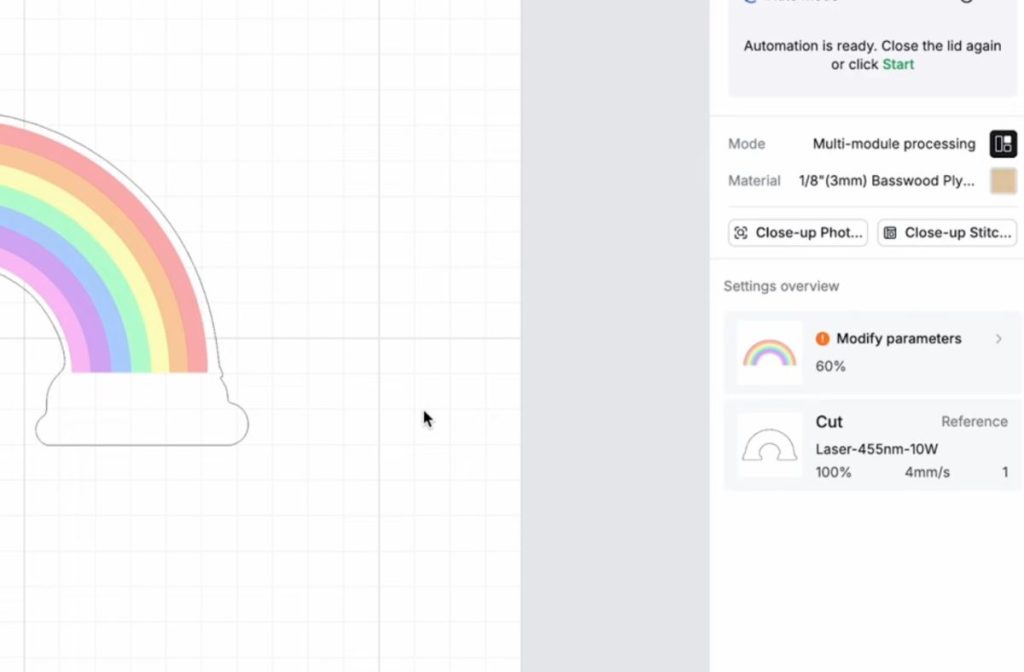
To print and cut on wood using the M2, first, we need to change the Processing to Multi Module.
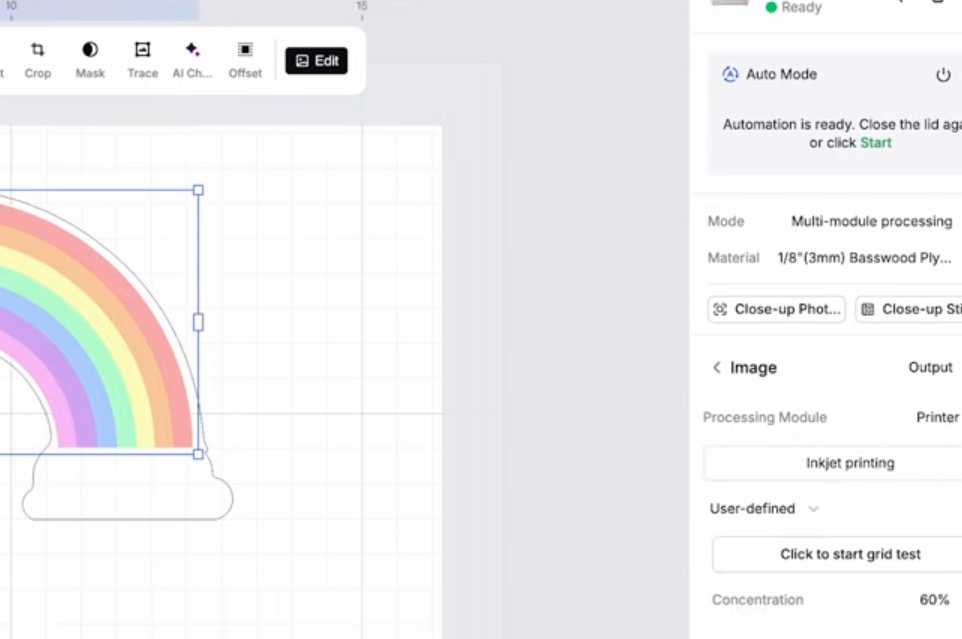
Note: The new xTool Studio update changed this setting to Print Then Cut.
This will allow you to choose both the printer module and the laser module so it can do both the printing and cutting steps.
Load the wood piece into the laser, move the print then cut pieces onto the wood.
Because this is a community design, everything is already set up. I want the rainbow cut piece to be laid on top of the rainbow print piece.
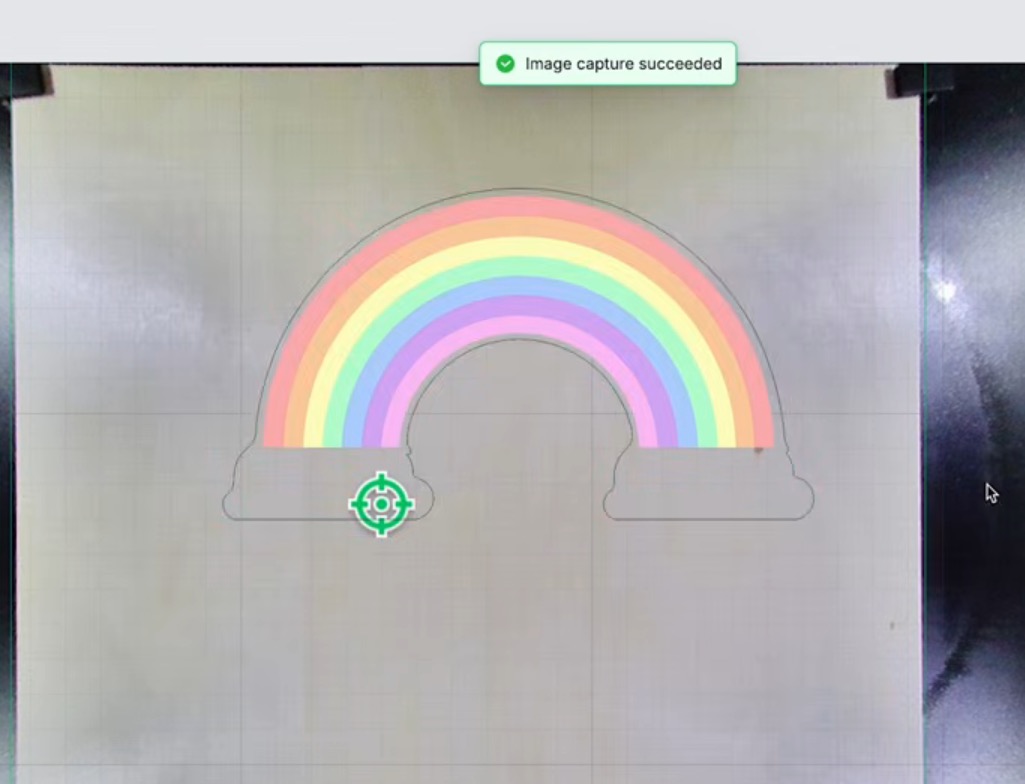
Make sure the print portion is fully contained within the cut lines or is just slightly larger. Mine fits inside the cut lines.
Confirm that the parameters for both the print layer and cut layer are correct and click Process.
Change the Laser Module
If you don't have it loaded already, xTool Studio will prompt you to change the laser module to the print head.
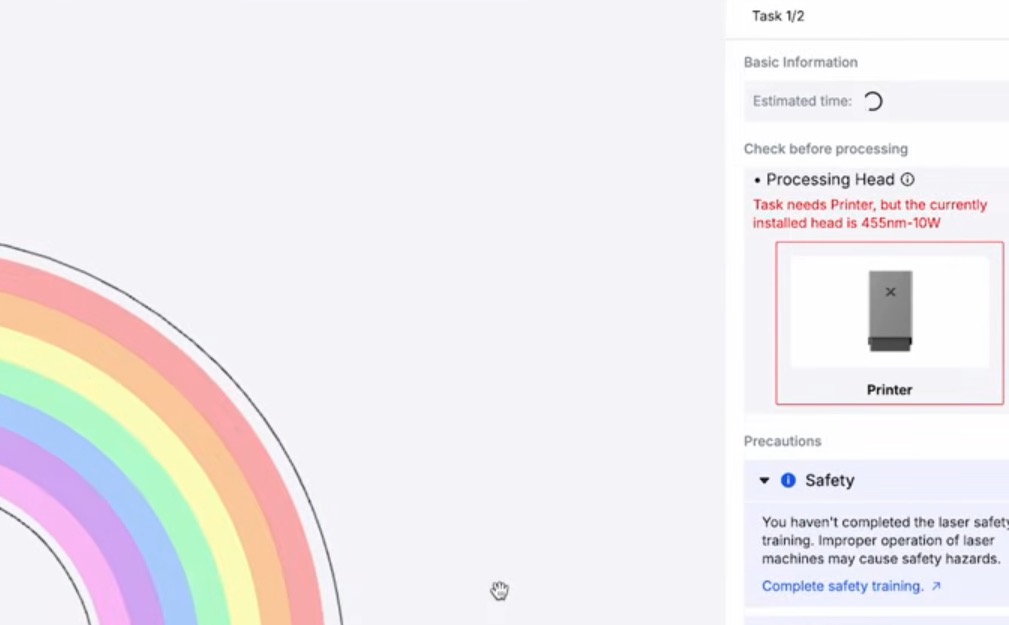
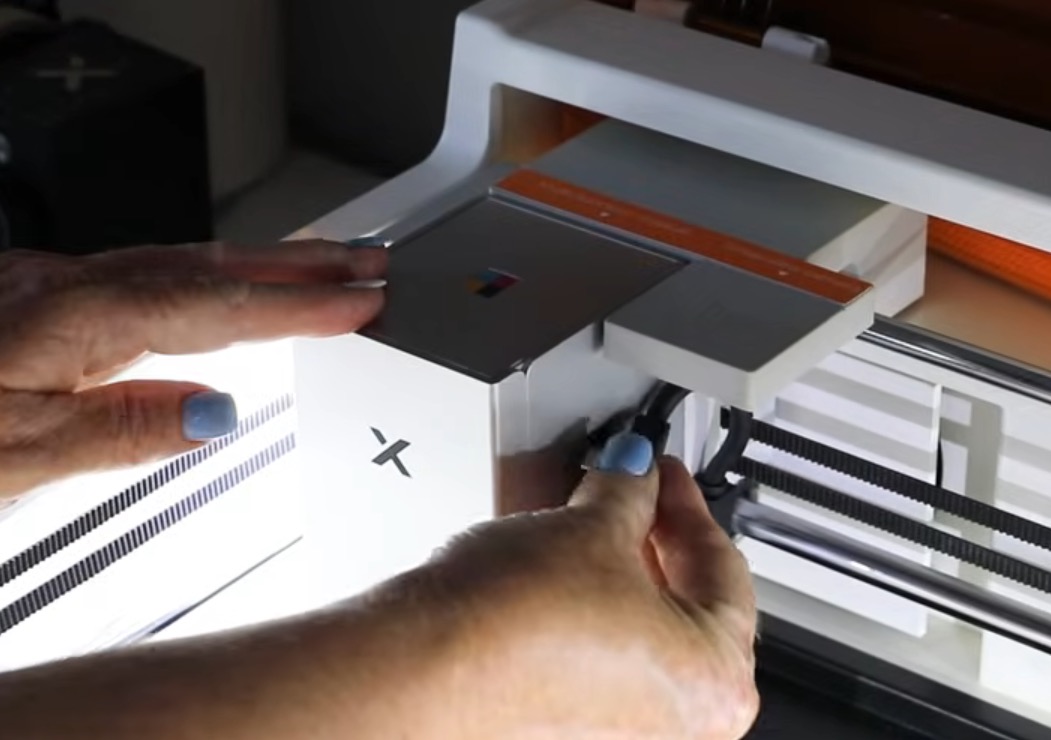
Swapping the module is really easy. Simply unhook the cable from the laser module and remove it. It's secured by a couple of magnets. Add the print module and connect the cable.
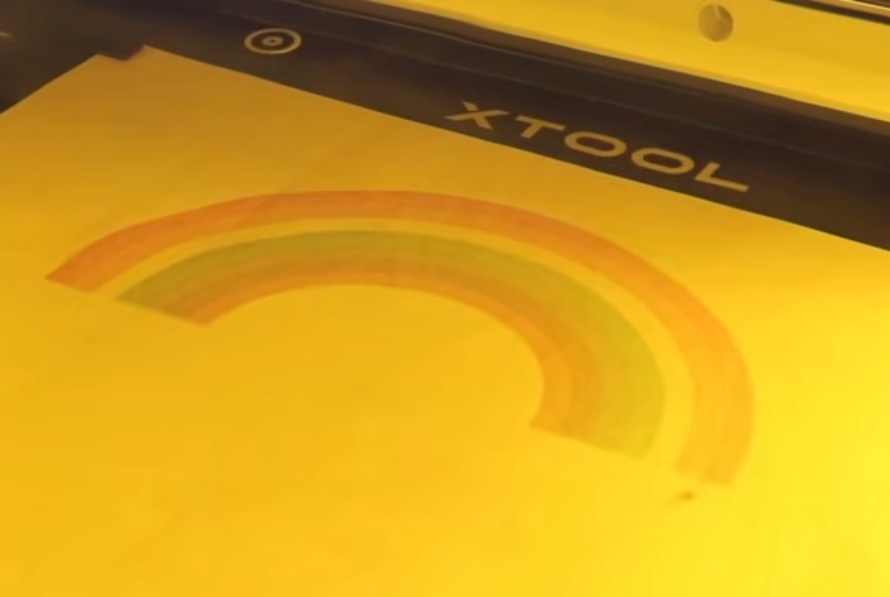
Click Start in xTool Studio and press the button on the front of the laser to start the printing process.
Swap to the Laser Module
When the printing is complete, xTool Studio will prompt you to change from the print module to the laser module.
Click Start in the software, and the button on the front of the machine and the laser will cut out the printed pieces.
Step 6. Assemble the Organizer
Now, we have all of the pieces cut out, so I'm going to lay them out in the order needed for assembly. This community design had instructions to follow, which made it easy to know where everything goes.
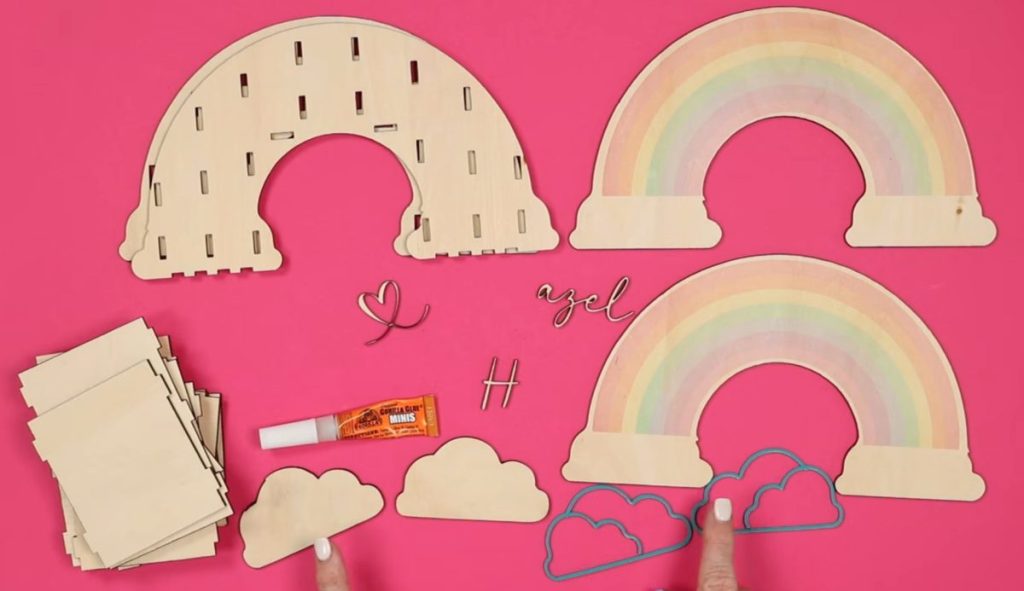
There are pieces with holes and pieces with notches and those fit together to form the organizer rainbow arch.
I recommend doing a dry fit first to make sure you know where everything goes and that it fits correctly.
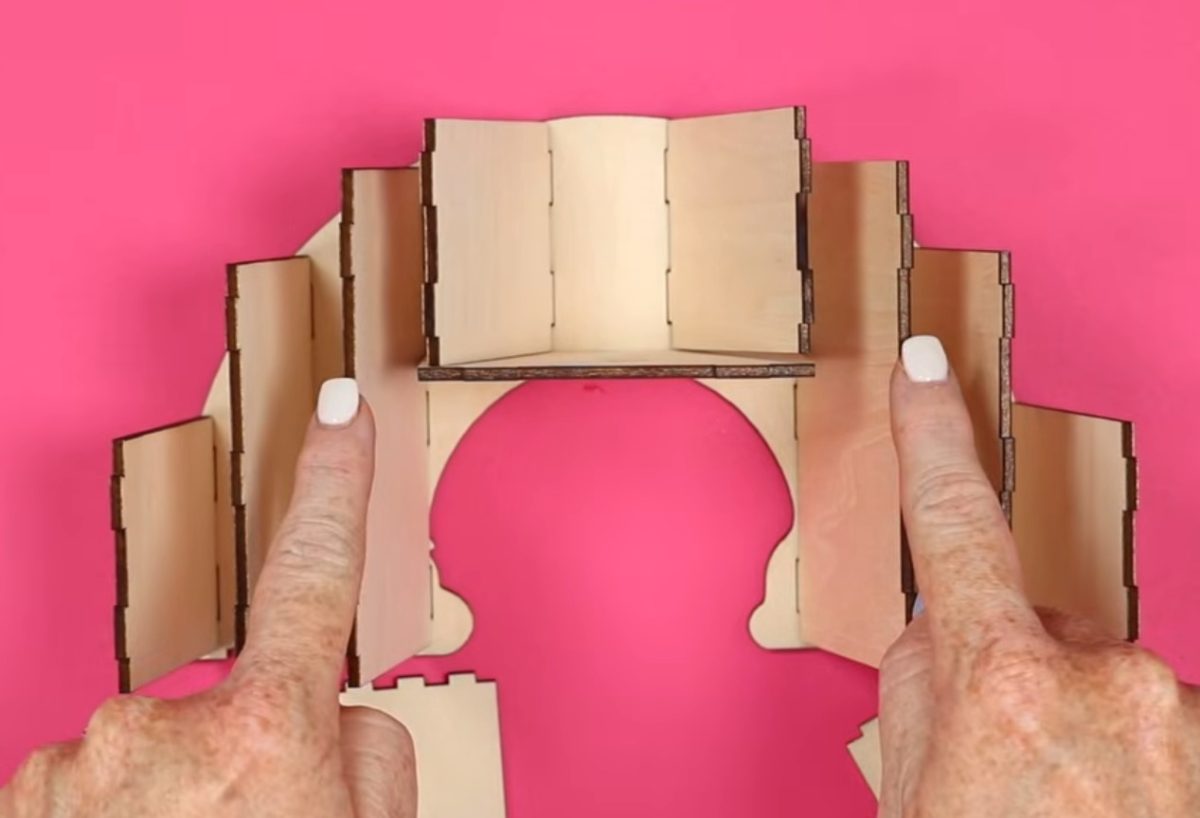
Once you know how everything fits together, add glue to the notches and fit them into the holes.
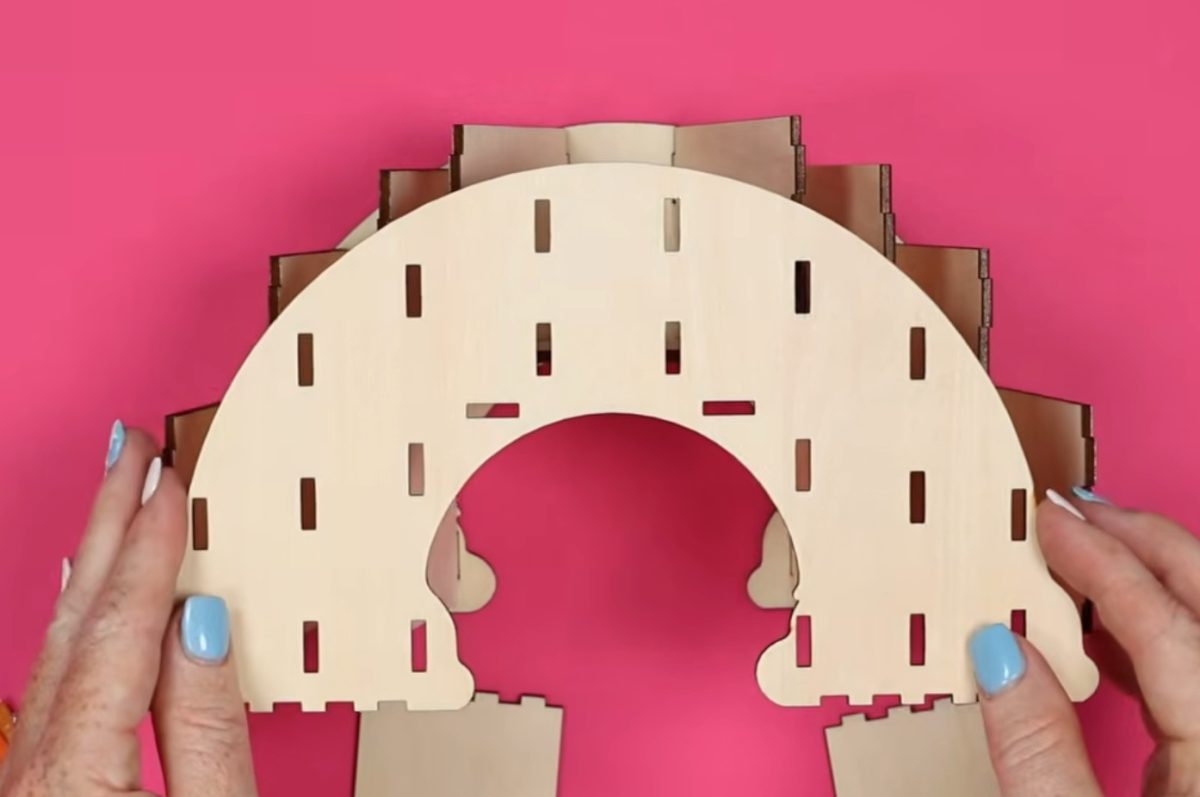
The two rainbow pieces go on the outside. Secure those in place with glue and allow them to dry. I laid the organizer on its side and placed something on top of it while the glue dried to make sure it all stayed together.
Add Layered Elements
Once the organizer portion was dry, I added the additional cloud piece and acrylic cloud outline pieces to the clouds with glue.

Then I glued the cute little heart and name onto the front of the organizer.

When all of those pieces are dry, the organizer is complete.
Are You Ready to Make a 3D Organizer with Your xTool M2 Laser?
I love how this project turned out. It's really cute; all of the pieces fit together really well, and I love that it's a functional organizer.

If you don't want to make this exact organizer, there are a lot of other options in the xTool Community. You can search there and see if you find one that fits your decor style.
If you own a laser, don't think you can only make flat projects. There are a lot of different 3D projects you can make, and if you have the xTool M2, you can even add color to those projects, right inside your laser.
I did want to note that in xTool Studio, you can decide how much ink you want the printer to lay down on the wood. There is a slider adjustment that determines how much ink is printed. Remember, there is no white ink in this printer module, so the color of your blank can impact the final colors.
I hope I've answered any questions you have about making a 3D laser organizer. If you have any additional questions, leave them in the comments, and I'll be happy to answer them for you.