
A craft closet may seem like a dream to you, but it is far more attainable than you may think! I recently had the privilege of working on my craft room storage with EasyClosets to create my ultimate craft closet! They provided me with the product for this post; however, all opinions are my own. Get a peek into the before and after of my closet with the full closet design and installation process.
The Best Craft Closet System
If you are a craft blogger or even an avid crafter, you know that organization is key! Keeping everything in its place means you aren't buying quadruple the amount of paint or Cricut vinyl. Being organized means you are resourceful with more power applied to your creativity instead of hunting for random supplies.
If you are looking for a closet system solution, this is the post for you! This article will walk you through the entire process of selecting a closet design and the installation with EasyClosets. The organization process is documented in the craft closet reveal.
Craft Closet Before & After
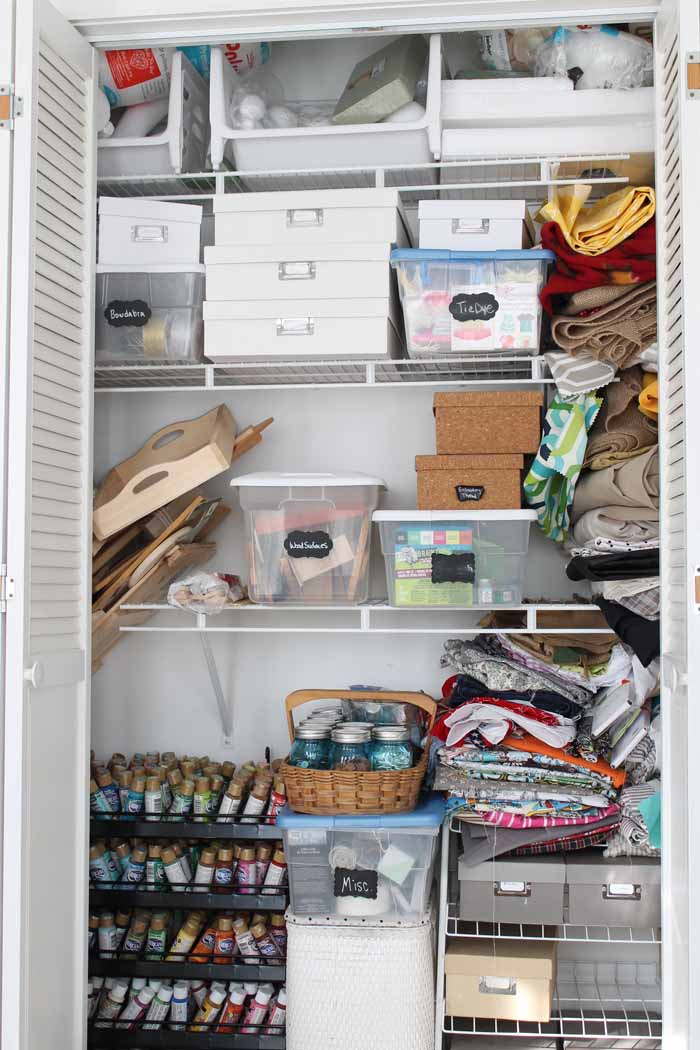
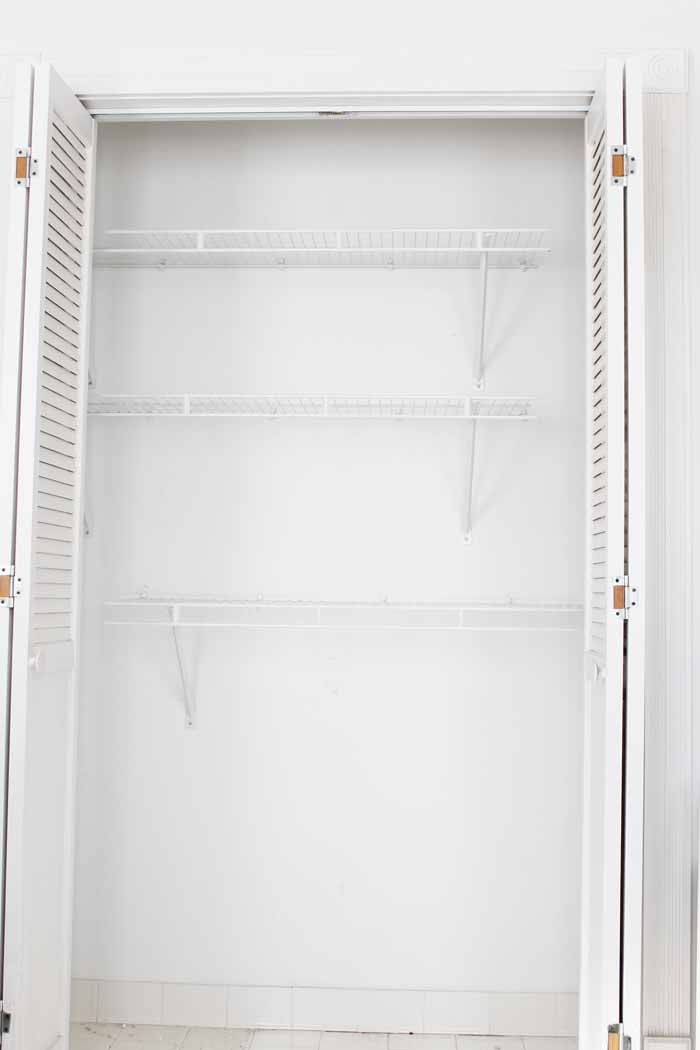
What is an after without a before? I started with a bit of a mess. You see I had made myself a closet for my craft supplies a few years ago, but the organization and layout of the closet design didn't fit my needs.
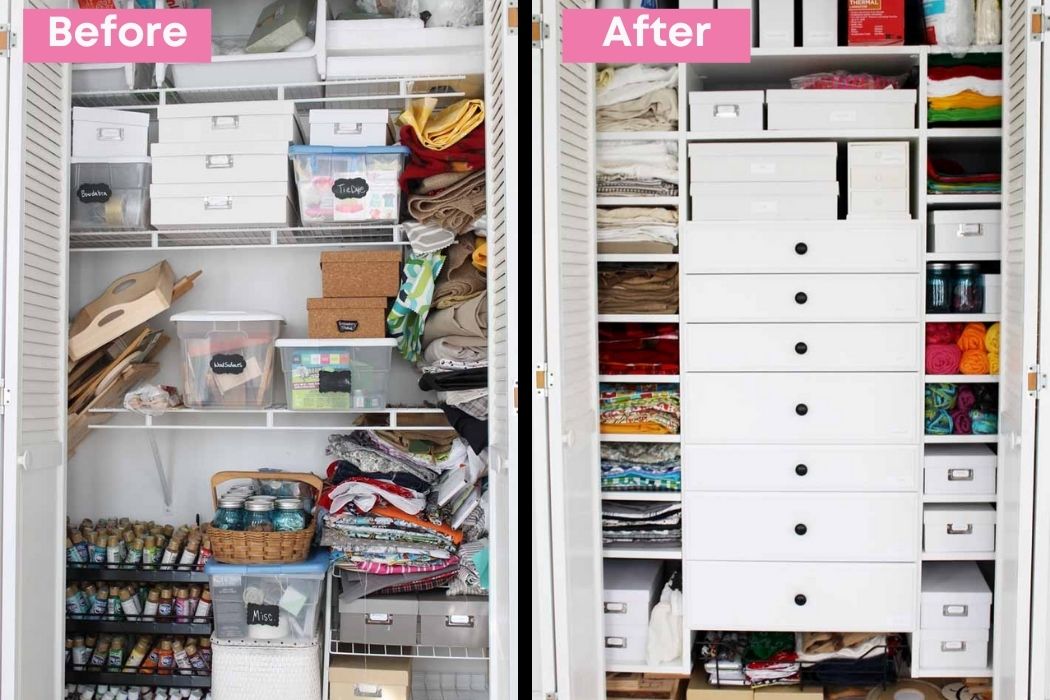
There were a few wire shelves, some baskets I had collected, and nothing to really keep the space looking organized and put together. Here's what it was like before…
How To Design A Custom Closet
So my craft closet was a mess. What was I to do? Enter EasyClosets. I started this entire process with a design…on the website…for FREE! It was as easy as pie!
NOTE: EasyClosets has updated its website since the writing of this post. The process of designing a closet is still the same as below, but you might see a different color scheme (blue and grey) on their website along with different photo options.
Just click “start designing” and you will come to this screen. I decided to design my own closet (with a little help from them). EasyClosets has professional closet designers who will actually design your space for you. And yes access to their designers is (again) free! Awesome, right?
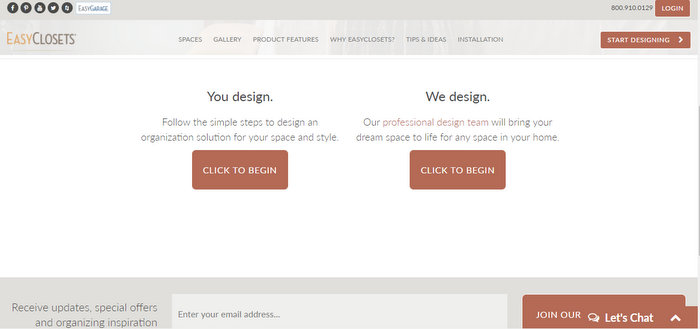
They actually have solutions for a wide variety of spaces. We are talking all about my craft closet here but if you have other areas in your home, you can do a custom design for those as well.
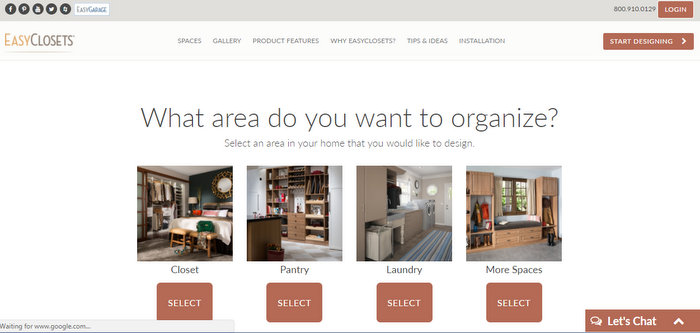
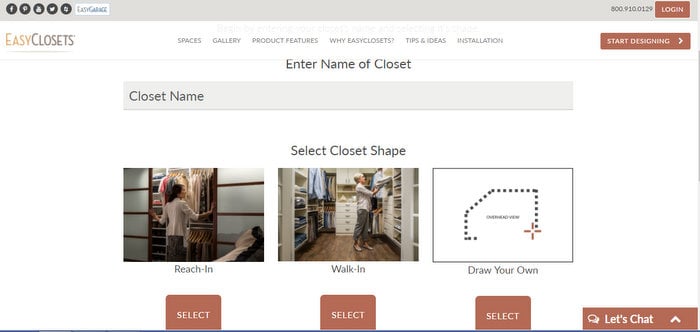
The website walks you through the process of picking your closet type.
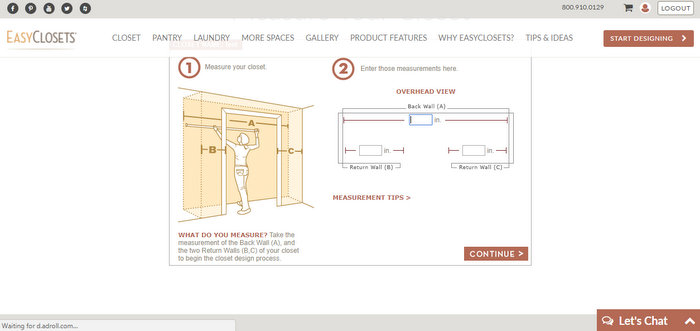
And even measuring YOUR closet so that you can see what this will look like in your space.
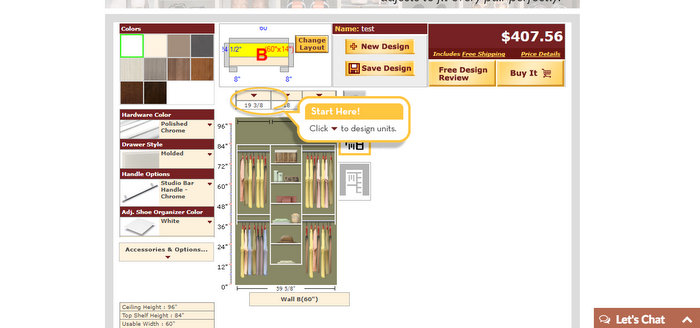
Once you enter all of your specifications, a sample closet will come up on your screen. Now we get to the fun part! Customization options.
The possibilities are endless for customizations, and I found the website super easy to use. You can pick your width, accessories, finishes, and more. The best part? That price quote in the corner is live. Every time you pick an option you can see exactly what that does to your budget. I love that!
I set to work designing what I thought was the perfect closet for my needs. Then I was assigned the fabulous Denise as my designer (a special thank you to Denise for all the help!).
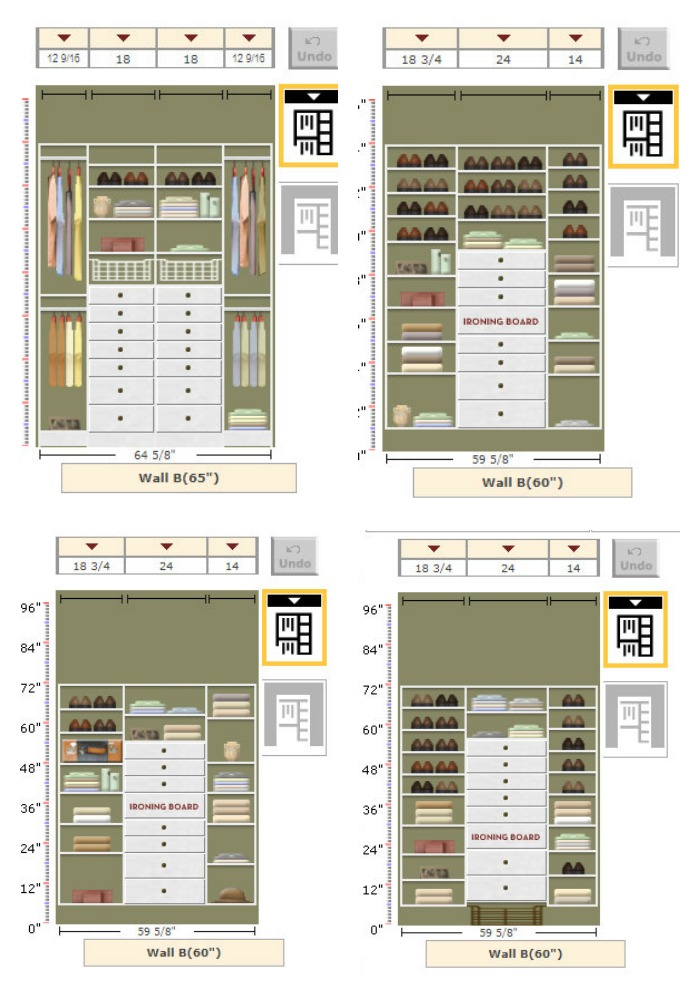
My closet had a few challenges that were really unique to my space; however, with the custom options, they were easy to design around. We went through many designs and quite a few emails and phone calls. You can see a few of our options below. However, we finally settled on the perfect design that worked in my space, gave me the storage I needed, and also was cleared through the EasyClosets designer for function.
Craft Closet Installation
The order was placed for my closet system and the DIY portion of this project began. I actually thought it would be fun for you to see the entire process in under 2 minutes. I did a really short time-lapse video just so you can see the before to after quickly! Watch it below.
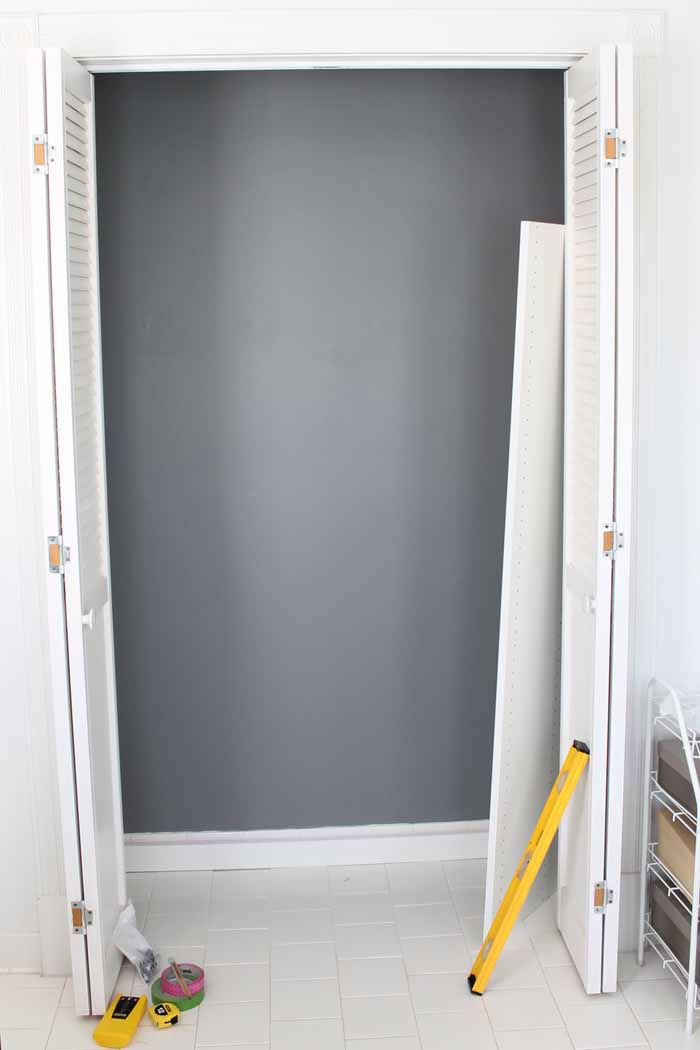
Now for all of the details that you just watched. I started by clearing everything out of the existing space.
I removed all of those wire shelves and supports.
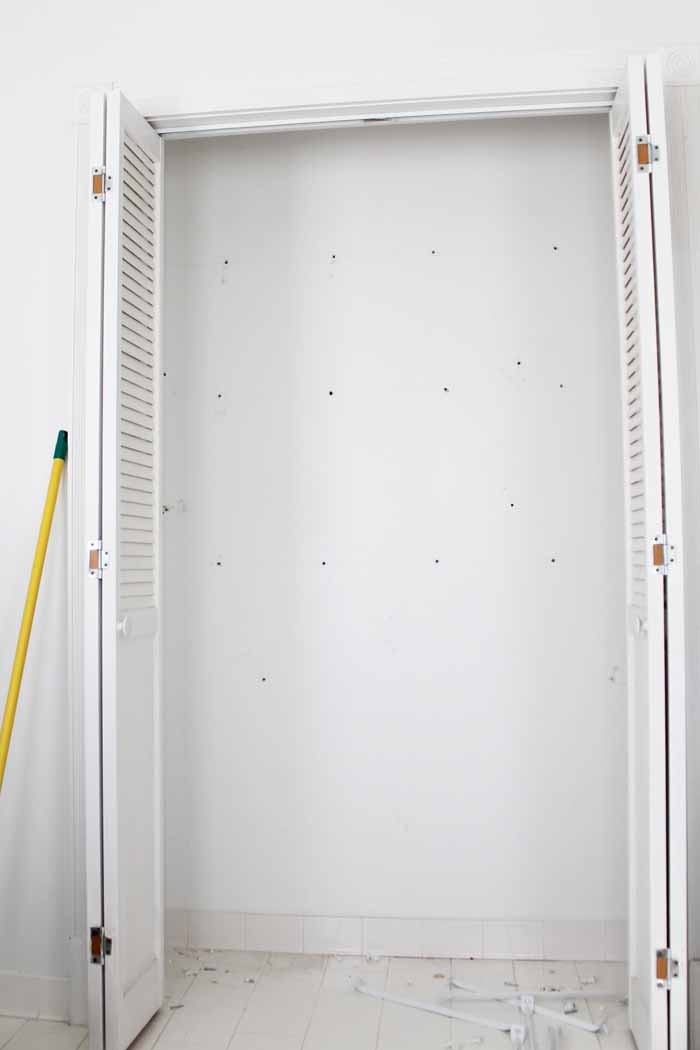
Filled in all of those holes (and there were many!)
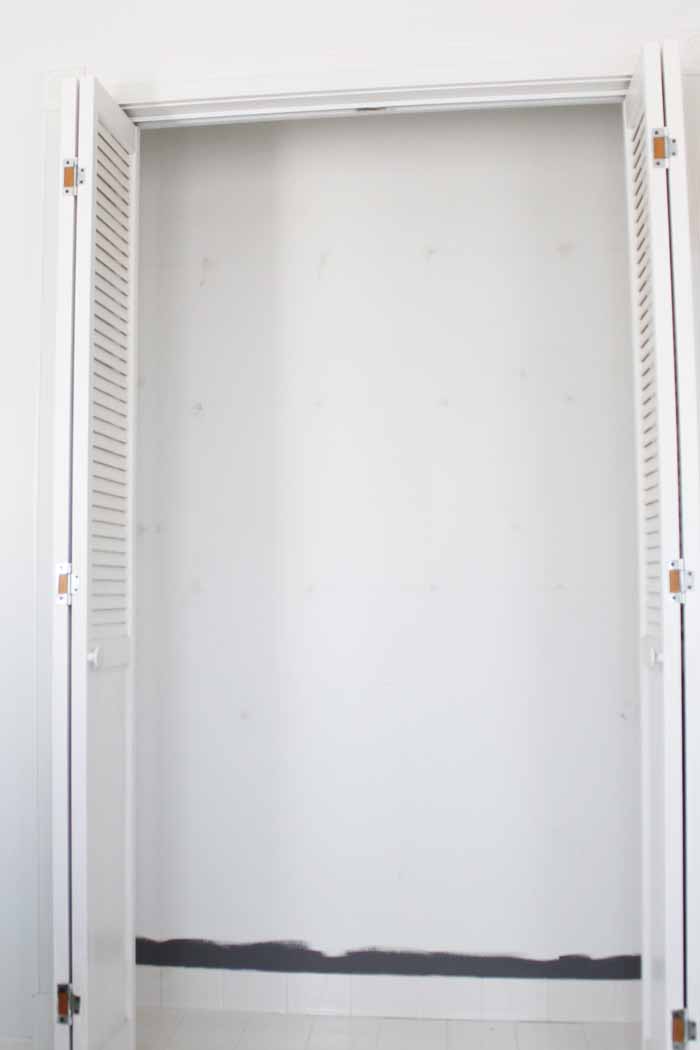
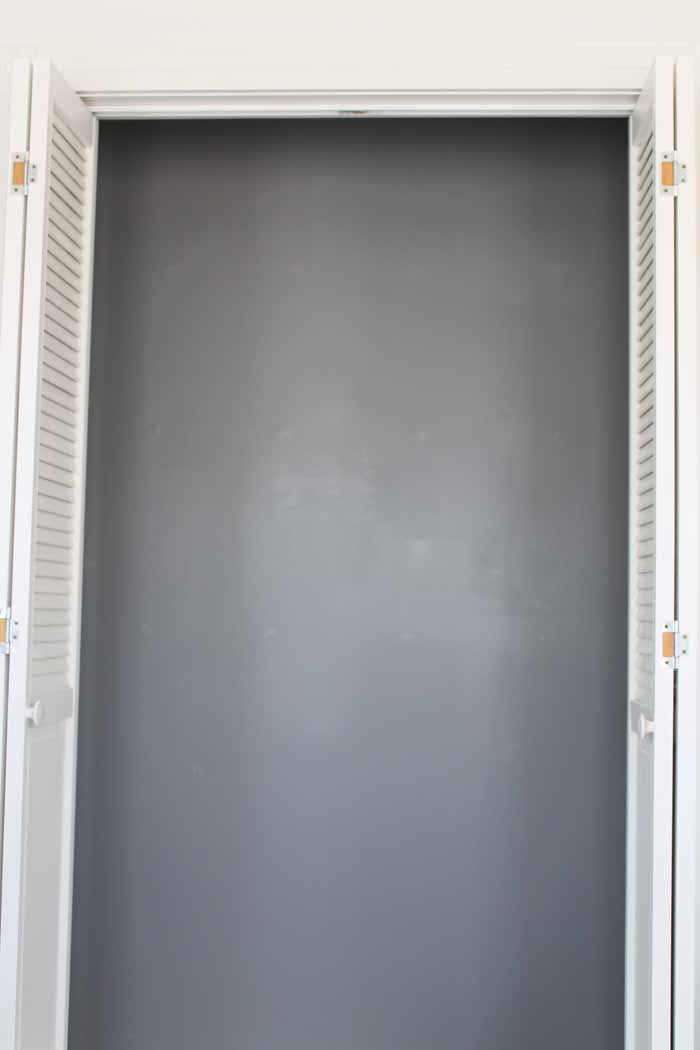
I wanted to paint the inside of the closet a dark grey to really make my gorgeous craft closet pop!
All that was left was to patiently wait for my boxes to arrive. I didn't have to wait long, however. The shipping was free and SUPER fast! EasyClosets actually makes and ships their product right from Michigan so you can feel good about supporting an American company. The UPS truck unloaded an insane amount of boxes. Where to start? Well….the EasyClosets people have thought of everything because they even tell you what to open first.
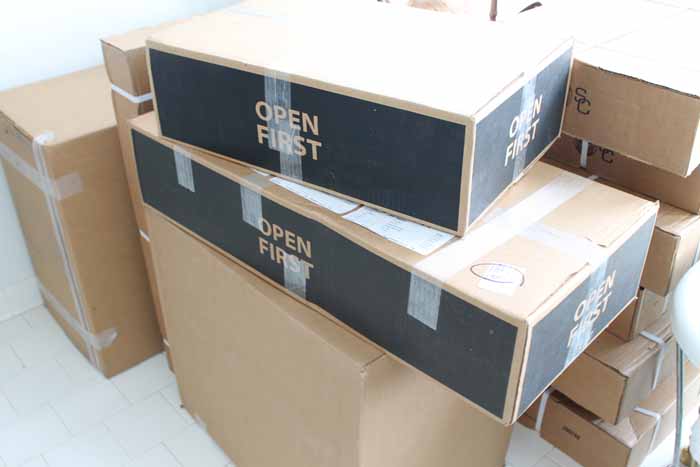
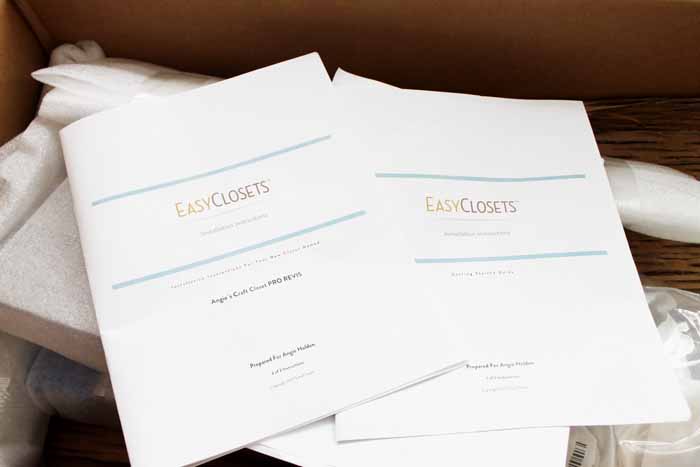
Your instructions for installation are conveniently located in the open first box.
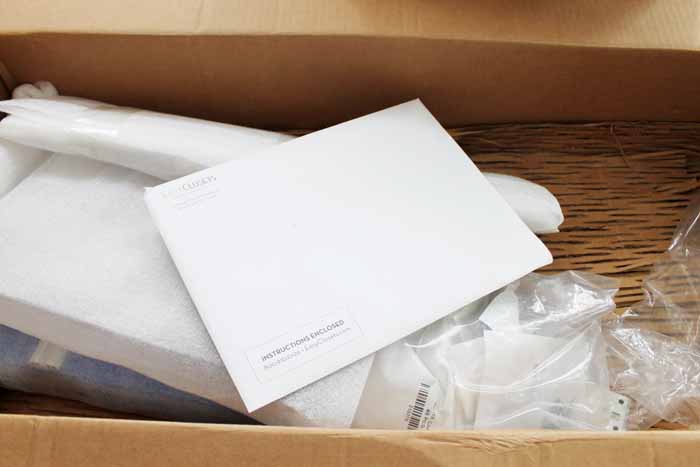
The instructions are actually custom as well. They are literally directions for installing the system that I designed complete with illustrations. I breathed a sigh of relief.
I know you have all put together IKEA furniture and know it can be a pain to follow some of these DIY kits. But, this one was a breeze!
There are also great videos on installation on the EasyClosets website that I highly recommend viewing. If you have trouble during the installation, EasyClosets is just a phone call away and they were extremely helpful. I had a question and gave them one call during my installation.
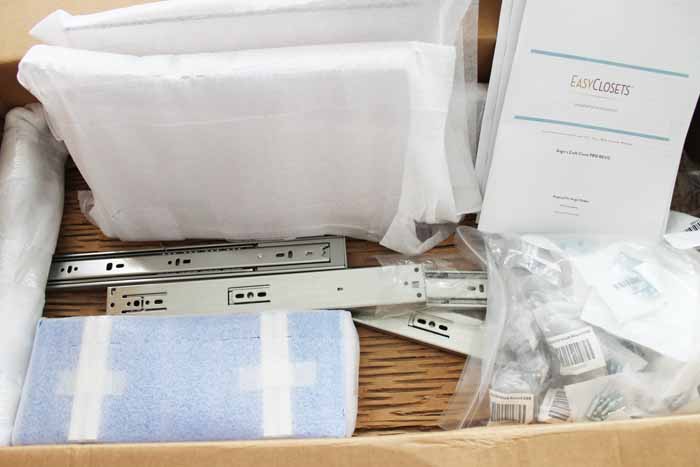
Also in that “open first” box was all of the hardware. No hunting for screws during this process!
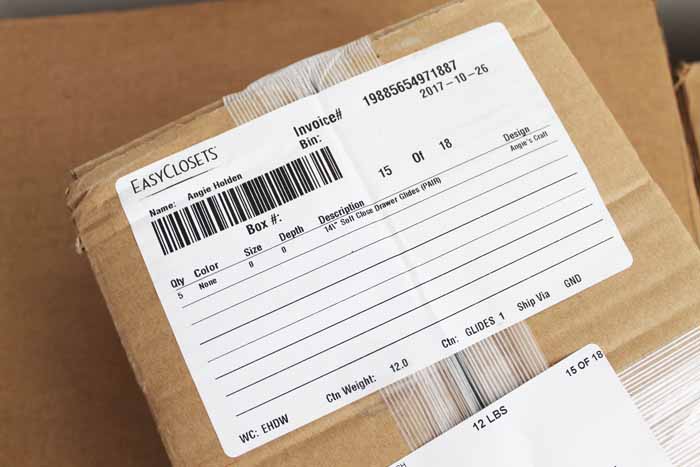
The first step is to take an inventory and make sure you have everything that you ordered. They make this process so super simple.
Each box is labeled with the contents and these match up to a list in your instructions. Everything was packaged so well. I really couldn't believe it!
The packaging is super sturdy to keep all your precious components perfect until you are ready to install. I actually had a huge order and one single drawer box had a small crack. They sent a replacement immediately no questions asked. I was super impressed!
The next step is to organize all of your materials so you know where everything is. I also put together any pieces that I could, including the drawers.
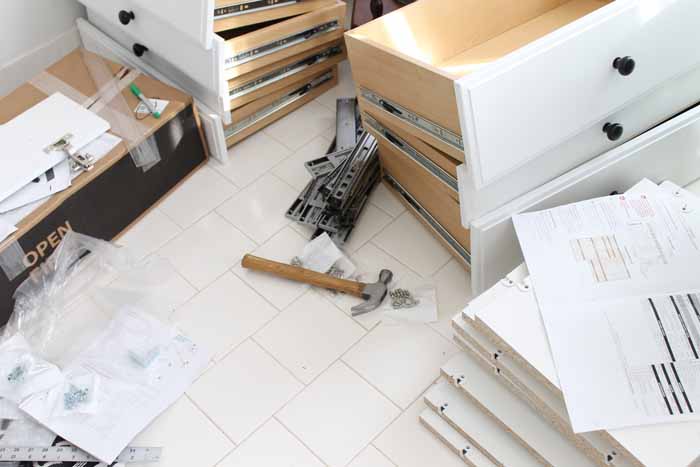
Now we have a blank slate and all of the pieces ready to go in.
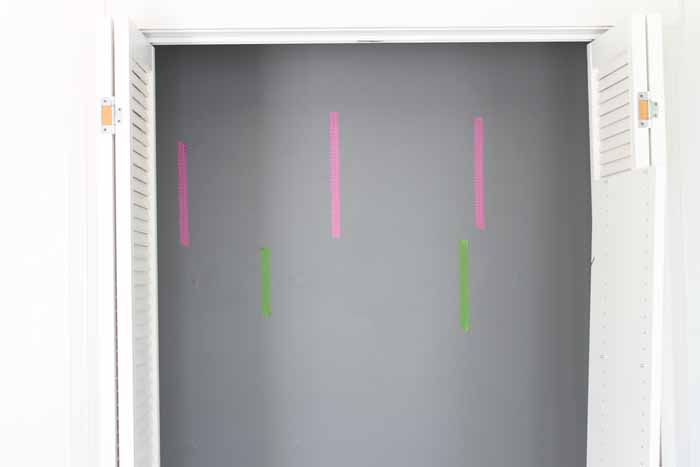
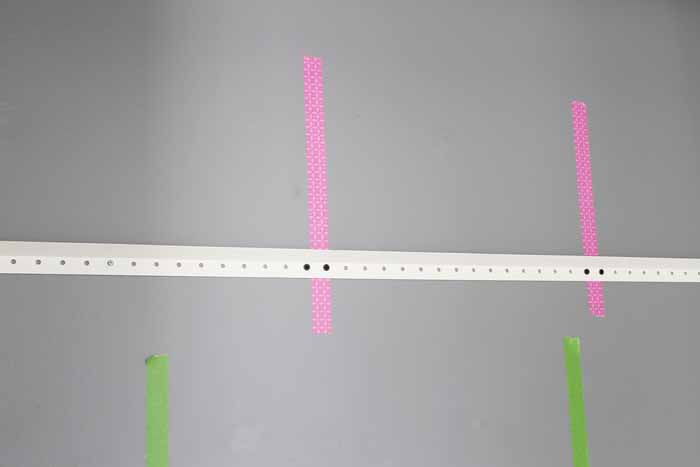
Start by marking your studs and vertical panel locations on the wall. I used two different colors of masking tape for this task.
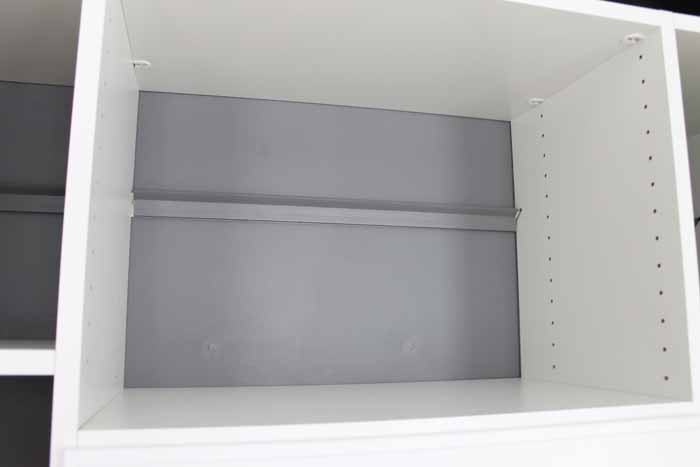
Because the stud location on your wall determines rail length, the steel rail needs to be cut on-site. We used a rotary cutter but a hacksaw will also work.
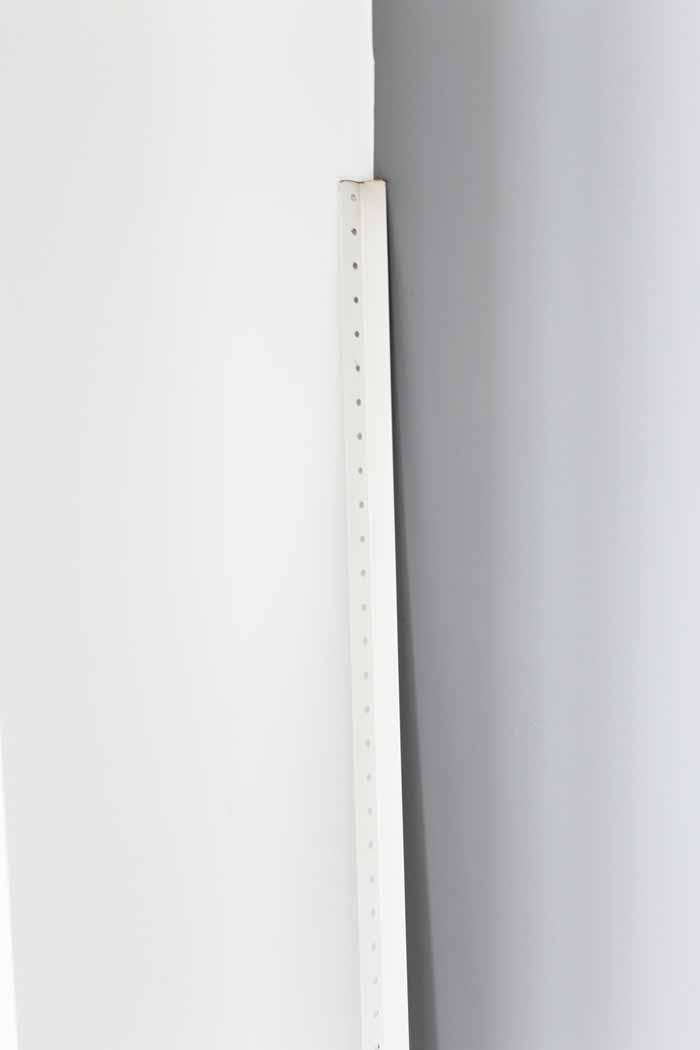
You then secure the rail to the wall using the instructions given in your manual. Read these carefully!
This is what holds up your custom closet system and you want everything to be secure. Use the mounting hardware they give you including toggle bolts for areas where there is no stud. When complete, everything should be level, straight, and ready for your craft closet.
Next, the vertical panels and cam shelves are installed.
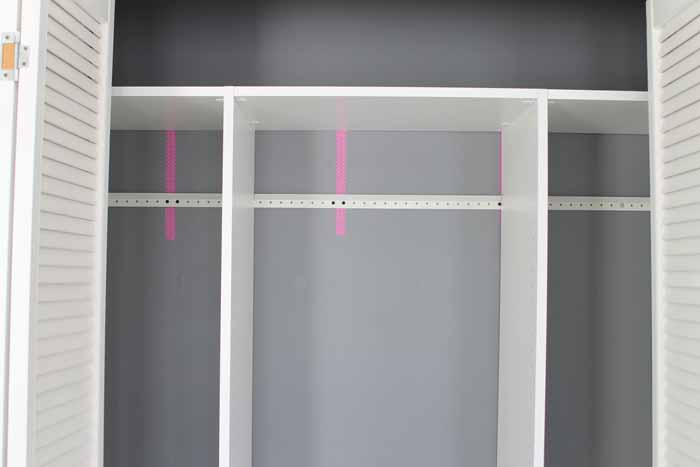
The cam shelves are not adjustable and they are what holds the entire system together. Don't worry, EasyClosets will tell you exactly where these should go!
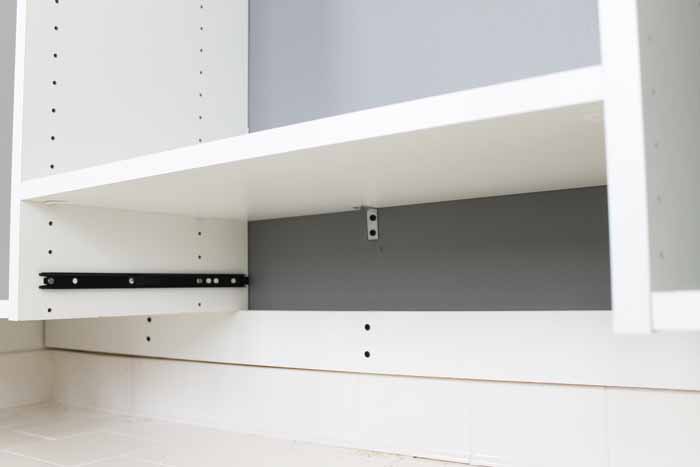
Because of my closet design, EasyClosets recommended a cleat to go under the entire system. I added this next by attaching it to the studs. This gave extra stability in my case. See the L-bracket under that shelf? Yes, you also add those and yes, they also go into the studs. This system is not going anywhere!
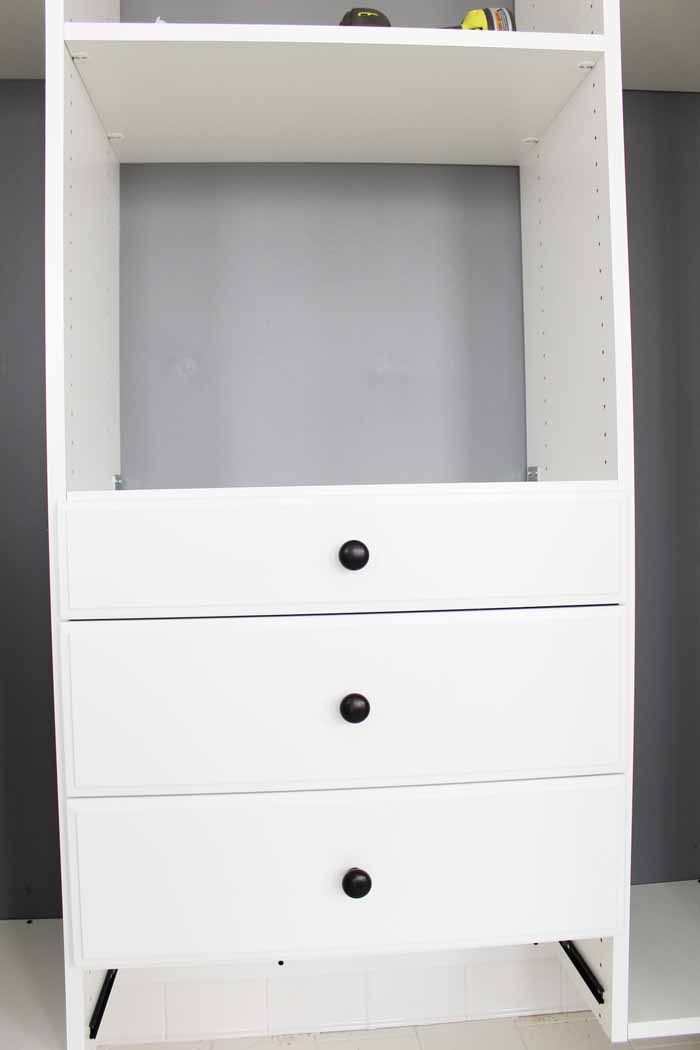
You can then start adding in drawers.
And also wire baskets if you have them in your design.
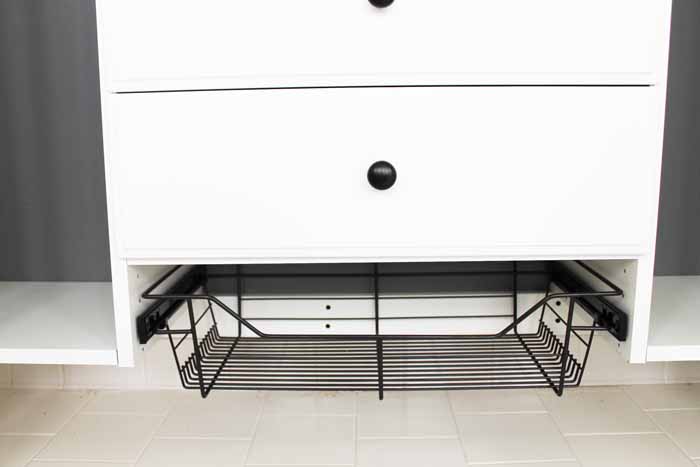
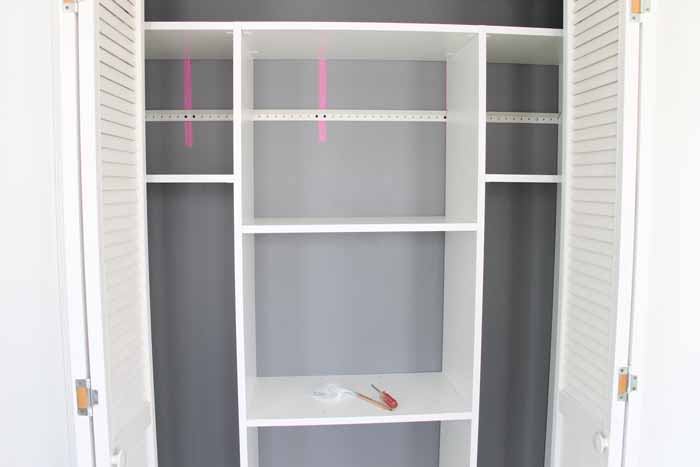
It was beginning to look like a craft closet at this point! I will say that I found the installation straightforward and a perfect weekend project. I actually did almost everything myself. My husband helped with holding a few pieces when I was doing the top cam shelves, however, that was it. I am short y'all…what can I say!
So the above picture looks great but that rail is seriously breaking up my pretty painted wall. EasyClosets has a solution for that as well! They send you a rail cover that you can cut to size and even paint! I painted them to match my wall and snapped them on.
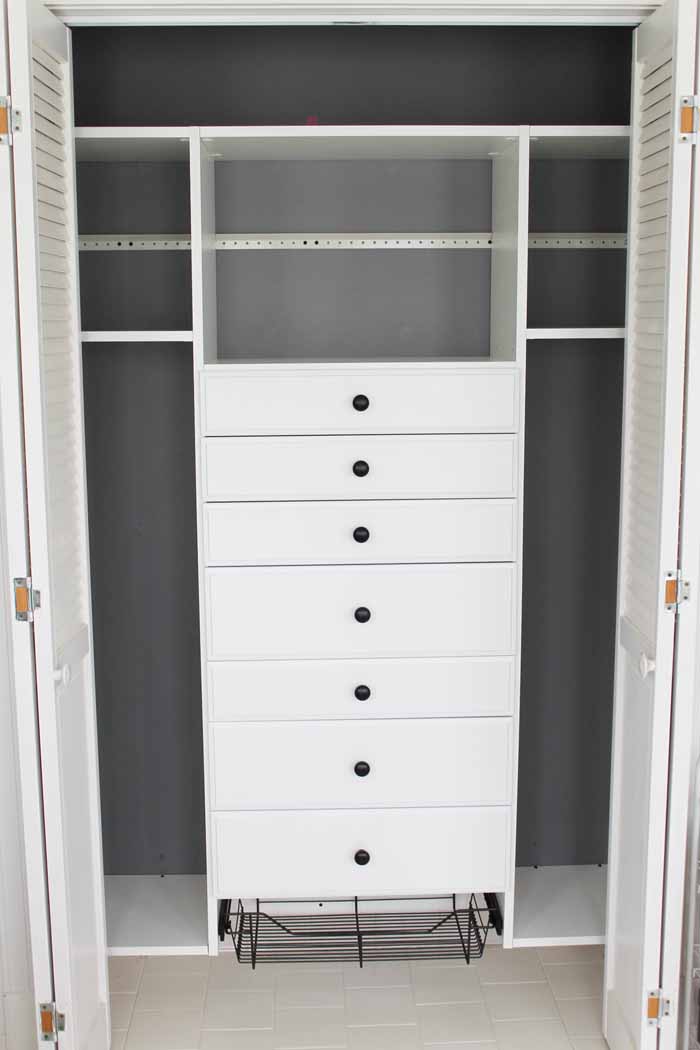
Next, I started adding in the adjustable shelves and completing the installation portion of this project.
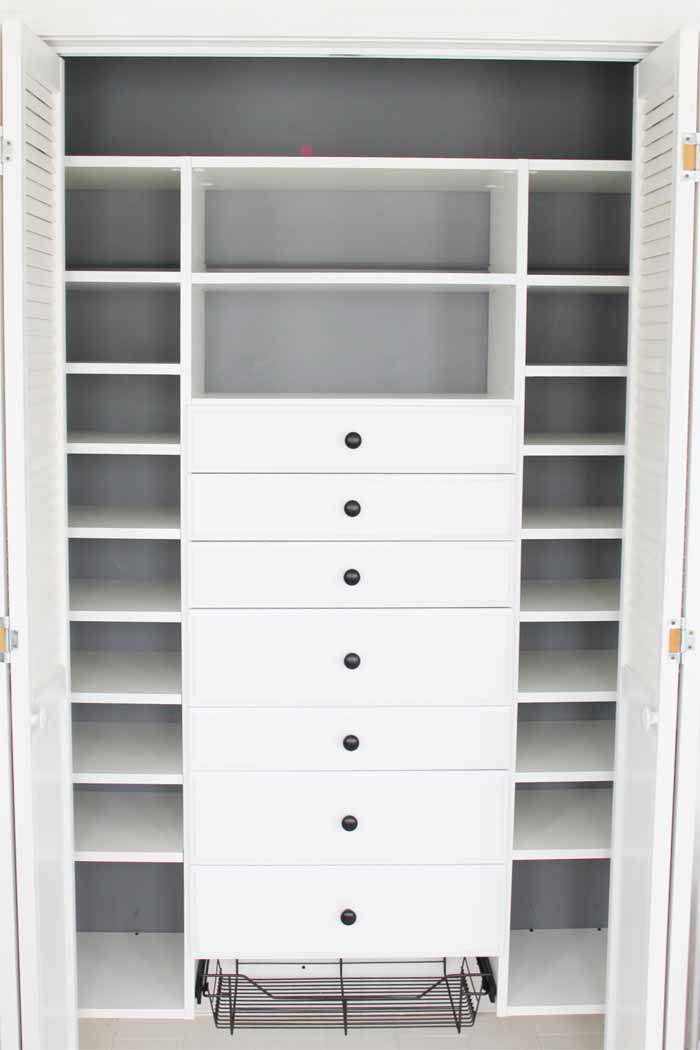
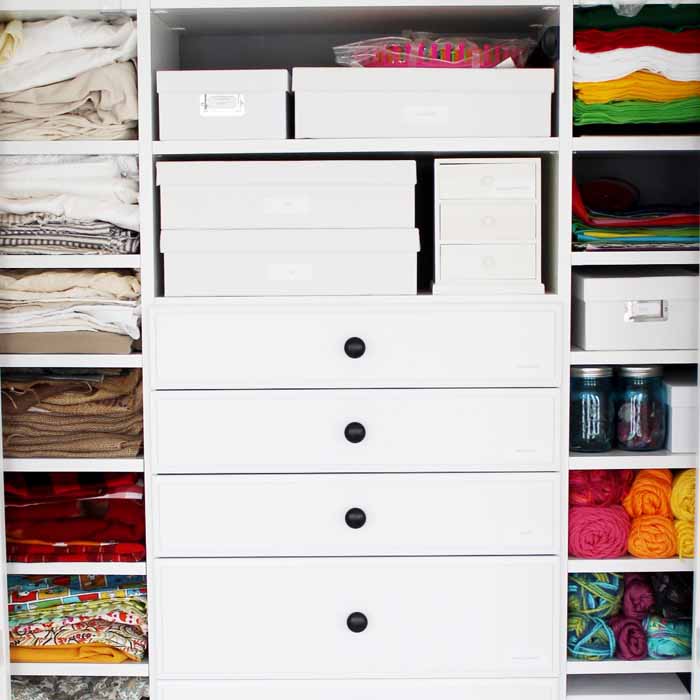
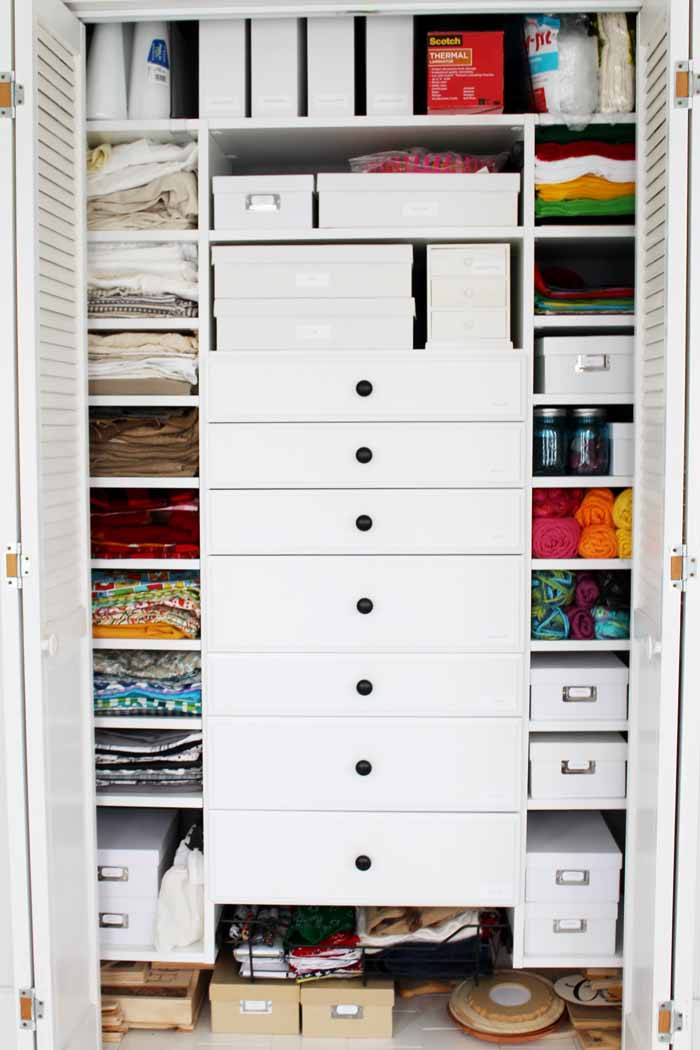
I then started filling it up and adding on some accessories for organization.
Final Thoughts On Craft Closet
Are you just dying? I know I am! Working with EasyClosets really helped me feel less scattered and more at peace when looking for different items. Plus, you can see just how the different options and accessories helped me take organization to the next level.
What are you waiting for? Head to EasyClosets and start designing your own craft closet — or heck any closet! It can totally just be for fun and to see virtually what it could look like. It is sometimes fun to dream. However, it is even more fun to work in an organized space like this one. I officially have the ultimate craft closet right in my own home!
Tips and Tricks for Craft Closet
Now that you’ve seen this craft closet, are you ready to design your own? Here are a few tips and tricks to ensure your project goes as smoothly as possible!
- Make A List Of Craft Supplies You Will Be Storing – Before you start your closet design, make a list of the craft supplies you will be storing in your closet or space. Doing this will give you a better idea of what you need (in terms of organization) and will help you to better communicate your needs to the designers at EasyClosets.
- Purge Your Craft Supplies – You can do this either before or after you have designed your space with EasyClosets. However, the point is to purge! Most likely you have dried-up paint, damaged Cricut mats, and scraps of fabric that you no longer need. Getting rid of these items will not only make your space look better but it will create room for new supplies!
- Ask Questions – I can't stress enough how great the team at EasyClosets is! Don't be afraid to ask questions because they are there to help you through every step of the process!
5 More Craft Room Organization Ideas
Do you love learning how to design a craft closet, and are looking for more craft room organization ideas? Then check out the posts below!
- 25 Craft Room Ideas: Gorgeous Inspiration for Your Space
- 10 Tips to Organize Your Craft Room
- Cricut Craft Room: Ideas for Organizing
- Small Space Craft Room Storage Ideas
- Organized Cricut Craft Room Tour – Angie Holden 2022


WOW!! Awesome craft closet! You did an amazing job of designing and installing it! Loved the video, too. And, like Vanessa, I’m looking forward to seeing how you organized all those bottles of paint.
Hello!
The drawer looks nifty! We have been collating few ideas and diy projects for our home remodelling plan. This additional drawers and spaces inside a closet looks very organized!
Thanks for sharing!
I’m going to design my closet right now. My craft closet needs a serious overhaul!!
This is amazing! I want to do something like this and your ideas helped so much. Thank you.