
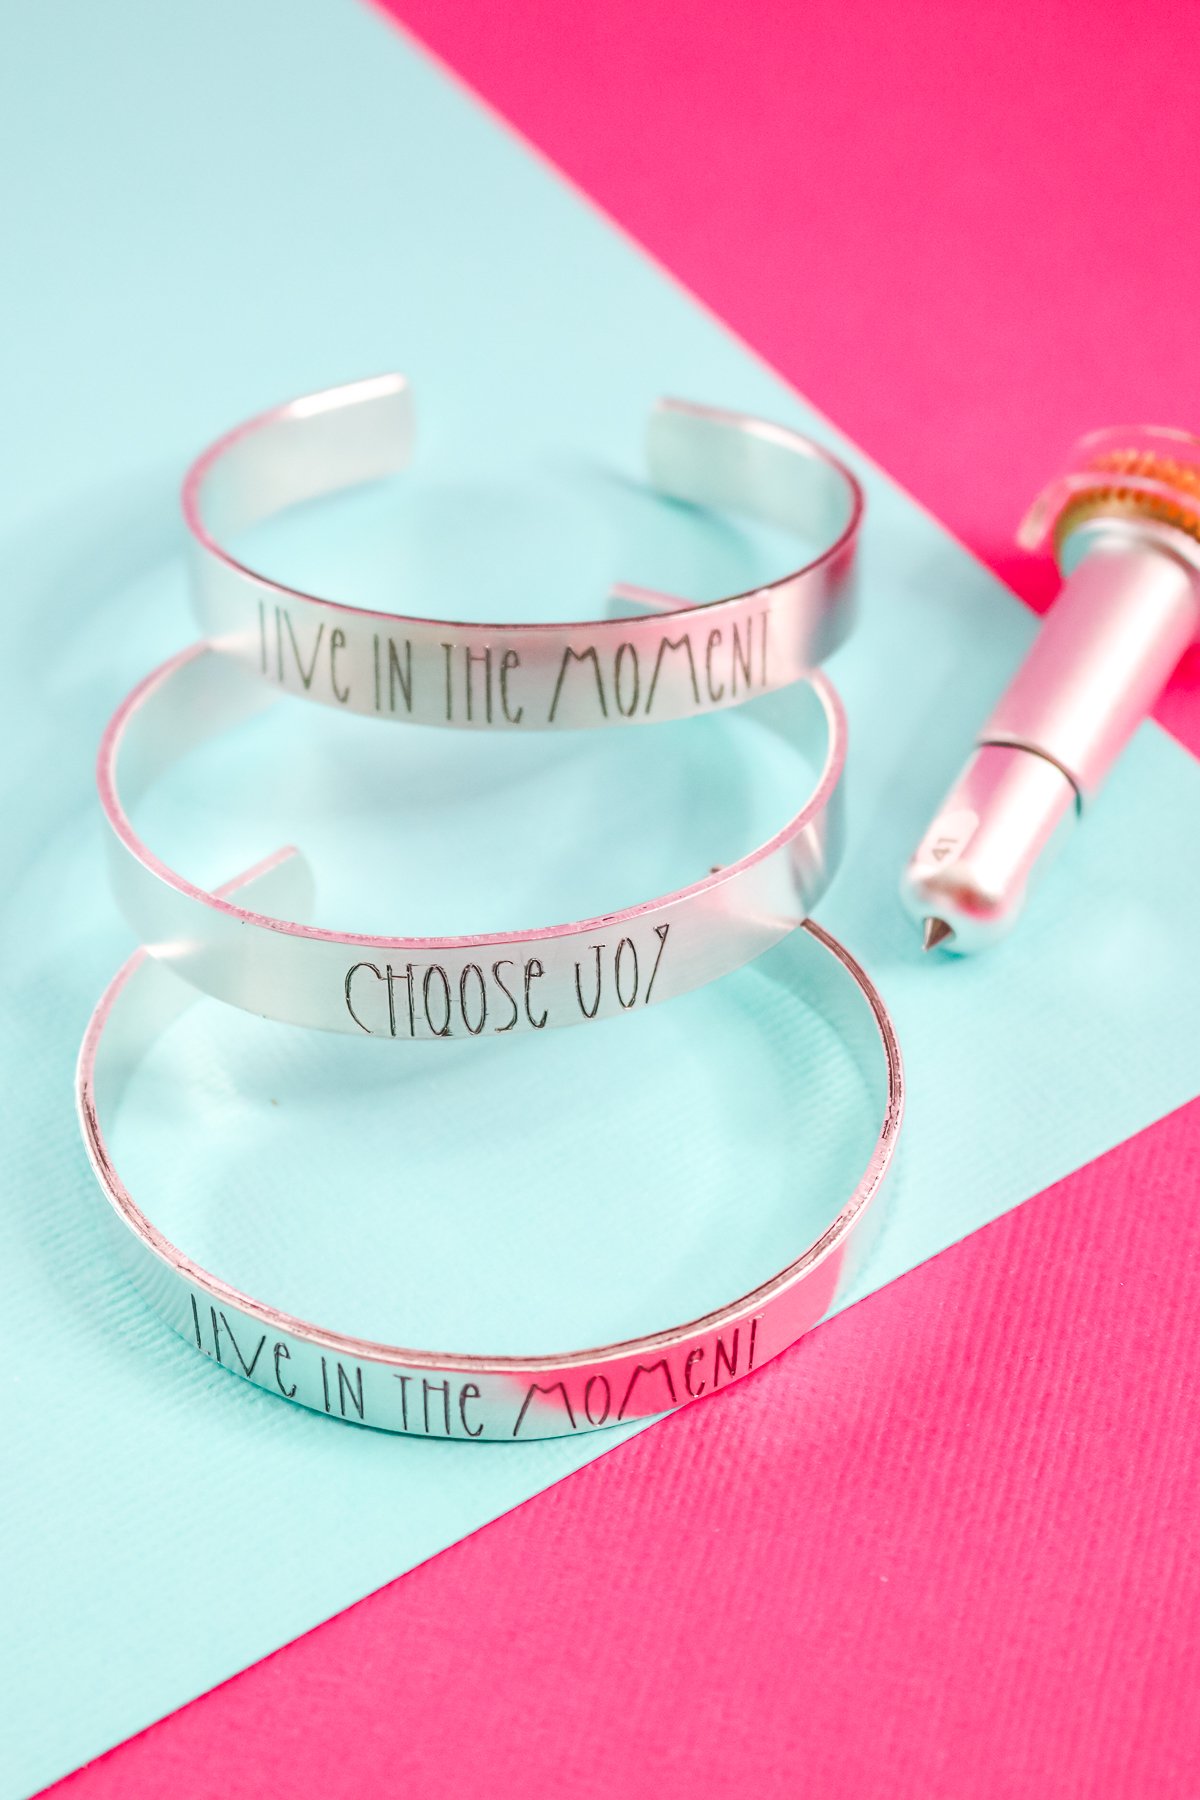
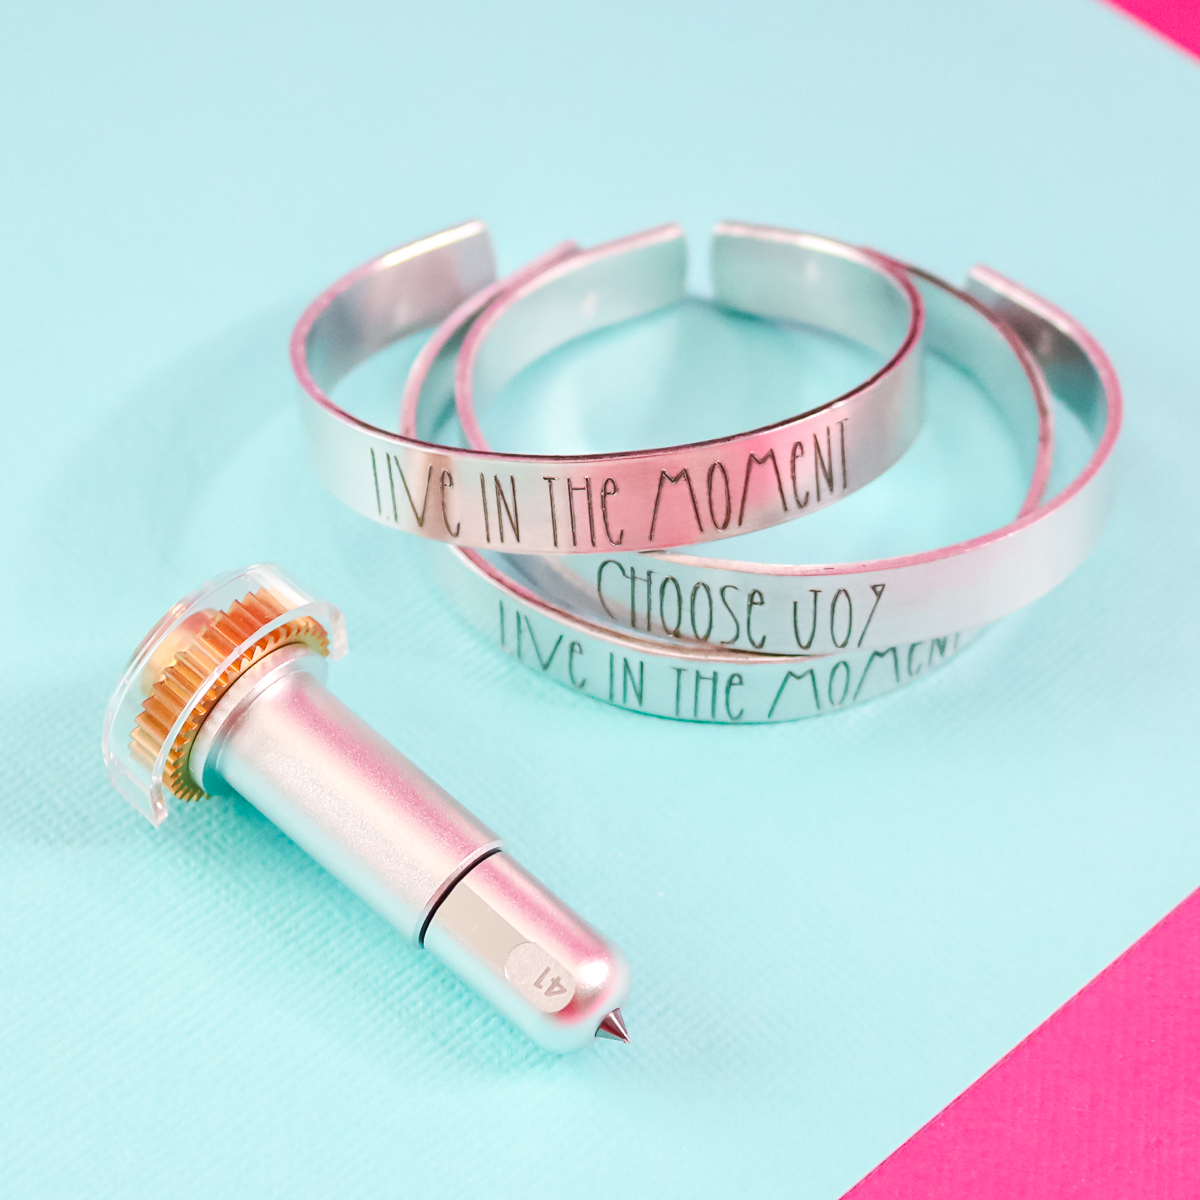
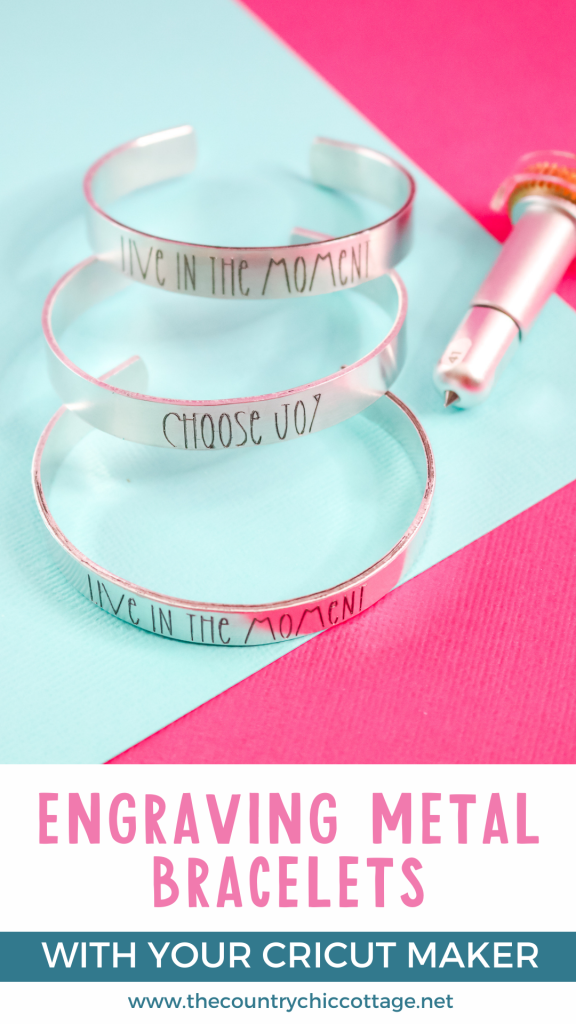
I get all sorts of questions about Cricut metal engraving. So I thought we would make some bracelets today with the Cricut Maker. This project is really easy and a great way to create personalized gifts for everyone on your list. Make your own metal cuff bracelets with any phrase or font that you would like. I am even offering up tips and tricks for locating your etching on the Cricut Maker mat so you don't waste as many blanks.
Cricut Metal Engraving
Engraving metal with your Cricut is actually fairly easy. Just grab your Cricut Maker, Maker 3, or Maker 4 and your engraving tip, then click play on the video below!
If you can’t watch the video, read below for my complete tutorial!
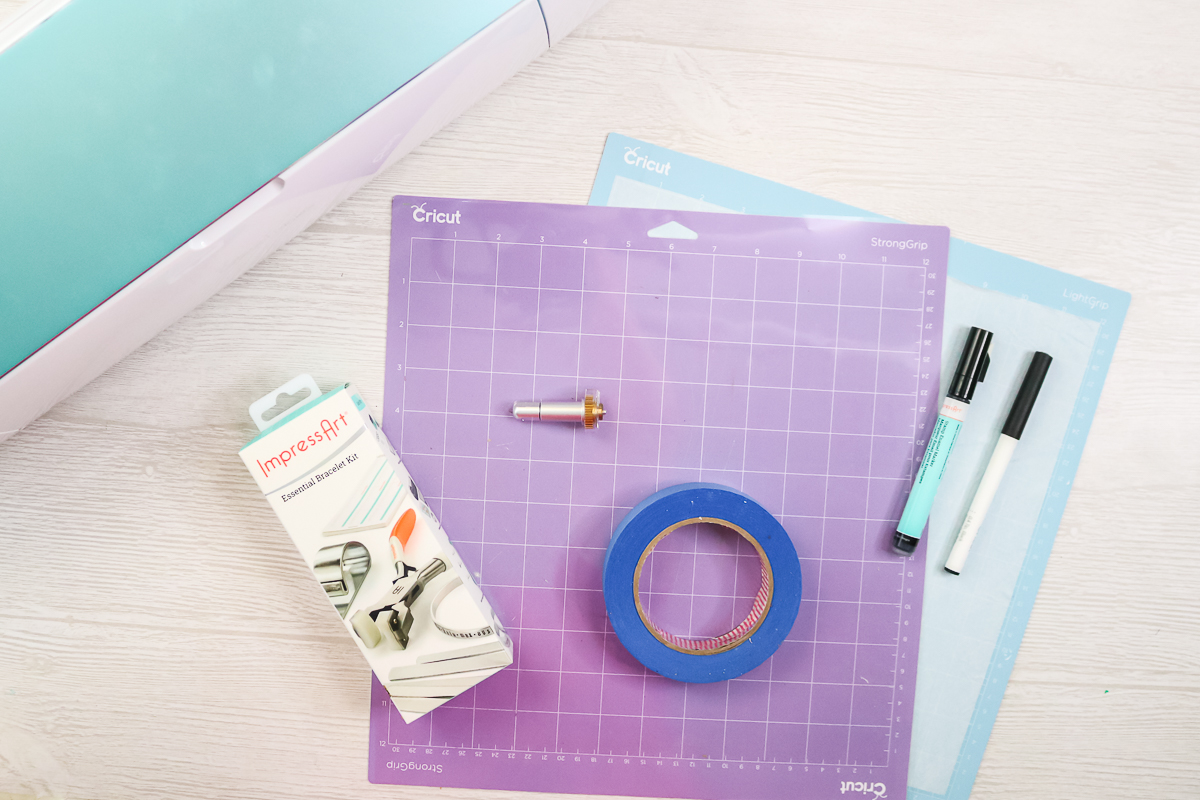
Supplies needed
- Cricut Maker cutting machine (Maker, Maker 3, or Maker 4)
- Engraving Tip
- QuickSwap Housing
- Impress Art Essential Bracelet Kit
- Extra Blanks
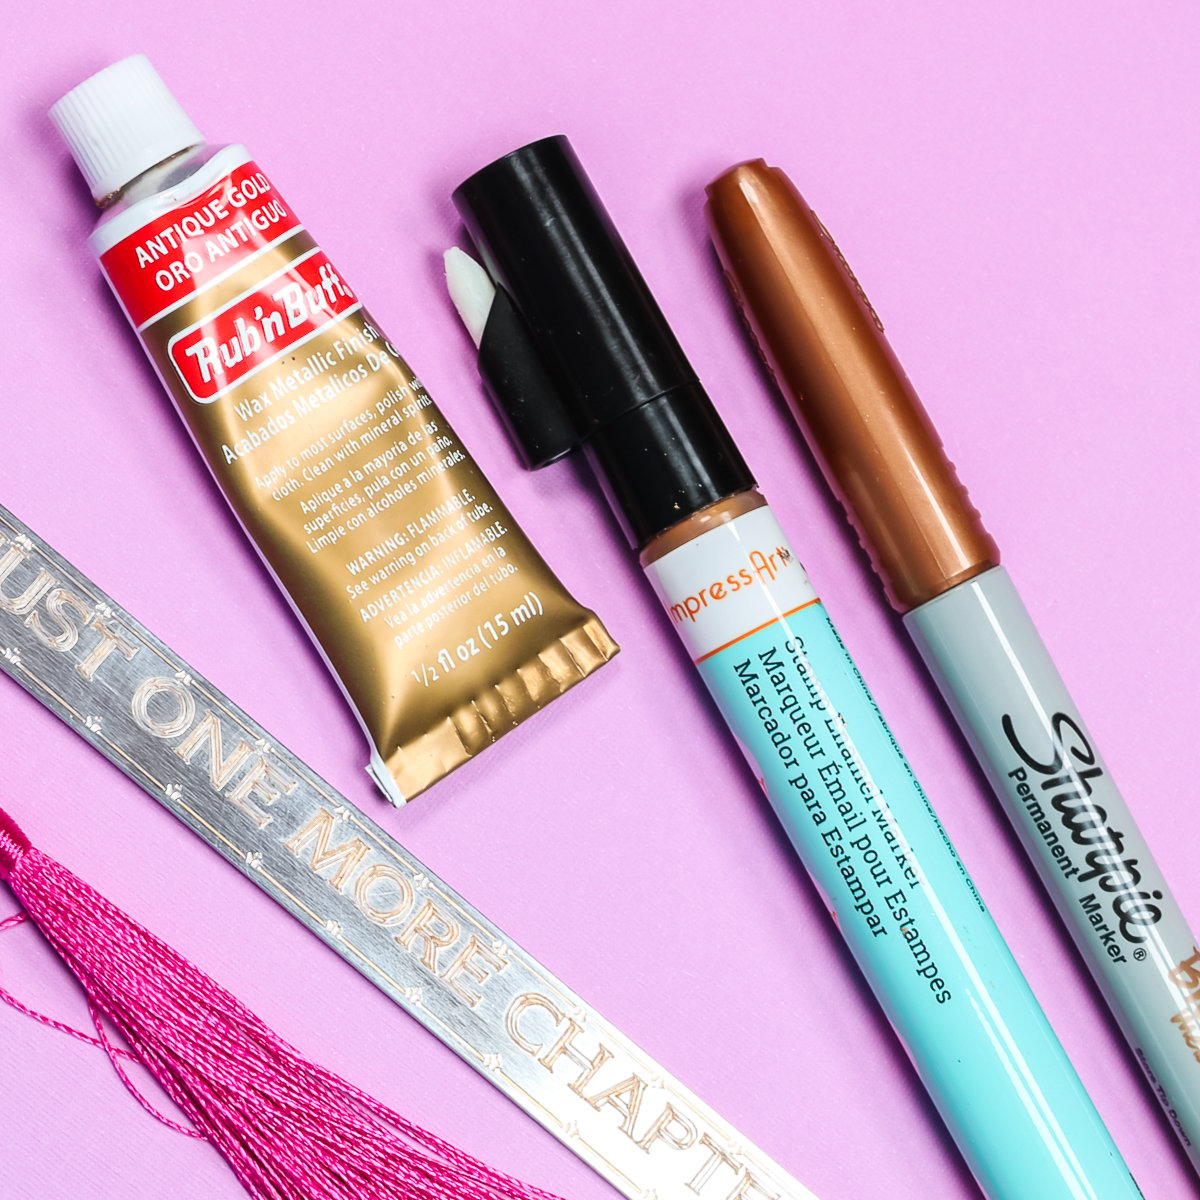
- Stamp Enamel Pen
- Cricut pen
- Strong Grip Mat
- Light Grip Mat
- Tissue paper
- Painter's Tape
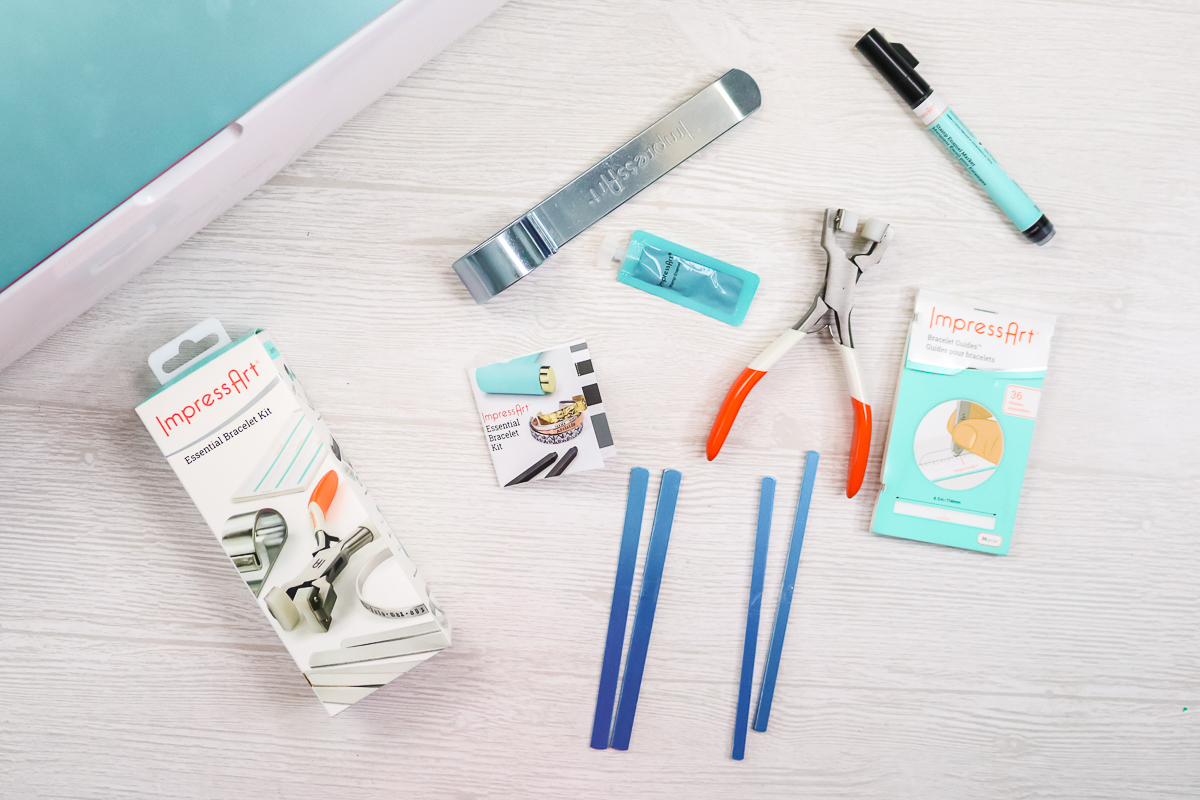
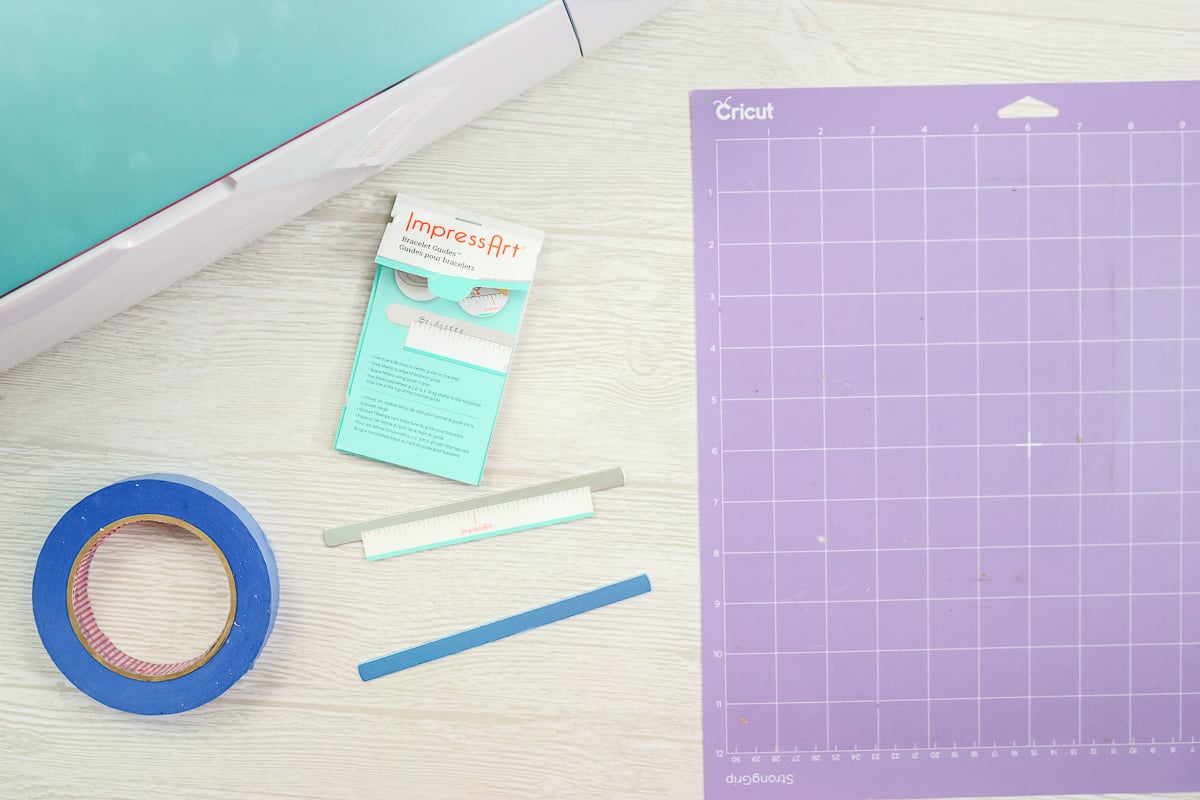
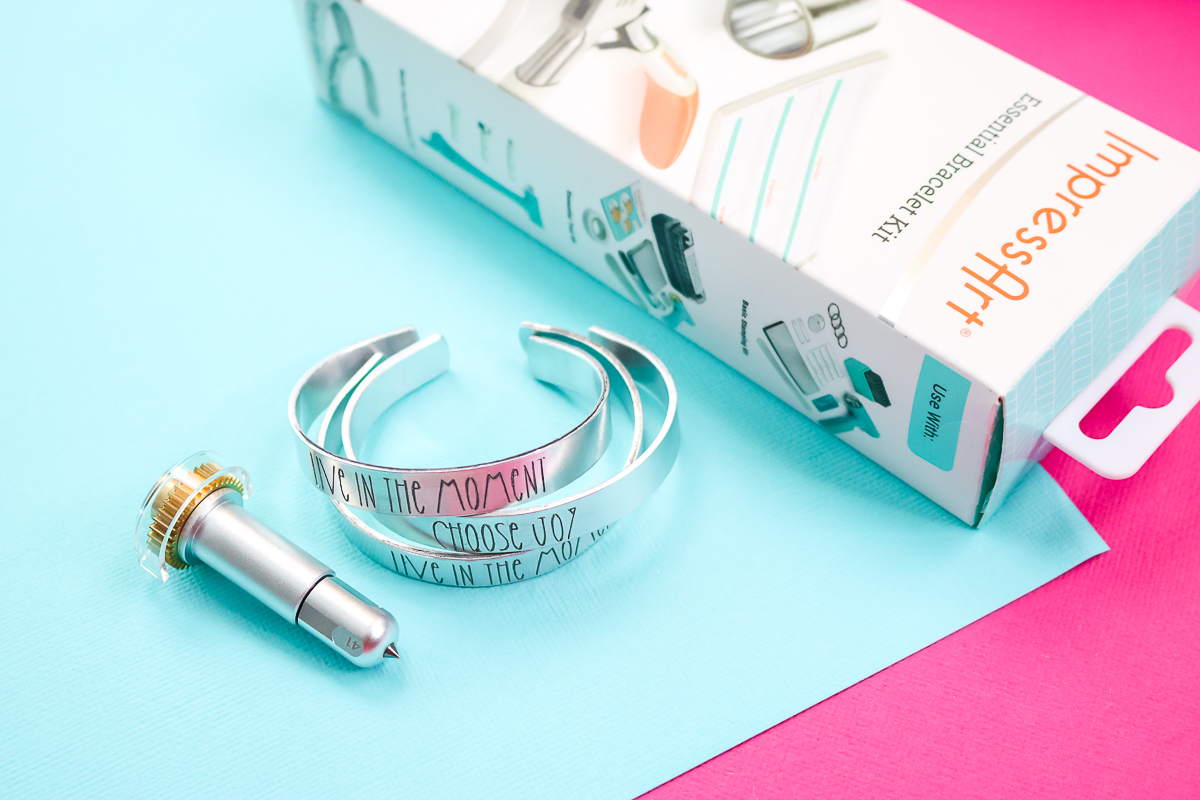
Contents of Impress Art Essential Bracelet Kit
The bracelet kit is a great investment, as it includes everything you need to start making bracelets right away. The kit includes:
- Bracelet blanks in 2 sizes (4 each)
- Location guides
- Stamp enamel
- Bending bar
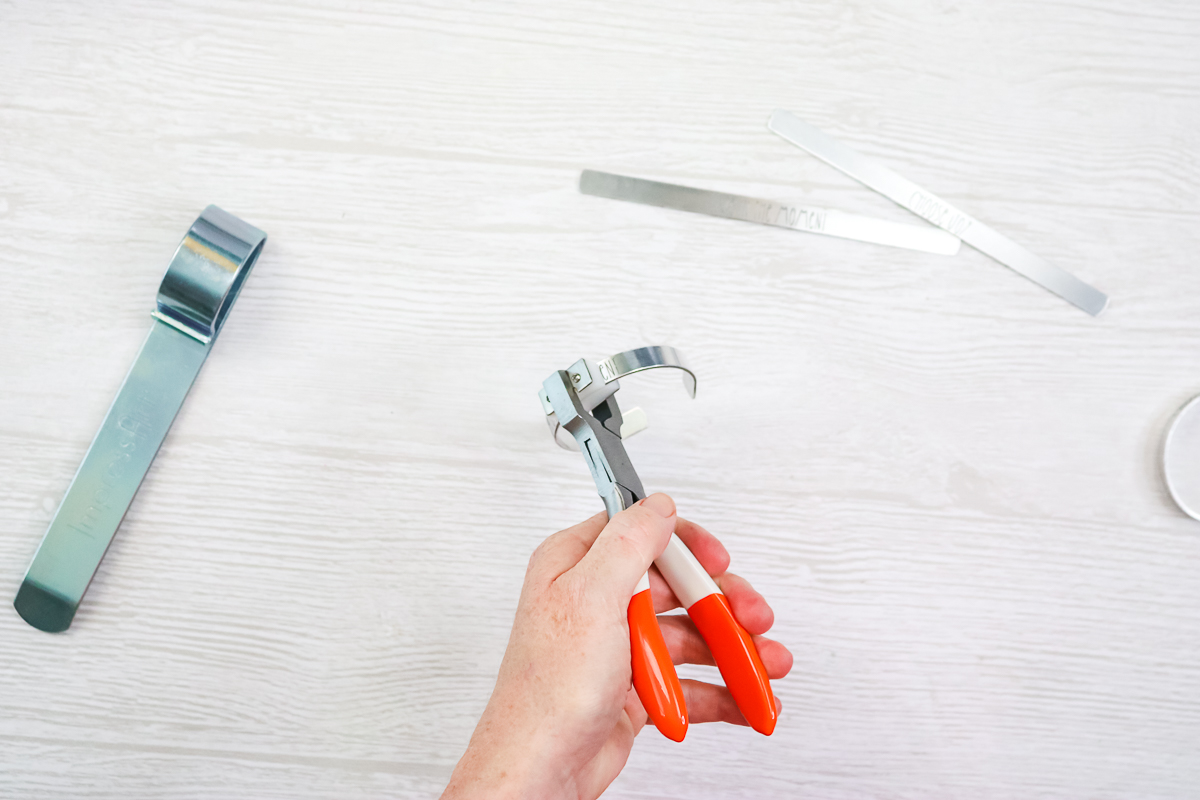
- Bending pliers
Design Your Bracelet
Step 1: Sizing in Design Space
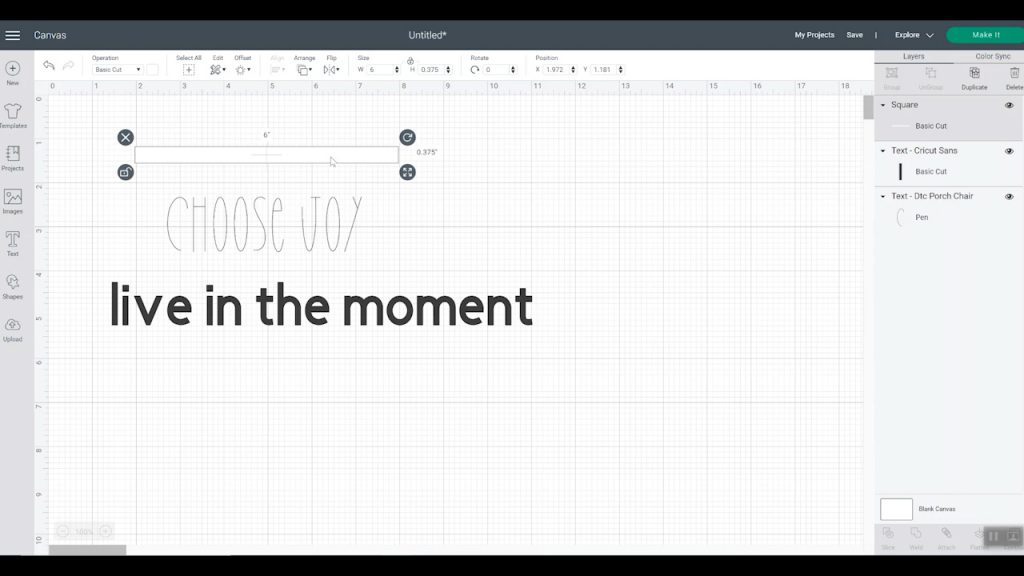
Let's take a look at Cricut Design Space and go over how you’re going to design your bracelet. The three bracelet sizes that Impress Art makes are 1/4 inch, 3/8 inch, and 1/2 inch. I'm going to make a 3/8 inch bracelet. First, I made a rectangular box measuring 3/8 by 6 inches.
Step 2: Choose your font
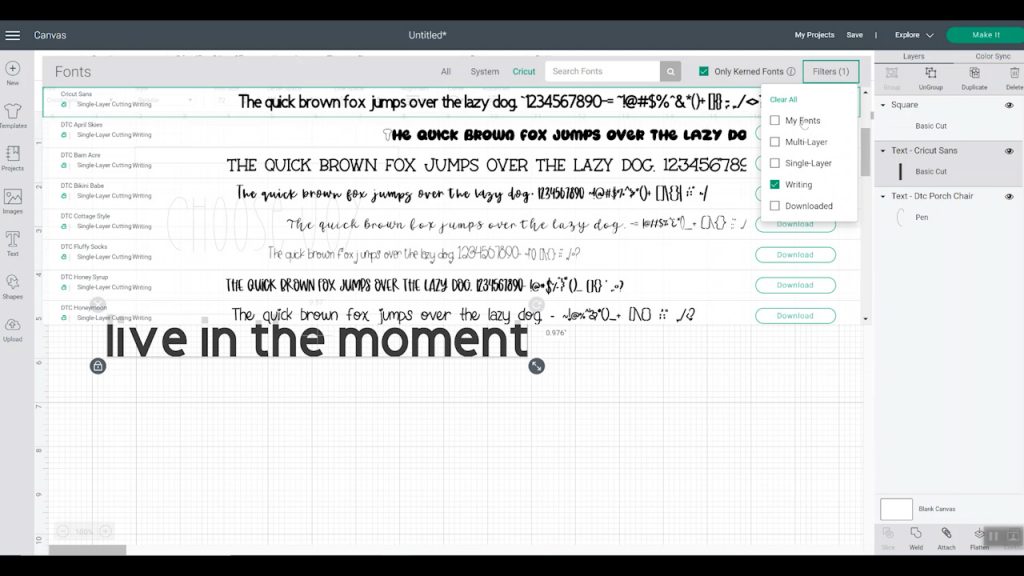
Then, I’m going to type some text. The font I’m using is DTC Porch Chair, and I like it because it’s a little quirky and it’s all capitalized. I prefer capitalized fonts to uncapitalized ones because they fit better on bracelets. I also like to search for Cricut fonts and filter them by writing and engraving.
Step 3: Size your text
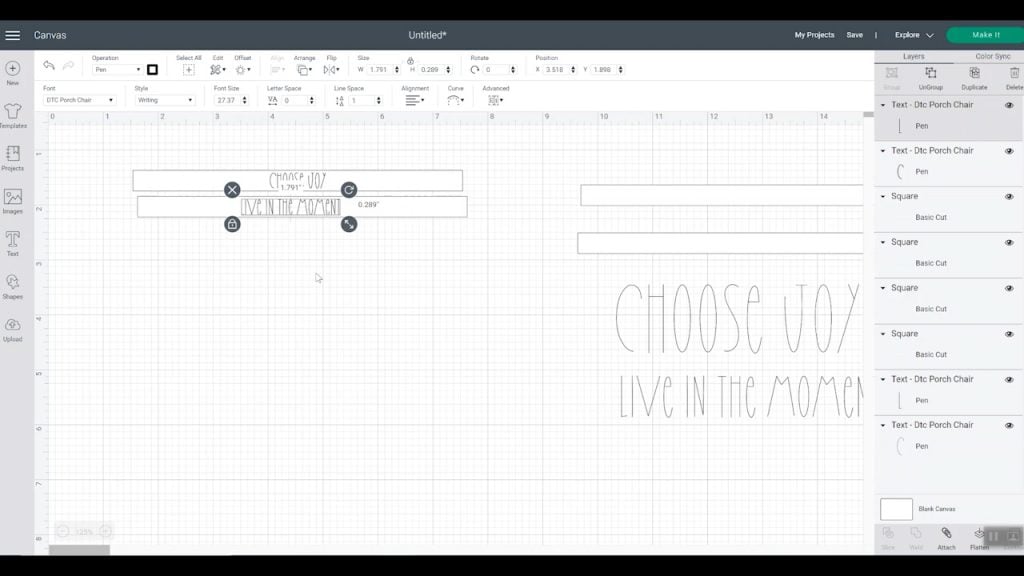
Size your text so it fits on the bracelet, using the rectangle you made as a guide. You can select both the box and the text, then click “Align” and “Center” to center it. This should help you visualize the bracelet and how it will look once you make it.
Step 4: Set your cut setting
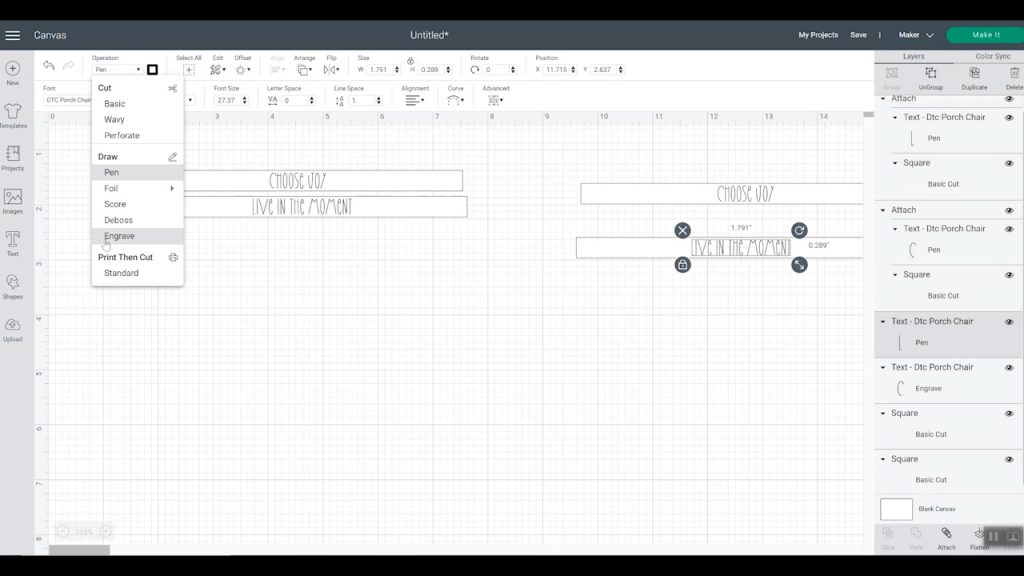
I am making one version of the bracelet drawn with a pen and one engraved. I will use the pen version to test my location below. For the engraving option, pull down “Operations” and pick “Engrave” for the text. NOTE: Make sure that either Maker, Maker 3, or Maker 4 is selected as the machine. Those are the only three machines that can engrave.
Step 5: Set your material on the mat
Now, we have our boxes with words, click “make it”. Please note that you do not want to attach the boxes to the text. The box will be used only to visualize your bracelet on the mat. Move the boxes to the same mat as your text, and use the boxes for alignment. Pick an area of the mat for your design and line everything up. Once you have everything pretty much centered, pick the blank, hide it, and we can repeat for as many bracelets as you would like.
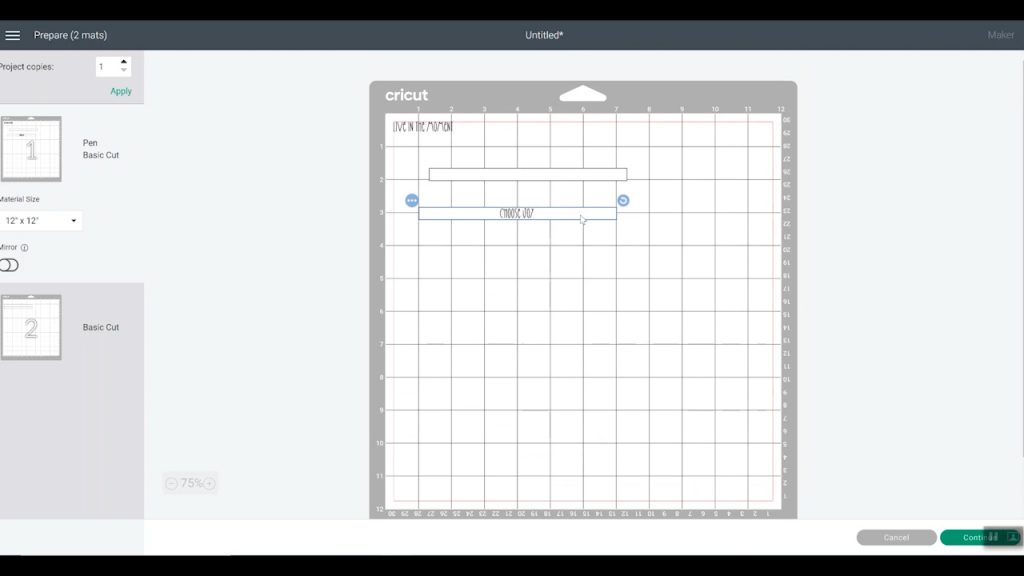
NOTE: You can do the same procedure for engraving or for testing your location, as shown below.
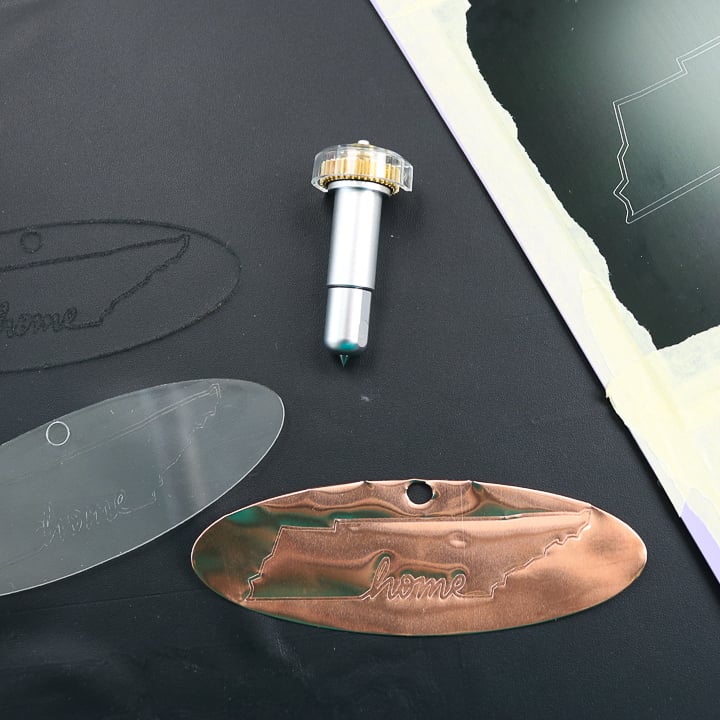
Tip: Testing Your Location
I hear from a ton of people who have a hard time locating their Cricut metal engraving. This process helps to test the location so you don't waste as many blanks. Once you have your design, send the pen version to your Cricut machine in the area where you think you want it.
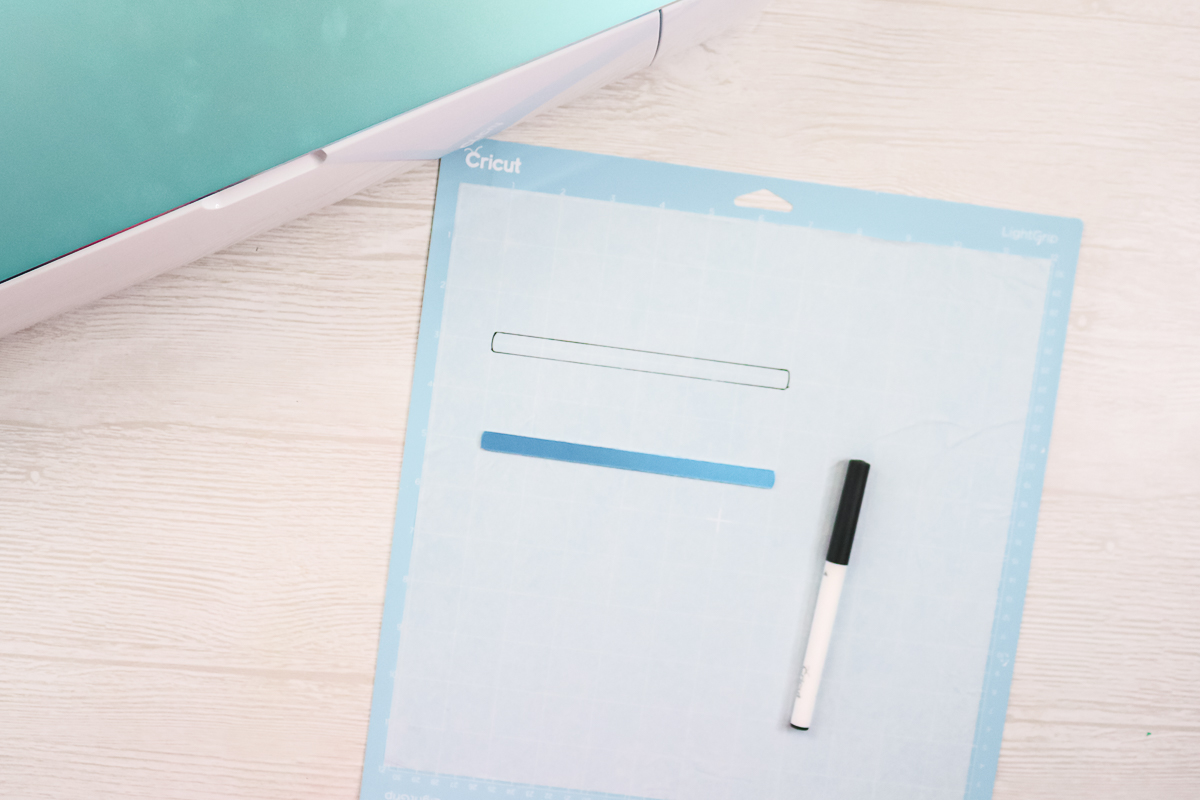
Next, let's put the paper on our mat. I've taken the light grip mat, some really thin tissue paper, and my blank. Add the tissue paper to the mat, and you can see the gridlines through the paper. Locate your bracelet blank in the same area as on the screen in Design Space, then trace it with the Cricut pen.
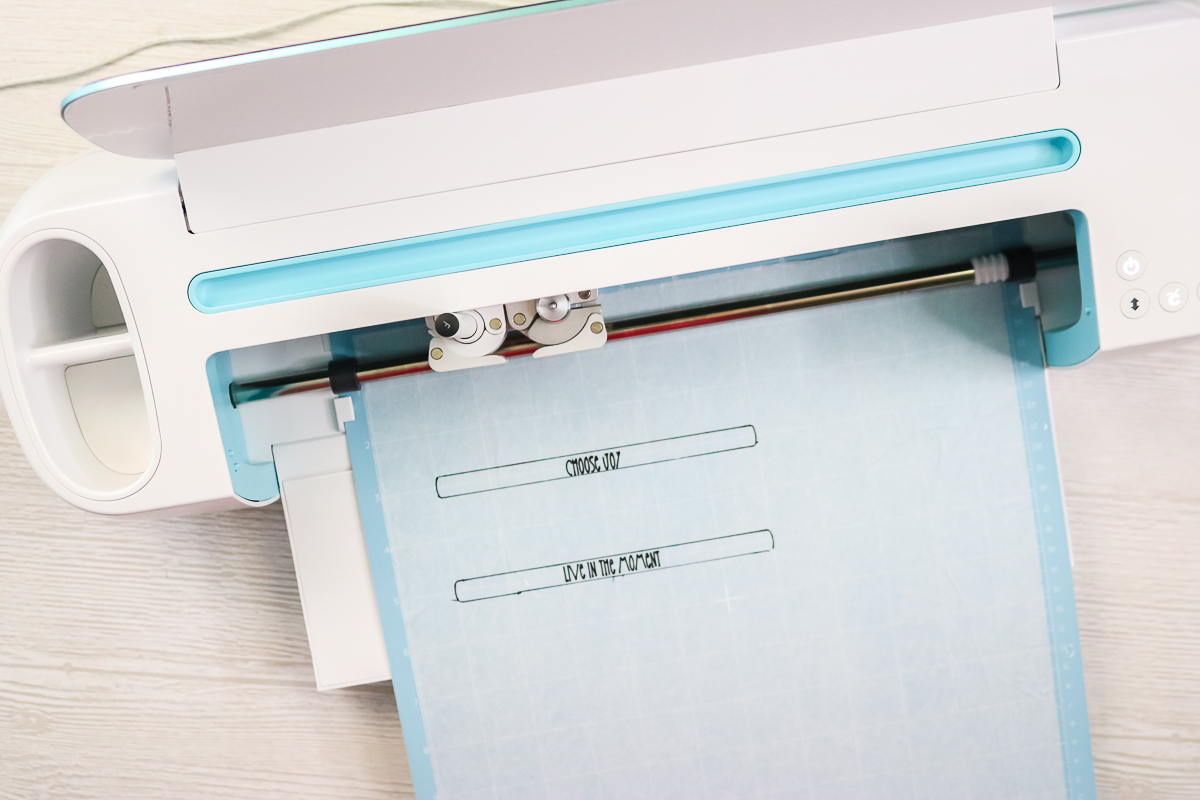
Add the pen to the Cricut Maker, and you are ready to draw the words onto the tissue paper. Just load your mat, press the go button, and let the Cricut draw.

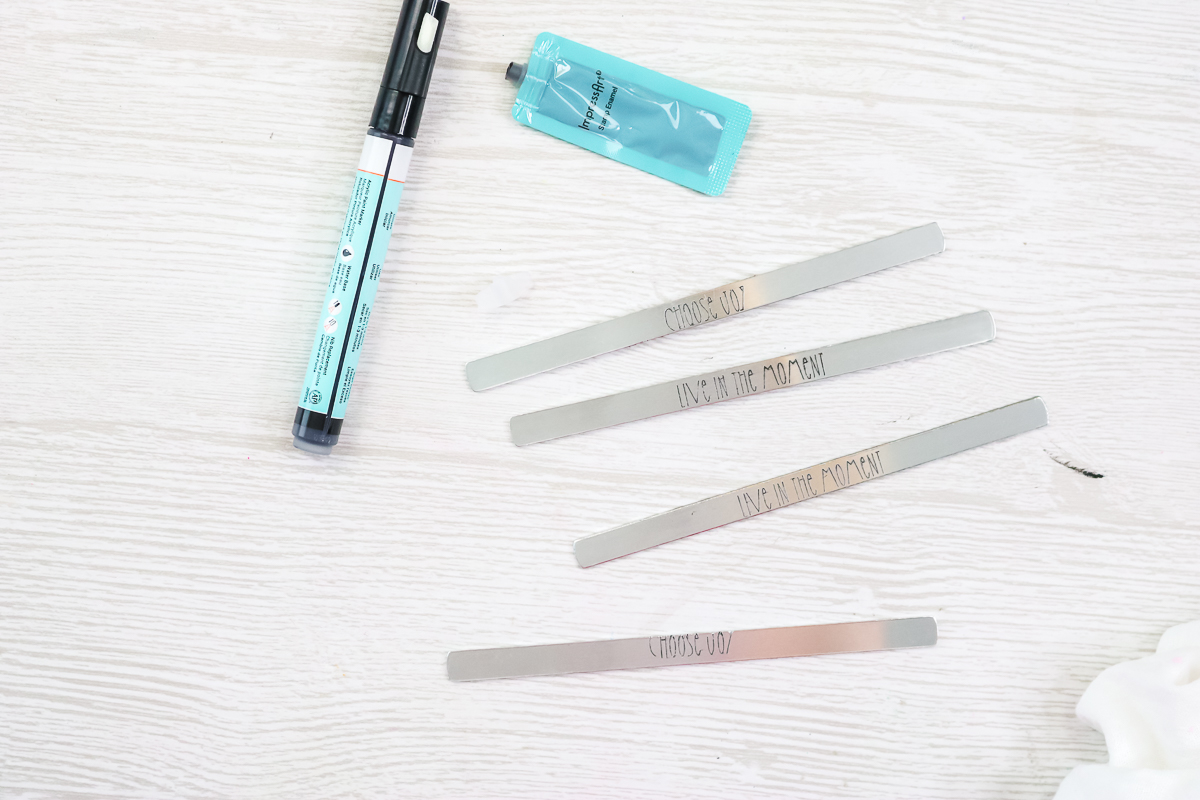
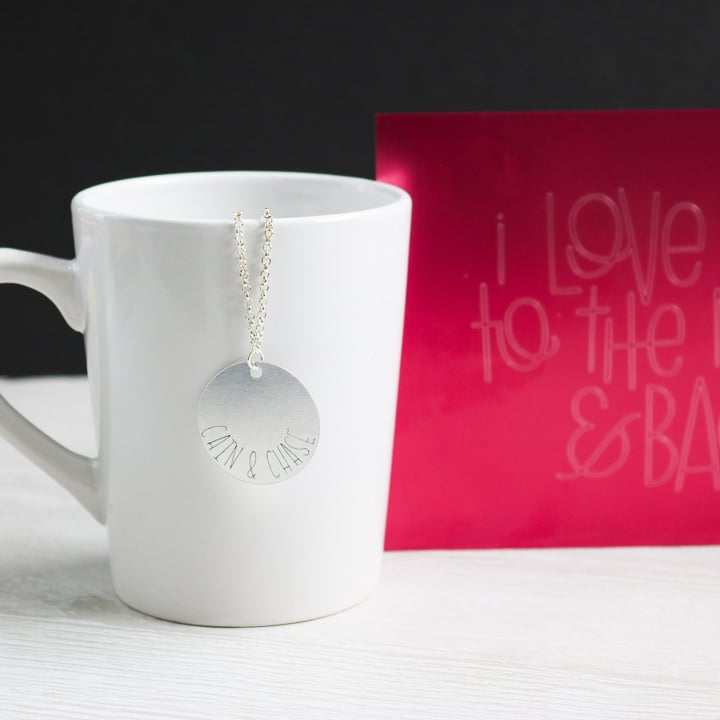
Once your machine has drawn the words, you can check the location. For instance, the “Choose Joy” is a little low, so I’ll either move the blank down a bit or move the words up a bit in Design Space to accommodate this.
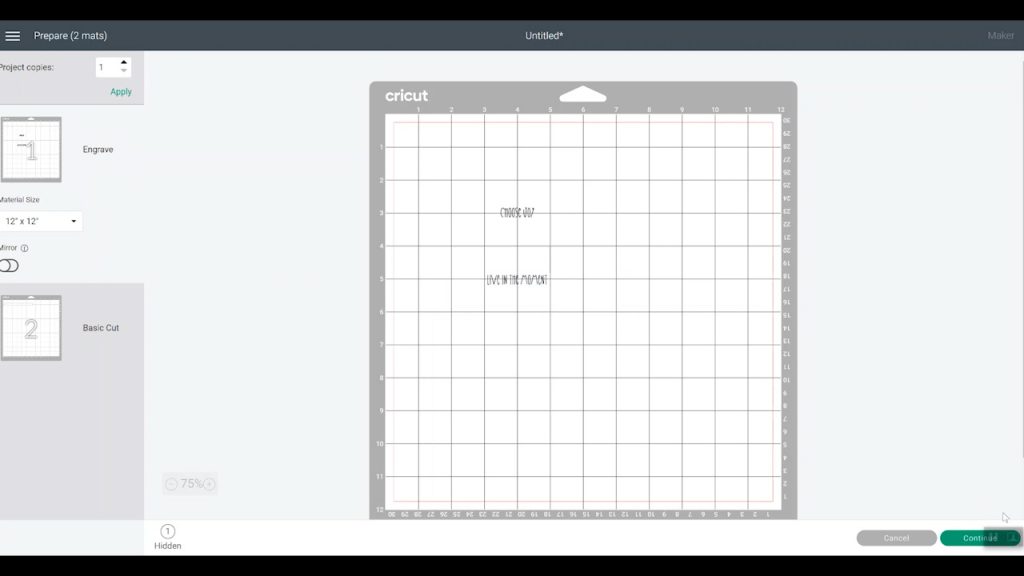
Let’s take a look in Cricut Design Space at how that will work. We'll click “Make” with the engraved version of the words. Then repeat the same procedure for locating, but this time I’ll take my “Choose Joy” and move it up to the top of the blank. Now it is just a little higher than before, which should put it in the right location.
Step 6: Engraving Metal with the Cricut Maker
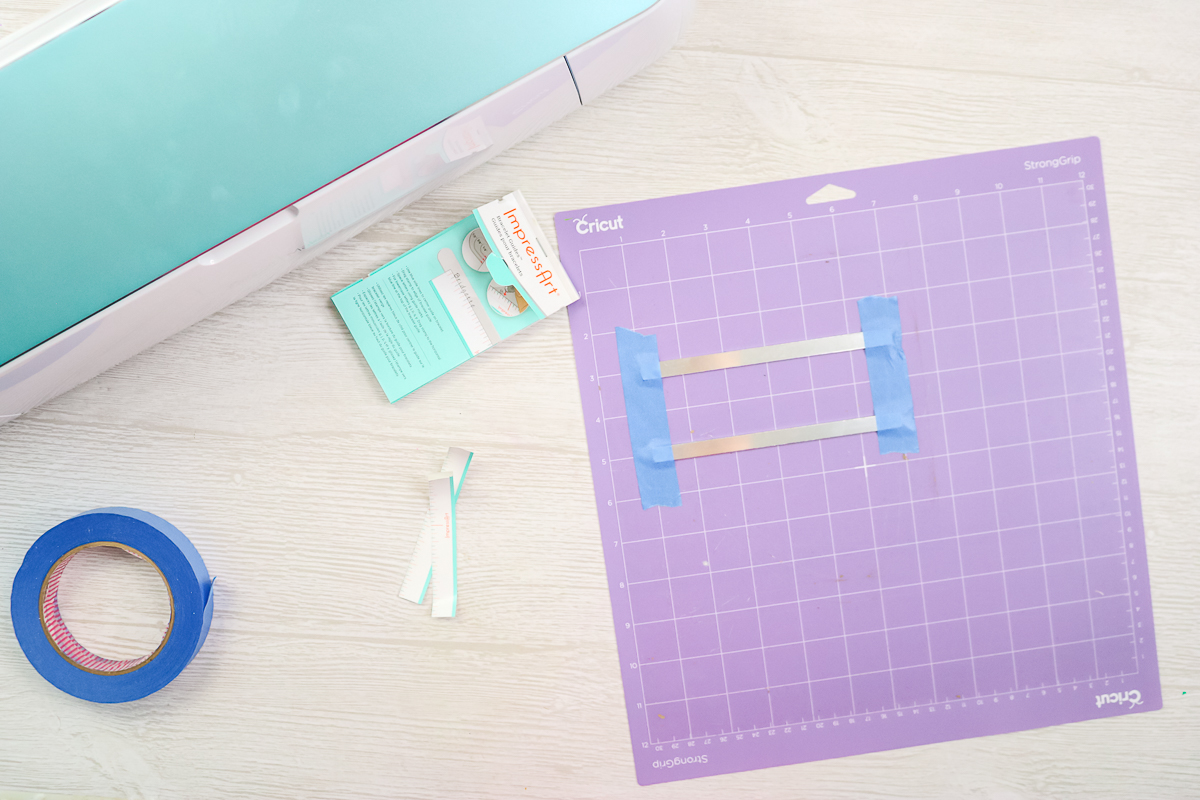
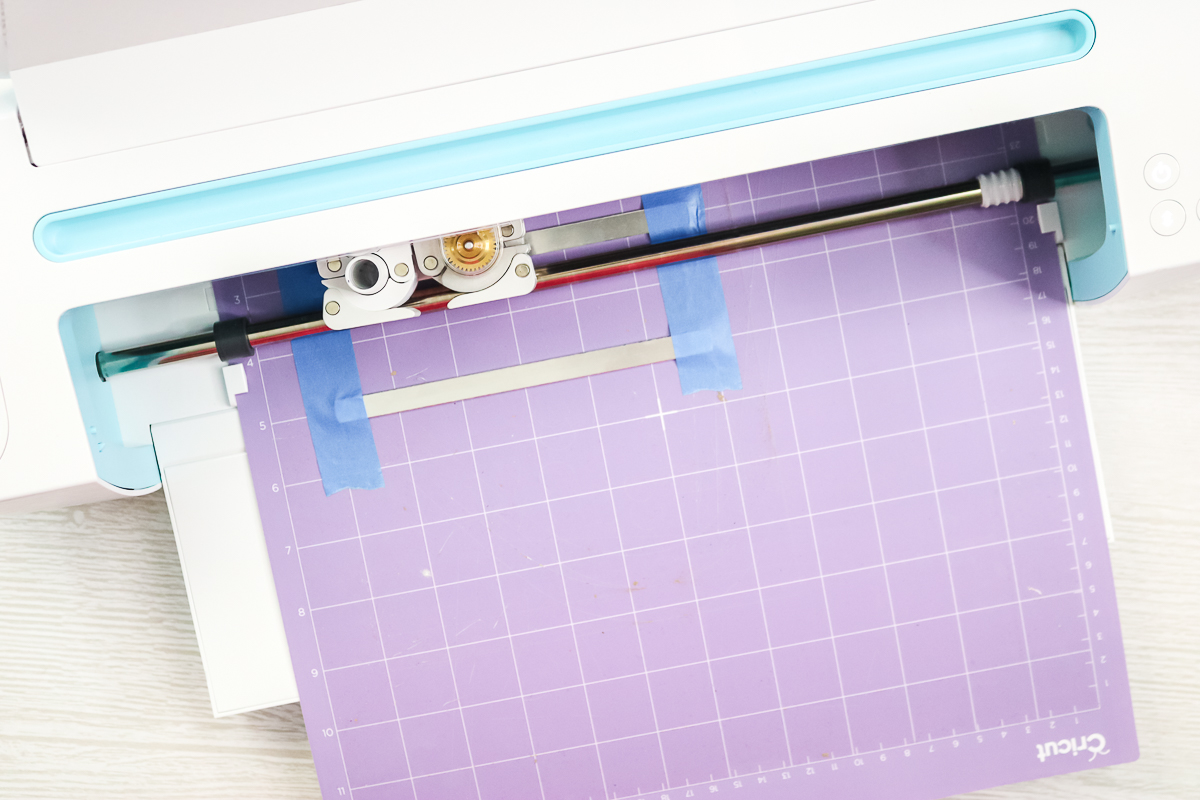
Next, let’s put our bracelets on the strong-grip mat for Cricut metal engraving. The bracelets come with a blue protective film on the front and the back. Just peel that off both sides and discard it. Next up are some bracelet guides. Typically, these are used for hand-stamping your bracelets, but I find them super convenient for finding the center for engraving. It has markings to locate the center up and down, and then there's a marking in the center of the bracelet itself. I just want to make sure the locator is centered on the bracelet.
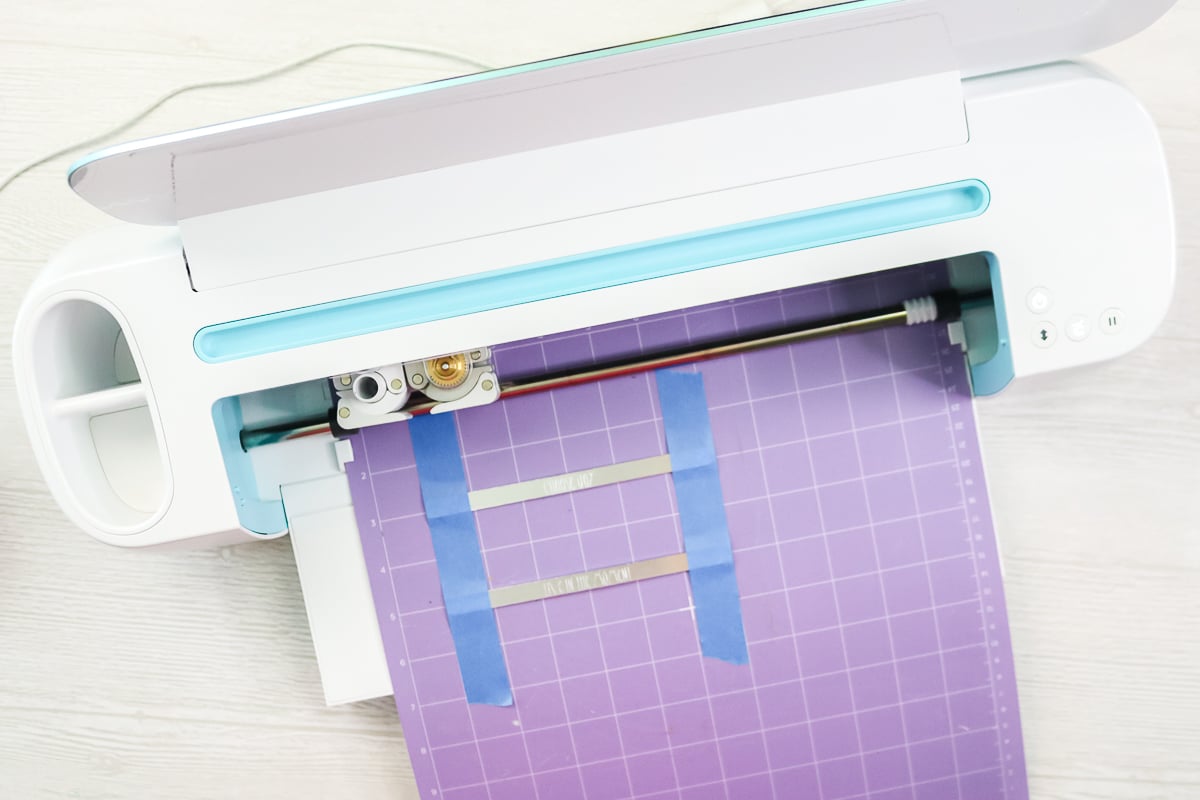
Now I have two bracelet blanks with the bracelet guides on them, and we'll just put those on our mat. The first should be at 3 inches down. The left end should be at the 1-inch mark, then we want that center mark to be at the 4. The other end should end up at the 7-inch mark. We'll repeat that for the second blank, 5 inches down. Once everything looks centered, we'll want to tape these into place to ensure they don't move. I'm just going to tape across both ends, and it’s ready for the Cricut Maker.
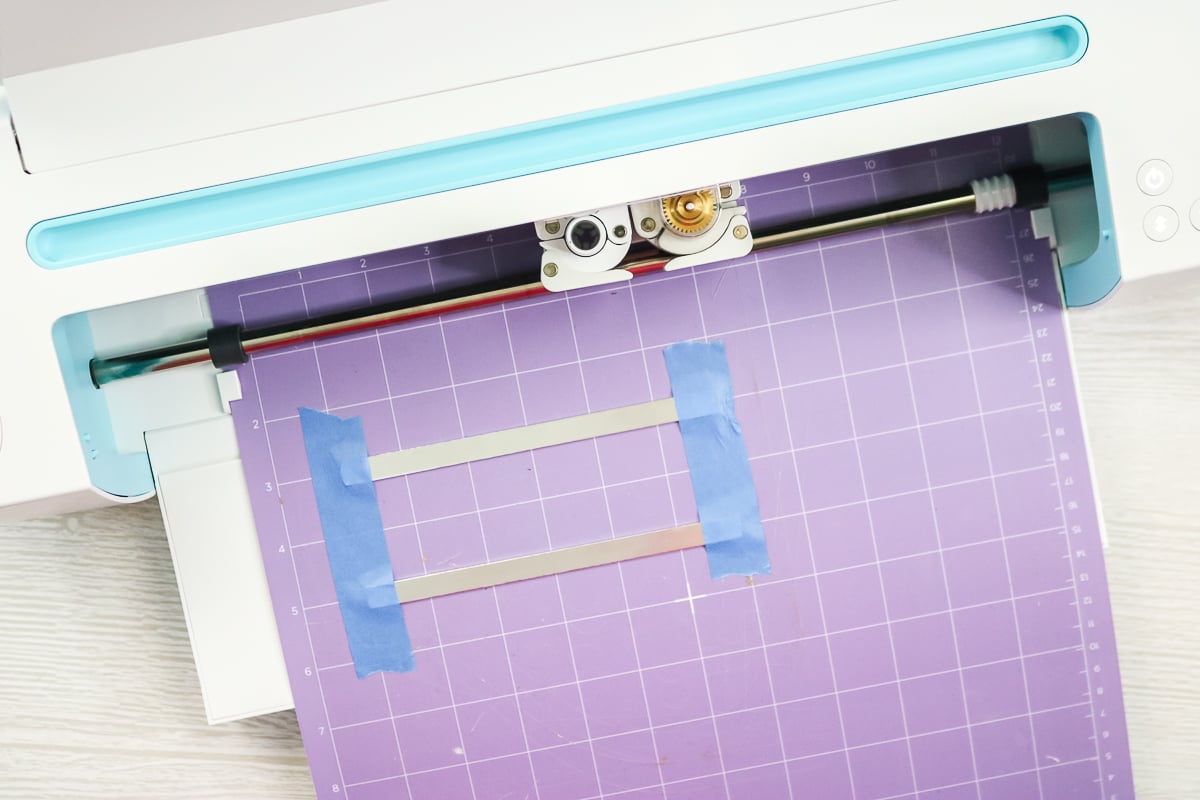
Remove the blade from your Maker machine and insert the engraving tip. I picked stainless steel for my material and moved the white star wheels all the way to the right.
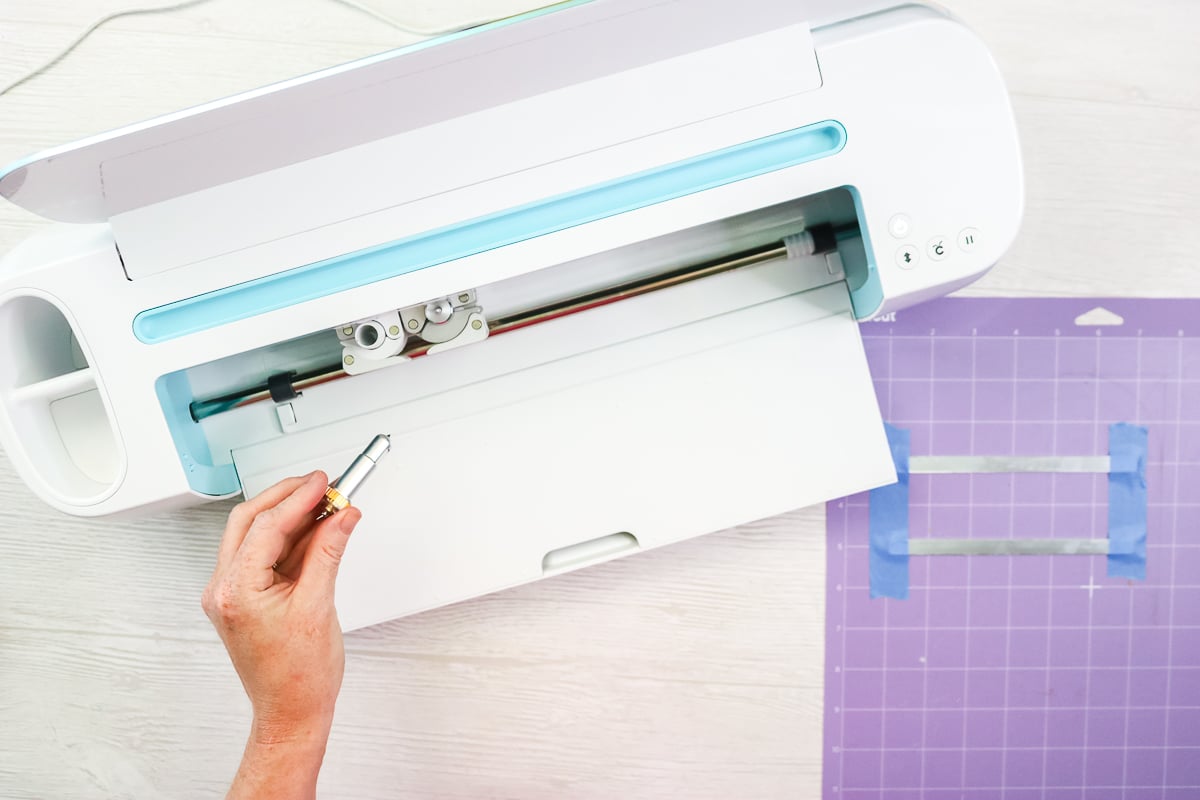
Then load your mat once prompted. Once your mat is loaded, all that's left to do is to hit the “Go” button and watch the magic happen.
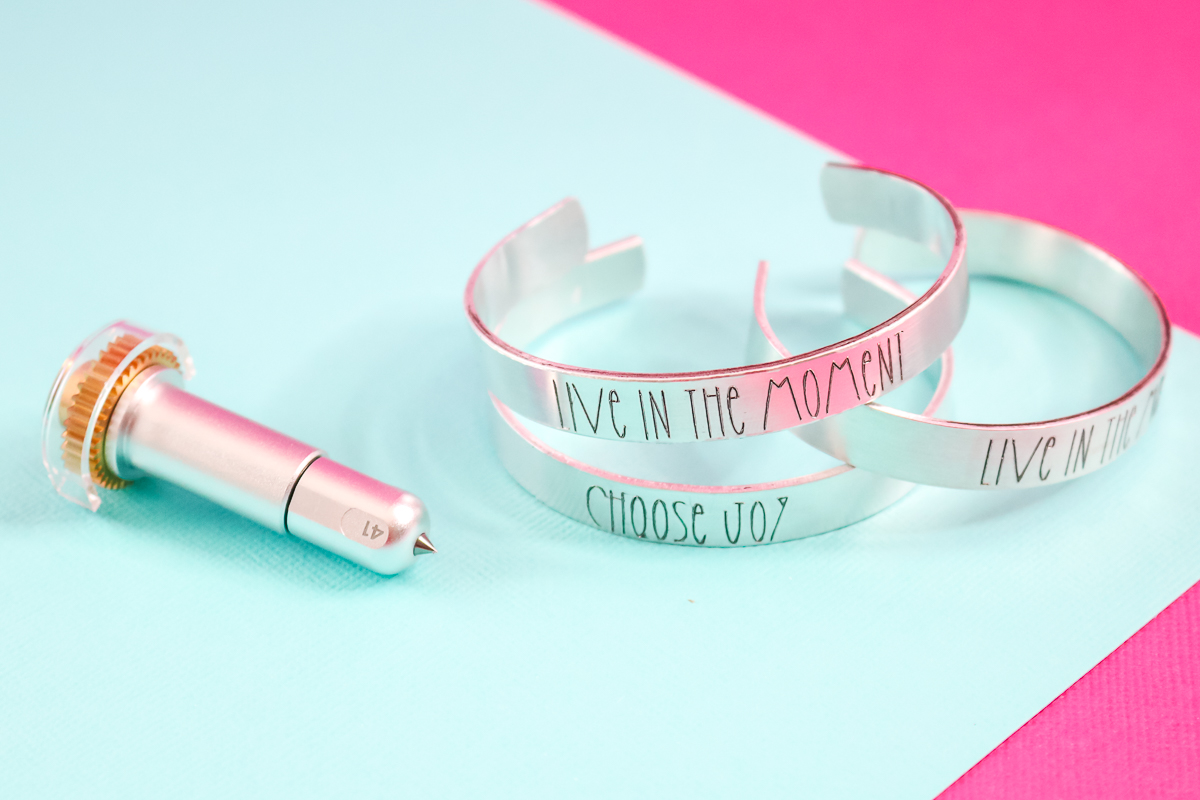
Once your bracelets are done engraving, eject your mat and take a closer look at your engraving.
You might find some debris; you can brush it off. Then peel back the tape and remove the blanks from the mat.
Step 7: Adding Enamel
The next thing to finish off these bracelets is to add enamel! You could use either what comes in the pack or buy a marker separately.
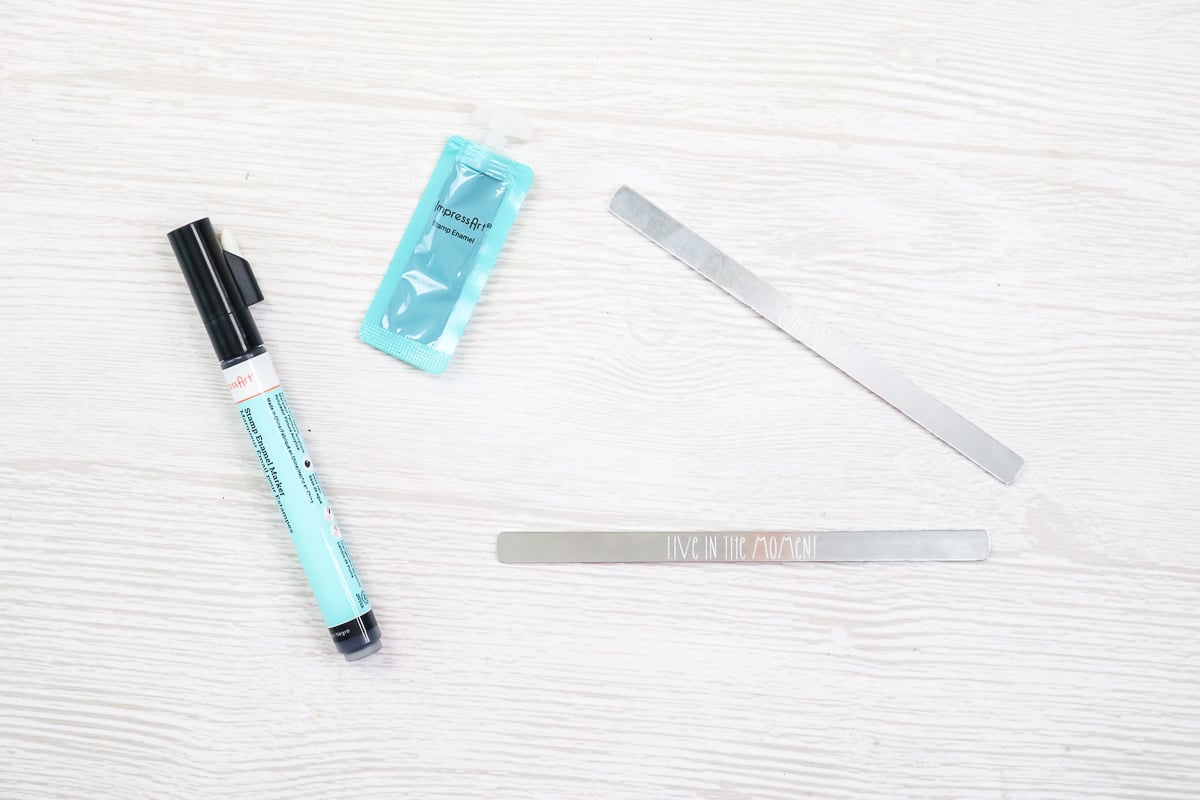
It is water-based, so it won't hurt anything. Just add it over the top by either brushing it on or just wiping it with your finger.
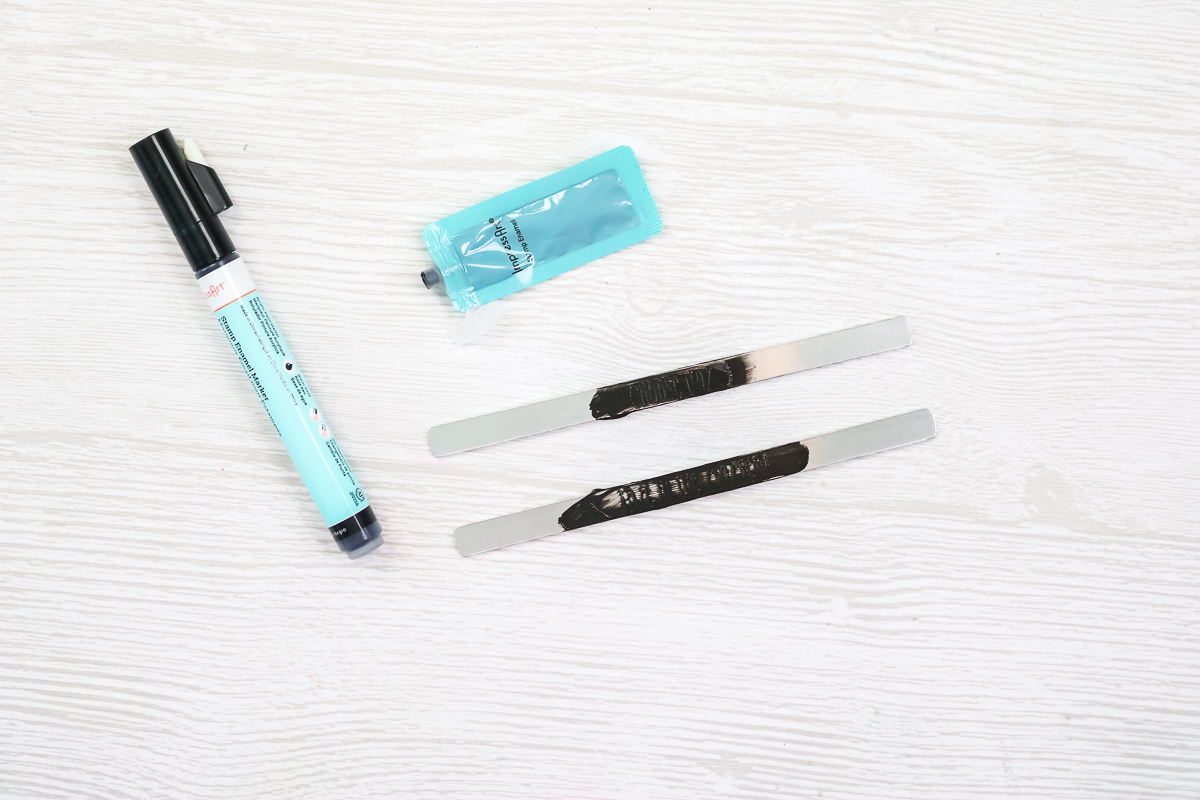
It dries in about one to three minutes. Wipe away all that excess with a rag, and you'll be left with the enamel in your engraving. It makes it stand out quite a bit more than when it comes off the mat.
Step 8: Forming Your Bracelet
Finally, we will bend these blanks into actual bracelets. First, we’ll use a bending bar with a little lip that holds your bracelet. Put the bracelet in face-up. NOTE: If you have any bracelets with messed-up engraving, it's a great idea to start by bending them to get the hang of it.
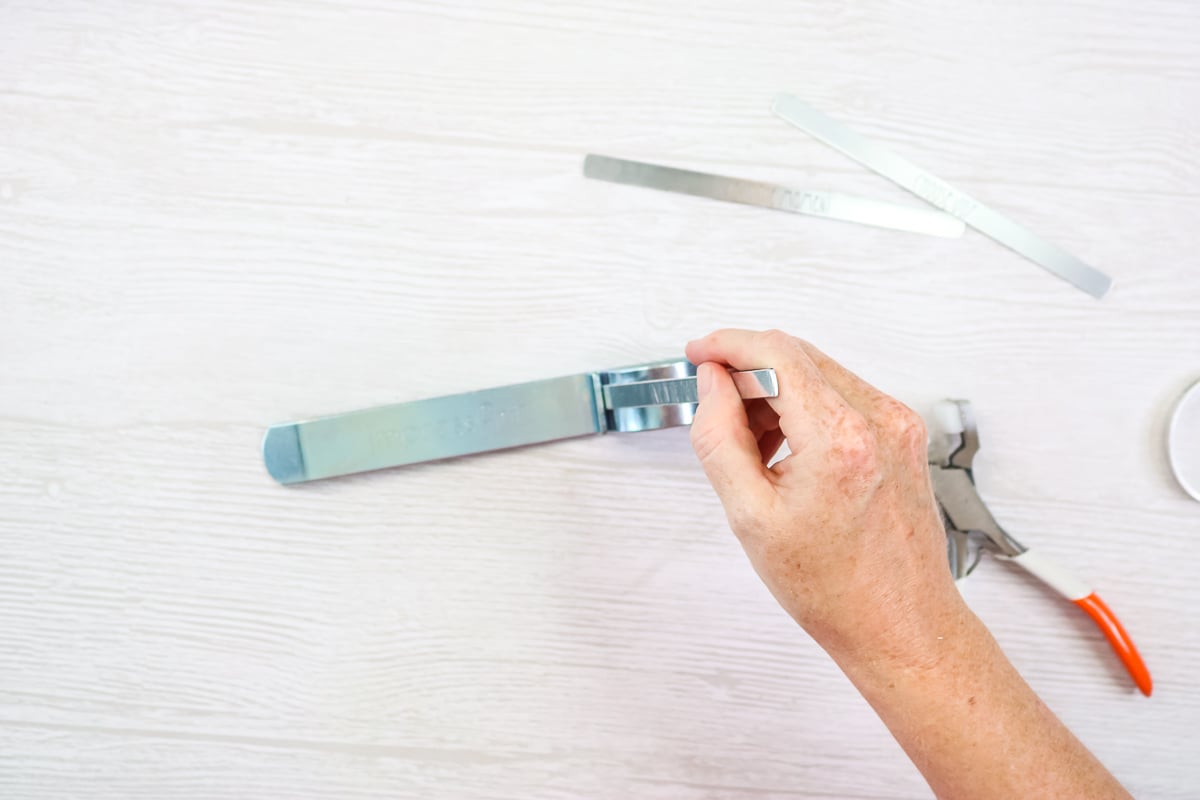
Then, you push the bracelet down to get the first half of your cuff shape.
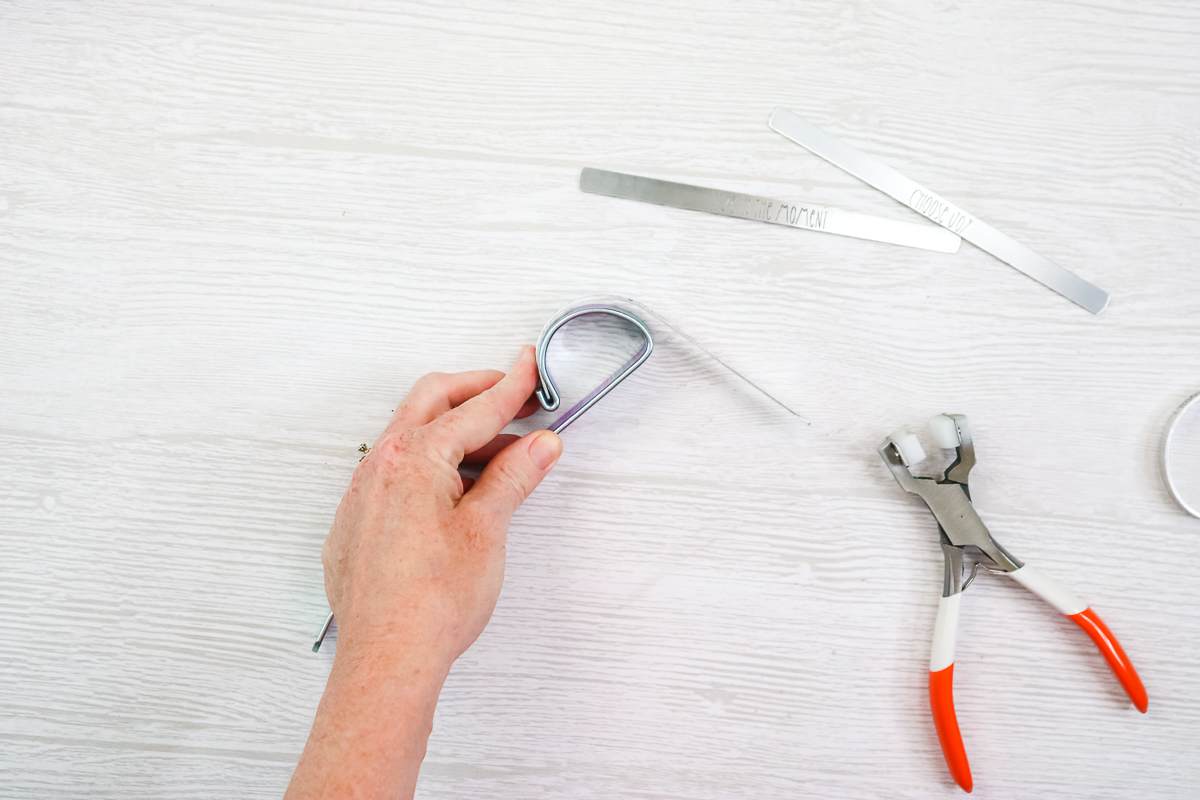
Repeat that on the opposite side.
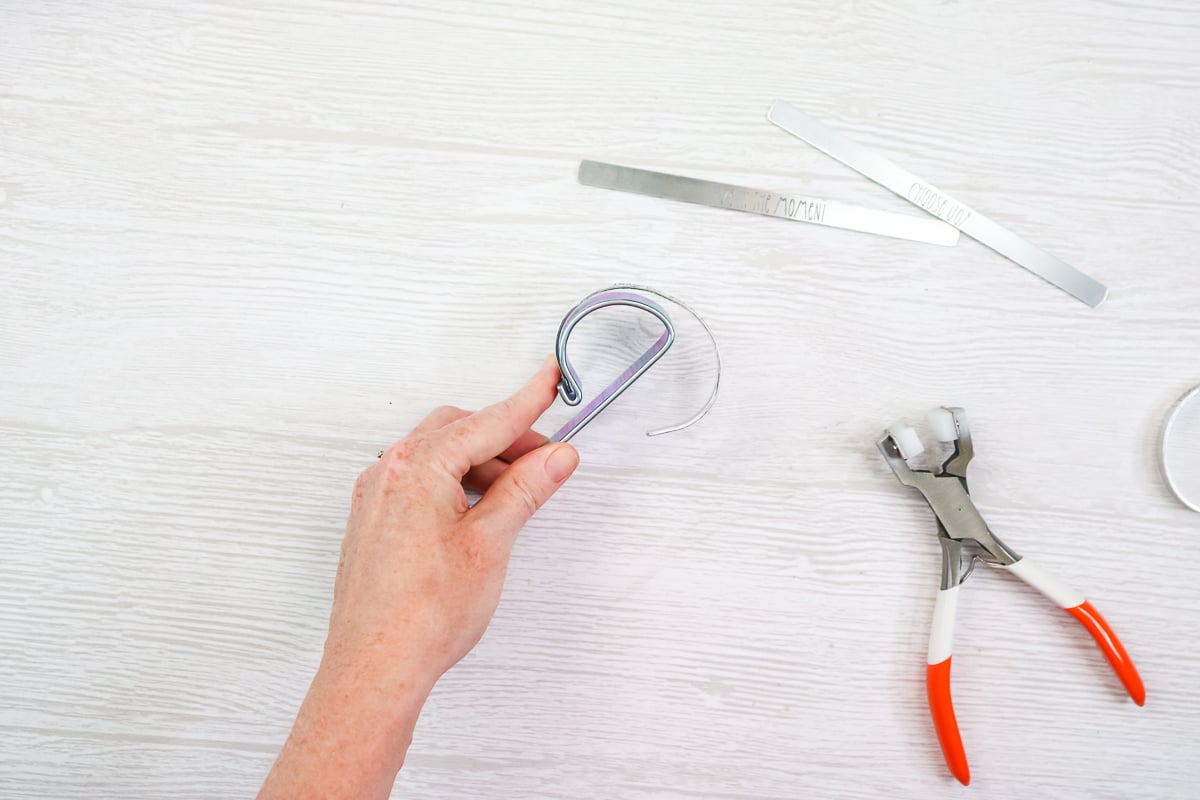
Use a pair of pliers to get that perfect shape. If you're finding a place that's not exactly round, you just squeeze it with those pliers to get that perfect, round bracelet shape. You can also pull the bracelet out to make it larger to fit any wrist. And there you have a cuff bracelet!
Which Cricut machines can engrave metal?
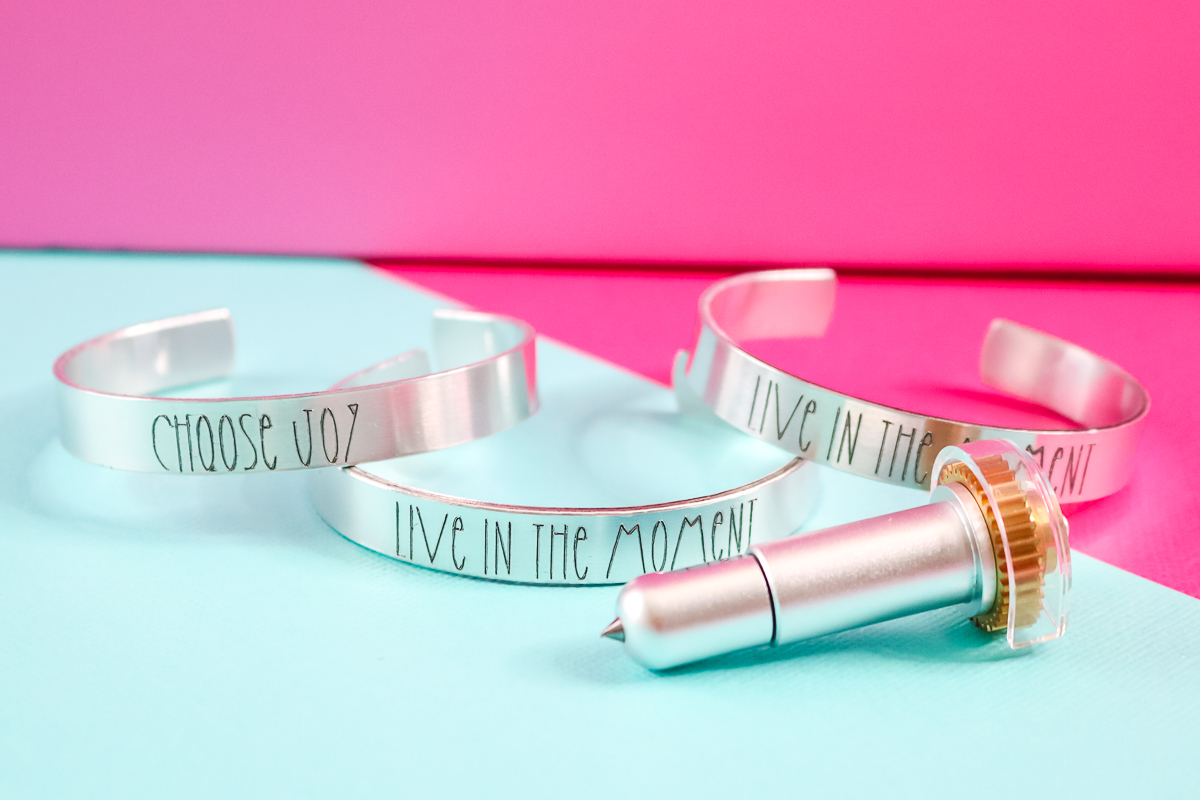
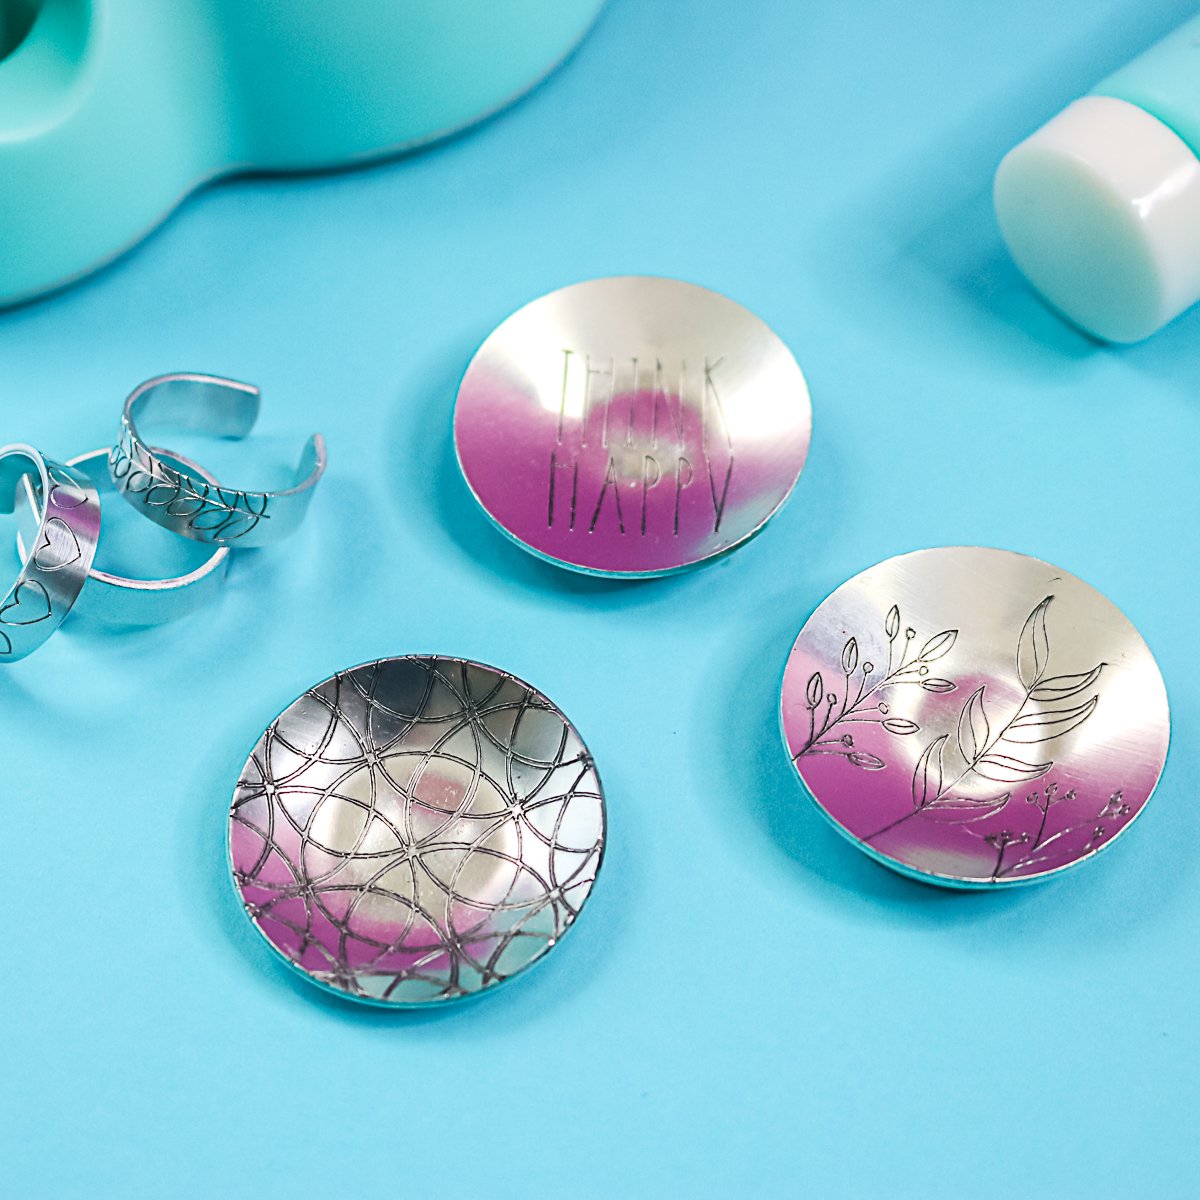
Now I have some really amazing bracelets all made using Cricut metal engraving. I did want to note that this can be used with any Cricut Maker model. All Maker models will accept the engraving tip and the quick-swap housing. Note: Other Cricut machines cannot do metal engraving with the Cricut engraving tip. There are off-brand engraving tools for the Explore series of machines, but using them may void your Cricut warranty, so be sure to wait until your one-year warranty is up to give it a try.
I hope you enjoyed the hack for making sure your project is located correctly, too! Using that tissue paper hack, you should get a perfect bracelet every single time. I know I hear from a ton of people that cannot get the location right, and this is one way to test before you actually engrave your project and waste a blank.
I would definitely recommend starting with the Impress Art kit, as it has everything you need to get started. You can add more blanks or stamp enamel later.
Engraving metal with your Cricut is such a fun project, and the results are truly amazing! Just picture yourself creating a custom bracelet with any design or text you choose, in your favorite font. This craft is super versatile, so you can make one for everyone on your gift list.
So, pick up a kit and try this one for yourself. I think you will really love the results!
More Cricut metal engraving projects
Looking for more Cricut metal engraving ideas? Check out the projects below:


when I engraved a bracelet it engraved in an outline – not as one line – i was doing my grandmothers handwriting so it wasnt a thick font or anything. Was it because it was an image and not letters? I didnt want it to do it as an outline, i wanted it to just draw it in one swipe as if it was written. I hope this makes sense… is yours solid because its font? I do almost all of my cricut work in Illustrator and save the .svg – So they’re all images…. ?
You would need to make the SVG where it is only 1 pt wide in Illustrator then import. It is not easy to get an image to engrave correctly.