
Engraving aluminum is a lot of fun and opens up a new world of crafting possibilities! It’s super easy to do with your Cricut machine. In this tutorial, I will guide you through everything you need to know about how to engrave aluminum using your Cricut Maker. Whether you want to personalize blank jewelry or simply engrave an aluminum sheet, you’ll learn exactly how to do it in just a few minutes.
Have you ever wanted to engrave aluminum? Doing it by hand can be time-consuming and often yields less-than-perfect results. Fortunately, I have a fantastic alternative for you: use your Cricut machine to fulfill all your aluminum engraving needs!
I’ve been using my Cricut for many exciting crafts that go beyond just precise paper and vinyl cutting, which the machine is well-known for. Now, you can also cut leather, engrave leather, engrave wood, wood burning, and more
Note: If you want to check out even more engraving ideas you can do with your Cricut machine, check out our Engraved Bracelet with the Cricut Maker, DIY Engraved Quote Bracelet, and Engraving Dog Tags and Earrings projects.
How To Engrave Aluminum Video Tutorial
I understand that people learn in different ways, so I have created both a video and written instructions for engraving almost any aluminum piece with your Cricut Maker. To watch the video, simply click the play button below!
To see the video, click the play button below!
Can’t watch the video or missed some of the steps? You can also follow along with the details below.
How To Engrave Aluminum With Your Cricut
Grab your Cricut Maker and the engraving tool and start making your own personalized gifts (and so much more). You really will not believe how easy this project is!
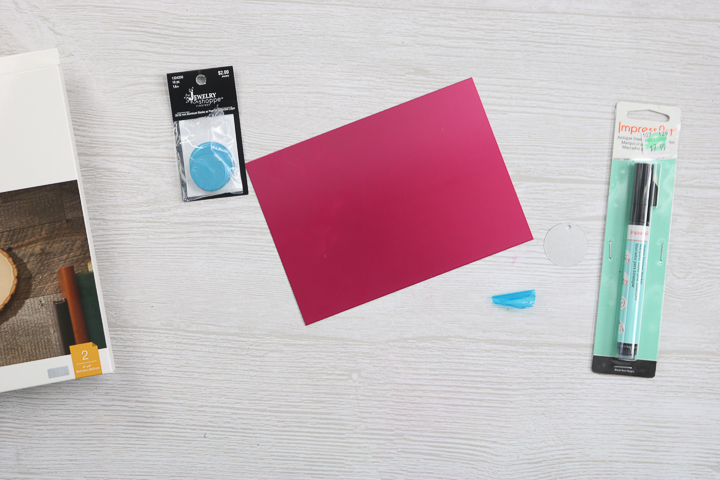
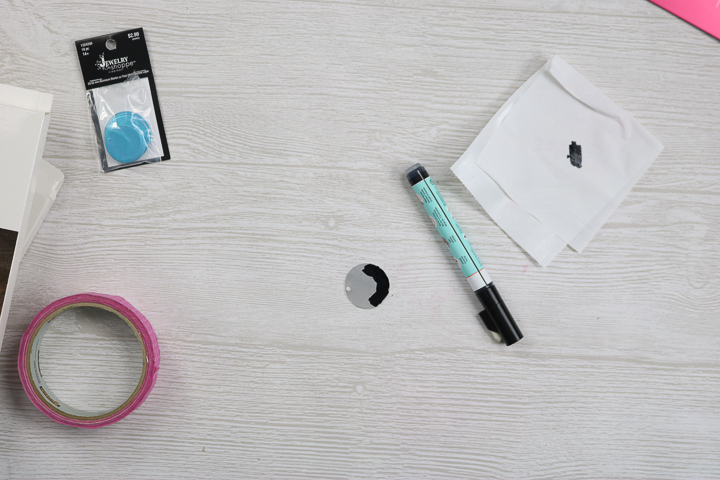
Supplies Needed To Engrave Aluminum
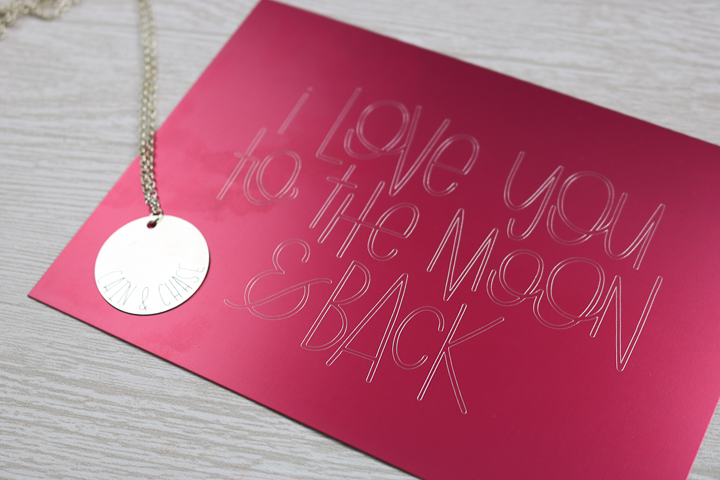
- Aluminum blank – here is the painted version that I used, or you can purchase jewelry blanks like these
- Cricut Maker
- Engraving tool
- Strong grip mat
- Masking tape
- Black marker for engraving
- Cricut cut file
Engraving Aluminum With A Cricut Maker
If you prefer to read about engraving aluminum with the Cricut Maker instead, just follow along below!
Adding Aluminum Blanks To The Strong Grip Mat
First, add your aluminum blank to the Cricut mat!
Step 1: Remove Protect Coating
Remove any protective coating from both the front and back of your piece.
Step 2: Add Aluminum Blank To Strong Grip Mat
Add your aluminum blank to your strong grip mat. The aluminum blanks that I am using were pre-painted.
Once your aluminum blank is on the strong grip mat, adjust it so it's on either the 1“ x 1“ mark at the corner or center it on the 1-inch mark. You need to know where the blank is on the mat in order to locate your design in Cricut Design Space.
Note: If you plan to use a plain aluminum blank, I would recommend either spray-painting it or using a marker after engraving to make the engraving stand out a little more.
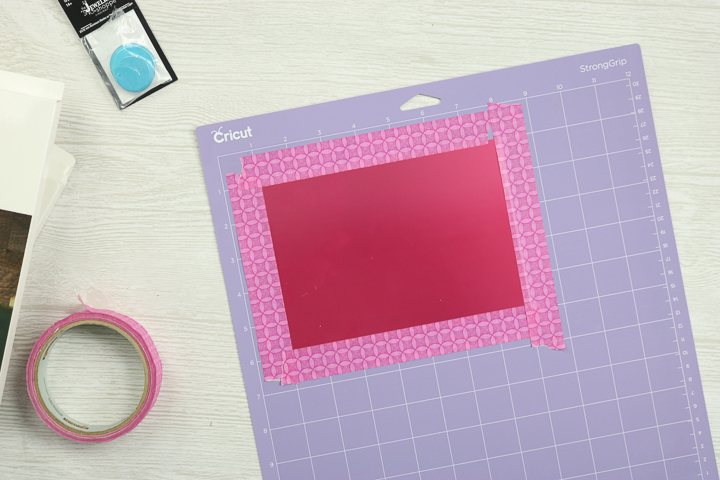
Step 3: Tape Down Aluminum Edges
Next, place masking tape around the outer edge of your blank to keep it from moving while engraving. Your mat is now ready for your machine.
Designing Your Aluminum Engraving
Next, let's create a design for your aluminum!
Step 1: Design Cut File
Start by designing a cut file for your aluminum engraving. Then click “Make” in Cricut Design Space.
Note: If you are making your own design from scratch and are looking for some font ideas, check out our Cricut Engraving Fonts: Filled Fonts for Your Cricut Projects blog post!
Step 2: Remove Excess Engraving
Your design will need to include the blank drawn as well as the design you want to engrave on it, because you will need the square or circular shape of your blank to locate the engraving on the mat.
To do that, remove the excess engraving from the first mat. Click the three dots to open the menu, then select “hide selected” to remove the one you do not want to engrave.
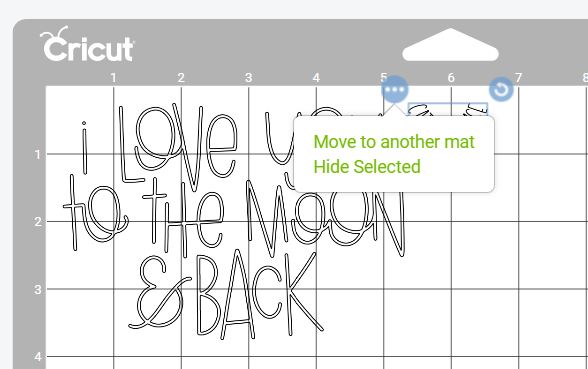
You only want the one left on your screen to be the one you use.
Then move the blank that is on the second mat to the first mat so that the blank and the engraving are both on the same mat. To do this, pick it, click the three dots, and click “move to another mat.”

You should be left with the design you want to engrave and the blank you want to put it on, both on the same mat.
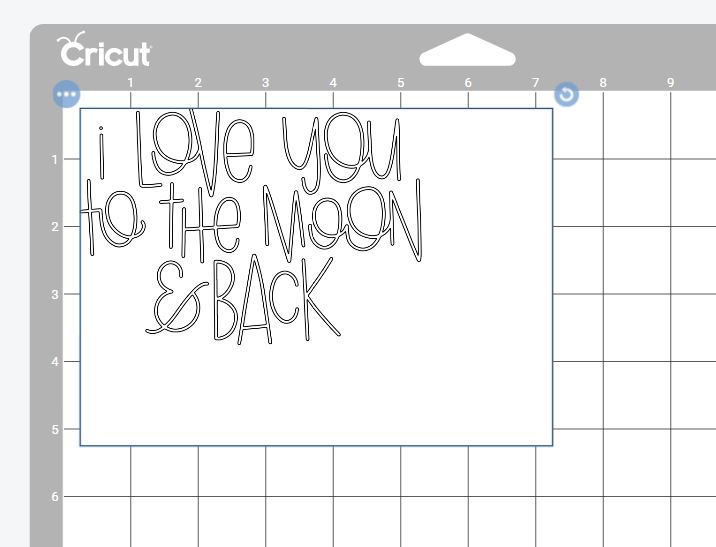
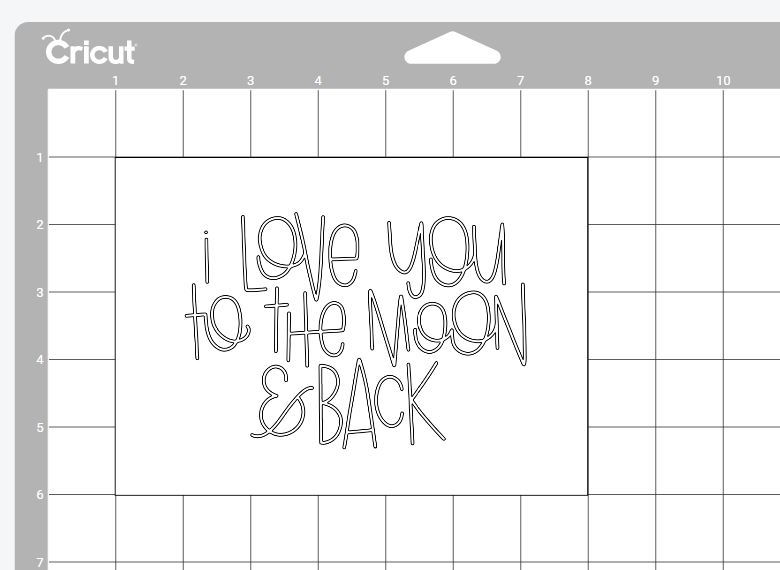
Step 3: Align Blank
Align the blank with the 1-inch mark, just as you have it on the mat itself. Then move the engraving to its exact location on the blank, exactly as you want it to look.
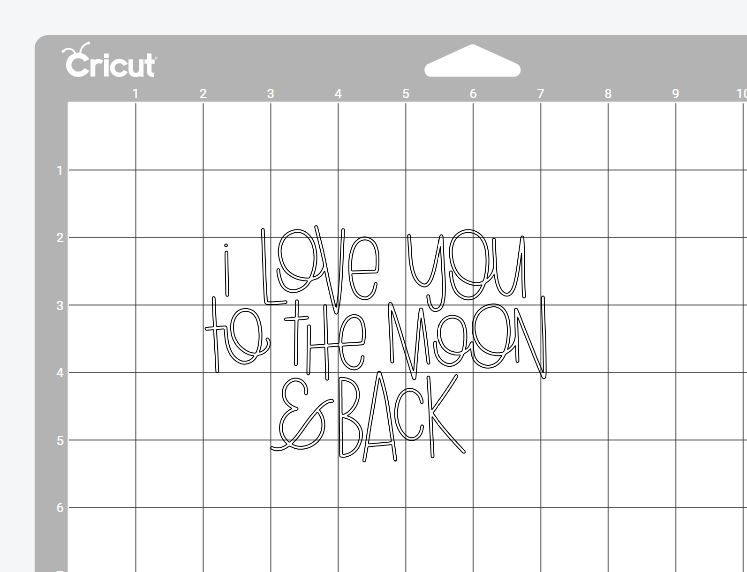
Step 4: Hide Blank
Now hide the blank itself using the “hide selected” function, leaving only the aluminum engraving design on the mat.
Using The Engraving Tip On Aluminum
Now you are ready to engrave your aluminum!
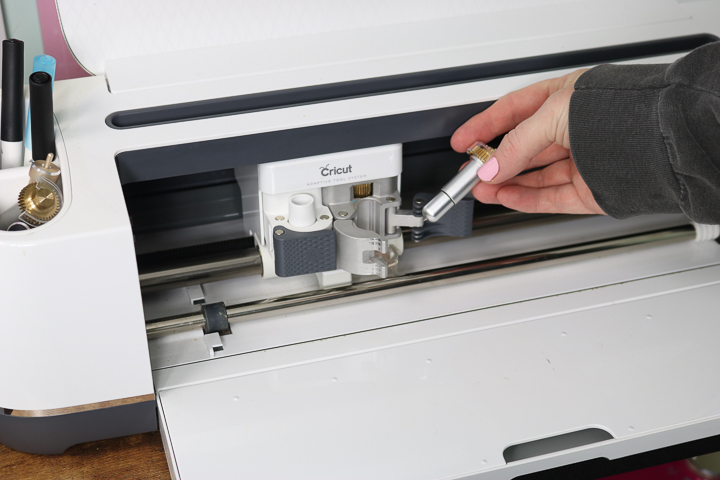
Step 1: Add Engraving Tip To Cricut Maker
Add the engraving tip to the housing, then place it inside your Cricut machine. Remember that the engraving tip works only with Cricut Maker models.
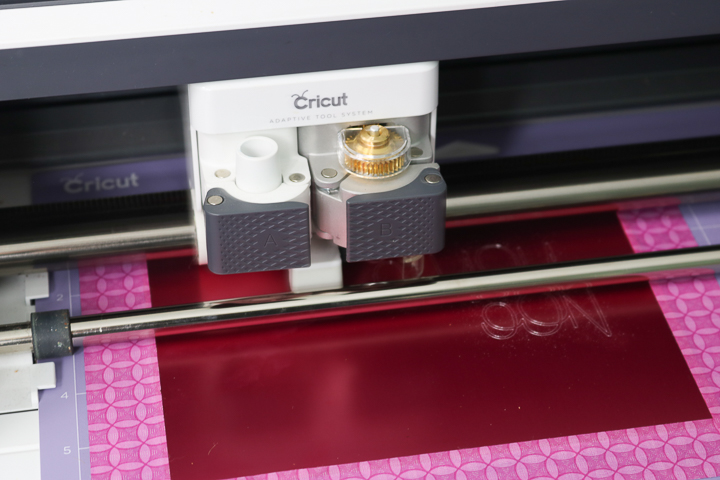
Step 2: Engrave Aluminum
Load the mat with the blank in position into your machine and click “Go” to engrave your aluminum. Don't forget to pick the “Aluminum” setting for cutting!
Also, please remember to move the white wheels all the way to the right, so they do not mark your surface.
Note: This process is exactly the same for small aluminum sheets as well as things like jewelry blanks.
Completing Your Engraving
Just a few more steps and your aluminum engraving is complete!
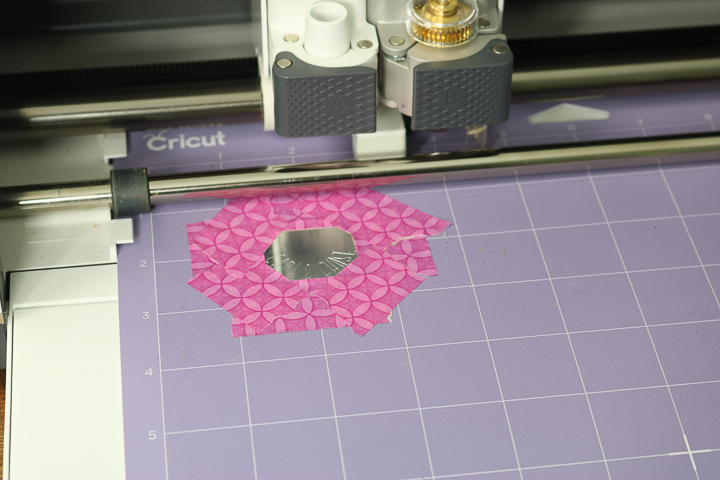
Step 1: Lint Roll Aluminum Blank
Once complete, run masking tape or a lint roller over the aluminum piece to remove any debris. Use caution when doing this, as aluminum shavings can get onto your skin (annoying!).
Step 2: Remove Aluminum Blank From Mat
Remove the blank from the mat by removing all of the masking tape and peeling the mat back from the aluminum blank.
Step 3: Add Marker To Engraving
If you are engraving unpainted aluminum, there's just one more small step.
When engraving on plain aluminum, be sure to use the marker. Wait a few minutes and wipe away any excess. This will help the engraving on these pieces to stand out.
Note: If you are looking for more options for coloring your aluminum engraving, check out our How to Get Color Engraving with a Cricut Machine blog post!
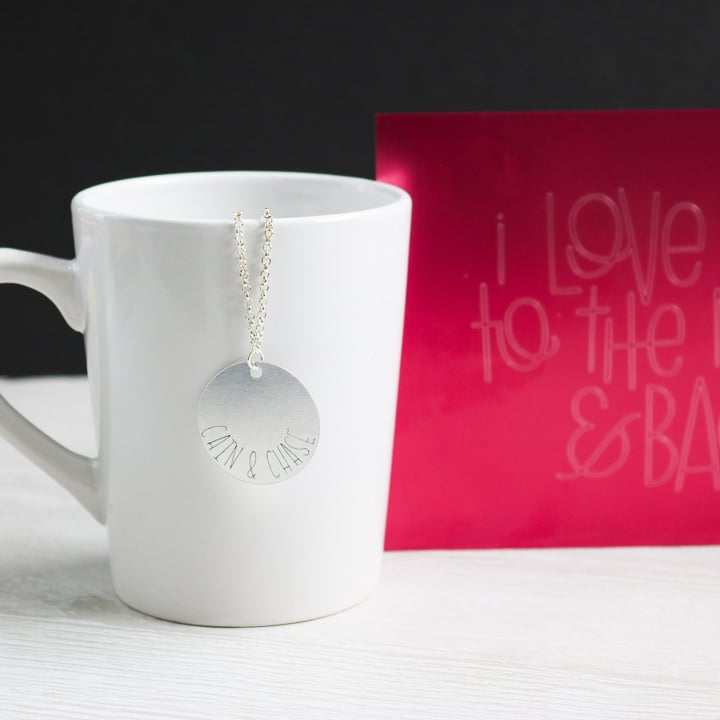
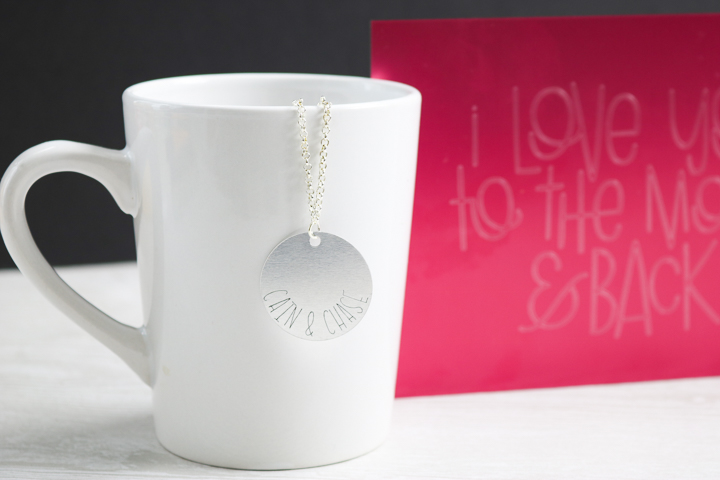
When you are adding an engraving to a painted piece, you don't need to do anything further. It is simply stunning right out of the Cricut Maker.
Now that you have learned how to engrave aluminum with the Cricut Maker, be sure to order plenty of blanks because you’re going to want to do this again and again. It's really easy to do, and looks simply amazing once complete.
So, have you used your engraving tip on any projects yet? The engraving tip has so many uses that it is definitely one that you need if you own the Cricut Maker.
FAQs About How To Engrave Aluminum
Here are answers to some of the most frequently asked questions I receive about engraving aluminum with your Cricut. If your question isn’t listed, feel free to drop it in the comments, and I’ll be happy to help!
Which Cricut Tool Is The Engraving Tool?
The engraving tip for your Cricut machine is #41.
Which Cricut Machine Has An Engraving Option?
At this point, only the Maker line (Cricut Maker, Maker 3, and Maker 4) can engrave. The machines in the Joy and Explore lines use different cutting mechanisms and apply various levels of force than those in the Maker line, and are not equipped to engrave aluminum.
What Materials Work With The Circut Engraving Tool?
Use your Cricut to engrave any of these materials!
- Acetate
- Acrylic
- Aluminum sheets
- Brass
- Faux leather
- Genuine leather
- Metal – 40 gauge thin copper, soft metals
- Shimmer paper
- Sparkle paper
- Wood
Do I Need To Calibrate The Engraving Tool Like The Knife Blade?
No, you do not!
Does It Need To Be Unfinished Aluminum?
It can have a finish on it like the pink piece. The engraving tool will just scratch off that finish.
The Engraving Comes Out Very Rough To The Touch. What Am I Doing Wrong?
All engraving with any Cricut is rough to the touch.
8 More Cricut Crafting Projects
So, now that you know how to engrave aluminum with the Cricut Maker, what else can you make with your Cricut? Try these other projects as well!
- Engraved Wood Earrings
- Cricut Maker Metal Project: Engraving a Ring Dish
- Cricut Maker Engraving Acrylic
- How to Engrave Through Infusible Ink on Cricut Aluminum
- Engraved Leather Keychain With Cricut
- Cricut Metal Engraving: Make Bracelets with Your Cricut Maker
- How to Etch Glass with a Cricut
- DIY Metal Garden Markers Engraved on a Cricut


Thank you for an easily-followed set of instructions! I love the fact you have both video and written instructions. I went through the whole video first, and am happy to have the written process in case I forget a step (or two) in future projects – it is a real timesaver!