If you're as obsessed with patches as I am, you're going to love being able to create your own custom patches. Did you know that you can order custom patches in a variety of different styles, including chenille patches, embroidered patches, PVC patches, and more? Well, you can! And I am obsessed with them!
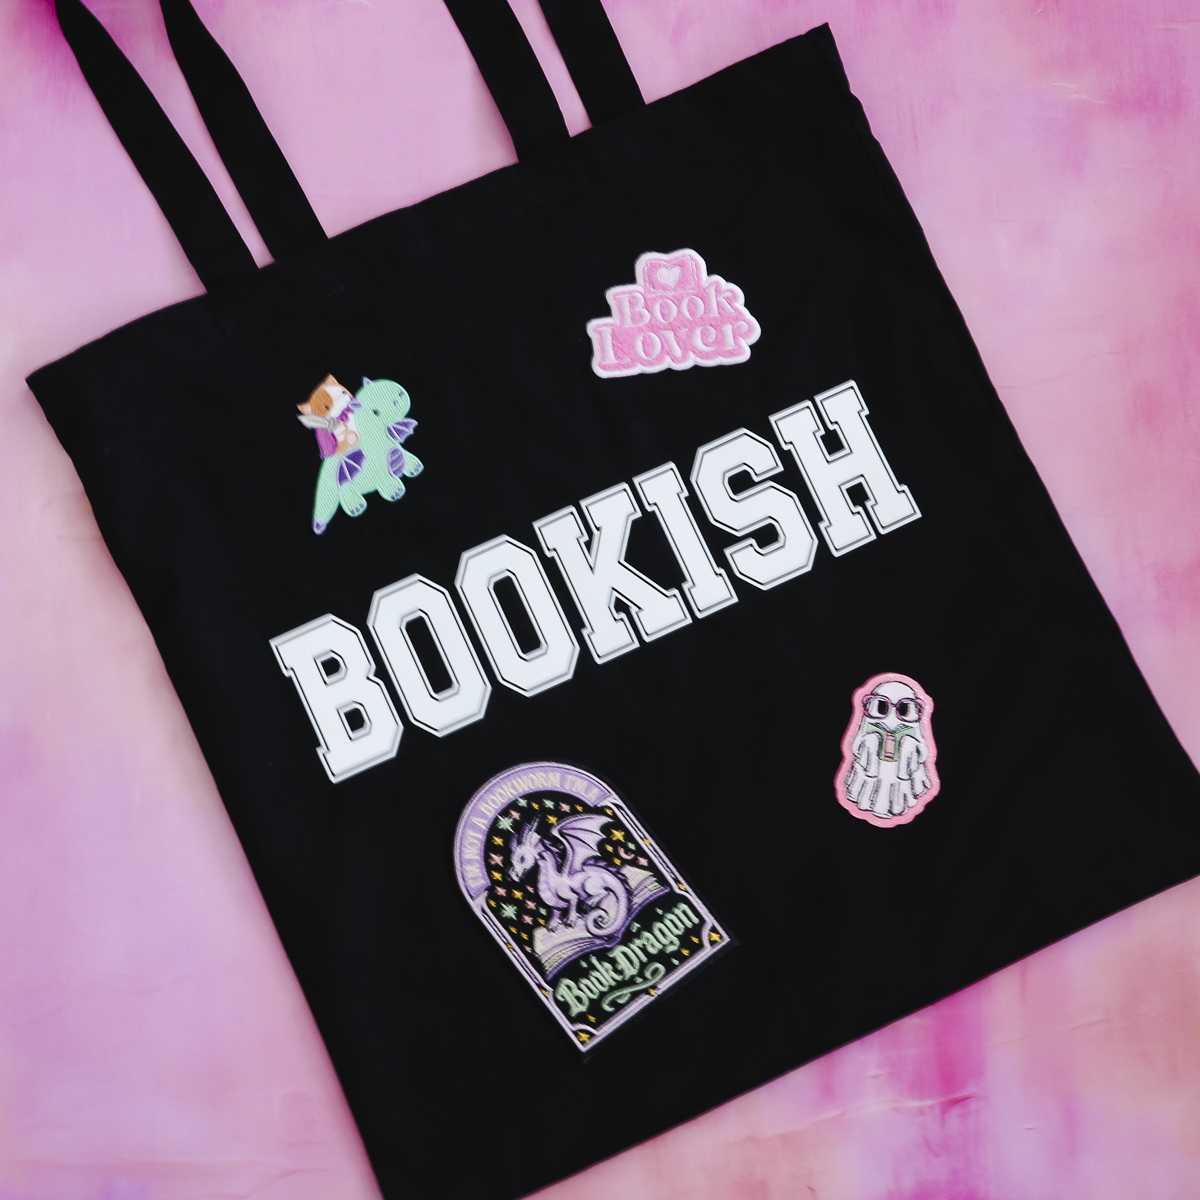
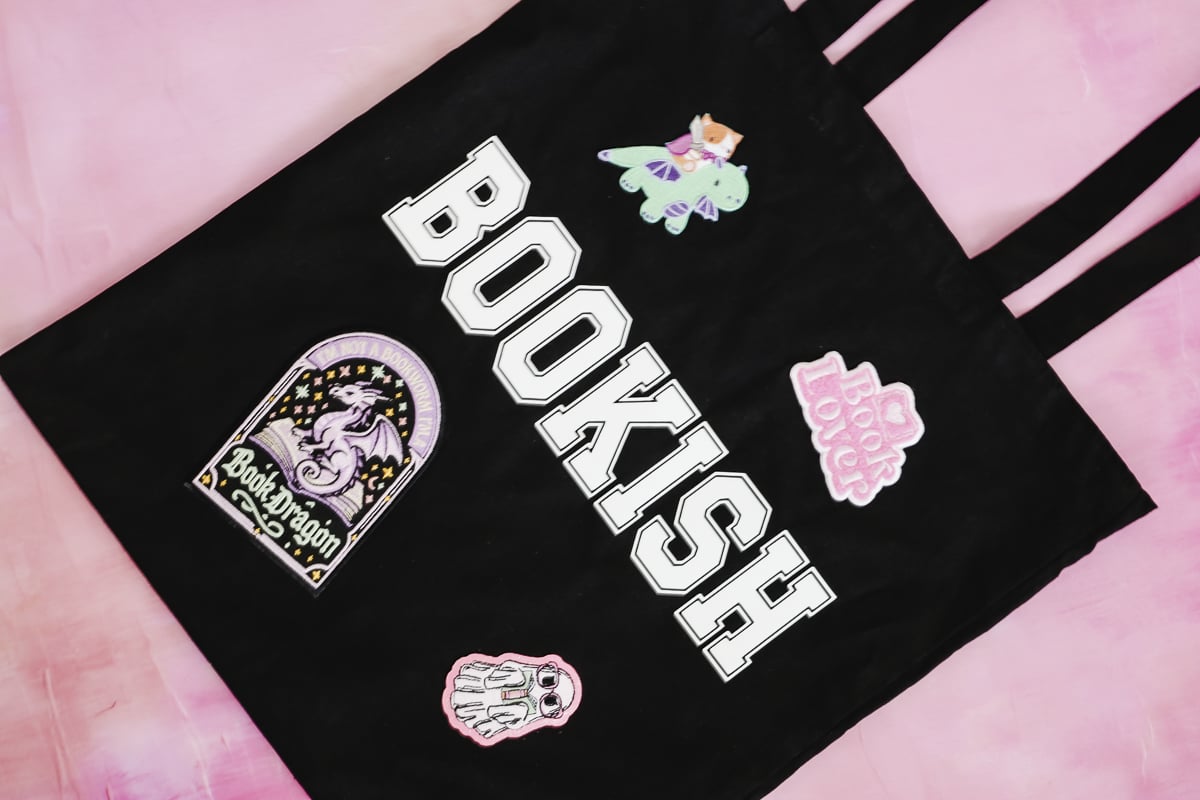
I'm using my patches to create a book-themed tote perfect for your next book club, trips to the library, or as a fun reusable bag for any occasion.
Learn more about making your own version of my “Bookish” tote in my tutorial all about Super Pop HTV.
My patches are from Ninja Patches. Ninja Patches is owned by the same company that owns Ninja Transfers. I am a big fan of Ninja Transfers, and the patches are the same great quality as the DTF prints I've received from Ninja Transfers.
You can watch me add these different patches to my tote by pressing play on the video below.
Ordering and Using Custom Patches from Ninja Transfers
Custom patches are a fun way to personalize just about anything — tote bags, jackets, hats, small business branding, or even team gear.
These patches are really easy to apply. The hardest part of this whole project is deciding what type of patch and design you want.
NOTE: I'm showing you a variety of different patch types, but this is only a fraction of the types that Ninja Patches offers. They have a really wide variety of patches to choose from. If you can think of a patch you want to make, Ninja Patches probably has what you're looking for.
Supplies Used
- Order Patches
- Patch Sample Pack
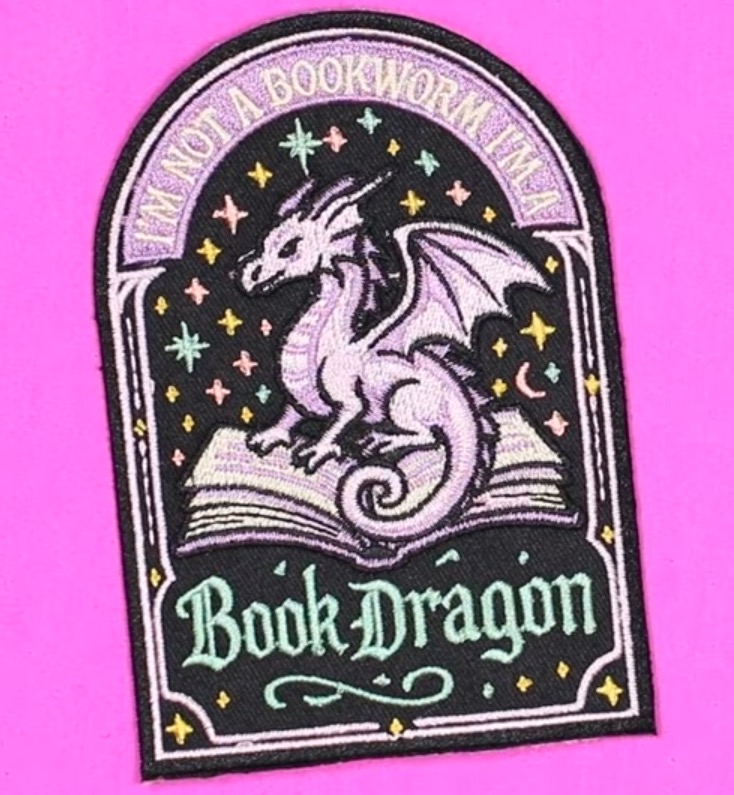
- Book Dragon Design
- Book Lover Design
- MakerFlo Heat Press
- Heat Resistant Mat
- Lint Roller
- Heat Resistant Tape
- Tape Dispenser
Other Patches I Had on Hand
Step 1: Order Custom Patches
I am ordering my custom patches from Ninja Patches, so I am going to show you how to do that on their site ninjapatches.com.
Look through the different options, and some of them may have even more options when you click on them. For instance, if you click on Embroidery, you'll see that under it is the Chenille patch option.
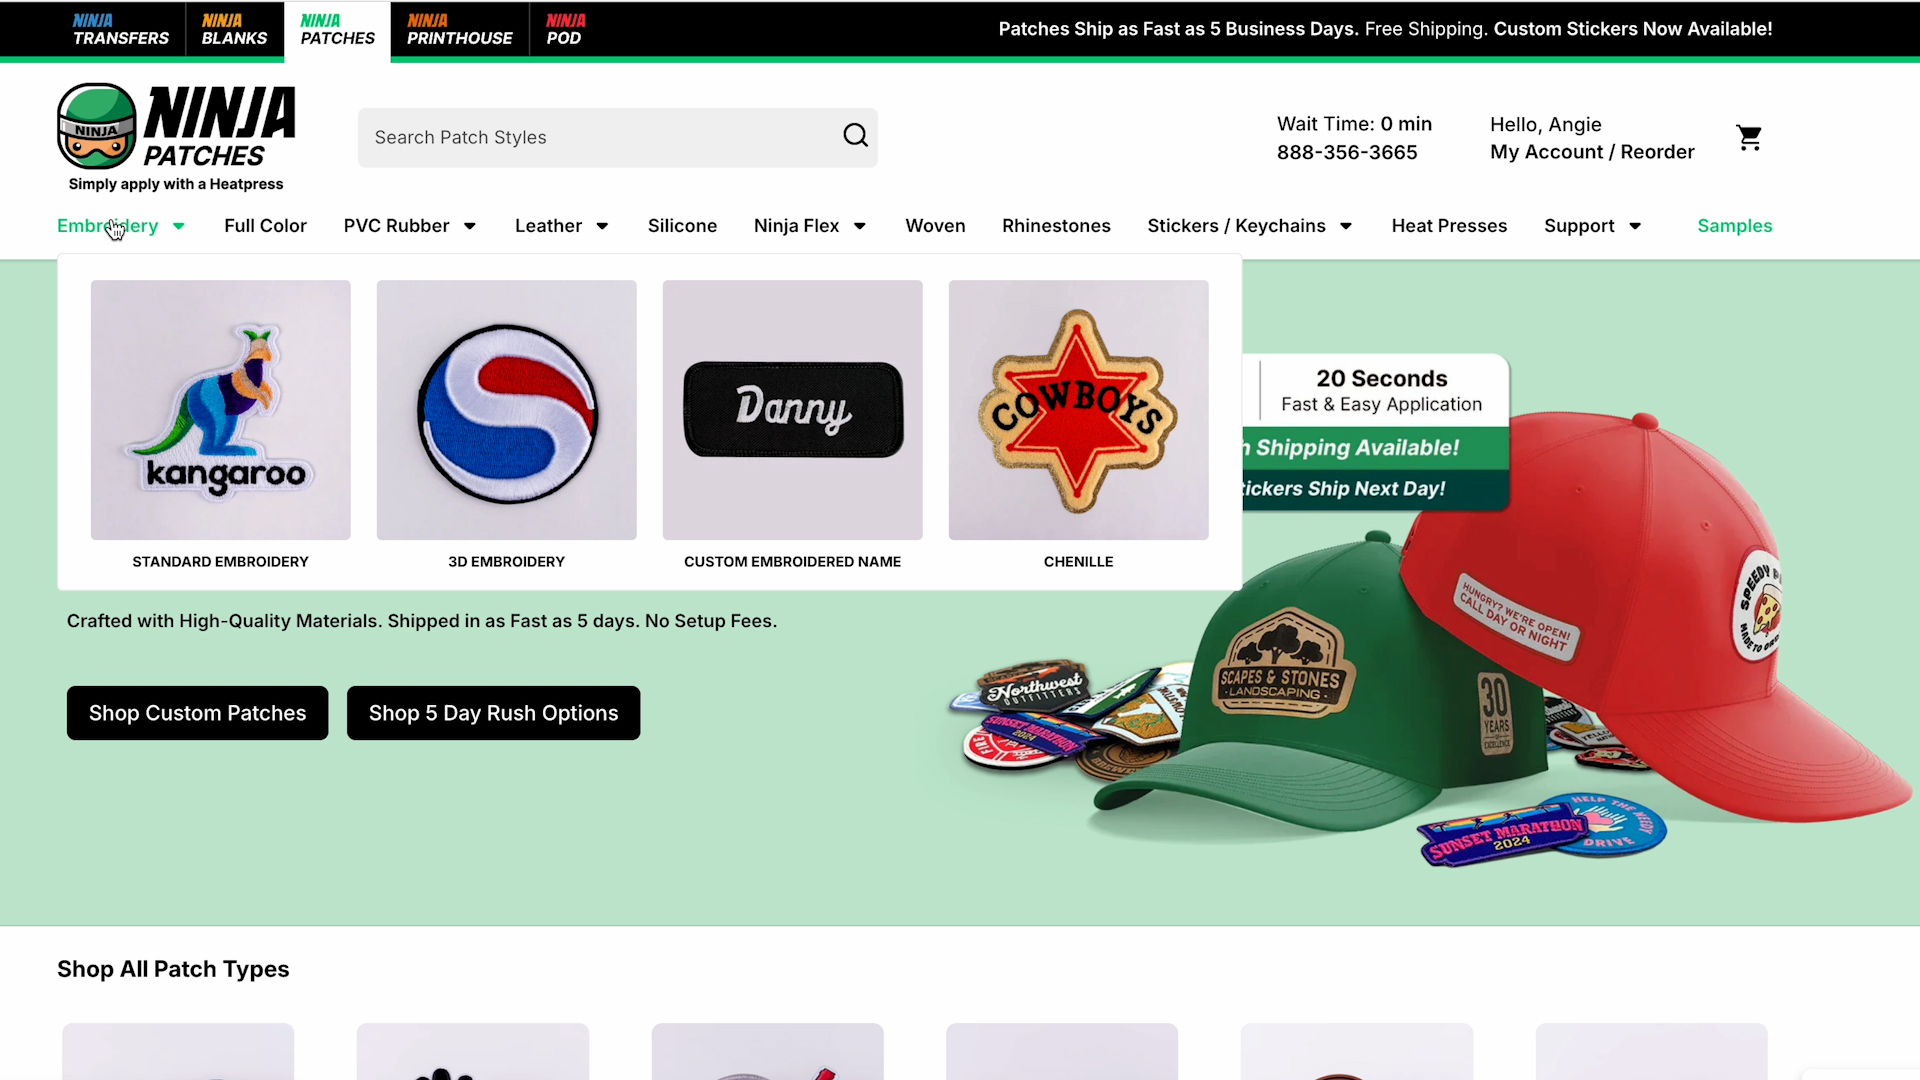
Decide which patch type you want to order and click that option.
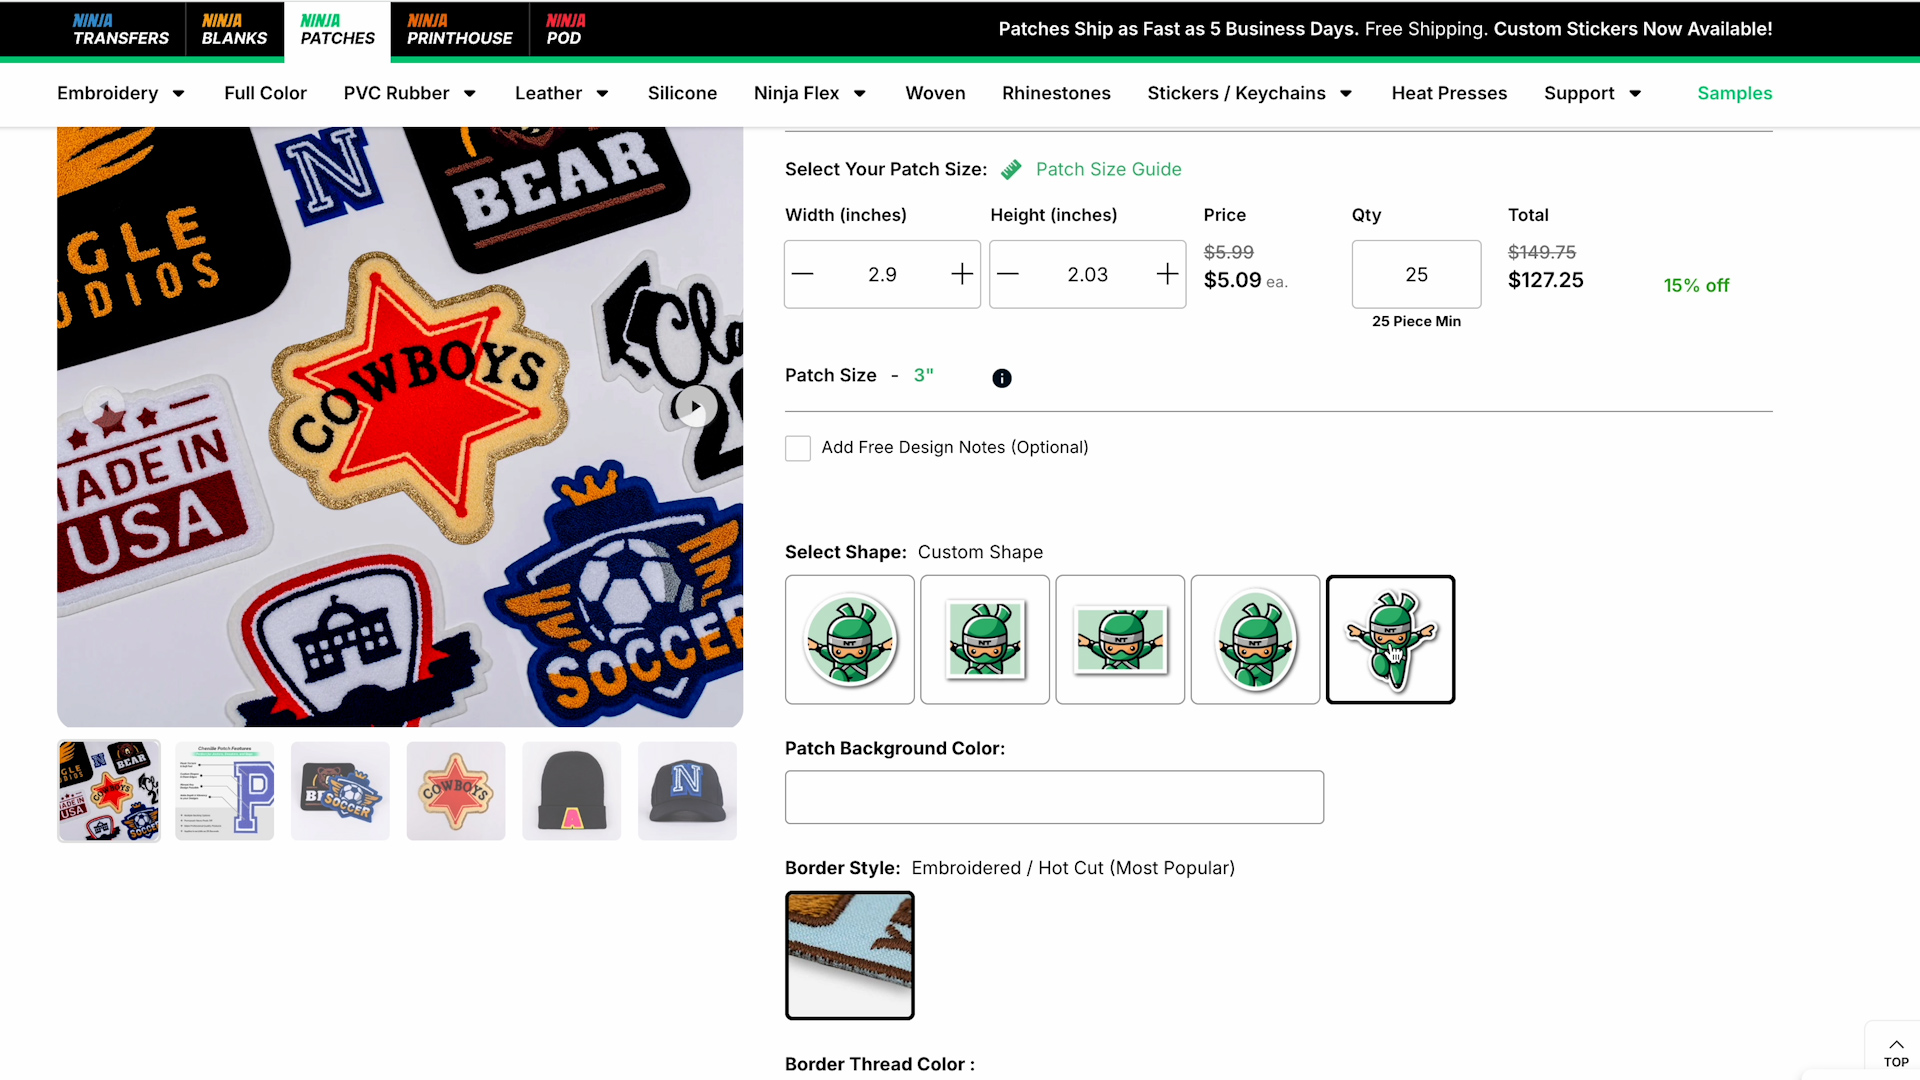
Next, you'll choose and upload the image you want to use. The image you choose may not work with the patch type you've selected. Ninja Patches will contact you if you choose a design that won't work with the patch type you've picked.
You can change the size of the patch if you want. If your design is intricate, it will need to be a larger size.

There is a minimum order per patch. The lowest minimum I saw originally was 25 patches. That minimum has changed to 10 patches and could change again at any time.
The minimum varies depending on the patch type. The price per patch also varies depending on how many you order per design.
Next, you can pick the shape. My favorite is the Custom Shape, which is the option that follows the shape of the design. If you want something else, you can choose a circle, square, rectangle, or oval as well.
Continuing through the order process, you can select a background color, the border thread color, and the backing.
I typically choose the Heat-Activated backing, but there are other options, including peel and stick and Velcro.
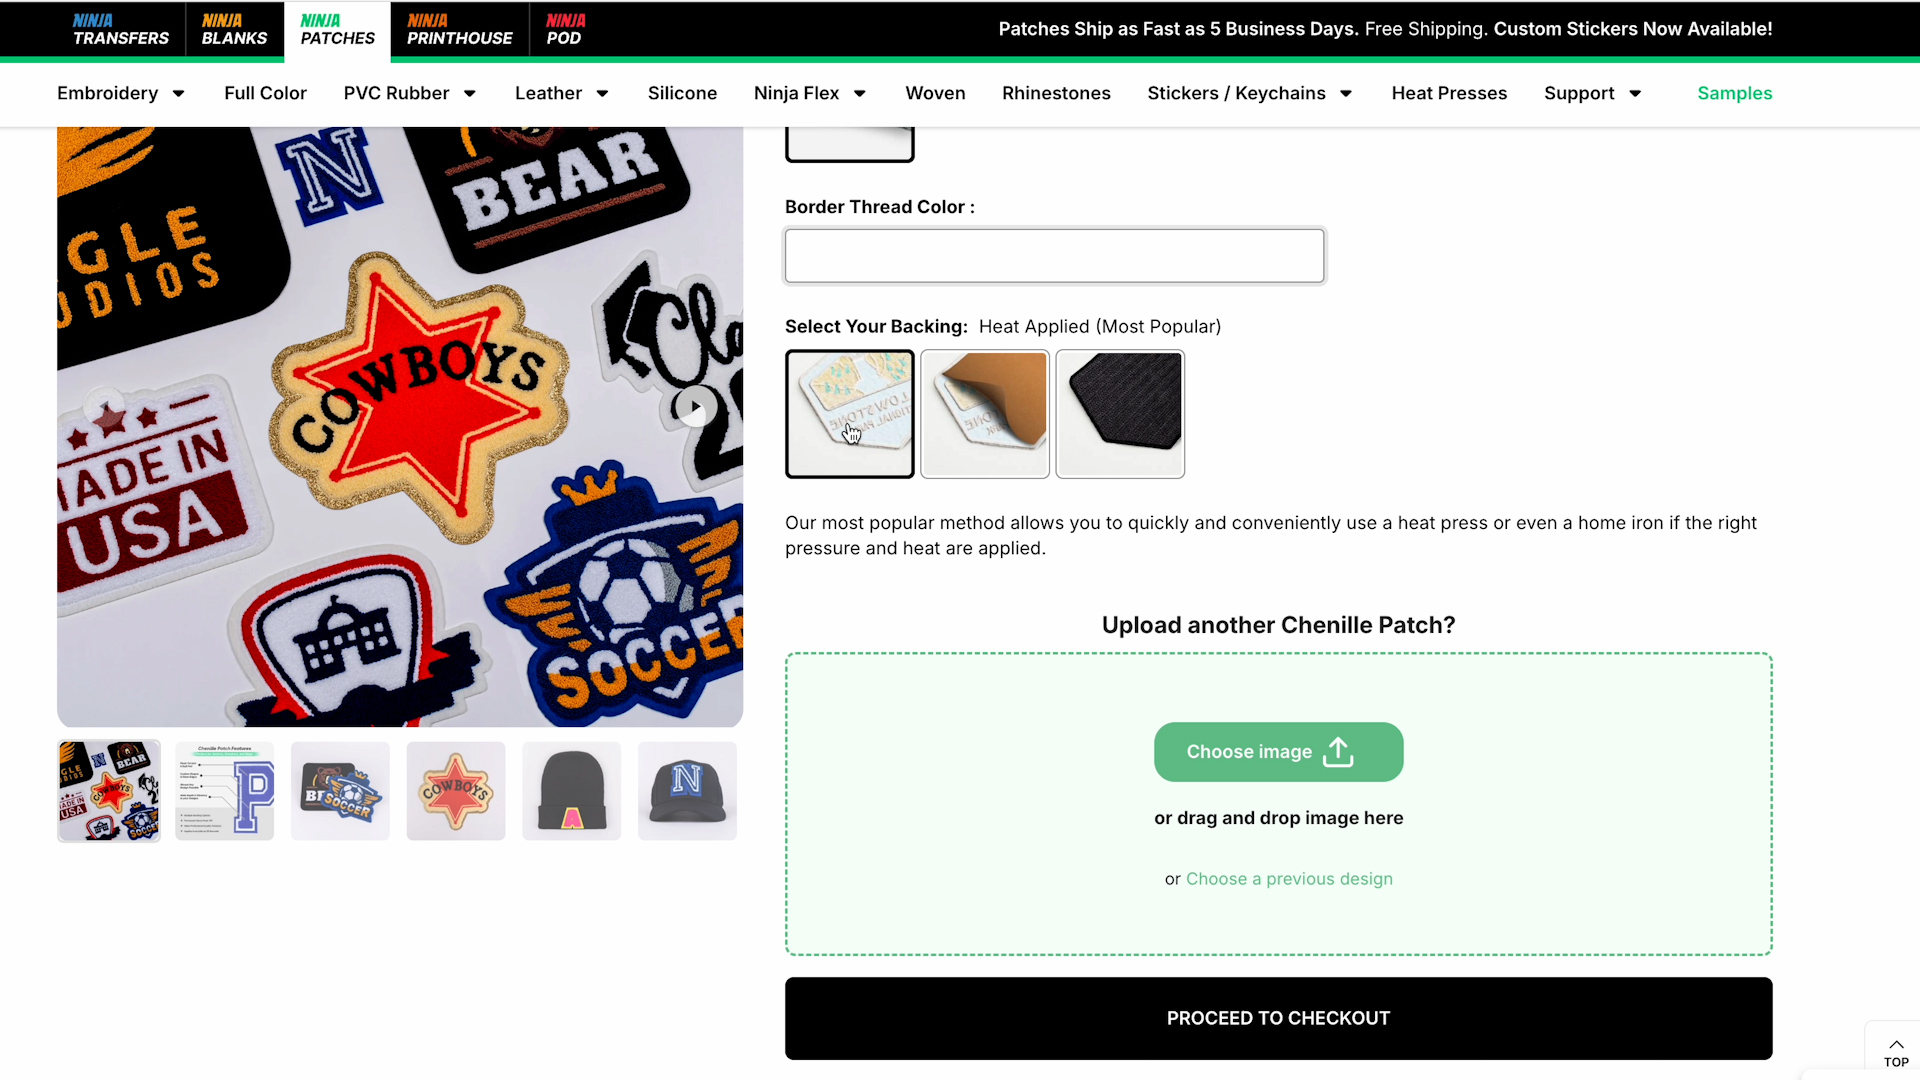
With all of that information entered, click Proceed to Checkout and place your order.
Tips for Choosing Patch Styles
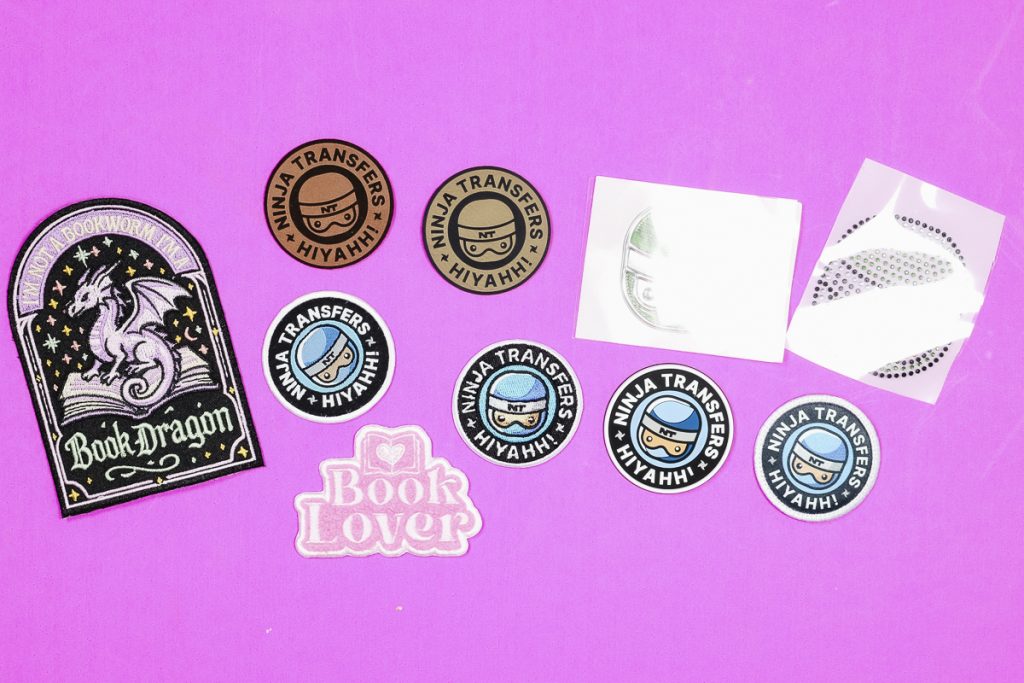
I ordered a variety of sample patches to look at some of the different options Ninja Patches offers. This is not all-inclusive; there are options that they offer that I did not order.
Traditional Embroidered Patch
A traditional embroidered patch is what we see a lot of the time when purchasing patches. It will have multiple colors, and you can feel the embroidery on the entire surface.
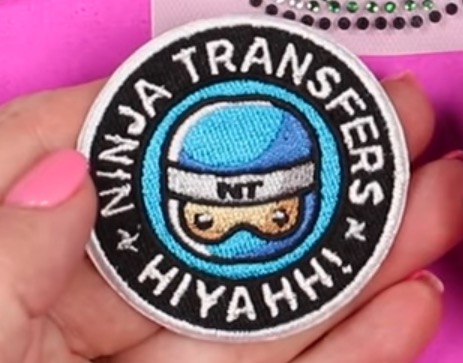
With this patch style, you will need to be careful about how much detail your design has. If it is more detailed, you will need the size to be larger.
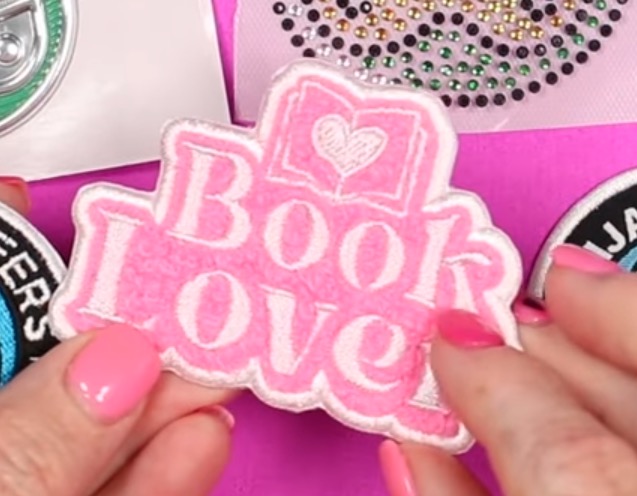
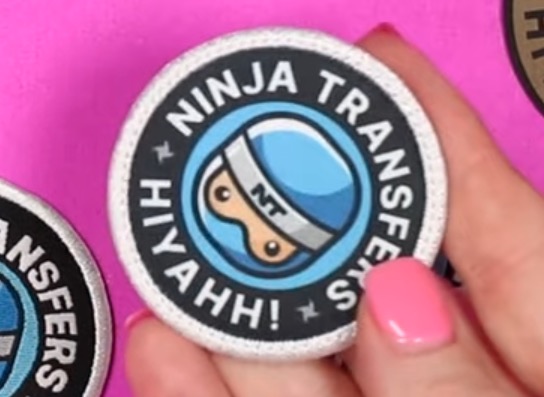
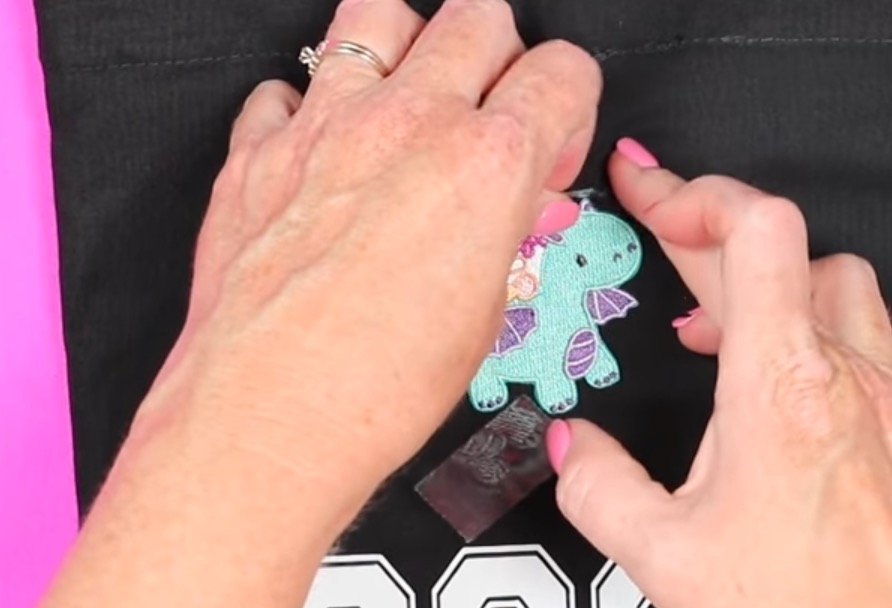
Embroidered Chenille Patch
This is my favorite style. I love the look of the chenille and the embroidery. You are limited on how detailed the design can be, but they're such a fun patch style.
Full Color Sublimation Patch
If you select the Full Color Patch option, that is a sublimation image on a patch. It looks really good, but it is not embroidered or woven.
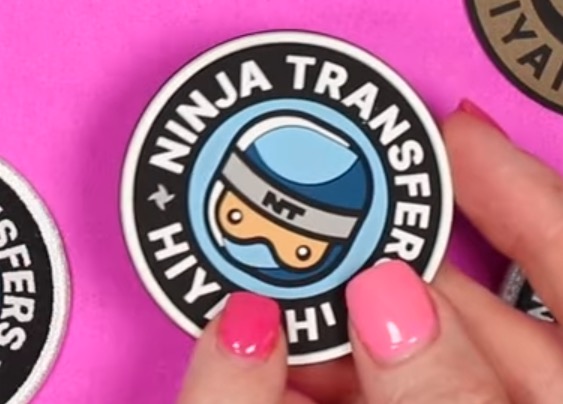
PVC Rubber Patch
The PVC Rubber patch is really cool. It has a great texture and is very three-dimensional. This is a great option for hats. I also think it would be really good for branding and adding a logo to other marketing items, like totes, backpacks, notebooks, etc.
Real Leather and Faux Leather Patches
Under Leather Patches, you have two options: Real Leather and Faux Leather. I ordered both, and they both look really good.
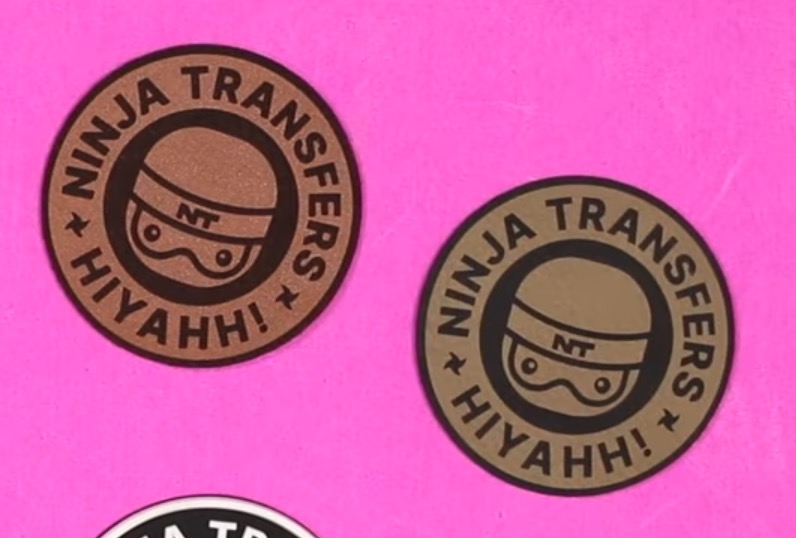
The real leather patch feels a little thinner than the faux leather, and I think it feels like real leather. With the faux leather patch, you can tell it is faux leather.
I would recommend ordering both so you can see and feel the difference. I think which one you like best will be personal for everyone.
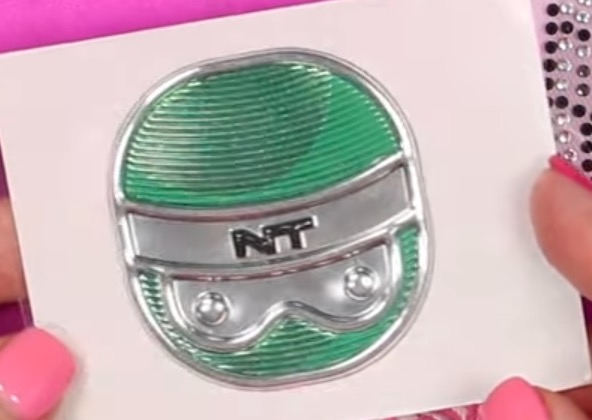
Metallic Flex Patch
This is another really cool patch option that I haven't seen everywhere. I love the metallic look, and it also has a 3D effect, which is fantastic.
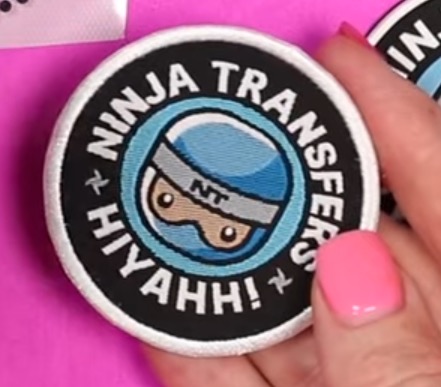
Woven Patch
The woven patch is a less expensive option for the embroidered patch, but I think you can get a more detailed design on a smaller patch using the woven option than you can the embroidered option.
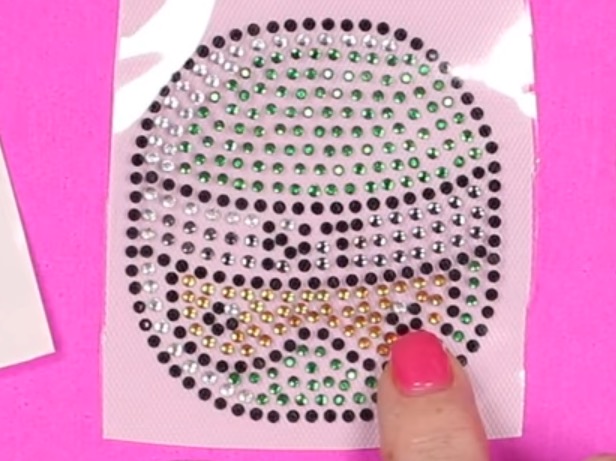
Rhinestone Patch
Ninja Patches also has the option to order rhinestone designs. The rhinestone patch has multiple colors and looks really good. I think it would be fun for a lot of options, especially around the holidays, and of course, for cheer teams.
I just shared a lot of different options, but remember, this is not all that Ninja Patches offers. Make sure you check out all the options in case what you need is something different from what I shared here.
Ninja Patches Sample Pack
If you want to touch and see all the patch options before you place an order for 10+ patches, you can order a sample pack here.
You do not choose the design for the sample pack, but it will give you the opportunity to see all the different patch types, and that will help you decide which one is right for your project.
Tips for Design Limitations with Custom Patches
Now that we've looked at a variety of different patch types, I wanted to talk to you about the types of designs that will work well for your custom patches.
First of all, the simpler your design is, the better, when it comes to custom patches.
Some patch types will work well at any size with an intricate design. Specifically, the full color sublimation patch and the woven patch are most likely to do well with an intricate design in a smaller size.
The leather and faux leather patches have more of an engraved look. You are not going to get a multi-color option with these, so you'll want your design to work with just the two colors.
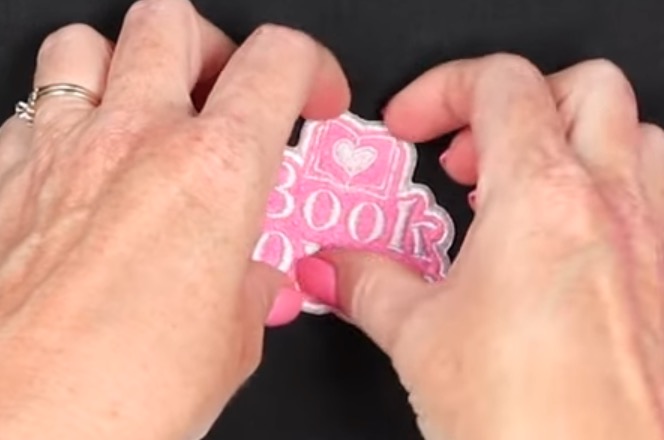
The Book Lover design worked really well for the chenille patch. I love the way it turned out, and I was able to use this design even on a smaller patch.
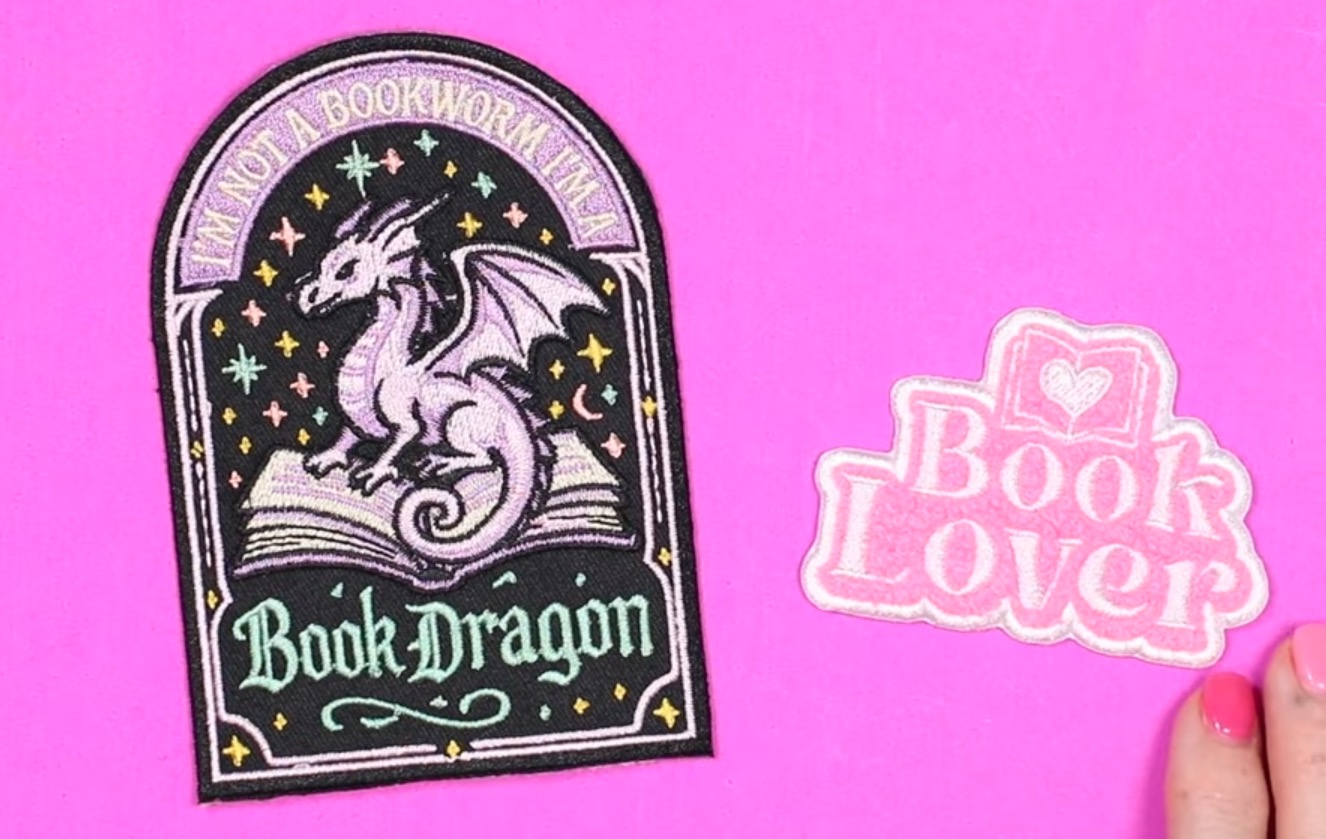
I did try uploading the Book Dragon design for a chenille patch, and they came back and told me it would not work with the chenille option.
I decided to upload it as an embroidered patch, and it did work, but I had to make it a large patch in order for the embroidery to be able to get all the intricate details.
Remember – the larger the patch is, the more expensive it is going to be. Having a simpler design will give you more freedom with your custom patch size and type.
Step 2: Apply Custom Heat Transfer Patches
NONE: All of the patches I ordered have the heat transfer backing. If you ordered a different patch backing, refer to the instructions on Ninja Patches for how to apply.
There are instructions for adding these patches with a regular iron and heat press. You do not need to have a heat press to use these patches.
Preheat
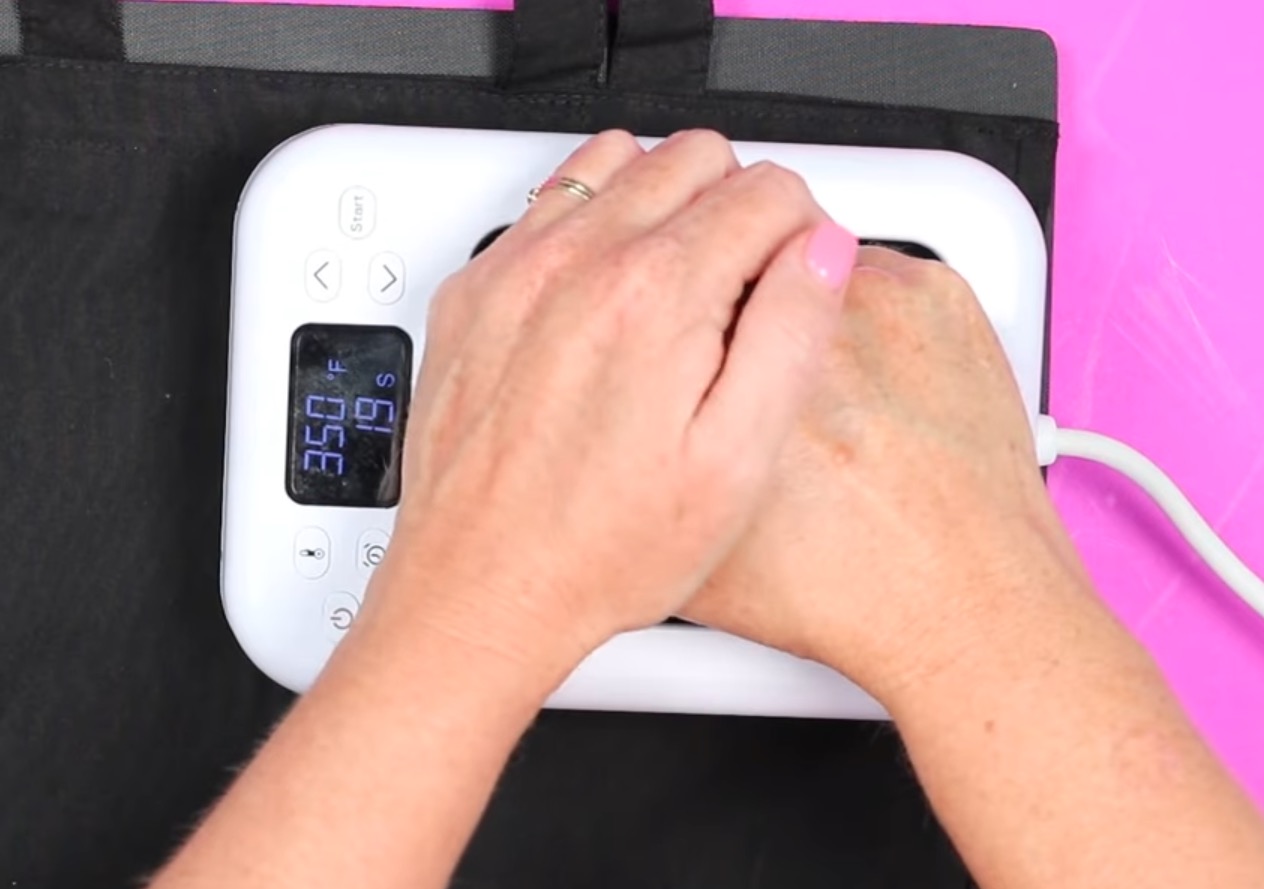
Place your blank on a heat-resistant surface. I am using a firm heat-resistant mat. Preheat the heat press to 350 degrees and set the timer to 20 seconds.
Go over the surface where you want to apply the patch. This removes any wrinkles and moisture.
Locate Patches
Now that we have the surface preheated, we can locate our patches. Use heat-resistant tape to hold the patches in place because we will be applying heat from the back.
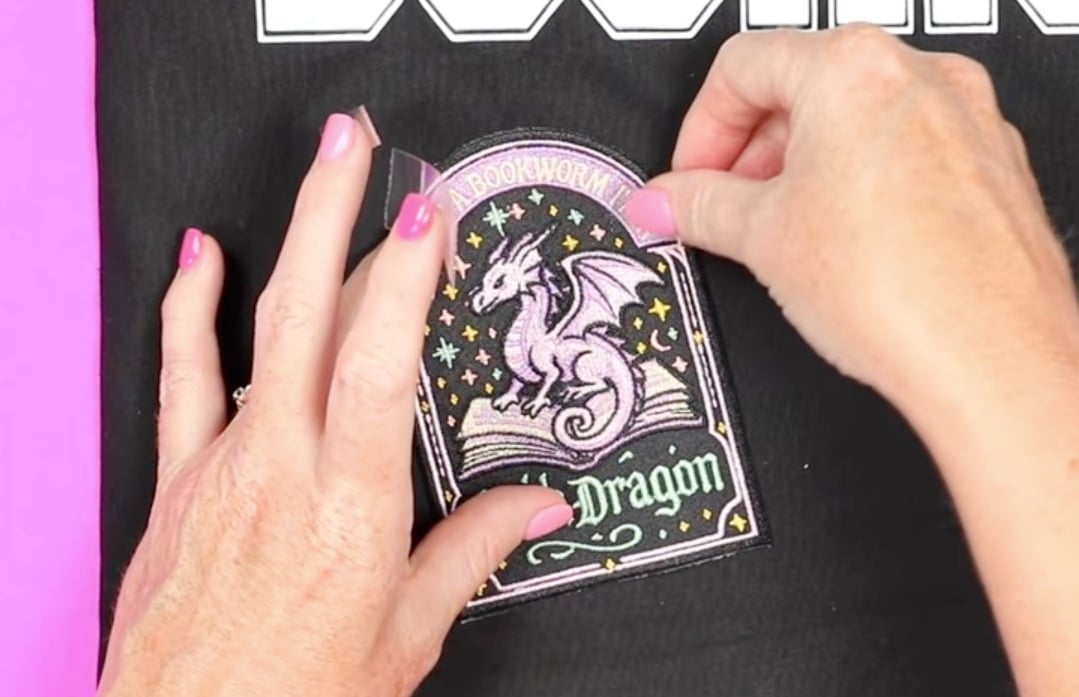
If your tote or shirt fabric is thick, you may need to turn it inside out so you can press directly on the back. My tote fabric is very thin, so I am just going to flip it over and press from the back side.
Each order of patches from Ninja Patches comes with a roll of heat-resistant tape. If you don't have any, you don't need to worry about ordering tape ahead of time. It will come with them.
Press Patches
Flip the blank over so you're applying heat to the back of the patch.
Make sure your press is covering the entire surface of the patch and press down with firm pressure for 20 seconds.
Allow the patch to cool completely before removing the heat-resistant tape.
Repeat this process for each custom patch.
Remove Tape and Check Patch Adhesion
When the patches are cool, gently remove the heat-resistant tape.
Feel all around the edges and make sure it is stuck down everywhere. If it's lifting, you can flip it over and press again.
If your material is thick and your patch isn't sticking, I would turn it inside out and press directly on the back of the patch.
All of my custom patches stuck really well on the first try using a temperature of 350 degrees, 20 seconds, and firm pressure.
Who are Custom Patches For?
Custom patches are great for many different people. If you are a small business owner and want to add your logo to merchandise, custom patches are a great option.
If you are an artist and you want to sell patches with your artwork, ordering through Ninja Patches is a great option.
If you're a small business owner and you want to offer on-site customization, having different patches is a great option for hats, totes, shirts, and more.
With the minimum per patch requirement, I do not think Ninja Patches is the right choice for someone who wants to order a variety of different patches for personal use.
Because some patch types only require an order of 10, those options may be good for small groups or sports teams.
If you are selling patches for customers to apply themselves, make sure to include the pressing instructions. I would recommend including the instructions for using a home iron and then a link to Ninja Patches, where they can find the other instructions.
You should also include some heat-resistant tape with each patch.
Why I Love Ordering Custom Patches
I love how my custom patches turned out, and I learned a lot in the ordering process. I do think having the sample pack on hand was helpful in deciding which patch types I am most interested in.
Custom patches are a fun, versatile way to show off your creativity. Whether you’re making finished products to sell or want to sell patches with your custom designs, Ninja Patches made the process easy, and I am really happy with the patches I received.
I am also a fan of the different pressing options for the heat-activated patches. You do not have to be a crafter or own a heat press to use these patches.
I hope I've answered any questions you have about using custom patches. If you have any additional questions, leave them in the comments, and I'll be happy to answer them for you.