

Did you know that cutting wood veneer with a Cricut was possible? What if I told you that you can cut it on the Cricut Explore, Cricut Venture, or the Cricut Maker series of machines? You read that right! You can cut these thin real wood pieces with the deep point blade which makes it compatible with the Cricut Explore and Cricut Venture as well. Your project possibilities just got a little wider! You can also see our guide on cutting thicker wood with your Maker if you need it.
Cutting Wood Veneer With A Cricut Video Tutorial
If you would like to see the entire process, you can watch the video below!
Can't watch the video or missed some of the steps? You can also follow along with our instructions below.
Cricut Wood Veneer Details
First, let's discuss what exactly wood veneer is and the type you will need for cutting on your Cricut machine.
What Is A Wood Veneer?
A veneer is a thin sheet of wood (a little thicker than paper) used to accent a project. It is not meant to be for anything structural. But if you are looking for wood accents or decorations, this stuff cuts like a dream and may be just what you need.

Where Do You Purchase Veneer That Cuts On A Cricut?
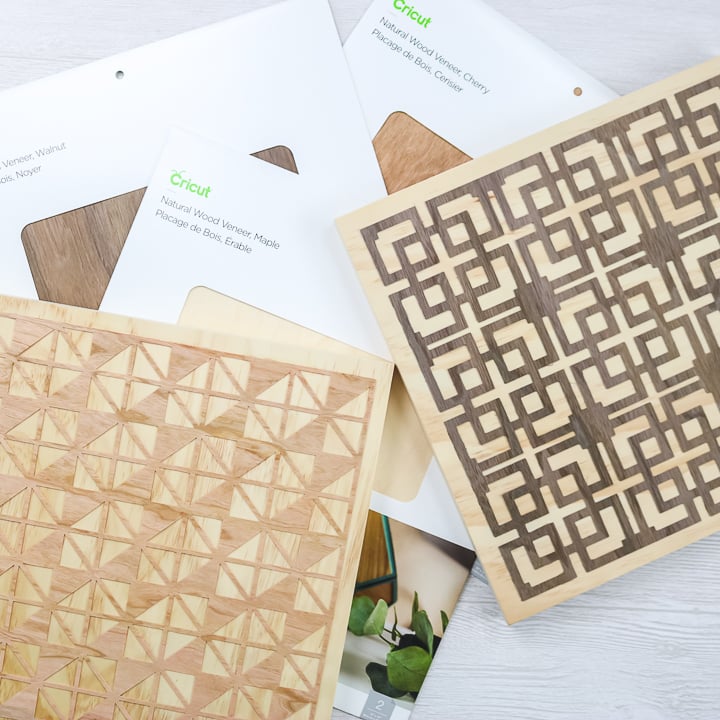
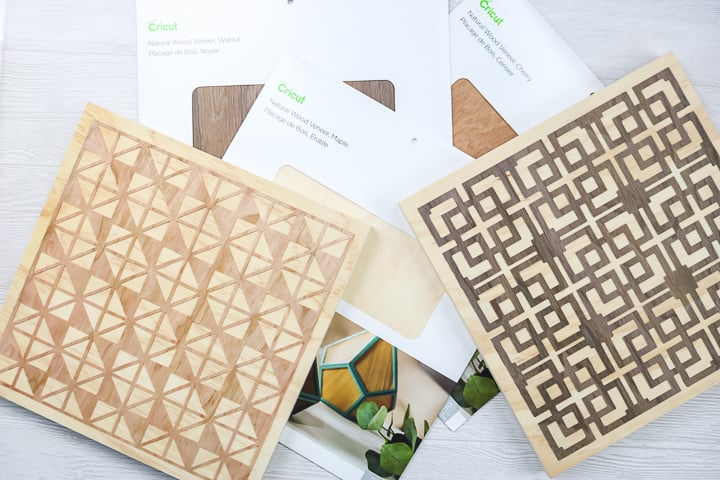
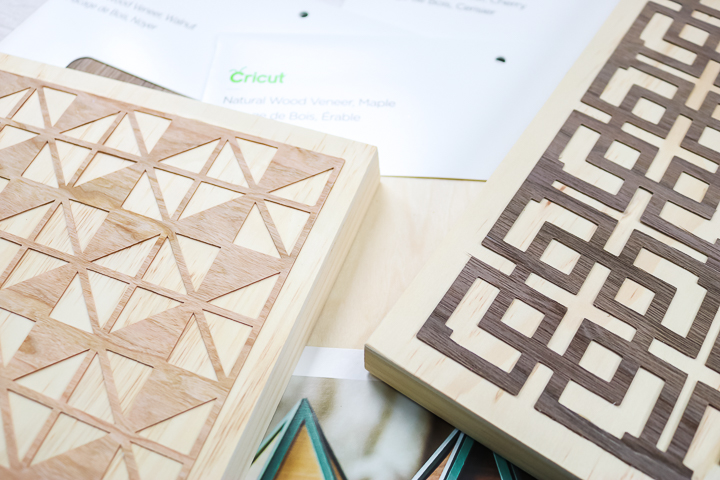
In my experiments, I am using all wood veneer products directly from Cricut. They have maple, cherry, and walnut. You can see the full selection here. You can try other brands, but you may need to experiment with the settings. Every wood veneer is different and may therefore require a slightly different cut.
What Cricut machines Will Cut Cricut Wood Veneer?
You can cut wood veneer using your Cricut Maker and Cricut Explore series, or Cricut Venture.
Unfortunately, the Cricut Joy and Cricut Joy Xtra will not cut wood veneer.
In this post, I will focus on the Cricut Maker and Explore series for cutting Cricut wood veneer. However, if you have a Cricut Venture, you would follow the same steps and use the Deep Point Blade.
To learn more about Cricut Venture and the materials it can cut, check out my Cricut Venture: Your Ultimate Machine Guide blog post.
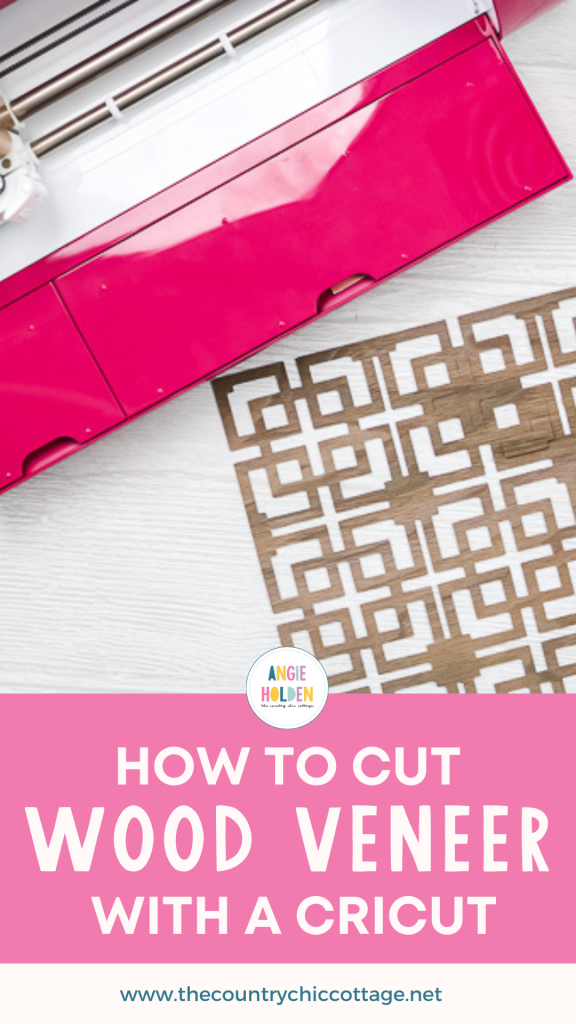
How To Cut Wood Veneer With A Cricut Explore Or Maker
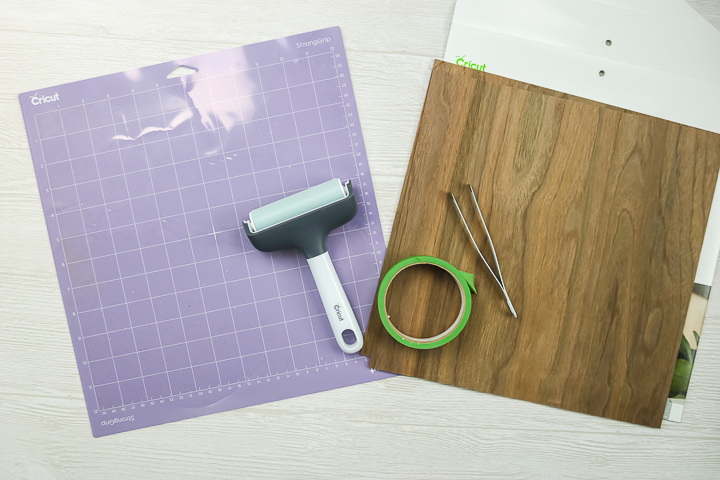
Supplies Needed To Cut Wood Veneer
- Wood veneer (I am using the Cricut brand)
- Strong Grip mat
- Brayer
- Tweezers
- Cricut Explore or Maker
- Deep point blade
- Cut file (you can find the one I am using in Cricut Design Space, but any will work)
- Painter's tape
- Wood glue and panel if you are making the art piece
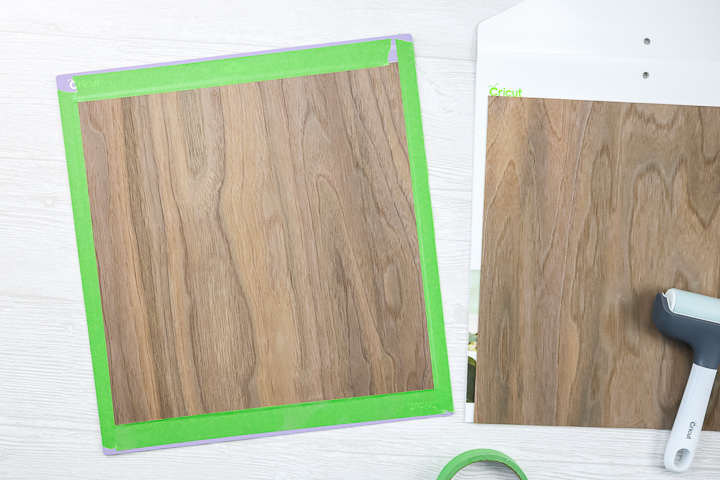
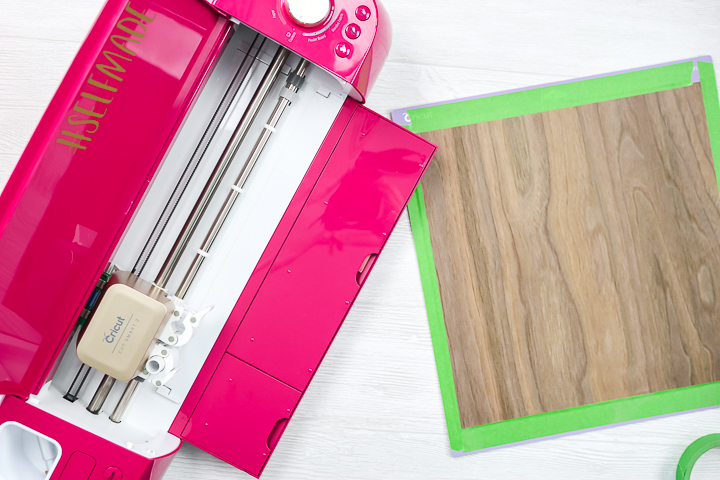
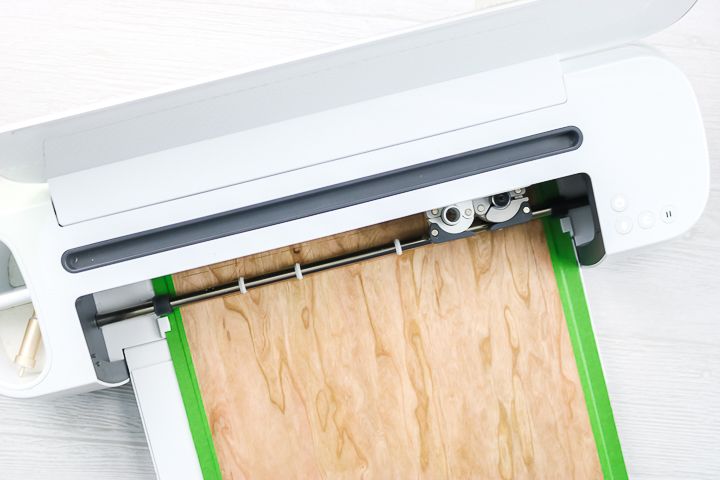
Step 1: Add Your Wood Veneer Sheet To Cricut Mat
Add your wood veneer sheet to a Strong Grip Cricut Mat. This process is the same no matter if you are using the Explore or the Maker. Press the sheet down well with a brayer, and add painter's tape all the way around the outside edge to secure it. The wood grain should go in the same direction as the mat.
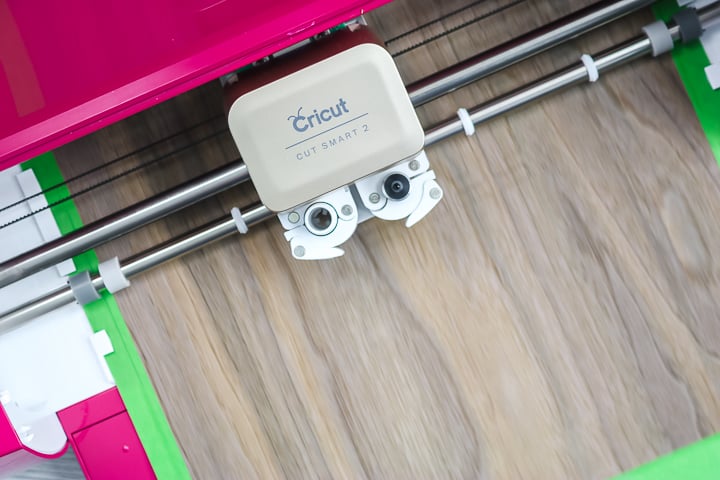
Step 2: Add The Deep Point Blade To Your Cricut Machine
Then add the deep-point blade to the machine you are using. NOTE: You DO NOT have to move the white star wheels to cut this material.
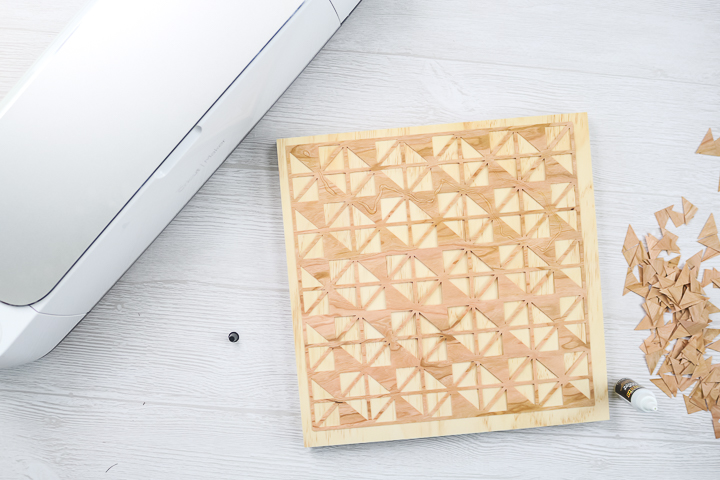
Step 3: Cut The Wood Veneer With Your Cricut Machine
Pull up the cut file in Cricut Design Space and cut with your machine. Pick “natural wood veneer” from the custom materials list. This will run over the material four times to cut, so it will take a while. I like to check my cut before removing it from the machine. To do this, pull up a corner of a cut piece with a weeding tool. If it lifts easily, eject the mat from your machine; if it does not, press the “C” button to repeat the cut.
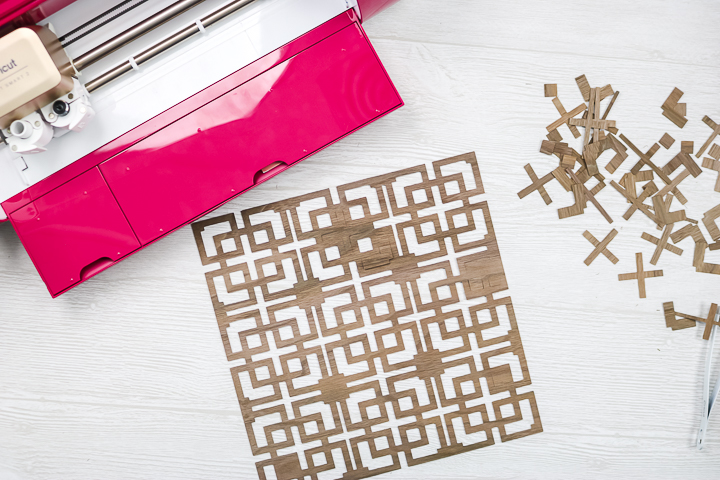
Step 4: Remove Wood Veneer From Cricut Mat
Next, you will need to remove the material from your mat. I just pulled away the outer piece as it was scrap.
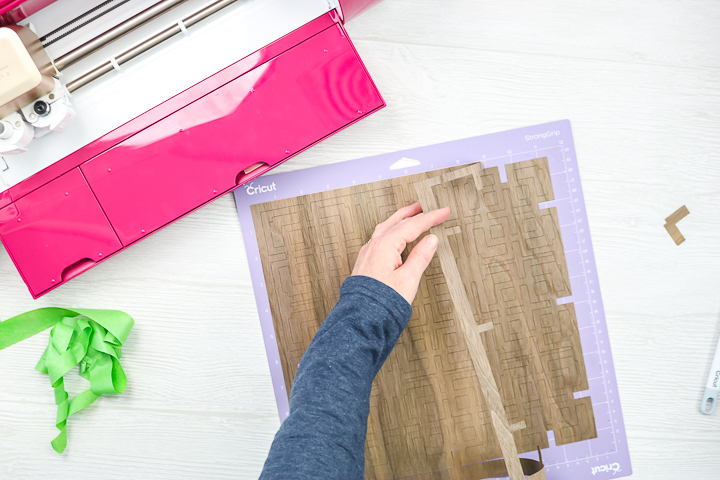
Step 5: Flip Project Over And Remove Mat
Then, flip the project over and remove the mat from the veneer. Use the tweezers to gently pull the pieces away from the mat as you go.
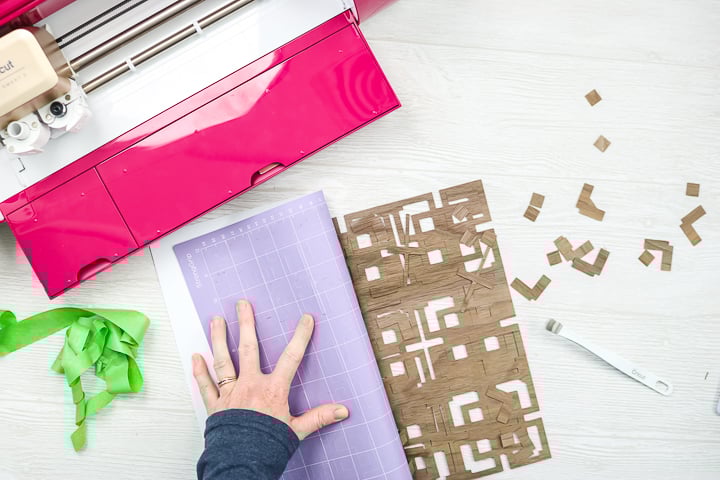
Step 6: Remove Any Small Bits From Your Design
Remove any small bits from the inside of your design. Now you have a wood veneer piece that can be used on a wide variety of craft projects.
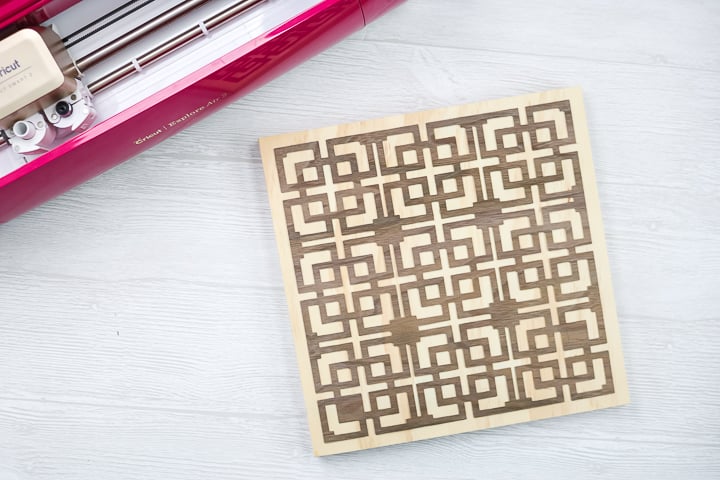
Step 7: Use Wood Glue To Attach Pieces
I used wood glue to attach my piece to the front of a wood panel for a quick, easy wall art.
You can create this project using either a Cricut Explore or a Cricut Maker machine. I tested both series of machines.
If you are on the fence about a Cricut Machine and want to learn more about each machine, check out my Which Cricut Machine is Right For You blog post!
Wood Veneer Machine Settings
I found that the natural wood veneer setting was best, but it cut into my mat. So, with my second piece, I actually removed the material after 3 passes instead of allowing it to cut 4. This resulted in some areas not being cut all the way through, so I had to use a craft knife to finish the cuts. I actually prefer the 4 passes even though my mat life will be reduced, but you can experiment with both.
All wood veneers are different. You may find that the different types of wood cut differently. Also, if you use a different brand, you may find that fewer or more passes are needed. You may need to experiment to get the right setting for the wood veneer you are using.
What To Make
So, what will you use wood veneer to make? There are so many options and so little time! I love the simple wall art pieces I created by cutting wood veneer on a Cricut.
I also found these other projects that you might try with wood veneer:
You can start simple and then work your way up to more complicated projects. The sky really is the limit with this material.
Plus, the cuts are really great. I love it when they are nice and crisp!
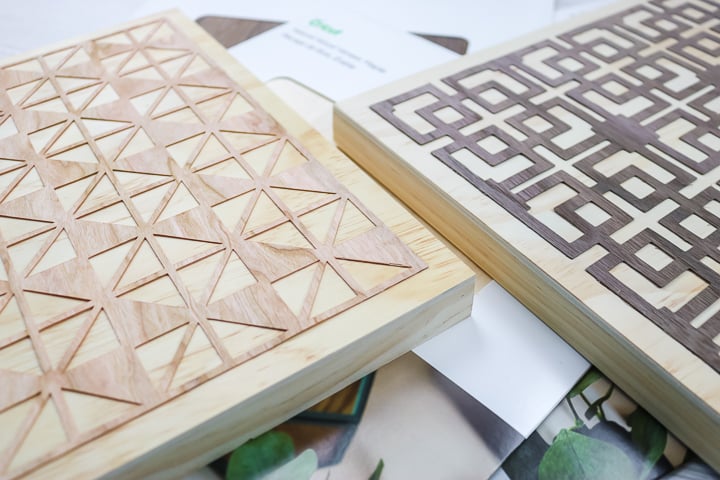
I will say for things like earrings, you will need to cut several layers and glue them together. This material is SUPER thin, and a single layer won't hold up on its own. Here, I added the thin layer to a sturdy wood panel to keep it secure.

Cricut Wood Veneer Recap
I know I just threw a ton of information at you about cutting Cricut wood veneer. So, below are the 5 most important things to take away from this post.
- A veneer is a thin sheet of wood (a little thicker than paper) used to accent a project.
- You can cut wood veneer using your Cricut Maker or Maker 3, Cricut Explore series, or Cricut Venture.
- I found that the natural wood veneer setting was best, but it cut into my mat.
- All wood veneers are different. You may find that the different types of wood cut differently. Also, if you use a different brand, you may find that fewer or more passes are needed.
- You can make a wide variety of items with wood veneer, from wall art to earrings.
More Cricut Wood Veneer Project Ideas
Now you are ready to cut some Cricut wood veneer! If you are looking for even more project ideas, check out the ones below!
- Staining Wood Veneer to Cut on a Cricut Machine
- DIY Wood Earrings with a Cricut and Rust-Oleum Imagine Paint
So, what will you make with this material? Will you try cutting Cricut wood veneer?


This looks very encouraging. Have you any experience is using other real wood veneers? These are about 0.6mm thick. How thick are the veneers from Cricut. I am in England where these veneers are available from a number of specialist suppliers for example
https://www.capitalcrispin.com/veneers.php
There does not seem to be a very wide use of Cricut for cutting such materials this side of the Atlantic and I am trying to find out how successful this could be.
I have not tried other brands but I feel like it would work. I think it is definitely worth a try.
Hi, and thanks for the great tutorial! I am about to try out my new Cricut by making a dollhouse floor – should I stained the whole sheet and then cut, or cut afterwards? Also, do you have a recommended stain brand or type to use with these? Thanks!
I stained the whole sheet and then cut it! I think any brand of stain would work just start with light coats.
On my cricut maker I can’t find natural veneer wood in the material list. Any recommendations?
Are you on a computer? I have found that you have to be on a computer to see it even though it doesn’t use the knife blade. I think it’s a Cricut error.
I’m trying to use our new circut to cut burlwood veneer which will replace the aging, cracked wood trim in our car. I successfully cut out two patterns but there are a lot of places that didn’t get completely cut. I purchased a deep knife and a rolling cutter thinking this would be better. After removing the original tool, the new tools will not work at all. There seems to be a 10mm gap and the head will not lower to actually cut the veneer. What could be wrong?
Which Cricut machine do you own?
very perfect article
Thank you so much.