


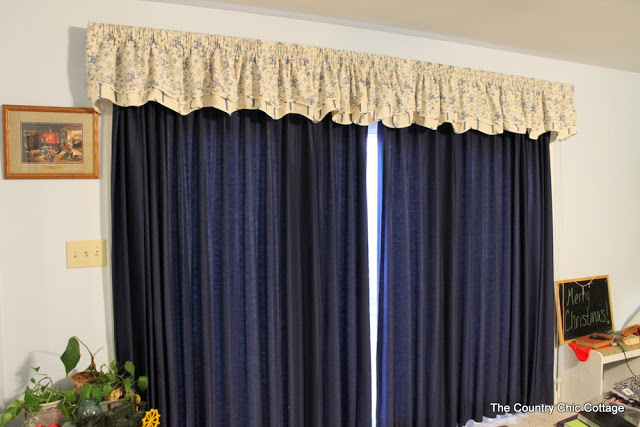
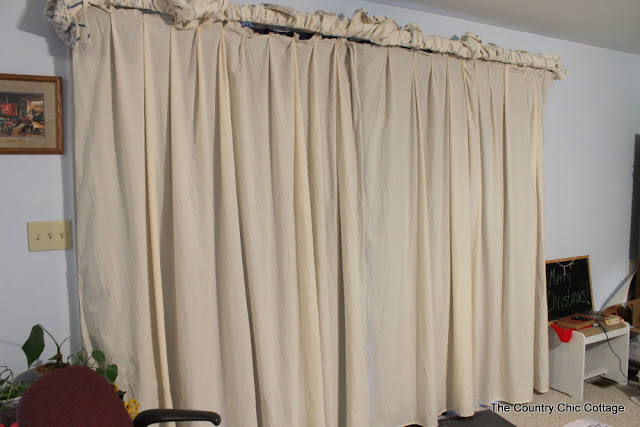
First y'all need to see what I started with. I have had these blue curtains for over 9 years. That is tragic all by itself. I was so sick of blue. Sick, sick, sick. But these are really nice curtains. Lined, insulated. They are in front of a door and two floor length windows, so lined and insulated is important. I just did not have the money to buy new curtains for the entire window. So I covered my curtains…covered them! Ready to learn how?
I bought 108″ wide muslin in the fabric section. It was about $30 to buy enough to cover my curtains. Remember to think of fullness. So buy about 1 1/2 to 2 times the width you need so you can scrunch it up. My plan was to make a whole new valance. That means the top of the curtains will continue to be covered up. Good news. I didn't have to worry about how the top looked. So I used safety pins to pin the muslin onto my curtains…safety pins!!
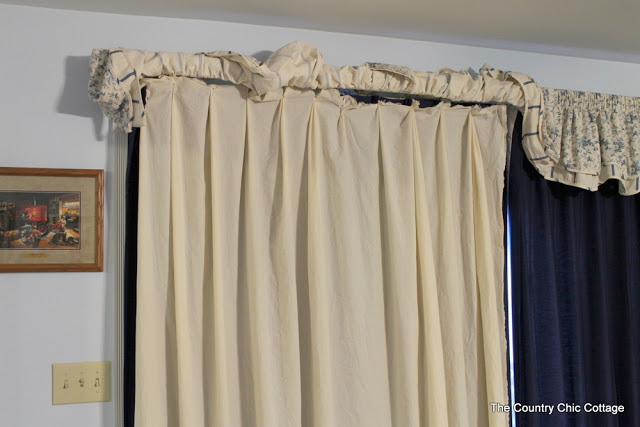
See…they are truely just pinned up there. I held them up and got the curtain the correct length on the hemmed bottom, then scrunched, and pinned. Right onto the existing blue curtains.
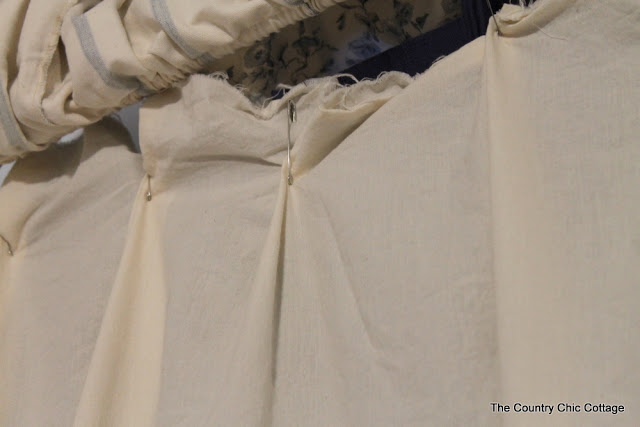
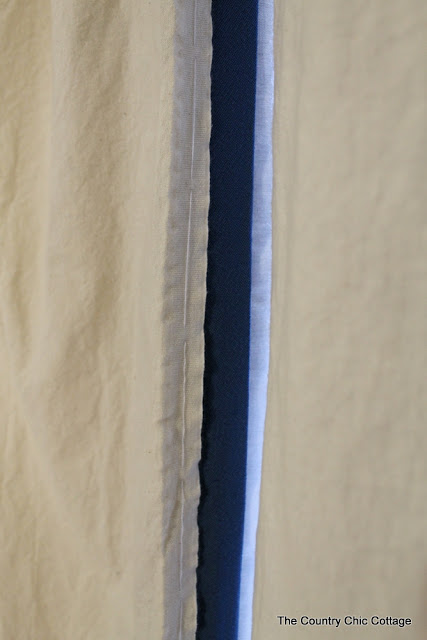
Then to keep the muslin together with the curtains — I wrapped the muslin around and on the back side I hand stitched up the sides. It might be hard to tell in this pic but I just ran some thread up the sides with stitches every 3-4 inches.
It already looked better and I was beyond excited at this point….
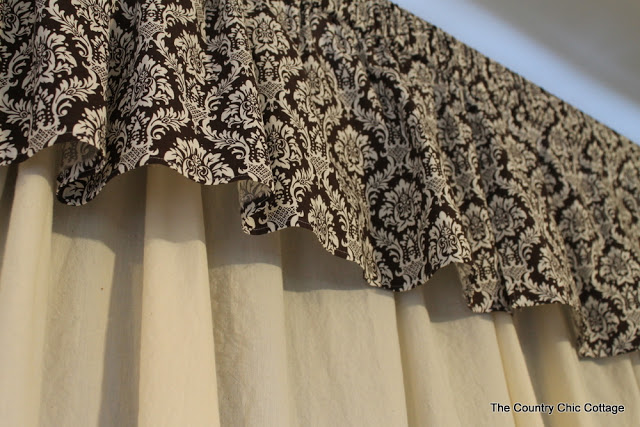
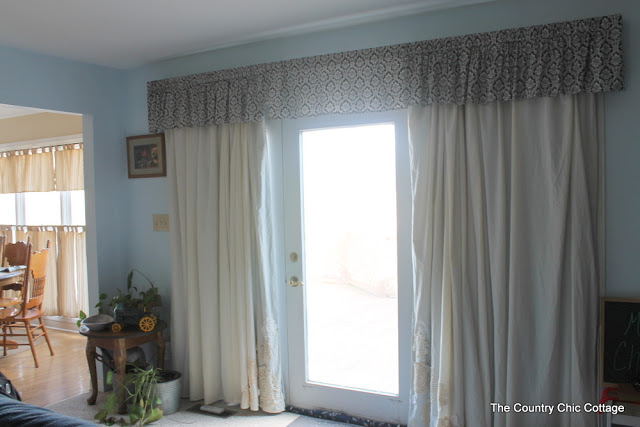
Next came a new valance. I spent about $16 on fabric for these curtains. They are just straight…absolutely nothing fancy….
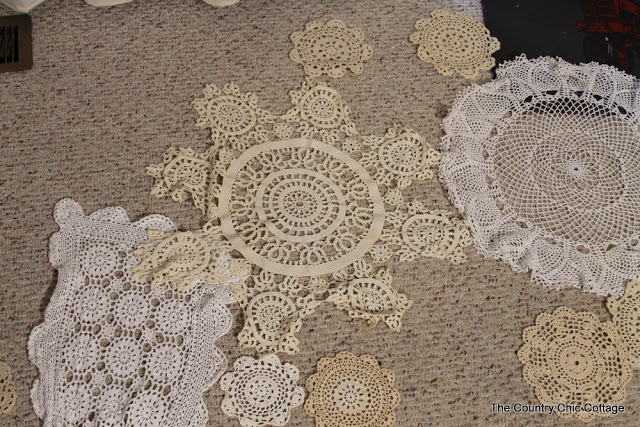
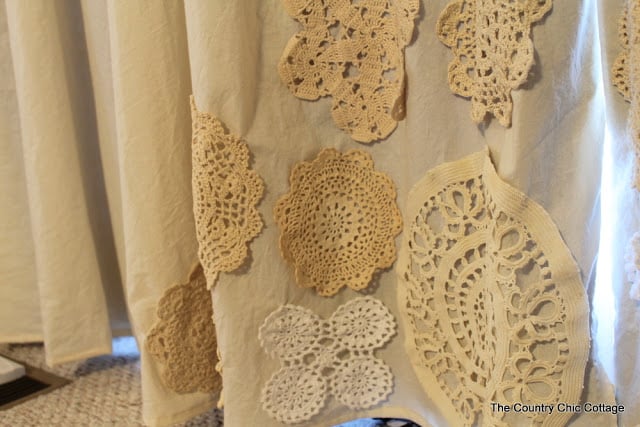
I knew I wanted to add some doilies to the curtains but I really did not know how I wanted them. I have been collecting doilies of various shapes, sizes, colors, etc for some time. I picked them up at yard sales and thrift stores. First I laid them all out on the floor….
I was still unsure. So I pinned each on to the curtains. I would pin them, live with them awhile, move them, take them down, pin some new ones back up, etc…
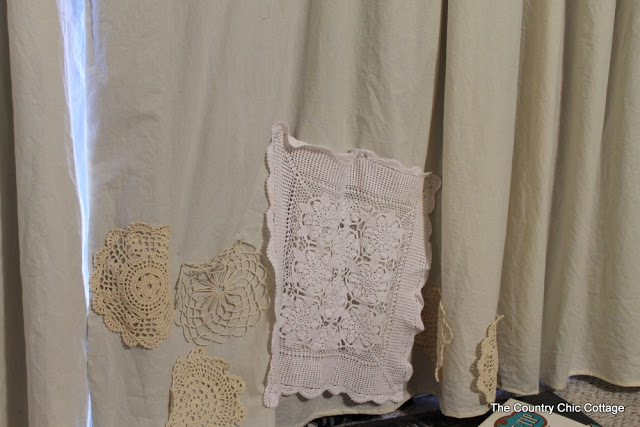
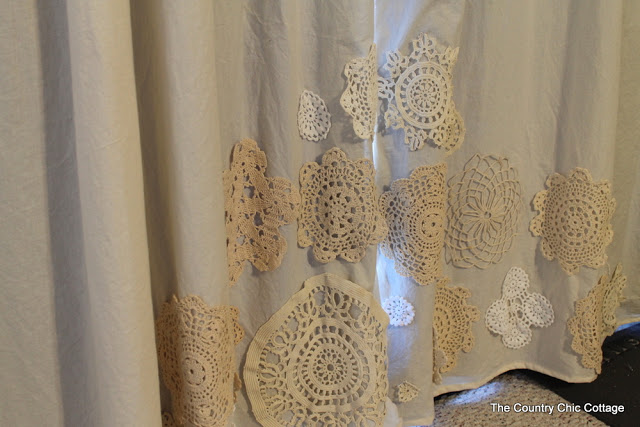
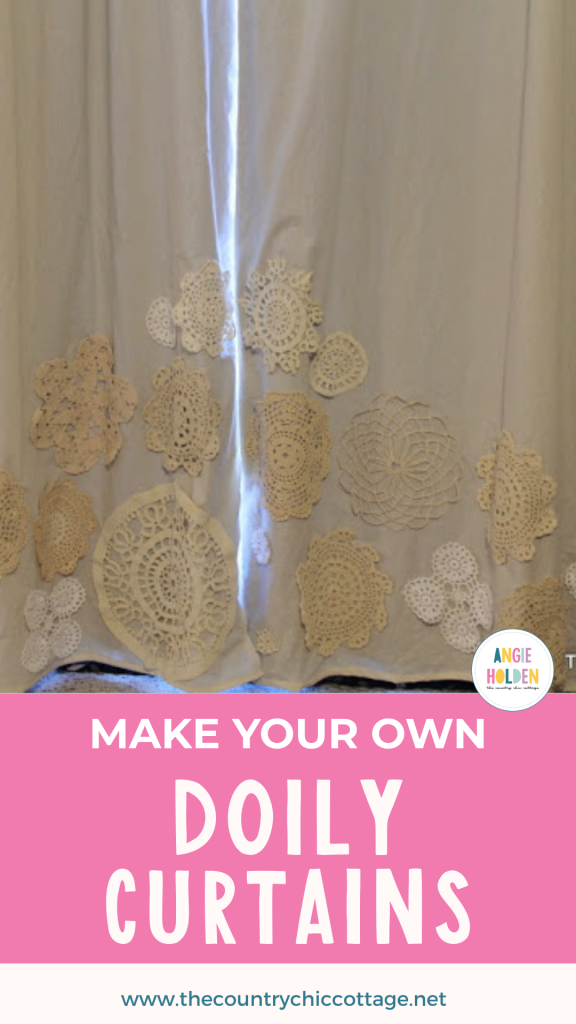
I finally decided that the smaller pieces looked better. Some of the larger doilies that were not in good shape, I actually cut into smaller pieces. Once I had a configuration I liked, I left it pinned on a while just to be sure it was “the one”.
I then hand tacked each doily in place. Right there on the curtain. How many tacks you need really depends on the size and shape of the doily. I just kept tacking until the each looked right. I did this in a series of nightly sewing sessions. I would do a few doilies each night. Leaving the rest pinned into place.
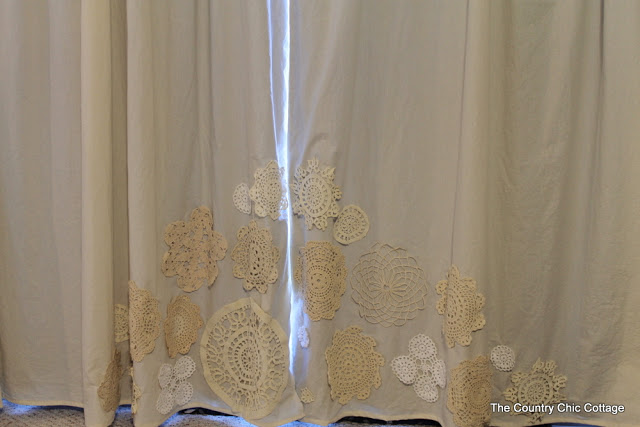
This is a picture of my final configuration. It is simple, elegant, yet rustic — which is just my style.
I love the new look. For less than $50 — I love the price too. We have lived with these new curtains since the week after Christmas. They get opened and closed almost daily. I have had absolutely no issues with my method of covering the old ones. This should work for any curtains that are a thorn in your side.

Once my curtains were done, I needed to clean up my view. Luckily, Fish Foam sent me some product to review. I never have been good at cleaning windows. They always have streaks. I really hate it…really, really hate it. Little did I know, it was not ME that was the problem. It was the product I was using. Fish Foam stays put where you spray it. It does not leave streaks behind. In short, I don't LOVE cleaning windows now but at least when I do them they look good!


I luv them….great idea pinning on top, & the doilies really finish them off!
Luv them! Great idea, pinning on top & the doilies finish them off nicely!
Thanks for the idea. Really want to display some of my Mom’s doilies without damaging them. I hope mine look as good as yours, Out to buy muslin this week.