If you’re looking for a creative and personal way to add a touch of sparkle to your Christmas tree this year, you’ve landed in the right place. Today, we’ll be guiding you through a fun and relatively easy DIY project to create your very own Cricut Christmas Ornaments. These beautifully crafted ornaments not only add a unique charm to your holiday decor but they also make thoughtful handmade gifts for your loved ones.
Making your own ornaments is a great way to get creative and add a personalized charm to your Christmas decorations. I like to color-match my ornaments to my holiday color scheme for a cohesive look.
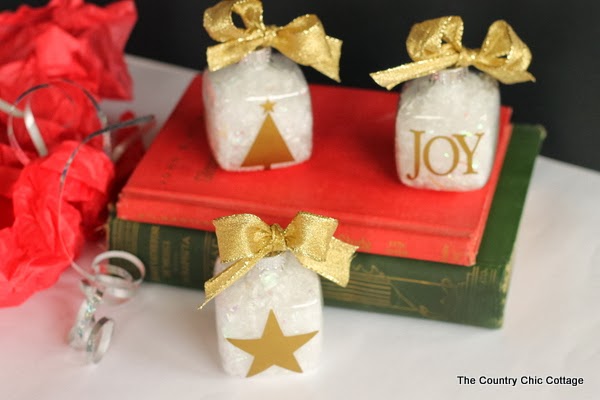
You can use any Cricut machine that you have to make these ornaments. Using golden ribbons and vinyl stickers, these ornaments are easy and inexpensive to make. It also makes it easy to do with your kiddos!
Fill them with faux snow and other festive embellishments to create your own little Winter Wonderland. Hang them on the tree, string them up as a garland, or even incorporate them into holiday centerpieces!
Note: Want even more things you can make with your cutting machine? Check out over 20 fun crafts that you can make with your Cricut!
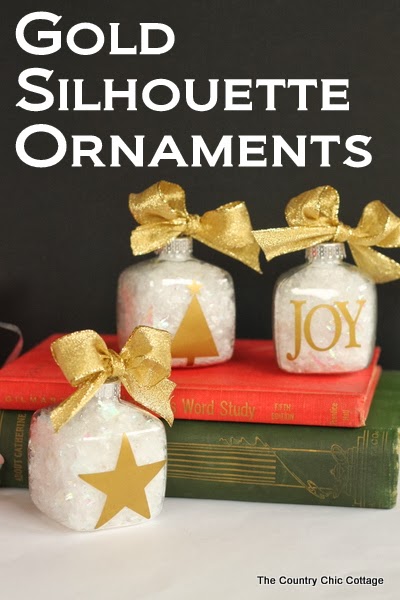
How To Make Cricut Christmas Ornaments
Making your own Christmas ornaments is a fun and easy way to spruce up your holiday decorations and add a personal touch.
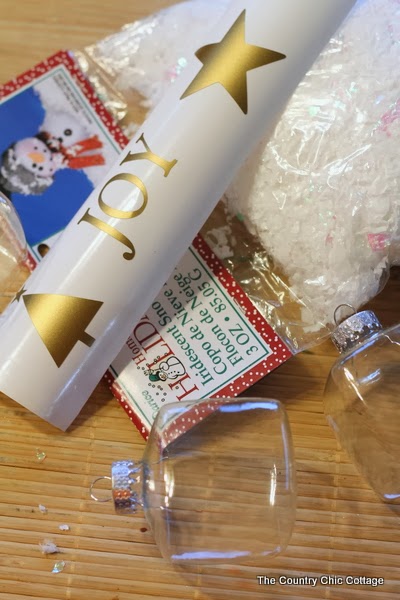
Supplies Needed
Here’s everything you need to gather to make these easy ornaments:
- Cricut machine
- Gold adhesive vinyl
- Transfer tape
- Clear ornaments
- Iridescent artificial snow
- Golden ribbon
Cricut Christmas Ornament Instructions
Follow along for step-by-step instructions for creating Cricut Christmas ornaments:
Step 1: Cut the gold vinyl
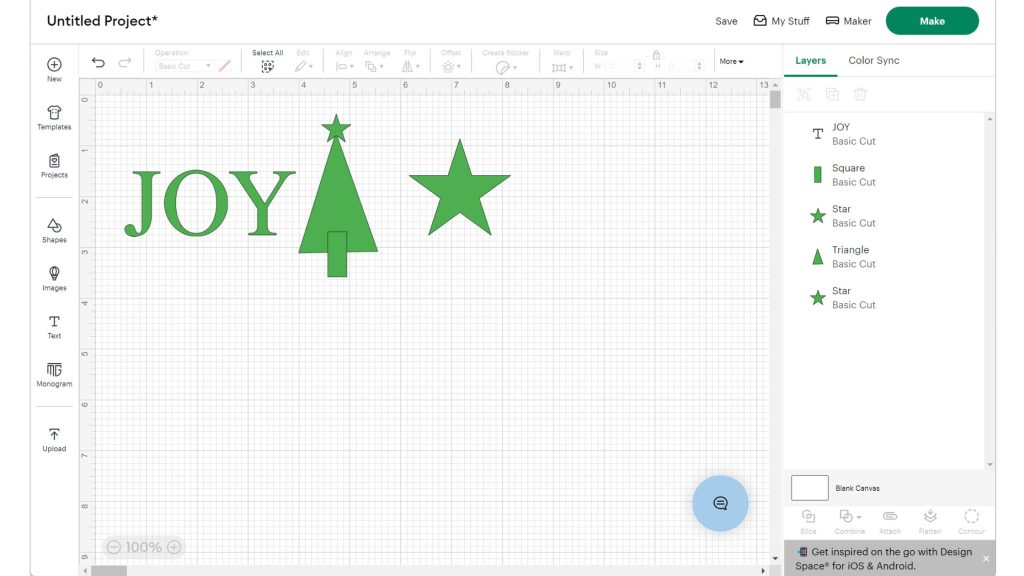
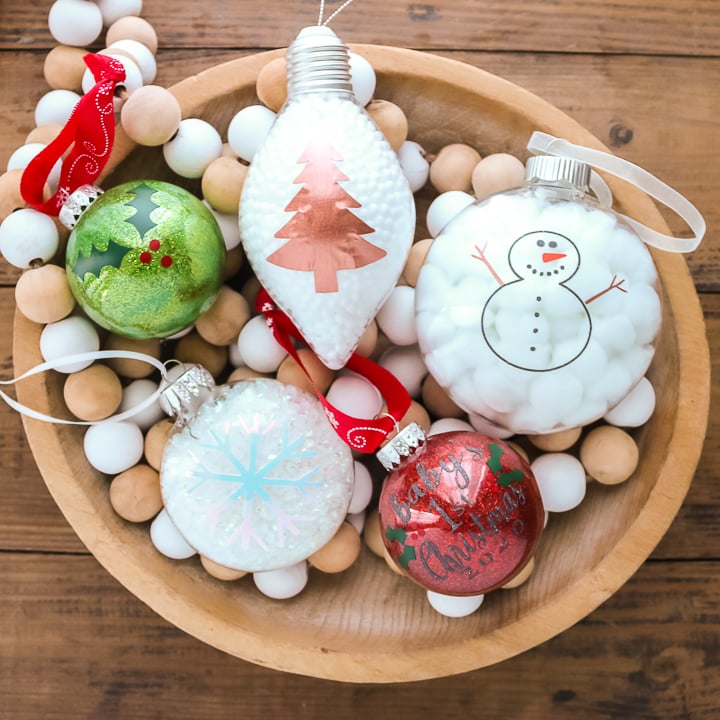
Start by cutting your gold vinyl into different shapes with your Cricut. You can make the patterns as simple or intricate as you’d like. Use starburst patterns, snowflakes, and holly for a festive look! You can use the basic shapes and text in Cricut Design Space to make your designs. For the Christmas tree, I added a square, triangle, and star and welded it together.
Step 2: Apply to the ornament
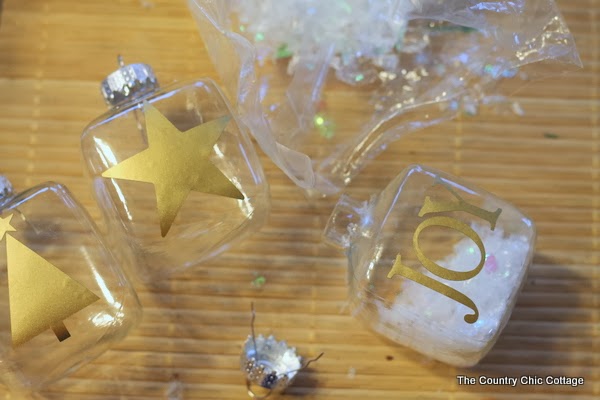
Once you have all of your cutouts weeded, cut a piece of transfer tape and adhere it to the cut vinyl. Peel back the transfer tape and then place the vinyl on top of your ornament. Use a scraper to really adhere the vinyl.
Step 3: Fill with artificial snow
Next, use a spoon to fill the inside of the ornament with iridescent artificial snow. This step is completely optional, but it adds a beautiful sparkle to your ornament that’s sure to catch the eye of anyone admiring your Christmas tree!
Step 4: Add ribbon
Finally, tie a bow around the top of the ornament with golden ribbon for an extra touch of holiday cheer.
And you’re done! Enjoy your handmade ornaments and show them off on your Christmas tree. You can even make a set of these for gifts this year—they’re the perfect way to spread the holiday cheer.
Happy crafting!
FAQs
If you have questions about making these Cricut Christmas ornaments, I have answers for you! Please leave your question for me in the comments if you don’t see it already answered below.
Can I use other colors of vinyl?
Absolutely! You can use any color vinyl you’d like—just choose something that matches the tone of your Christmas tree decorations. Silver, white, and red are all great choices for a traditional holiday look.
How long will my ornaments last?
These ornaments are designed to last for years, so you can enjoy them season after season. The vinyl should stay adhered to as long as it isn’t exposed to too much moisture.
If you live in an area that gets a lot of rain or snow during the holiday season, consider keeping your ornaments inside for extra protection!
What if I don’t have a Cricut machine?
No worries! You can still make these ornaments with other tools. If you don’t have access to a cutting machine, you can use an X-Acto knife and some metal shears to cut the gold vinyl by hand. It might take more time, but the effect is just as beautiful!
More craft ideas
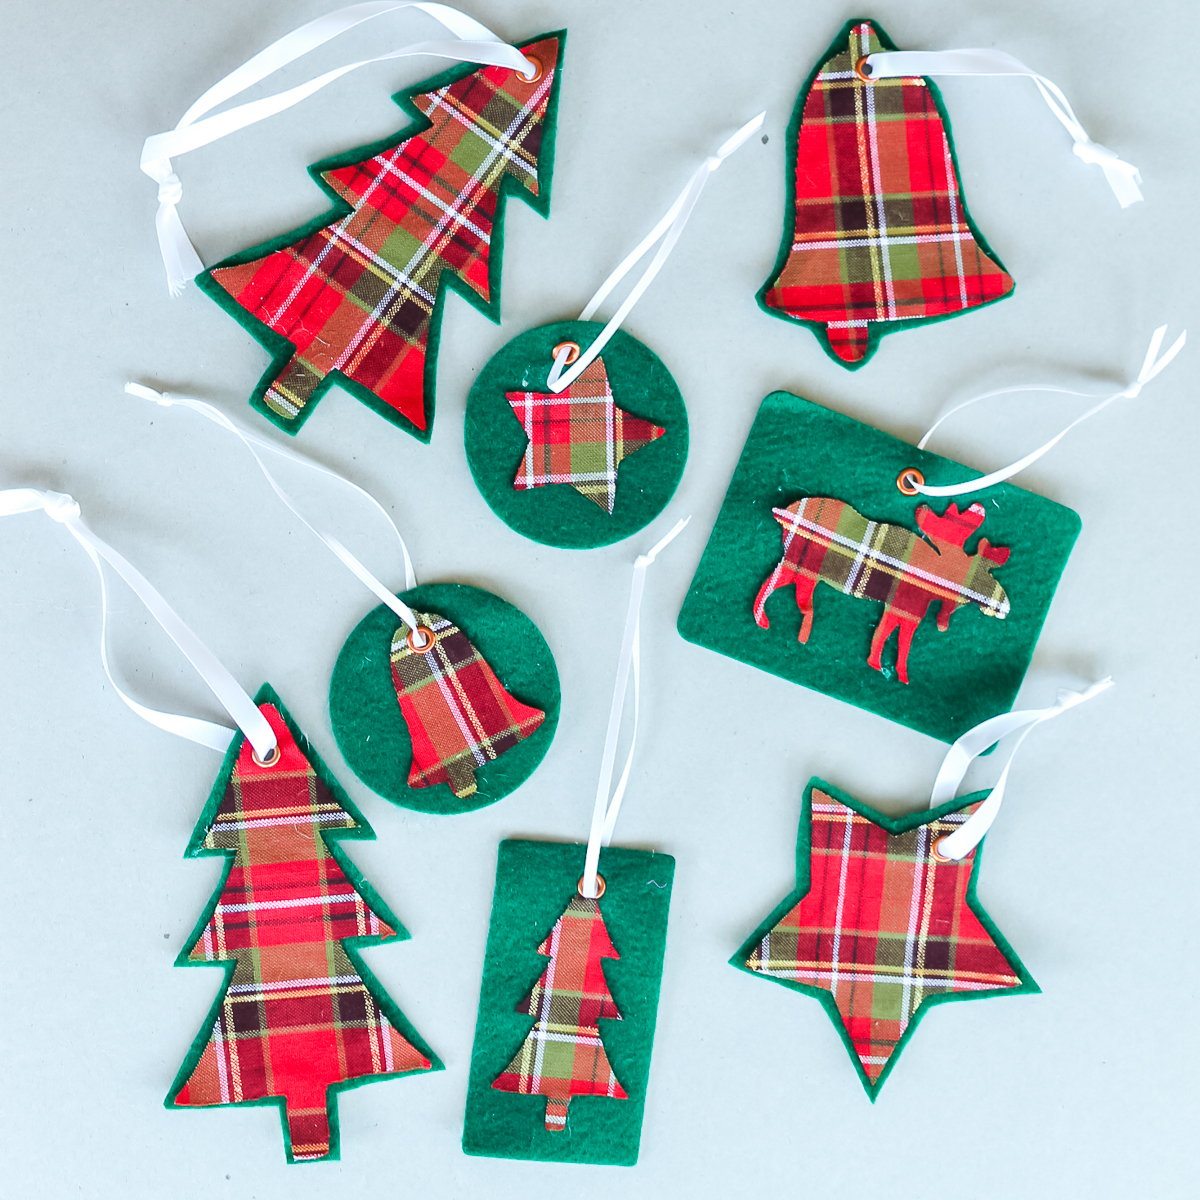
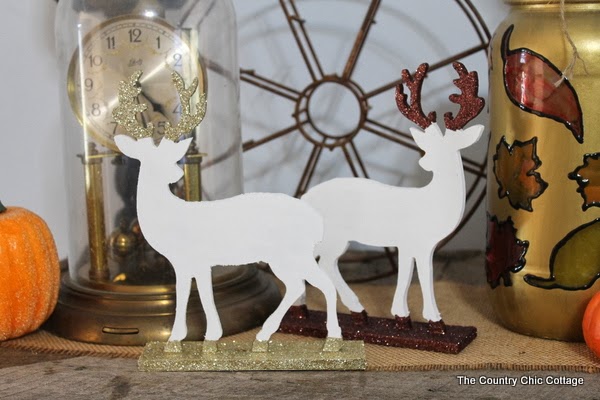
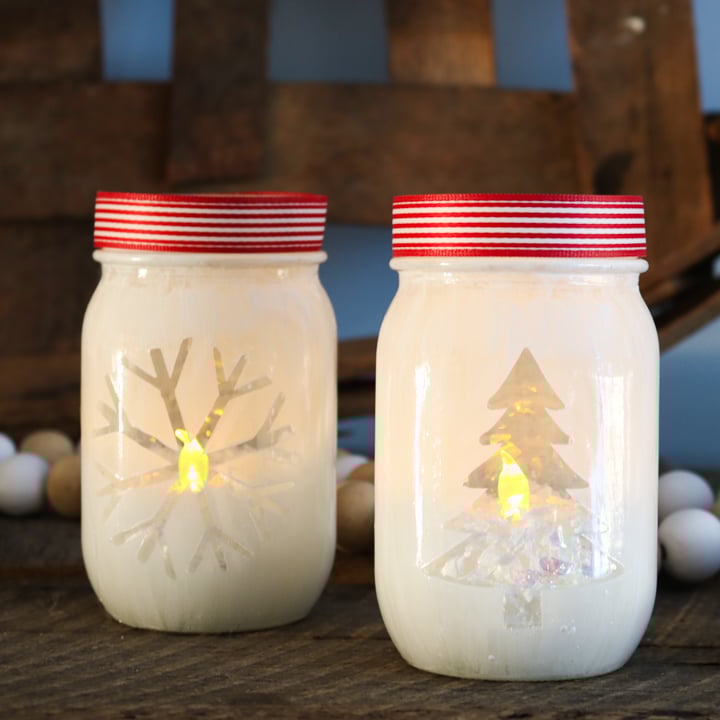
If you love this project and want to make more Christmas crafts, we have those for you! Just follow the links below.


Such pretty ornaments and these deal/sale prices are amazing!
So pretty!
Those are so cute, Angie! I love all things gold when it comes to Christmas!