
I am so excited to show you how to create laser engraved patches. I am seeing patches everywhere, on hats, bags, jackets, etc. You're going to love being able to create patches perfect for your hobbies or even your small business.
I am using my xTool F1 Lite laser today, but you can do this process with any laser. You may have to adjust the settings if you're using a laser other than the F1 Lite.
I'm testing a variety of ready-made patches that are created for use with lasers, and I'm also going to test Siser Brick HTV to see if it works as a patch.
You can watch me test these different materials by pressing play on the video below:
How to Make Laser Engraved Patches
During this tutorial, I am going to share my experience with the patches I am using. If you use a different patch or are trying a different HTV material, you'll need to ensure they're safe to use in a laser.
Your settings may end up being different if you use a different blank. Make sure you follow the directions for the material you're using. If you're using a laser blank, they will likely have recommended settings you can start with.
Supplies Used
Step 1. Create Design in xTool Creative Space
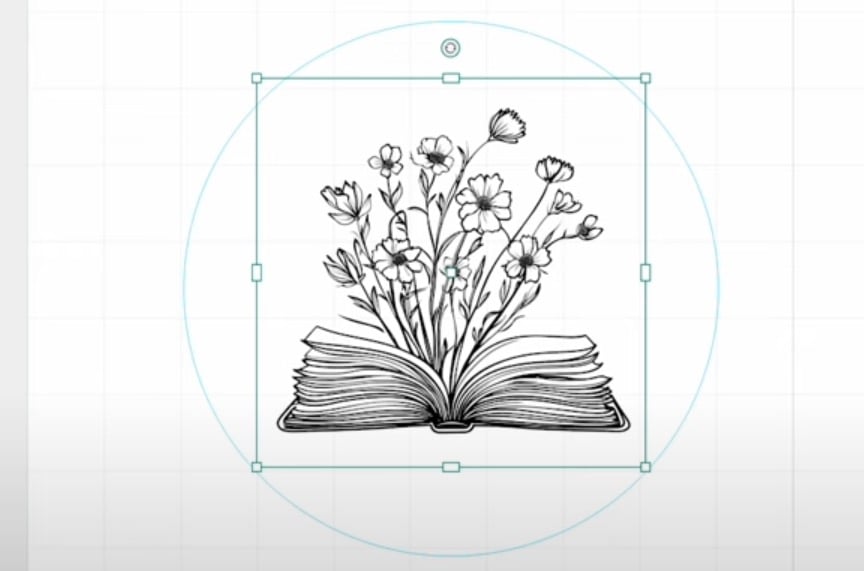
Within Creative Space, click Image and locate the design on your computer.
With the design on the screen, resize the design to fit the patch you're using.
Mine is about 2 inches. This is the engraved design size.
When you have things sized how you want, click Engrave, and then you can either choose from the materials in Creative Space or choose your own settings.
I used a leather material setting already in Creative Space.
Step 2. Locate Design on Patch
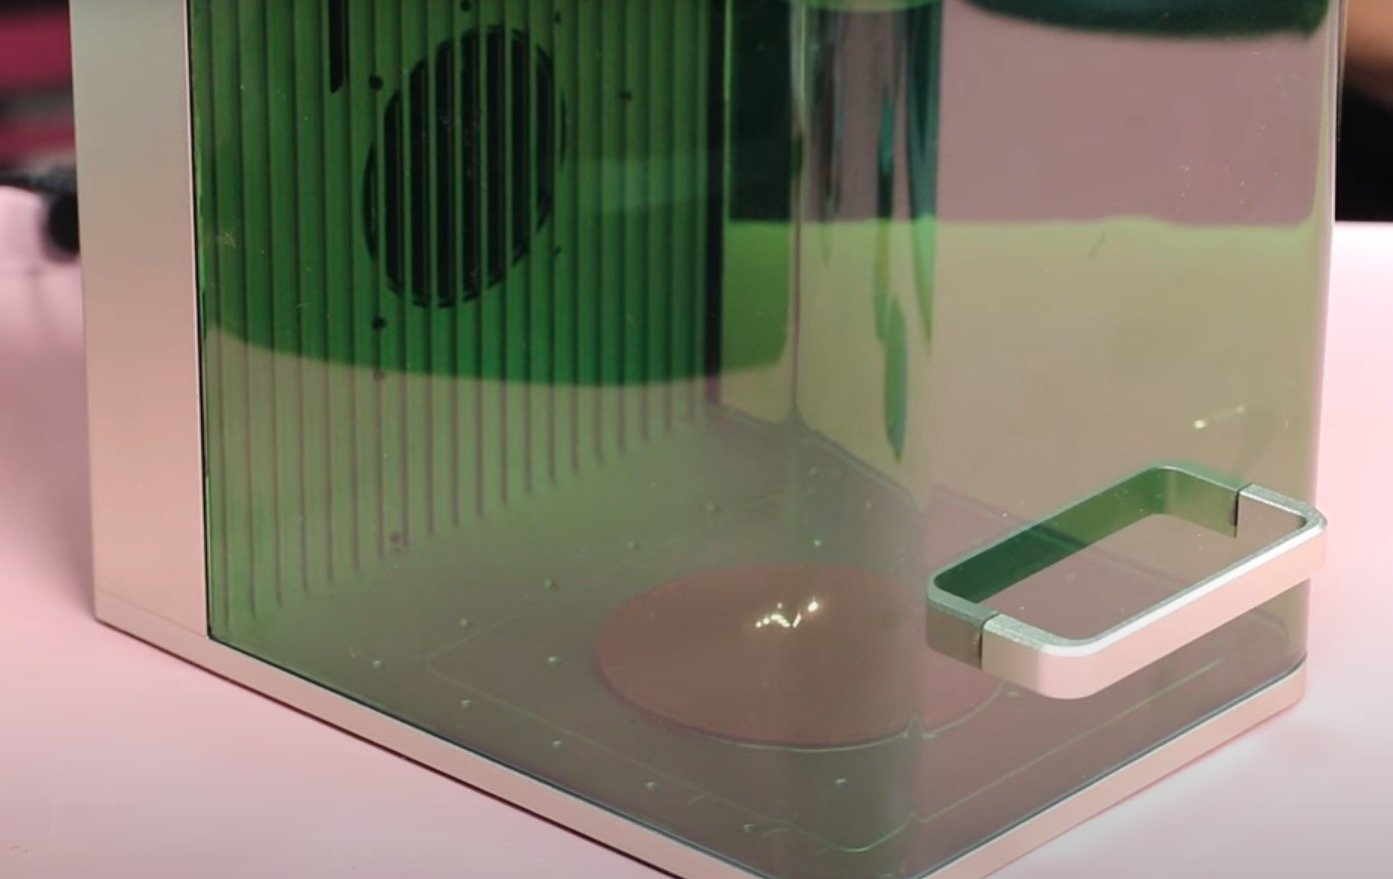
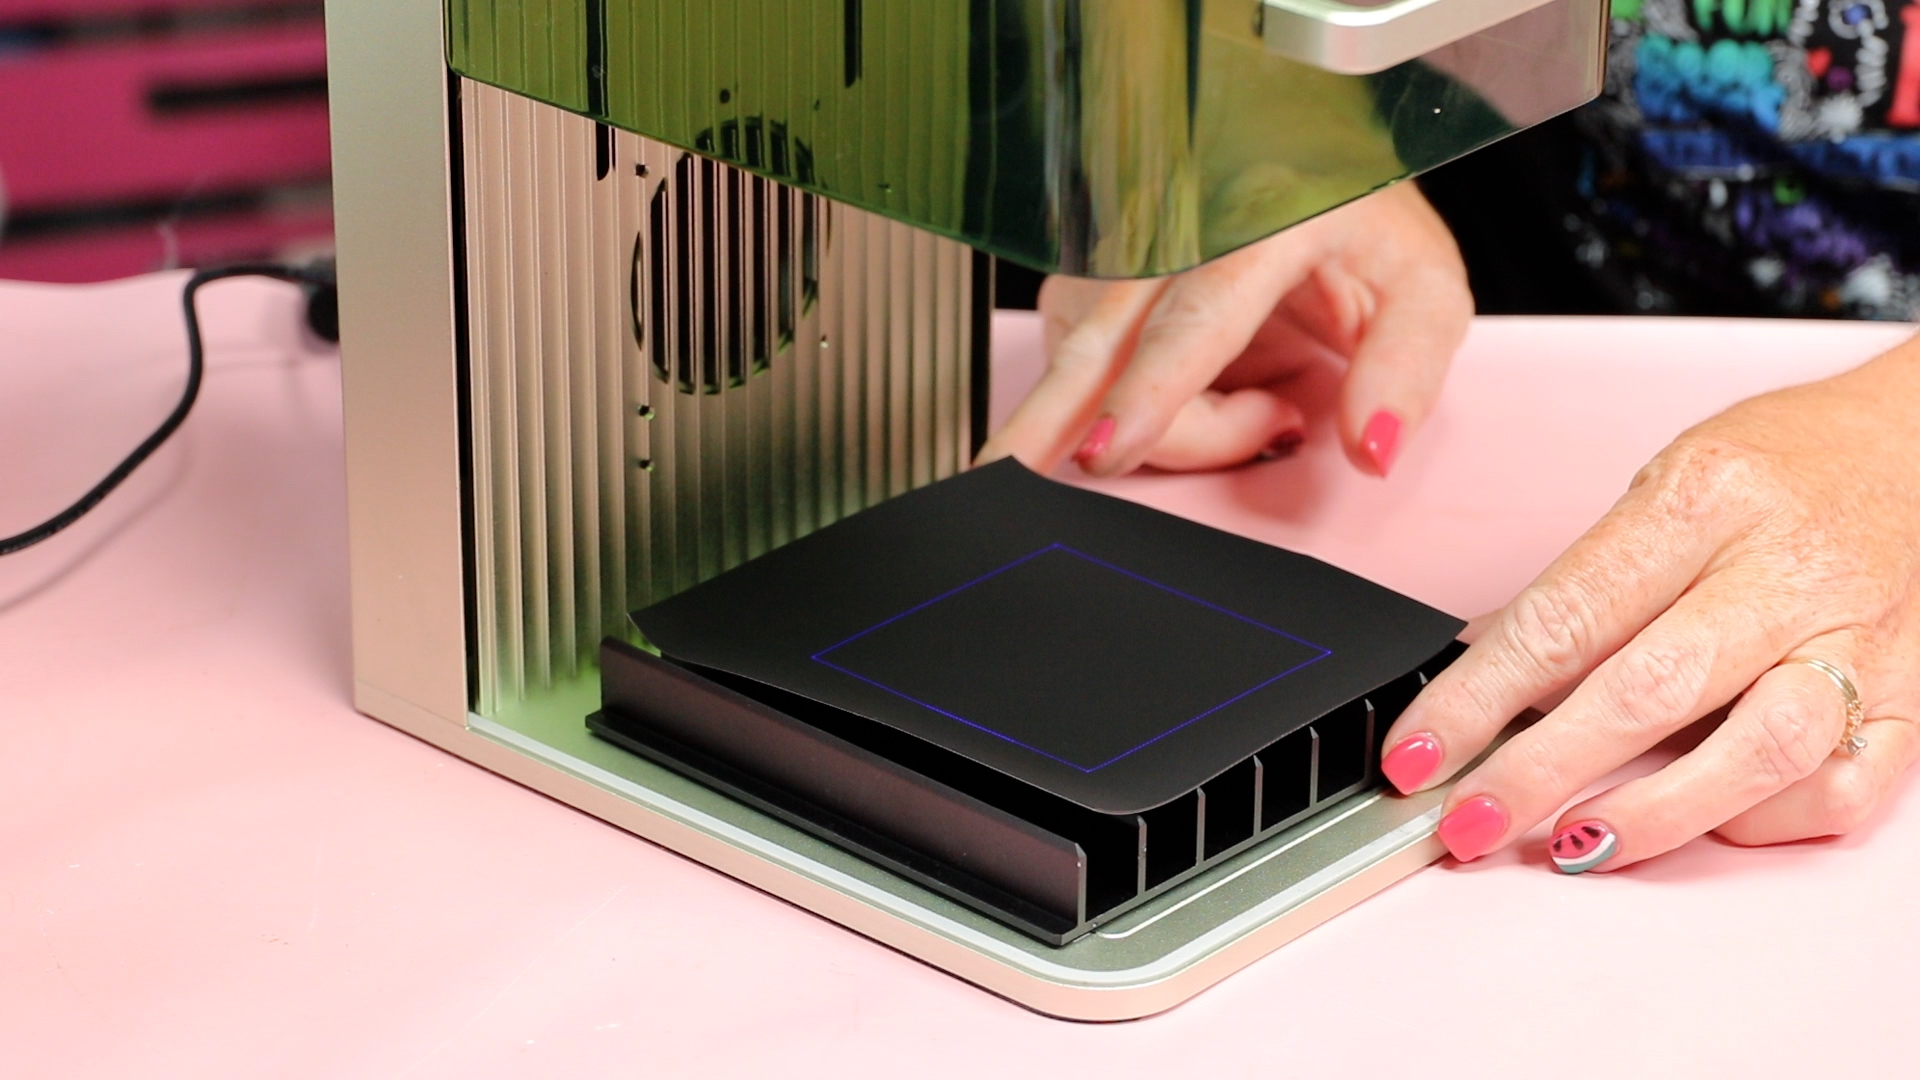
I am using my xTool F1 Lite today. Open the laser and add the patch to the base.
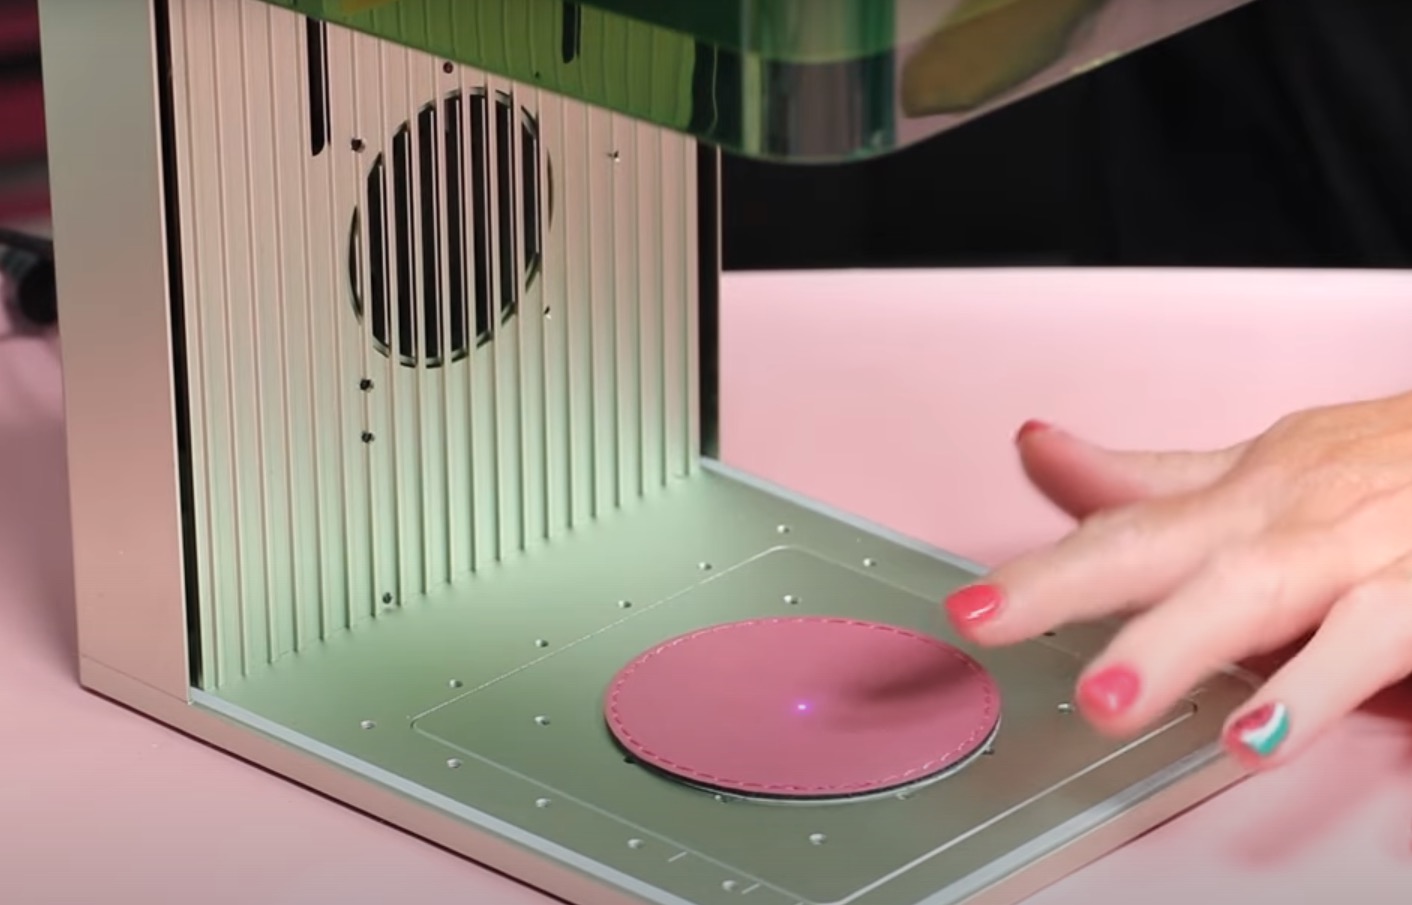
With the patch in the machine, you can use either auto focus or manual focus.
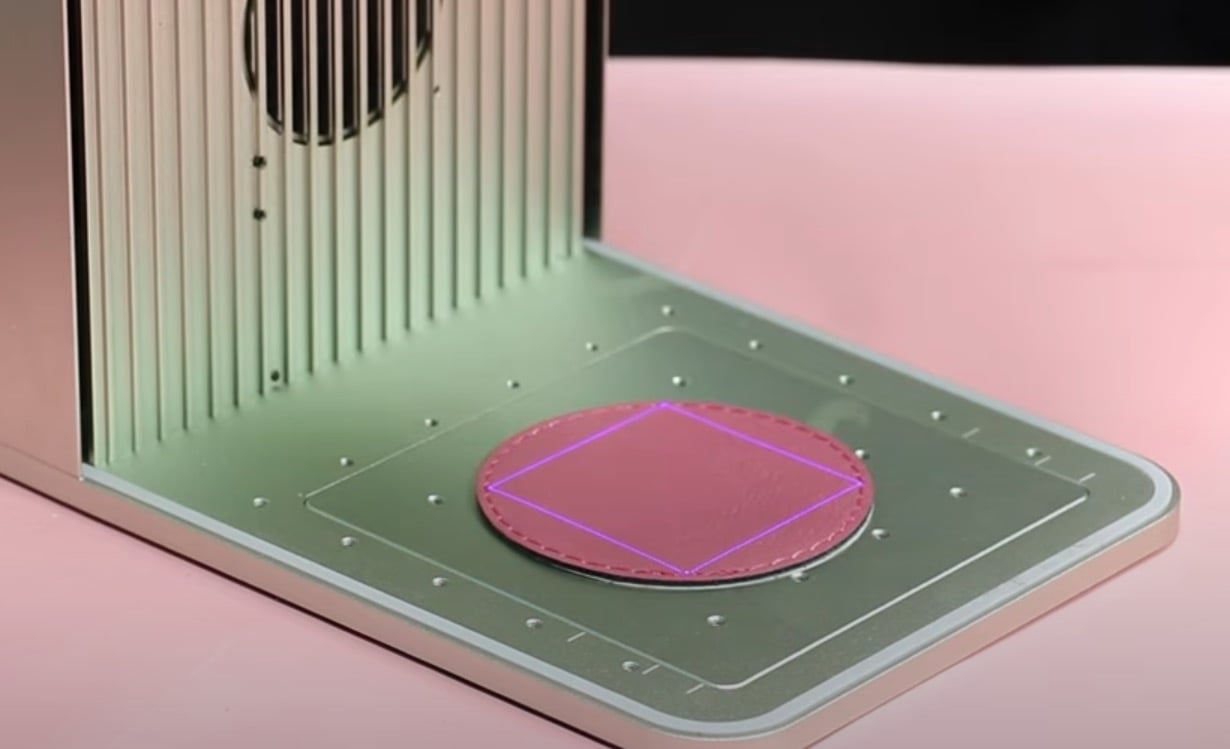
Click Framing to see where exactly the design will be. This allows you to adjust the patch as needed to make sure the design is centered on the patch.
Step 3. Engrave Patch
Close the protective cover and click Process. xTool Creative Space will tell you how long the project will take. For this design to be engraved, it is going to take about 38 seconds.
Click Start and then press the button on the side of the F1 Lite to start the engraving process.
Step 4. Remove Finished Laser Engraved Patch
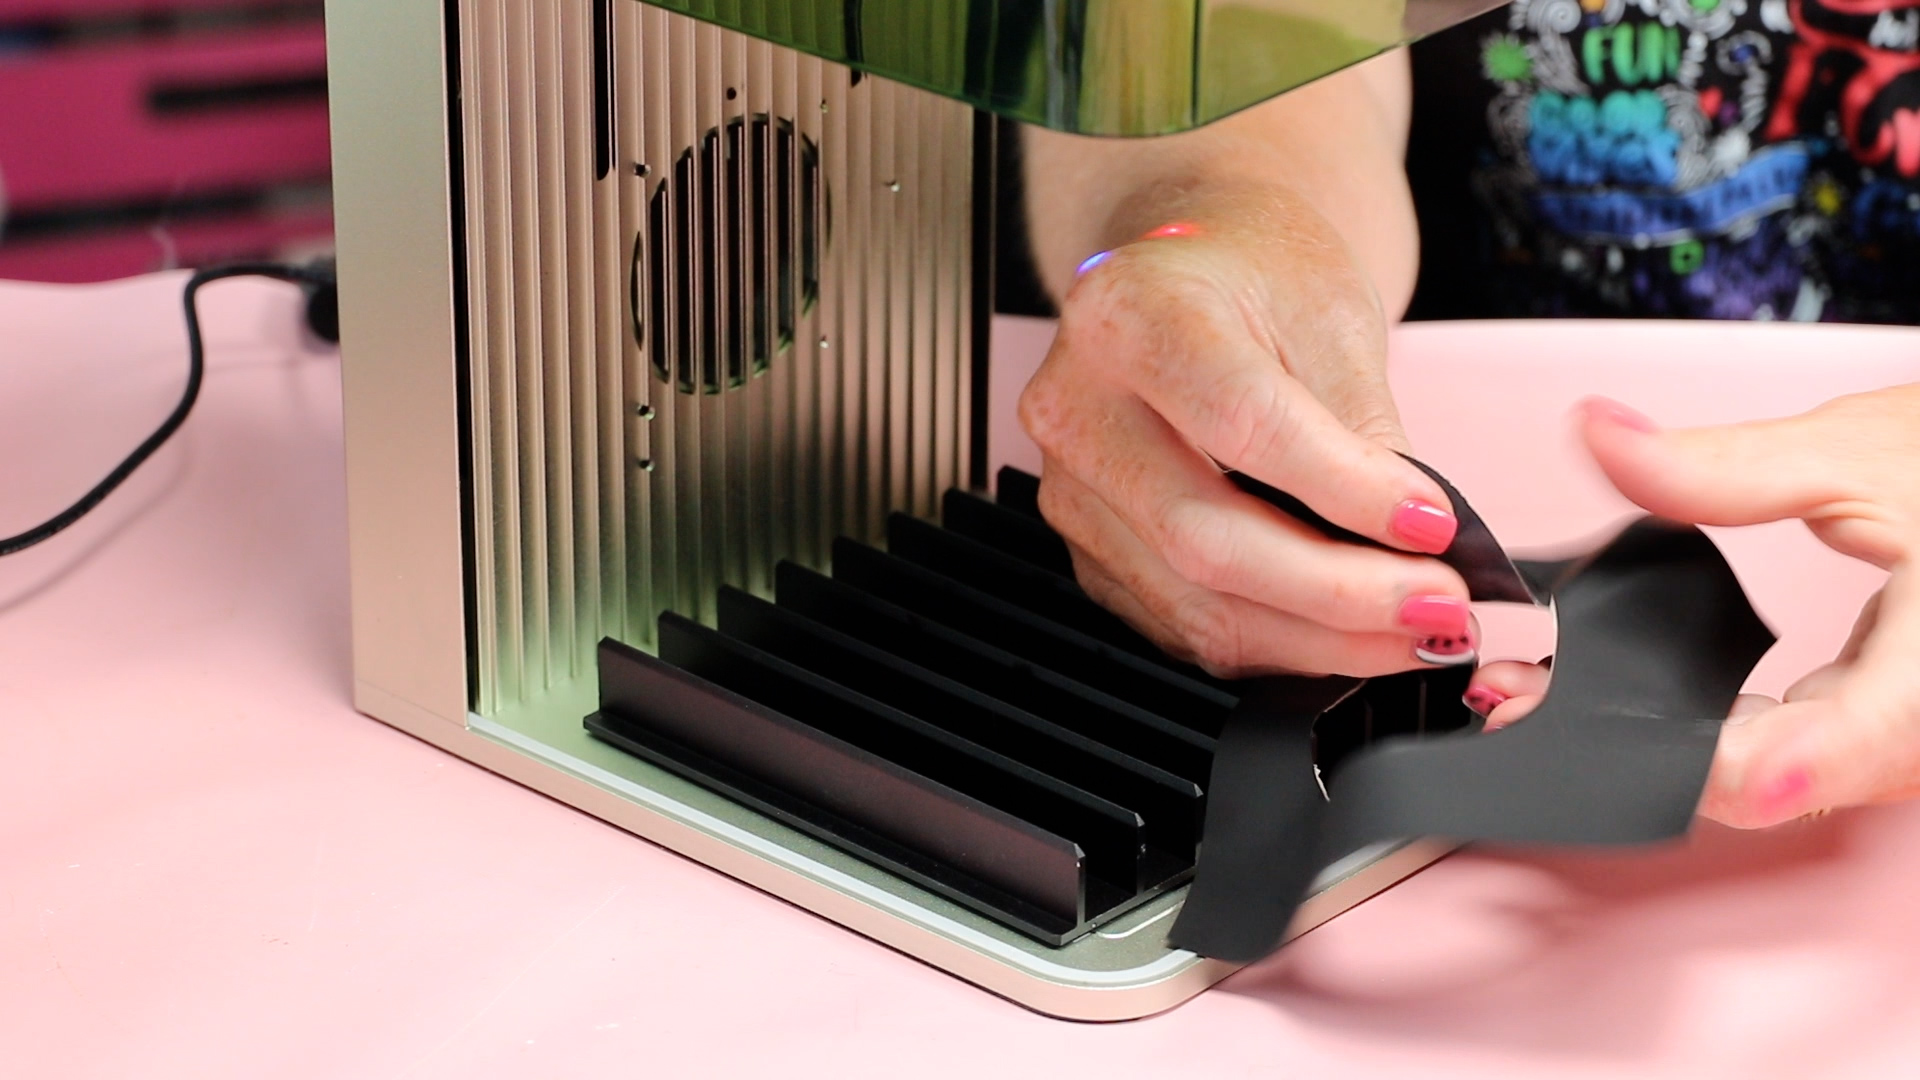
When the laser is done, open the cover to reveal the finished patch.
If the results look good, go ahead and use those settings for future engraved patches. If it doesn't make some adjustments and check again.
Mine looks really good, so I can use these settings to make more patches.
How to Create an Engraved Patch with Brick HTV
Siser Brick HTV is a fun material. It's thick but easy to use. For this patch, I need to cut the shape and engrave the design.
Step 1: Design Patch
Note: Brick HTV is meant to be cut on the back side with the image mirrored. Because I want to engrave the front of this patch, I removed the material from the carrier sheet so I could place it right side up in the laser.
With the carrier sheet removed, place the material in the laser right side up. For this patch, I added a 3-inch circle that will be cut around the engraved design.
I used manual focus, and for the cut settings, I tried a power of 82 and a speed of 20. For the engraving, I used a power of 100 and a DPI of 233. I changed passes to 3 to get a deeper engraving in the material.
Step 2: Cut and Engrave Material
Click Framing to make sure everything is on the material. Close the lid and click Process. These are the same steps as above but this time you will need the cutting surface added to your laser.
Click Start in Creative Studio and then press the button on the side of the machine.
Step 3: Remove Patch from Material
When the engraving is done, open the lid and remove the patch from the material quickly. If you leave the material in the laser to cool, it may stick around the edges.
Which Way Should You Make Laser Engraved Patches?
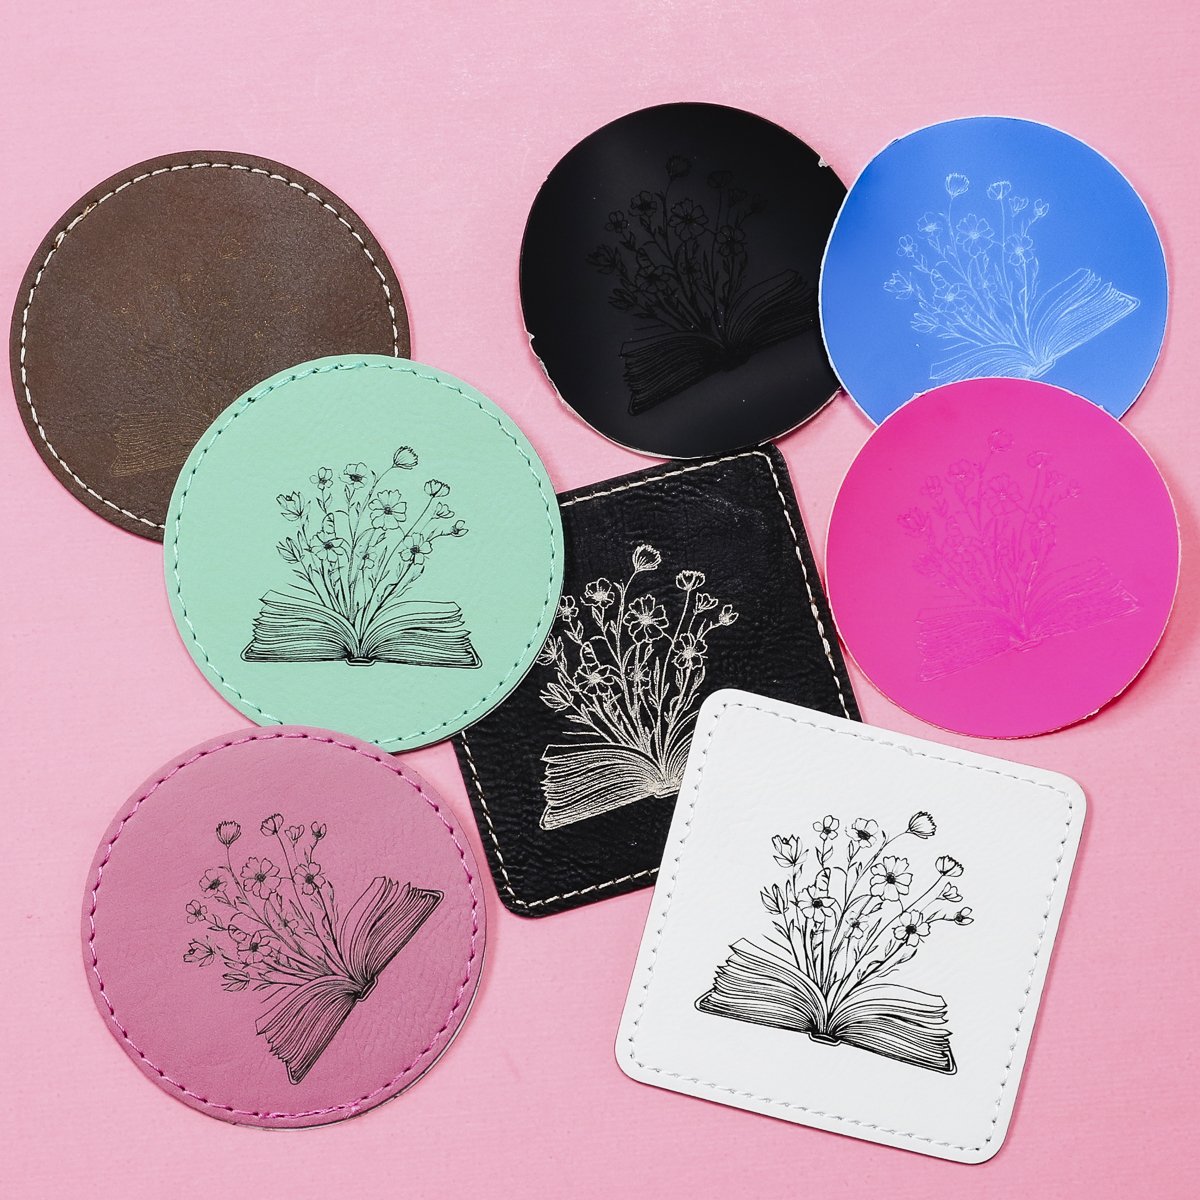
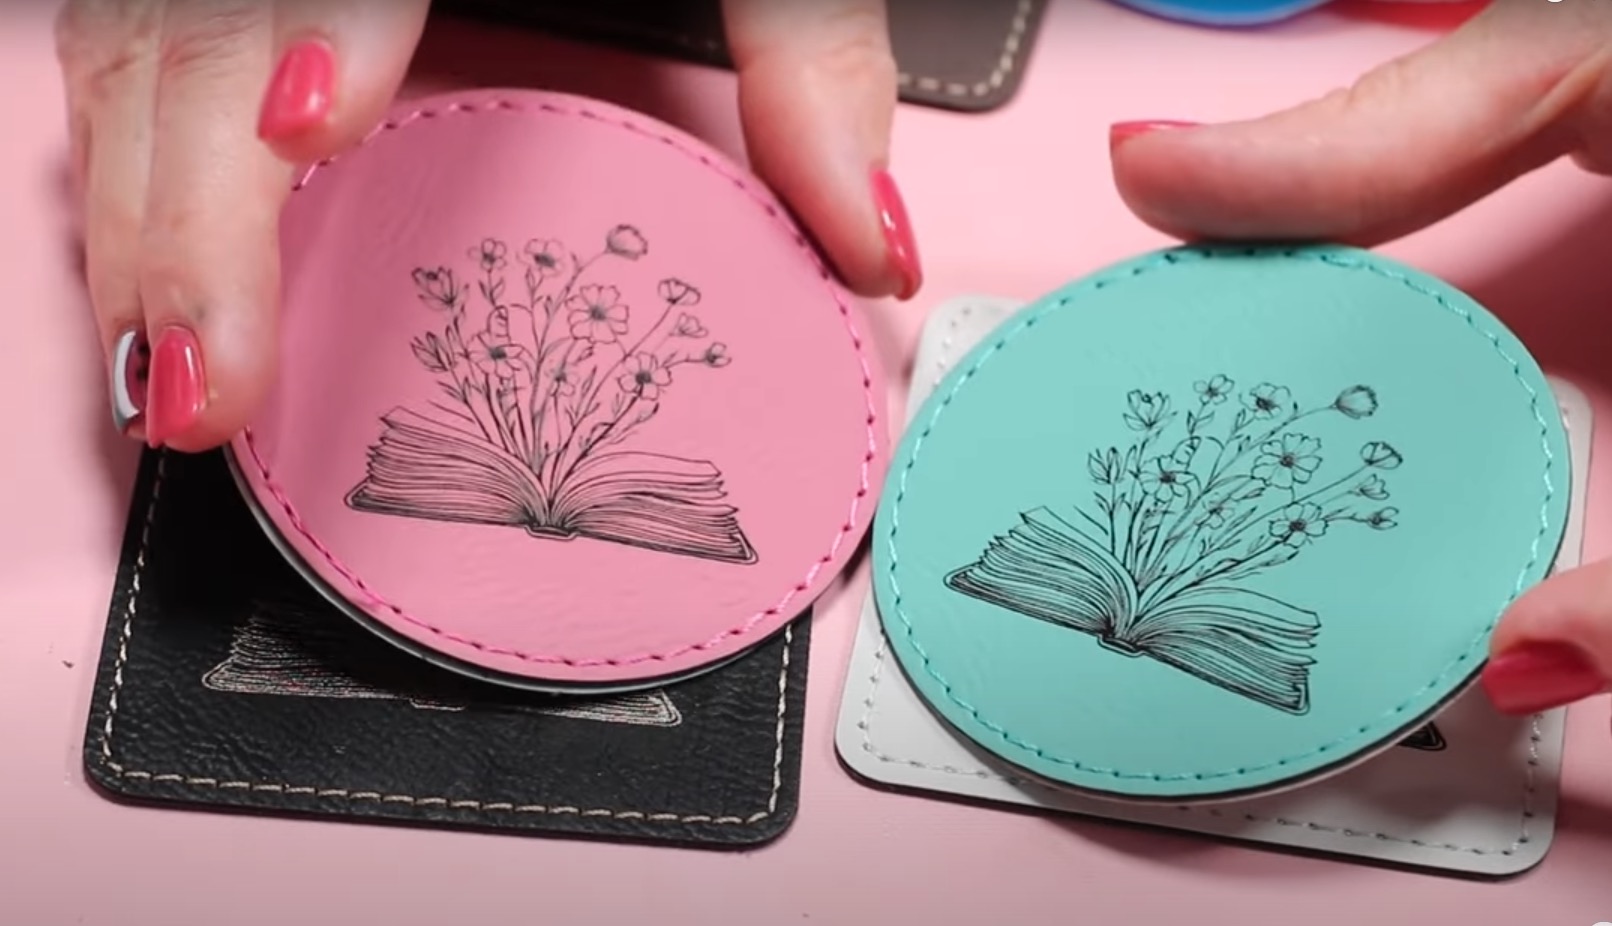
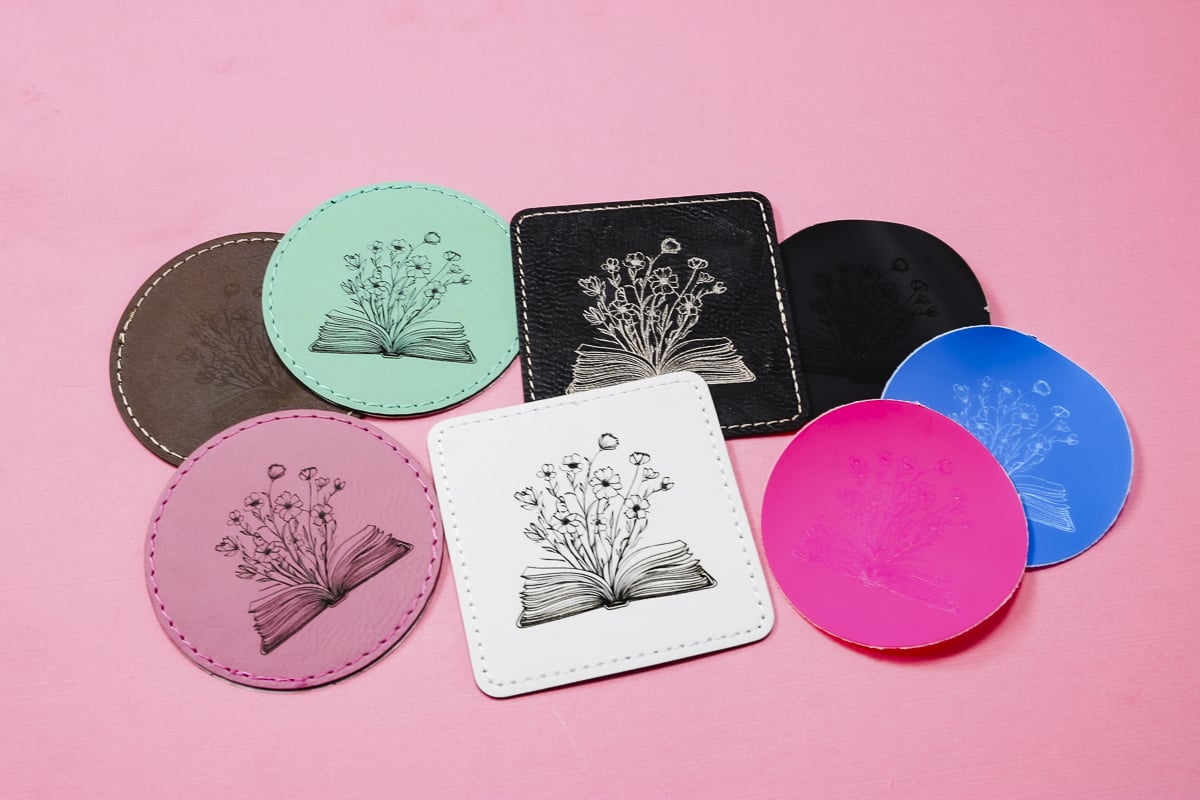
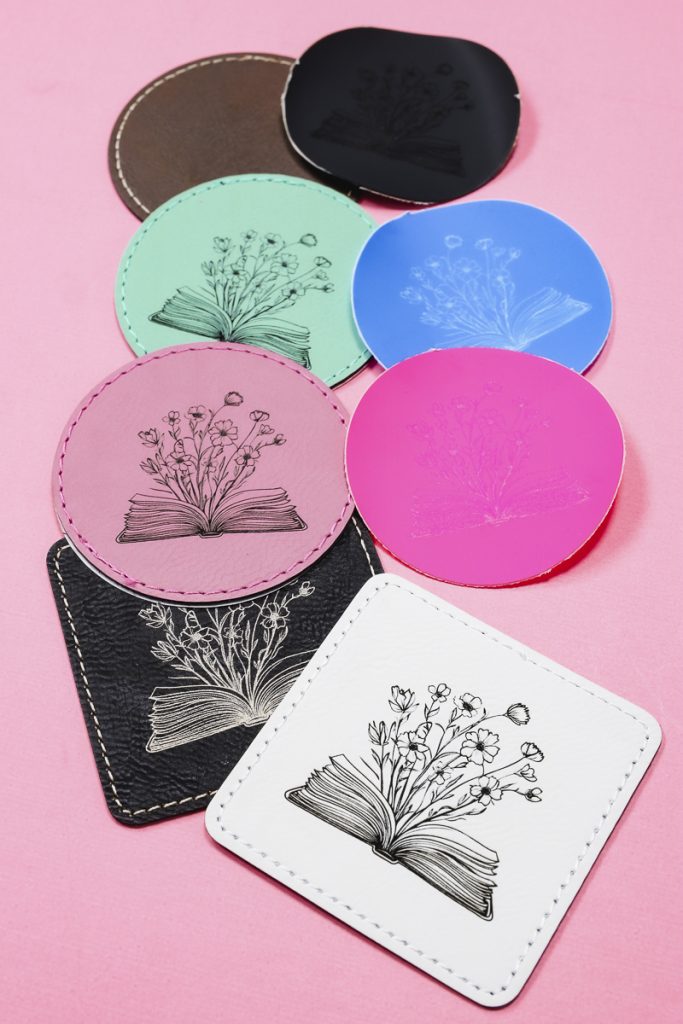
I made leather laser engraved patches in multiple colors, and I really love how they turned out.
The black and white look amazing, I think they're my favorite, but the colors look really good too.
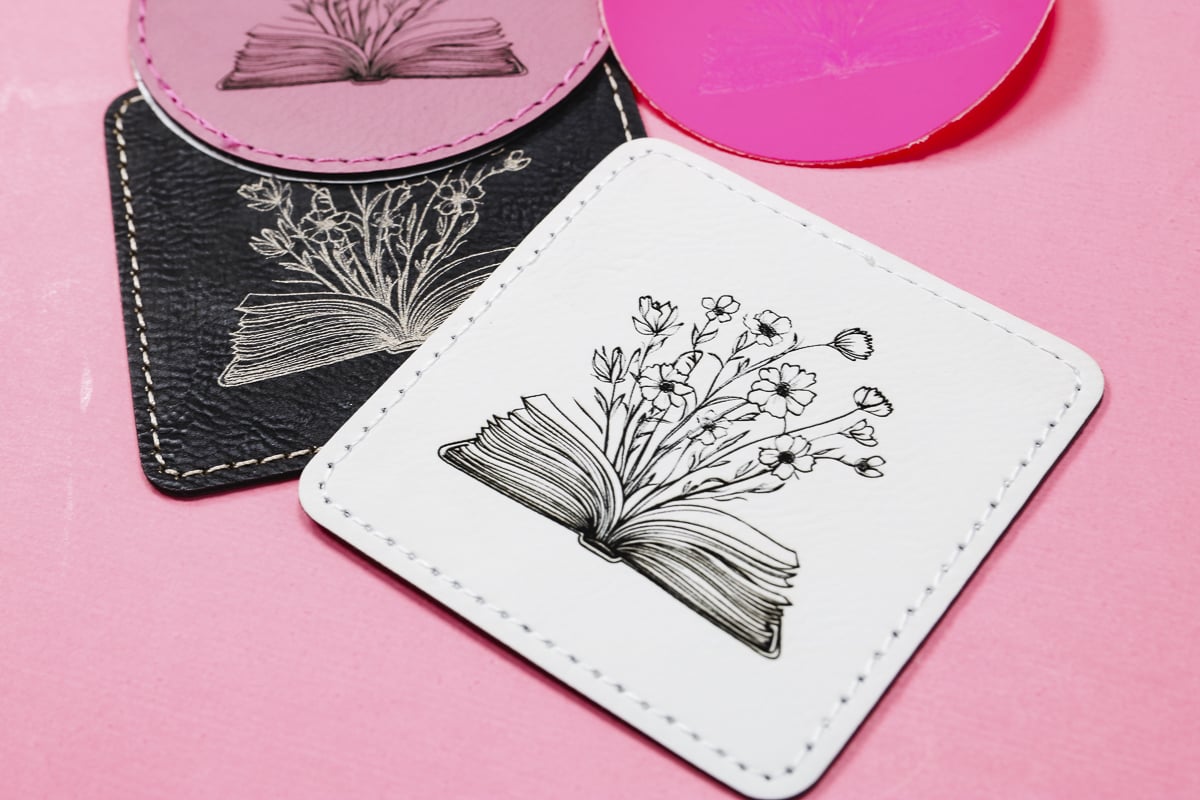
As I engraved the different patches, I chose different colors in xTool Creative Space. For the pink, I used the rose leather settings, and I also used the teal leather, black leather, and white leather. As you can see, they all worked great.
With the brown leather patches, first I used the settings in xTool, and I don't feel like they worked well. I increased the power for my next patch, and while it looks better, I still think it should be increased further.

If you're using the brown leather patches, I would test the settings to see what works best for you.
Next, we have the patches we created using Siser Brick HTV.
I think this is a fun option, but your results will depend on the color of the Brick material you choose.
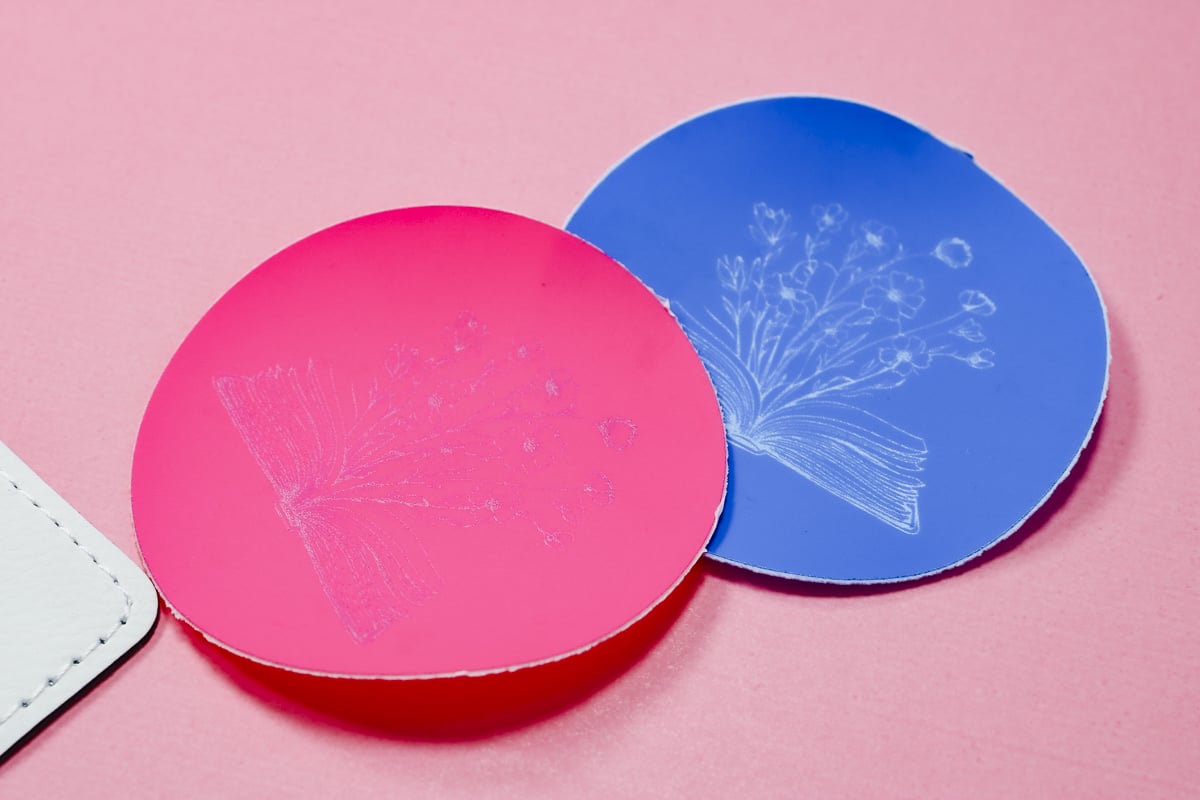
When I used the black Brick, the engraving looked good, but it resulted in a tone-on-tone effect.
When I used the colored Brick, the engraved image was much easier to see. On the pink, I used the same settings I did for the black, and they worked great.
When I switched to the blue Brick HTV, I had to really increase the number of passes. For the cutting, I had to increase it to three passes, and for the engraving, I had to do seven passes. You'll definitely want to do tests before you cut a lot of patches in a new color.
Getting Your Settings Correct
I would suggest doing some testing if you use the brown leather patches to ensure you get the final results you want.
When it comes to Siser Brick, the results may vary based on the color you choose. As you saw, the black is black all the way through, so the engraving is tone on tone. With the pink and blue, the inside color is different, allowing the design to show up well, but you may need to make adjustments in the settings to get it to cut and engrave deep enough.
If you use a different brand or different material, you may need to adjust your settings. I would order a couple of extra blanks so you can really dial in your settings.
How to Use Laser Engraved Patches
Now that we've made all these cute patches, you may be wondering what to do with them.
The good news is that you can use them for so many different things.
Create custom hats, add patches to aprons, backpacks, totes, jeans, denim jackets, hoodies, overalls, and more.
For the leather patches, follow the heating instructions that came with them.
With the Siser Brick patches, we'll press as you would any other Siser Brick project, but you do need to cover it with a Teflon sheet or protective paper because we removed that carrier sheet before engraving.
I had so much fun playing with these patches. I love the pre-made patches from Heat Transfer Warehouse because they're made specifically for laser crafting. Since the inside is a different color, the designs show up really well.
I really love these patches and can't wait to add them to some hats! I hope I've answered any questions you have about making laser engraved patches. If you have any additional questions, leave them in the comments and I'll be happy to answer them for you.


I have filed out the required information and subscribed but for some reason I cannot locate the Free Book of Flowers files as mentioned in your video. Please advise where to locate.
I just checked your email address in the system and it says the link was clicked on, at around 10pm on October 8th. Please send me an email if you still have not received it 🙂