
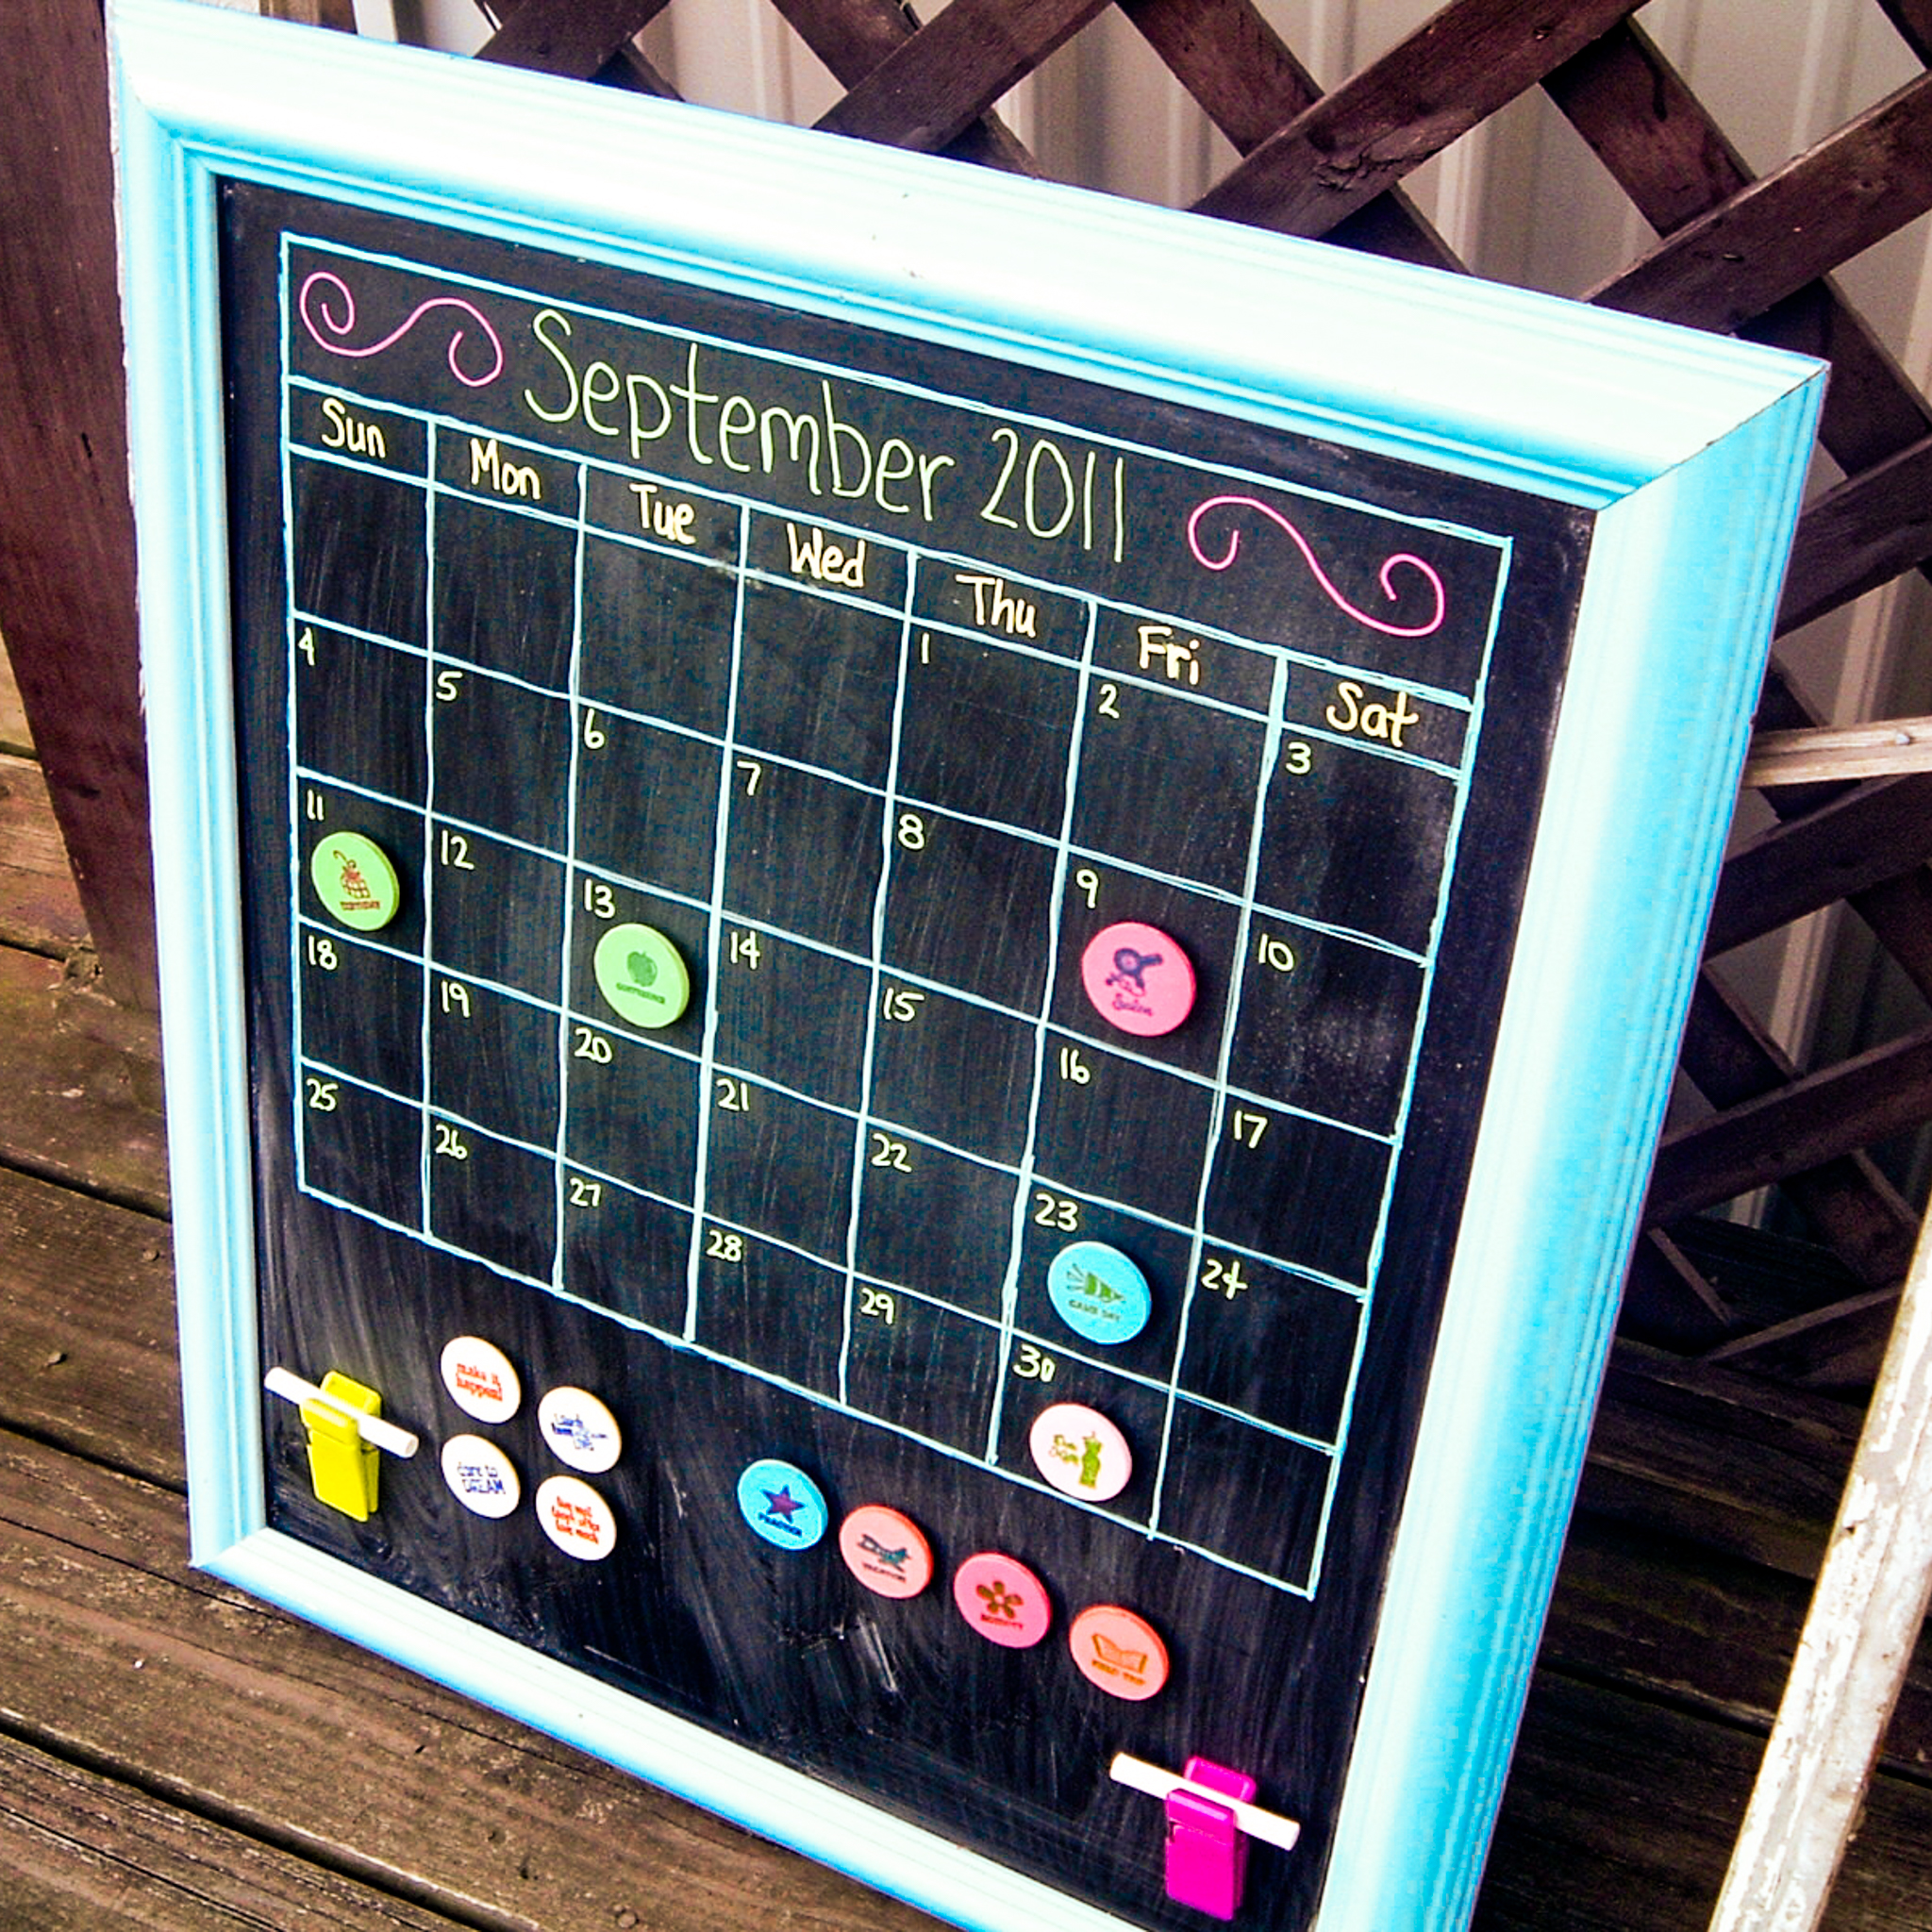
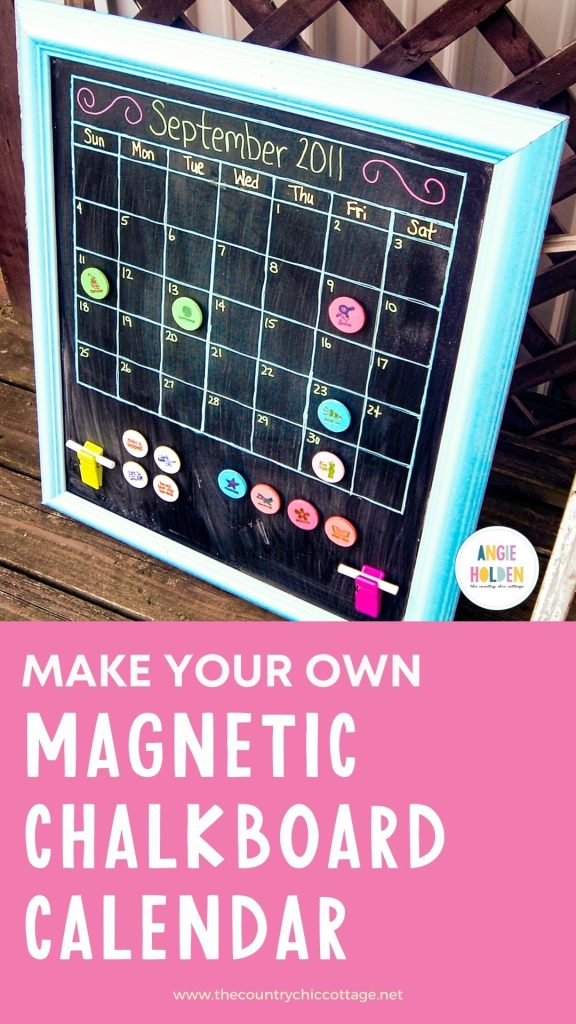
Looking for a simple way to keep the whole family organized? Let me show you my magnetic chalkboard calendar! It’s the perfect organization tool for busy families, and one of my favorite parts is how customizable it is. I made a variety of magnets you can personalize to fit your family’s schedule and routines, making it easy for everyone to stay on track.
Let's start with the calendar itself, then move on to the magnets.
Supplies needed for Magnetic Frame
- Frame
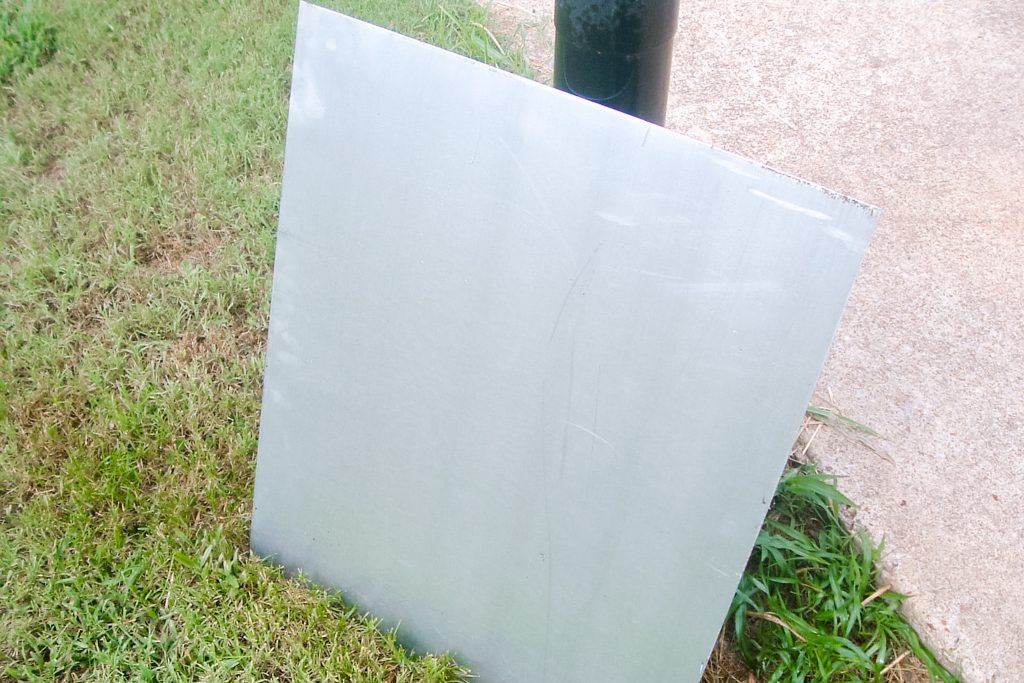
- Sheet of metal cut to size for your frame (mine is 20 inches by 24 inches)
- Metal cleaner
- Metal primer
- Chalkboard paint
- Spray paint for the frame
- Chalk markers and or adhesive vinyl
NOTE: You can also purchase a framed chalkboard, if you'd like. Make sure you choose a magnetic one that fits your calendar and magnets.
How to Make a Magnetic Chalkboard
Step 1
First, clean the metal piece thoroughly. I used a car engine cleaner, but you can use anything designed to clean metal. Be sure to rinse it really well and follow all package directions.
Step 2
Next, paint one side of your metal piece with a coat of metal primer, then apply two to three coats of chalkboard paint. Again, follow all directions on your primer and paint. Chalkboard paint typically requires 24 hours to cure before use, so please be aware.
After the chalkboard paint has cured, follow the paint manufacturer's instructions for conditioning. Generally, you rub chalk all over the surface and then clean it off.
Step 3
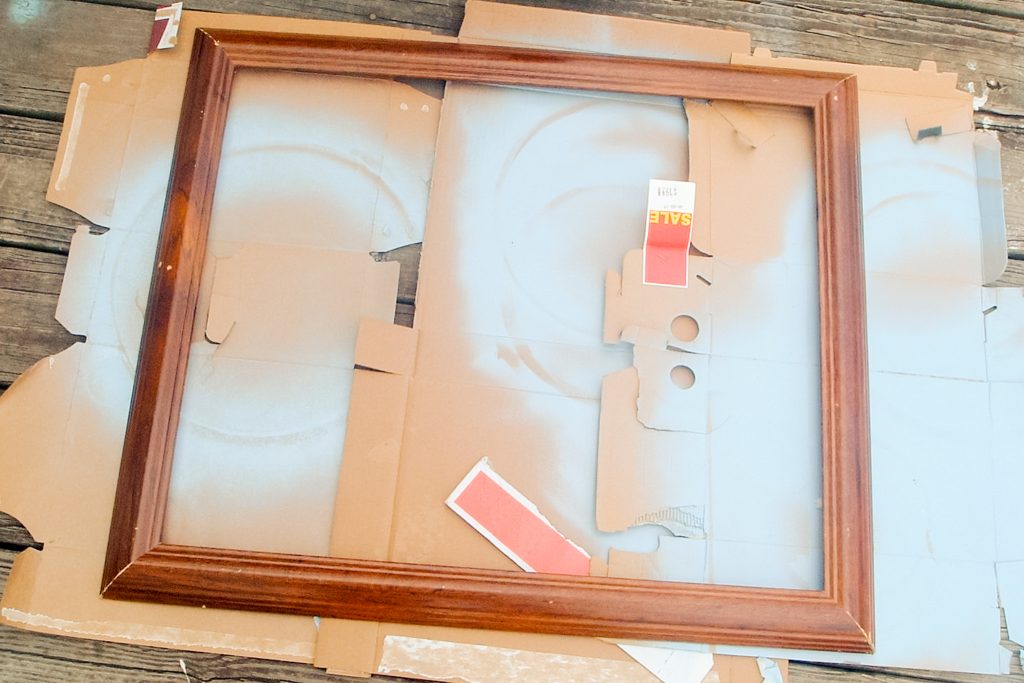
While the chalkboard paint cures, you can work on the frame. I bought my frame at a thrift store, used a spray primer, and one coat of Sky Blue. Paint your frame whatever color you want.
Step 4
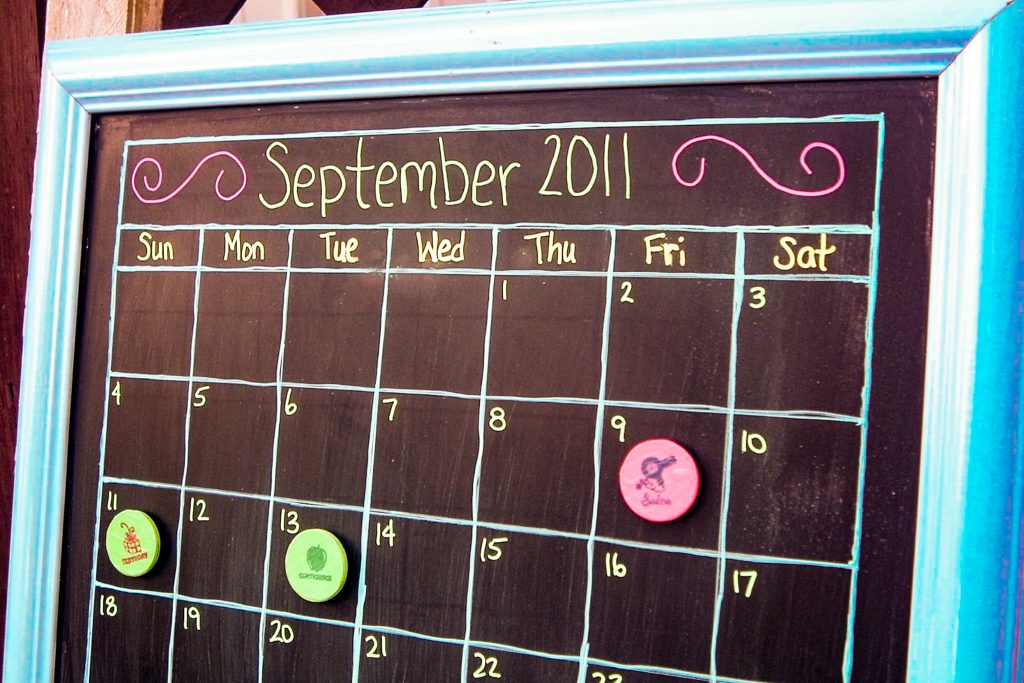
Do you know what chalk markers are? They are chalk paints and are more permanent than regular chalk. You can find them at your local craft store (or online) in several colors. Chalk markers only come off when they get wet, so no worries about smudging or accidentally wiping off your calendar.
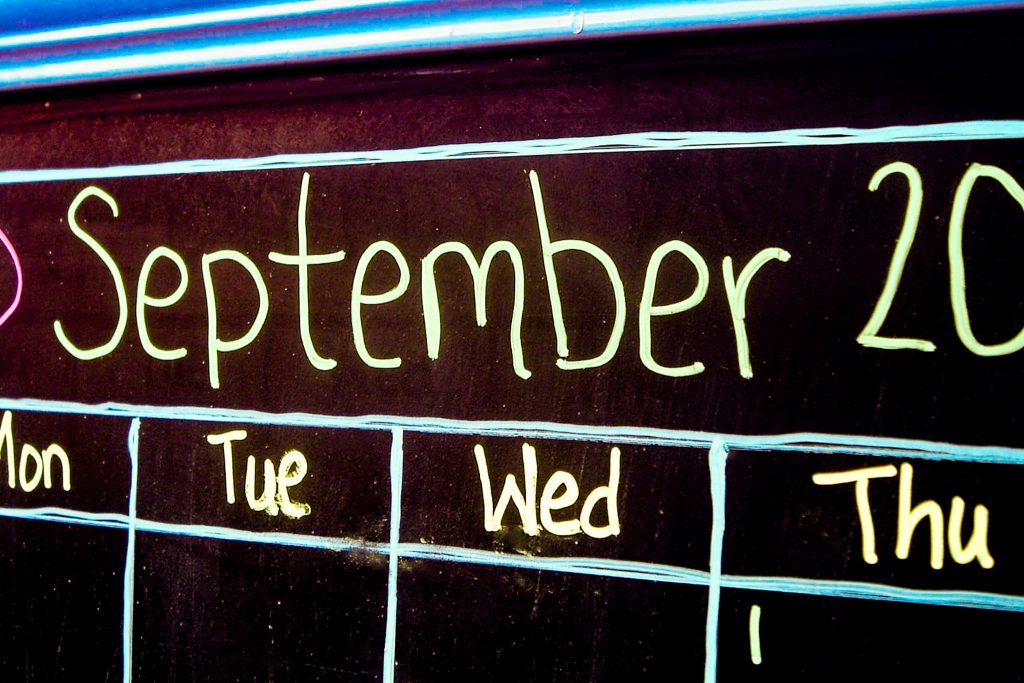
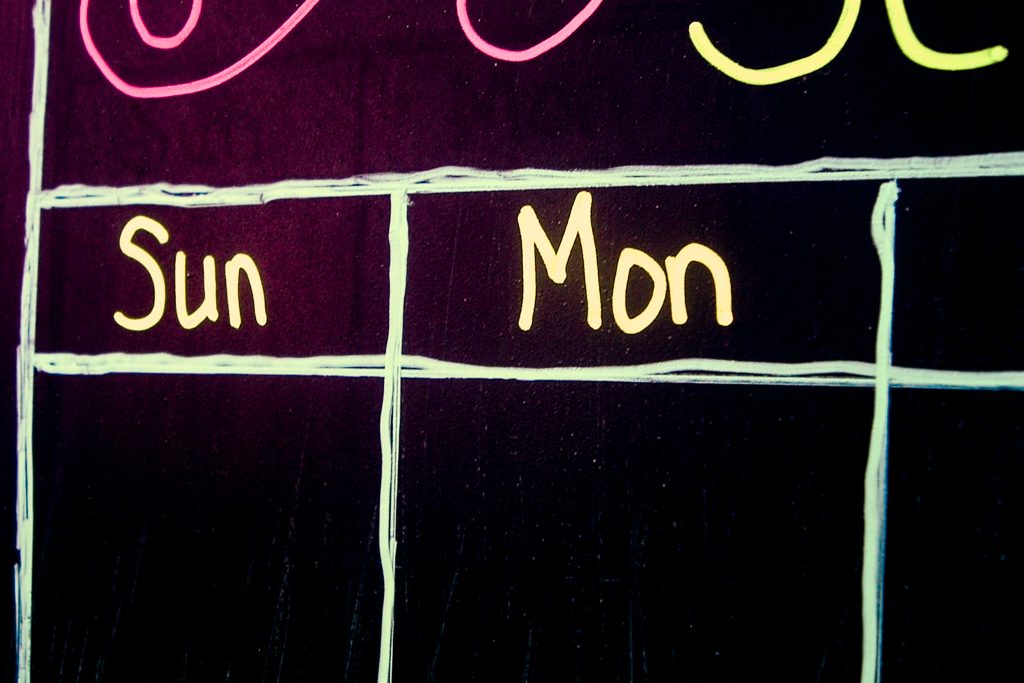
Drawing my calendar on the chalkboard took a few tries. Here are some tips for drawing your own:
- Use a ruler as a straight edge.
- Size your magnets or wooden discs to fit inside the squares.
- Leave an area for your month and days of the week.
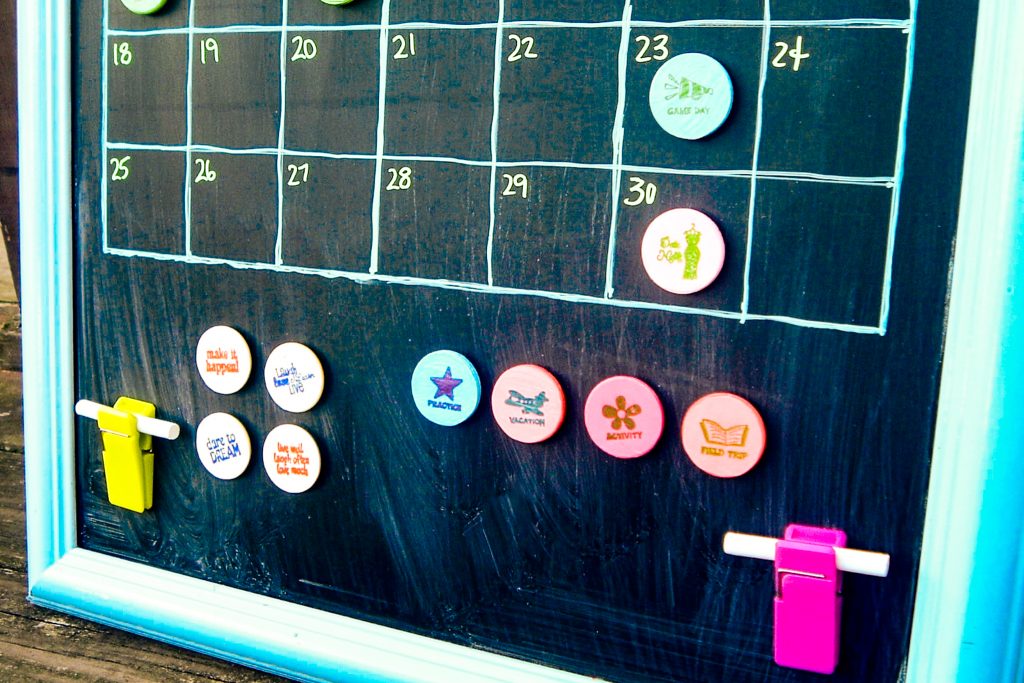
- Add a notes area or extra magnets at the bottom of the chalkboard.
- If you mess up your lines and your calendar looks messy, you can clean it up and start again. (I bet you can't guess how I know that!)
Remember, at the end of the month, you just use water to wipe it off, and you can draw on a whole new month.
Note: You could also use your Cricut to cut your calendar outline from adhesive vinyl and apply it to the chalkboard.
How to Make Custom Magnets for Your Magnetic Chalkboard Calendar
Now that we have a magnetic chalkboard calendar, we need magnets to go along with it! We will use the Print Then Cut feature in Cricut Design Space to create our custom magnets.
Supplies needed for magnets
- Wood circles or metal washers (I will show you how to use both)
- Paint (craft paint or spray paint)
- Cricut machine
- Scrapbook paper or sticker paper
- Printer – check out which printers I recommend
- Mod Podge
- Self-adhesive magnets
Option 1
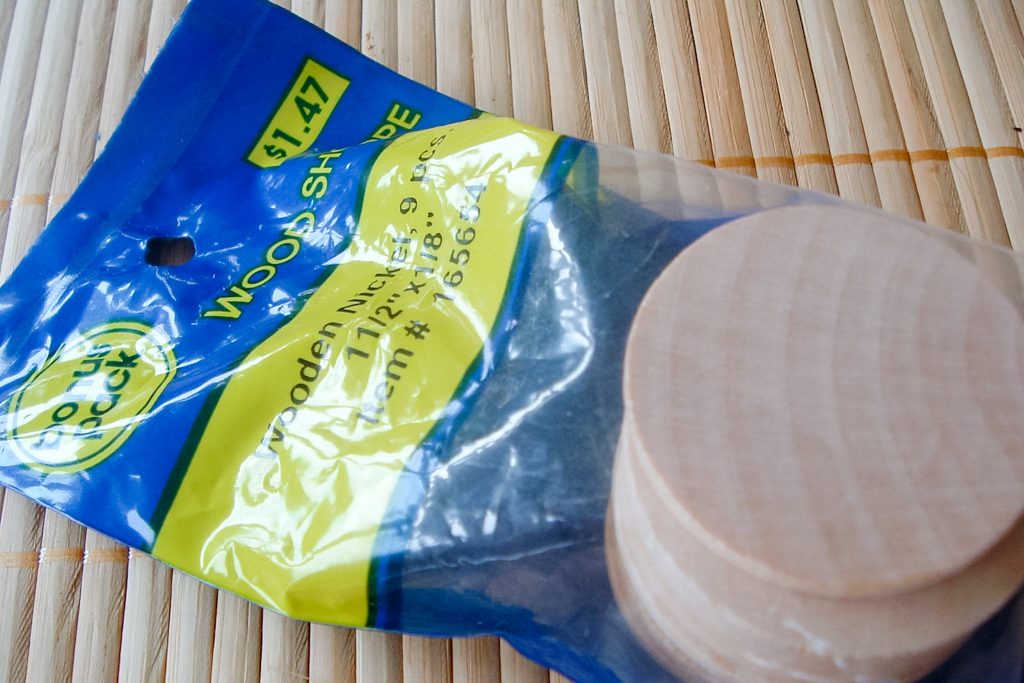
For the first set of custom magnets, we will use wooden circles. This is the pack I purchased at the craft store, but use what you have on hand or what fits best in your calendar.
Step 1
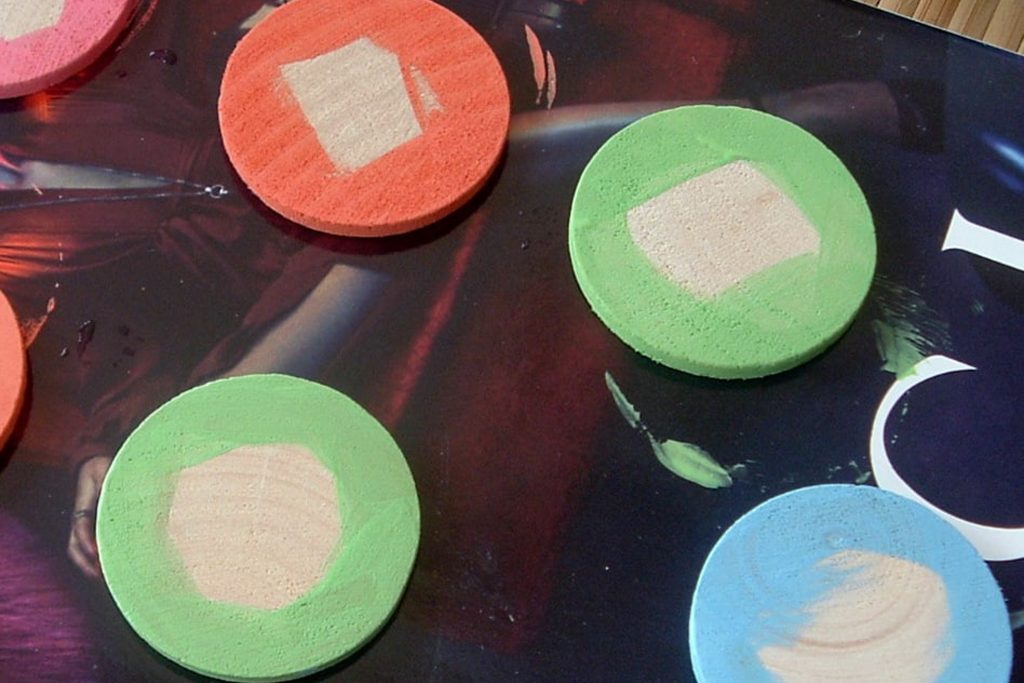
Paint the edges of your wooden circles with craft paint (you can also spray paint the entire circle). I used paint that matched the colors I used to draw my calendar.
Step 2
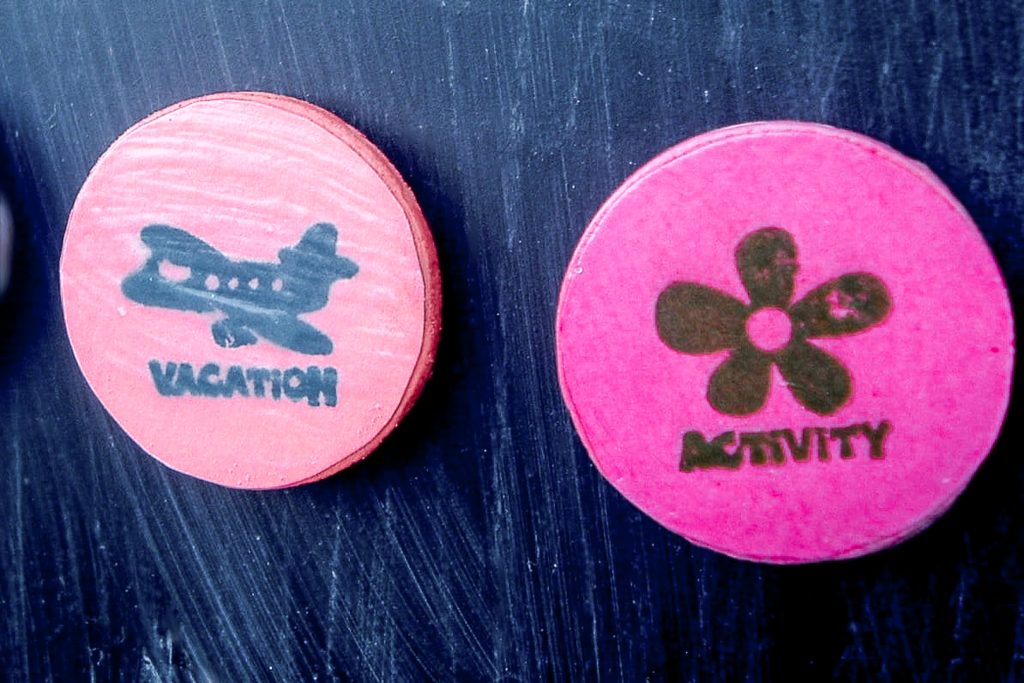
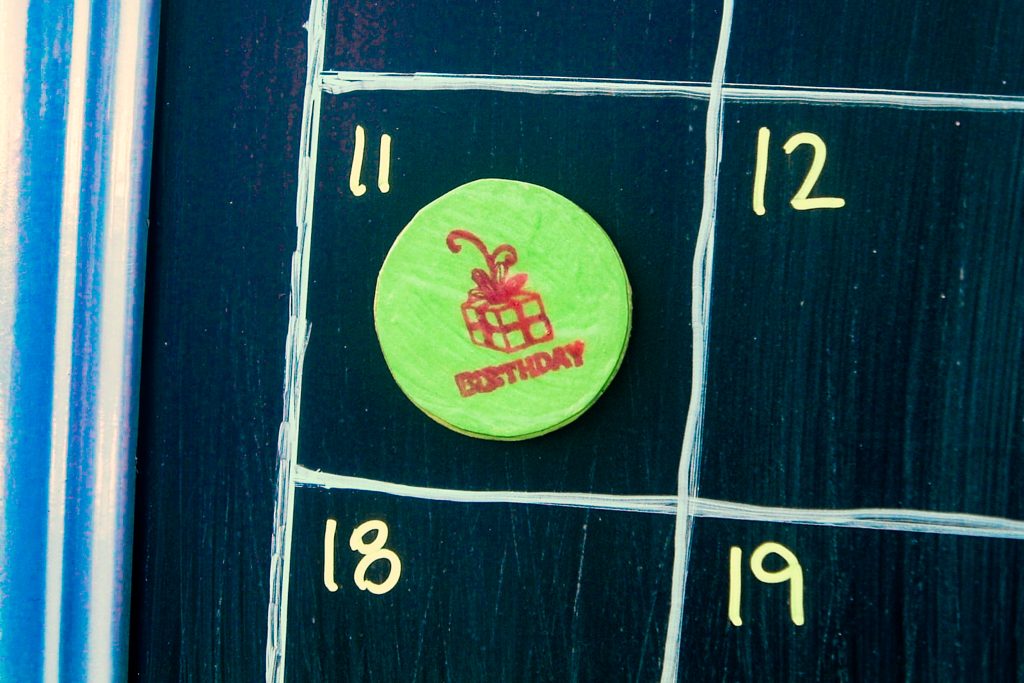
Using Cricut Design Space, create your magnets. Think about what you'll need for your calendar. I decided to make magnets for birthdays, date nights, vacations, and more. You can make whatever magnets you need. Do you have a hockey player? Make a magnet for that!
I added circles to the canvas and sized them to match the wooden circles and washers that I had. Then I added images to the circles and adjusted them to fit.
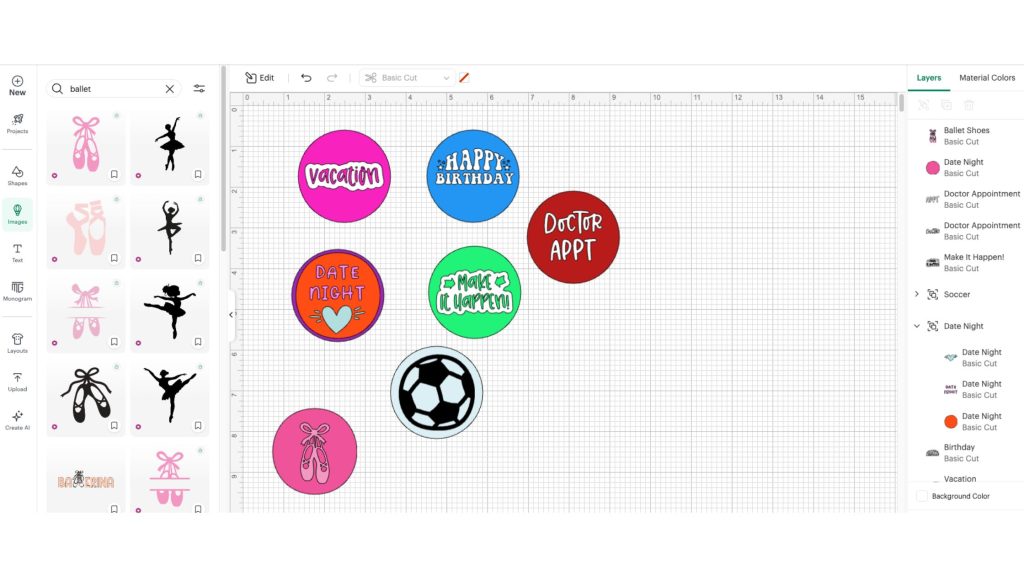
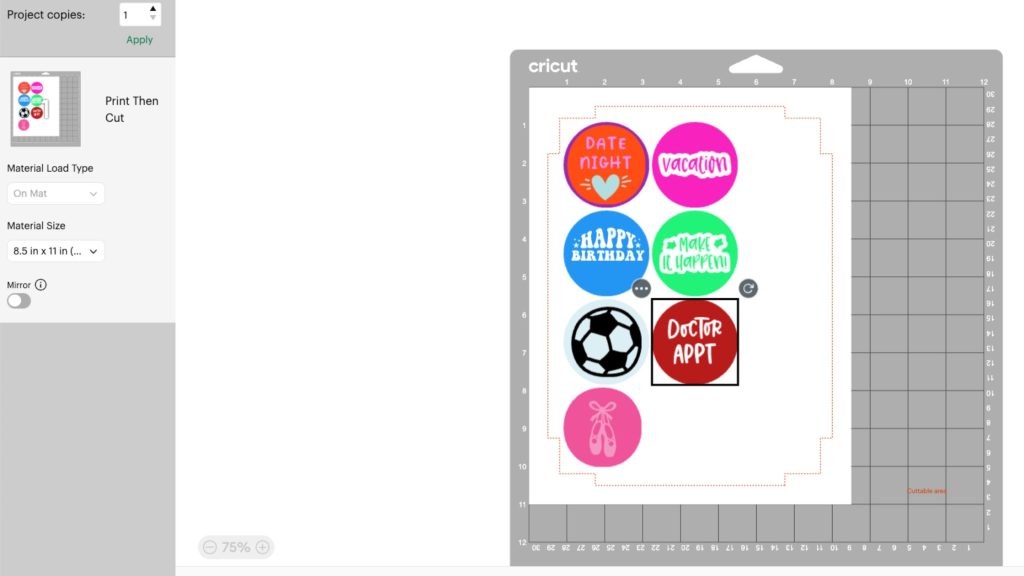
Once you have your images in the size and colors that you want, you'll need to select each “magnet” and flatten them. This will allow you to use the Print Then Cut feature to make stickers.
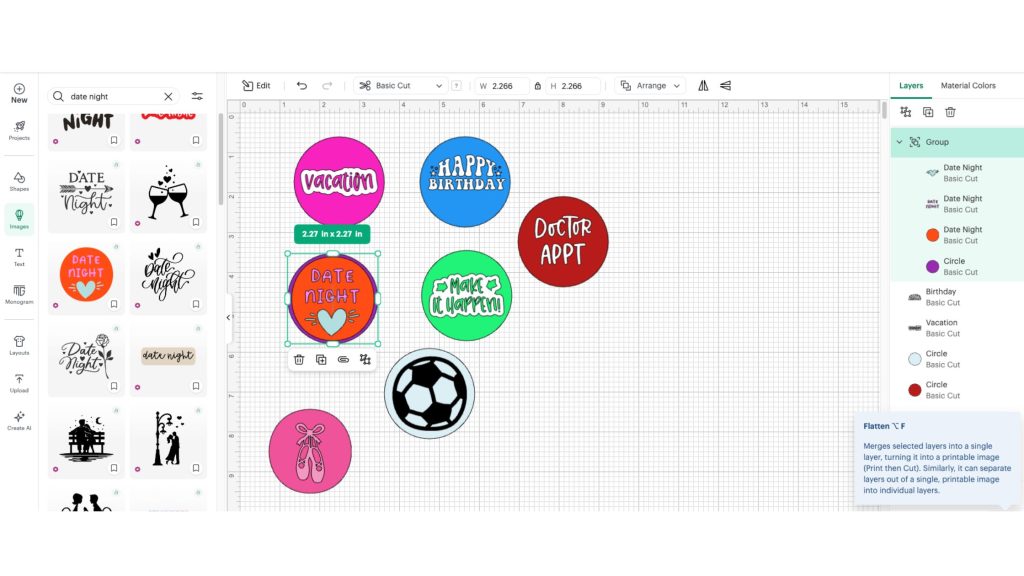
After all images are flattened, click Make to send them to the printer. You can print these on cardstock or on sticker paper.
Step 3
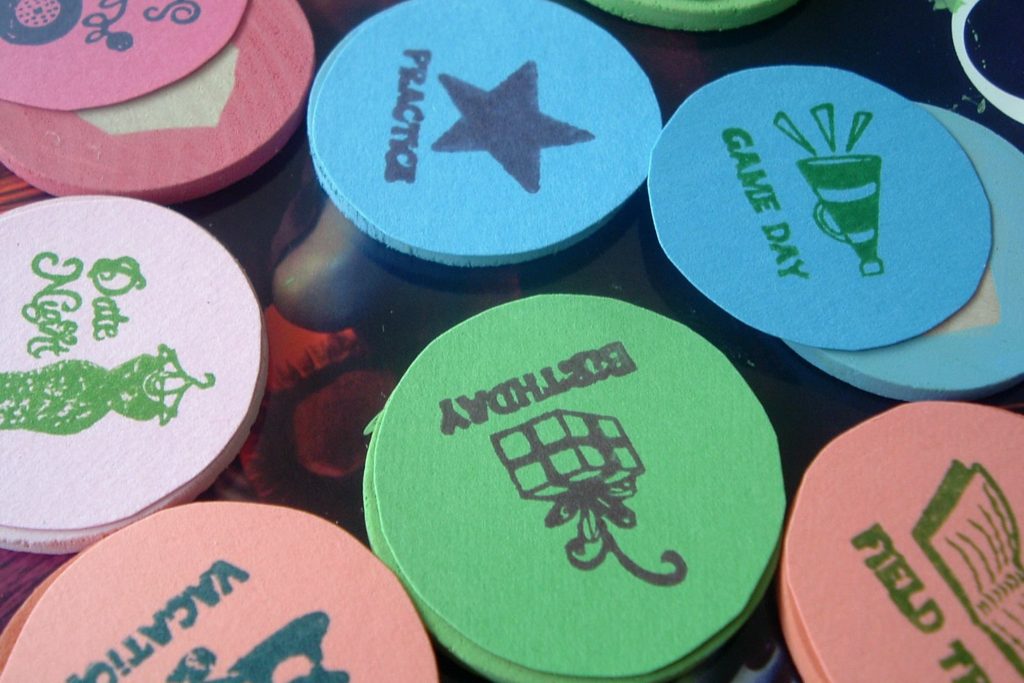
Now that you have printed and cut your circles, attach them to your wooden discs or washers using glue or Mod Podge. (The ones pictured below were stamped and cut by hand)
If you used cardstock or paper, use a few coats of Mod Podge to finish them.
Step 4
Once dry, add your magnet to the back. I used self-adhesive magnets and also added some glue to the adhesive. I admit, I did not trust the adhesive that came with them. You can always glue them later if your self-adhesive strip fails
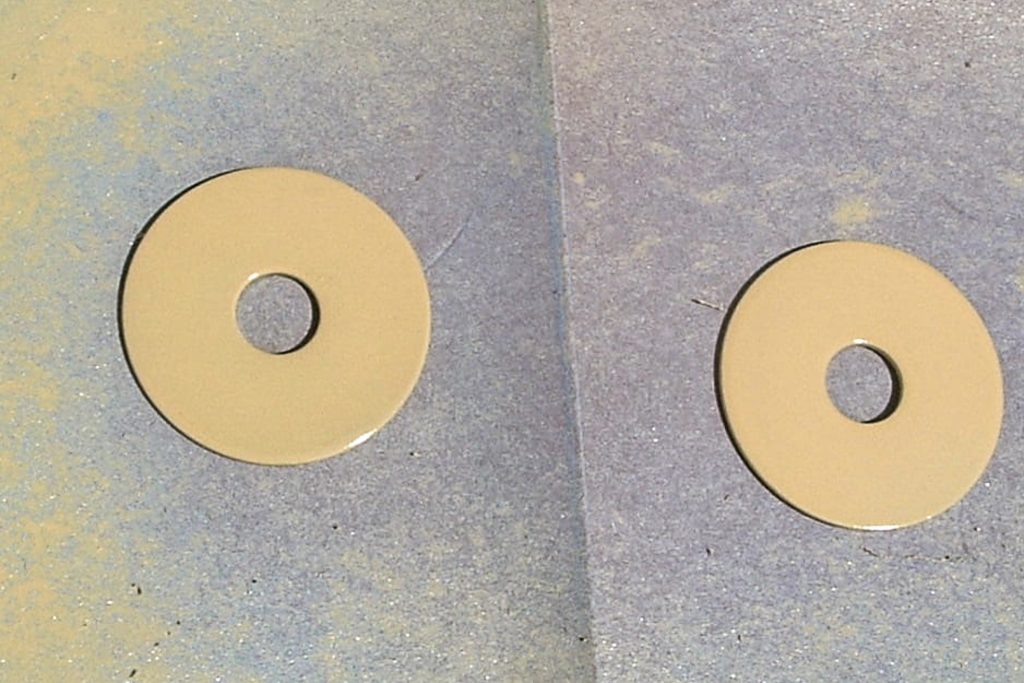
Option 2
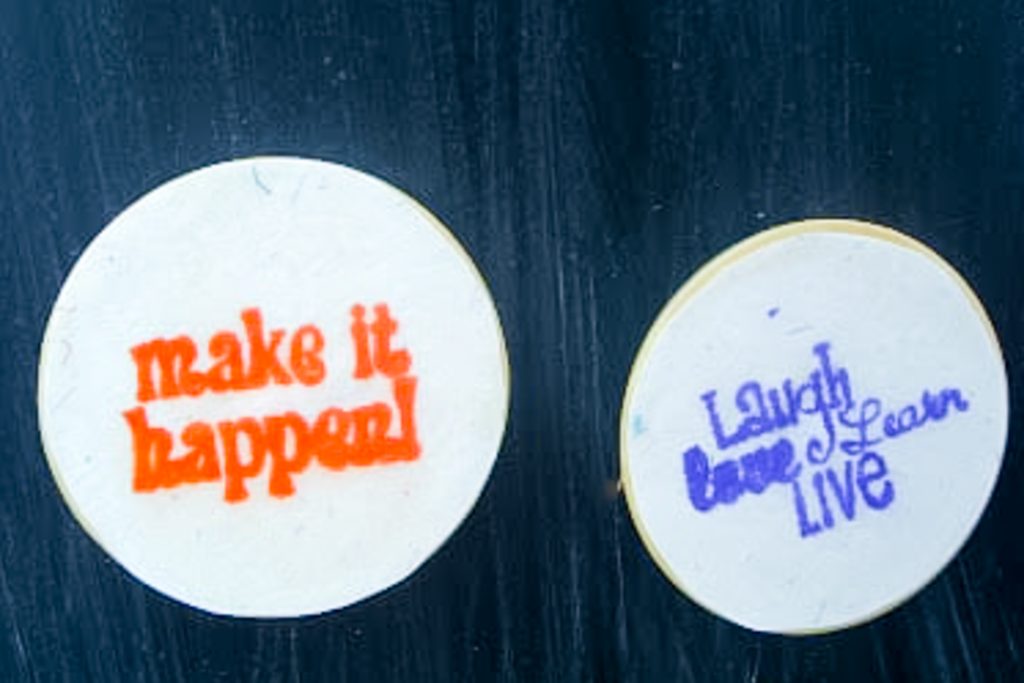
I also made a set of inspirational magnets for my calendar. If a tough test at school is coming up, you might mark that day with “make it happen”. Or if there is a play audition, you might put “dare to dream” on that day. I thought it would be fun for the kids!
For these magnets, I used metal washers. If you can't find the wood discs, a trip to your local hardware store will get you 1 1/2-inch washers that will fit the bill. I chose to spray paint these, but you could also leave them unpainted.
Then just follow the steps above to make your magnets.
Finishing the Magnetic Chalkboard Calendar
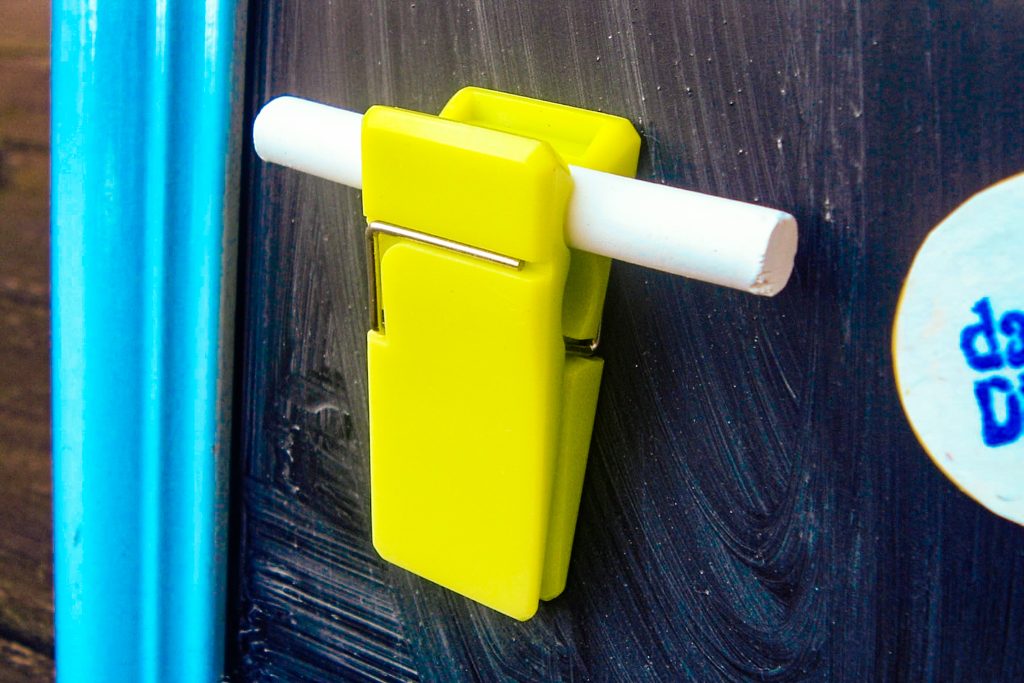
An optional accessory that I found was these magnetic clips, which I use to hold my chalk. Writing on the calendar in regular chalk will allow me to erase notes without disturbing the chalk marker lines throughout the month.
After finishing my magnets, I laid out our September schedule. We have a family birthday this month, so I was able to use the Birthday magnet right away.
There you have it! A magnetic chalkboard calendar to help keep you organized this year! After all, who can actually remember all those due dates, trips, school functions, practices, and games? – the list goes on and on!
There is plenty of room at the bottom of my calendar to store my extra magnets and my chalk clips. You might want to consider that when sizing your calendar.
I hope you make your own magnetic chalkboard calendar and enjoy it as much as I enjoy mine!
Declutter Your Home in 31 Days!

Clear the clutter and organize your home with our daily emails! Every day for a month we will send you a prompt to declutter! Sign up for our email list below to get started.


I really love this! I’m going to make one and put inside my pantry door. Thank-you so much for the fabulous idea!
Very cute! And oh so organizing. Thanks for sharing ;-).
Brittany
Looks a lot like my calendar (minus the screen) and magnets!
Being that the calendar hanging on my office wall reads “December 2010” makes it clear that I have a problem remembering to buy a new calendar! Perfect solution right here! This is going on my to do list for sure!
This looks great! Nice job.
I’d love for you to link up at DIY Thrifty Thursday @ http://www.thrifty101.blogspot.com
Hope to see you soon,
Michelle
This is so awesome! I just love it! I would love if you would come share this at The Crazy Cute Link Party @ Between U & Me! 😀
http://www.betweenuandme.com/2011/10/crazy-cute-link-party-22.html
Such a great and cute way to get organized! Thanks for sharing.
Oh my gosh! I love this! I found you through Serenity Now. Thanks so much for sharing!
This is just so cute! Thanks so much for sharing this great tutorial!
This is so cute and I will be featuring it on my blog tomorrow!
Amanda
everycreativeendeavor.com
That’s some creative home decor! http://www.sabineshome.com