


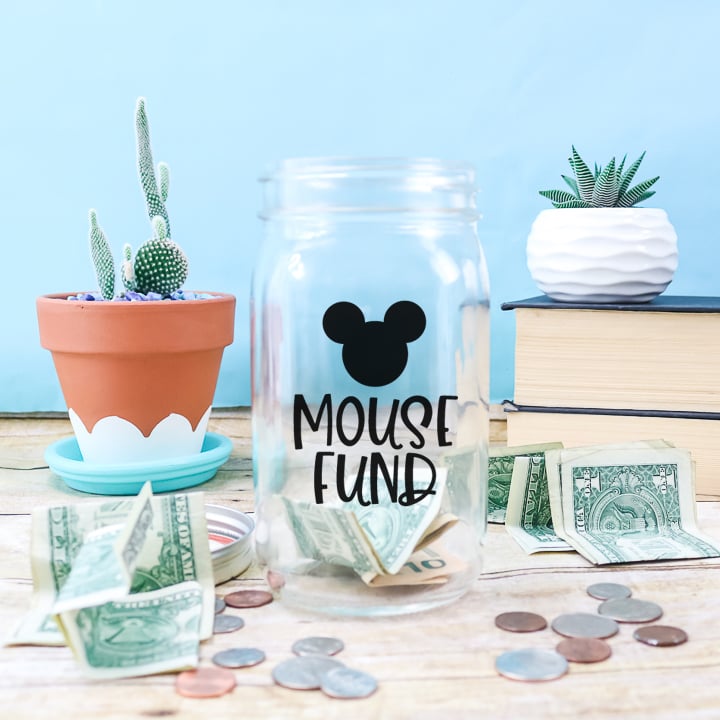
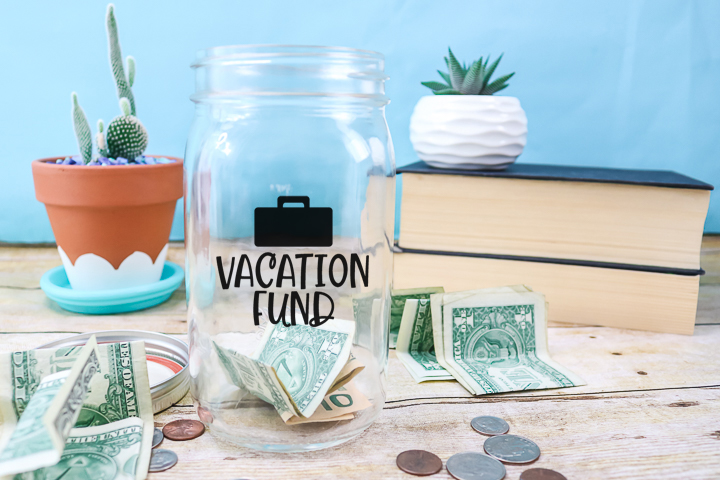
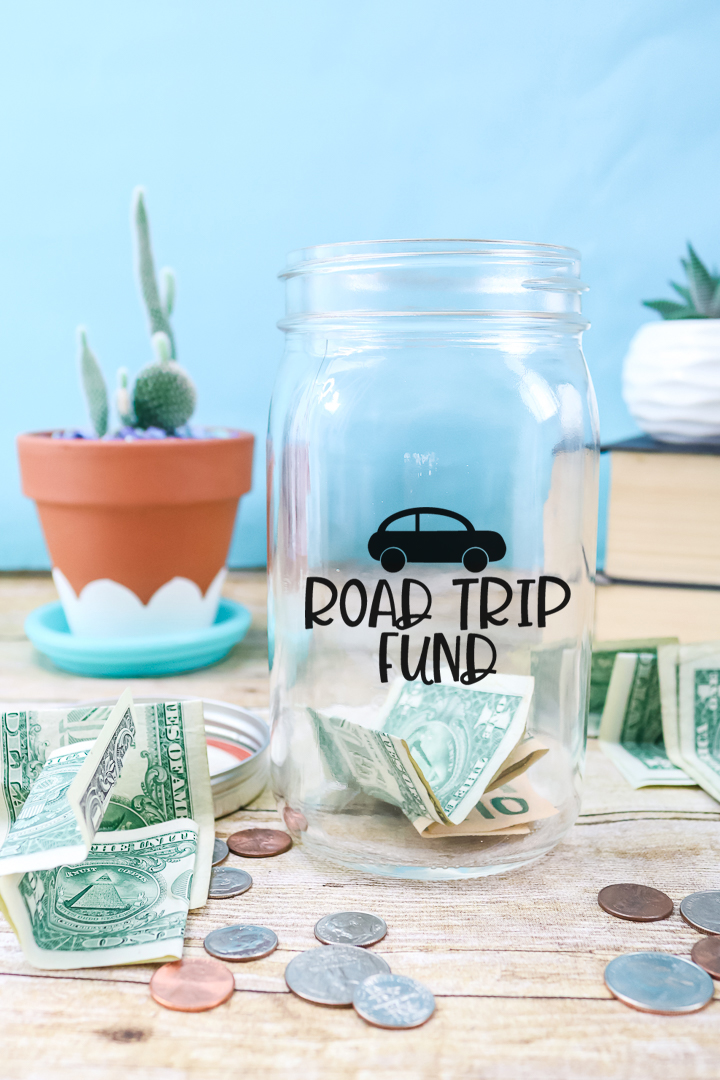
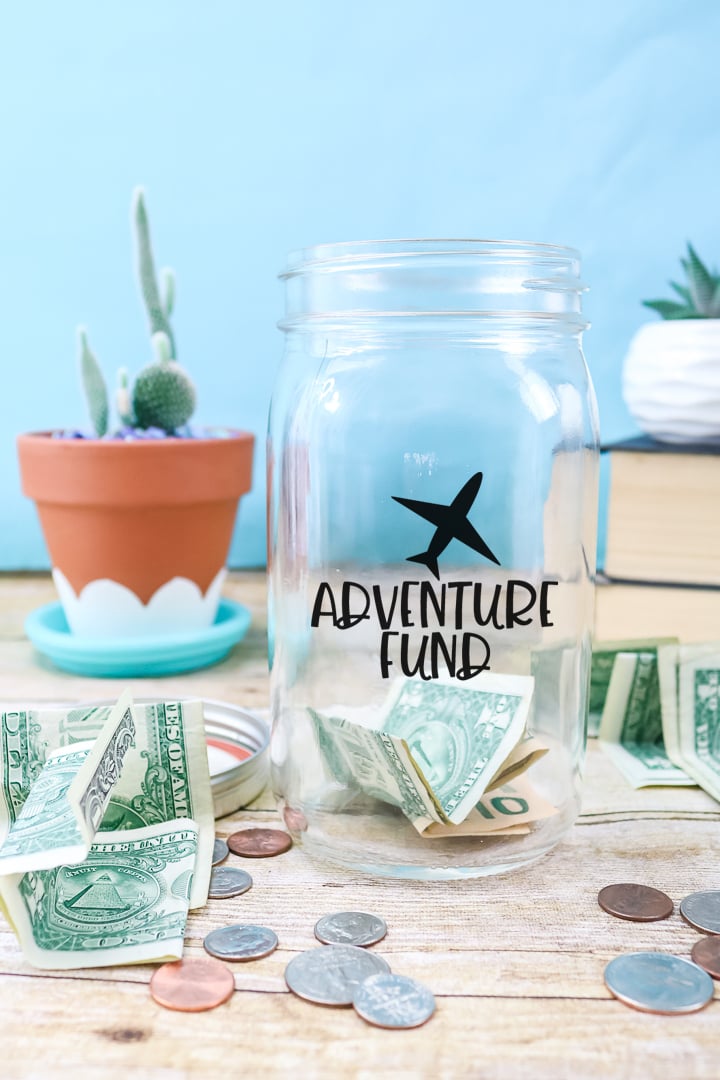
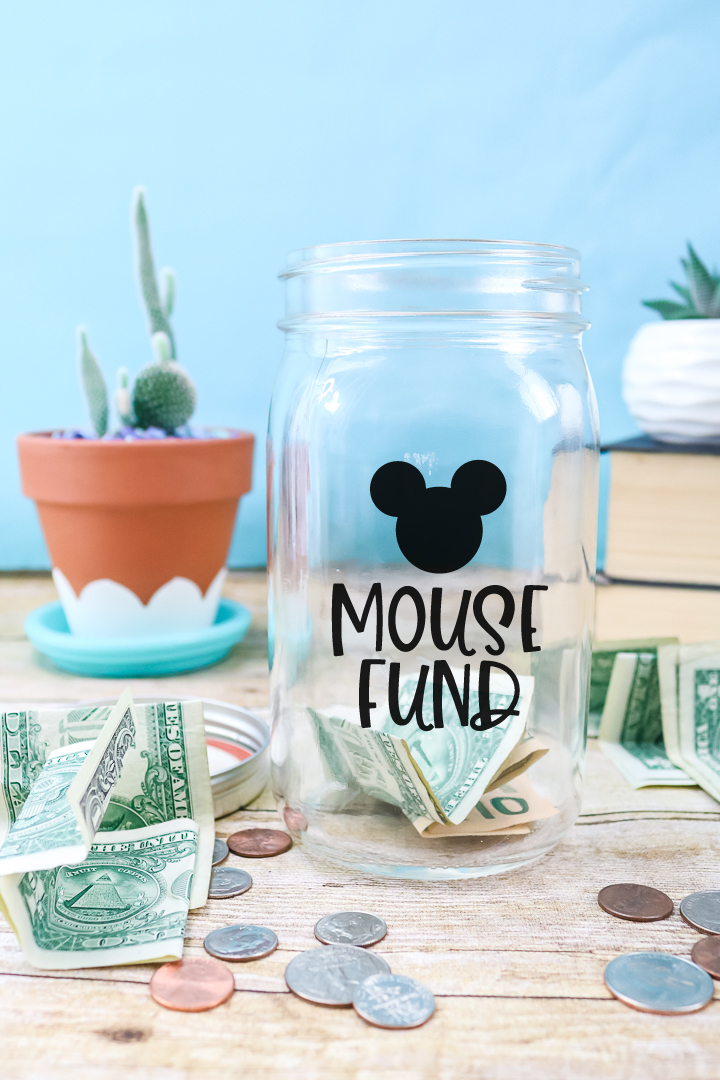
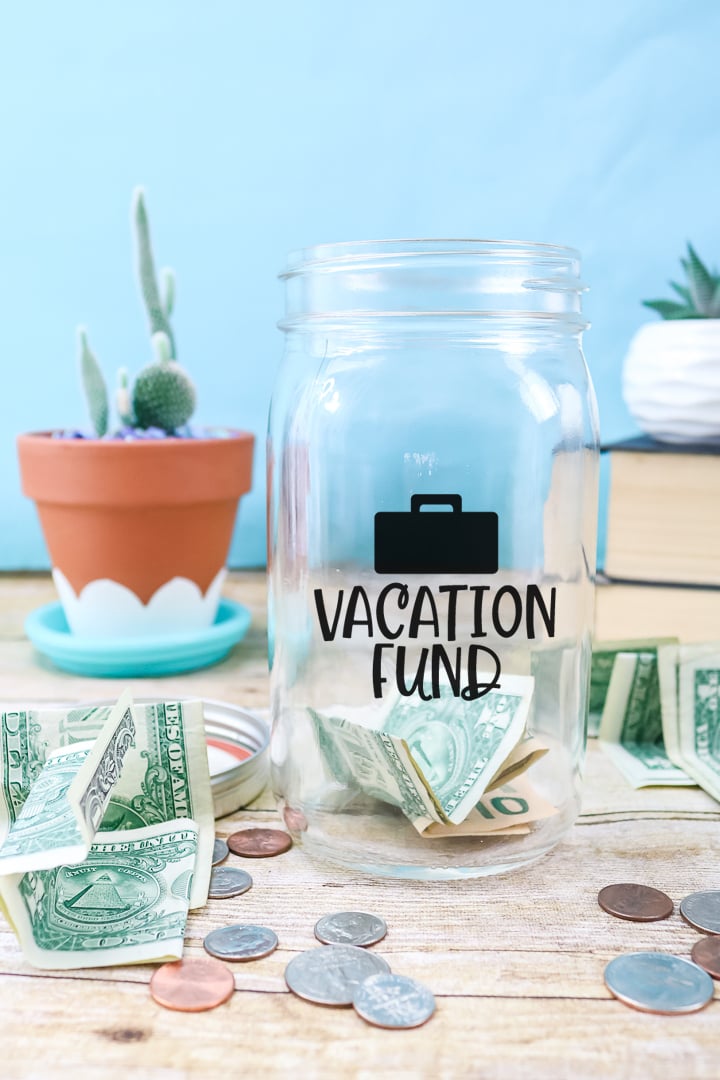
Now is the perfect time to create a vacation fund jar and start dreaming about all the places you want to visit in the future! Whether you're planning a big vacation, a road trip, a local adventure, or even a visit to see a famous mouse, we have you covered with these four free SVG files. Use these files to make your own travel fund jar with your Cricut.
This is part of an entire week of family fun Cricut ideas. You can see my tic-tac-toe board game, or scroll to the bottom of this page for more ideas from our blog partners.
Select one of the SVG files below, then upload it to your Cricut machine. From there, you can cut your design from vinyl and apply it to your jar. You will be saving for vacation before you know it.
Vacation Fund SVG Files
To create your own vacation fund jar, download the files by subscribing to my newsletter below. Once you sign up, the zip file will be sent to your email address. After downloading, unzip the files and then upload them to your cutting software. Please be aware that all four designs are included in a single file, so you will need to delete or hide any designs you do not wish to use after uploading them.
Please note that these files are for personal use only. Please contact me via email if you have any trouble using these or if you would like to inquire about commercial use.
If you love free SVG files, you may want to join our Cricut Facebook group, where we offer a free SVG file every month that you won't want to miss.
How to Make a Vacation Savings Jar
Now that you have your SVG files, you'll want to put them to good use and create a cute jar to save for your vacation! First, decide which SVG file you will use, then break out your Cricut to make this fun craft.
Supplies Needed For Vacation Savings Jar
- Cricut machine (any will work)
- Mason jar with one smooth side
- Adhesive vinyl in any color you choose
- Transfer tape
- Weeding tools optional
- Scraper optional
Step 1: Cut Vacation Fund Design
Upload the SVG to your cutting software and delete away any elements you do not want on your jar. Then cut your design from adhesive vinyl.
Step 2: Weed Vacation Fund Design
Remove all excess material from around the design.
Step 3: Add Transfer Tape
Add transfer tape to the top of the design and burnish well with a scraper or old gift card. Flip over and carefully remove the backing from the vinyl, making sure your design has transferred to the transfer tape.
Step 4: Apply Design To Jar
Ensure your jar is clean and dry. Then, apply the vinyl in the desired position on the jar and burnish it well. Finally, remove the transfer tape.
Step 5: Burnish Design To Jar
Burnish the vinyl once more, and your vacation jar is complete! For more information, you can visit this link if you're having trouble using Cricut vinyl.
So easy and so cute! Now all that is left is to decide which of these fun jars you will make to save for your next adventure.
I really can't decide which is my favorite! I suppose it really depends on where your family is dreaming of heading. Do you all love road trips? Then, a road trip fund might be perfect.
You might not know what type of adventure you want to go on yet. Saving for unknown adventures and spur-of-the-moment ideas might be just the thing your family needs.
Some dreams are grand! The castles, that famous mouse, and the vacation of a lifetime.
Whatever your family dreams of, you will love saving pennies in a vacation fund jar to make the trip you've been dreaming of!
FAQs About Vacation Fund Jar
Here are a few common questions that I often see readers asking about making this vacation fund jar. If you have a question, please check if I’ve already addressed it below. If you don’t see your question listed, please leave it in the comments.
Can I Use Any Cricut Machine For This Project?
Yes, you can! The Cricut Maker, Cricut Explore series, Cricut Joy, Cricut Joy Xtra, and Cricut Venture can all work for this project.
The only thing to keep in mind is that each Cricut machine differs in terms of project size capabilities and the materials it can cut. So, depending on what project you have in mind, you might need to resize the SVG file or cut it out in a different material.
Can I Use Any Type Of Jar For This Project?
Technically, yes. However, since we are adding vinyl to the side of the jar, I recommend using a smooth-sided jar.
Do I Need To Clean My Jar Before I Start This Project?
Yes! I didn’t mention it in the tutorial, but you will want to wash and clean your jar before you add the vinyl. Also, I would clean the outside of the jar with alcohol because it will remove any extra ”dust” and it will give you a nice clean surface to add your vinyl on.
I'm Using A Jar With A Label. Do You Have Any Tips For Removing The Label?
If you are using jars from your kitchen (such as pickle jars, jam jars, etc.), there are several ways to remove the original label.
For these types of jars, I would let them soak in warm, soapy water, then use a scraper to remove the label. This has worked for me, but if you're dealing with a stubborn label, consider the following additional steps.
- Pour hot water into the jar, let it sit, and the label on the outside will loosen up.
- Create a mixture of dish soap and vinegar.
- Apply heat to the label using a hair dryer.
I'm Using A Jar With A Label. Do You Have Any Tips For Removing Sticky Residue?
To remove any sticky residue from the jars, I would use Goo Gone, along with soap and water. However, if you don’t like the smell of Goo Gone or need alternative options, the following are a few suggestions.
- Adhesive Removers (like 3M Adhesive Remover, Un-Du, etc.)
- White vinegar
- Nail Polish Remover
5 More Cricut Family Crafts
If you loved this vacation fund jar and are looking for more Cricut family crafts, check out the projects below!
- Printable Flat Stanley for Summer Geography Fun
- Felt Tic Tac Toe Board
- Would You Rather Game – Print Then Cut
- DIY Scratch Art with Your Cricut
- Make a DIY Name Puzzle with a Cricut Maker


I am trying to download the vacation fund svg and you sent me a download link but it was only the beginners guide to cricut design space.
Help
Thanks
NANCY
That is because you put your information in the design space form. There is a form with a picture of the vacation fun jar and that is where you put your information if you want that SVG.