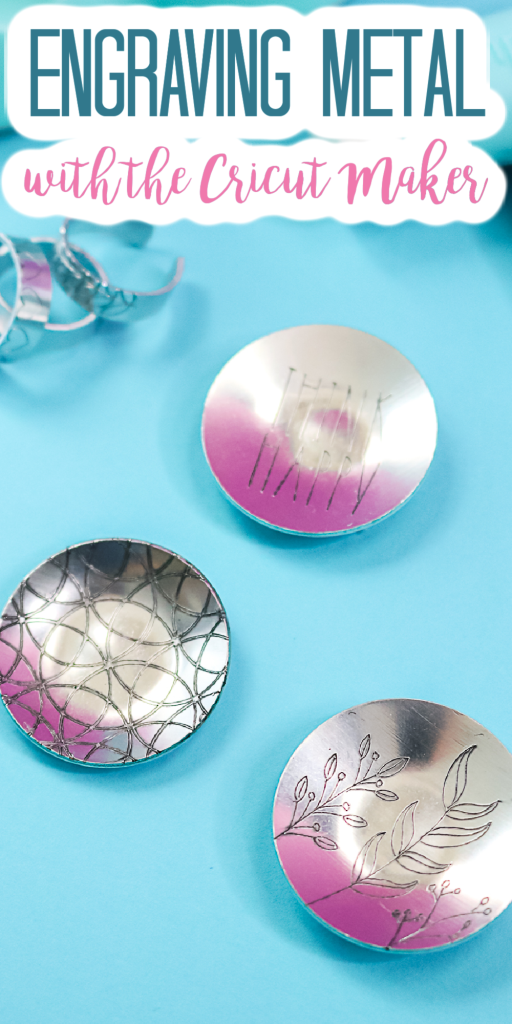
Are you ready to tackle a Cricut Maker metal project? Today, we're going to do some metal etching with the Cricut Maker. I'm going to use the Cricut Maker 3, but you can definitely use the original Cricut Maker for this as well. In the past, I have made metal-etched bracelets and you all loved those. We're going to do some more engraving today with the engraving tip on some ring dishes. You can use these to put your ring in while you're doing the dishes or make them as a gift. Plus as a bonus, I'm going to make some rings as well, using the same technique that I used to make the bracelets. So, let's get started!
Cricut Maker Metal Project
You can click play on the video below and watch me make this metal engraving project on my Cricut Maker 3. You are going to love the possibilities that open up once you know how to engrave metal on your Cricut machine.
Can't watch the video or miss some of the steps? You can also follow along below!
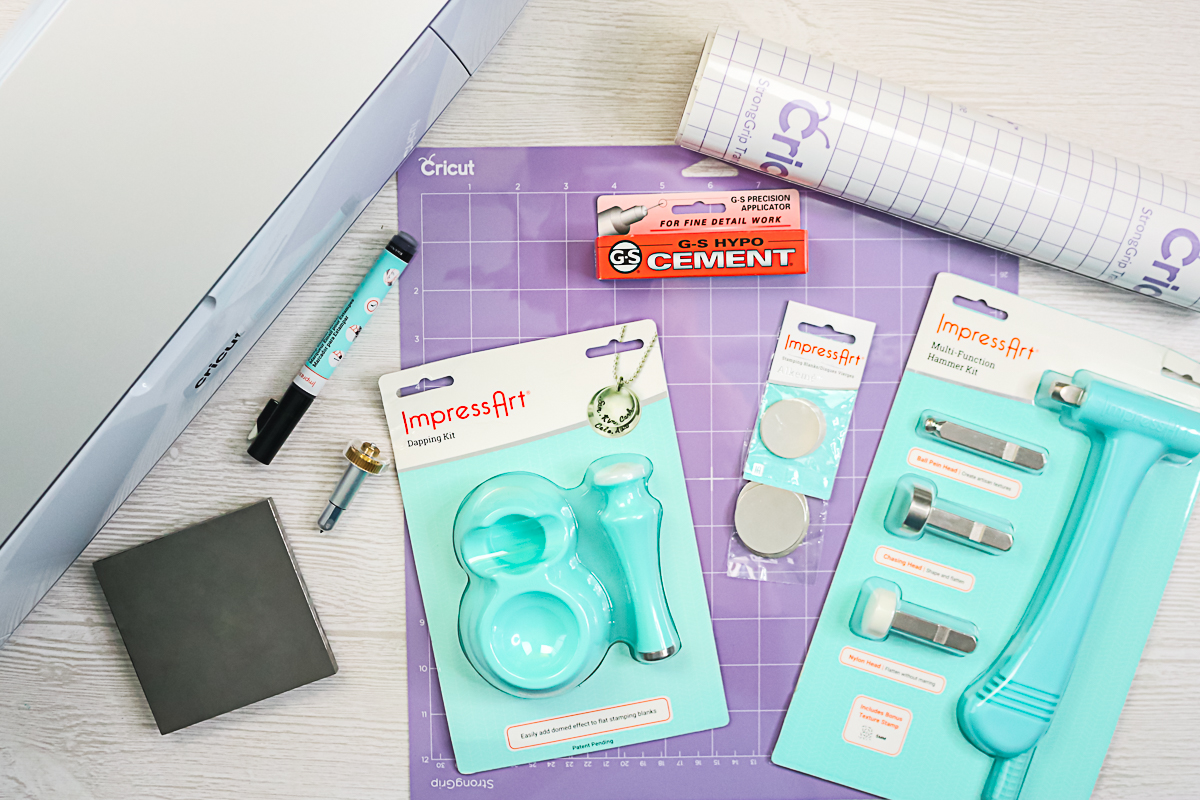
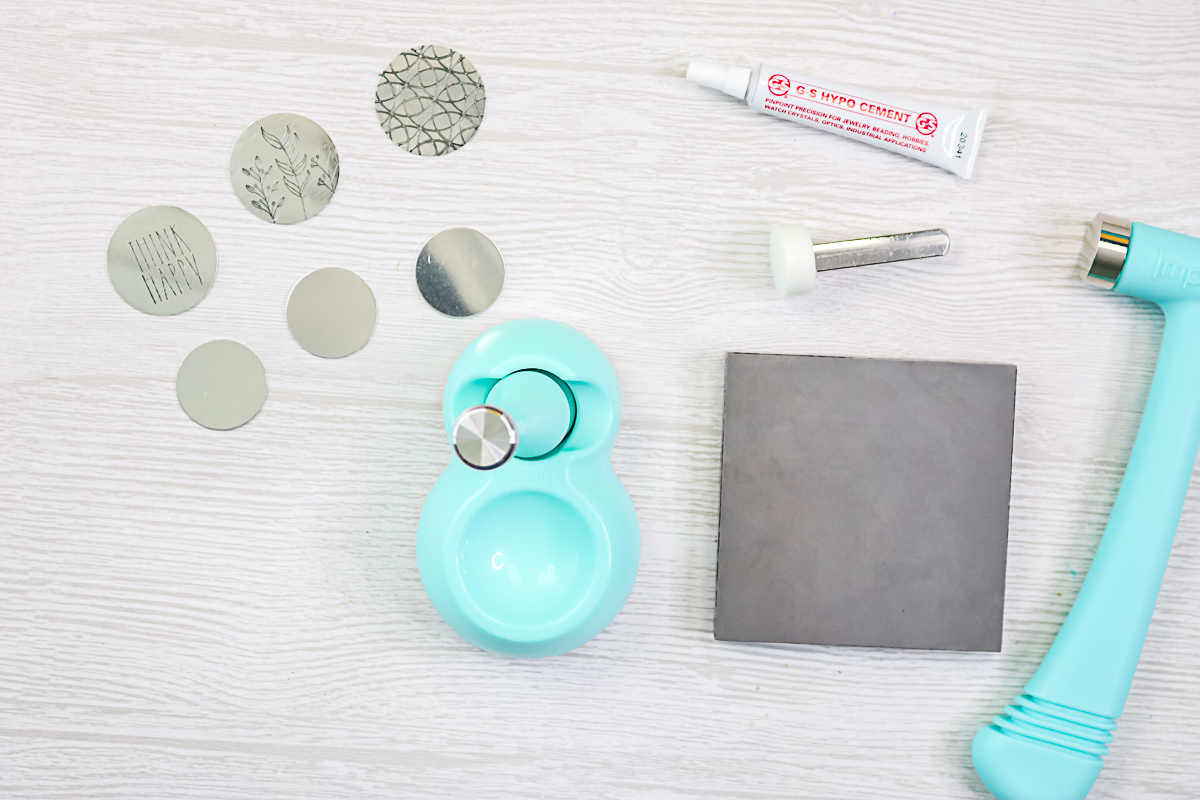
Supplies Needed
- Cricut Maker (Either the Cricut Maker or the Cricut Maker 3 will work for this. You can see how I was able to engrave with my Cricut Explore Air 2 here.)
- Engraving Tip
- Quick Swap Housing
- Strong Grip Mat
- Strong Grip Transfer Tape
- ImpressArt Round Alkame Blanks 1 1/2 and 1 1/4 inch
- ImpressArt Dapping Kit
- Stamping Block
- ImpressArt Hammer
- Adhesive
- Enamel Marker
- Ring Bending Kit
Metal Engraving Designs
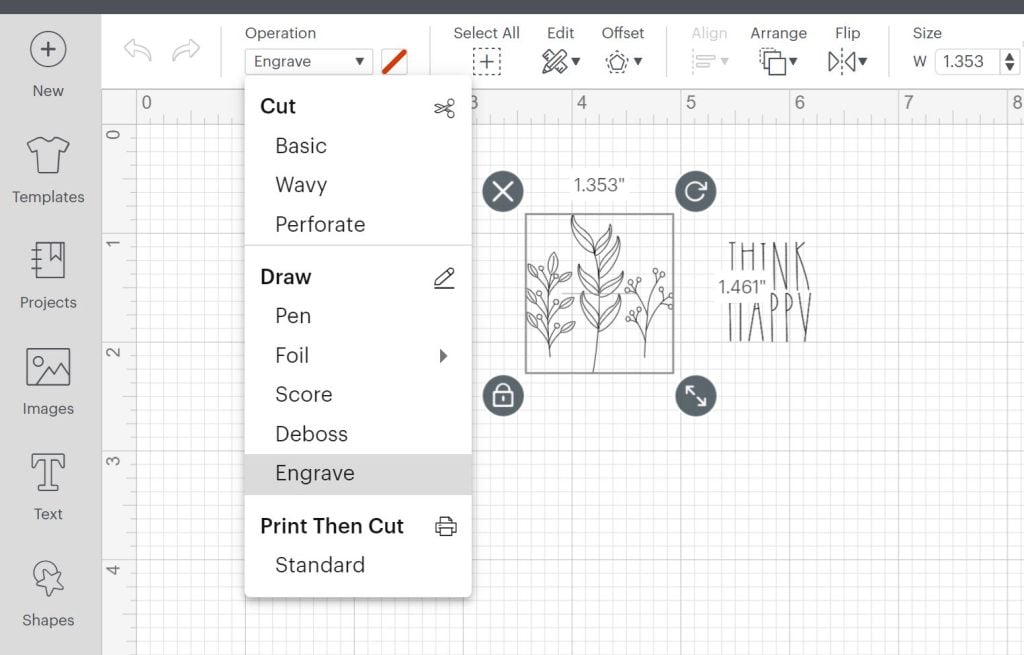
For these ring dishes, this is what you need to do in Cricut Design Space. First of all, you will need a single-line file of some sort. This is a file that draws and then you would change those draw lines to engrave lines in Cricut Design Space. To do that, you will want to make sure that Maker is chosen as your machine, or in our case, I'm actually going to use my Maker 3.
If you want to see exactly how I designed the three ring dishes I made in this post, you can watch the video above. I walk through exactly what you need to do in Design Space to make your ring dish designs.
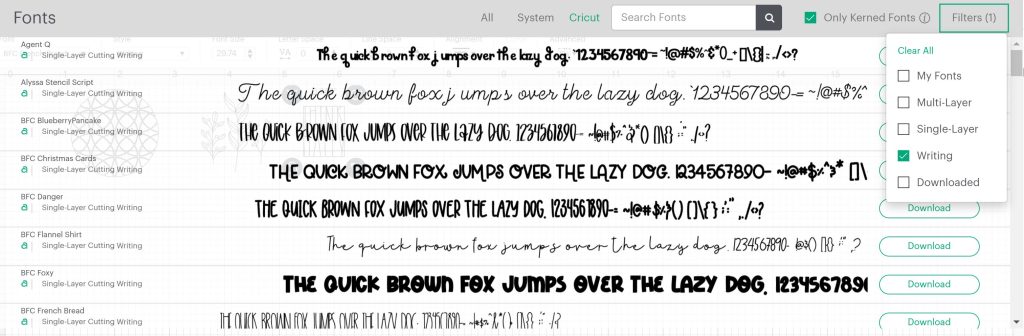
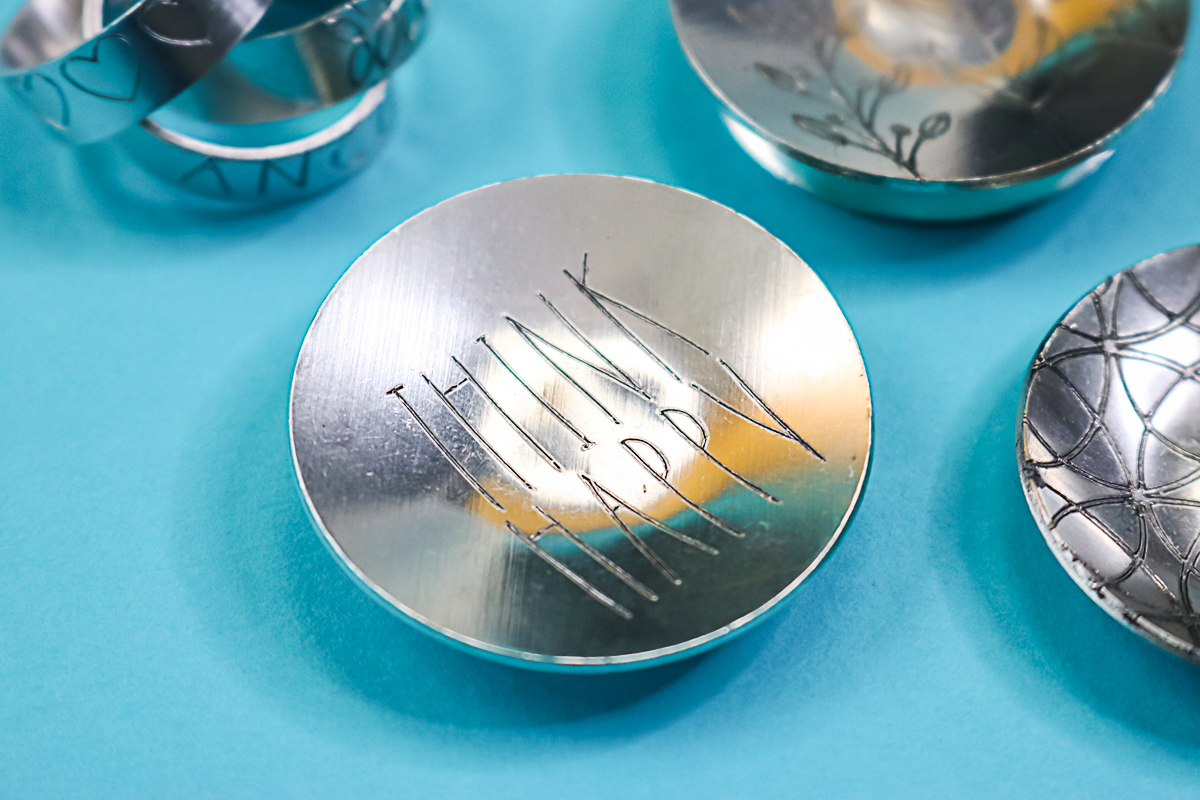
Please note if you want to add text, you will want to choose a writing font so your font will look like writing and not an outline. I usually go to Cricut fonts, filter, and pick writing fonts. Those will usually engrave really well. The font I am using here is BFC French Bread.
Locating Your Designs on the Cricut Mat
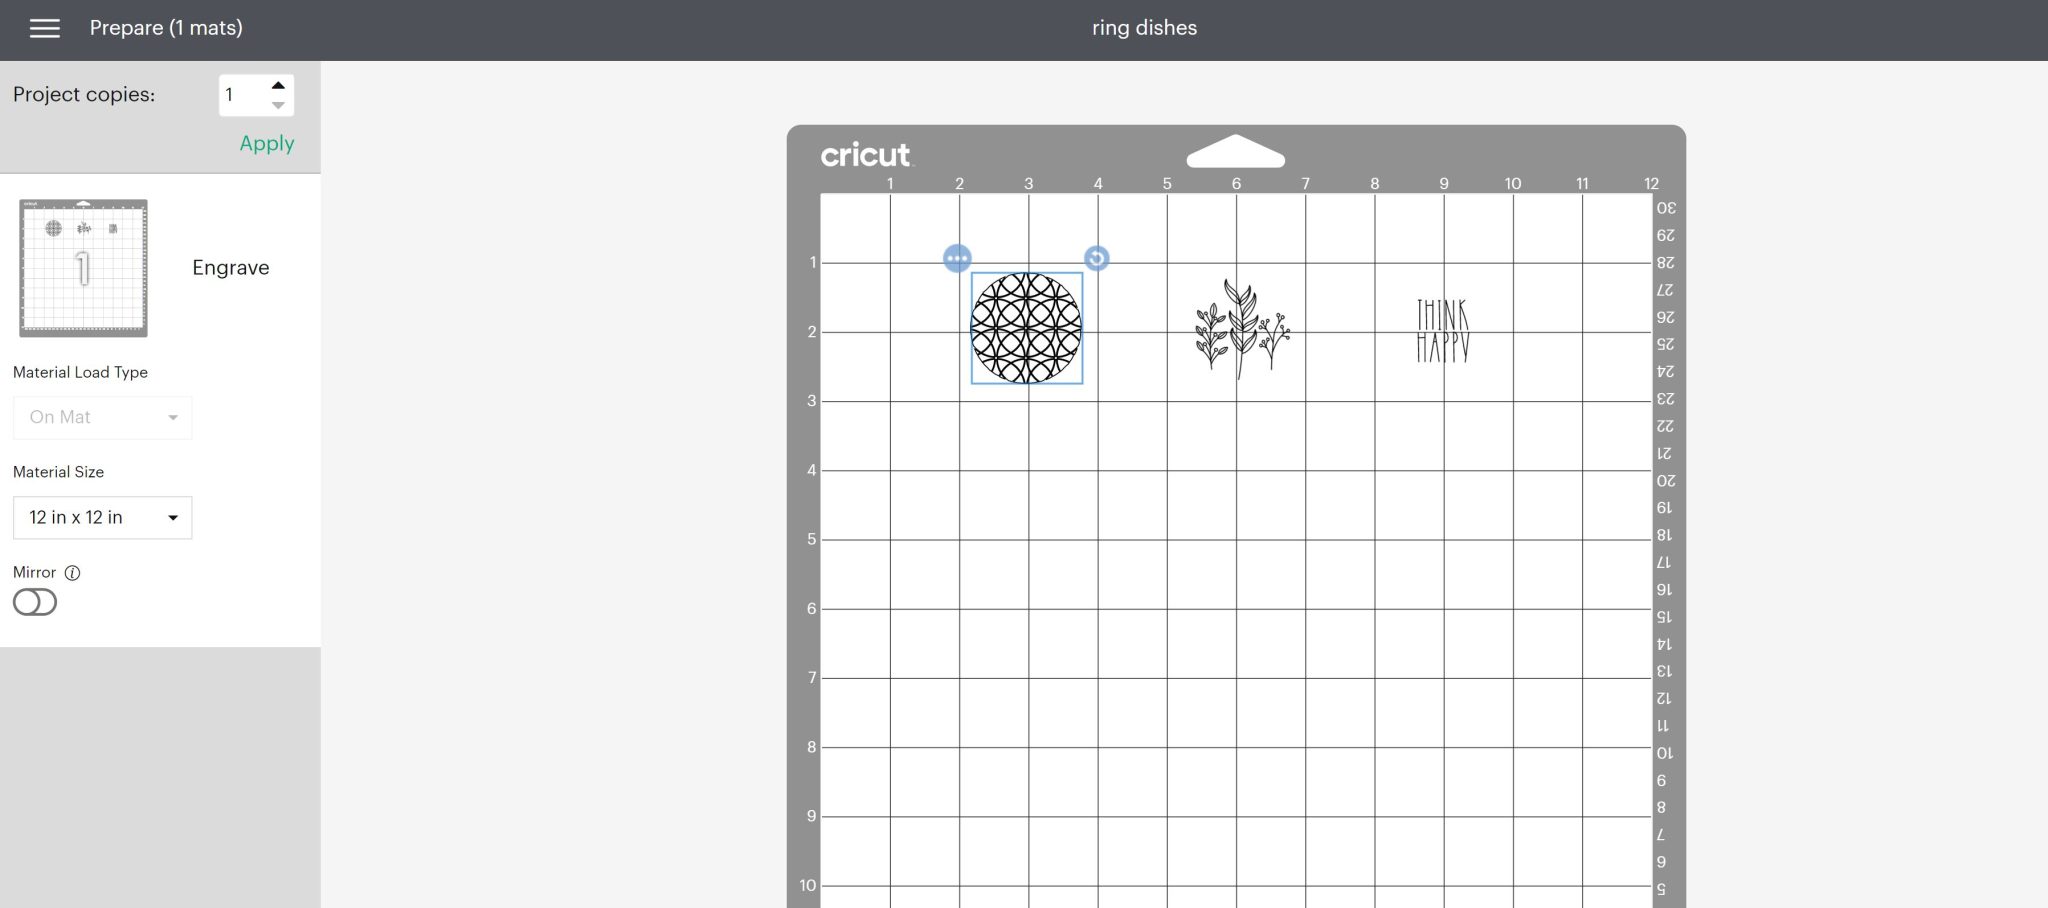
Once you click make it in Cricut Design Space, you’ll need to drag your designs with the mouse and move them to the location on the mat where you put your metal blanks. Use the lines on the mat to locate your blanks then the corresponding lines in Design Space to help you line everything up. I do have instructions on checking the location of the engraving on your Maker here. Be sure to head there if you're having trouble locating your design on your blank. Once everything is located correctly and the blanks on the mat, click “continue” to start engraving.
Picking Your Material for Engraving
At this point, you will need to pick your material type. Click “browse” on materials. The compatible materials will be what is available for you. There are a few different options including aluminum sheets, aluminum brass, bronze, and stainless steel. This material is most like stainless steel. Pick stainless steel from the options and click “done”. Then Design Space will tell you to load the engraving tool in clamp B and press the load-unload button.
Adding Metal Blanks to the Cricut Mat
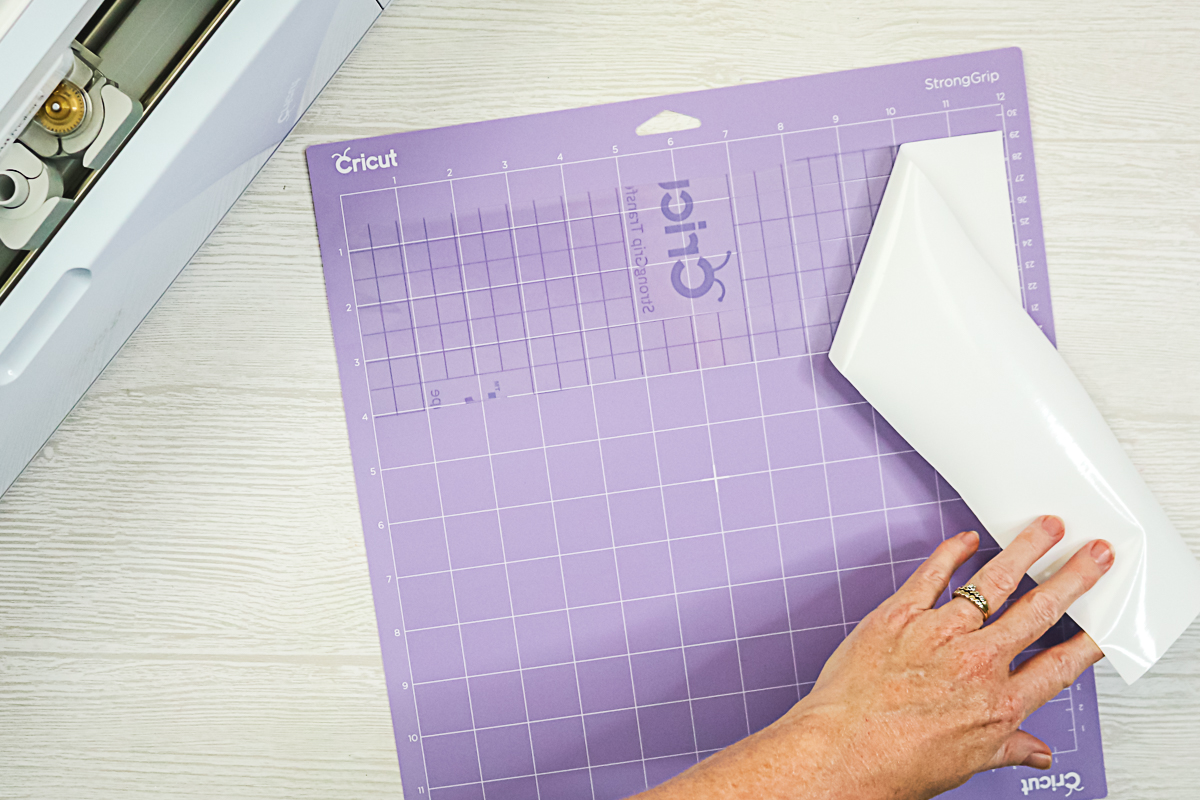
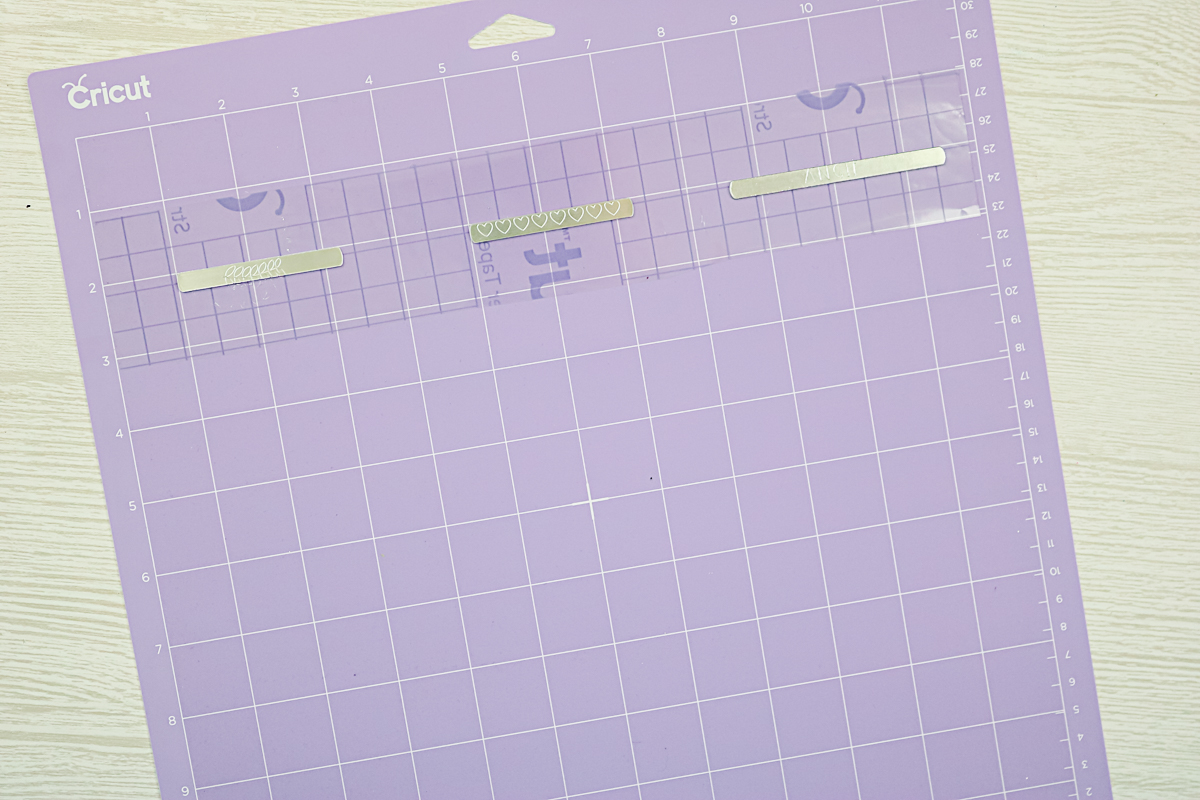
This hack will hold your blanks firmly into place and allow you to engrave the entire blank. It does not require any tape to be added to the top of the blank. NOTE: You must use the strong grip transfer tape as the regular will NOT work. Place it face down on the mat wherever the blanks will be located.
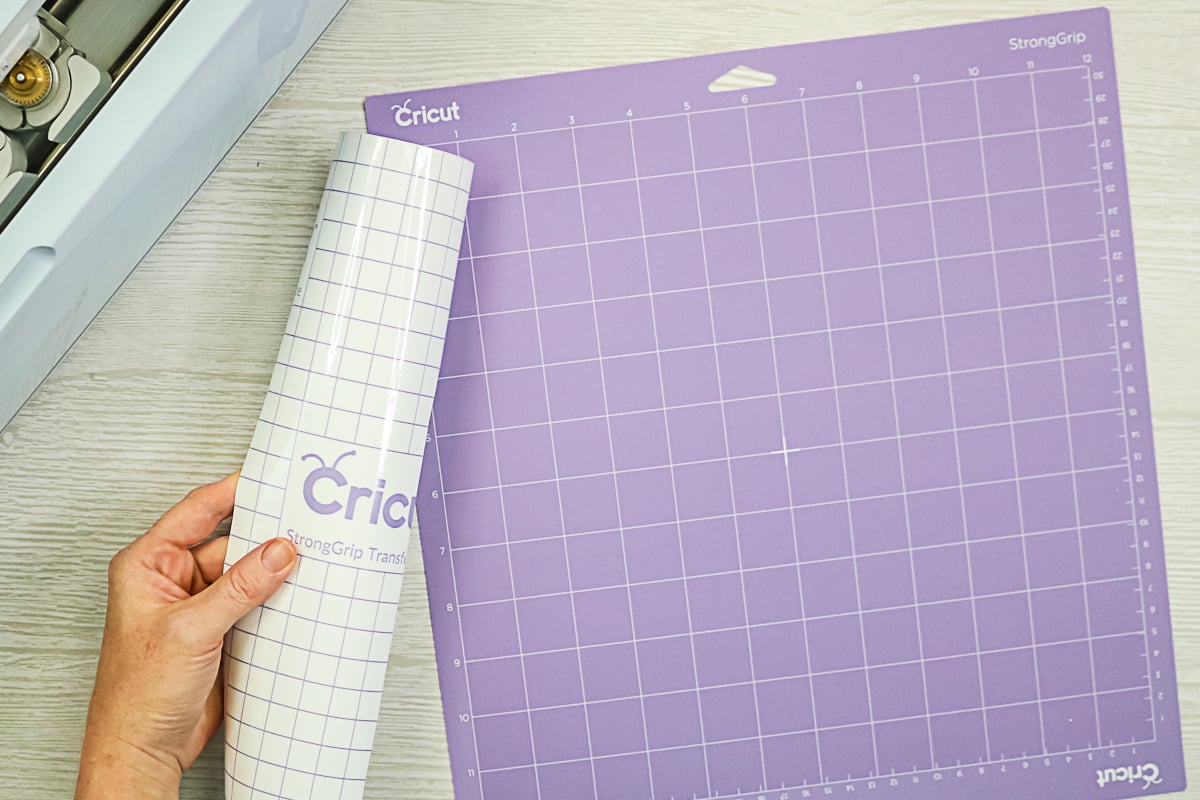
Peel away the backing paper back and leave the sticky portion of the transfer tape on the mat.
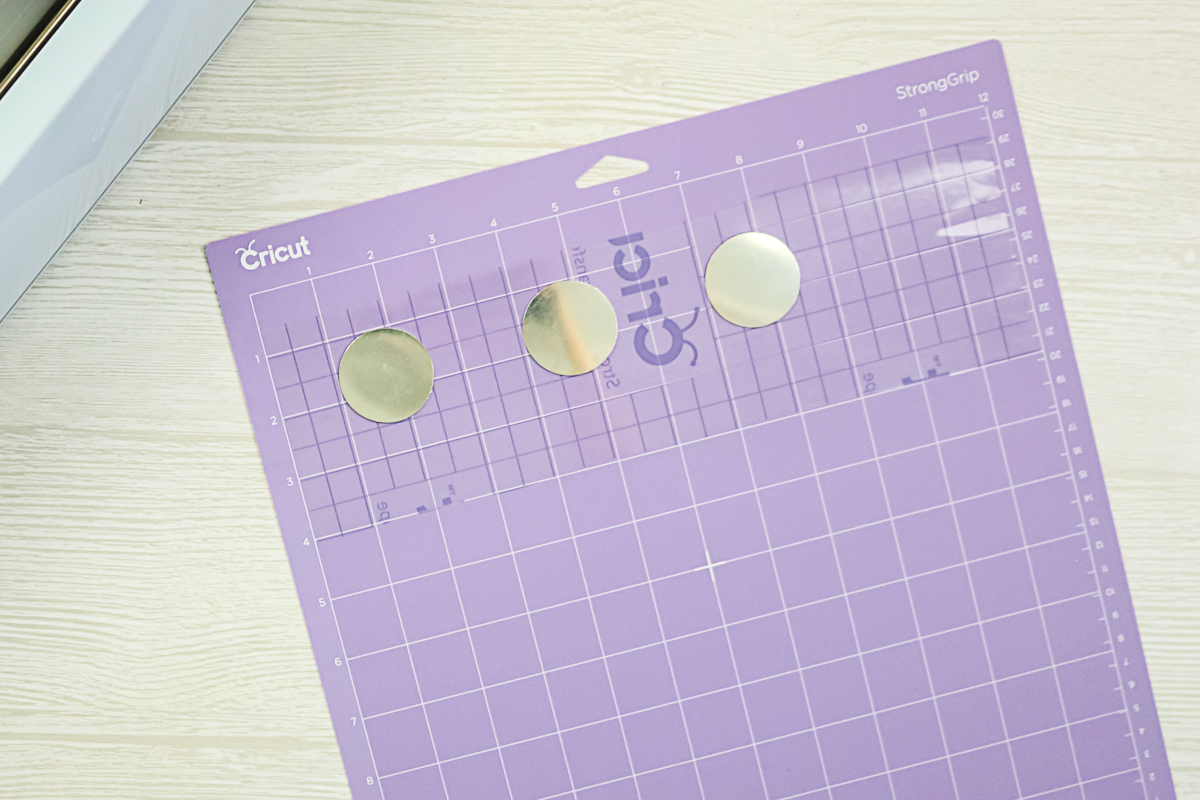
Add the blanks into location. Remember that the location here must match what is in Design Space in the steps above. Press these down really well and make sure they are stuck. You can even run over the top with a brayer to make sure they are down onto your mat.
Engraving Metal with the Cricut Maker
Now that everything's located on my mat and in Design Space, I've added my engraving tip with the quick-swap housing to the clamp. I've moved my white-star wheels all the way over to the right.
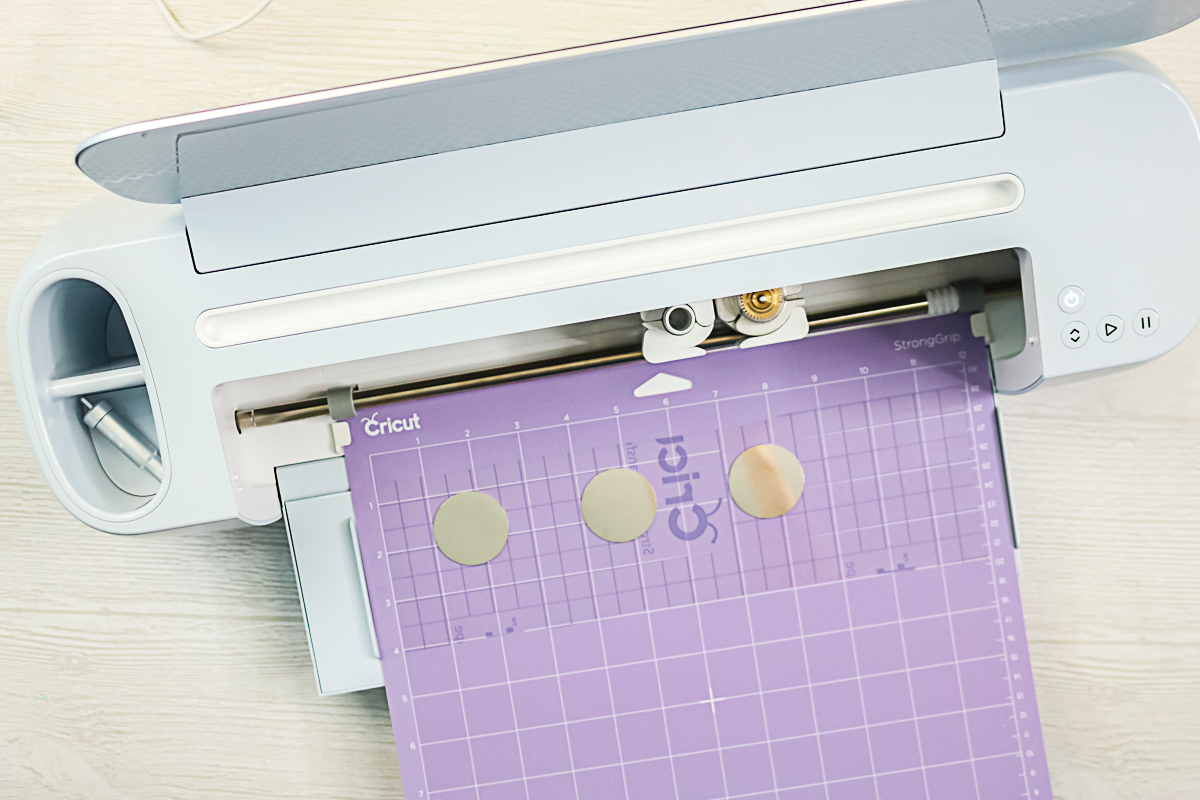
Click the load-unload button to load the mat. Once it's loaded, click the go button to start the engraving.

Once your engraving is done, click the arrow button on the machine to remove the mat. Then follow the instructions below to complete your Cricut Maker metal project.
Removing Metal Blanks from the Cricut Mat
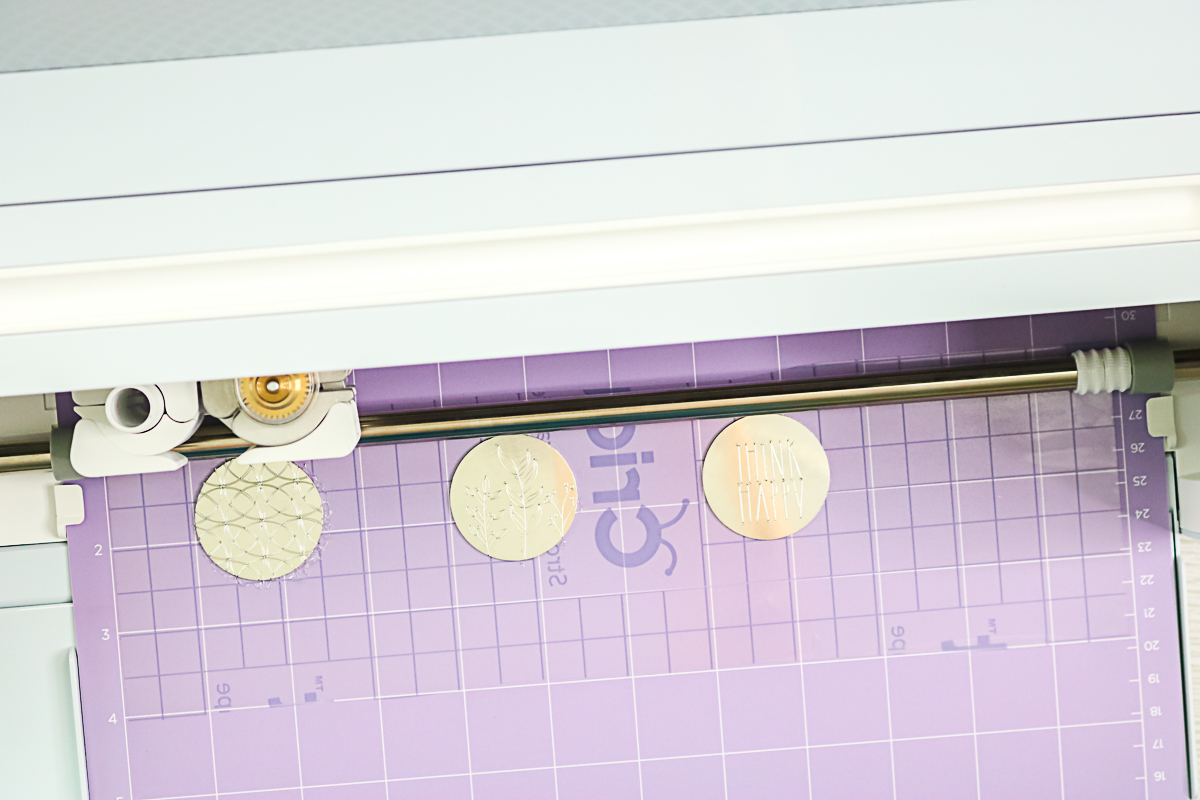
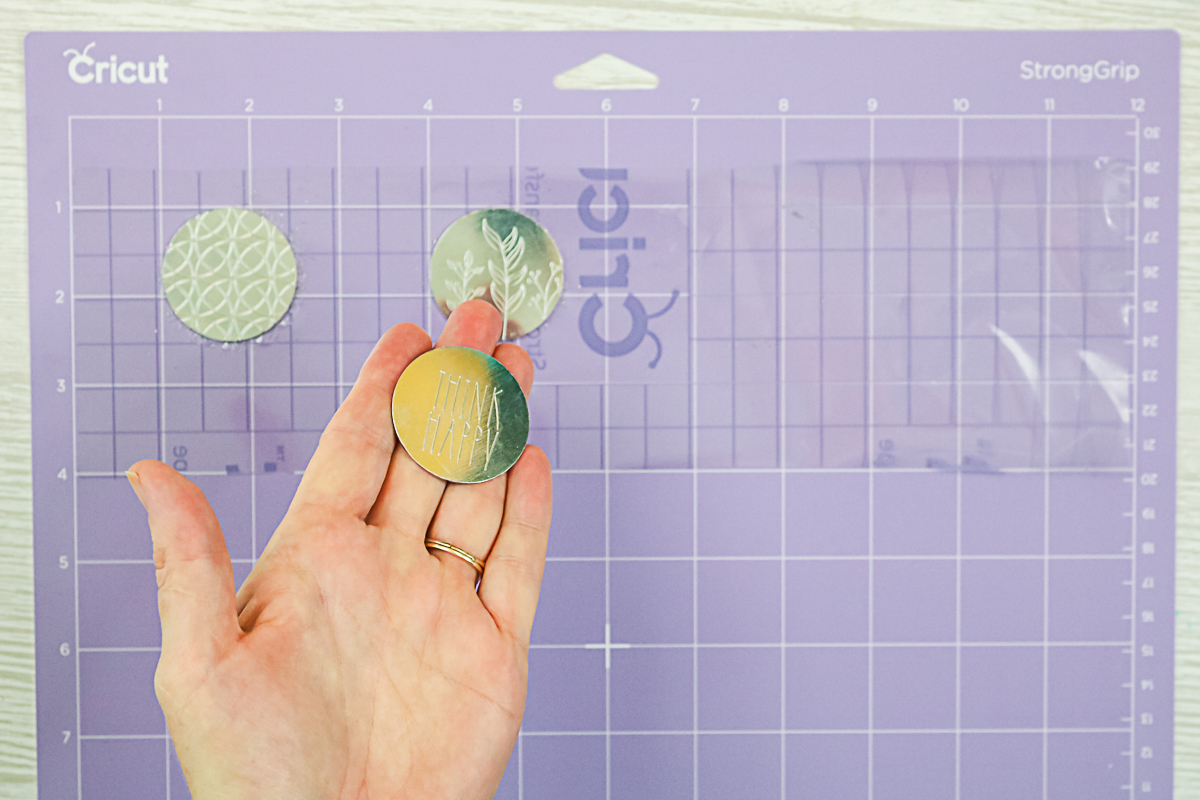
First, there may be some small metal bits on the top of your blank. You can rub those off with your finger or you can use the transfer tape and go over the top and pick those up. To get these off of your mat, I recommend just lifting the transfer tape and then peeling them back.
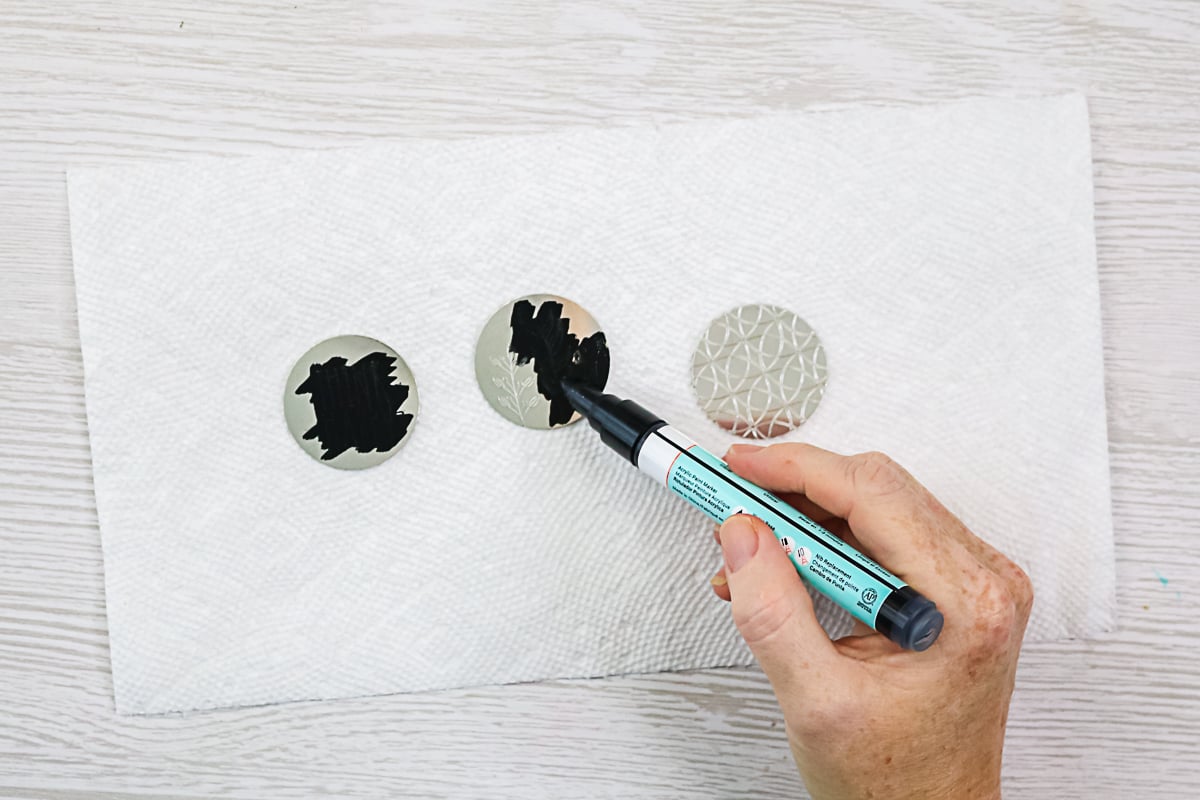
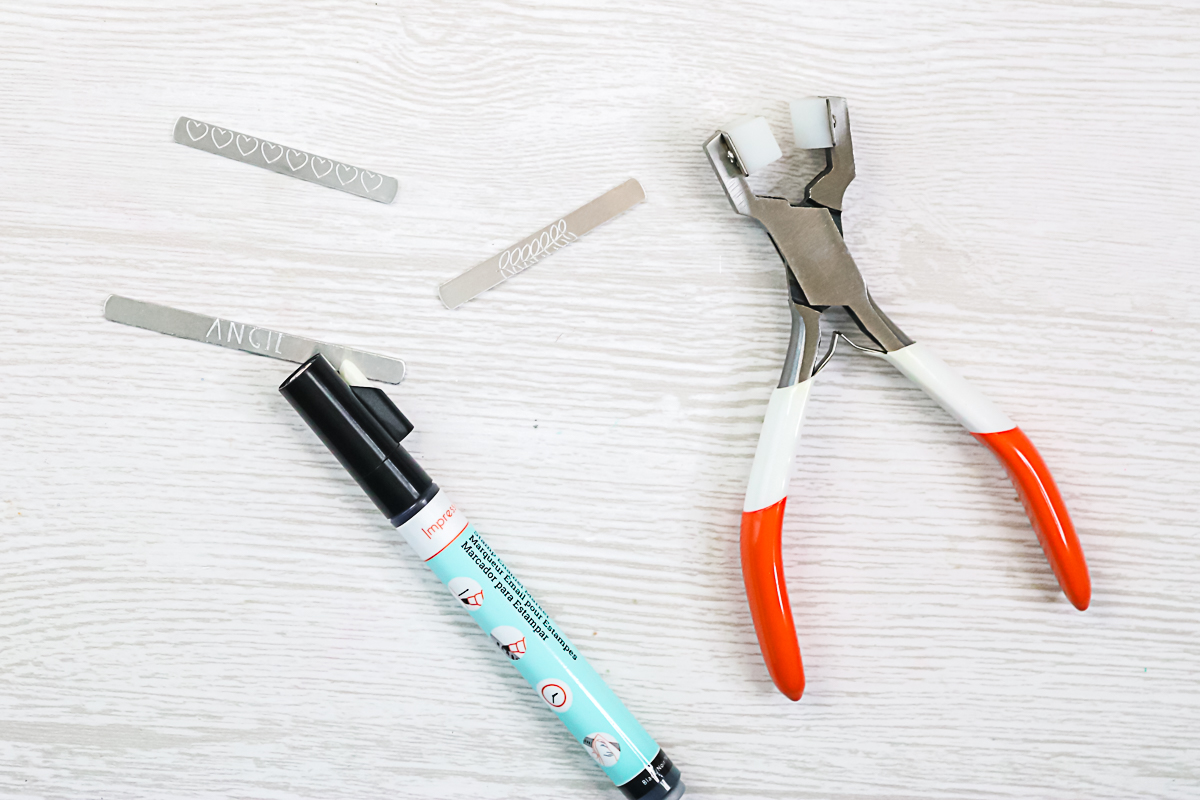
Using a Stamp Enamel Marker
You can use a stamp-enamel marker to darken the engraving up a little bit. This one is in black, but they do make different colors. Just add the marker where the engraving is, allow it to dry for a couple of minutes, and wipe off the excess.
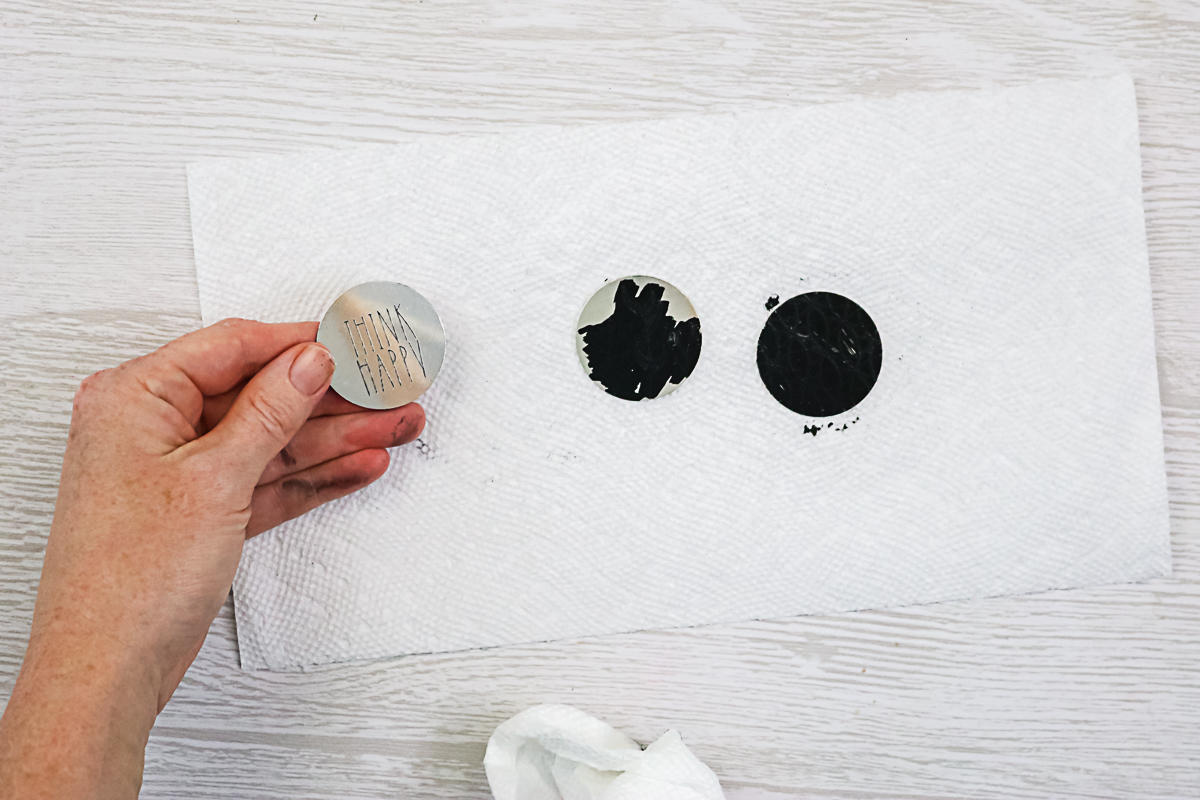
The marker ink will stay down in the engraving and make it even darker than it already is. This will really make your designs pop.
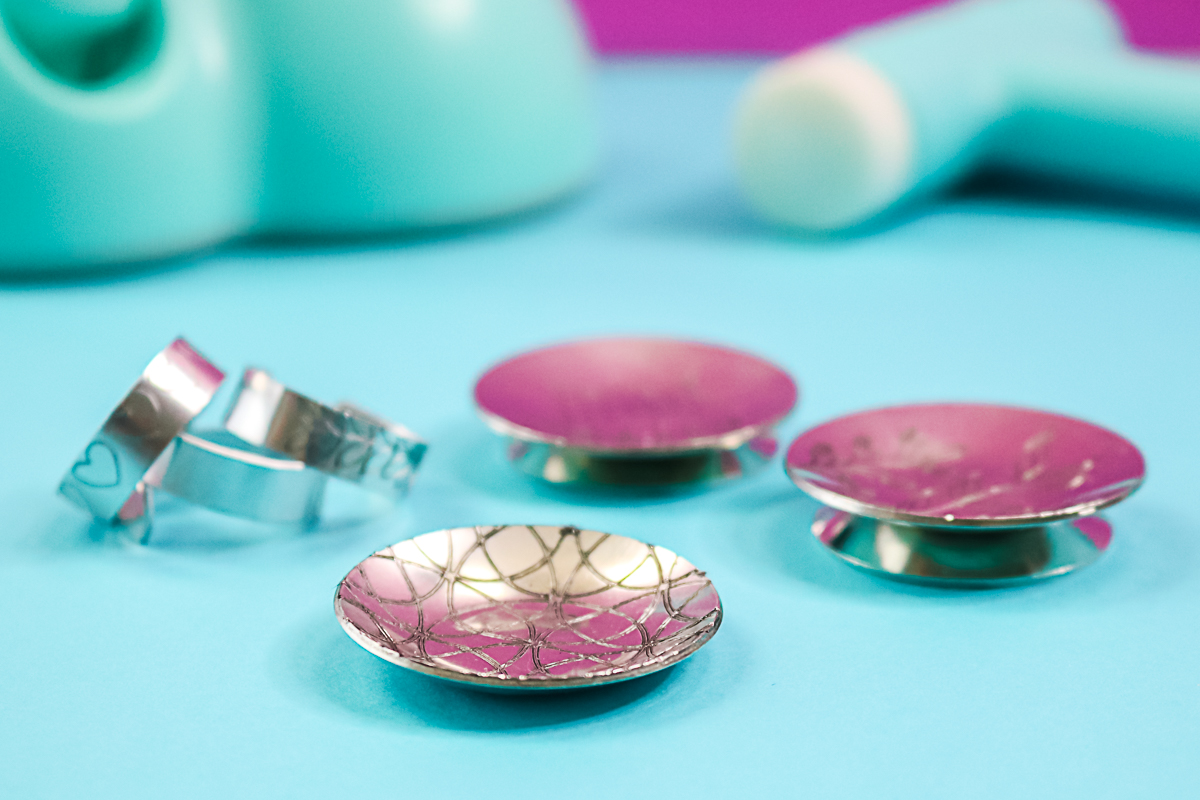
Forming into a Metal Ring Dish
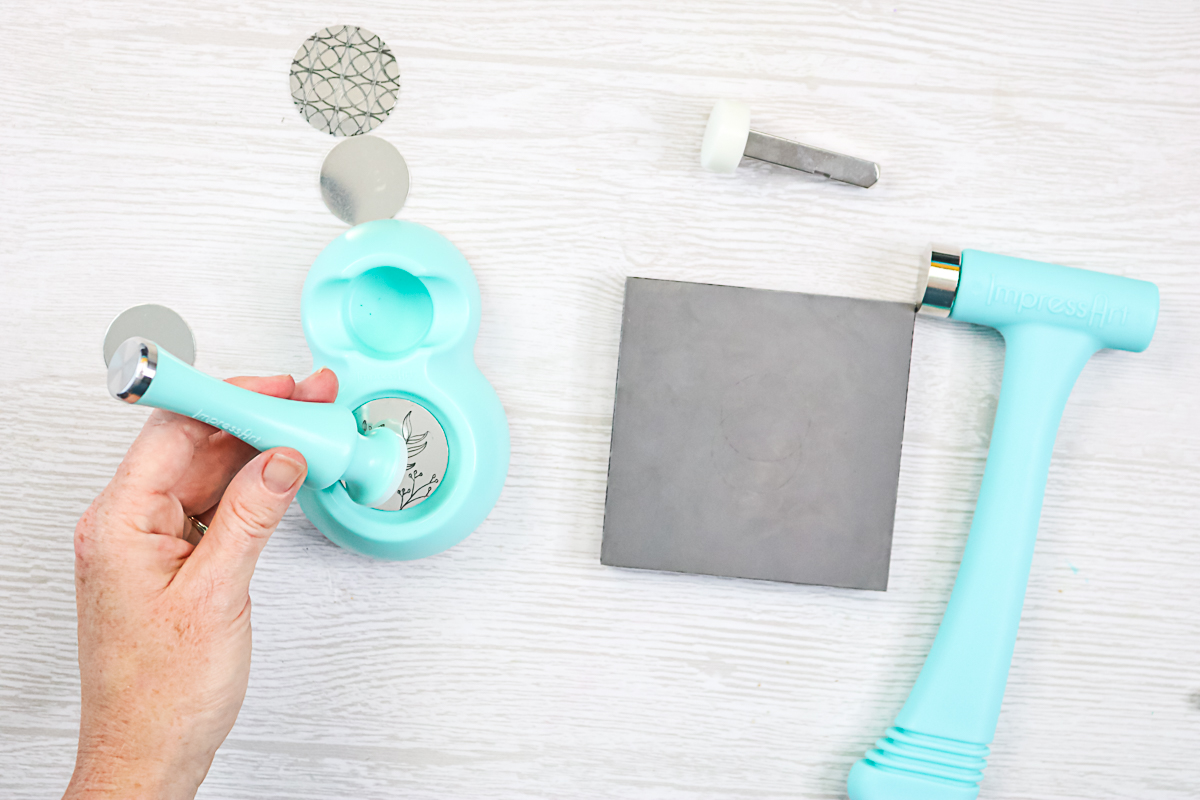
Let's walk through the steps of turning these into a ring dish. This is the dapping kit that is used to form the metal blanks.
Add your engraved metal blank to one side with the engraving up then put the dapping tool on top.
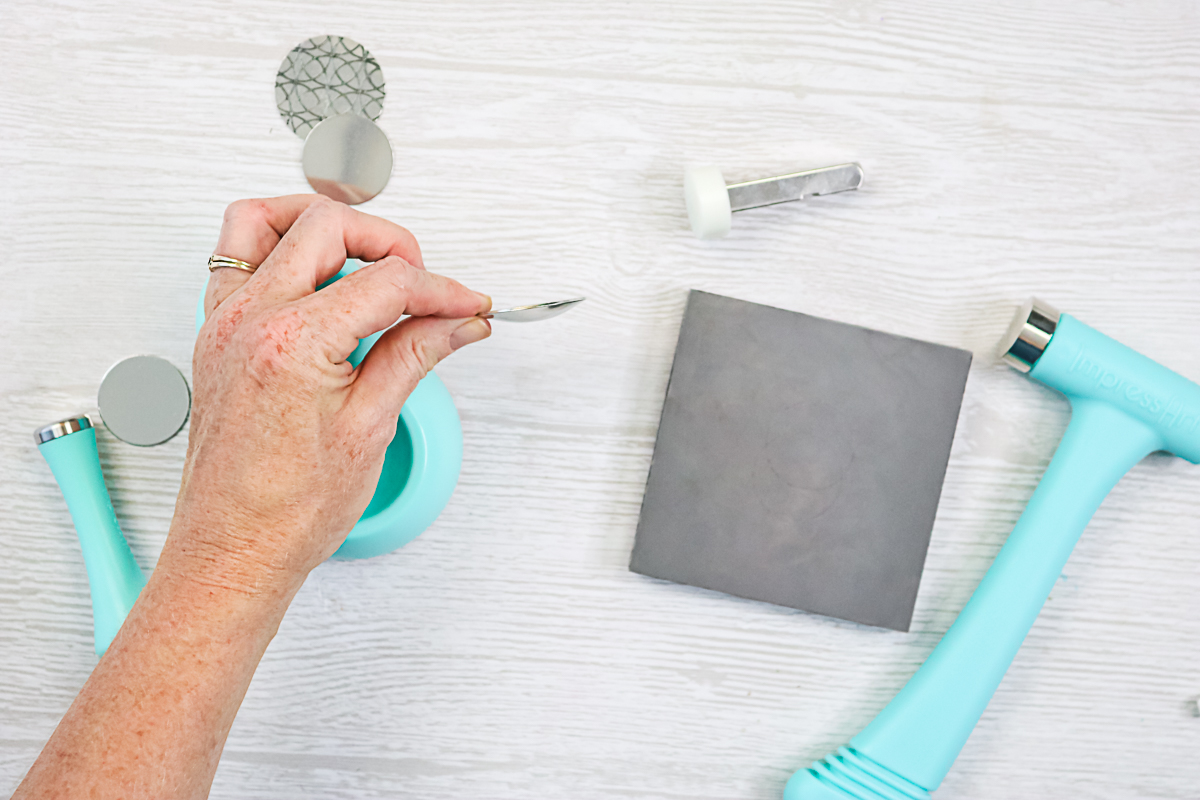
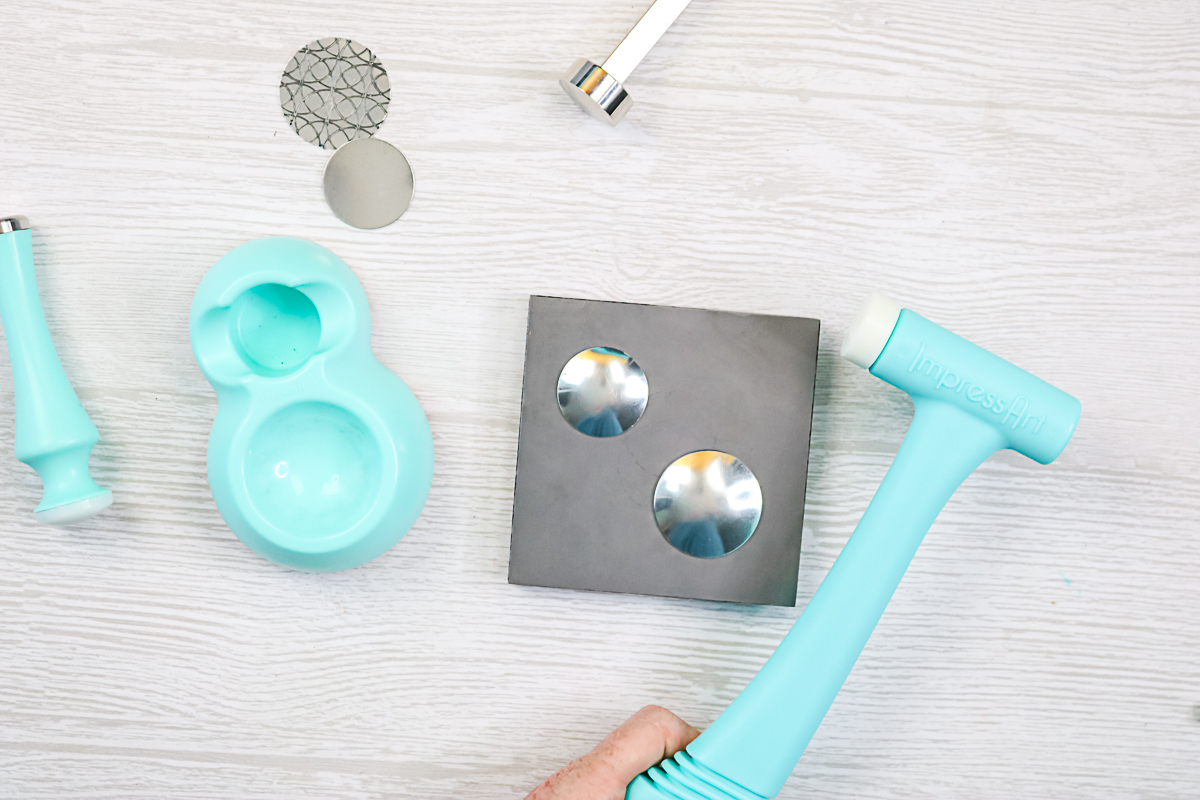
Strike the metal plate on top of the tool several times with the hammer. NOTE: I have the metal end on the hammer for this step. You are looking to form the metal blank into a dish shape. You may have to strike it several times in different areas of the blank to get yours to look like this. For a stacked ring dish, you will want to repeat this entire process on a small blank that doesn't have any engraving.
Making the Bottom Flat
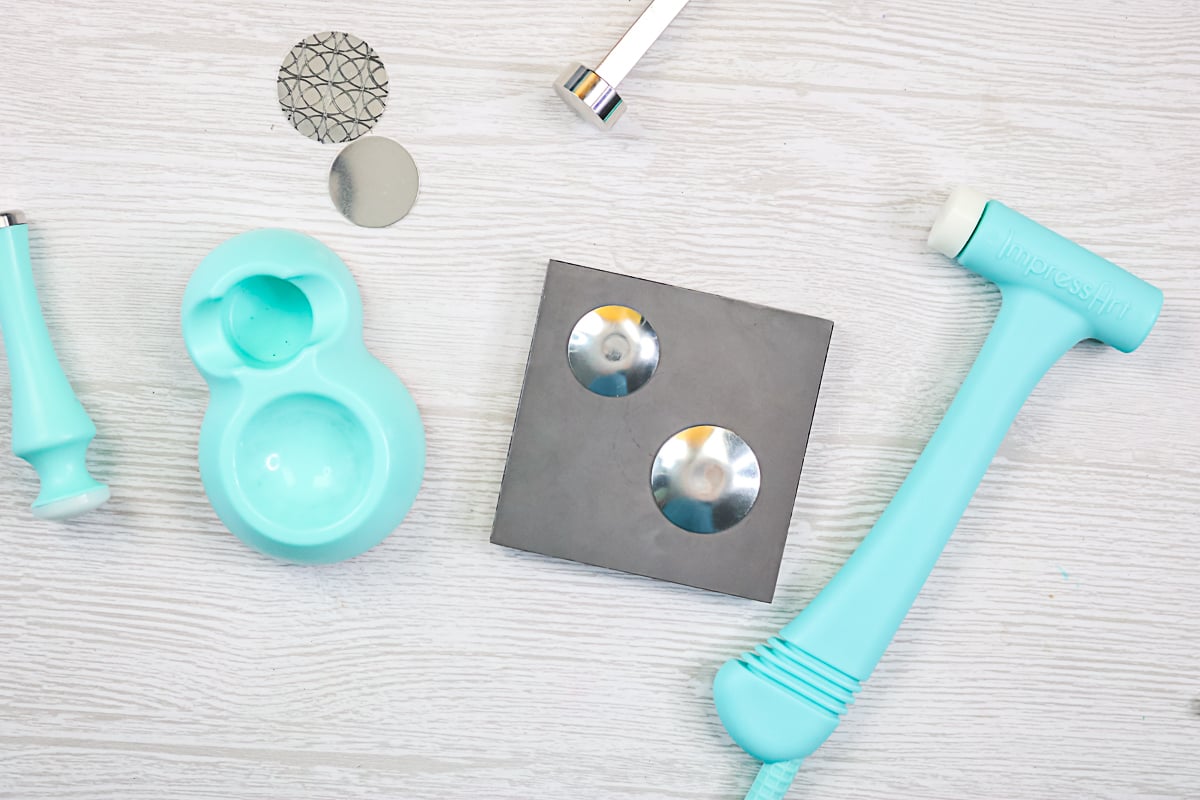
To make your ring dish stand, it will need a flat bottom. If you are going to assemble a stacked ring dish, those will also need a flat bottom. Change the hammer tip to the plastic version and put your concave pieces with the rounded side up on the steel stamping plate.
Add a flat area to the top of each of your blanks with the hammer.
For the stacked ring dish, add adhesive between the two pieces and set them aside to dry. For the other version, you are done with your Cricut Maker metal project after this step!
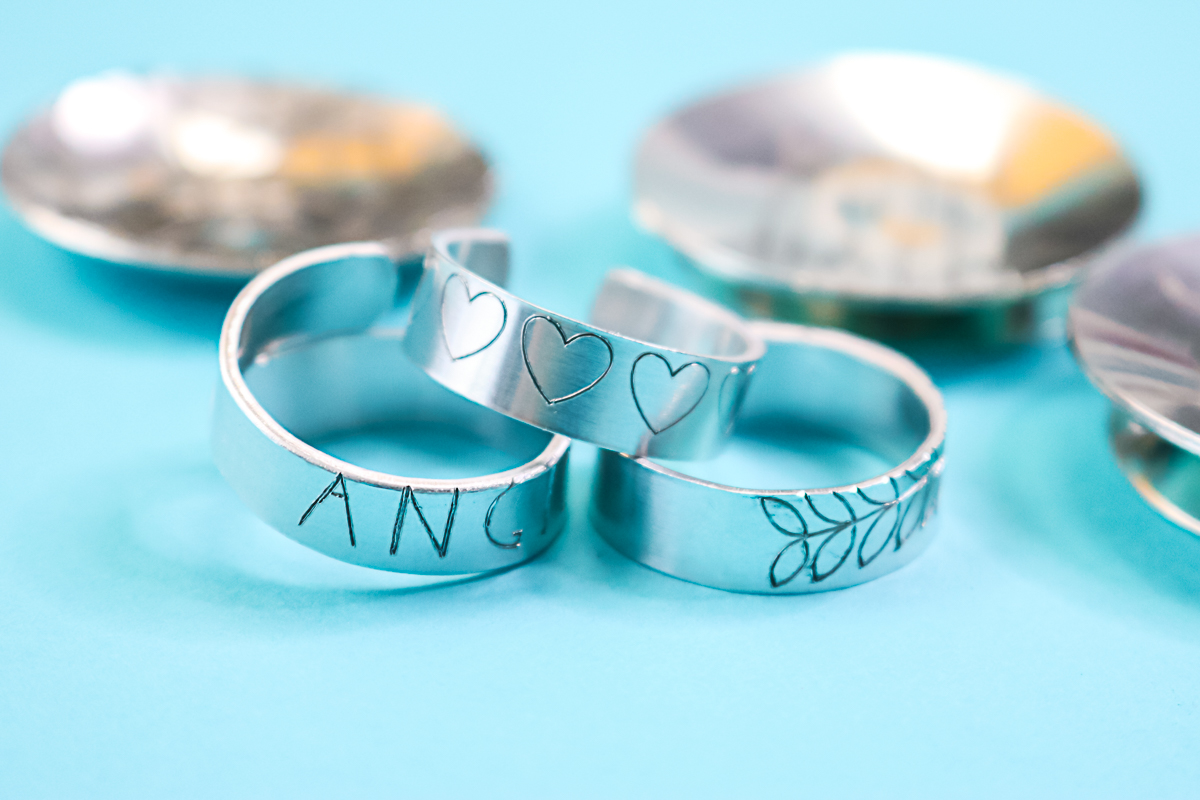
How to Engrave Metal Rings with a Cricut Maker
Why not make some rings to go with these metal ring dishes while I'm doing this? I followed the same procedure as my bracelets, except for the fact that I used this strong-grip transfer tape again on the mat. I felt like it worked really well and it works well for the rings too.
Then just add the stamp enamel to make the engraving pop and use the form tool that comes with the kit to form them up into rings.
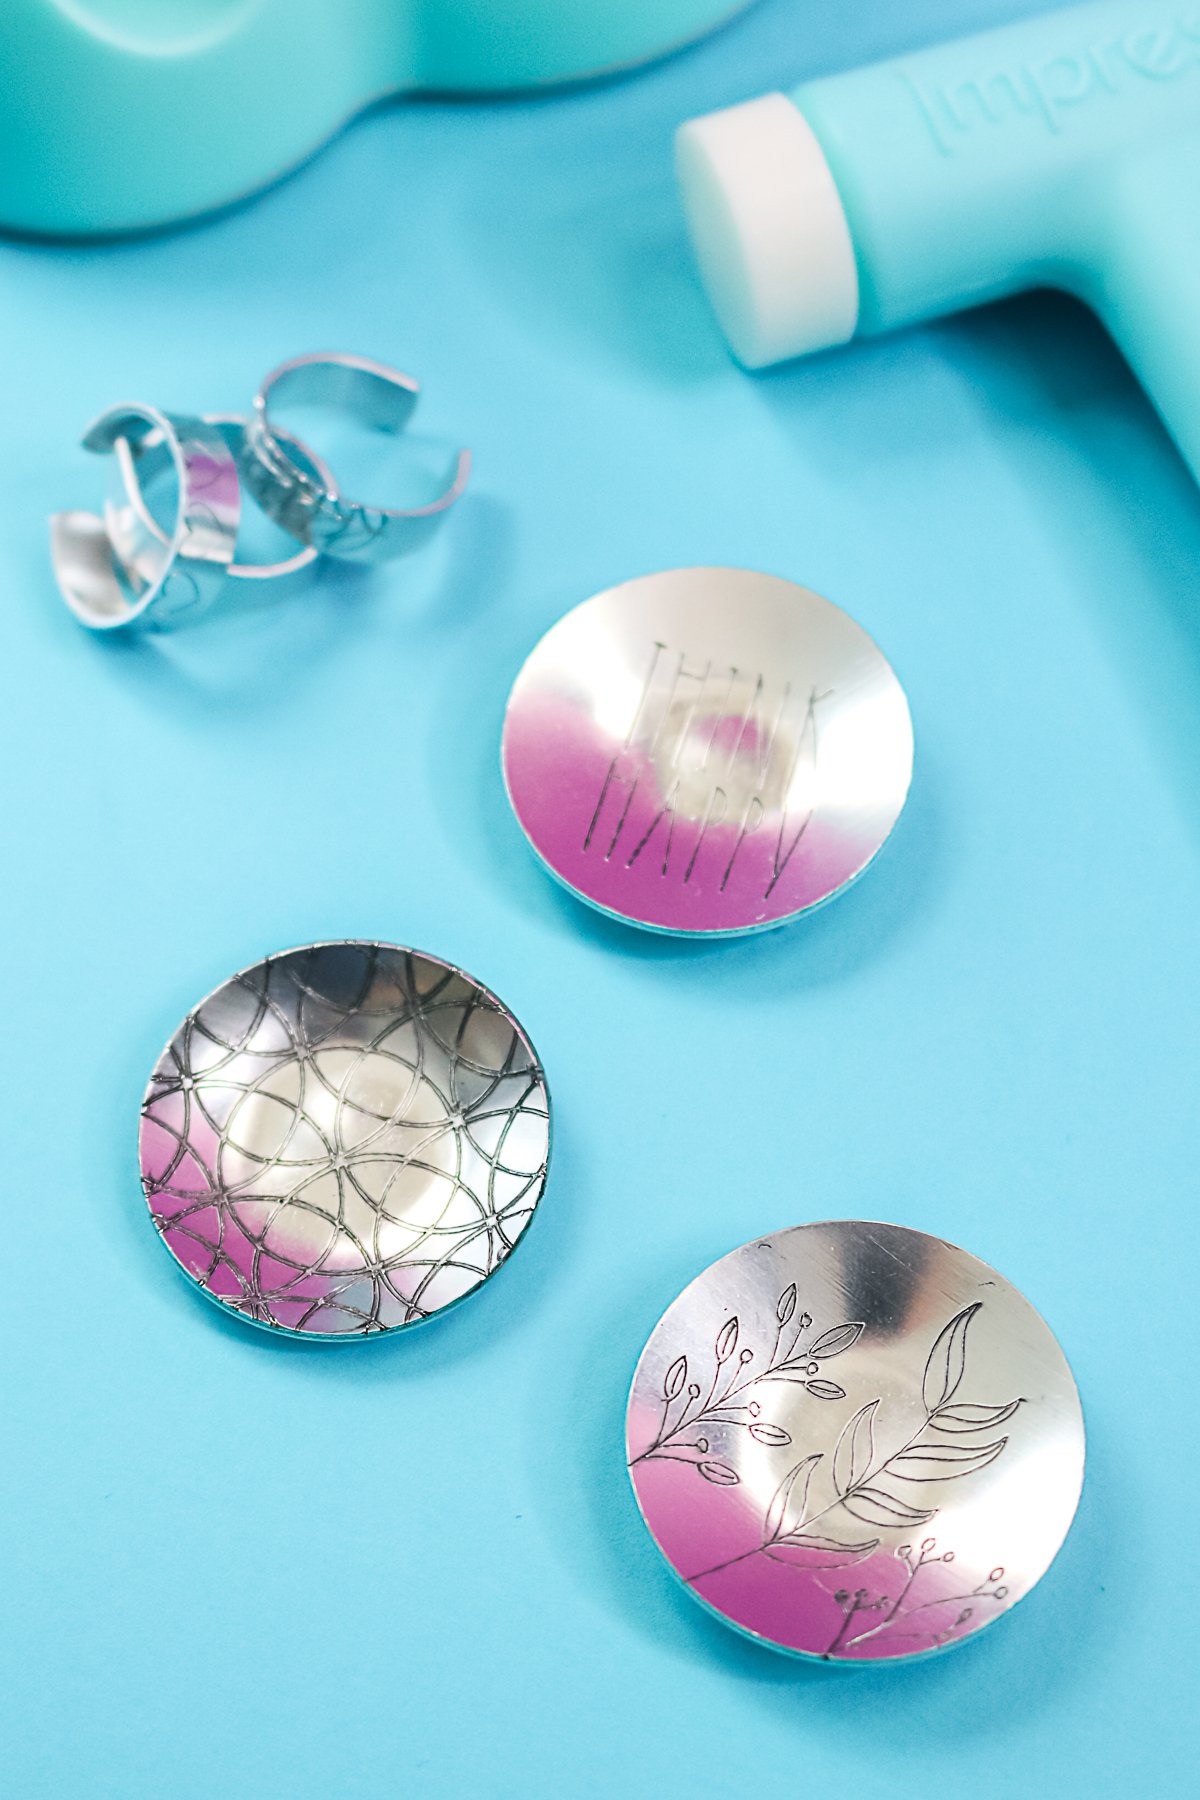
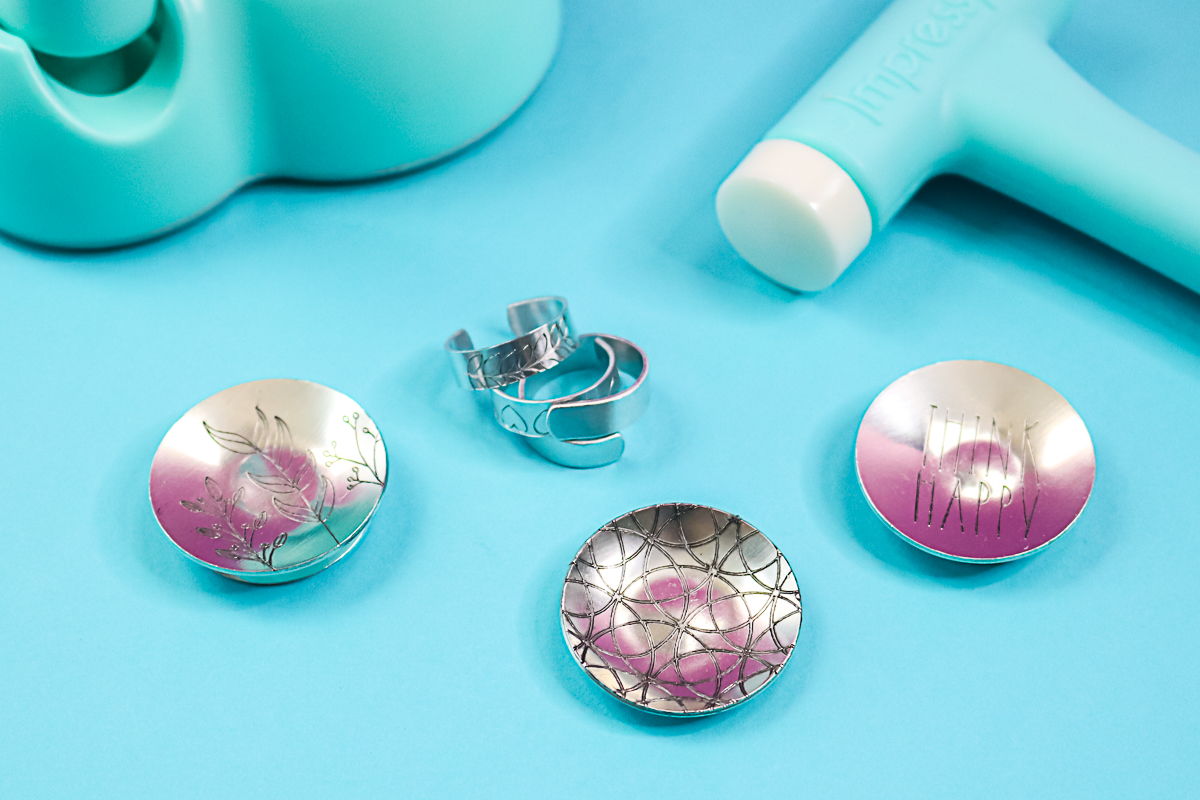
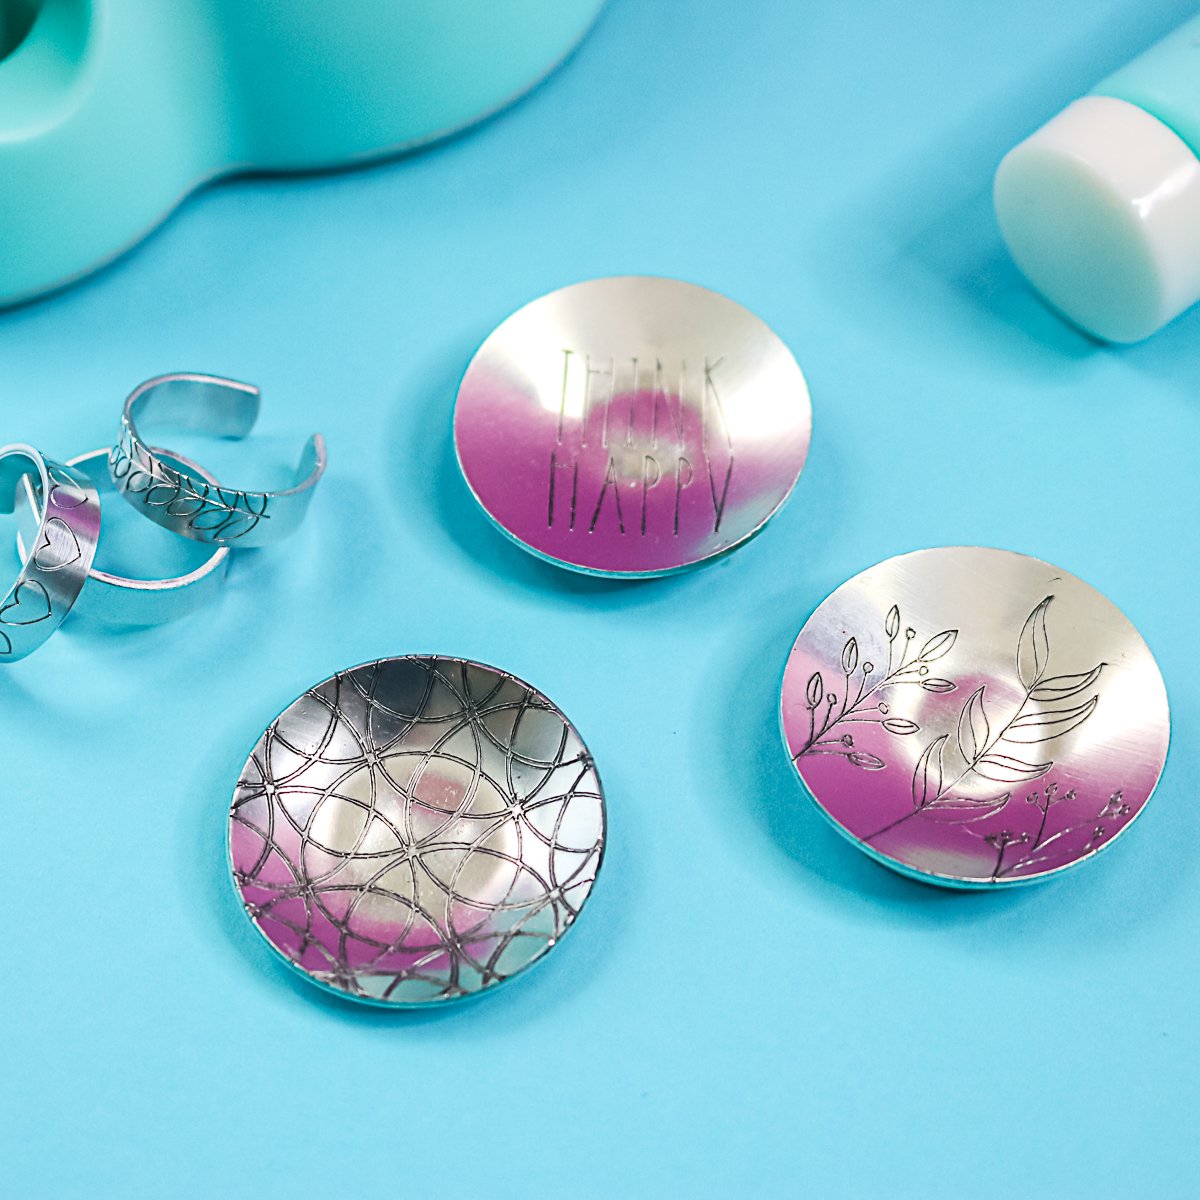
The rings could be a gift all their own but I thought making them with the ring dishes was extra special! Remember with this technique you can make these say anything you would like!
Cricut Maker Metal Project Gift Ideas
I hope you got some good ideas, possibly for gifts for the holidays with this post. It's actually really easy to engrave that metal with your Cricut Maker or Cricut Maker 3 once you get the hang of it. The possibilities are wide open! You just have to pick your favorite design and start making those handmade gifts!
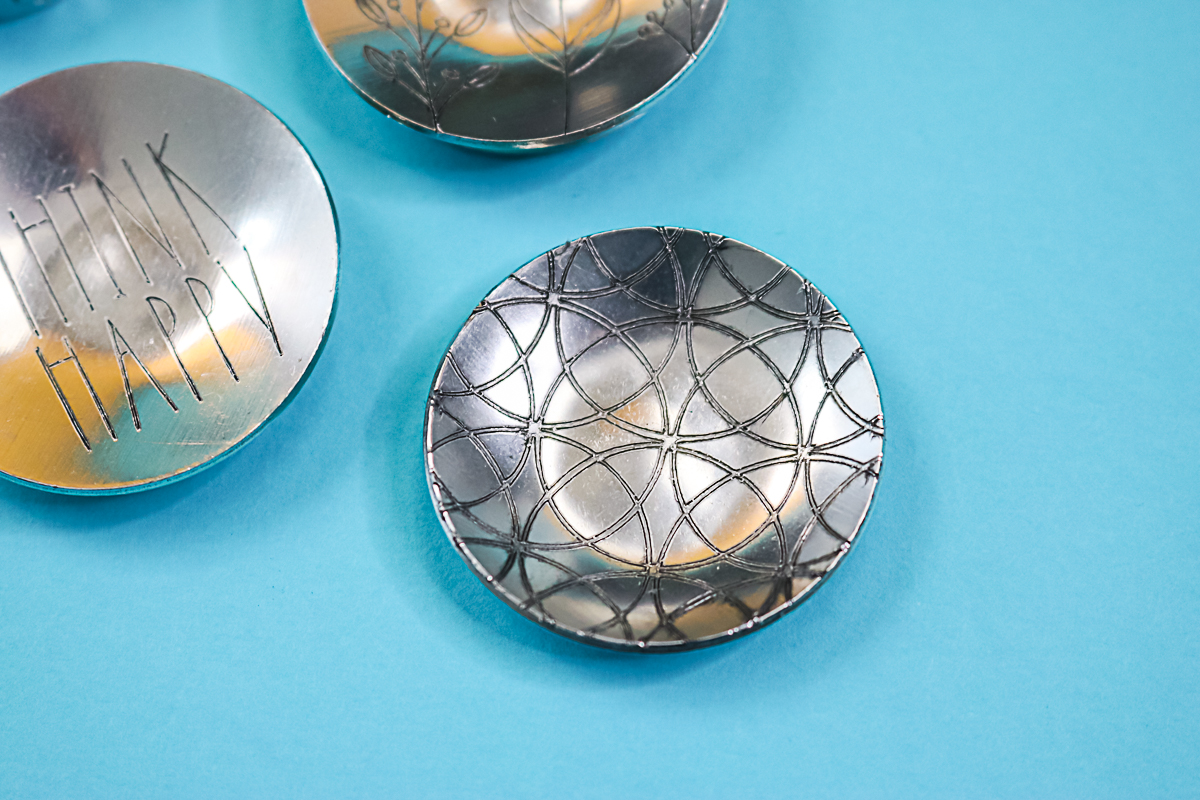
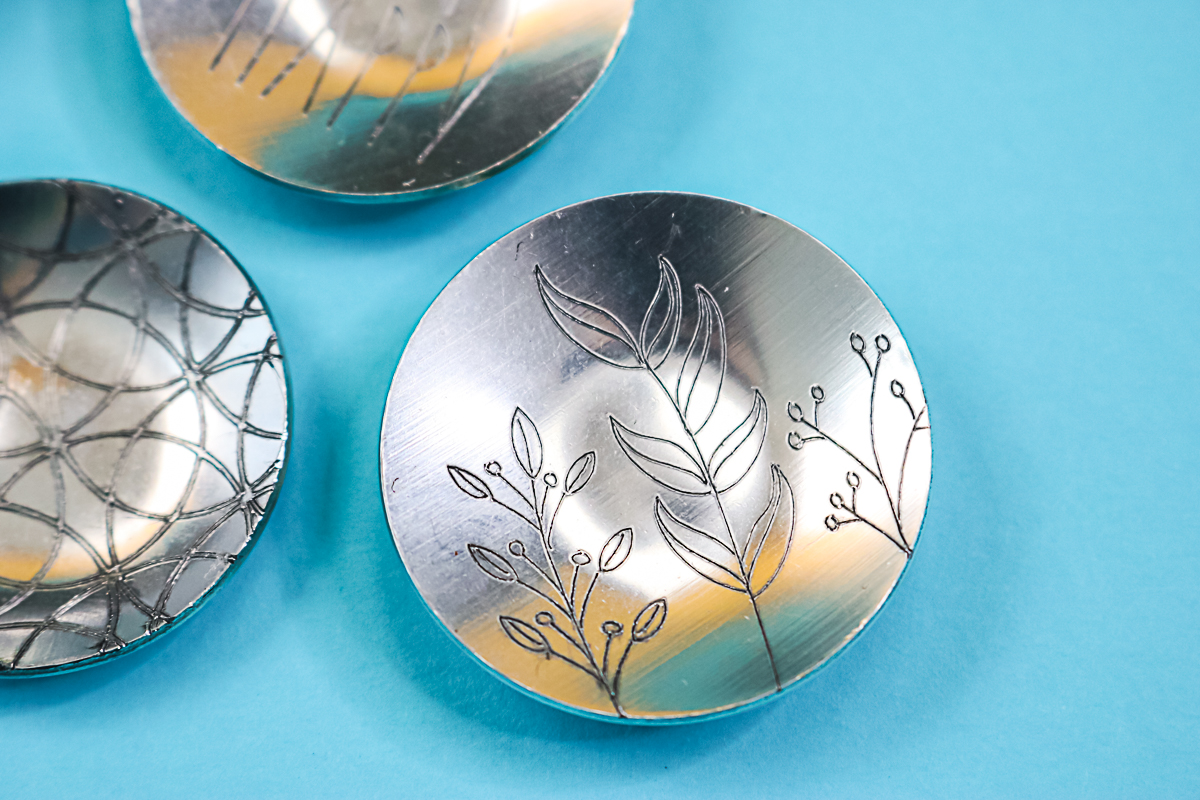
I seriously can't decide between the all-over pattern and the engraved leaves. They are both so great!
However, the option of adding any quote or name that I would like to a metal ring dish is also super exciting!
So, can you tell me which is your favorite? Which Cricut Maker metal project will you try first?
In this post, we made the metal ring dishes as well as the rings. Did you know that there are a ton of different blank options that you can get. Then just use your engraving tip and your Cricut Maker to make all the things. I know you will find the perfect gift for those on your list this year.
Can the Cricut Explore engrave metal?
After publishing this video, I have gotten hundreds of requests to find a way to engrave metal with the Cricut Explore. Well, I am happy to report that I found a way! You can click here for a video of me engraving with my Cricut Explore Air 2. Now you can make this project with that machine as well! After all, you might want to tackle a Cricut Maker metal project all your own!