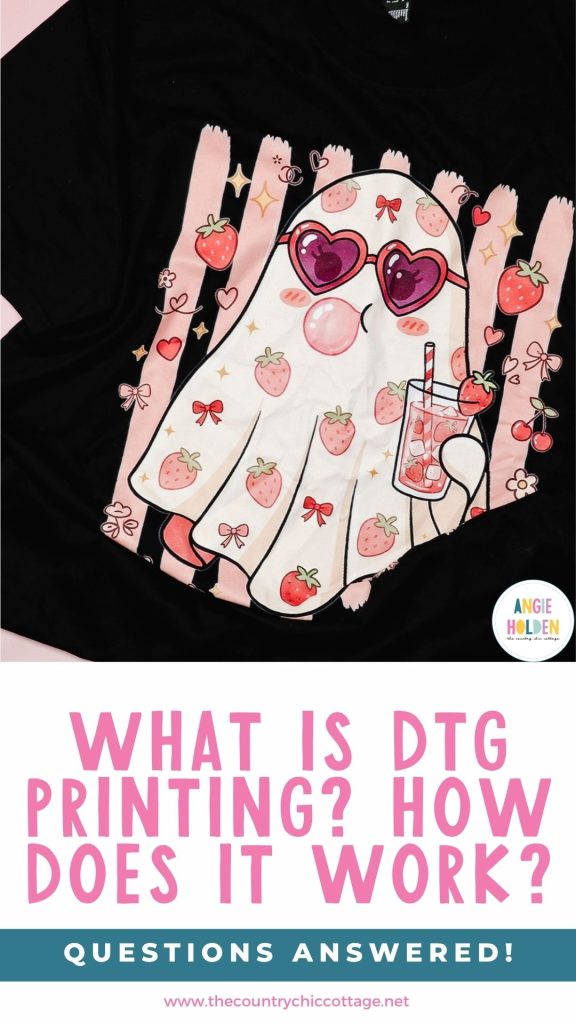
Have you heard of DTG printing? I've made a lot of DTF (Direct to Film) projects this year and was excited about the opportunity to try a DTG project. DTG stands for Direct to Garment and is the process of printing directly onto fabric. Sometimes people get confused and think DTF stands for direct to fabric, so today I'm going to show you exactly what DTG printing is.
If you haven't had an opportunity to try DTF printing yet, learn more about it in my What is DTF Printing guide.
I don't currently own a DTG printer. I recently went to an event with Epson and Heat Press Nation and had the opportunity to make a shirt using a DTG printer and enjoyed learning about the whole process.
Direct to Garment (DTG) Printing
As I said before, DTG stands for “direct-to-garment.” You're printing directly on the fabric; no film required.
DTG is a special type of printer and requires a special type of ink. The printers do have white ink, which means you can print directly on dark fabrics.
As with all the different types of apparel decoration methods, there are caveats to using DTG, and we'll look at all of those.
What Type of Fabric Can You Use?
Depending on the fabric you're using, you may need to add a pre-treatment. If you've ever done screen printing, you know you need multiple layers of white ink for it to pop off dark fabrics.
When using a DTG printer, a pre-treatment is applied to the fabric. This allows the white ink to sort of sit on top of the fabric, which means you'll need fewer layers to get a great result. If you're using a white shirt, you can skip the pre-treatment because you don't have to worry about the fabric absorbing the white ink.
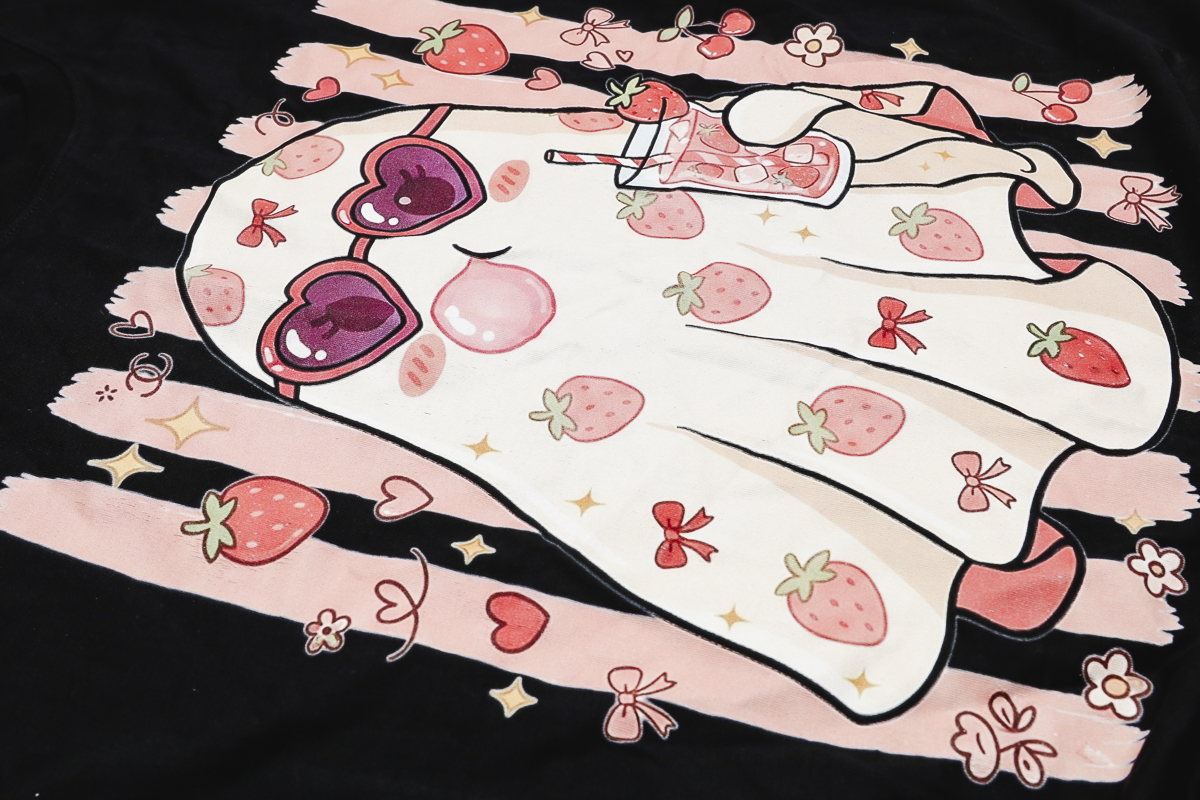
I am using a black shirt that is already pre-treated. You can pre-treat by hand with a spray bottle or use a more professional pre-treatment setup if you're running a small business. I don't have the pre-treat solution so I purchased a shirt that was already treated.
How Does DTG Compare to DTF and Sublimation?
Let's look at all of these methods in detail.
DTG
With DTG, you need pre-treated garments, or you need to apply the pre-treatment. You need to use flat surfaces like shirts, tote bags, blankets, etc. You can print on any color and any type of fabric.
The ink is printed directly on the fabric, which results in a really nice hand feel. You can feel the design on the fabric, but it's very thin because there is no adhesive layer. It almost feels like it's part of the fabric. To me, the hand feel is slightly better than DTF.
DTF
DTF can also be used on any color and any type of fabric. Because you print directly on film and it has an adhesive layer, you can apply it to all of the things you can with DTG, but you can also add it to things like hats, shoes, pillows, zipper pouches, and more.
The hand feel is a little thicker than DTG but it's thinner than things HTV type materials.
Sublimation
When it comes to hand feel, sublimation is the winner. Because it infuses into the fabric fibers, there is no adhesive, so you don't feel it at all after it's pressed.
Sublimation has its own limitations. You need polyester fabrics or a sublimation coating on hard surfaces. You also need white or light colors because sublimation ink is translucent.
Which process would I choose?
It would completely depend on the type of project I was making and my budget.
If I were making a white polyester shirt, I would use sublimation. If I were making a custom dark-colored garment and owned a DTG printer, I would use DTG.
DTF may be the easiest of all of these options because it works on all colors and types of garments. You also don't need a special printer because you can easily order DTF prints from places like Ninja Transfers.
HTV and screen printing are other garment decorating options. There is an apparel decoration option for everyone, which is why I'm talking about DTG today.
Make a Shirt with DTG
I do want to note that, at this point in time, DTG printers are expensive. They've come down in both size and price in the last few years, and the ones I used from Epson are smaller and more affordable than I've seen before.
I'm interested in seeing if we continue to see the sizes and pricing come down in the future. With DTG, you can use any type of image: PNG, SVG, JPG, etc.
Step 1. Upload the Design into the Printer Program
The Epson printer I'm using today uses a program called Epson Garment Creator, and you can use it on both Windows and Mac computers.
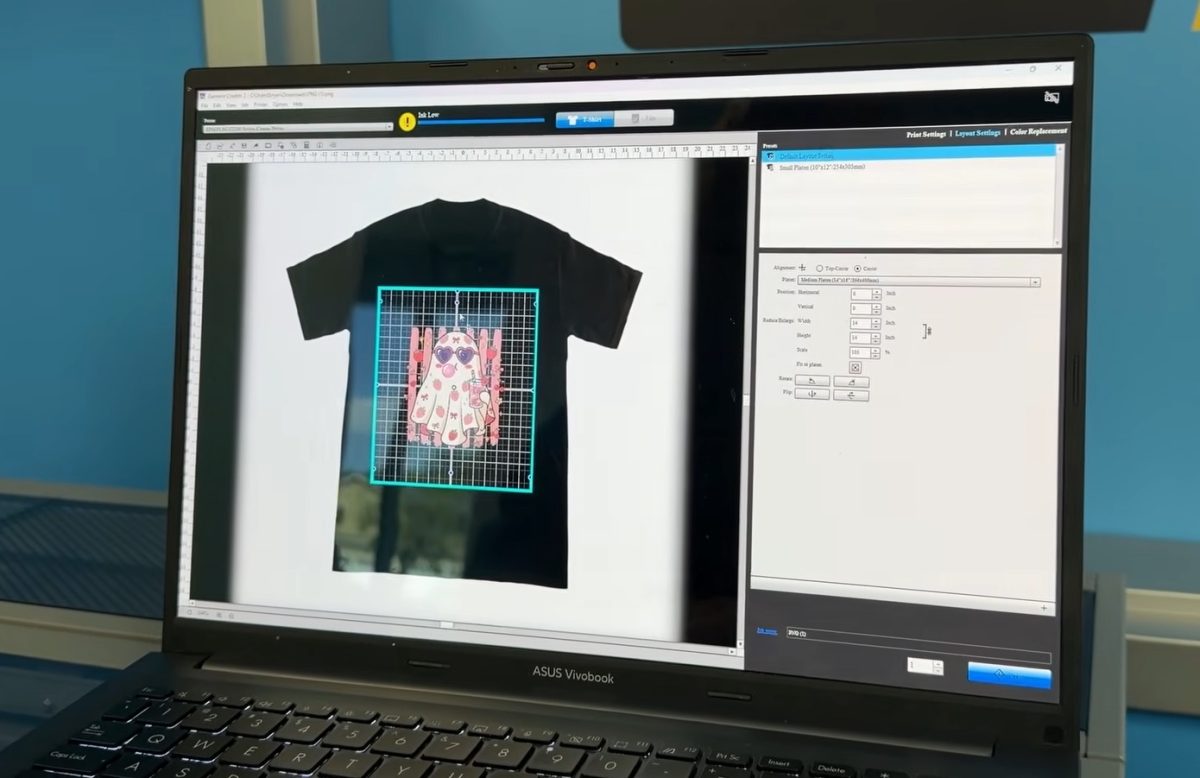
Open the file and resize it. I'm using the largest size possible for my printer.
You can find the file I am using here.
Step 2. Preheat the Pre-treated Fabric
Next, preheat the shirt to remove wrinkles and moisture.
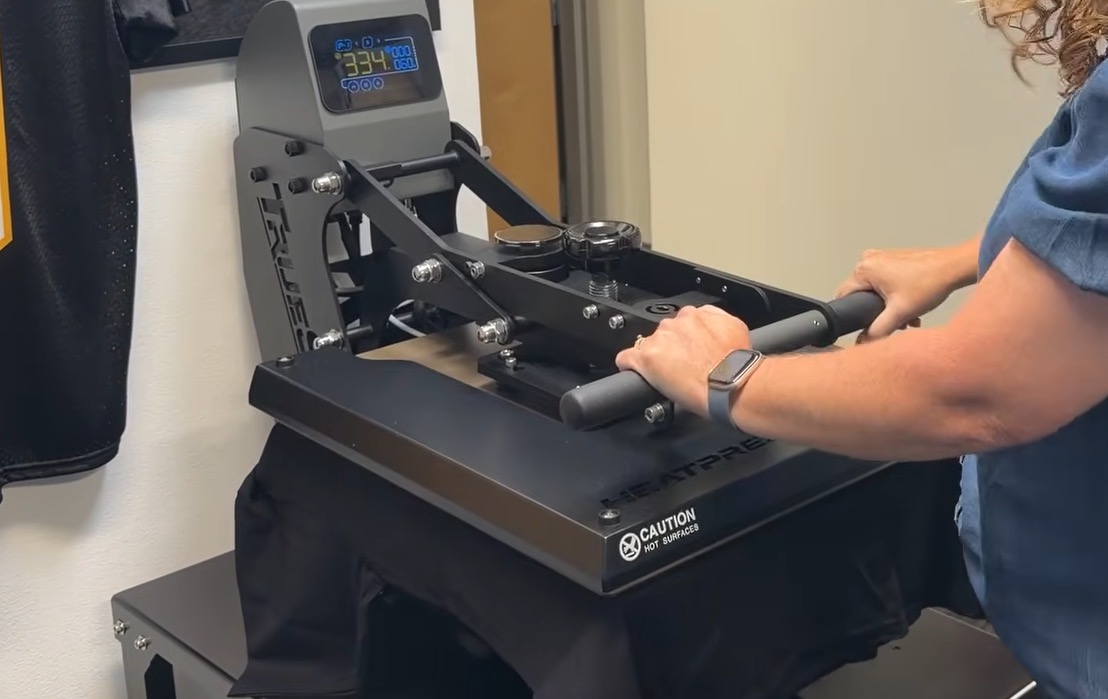
Step 3. Load a Shirt into the DTG Printer
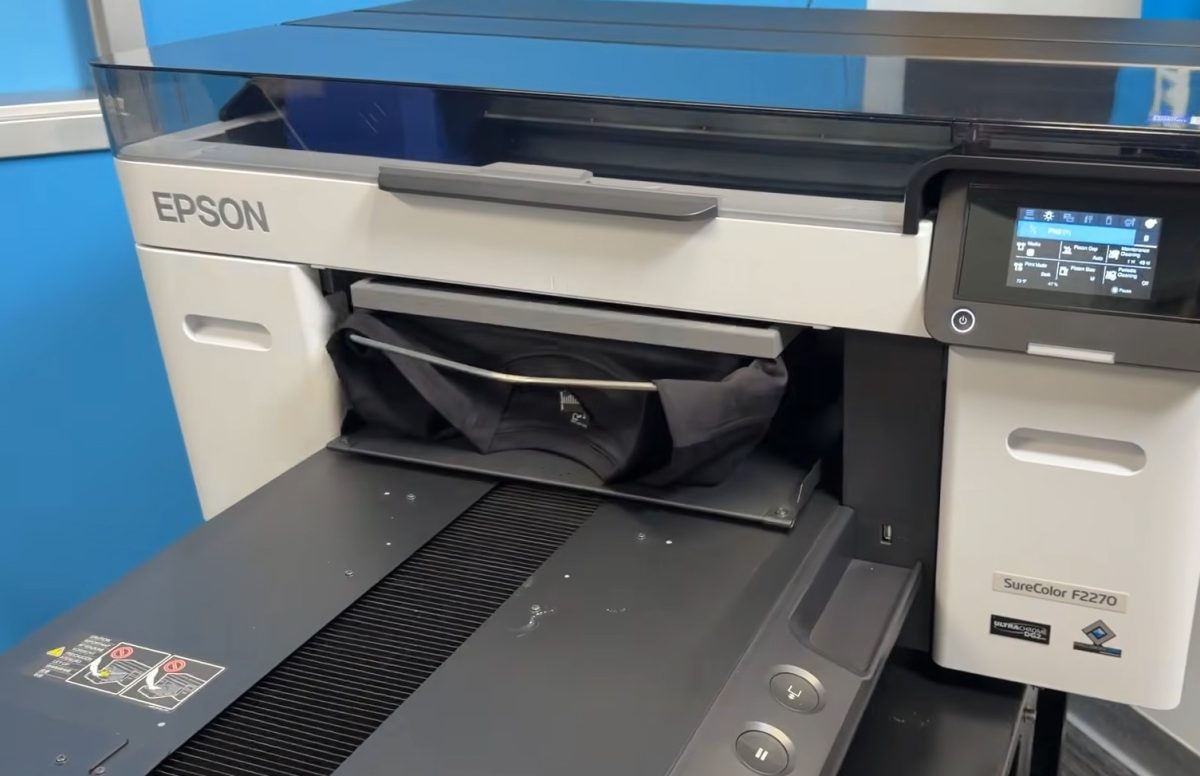
The DTG printer has a flat platen that you load the shirt onto and the printer will print directly on the fabric.
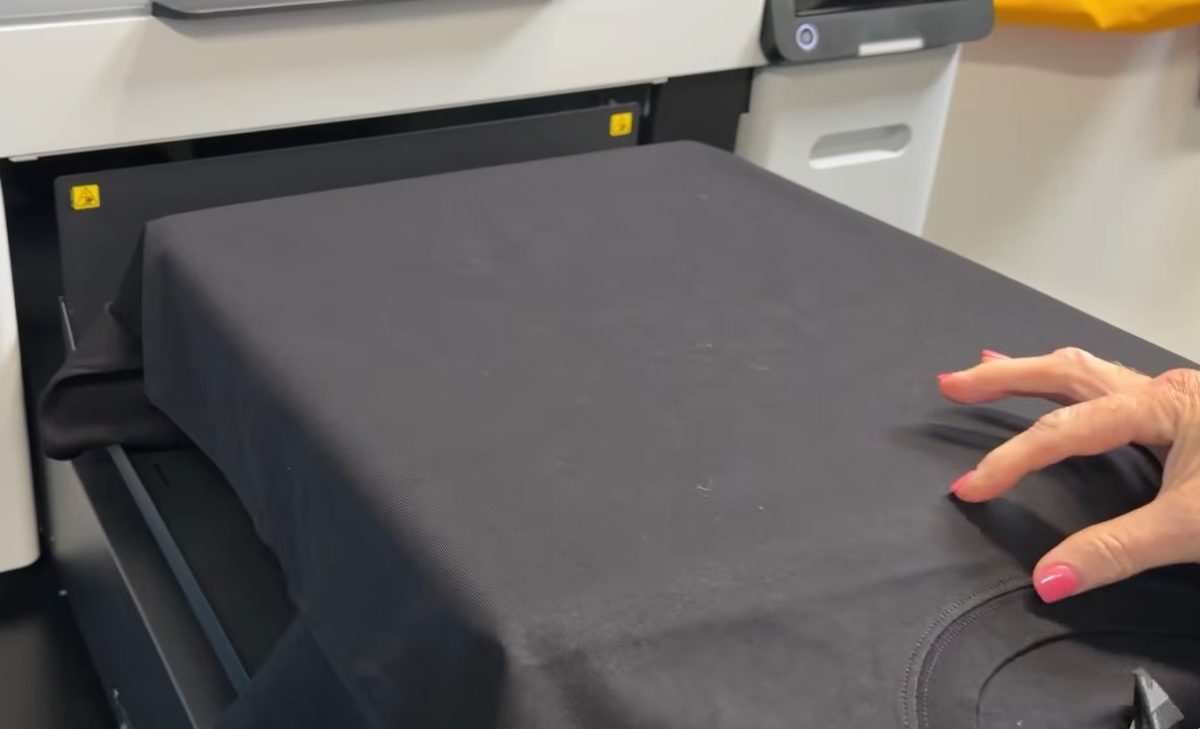
Take time to make sure the shirt is centered on the platen and that there are no wrinkles.
Place the frame around the outside of the shirt and platen and tuck all the excess fabric around the platen.
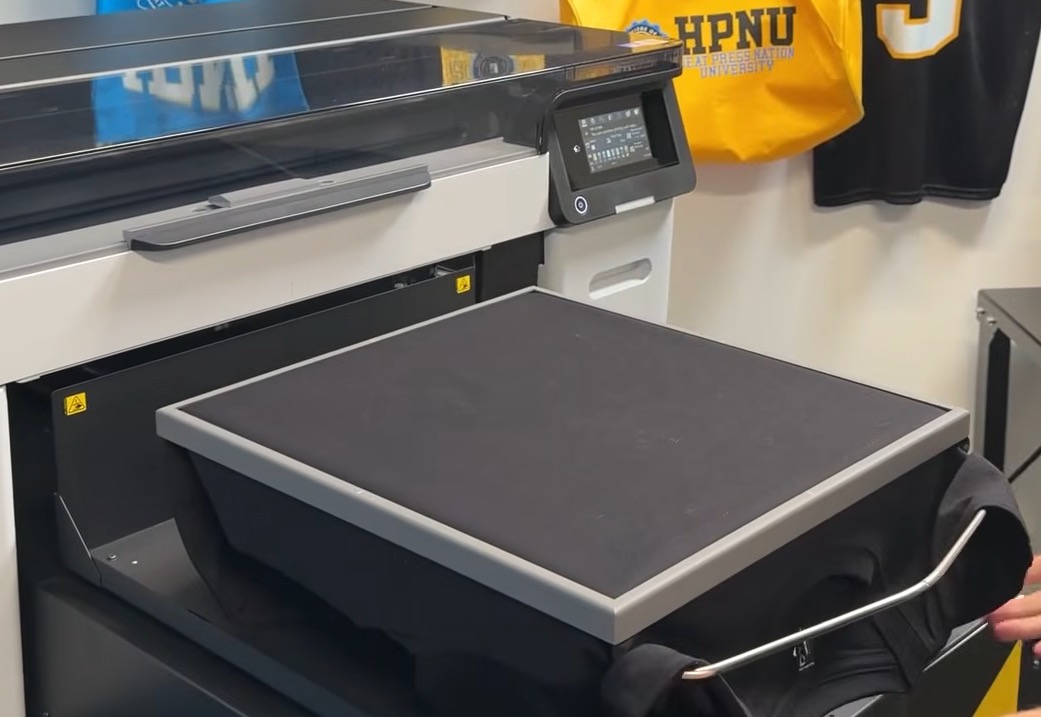
Step 4. Print on the Shirt
Now, all that's left to do is click print in the software and press the Start button on the DTG printer.
There are different printer settings that impact how much ink is laid down on the fabric. I am using the highest setting, which should give us the best results.
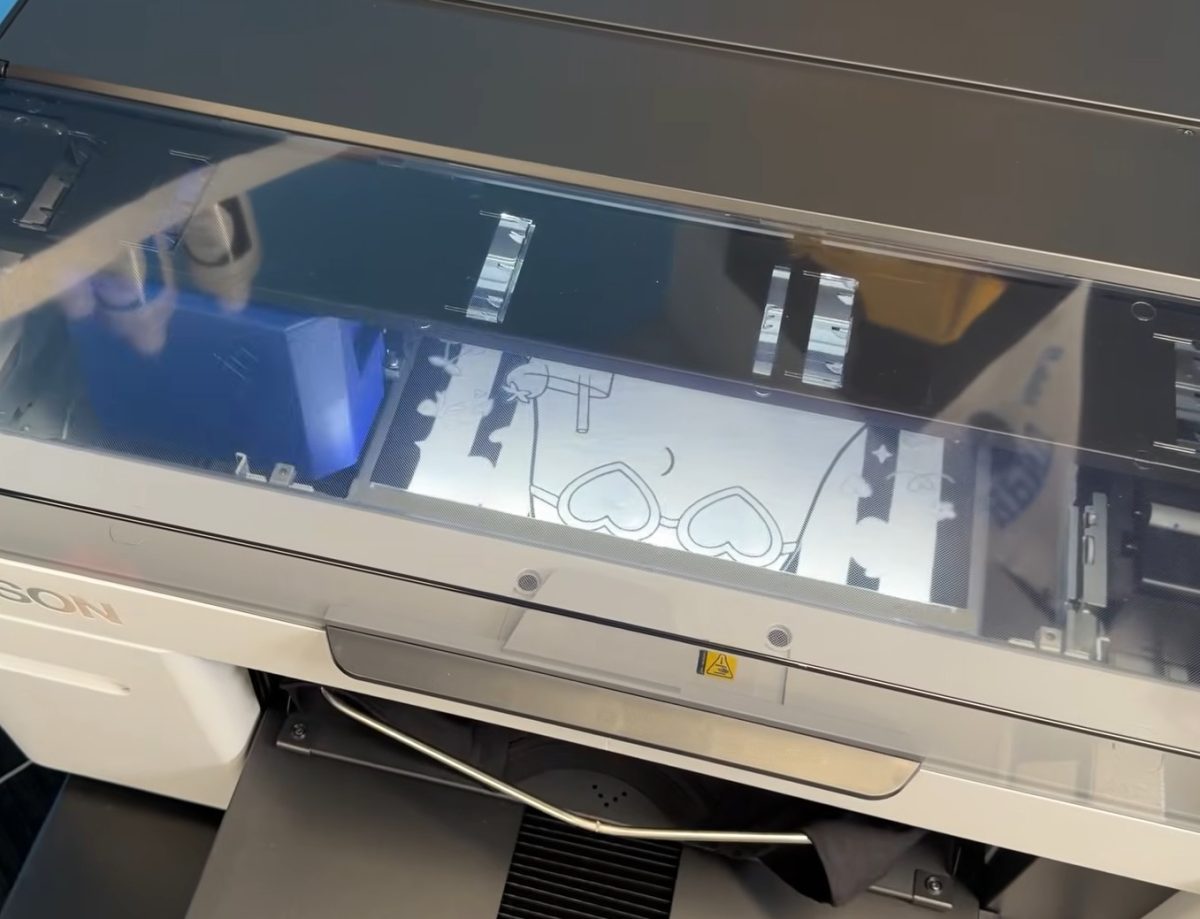
With that setting selected, it printed two layers of white ink first and then added a layer of color on top of the white. If you choose a lower setting, it'll print one layer of white and one layer of color.
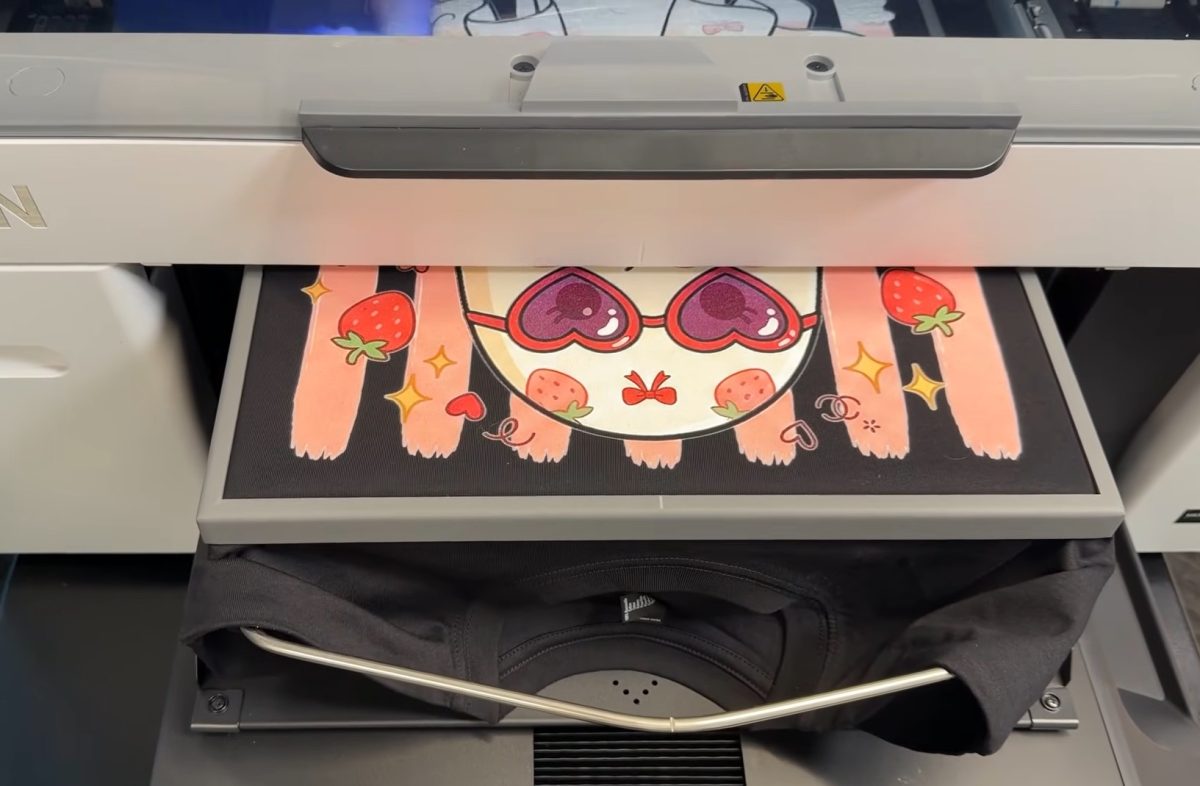
I tried different options, and they all resulted in high-quality prints that looked amazing.
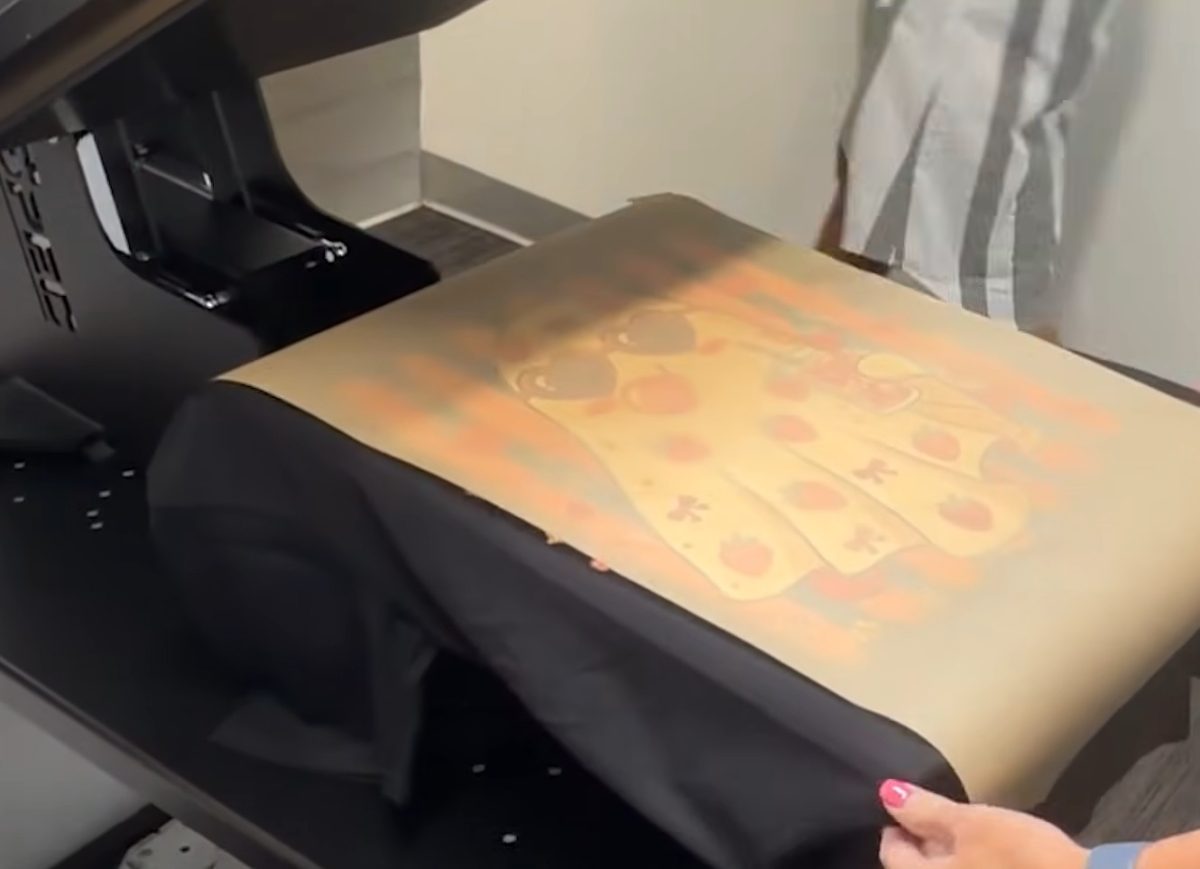
When it's done printing, the ink is wet; it will stay wet until it's pressed.
Step 5. Press the DTG Shirt
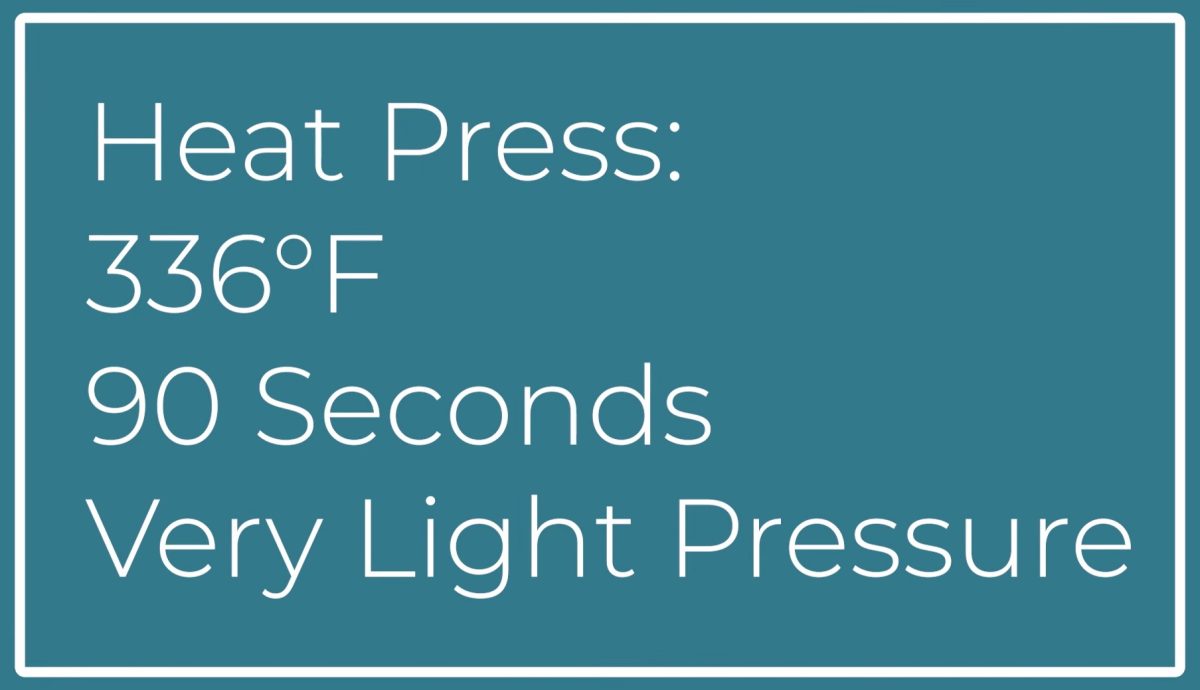
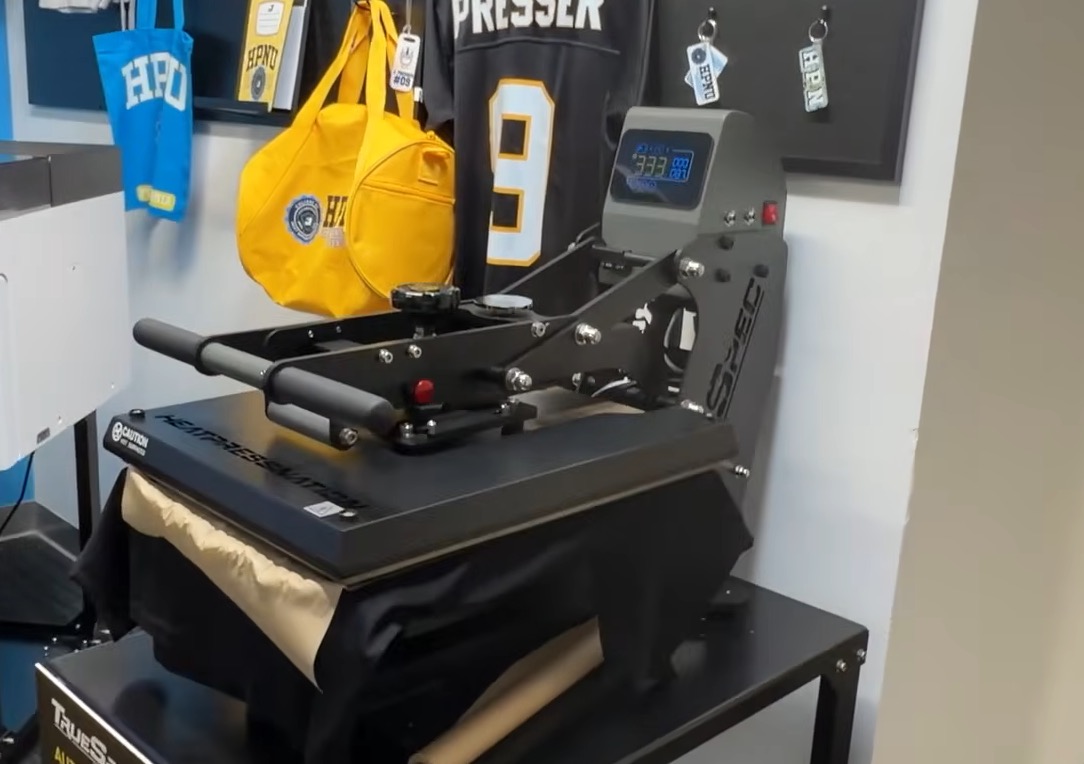
Preheat the heat press to 336 degrees. You're going to carefully remove the shirt from the printer and place it in the heat press.
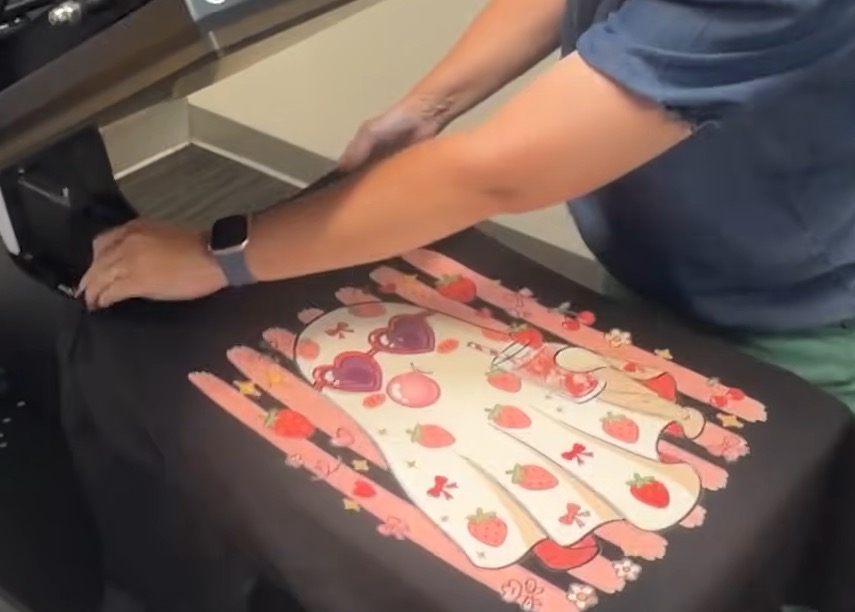
Note: It's recommended you don't touch the ink until you cure the ink in the heat press. We didn't have any issues with the ink smudging, even when it was accidentally touched.
Place protective paper over the top of the design, and close the heat press. With the high-quality print settings I used, I pressed for about two minutes.
I started with 90 seconds. When I opened the press, I could see steam, which could indicate that there is still moisture in the print.
So I pressed for an additional 30 seconds. We want all the moisture out so the ink is fully cured.
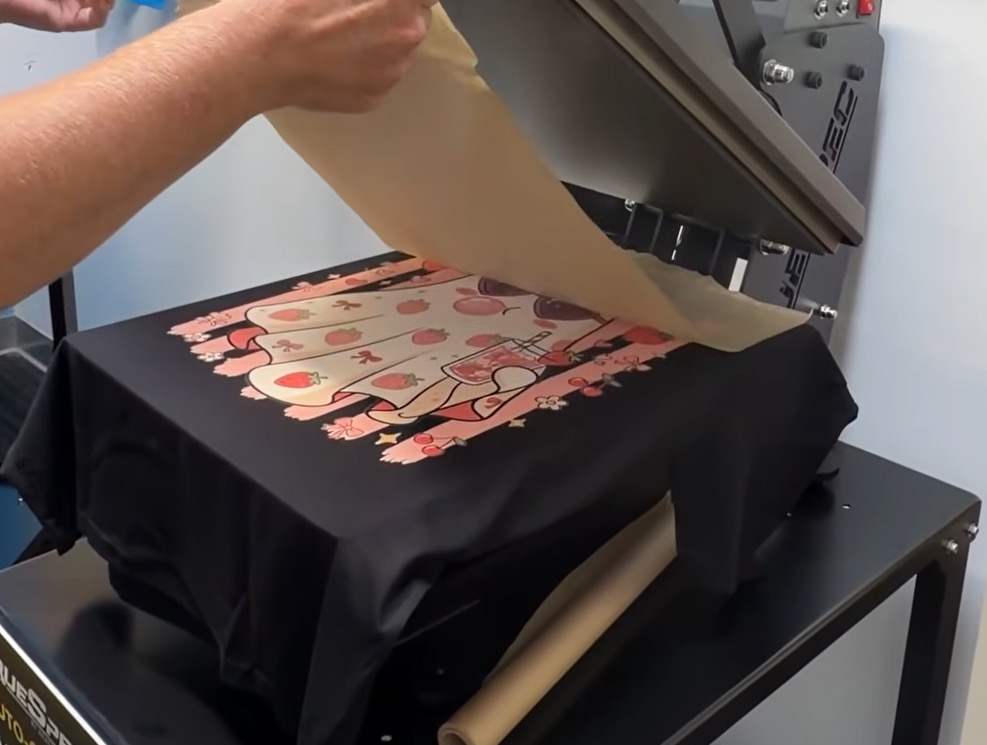
When you're done, remove the protective paper. The protective paper should easily release from the print. If there is any resistance, lay the protective paper back down and press again in 30-second increments.
Step 6. Finish the DTG-printed Shirt
We made several shirts while we were at the Epson/Heat Press Nation event and didn't have any issues with the heat curing process. I found the process really simple, and once the ink is cured, the shirt is done.
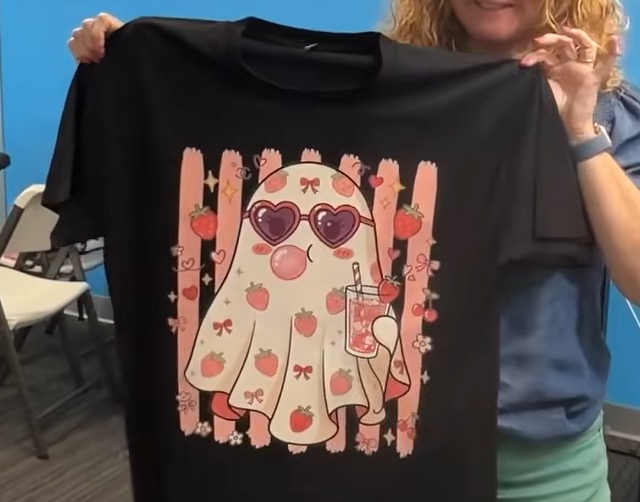
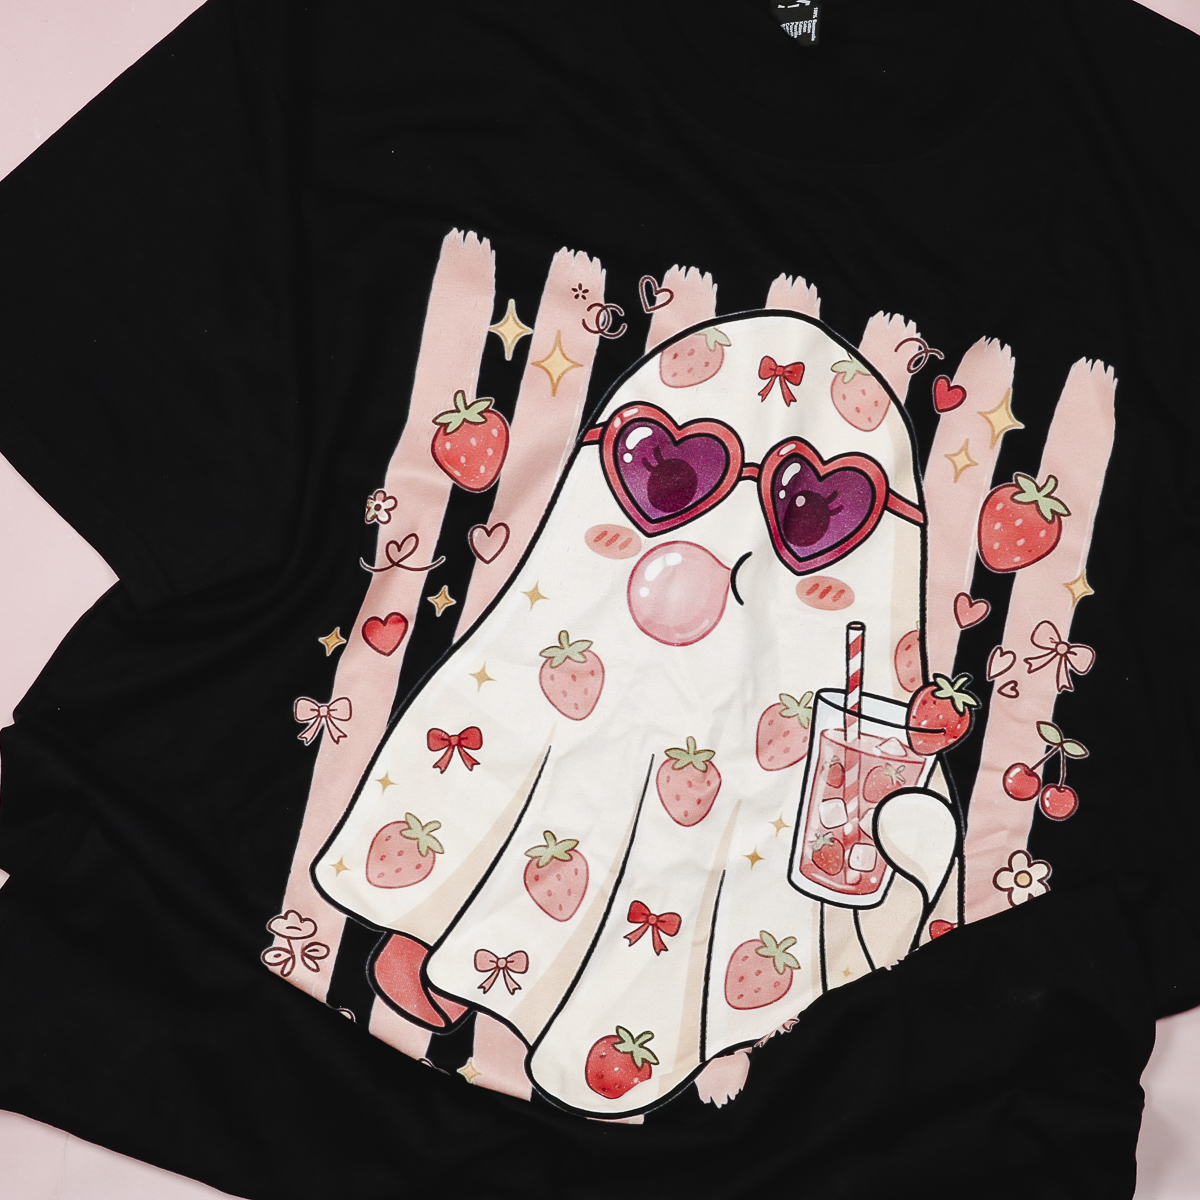
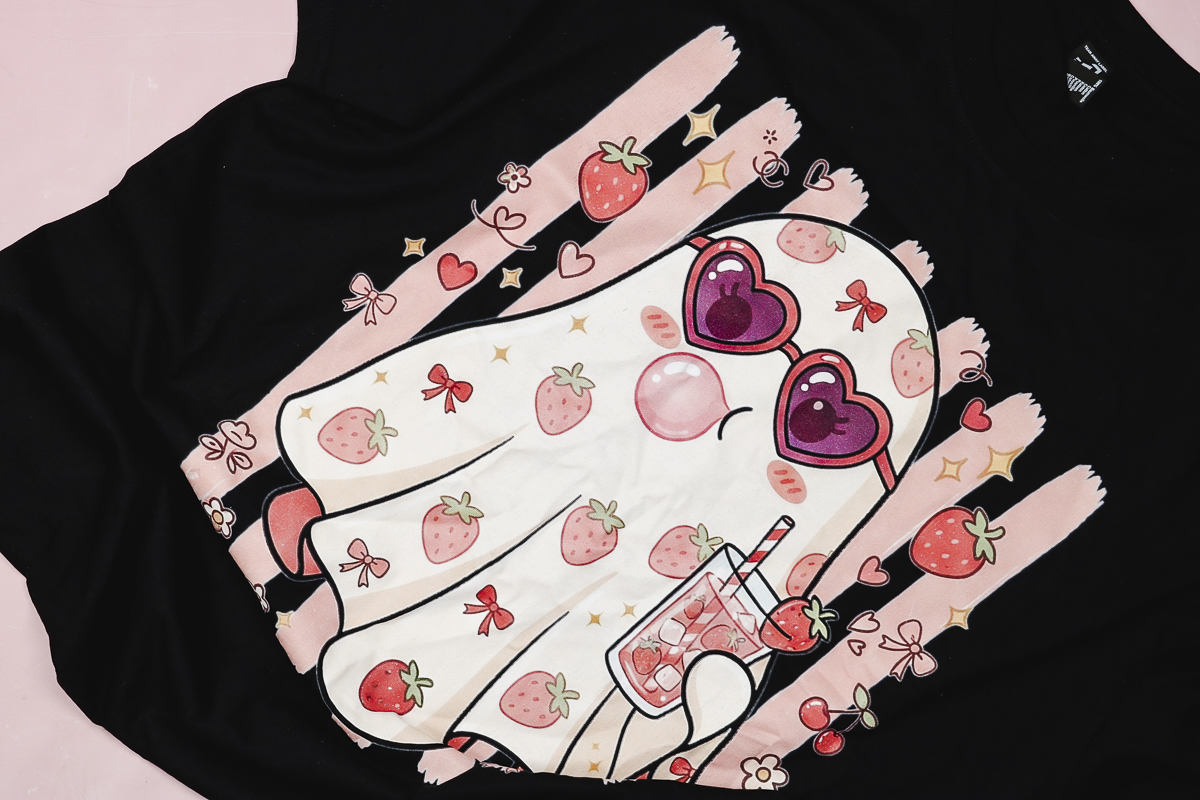
I was really impressed with the print quality on the shirt. Even though the shirt is black, the white really pops off the fabric. I picked a design with a ghost on purpose so we could really test how well the white works on dark fabrics.
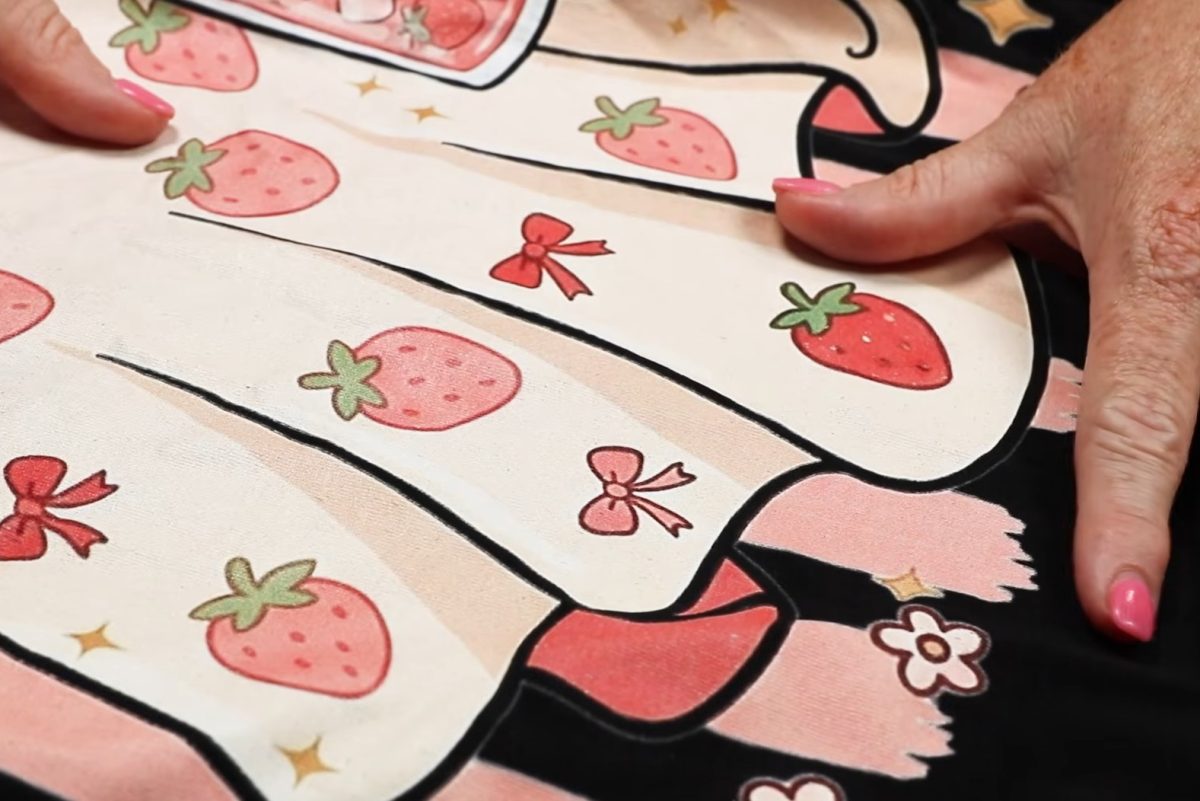
The process was really quick, and the results are impressive.
DTG Printer Options
How large you can print with a DTG printer will depend on the printer you're using. I used the Epson F2270 to make my shirt. It is larger and faster than the F1070.
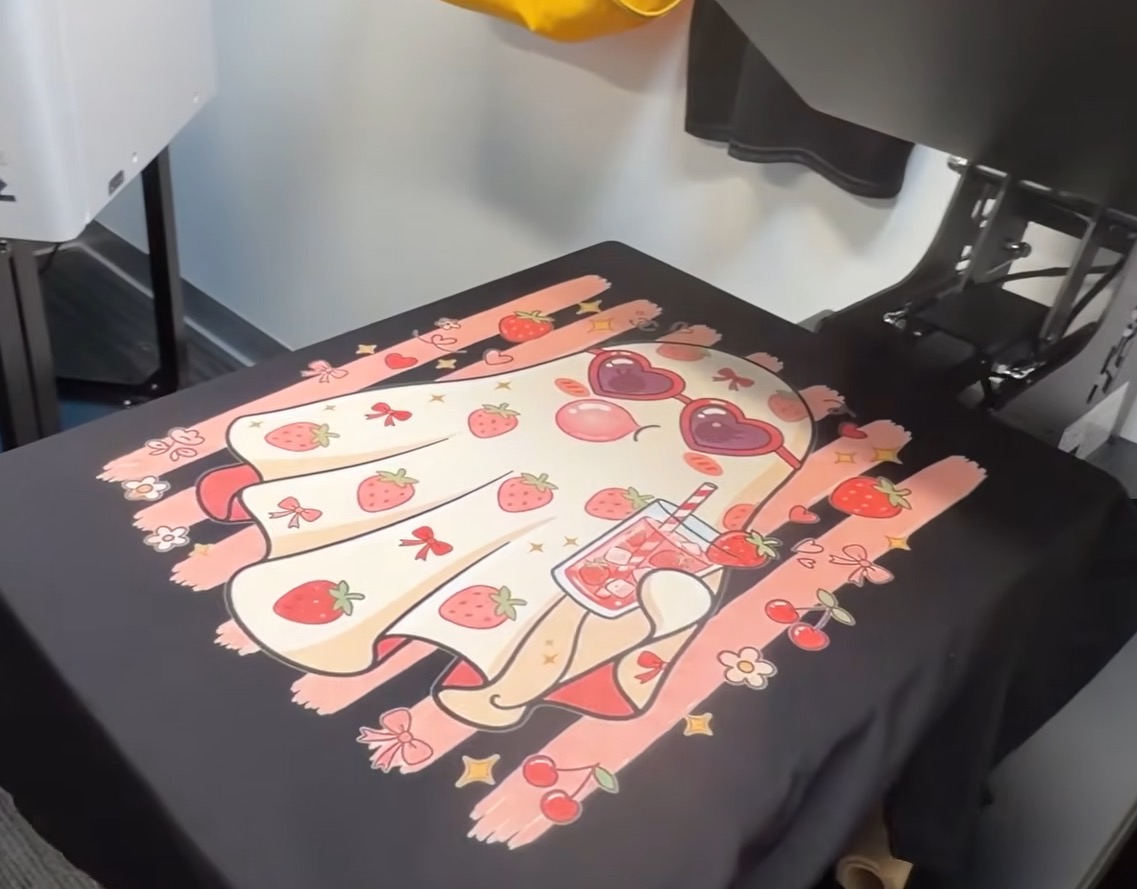
Both of these printers can print directly on garments, and you can also make DTF prints with these printers.
The F1070, I would consider to be more of a hobbyist or starter printer, and the F2270 would be better for small business owners.
The F1070 has a 10×12 work area, and the F2270 has a 16×20 work area. An additional 6 inches of width and 8 inches of length make a big difference. When you look at the shirt I made today, remember I used the larger printer. If I'd used the smaller printer, I would have had a much smaller final image.
You can see a comparison of the two models below.
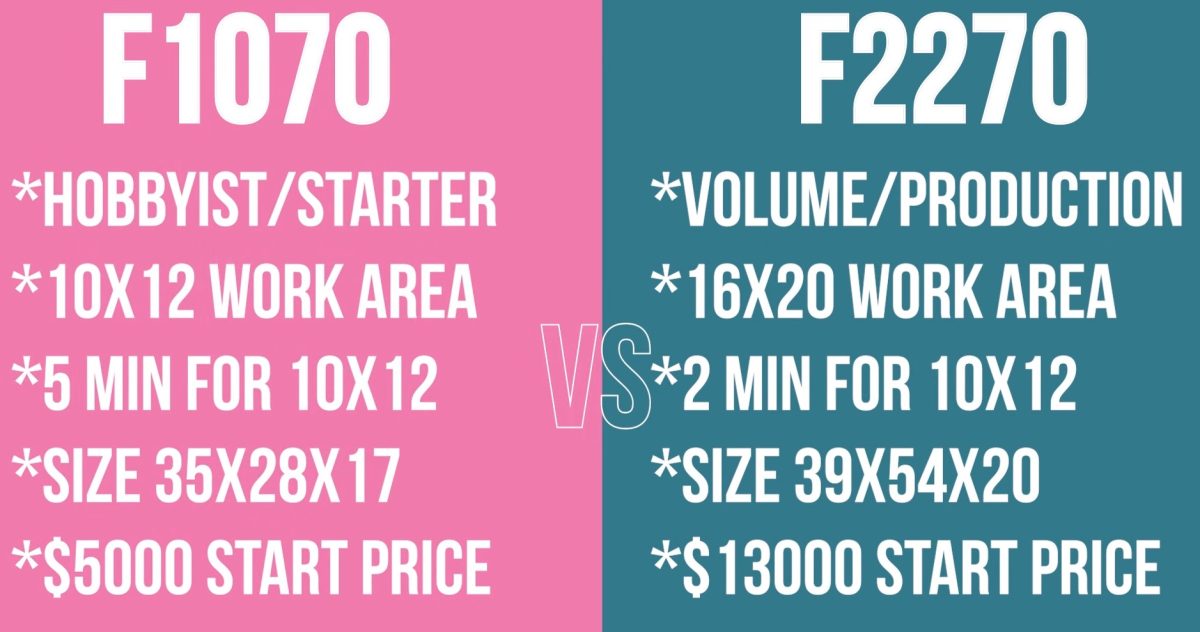
When comparing the printers side by side, when printing an image that is 10×12, in the F1070 it would take about 5 minutes to print the entire design. That same design would take about 2 minutes in the F2270.
Purchasing a DTG Printer
If you're as impressed with the shirt I made today as I am, you might be considering purchasing one of these printers.
The F1070 has a starting price point of around $5,000 and the F2270 starts at around $13,000. Both printers run on regular electricity, even though they're larger printers.
Make sure to look up the dimensions of any printer you're looking at to ensure it'll fit in your space.
Remember, if you use the DTF option in these printers, you'll need to manually powder the ink and cure it.
Is DTG Right for You?
There are a lot of great things about DTG projects. You can get high-quality, full-color designs that include white ink.
Because you're printing directly on the fabric, there is no adhesive, so it feels great. Do be aware that images with a lot of white will be thicker than images that don't.
Remember, you need pre-treated garments when using dark colors.
Another thing to remember is that you need to print regularly to prevent ink issues. The maintenance they showed us seemed fairly simple, but it's important and will take some time.
You need to do some maintenance when you start the printer, and you need to print some check sheets. At the end of the day, there is other maintenance you need to do when you're ready to shut it down for the night.
Make sure that you're ready to print regularly before investing in a DTG printer.
I hope I've answered any questions you have about DTG printing. If you have any other questions, leave them in the comments, and I'll be happy to answer them for you.
I'd also love to hear if you're interested in more DTG projects. If there's something you'd like to see, tell me in the comments.