
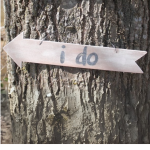
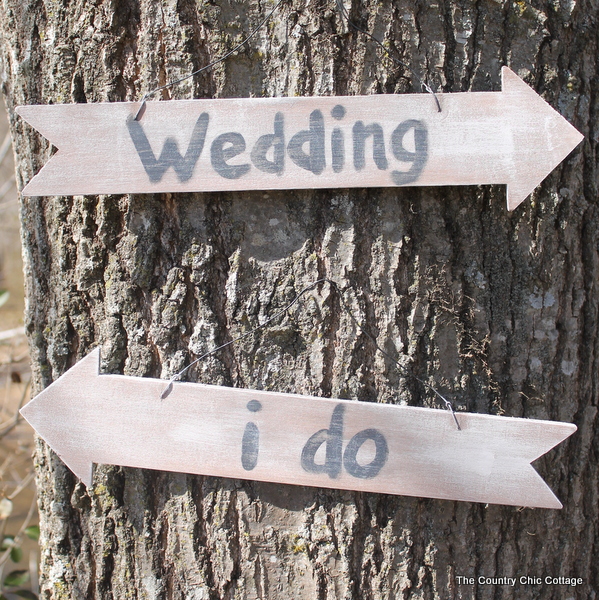
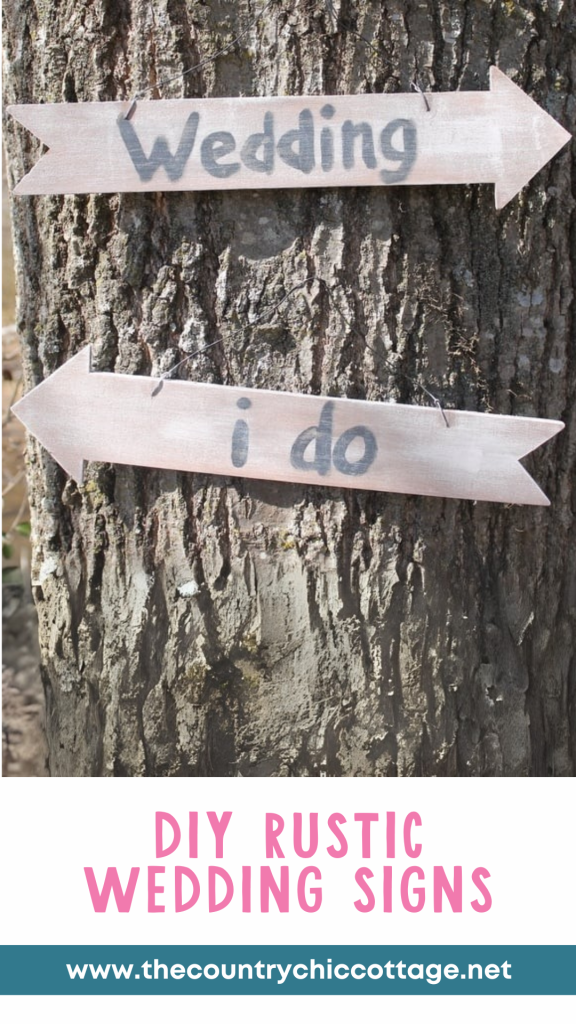
Creating these rustic wedding signs is a joy! They are perfect for outdoor wedding celebrations, receptions, luncheons, or bridal showers. Easy to make and creates a charming rustic aesthetic for both the couple and their guests.
Want even more DIY wedding crafts and ideas that are simple and oh, so fun? Be sure to check out this list of 100 wedding ideas!
How To Make Your Rustic Wedding Signs
You're going to love these easy DIY wooden wedding signs! They are easy to customize with so many different colors and options. This rustic wedding decor idea is a breeze to make and ready in 15 minutes or less– amazing, right?
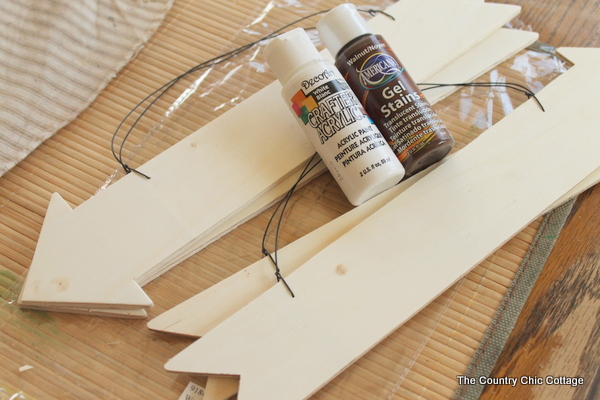
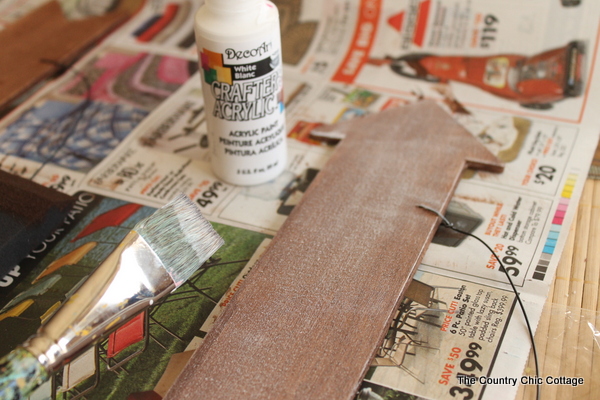
Supplies Needed To Make Rustic Wedding Signs
- Unfinished Wood Arrow Plaque Sign
- DecoArt Walnut gel stain
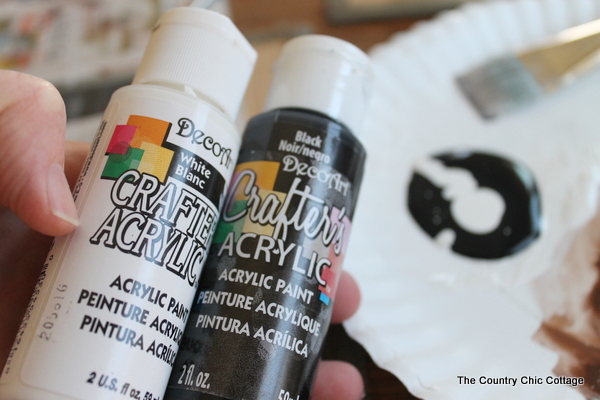
- DecoArt Crafter's Acrylic Paint in Black and White
- Sandpaper
- Foam brush
- Paintbrush
NOTE: Be sure to keep newspaper, paper towels, or something else handy to prevent a mess.
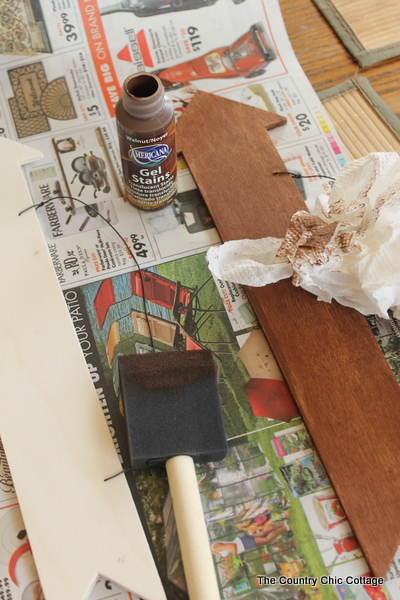
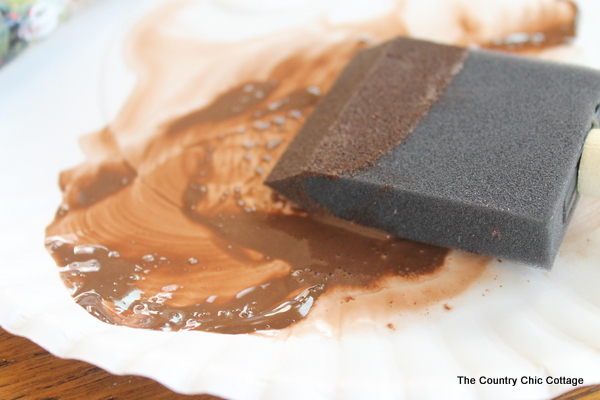
Step 1: Apply Gel Stain To Wood Sign
First, coat the front and sides of the wedding sign with the gel stain. Wipe off the excess and set it aside to dry.
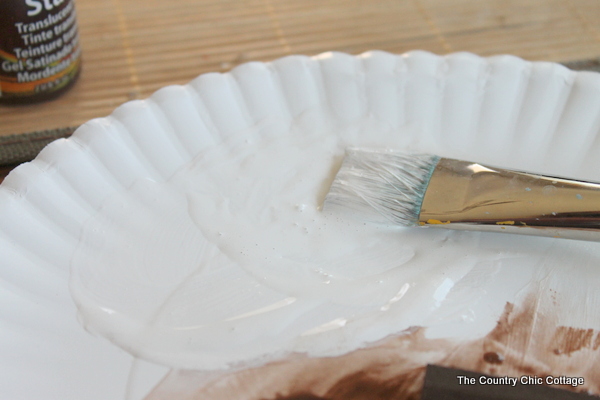
Step 2: Add White Paint To Wood Sign
Next, dab a small amount of paint onto the paintbrush and wipe most of it off. Swiftly move it across the wedding sign. See an example below.
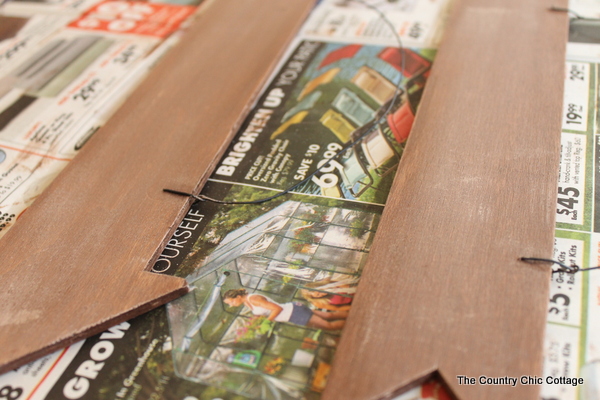
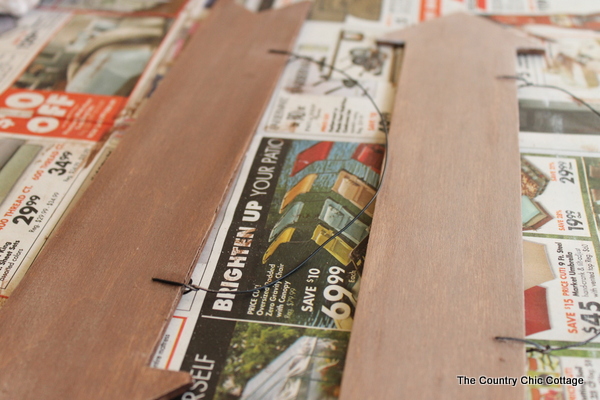
Step 3: Add More Gel Stain To Wood Sign
After that, brush the wooden sign with the stain again, but only in some places to create a weathered effect. Wipe off the excess and allow the sign to dry.
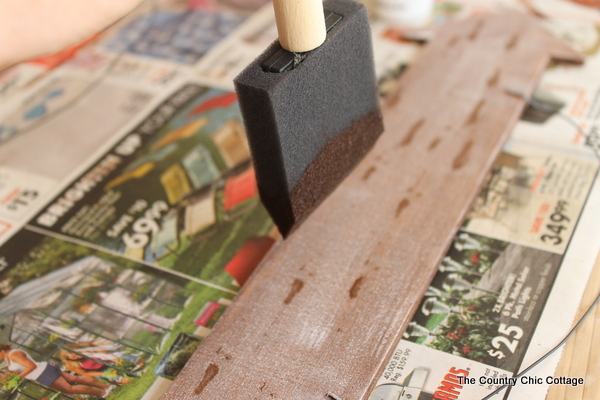
Below is a photo of what the wooden sign should look like with the stain in some areas of the wood.
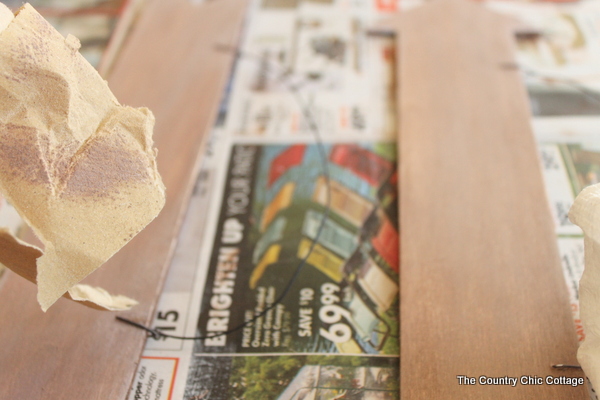
Step 4: Sand Wood Sign
Next, sand the sign. Concentrate on the areas with paint to make it appear more rustic.
Step 5: Mix Gel Stain With Water
Mix the gel stain with water to create a thinner version of the dark stain.
Step 6: Brush Stain Mixture Over Wood Sign
Brush the stain mixture over the wooden sign, then immediately wipe off. Allow the sign to dry.
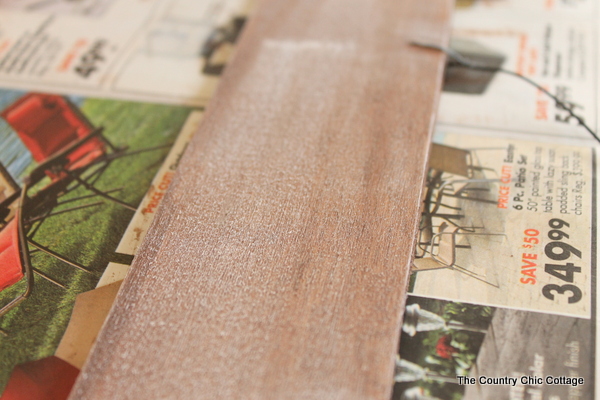
Step 7: Mix White Paint With Water
Next, mix the white paint (or your choice of color) with water. This is a whitewash for the sign.
Step 8: Brush Paint Wash Over Wood Sign
Brush the sign with the paint wash, then immediately wipe with a rag. Next, allow the sign to dry once again. Below is an example of what the sign should look like.
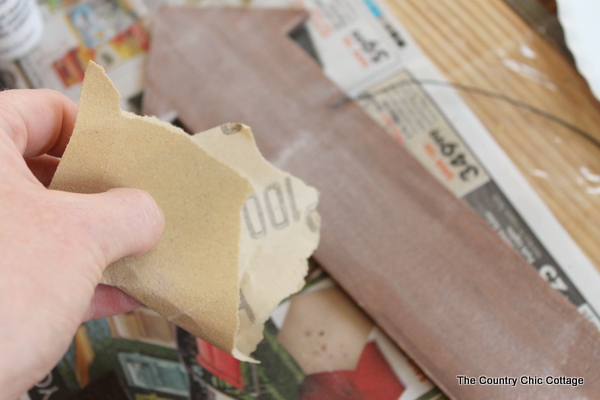
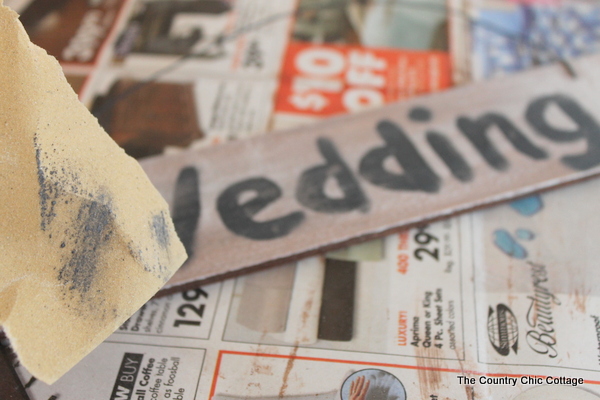
Step 9: Sand Wood Sign
Use sandpaper to roughen up the surfaces and edges. If you want, you can concentrate on certain areas more than others to make them appear more distressed and rustic.
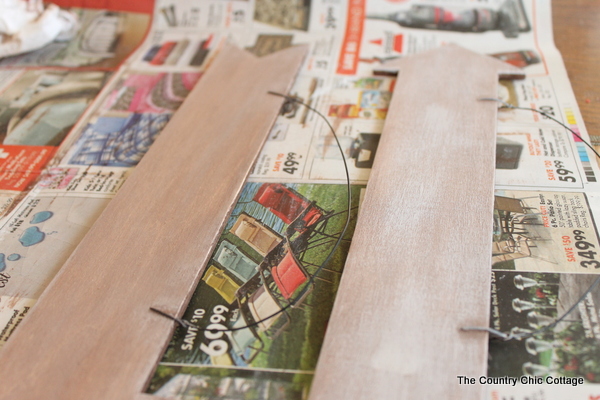
Step 10: Dry-Brush Wood Sign
Next, dry-brush the white over the top of the signs one last time. Below, the sign on the right is complete while the one on the left still needs to be dry-brushed. Allow it to dry thoroughly.
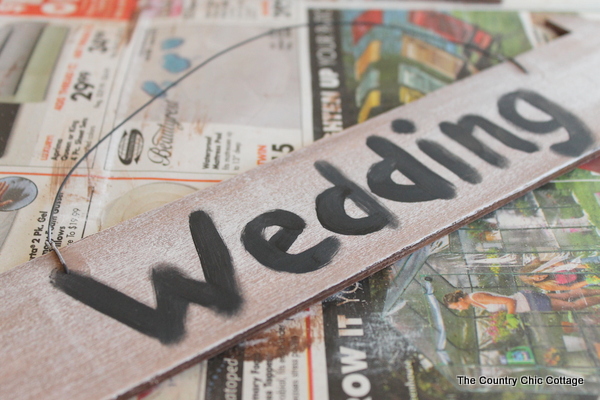
Step 11: Add Lettering
Now we can add the lettering. Make sure the sign is completely dry before proceeding with this step. I used black paint with a touch of white mixed in for a very dark grey color.
To make these feel REALLY rustic, I lettered the wooden signs by freehanding the writing with my brush. You can absolutely use a stencil, but I was going for an old, worn, handcrafted look.
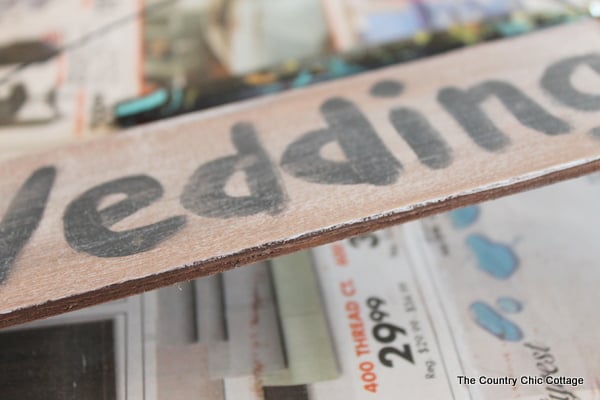
Step 12: Sand Letterings
Allow your lettering to dry, then go over it HEAVILY with sandpaper. Wear the lettering off completely in areas. Remember, we want rustic, old, and worn – new lettering does not do anything for these signs.
Step 12: Dry-Brush Edges Of Wood Sign
To take care of the edges, go back with white paint and a dry brush to touch these areas up. You can also finish the sign in black if you would prefer.
I used a very dry brush and white paint to touch over the lettering on the front to add a subtle touch (but this is optional). After that, I allowed the entire thing to dry and the paint to harden.
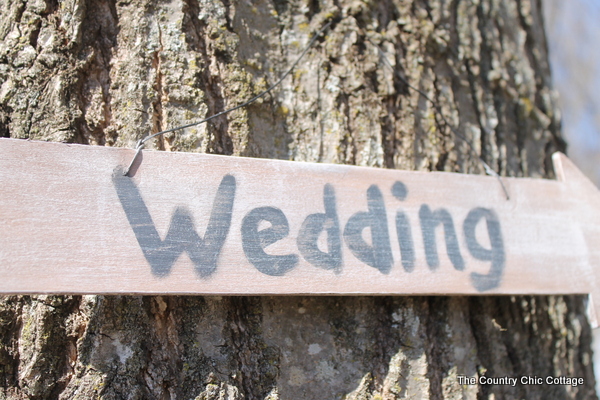
Once your signs are dry, you are ready to display them! These DIY wedding signs are great to hang on trees, walls, posts, and so much more. You can even suspend these signs from the ceiling!
Want to make restroom signs for your guests? You can easily make more personalized signs from this tutorial as well!
FAQs About Rustic Wedding Signs
Here are answers to some of the most common questions I get about making these rustic wedding signs. If your question isn’t listed, feel free to drop it in the comments, and I’ll be happy to help!
Where Did You Get Your Wood Arrow Plaque?
I bought my wood arrow plaques online, but you can also find something similar at your local craft store!
Do I Need To Use The Gel Stain For This Project, Or Can I Use Something Else As A Substitute?
Honestly, the Gel Stain is the best option for this project. This is because it's designed to be a stain but without all the hassle of a regular stain. Plus, you get a better look than what you might get if you used brown paint that has been watered down.
What Other Words Can I Put On These Rustic Wedding Signs?
The sky is truly the limit for what you could put on these rustic wedding signs! I chose the words ”Wedding” and ”I Do” but you could choose something like the following:
- The couple's last name
- Ceremony
- Reception
- The Bar
- Welcome
Can I Add A Sealer To These Rustic Wedding Signs?
Yes, you can absolutely add a spray sealer over the top of your project to protect it from the elements!
54 More Wedding Crafts
Did you love these rustic wedding signs and want even more wedding crafts? Then check out the ideas below!
- 50 Wedding Crafts
- Our love story- free Wedding SVG
- Country Wedding Decor Ideas
- DIY Wedding Table Number
- Wedding Chair Reservation Signs


Hi Angie- I love this idea for all kinds of things. Could you please link this up to Friday Favorites going on now at http://imnotatrophywife.com
Love this idea! laura
Love these diy wedding signs and clear instructions to make them. Thanks.