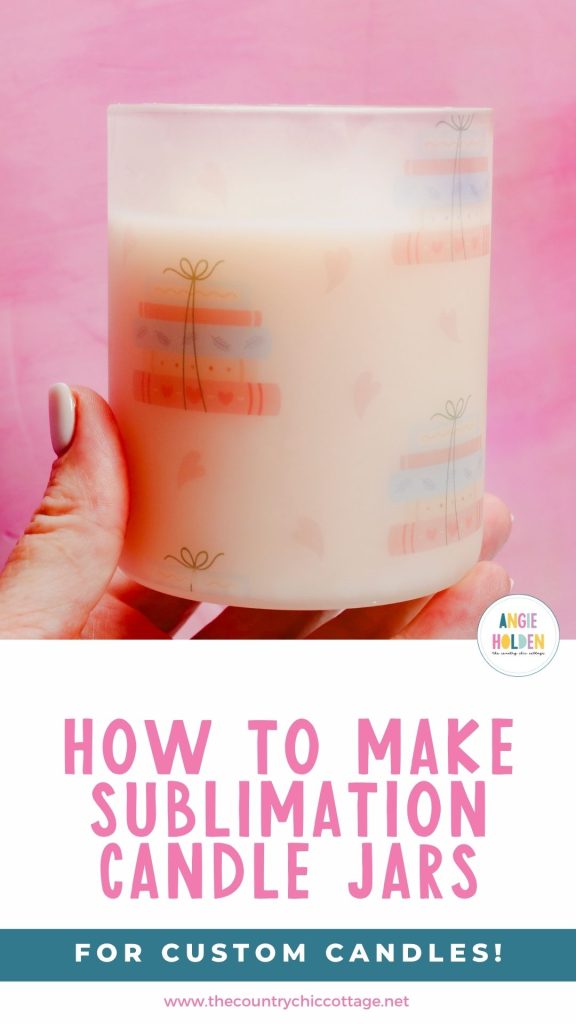
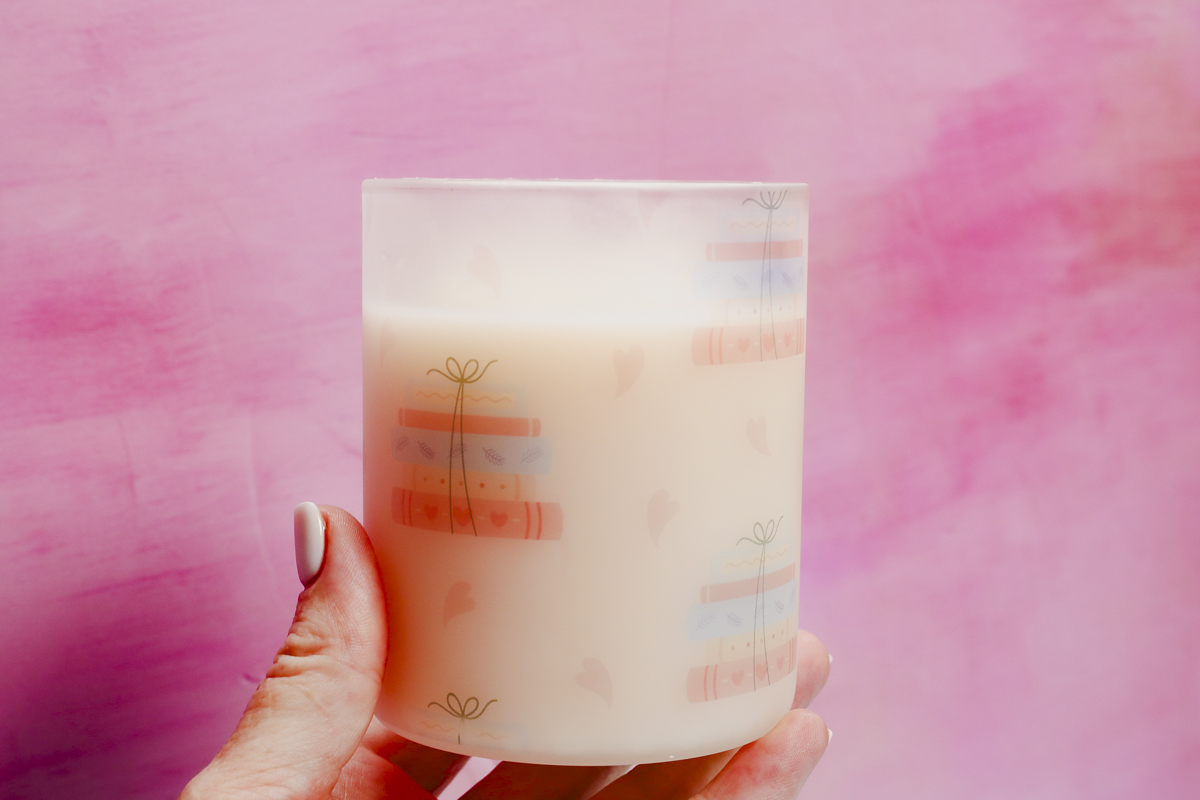
If you're looking for an amazing gift for the upcoming holiday season, you're going to love how easy it is to make personalized sublimation candle jars. Keep reading to learn how to customize the jar, make your own candle, and even how to add a wax shape to the top of your candle.
Use this tutorial to learn how to make your own, and you can customize the look for everyone on your list. Make sure to read to the end for all my best tips and tricks.
I'm using the xTool WonderPress today because it can apply the sublimation to the candle jar and create the mold for the heart I'm going to place on the top of the candle.
Watch me make this sublimation candle jar from start to finish by pressing play on the video below.
How to Make a Sublimation Candle
To make a sublimation candle the way I am today, you will need a sublimation printer, a sublimation candle jar, and the ability to make a mold.
You can make adjustments as needed if you own different machines and materials than I do.
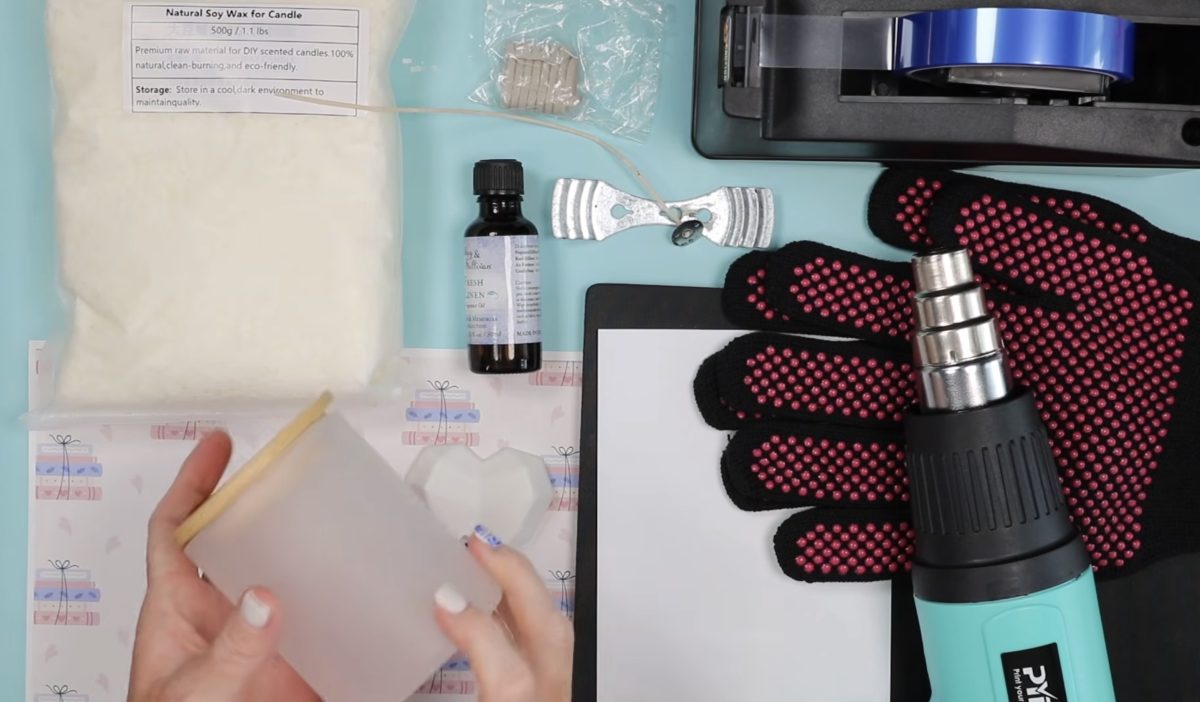
Supplies Used
- xTool WonderPress
- Sublimation Candle Jars
- Brother Sublimation Printer
- Sublimation Paper
- Lint Roller
- Heat Gun
- Shrink Wrap
- Heat-Resistant Gloves
- Heat Resistant Mat
- Candle Wicks
- Candle Wick Holder
- Soy Wax
Why Did I use the xTool WonderPress?
I'm using the xTool WonderPress today because it allows me to do everything from sublimating the candle jar to making the mold for the top of the candle.
If you own a different sublimation oven or have a pre-made mold you want to use, that will work as well.
How to Sublimate a Glass Candle Jar
To sublimate a glass candle jar, we're going to need an empty sublimation candle jar. You cannot use just any empty candle jar; it needs to have a sublimation coating on it. You also need the candle jar to be empty because the sublimation process includes using high heat, which will melt candle wax.
You will also need a sublimation print. A sublimation print is sublimation ink printed on sublimation paper from a sublimation printer.
Now that we have the sublimation jar and sublimation print, let's get making.
Step 1. Prepare the Sublimation Candle Jar
First, measure the jar. Using a flexible measuring tape, measure around the outside of the jar and the height from top to bottom.
Trim the sublimation print to fit the candle jar.
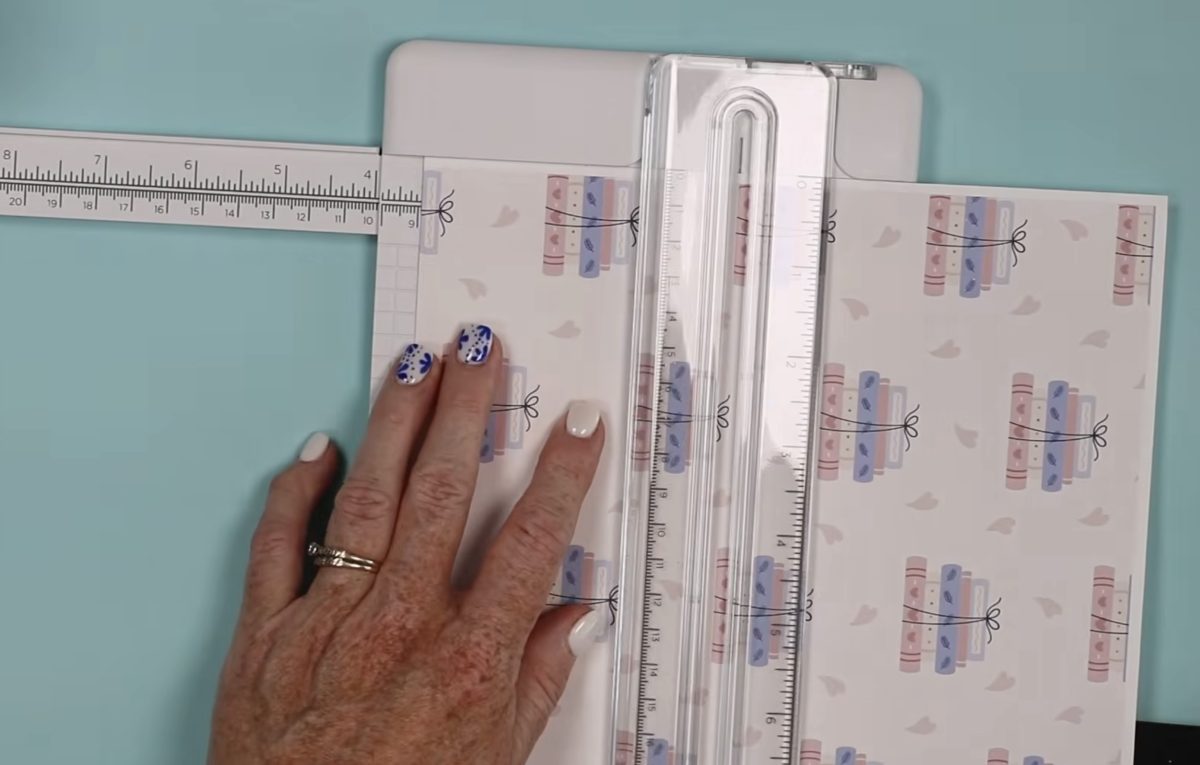
I printed a full page of the sublimation design and cut it to size using a paper trimmer.
Sublimation ink is translucent. The jar I'm using today is clear glass. The candle wax I'm using is white. To help ensure the sublimation design really shows up on the candle jar, I double-printed the design. This puts more ink on the paper, which allows more ink to transfer to the jar during the pressing process.
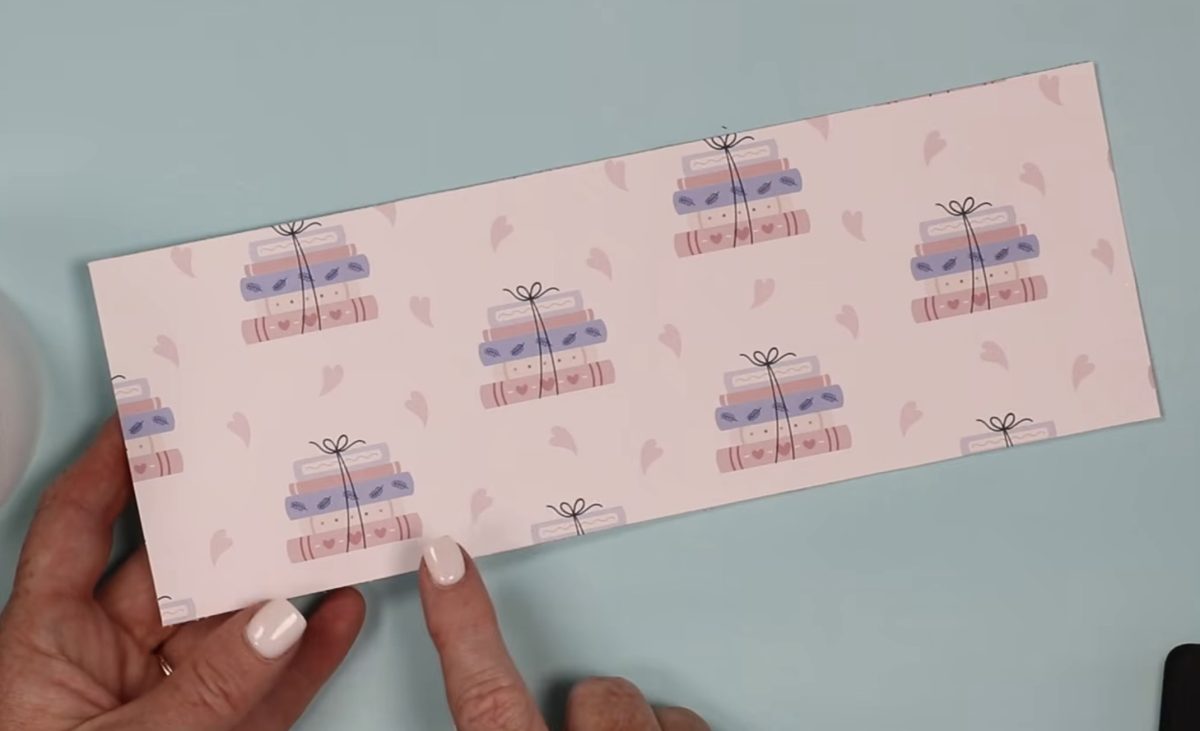
Don't forget to mirror your design before printing.
Step 2. Add the Sublimation Print
Use a lint roller or lint-free cloth and rubbing alcohol to clean the outside of the jar.
Add tape to one end of the sublimation print on the outside of the print. This will prevent any overlapping ink transfer where the sublimation print overlaps.
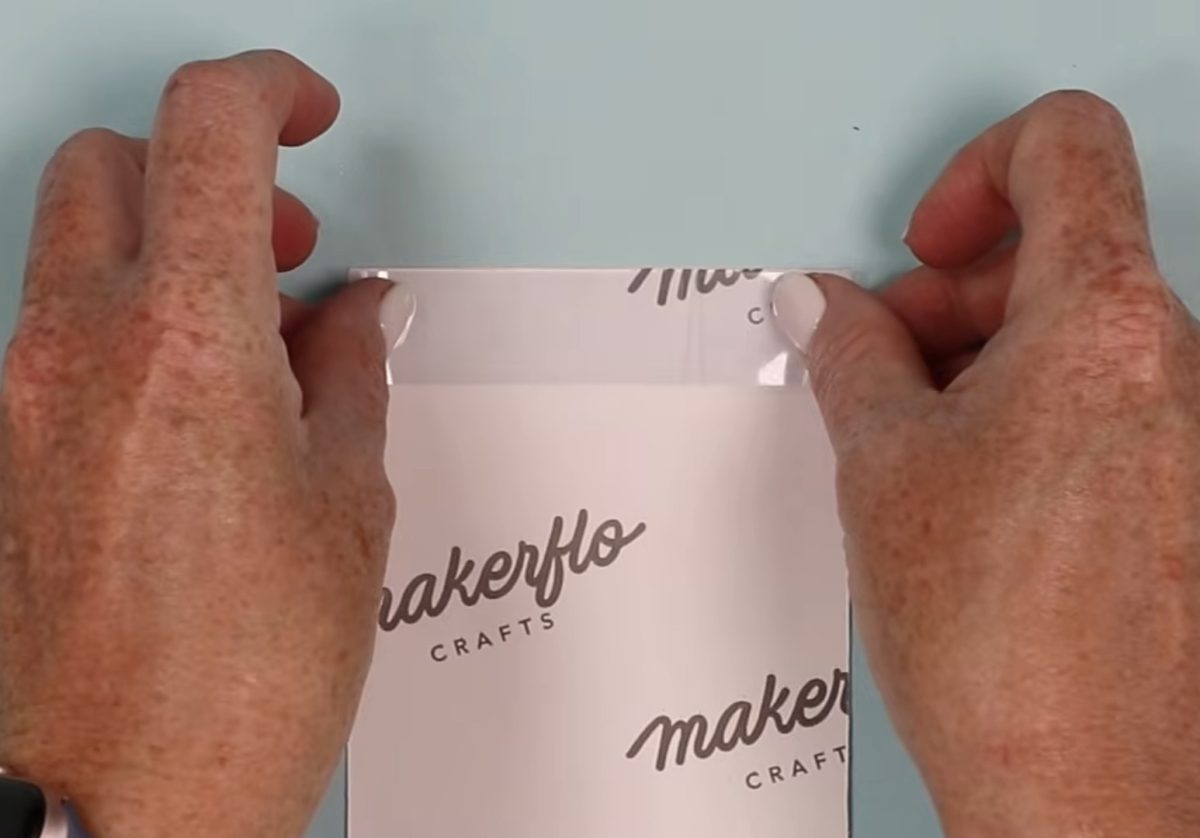
Use heat-resistant tape to secure the print to the jar. I like to add tape all along the seam to ensure it's nice and tight.
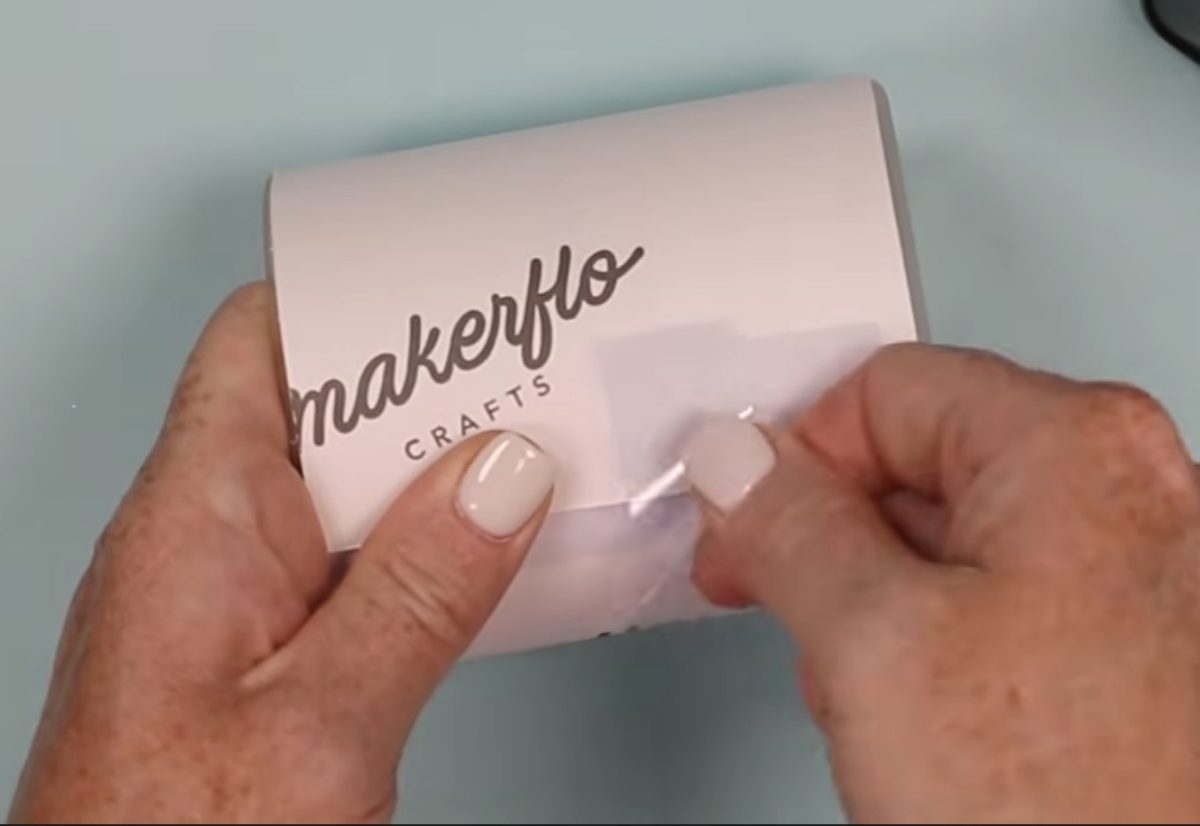
Step 3. Place Jar Inside a Plastic Shrink Sleeve
When using a sublimation oven, you need to use a shrink sleeve. The shrink sleeve adds the pressure that you get from a traditional heat press or tumbler/mug press.
Place the sublimation candle jar in the shrink sleeve. My sleeve was large enough to do 2 jars, so I cut it in half and used half for this candle jar.
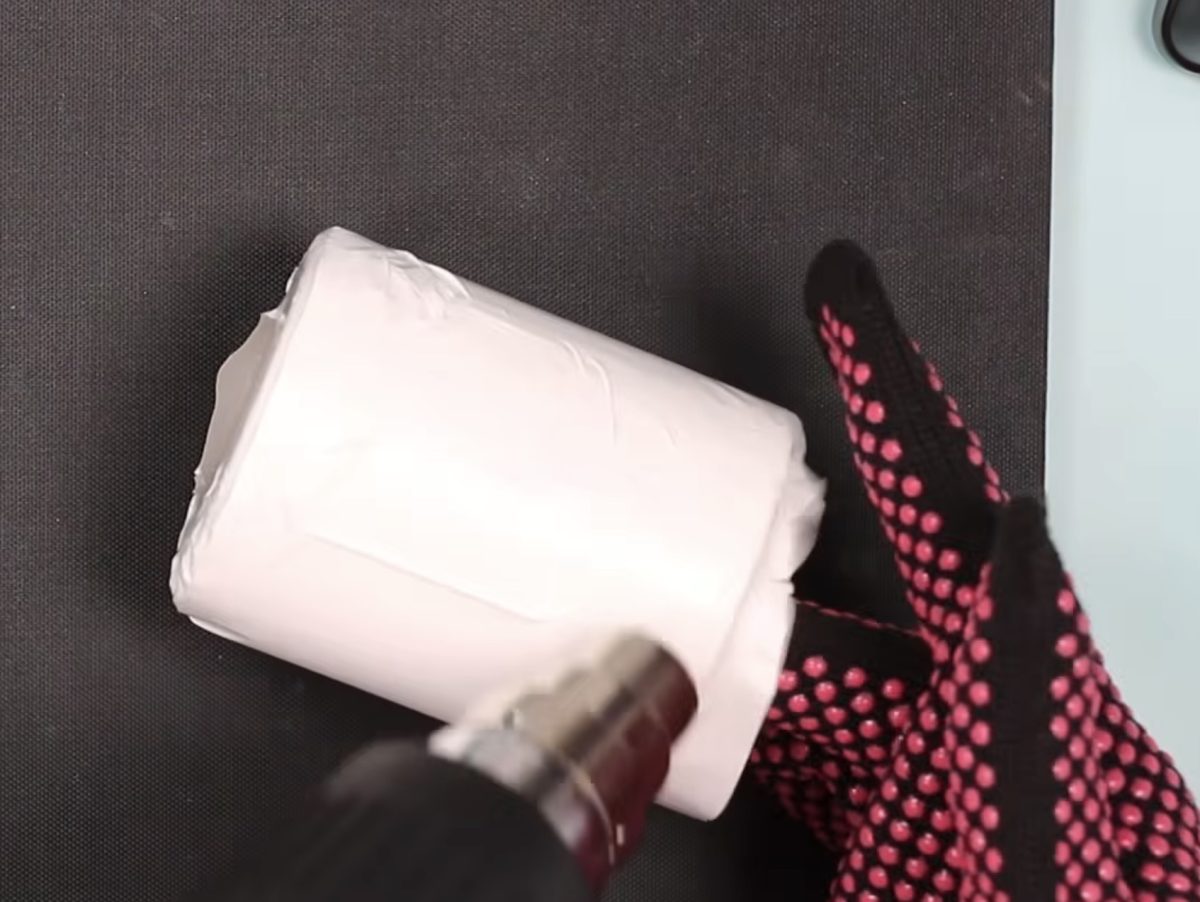
Use a heat gun to shrink the plastic sleeve around the jar. Make sure it's tight everywhere, but don't burn through the plastic.
Step 4. Sublimate the Candle Jar in the Oven
To use the WonderPress as a sublimation oven, I removed the heat press module and installed the sublimation oven module.
I removed the top rack from the oven module and made sure the heat pad was placed inside the oven.
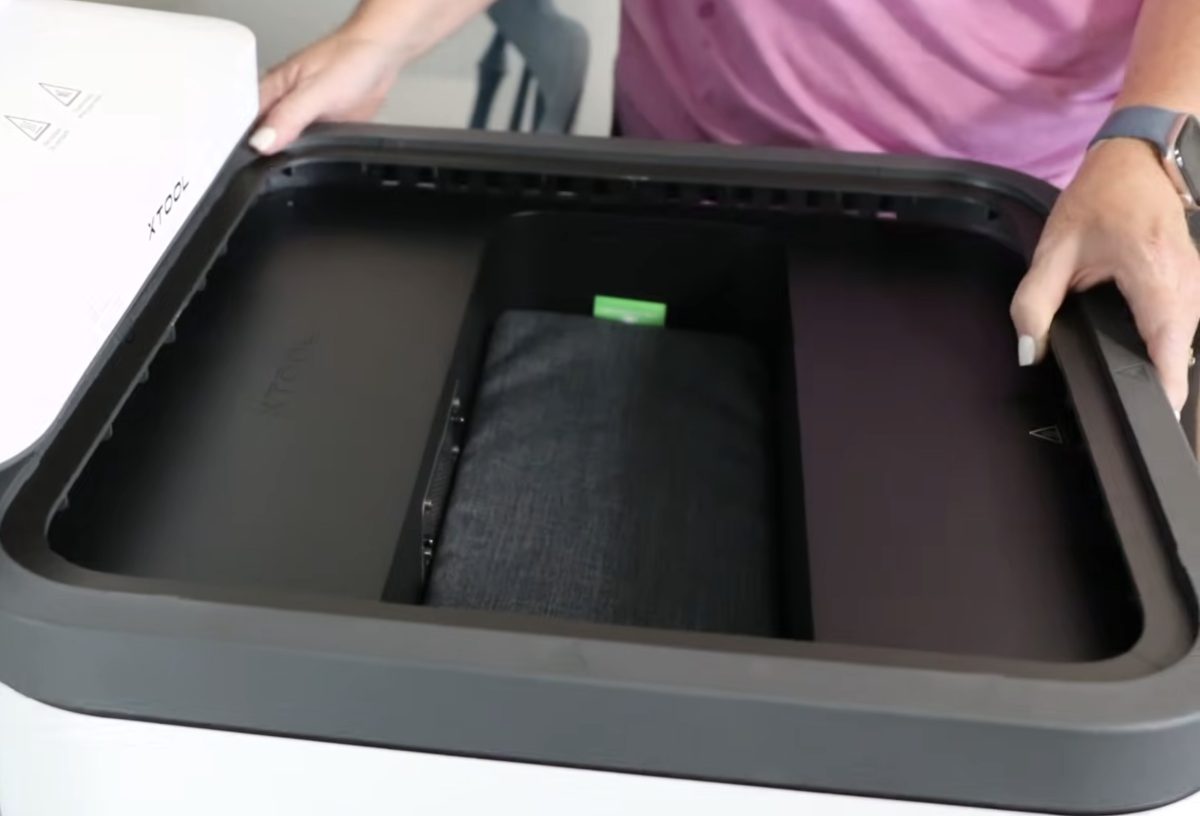
Set the time and temperature for your sublimation blank.
Note: I needed to increase the time to get a good sublimation result. If you're using the same tools and materials I am, you may need to increase the temperature or the time to get the best results.
When the oven is to temperature, add the sublimation candle jar to the oven and close the press. Hit the Play button to start the sublimation process.
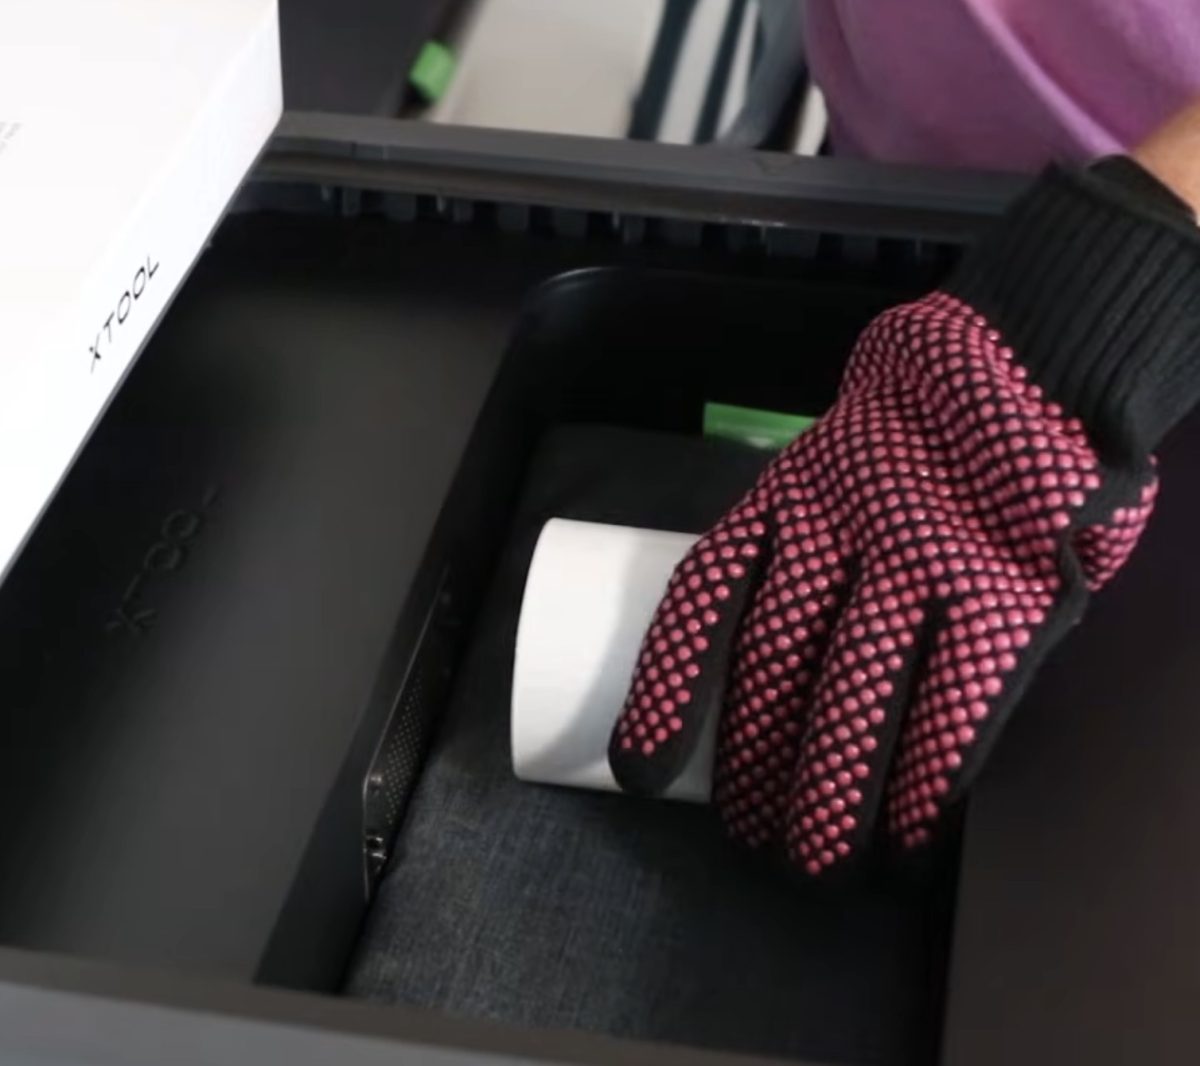
At the halfway mark I opened the oven and rotated the jar to get a more even sublimation transfer.
When the time is up, remove the glass jar from the oven and set it on a heat-resistant mat.
Step 5. Remove the Shrink Wrap
I recommend removing the shrink wrap immediately after removing it from the oven. It is easier to remove while it's hot.
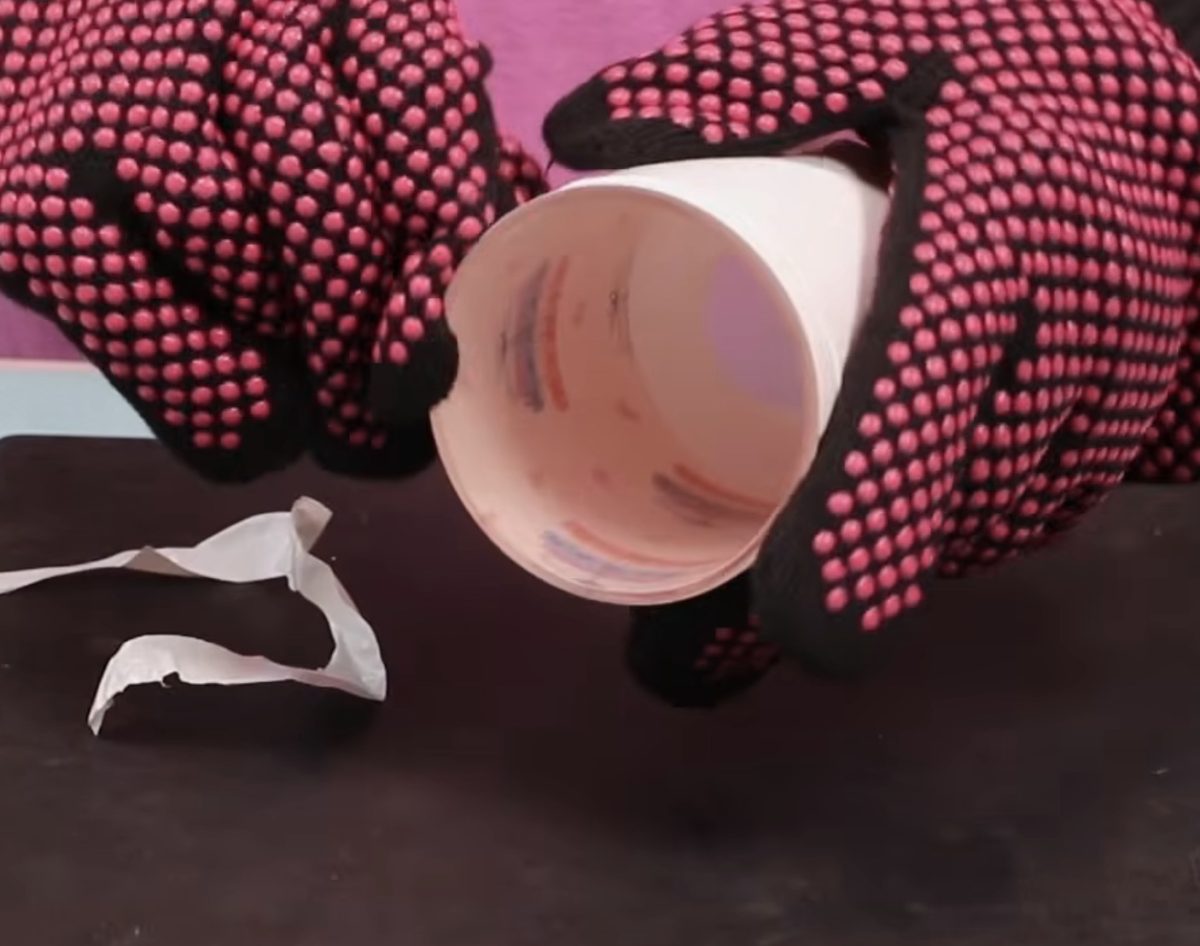
Use heat-resistant gloves and something like a weeding tool to help remove the shrink wrap.
Step 6. Remove the Sublimation Print
To get the best transfer, I recommend allowing the jar to cool completely before removing the sublimation print.
Sublimation ink will stop transferring once it's cool. Allowing it to cool completely allows as much ink as possible transfer to the jar.
When it's completely cool, peel back the sublimation tape and remove the sublimation print.
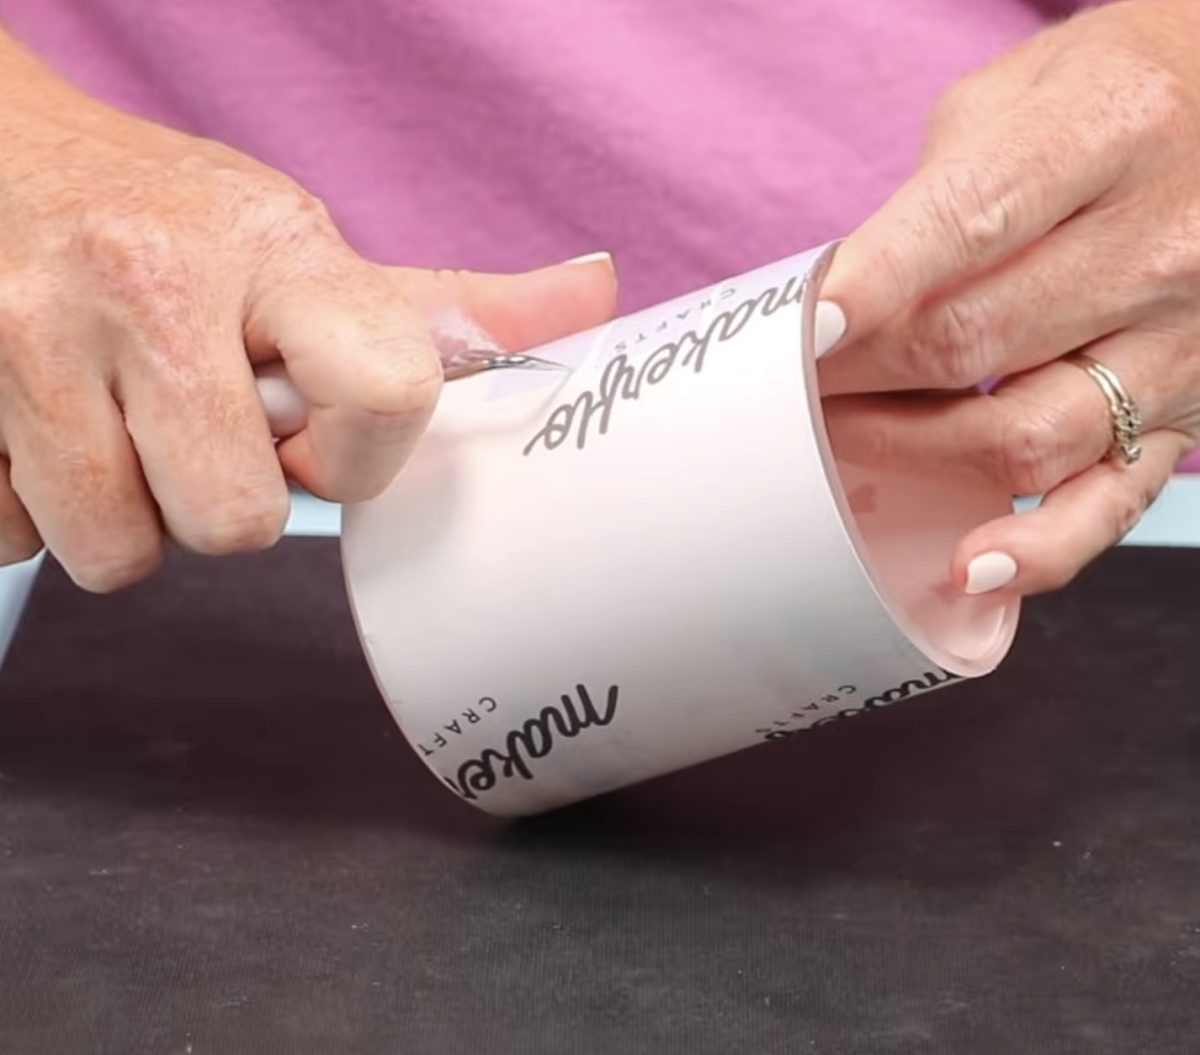
The sublimation glass jar looks really good and we're ready to make the candle itself.
Make a Mold with the xTool WonderPress
Before I start filling my candle jar I am going to make the mold I'm going to use for the piece I want to add to the top of my candle.
Step 1: Add 3D Form Module to Press
Remove the oven module from the WonderPress and add the 3D form module.
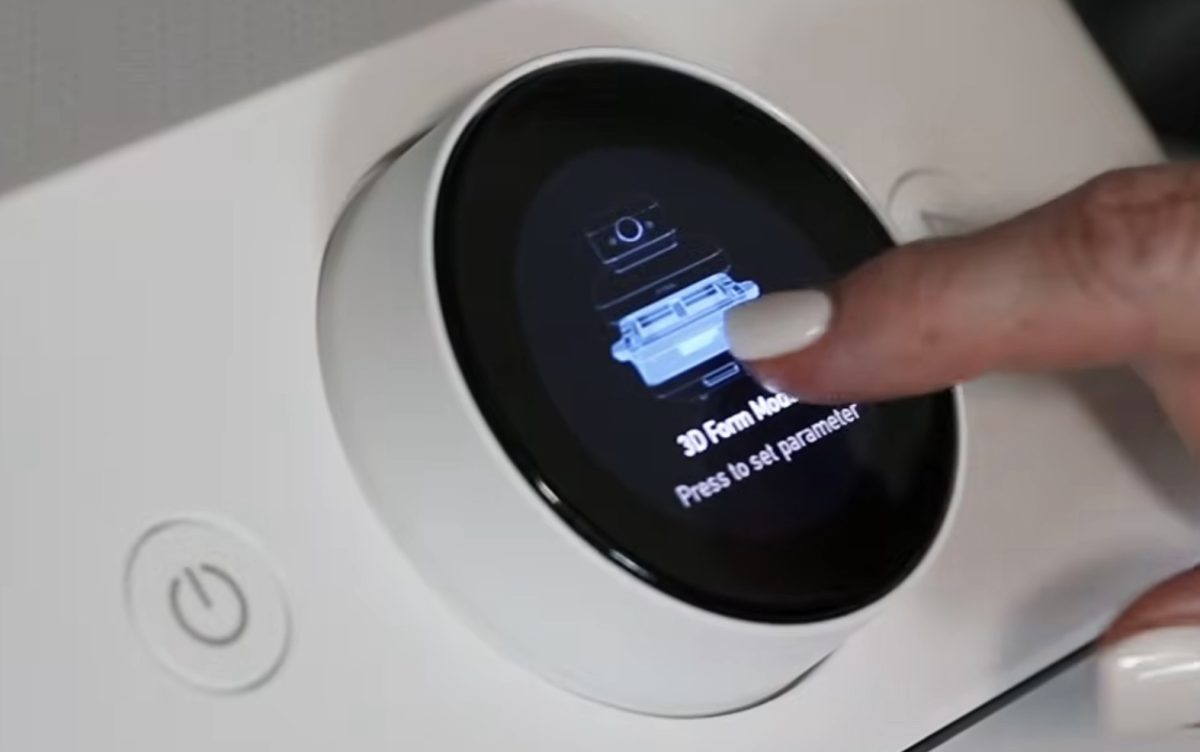
Select Vacuum Forming setting and the type of material you're using. I am using the soft material for this mold.
Make sure the metal mesh plate is installed inside the 3D form module and raise it up until it clicks in place.
Step 2: Add Film and Object to Press
With the form module raised, open the handles.
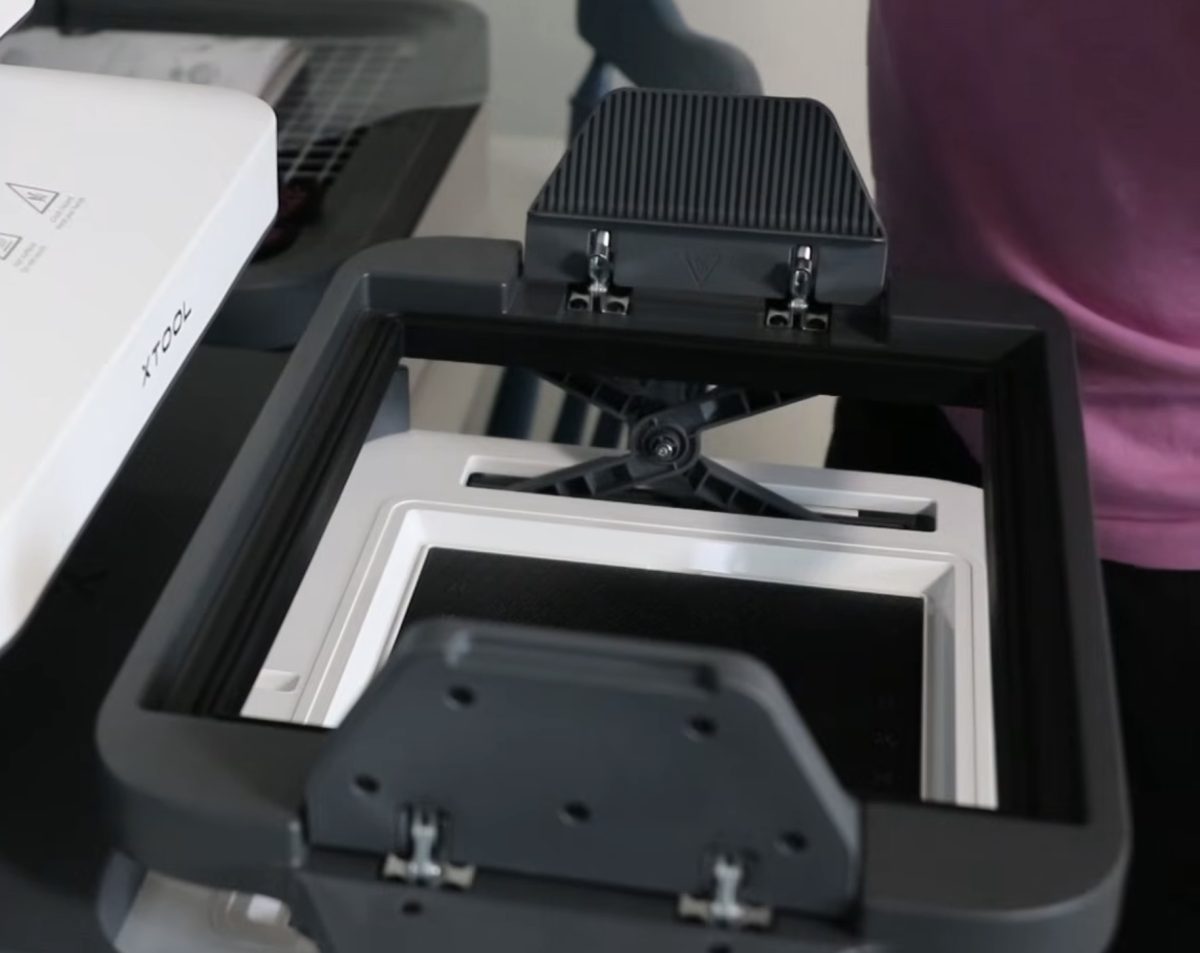
Place the object you're using to make the form inside the press. Remove the protective film from both sides of the vacuum-forming film and add the film to the top frame.
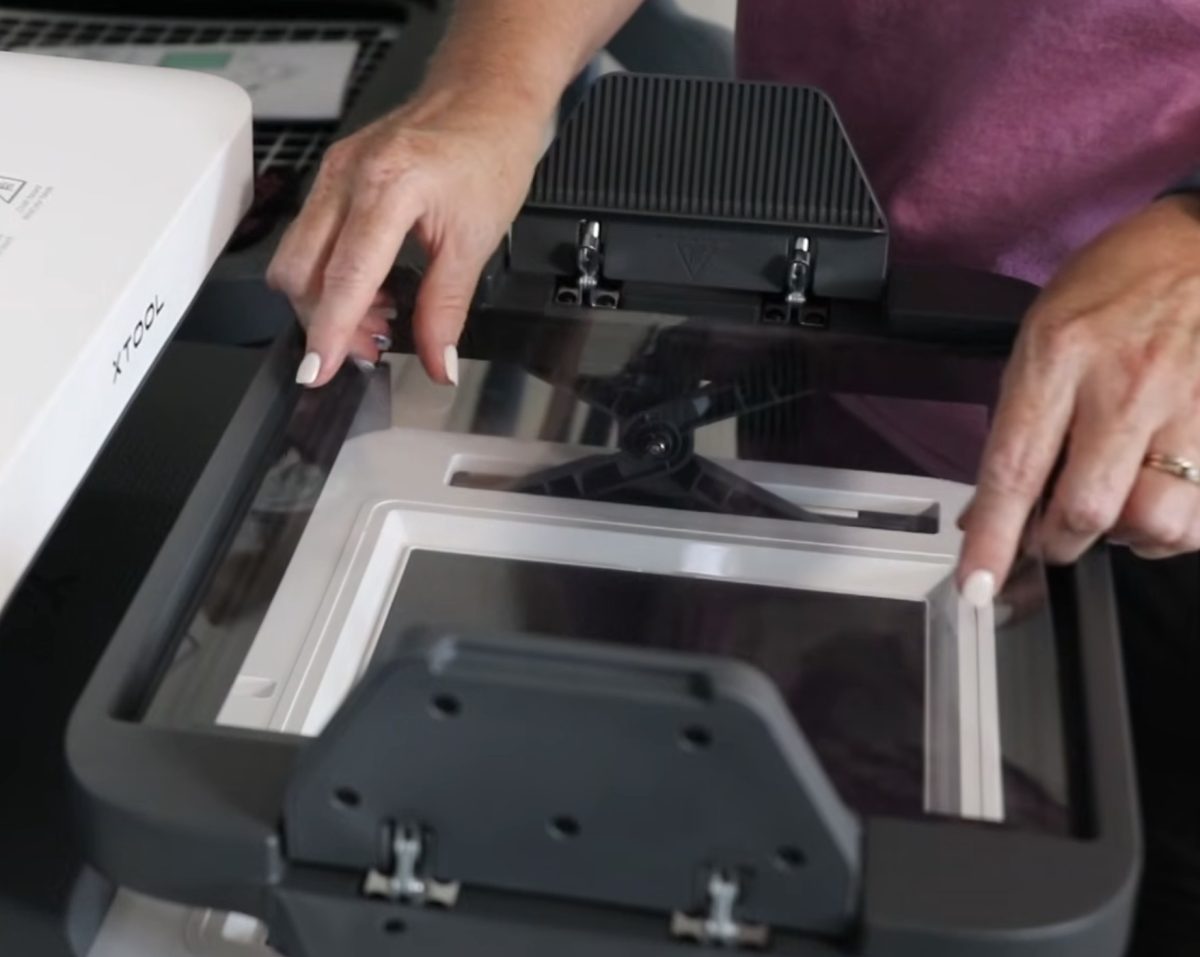
Make sure the film covers all four sides and rests on the gasket on all sides.
Step 3: Make Mold
Add the frame to the 3D form module. Then press the tray into the press. Allow the press to heat until it reaches temperature.
When your press is to temperature, press the Play button. It will tell you to press the handles firmly down on both sides for about 10 seconds. After that initial 10 seconds it will continue the vacuum process for about 60 more seconds.
The vacuum process is loud because it is creating a vacuum around the object you placed inside the tray.
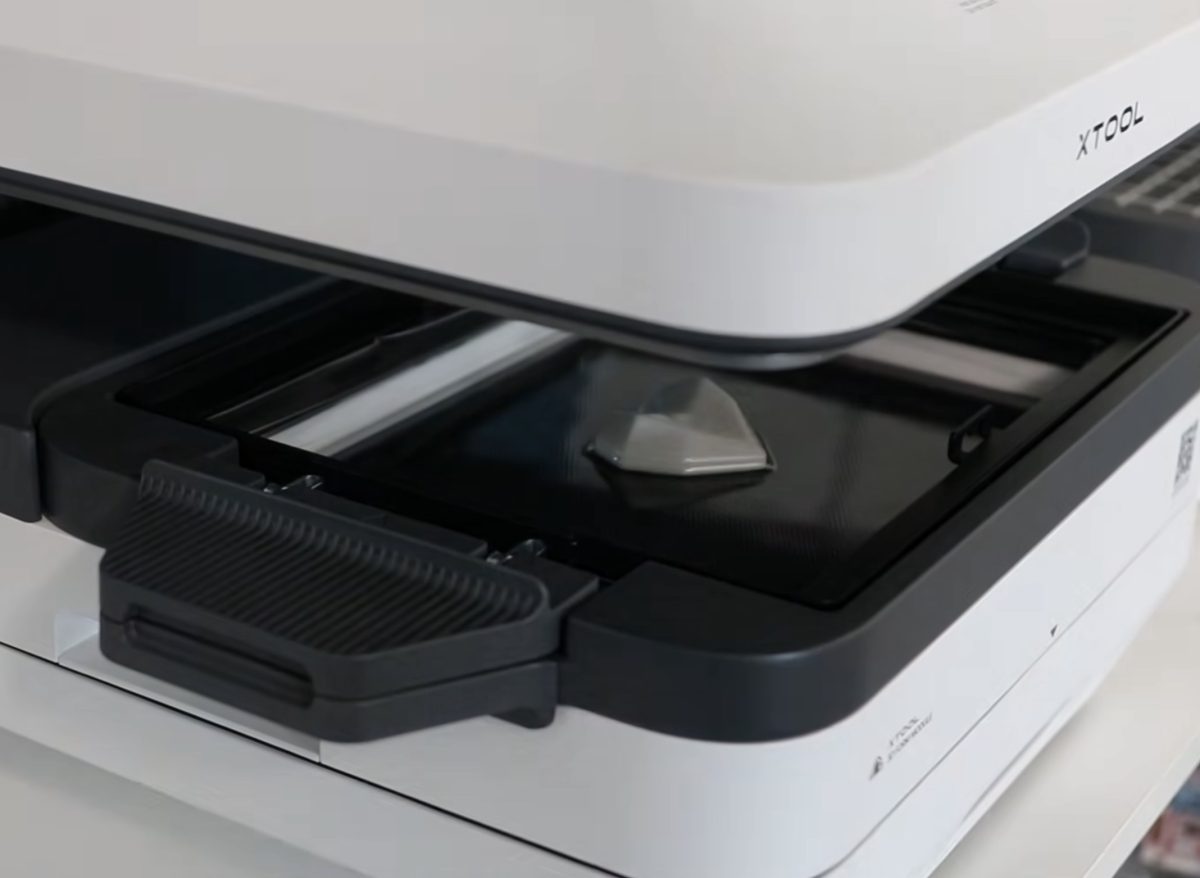
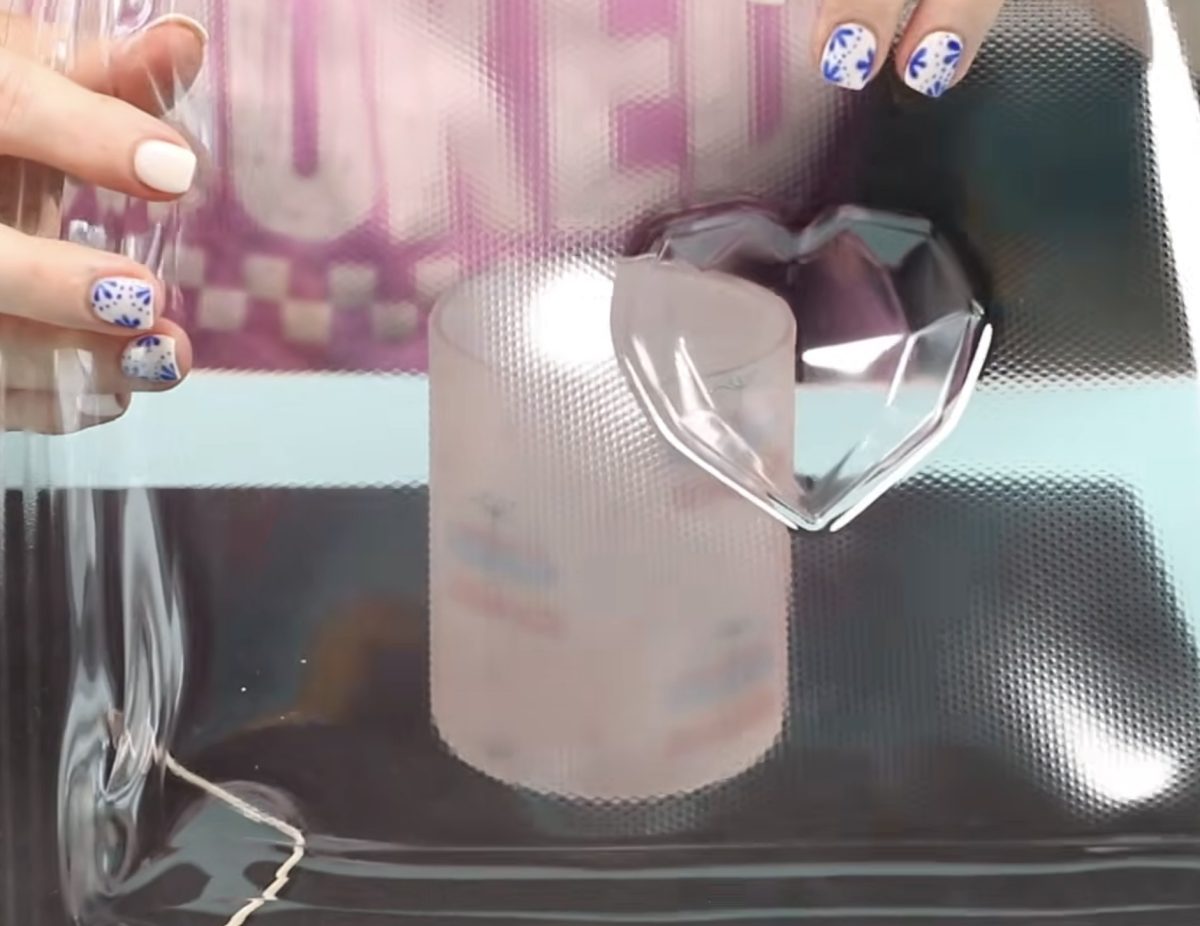
When the time is up, slide the base out, flip up the handles on both sides, and remove the pressing frame.
Everything will be hot, so I recommend using heat-resistant gloves to remove the mold. If needed, gently press the object to pop it out of the mold.
Make a Custom Scented Wax Candle and Wax Shape
With the sublimation candle jar sublimated and the mold made, we're ready to complete the candle.
Step 1. Place the Wick Inside the Candle Jar
The wick that I purchased came with a putty material to hold the wick in place.
Add some putty to the bottom of the wick and press it down into the jar. Since I am only using one wick, I placed it in the center of the jar.
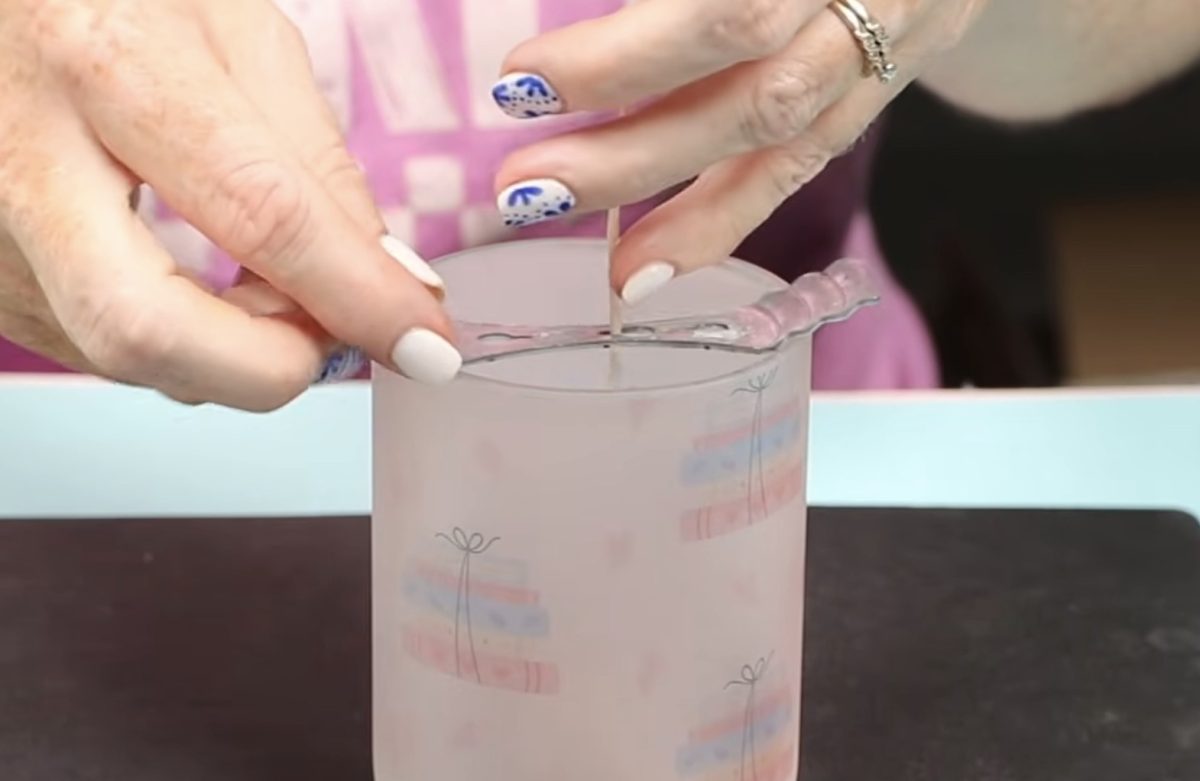
I used a wick holder to hold the wick in place while I poured the wax into the candle jar.
Step 2. Add the Wax to the Candle Jar
Your wax should come with instructions on how to melt it down. I used a double boiler to melt the wax and added some scent to it.
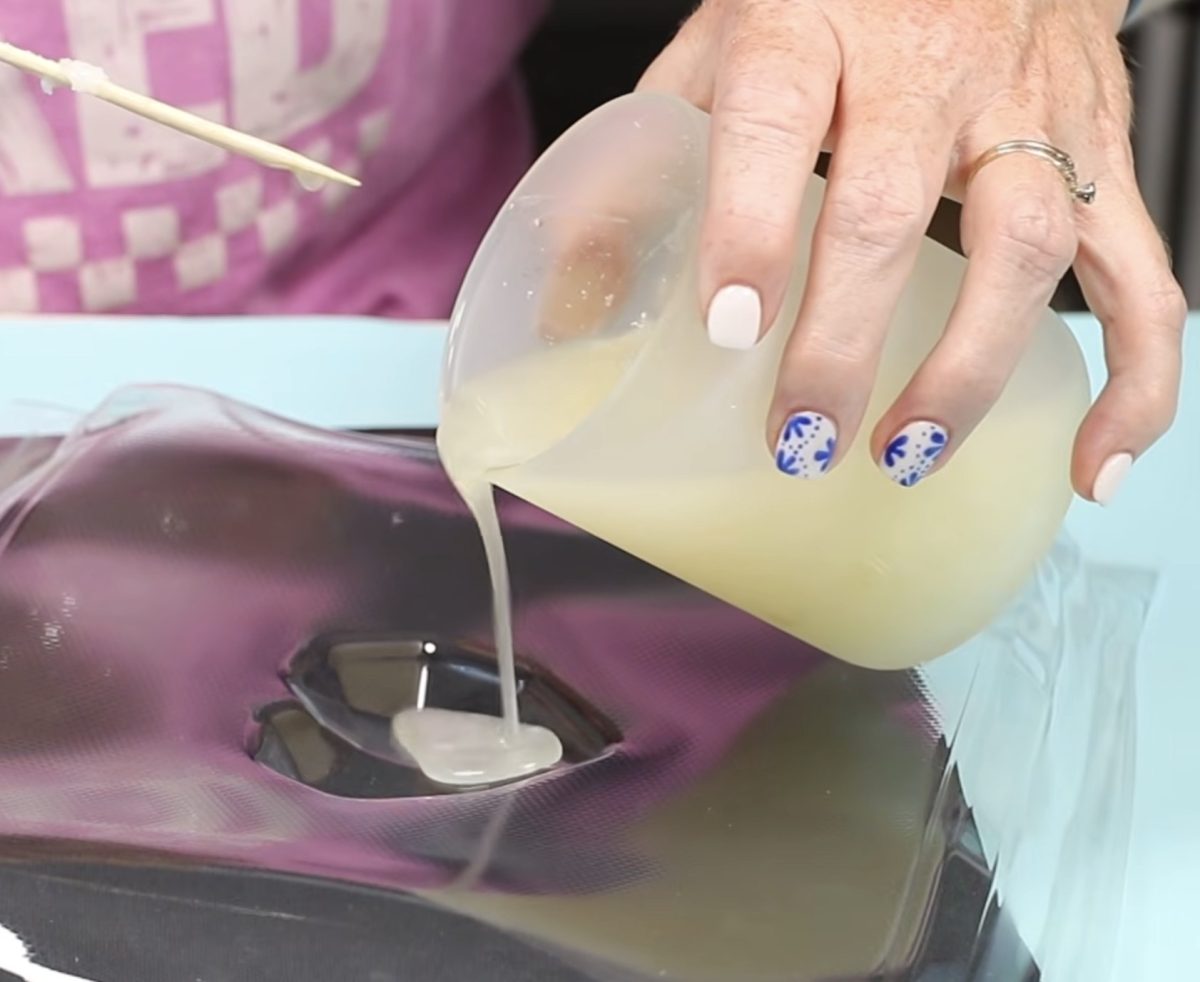
Before adding the wax to the candle I poured it into the mold because I need it to firm up so I can transfer it to the top of the candle.
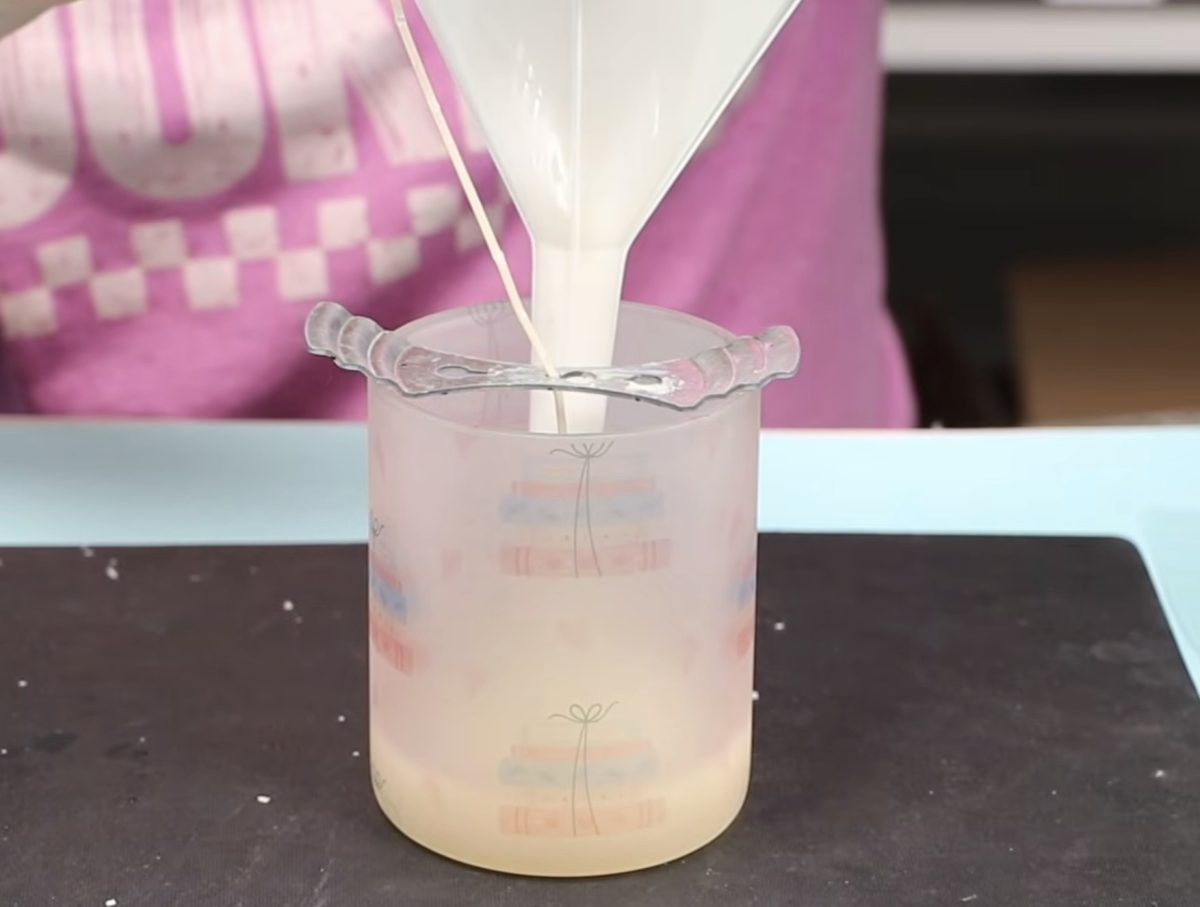
Fill the candle as full as you want it, making sure to leave room at the top for the wax shape we're adding to it.
Step 3. Add the Wax Shape to the Candle
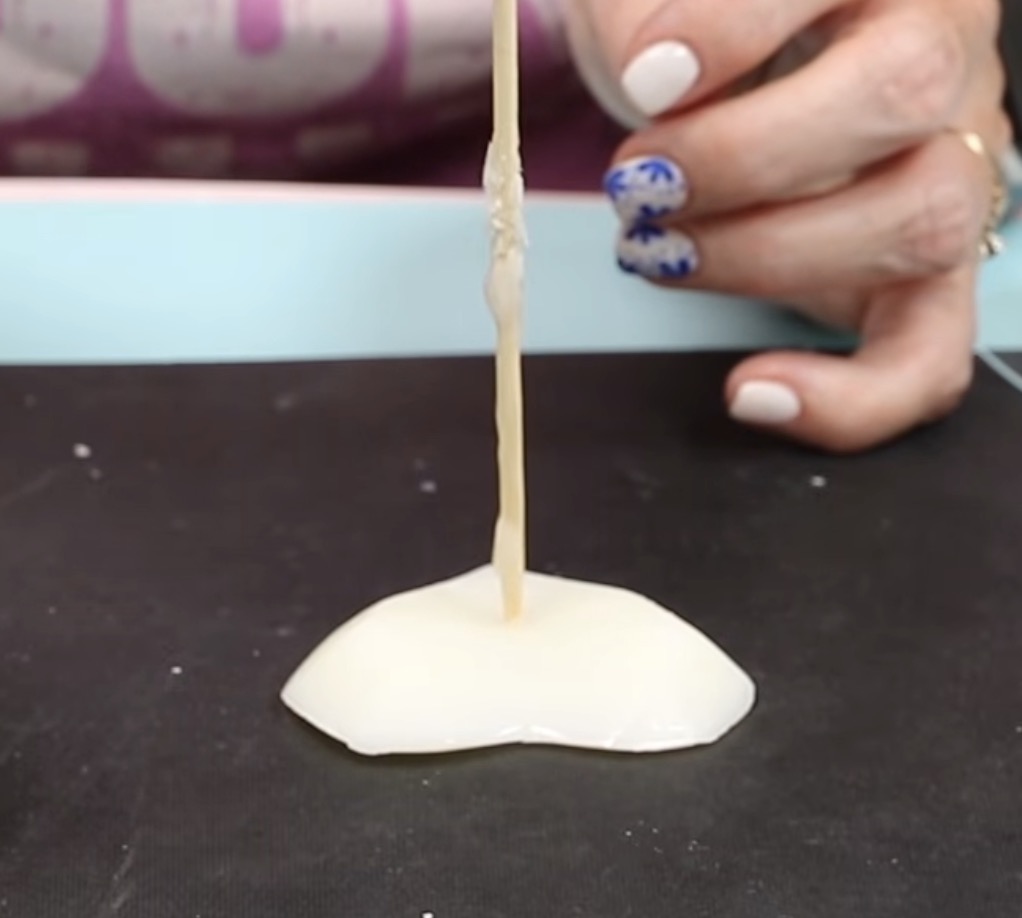
We want the wax in the mold to be firm enough that it can be removed from the mold, but still soft enough that we can put a hole in the middle for the wick to go through.
To make the hole, I placed the wax shape on a flat surface and used a wooden skewer to make a hole all the way through the shape.
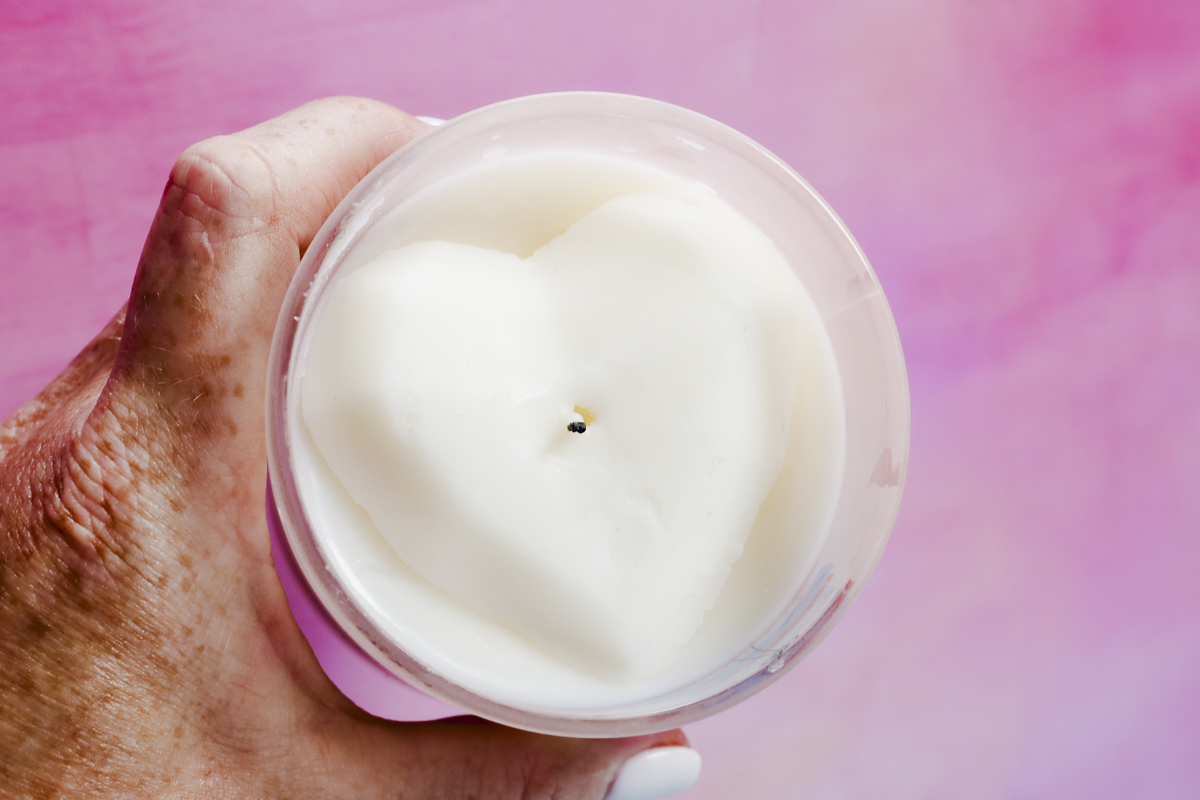
When the candle is cool and firm, remove the wick from the wick holder and feed it through the hole in the wax shape.
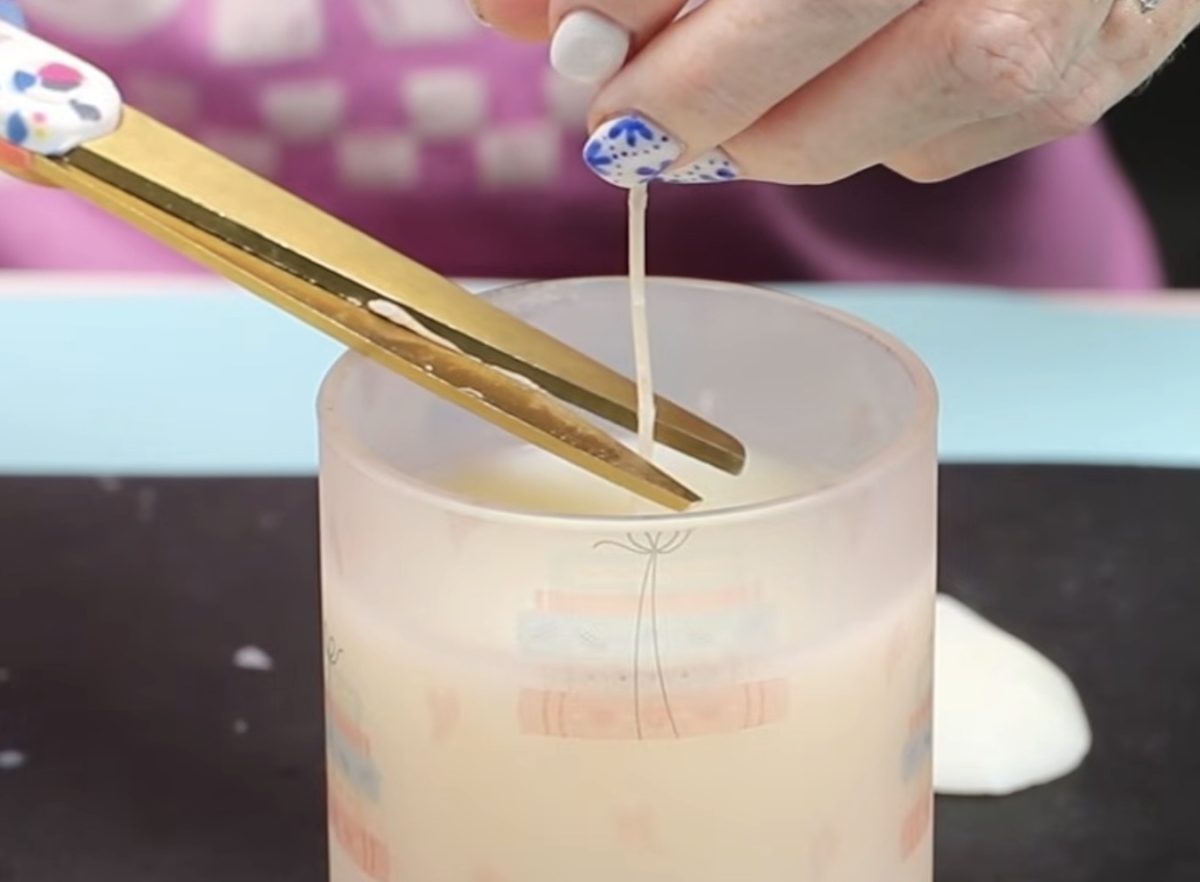
You can trim the wick before adding the wax shape or after.
Are You Ready to Make Your Own Personalized Sublimation Candle Jars?
I love how this turned out. Sublimating the whole candle jar is another way to personalize a candle vs adding a personalized label.
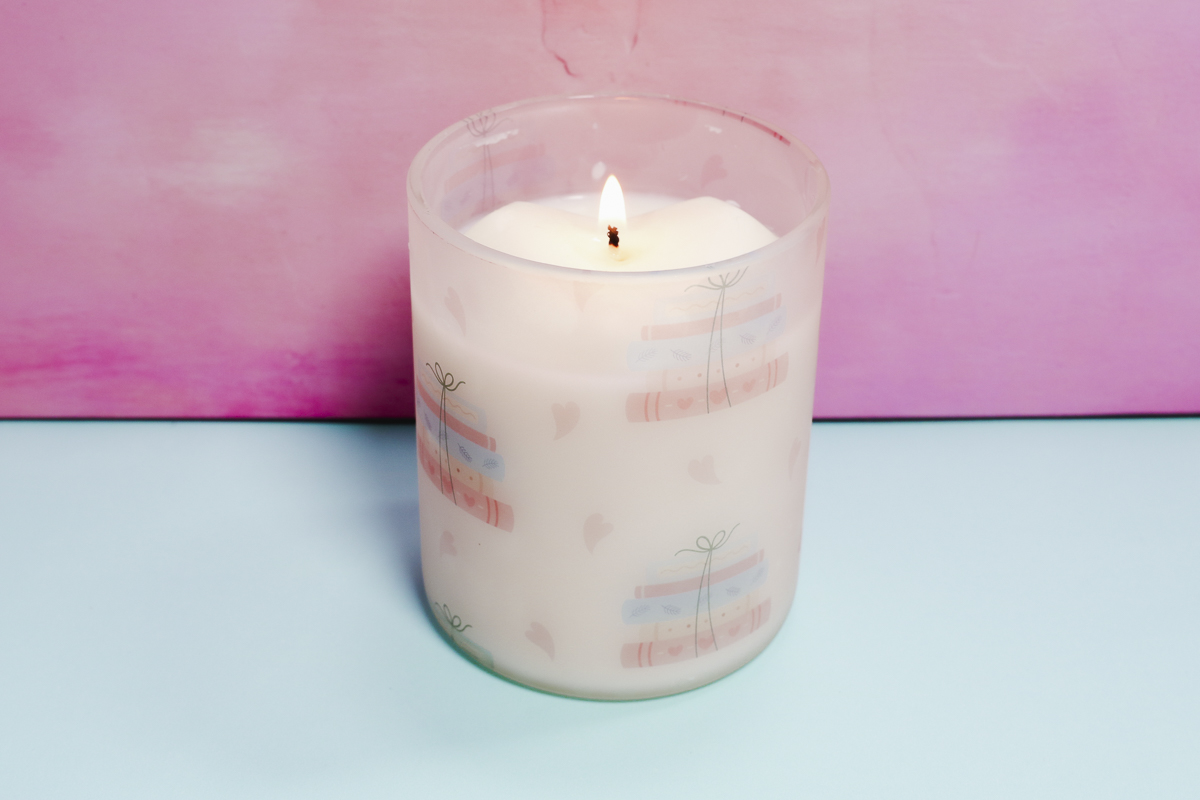
I love that I was able to do a full wrap design, and I can still add a label if I wanted.
Adding the wax shape to the top was another fun element that you don't see in a lot of personalized candles. You could use any shape, including a letter to customize the candle with someones initial.
One thing I didn't do today is to personalize the wooden lid. It could be done easily using a UV DTF sticker or a laser to do engraving
There are so many ways to personalize and customize candles and I can't wait to see what you come up with.
I hope I've answered any questions you have about making sublimation candle jars. If you have any additional questions, leave them in them in the comments and I'll be happy to answer them for you.