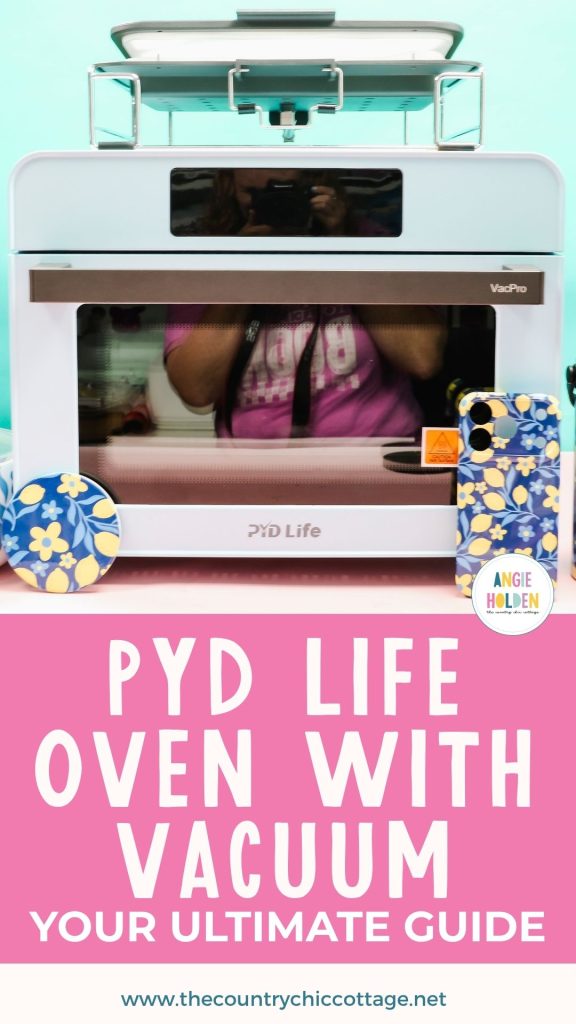
Are you ready to see the only sublimation oven you'll ever need? The new PYD Life Sublimation Oven with Vacuum comes with the vacuum already in it. When the vacuum tray is added, you can make things like sublimation phone cases and coasters where the print wraps around the edges.
Even though it has a vacuum, it's still a sublimation oven. You can make tumblers, pens and pencils, even custom salad bowls.
If you haven't tried sublimation yet, check out my Sublimation Beginner's Guide to get started today.
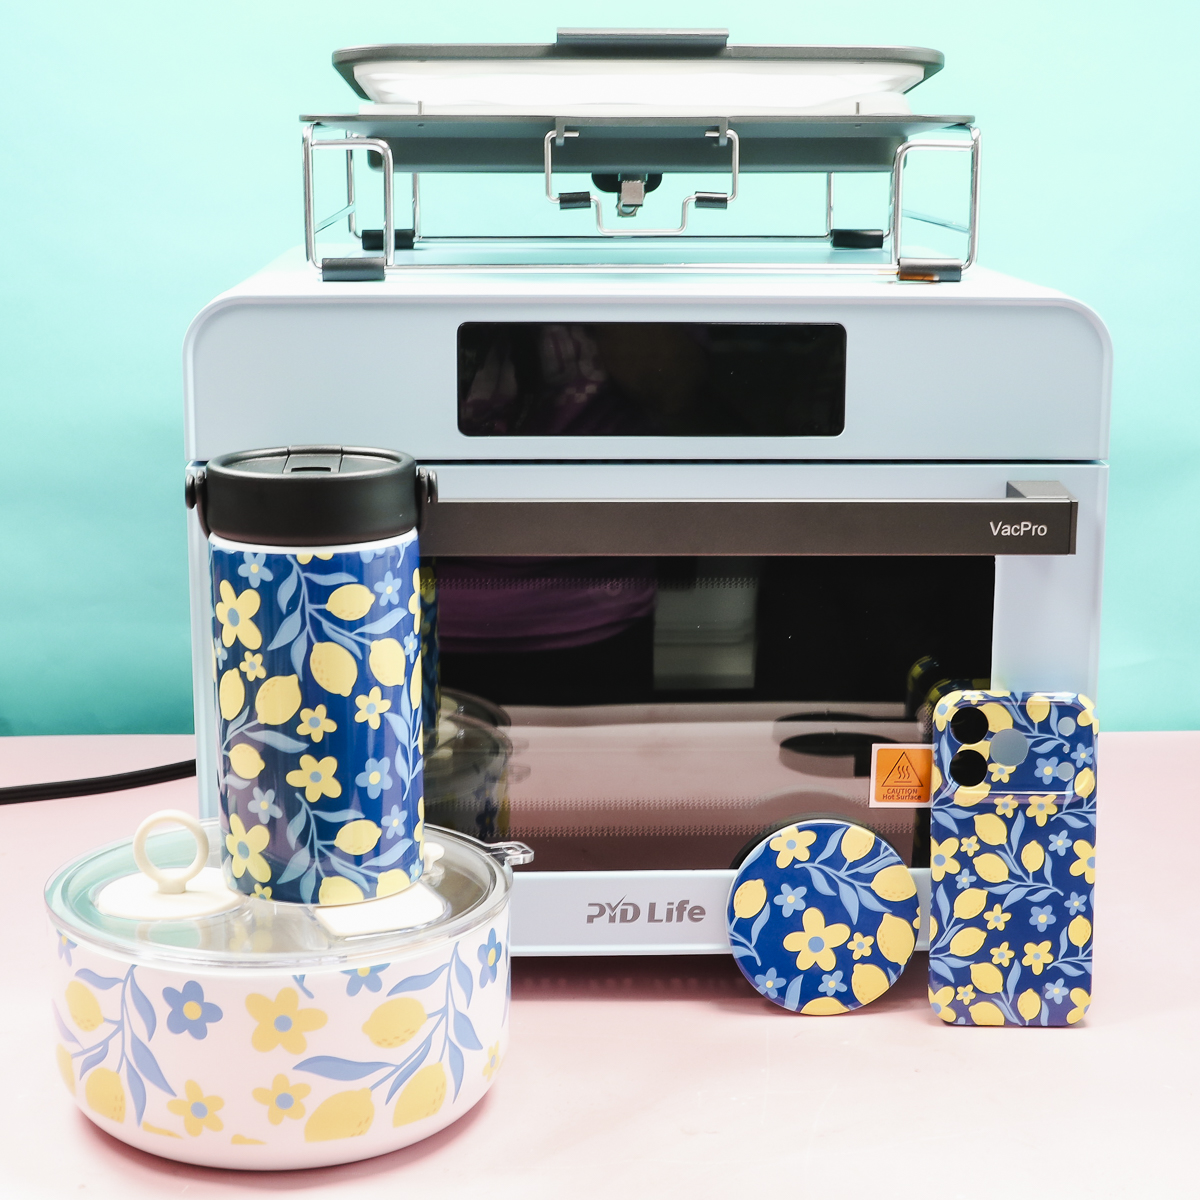
In the past, I reviewed the PYD Life Vacuum Tray. This was an add-on accessory you could purchase to use in earlier PYD Life sublimation ovens. It required drilling a hole in the back and other steps that aren't necessarily easy.
Mine did work, but this new oven with the vacuum already on it is better, and the vacuum is much quieter than other vacuum methods I've used.
PYD Life Sublimation Oven with Vacuum Feature
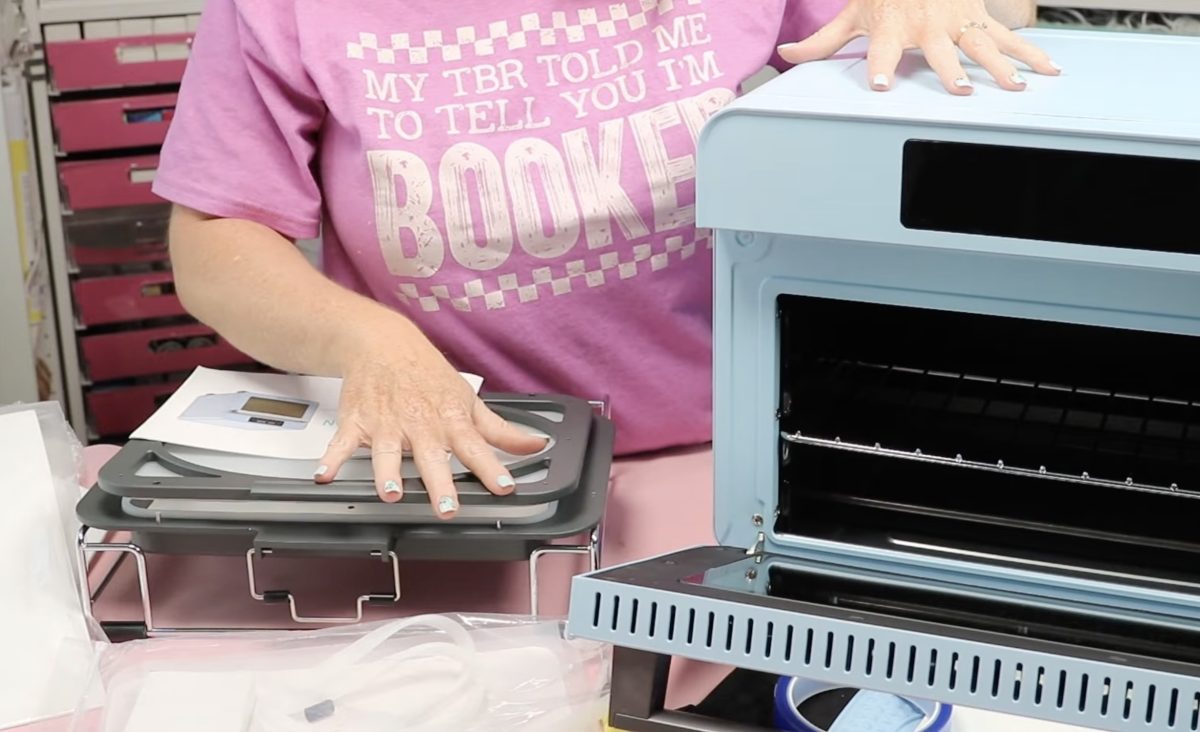
You can purchase this sublimation oven on its own or with the trays. There are two different sizes of trays. I am going to use the medium-sized tray today.
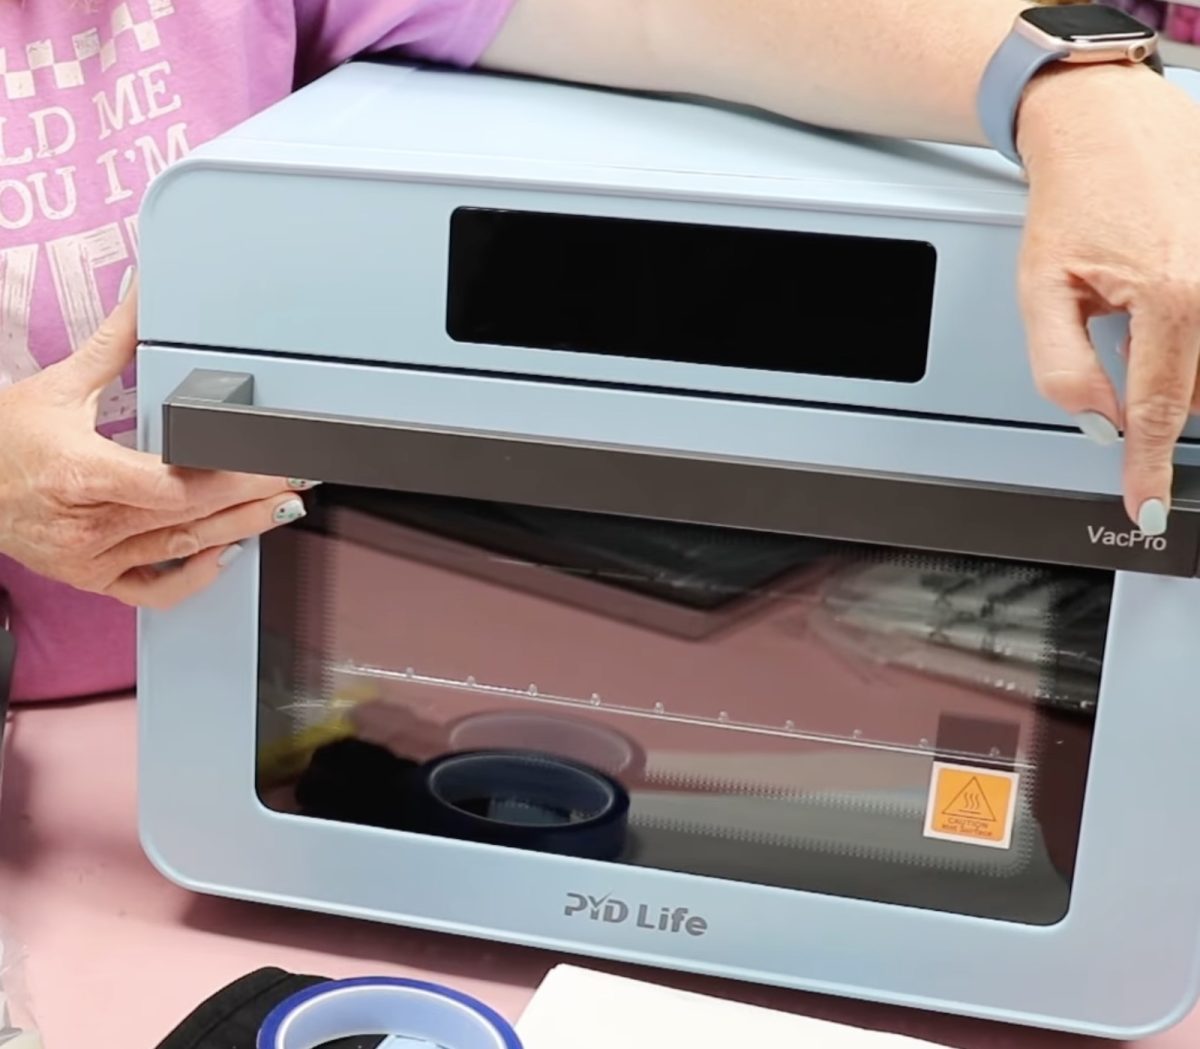
At a glance, this oven looks very similar to the previous versions. On the handle, it says VacPro, letting you know it has the vacuum already installed.
There is a tray inside the oven; you'll use that for regular sublimation items. When doing vacuum sublimation, you'll remove the tray and place the vacuum tray inside. You don't have to do any other type of conversion.
How to Use the PYD Life Sublimation Oven for Regular Sublimation
When making a regular sublimation project, you'll need a few items:
- PYD Life Oven with Vacuum Tray
- Shrink Wrap
- Heat Gun
- Heat Resistant Tape
- Heat Resistant Gloves
- Sublimation Bowl
- Sublimation Tumbler
- Sublimation Print
Step 1. Prep the Oven
First, plug the oven in and set the time and temperature.
To set the temperature, press the temperature button and then use the plus or minus buttons to increase or decrease the temperature.
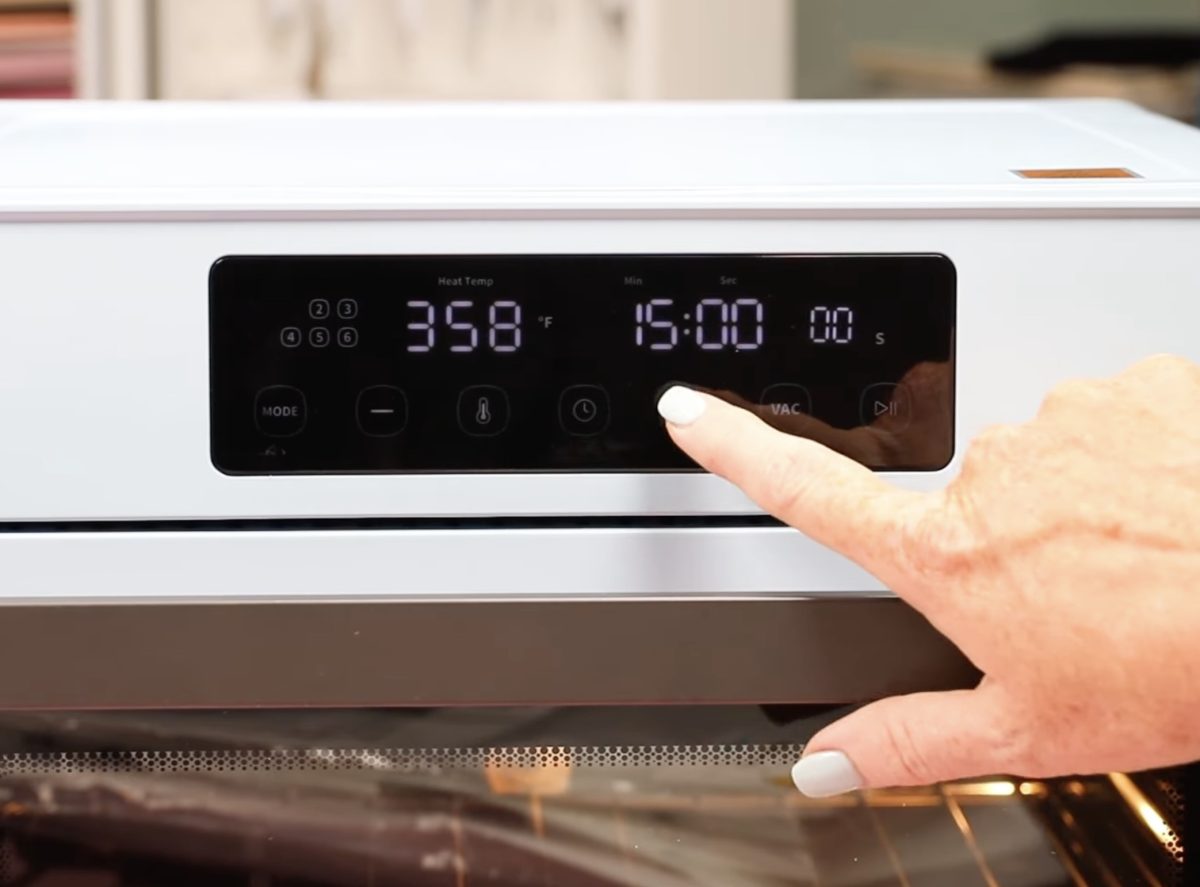
Set the time the same way. Press the time button and use the plus and minus buttons to increase and decrease the time. Press the time button again to set the time.
For both blanks, I'm using a temperature of 356 degrees. The tumbler time is 7 minutes. For the salad bowl, it's 8 minutes.
Press Start to start the preheating process.
Step 2. Prepare the Blanks
First, we're going to prepare the tumbler. Your tumbler needs to be a sublimation tumbler with a sublimation coating on it.
Remove the lid and anything else inside the tumbler. Clean the tumbler with a lint roller or rubbing alcohol and a lint-free cloth.
Print the design to fit the tumbler. Make sure you're using sublimation ink printed on sublimation paper from a sublimation printer. Don't forget to mirror your image.
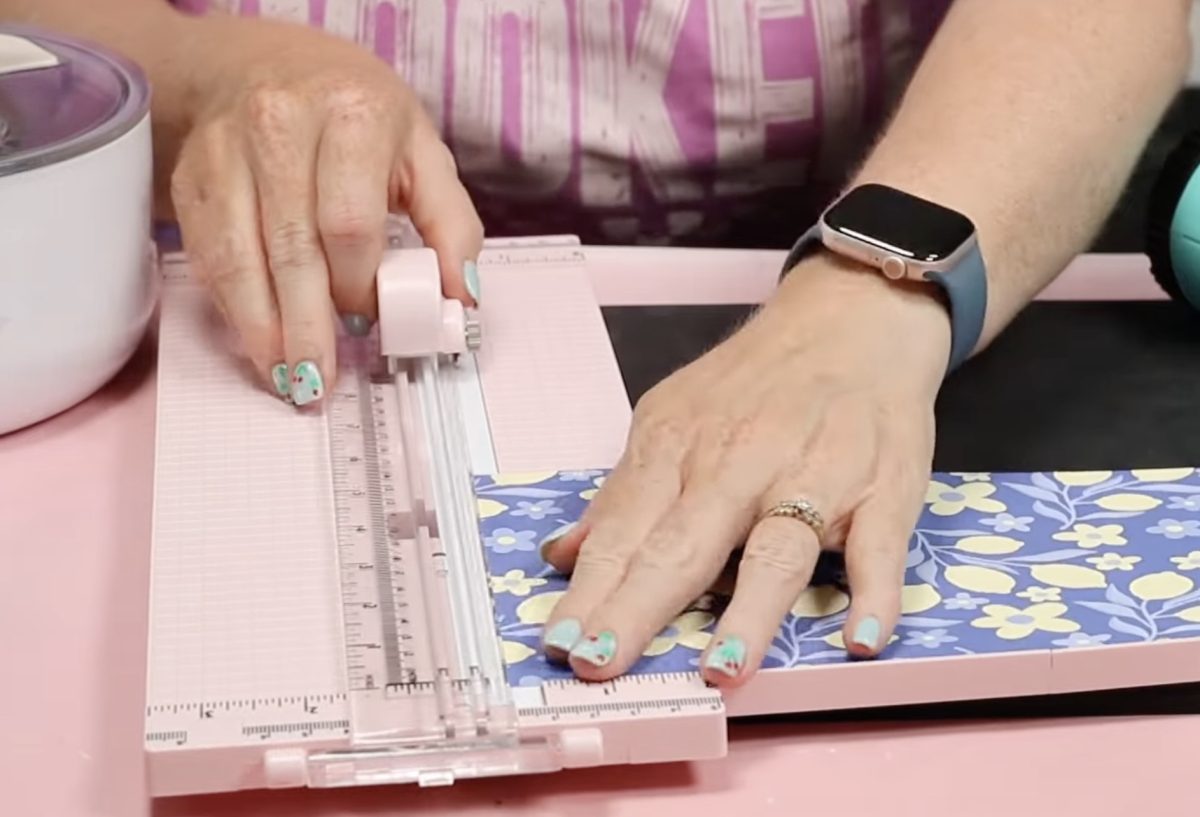
Trim the print to fit the tumbler and then wrap it around the tumbler. Wrap it tightly and secure it with heat-resistant tape.
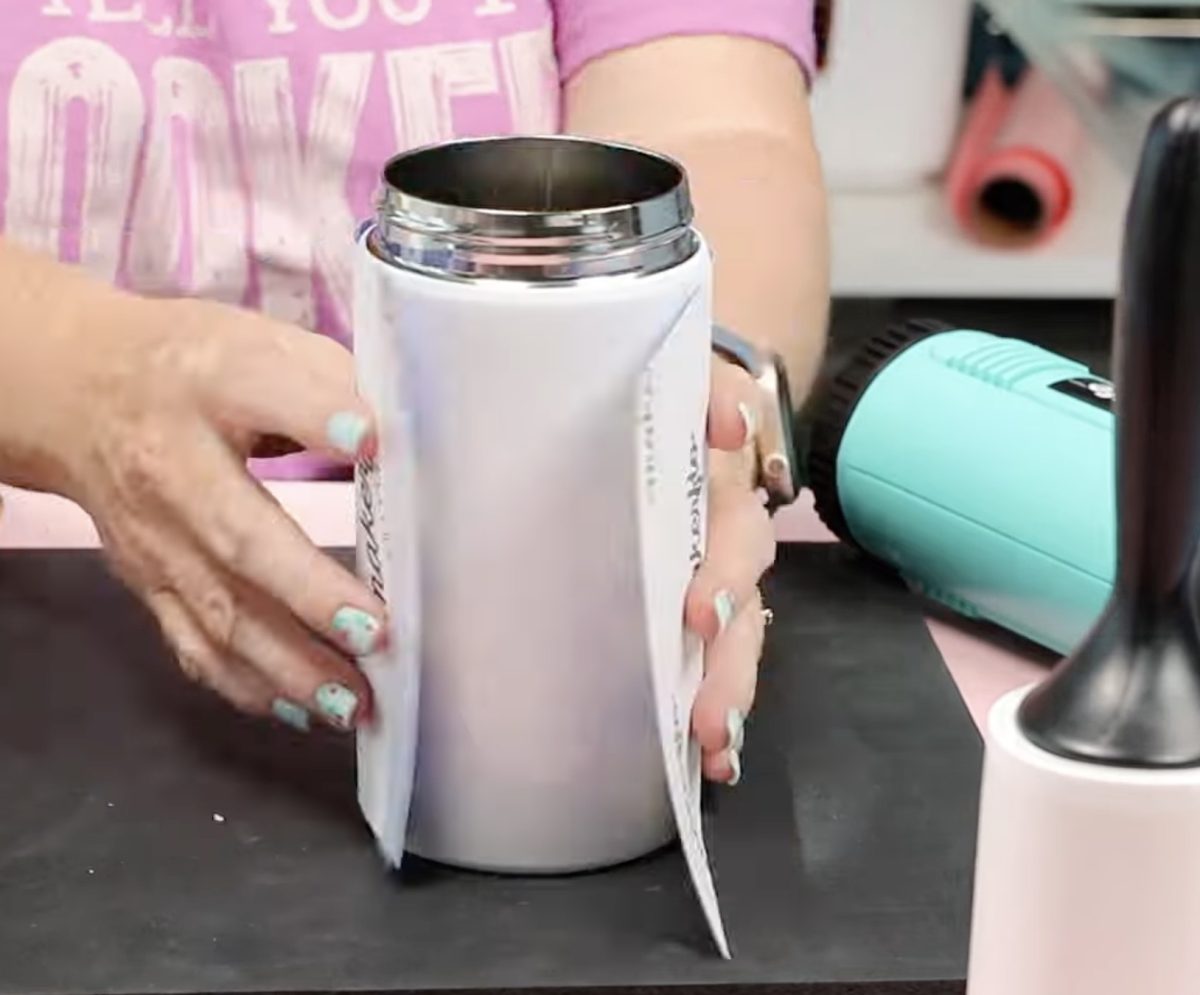
Tape well along the seam. I like to use a scraper tool to press the tape down really well.
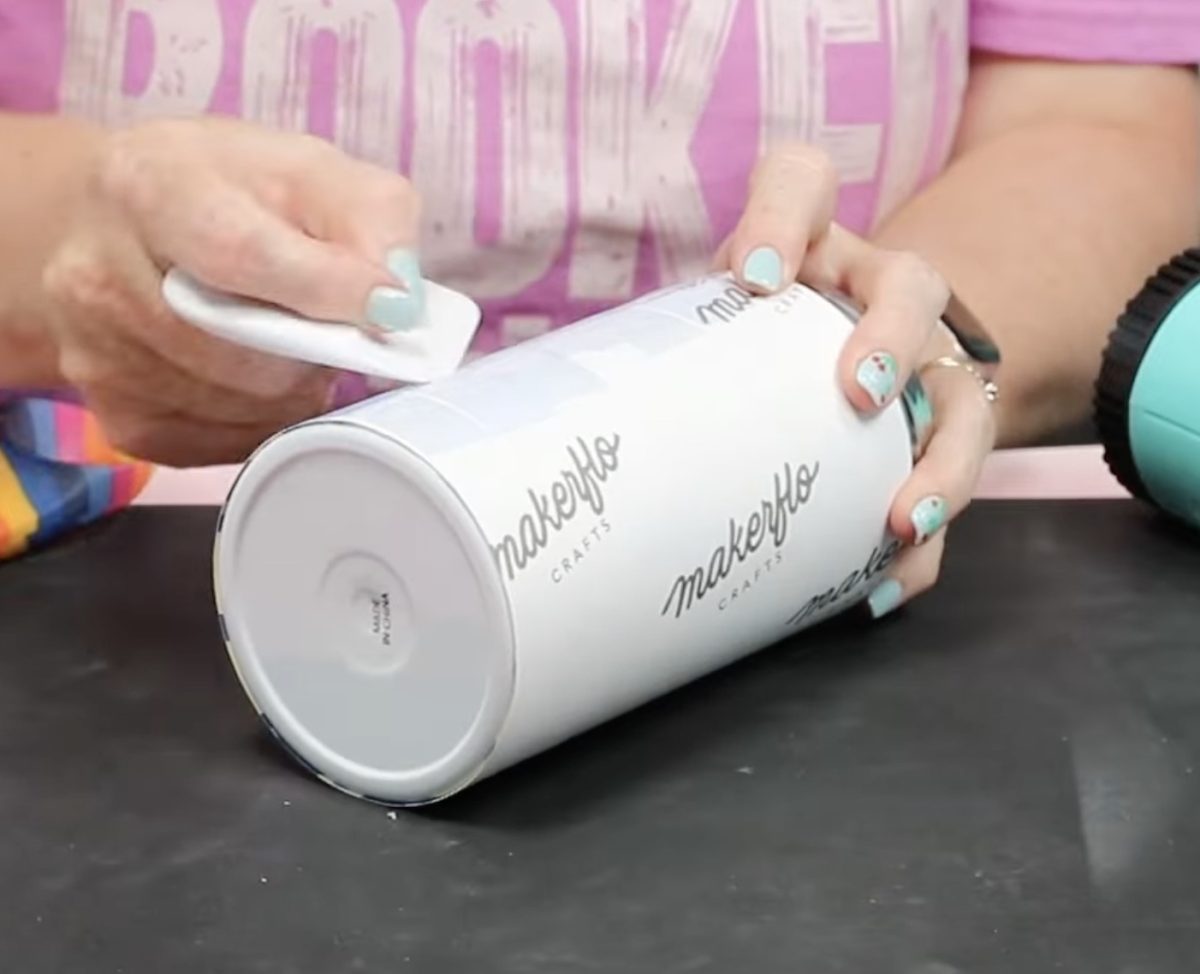
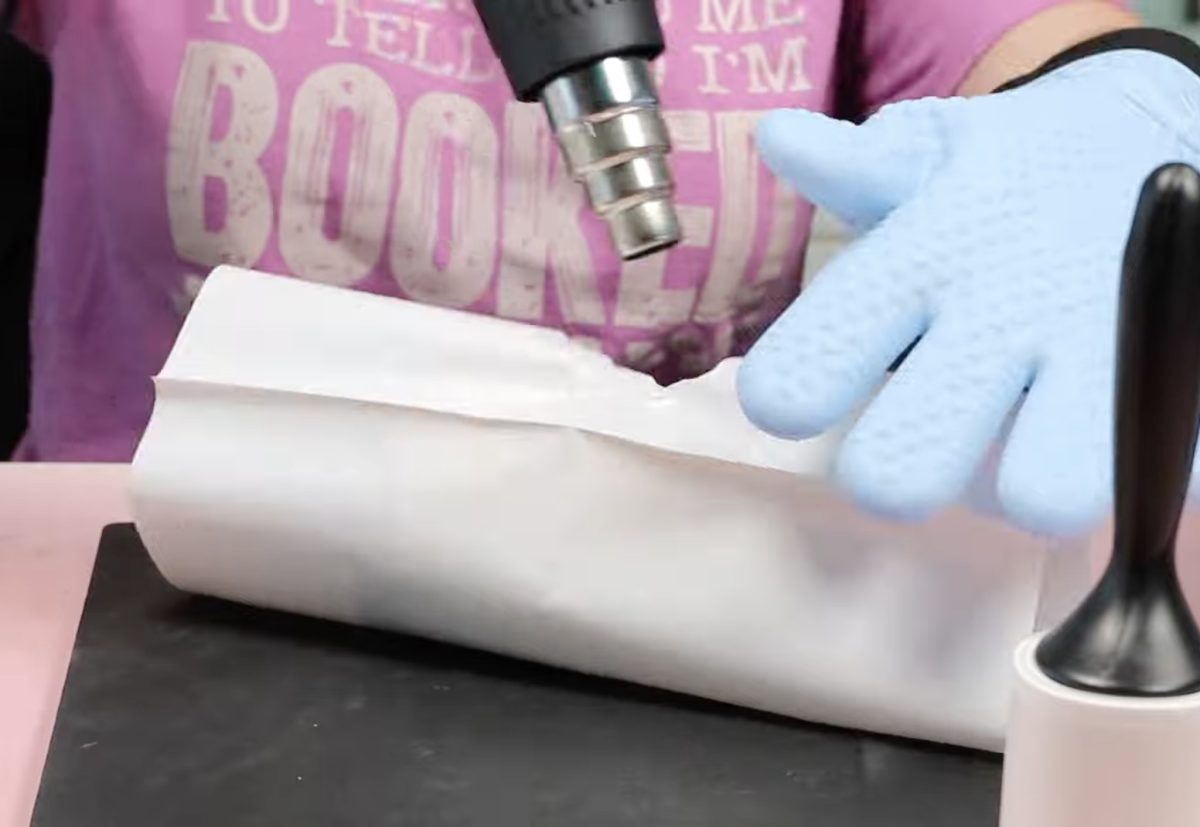
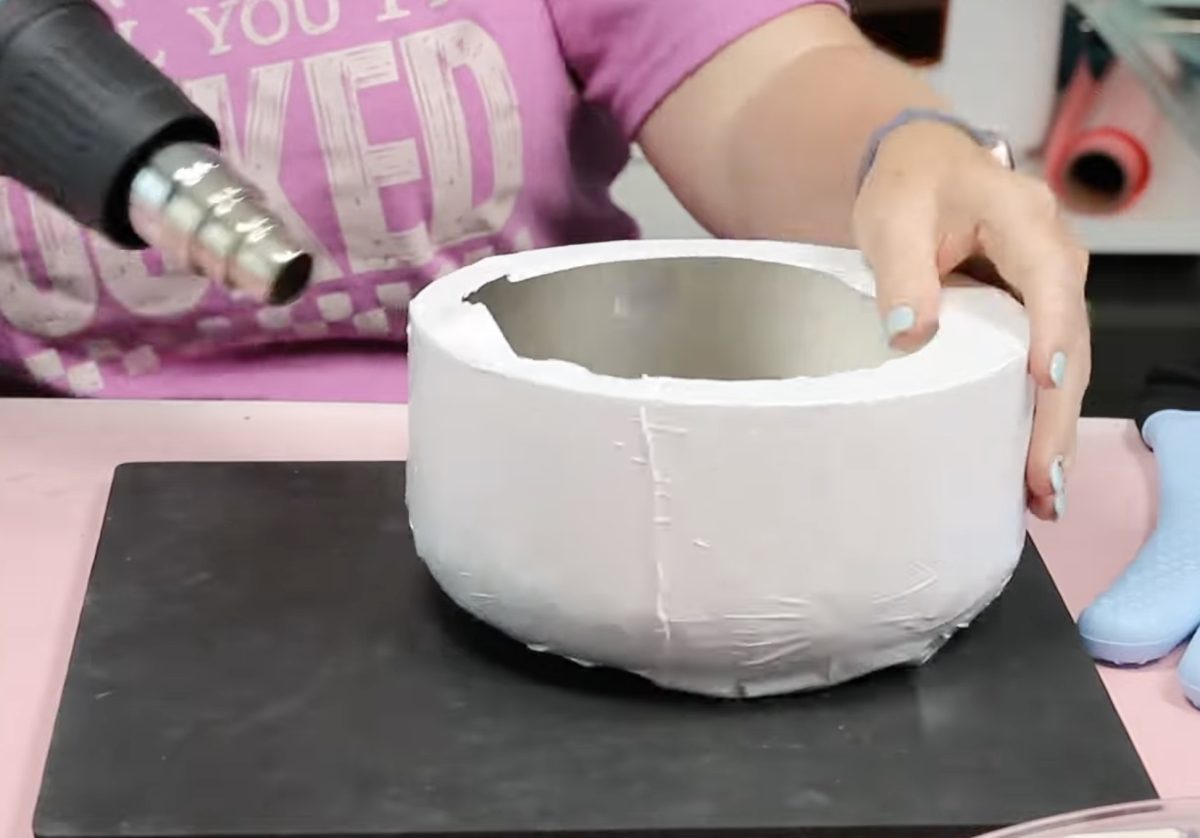
Place the wrapped tumbler inside a shrink wrap sleeve and use a heat gun to shrink the wrap tightly around the tumbler. Don't hold the heat in one place too long, as that can burn a hole in the wrap.
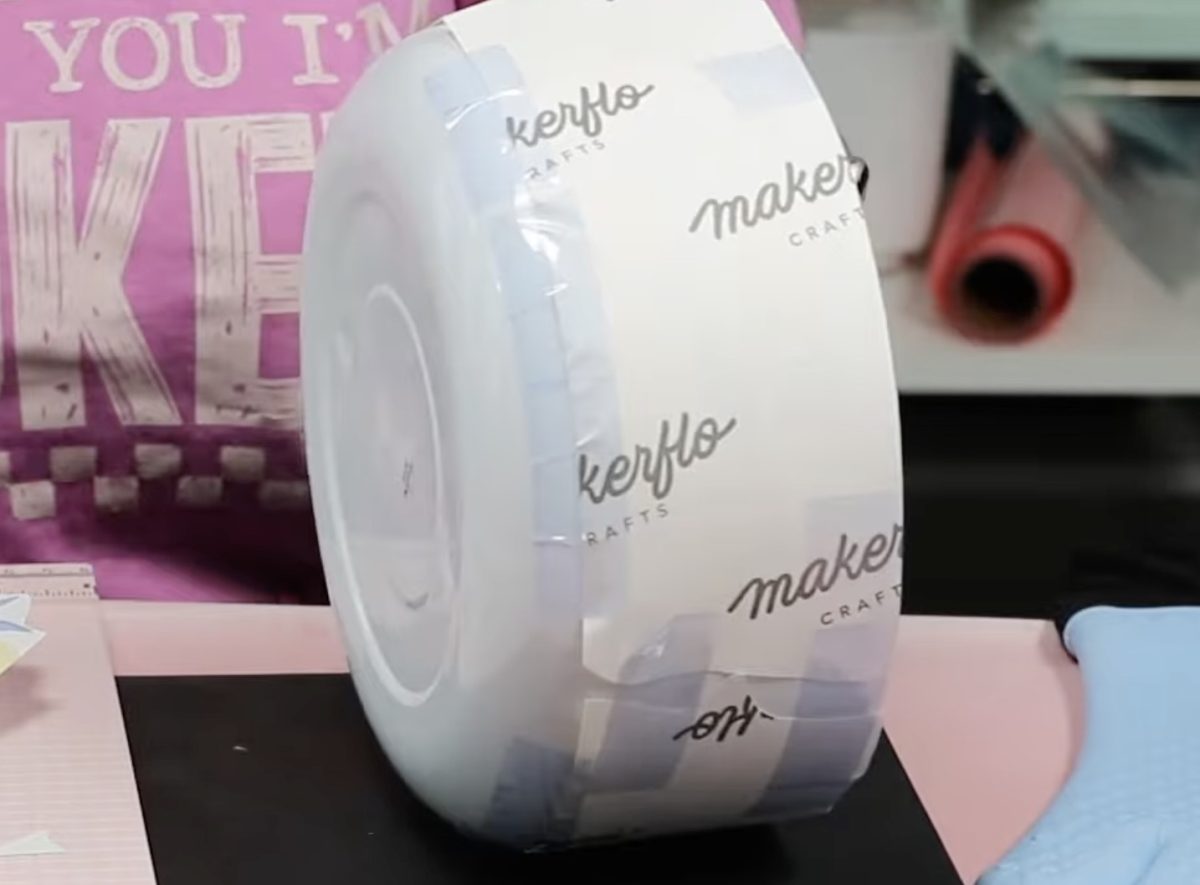
For the sublimation salad bowl, I repeated a similar process.
This time I cut the print into pieces and taped it into place to give it a seamless look.
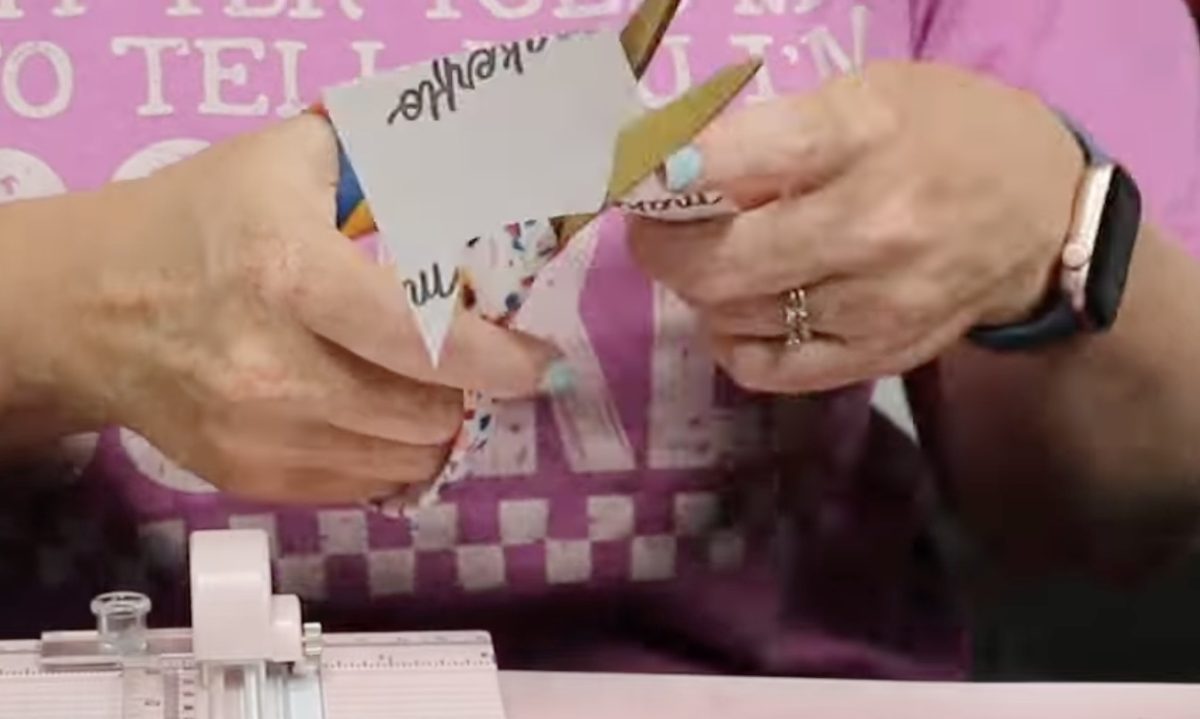
Use heat-resistant tape along the top and bottom of the print to keep it in place.
Step 3. Bake the Blanks
With the blanks wrapped in shrink wrap, we can put them in the oven.
For the tumbler, I have the timer set for 7 minutes. Place the tumbler in the oven, close the door, and press the Play button to start the timer.
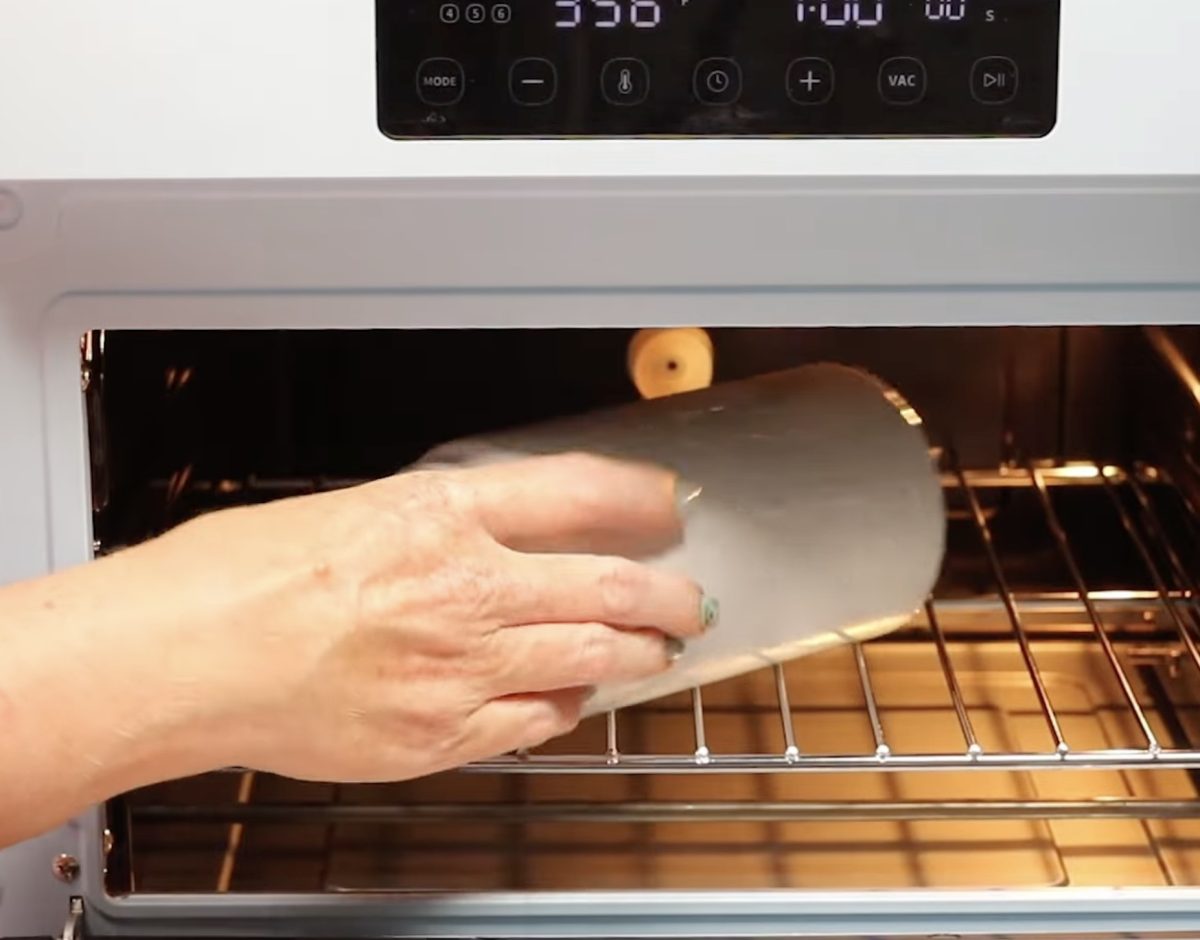
If the oven is not at temperature, it will wait until it is before starting the countdown.
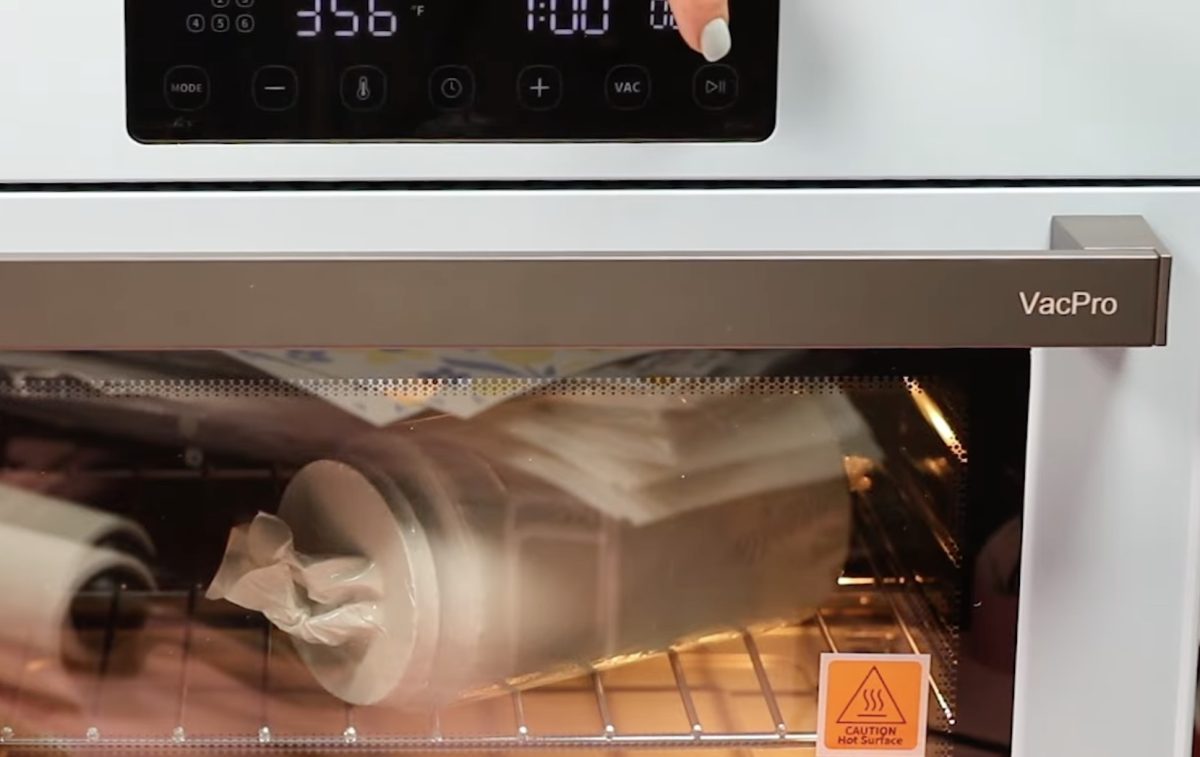
Repeat the same process for the salad bowl. The time for the salad bowl is 8 minutes.
Step 4. Remove Shrink Wrap and Sublimation Paper
When the time is up, using heat-resistant gloves, remove the project from the sublimation oven.
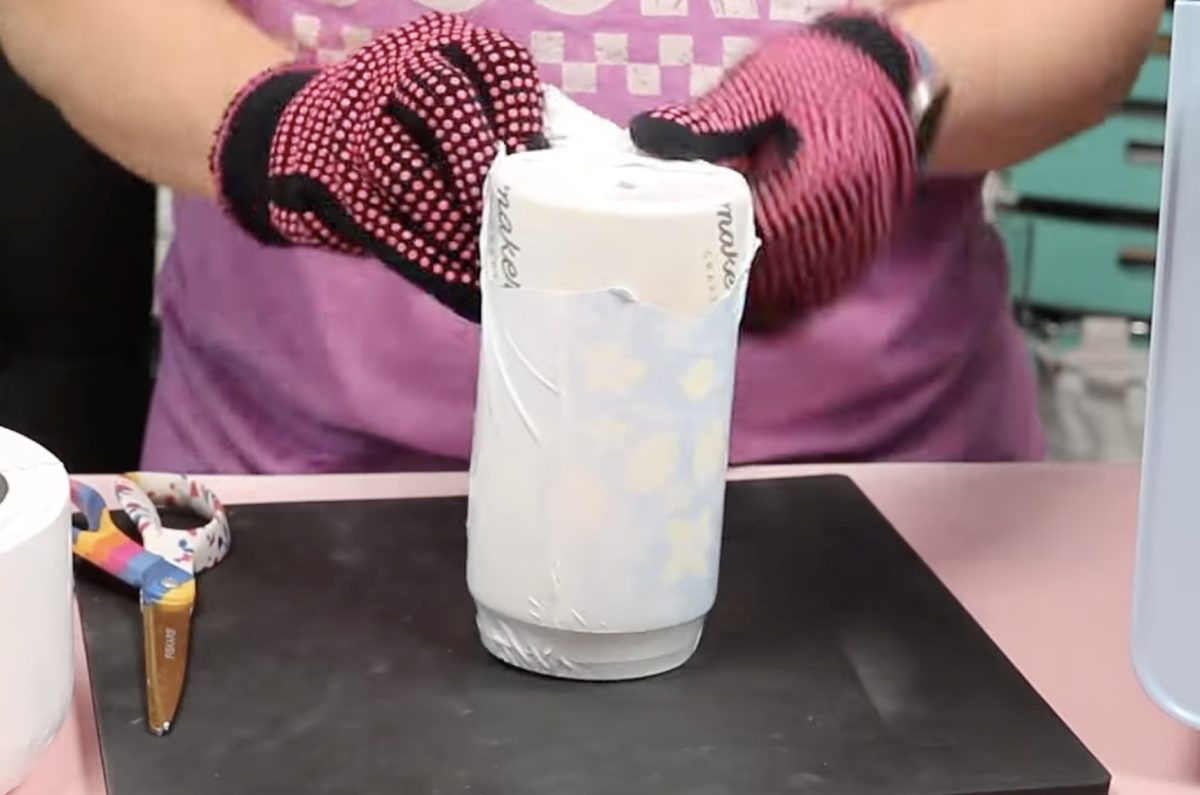
You will want a heat-resistant surface to place the items on, but you don't want to let them cool.
Shrink wrap removes easiest when it is hot. If it cools too much, it becomes a pain to remove; take my advice and work with it while it's hot.
Step 5. Close Up of Finished Sublimation Projects
The sublimation on the water bottle is gorgeous.
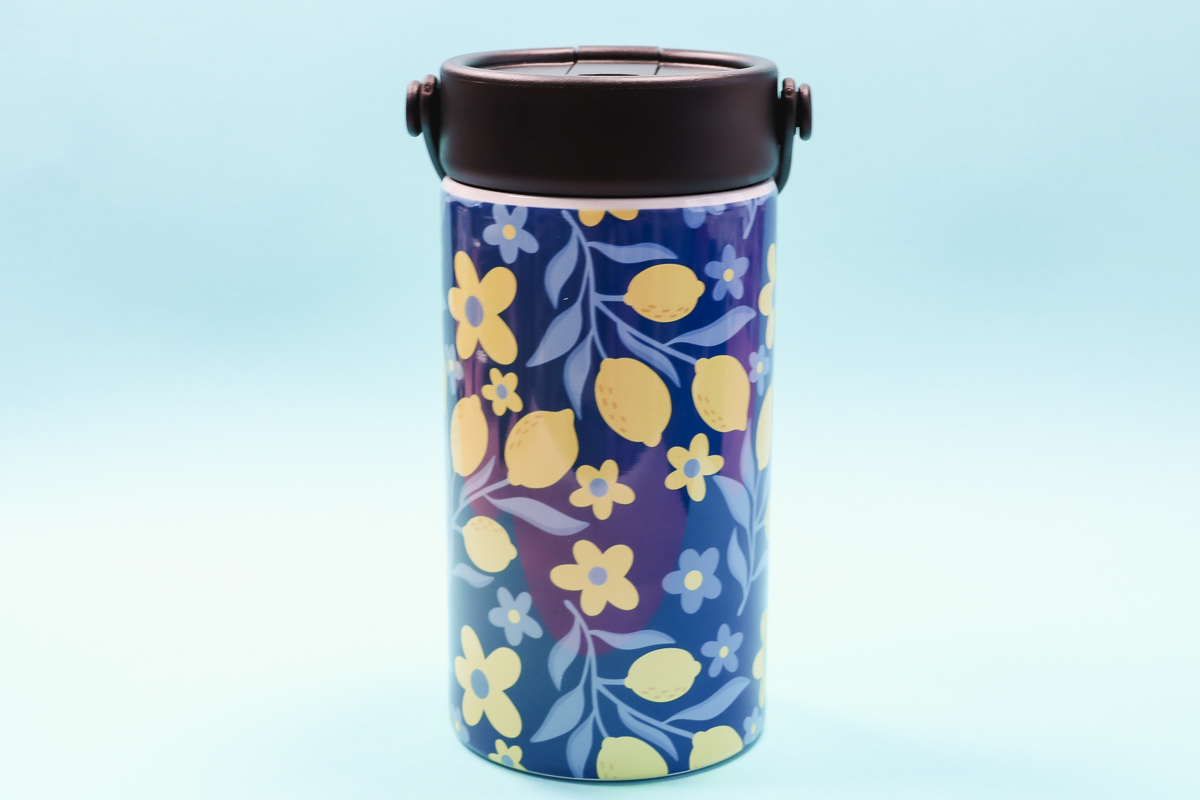
You can hardly see the seam on the back, and the colors transferred beautifully.
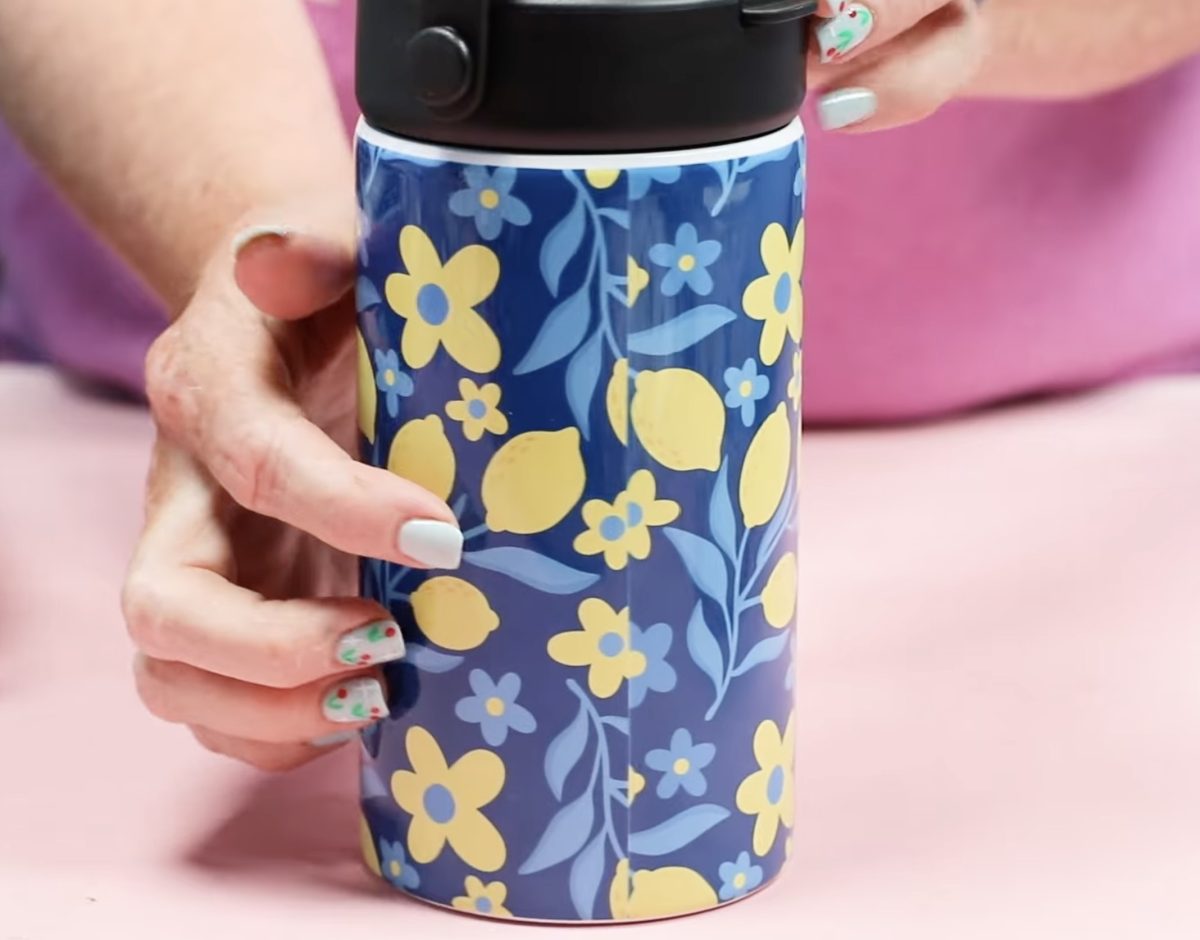
I'm really impressed with how the sublimation tumbler turned out in this oven.
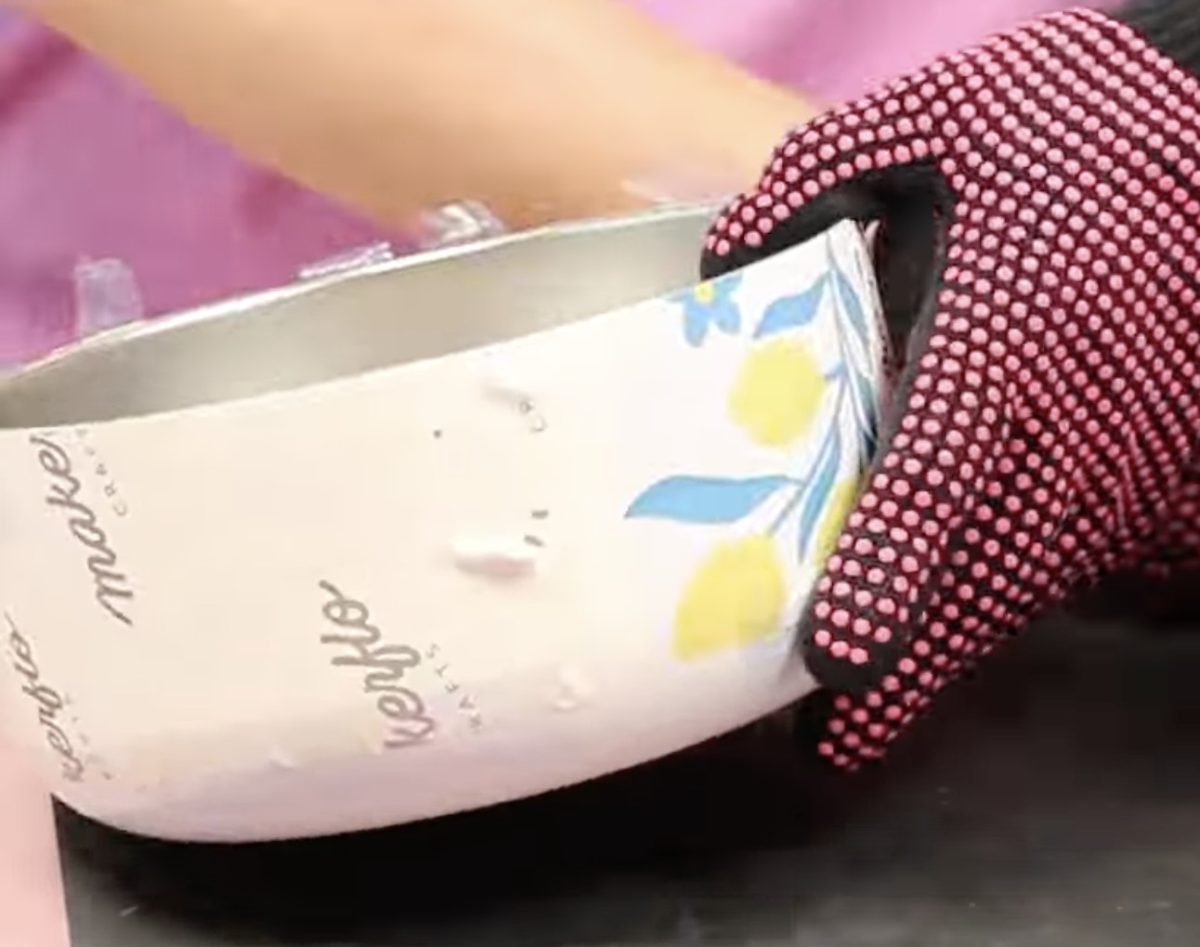
The sublimation salad bowl also turned out great. Because of how I laid out the print, you can hardly tell where the design starts and stops.
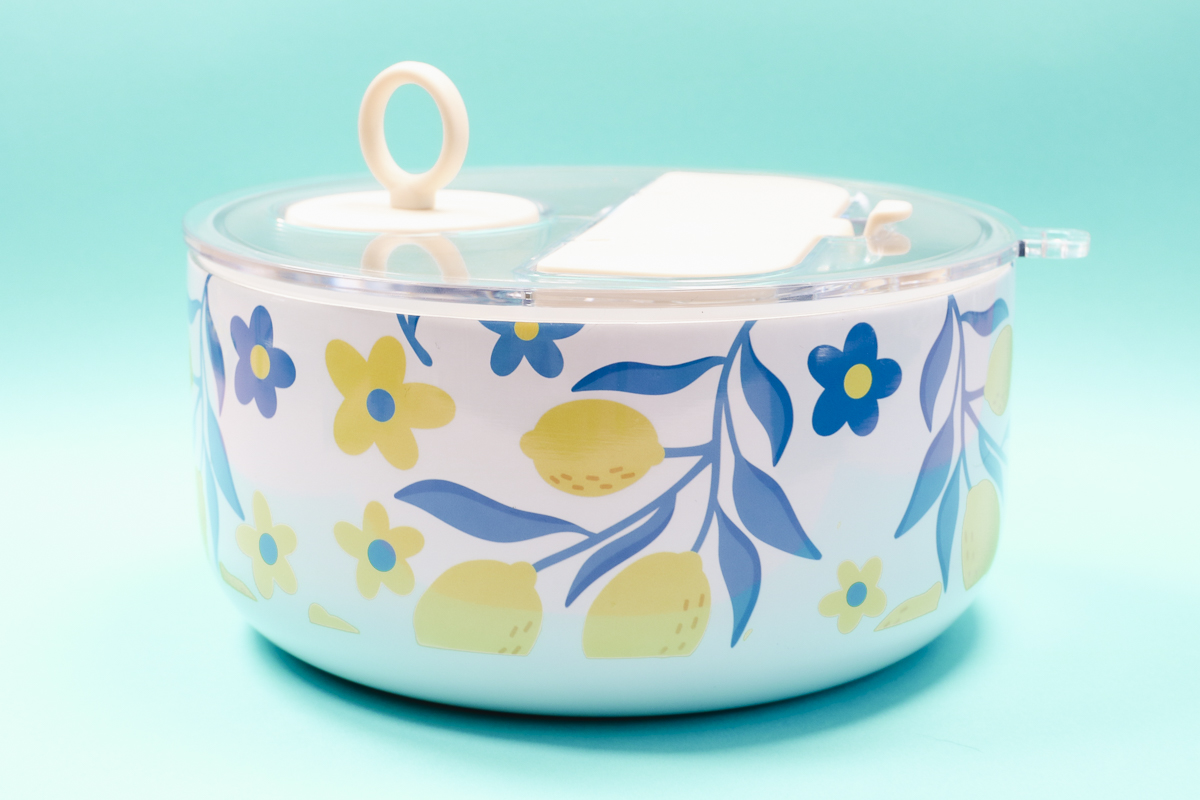
Again, everything transferred beautifully, and I really like this sublimation blank.
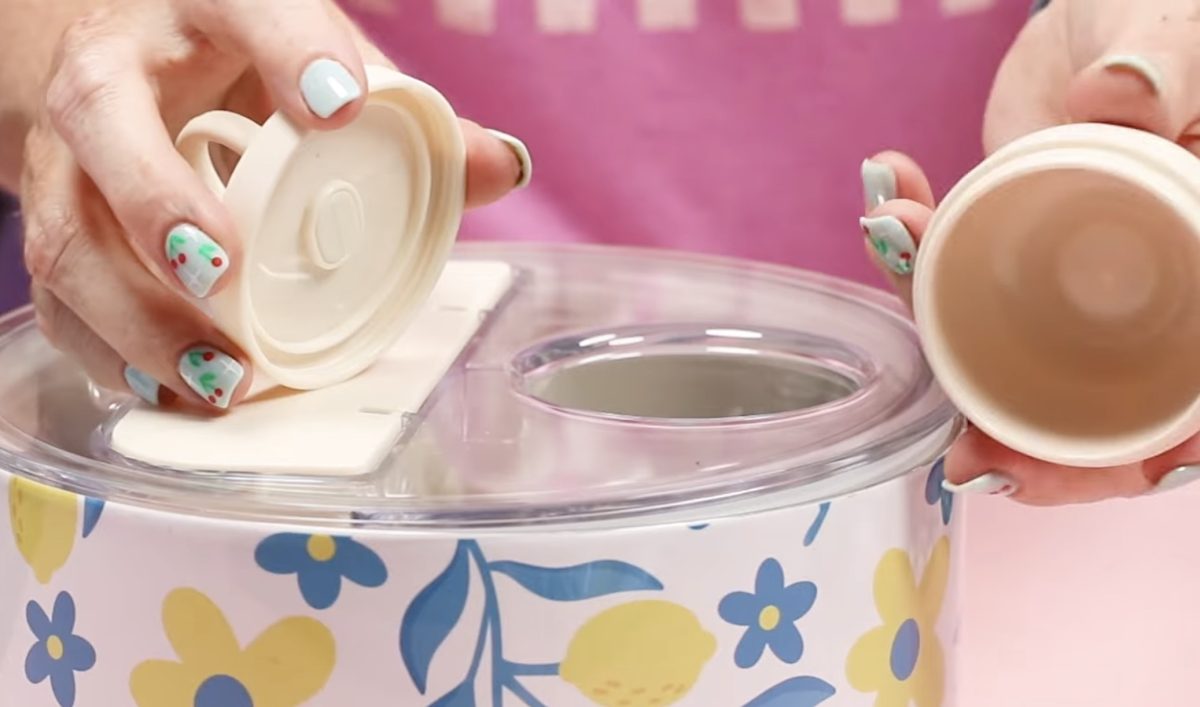
You can place your salad in the bowl, and then there is a spot for salad dressing and a spot for things you want to keep dry to mix in later.
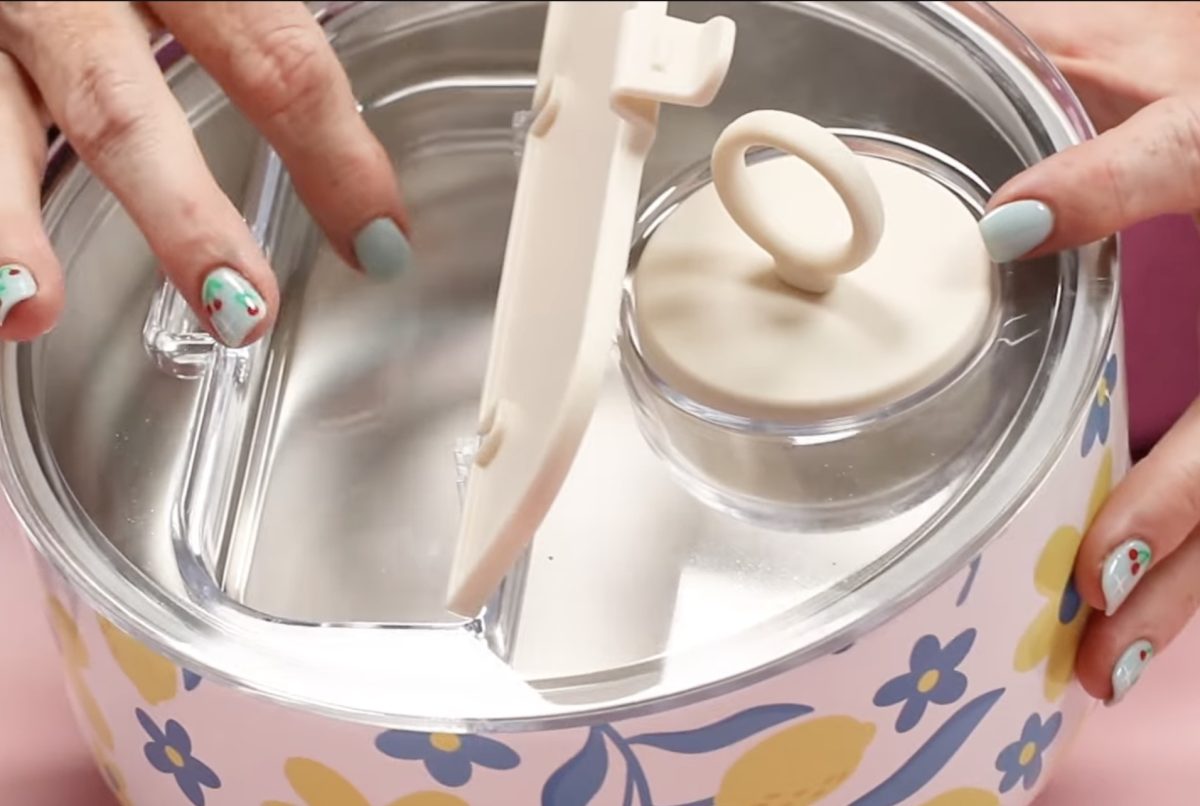
How to Use the PYD Life Sublimation Oven with Vacuum Suction
Now we're ready to use the vacuum feature and tray in the sublimation oven.
I am going to make a phone case and coaster to show you how it works with both the specialty film and a regular sublimation print.
To use the vacuum feature, you need a vacuum tray. There are two different trays; I am using the medium size, and it comes with the stand as well.
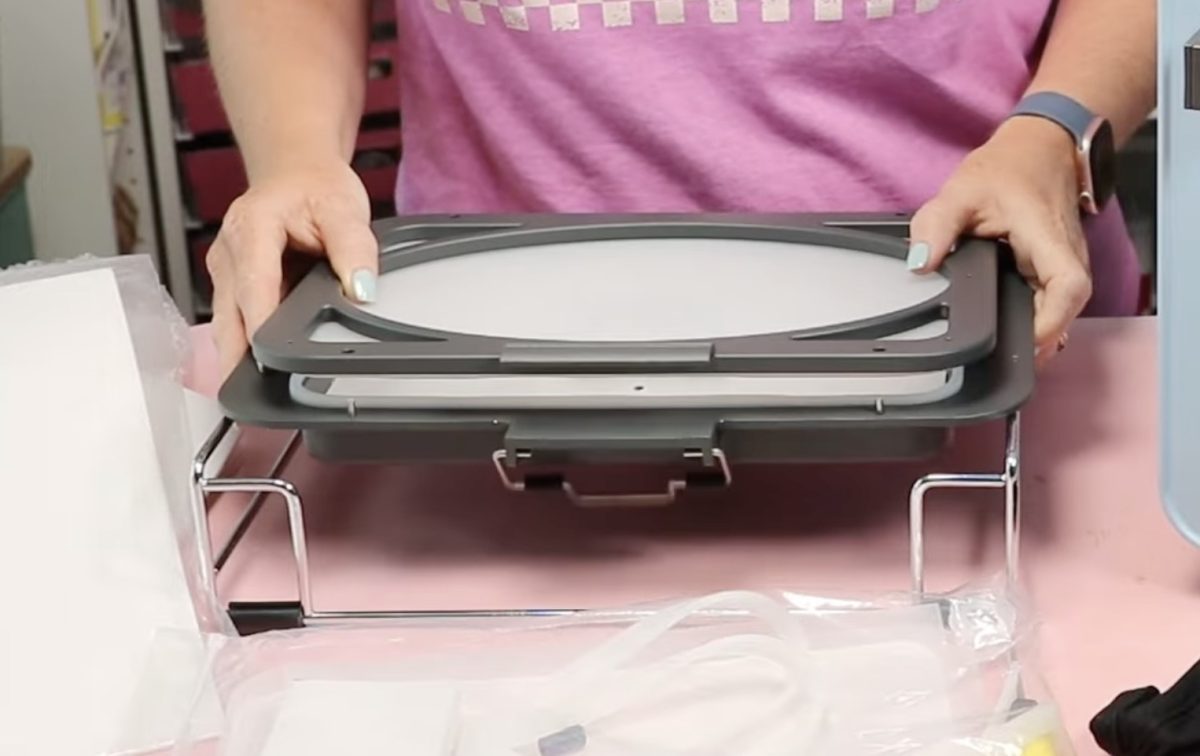
Other things included are sealing cloths, a screwdriver, a hole punch, and a few other accessories that I'll use to make these projects.
Do You Need Specialty Film or Sublimation Paper?
Whether or not you need the special film or sublimation paper will depend on what you're making and what you want the final project to look like.
In the oven manual, at the back, it gives you some ideas of what you'll need for each blank.
The sublimation film is ideal for curved surfaces, like a phone case, where you want the print to wrap around the side. Sublimation paper works for flat surfaces, like the top of a coaster.
Do You Need a Jig for Every Blank?
You do not need a jig for every blank you want to use in the sublimation vacuum oven. For items like a plastic phone case that will deform under vacuum pressure, yes, you need a jig.
For items like a solid ceramic coaster, you would not need a jig. The vacuum pressure is not going to deform it.
How to Make a Custom Phone Case
For my first vacuum sublimation project in the PYD Life Sublimation Oven with Vacuum, I am going to make a custom phone case.
For this, I am going to use the specialty film and a metal jig.
Step 1. Prepare the Sublimation Print
The specialty film I am using today has a matte side and a gloss side. I printed on the matte side using my sublimation printer.
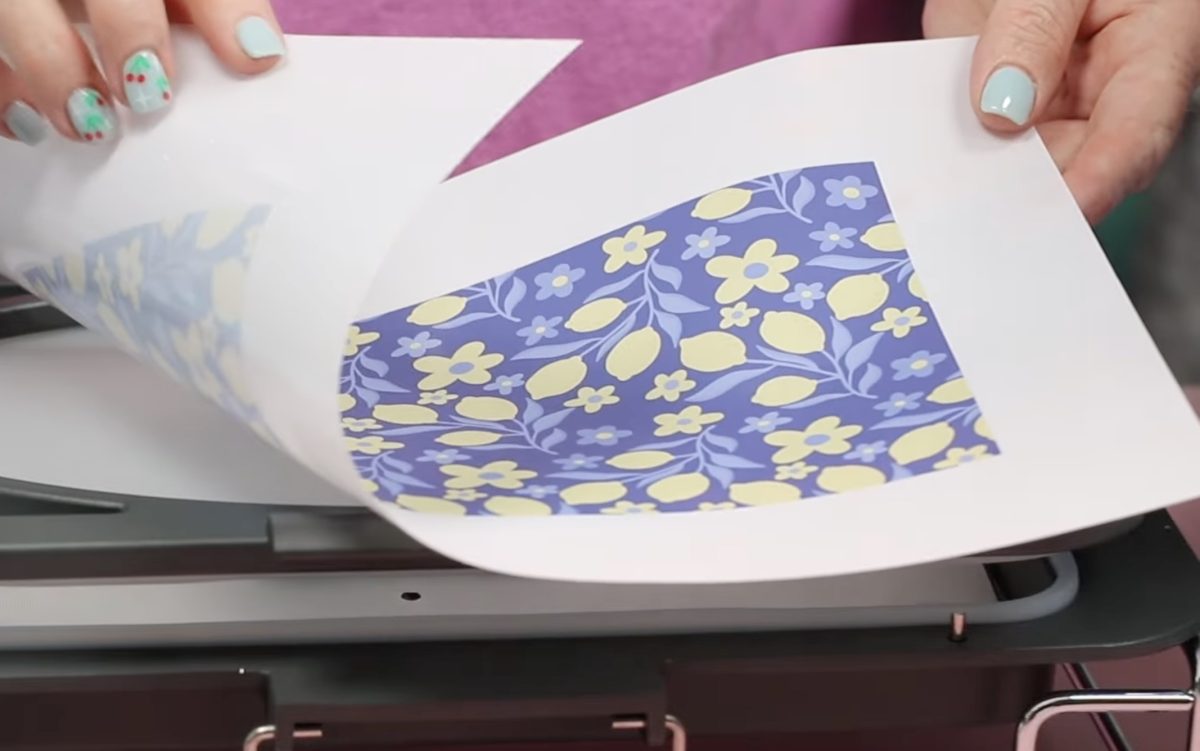
Make sure to print the design oversized so the image can wrap around the edges of the phone case. I recommend measuring the phone case including the sides and then making it even a little larger than that.
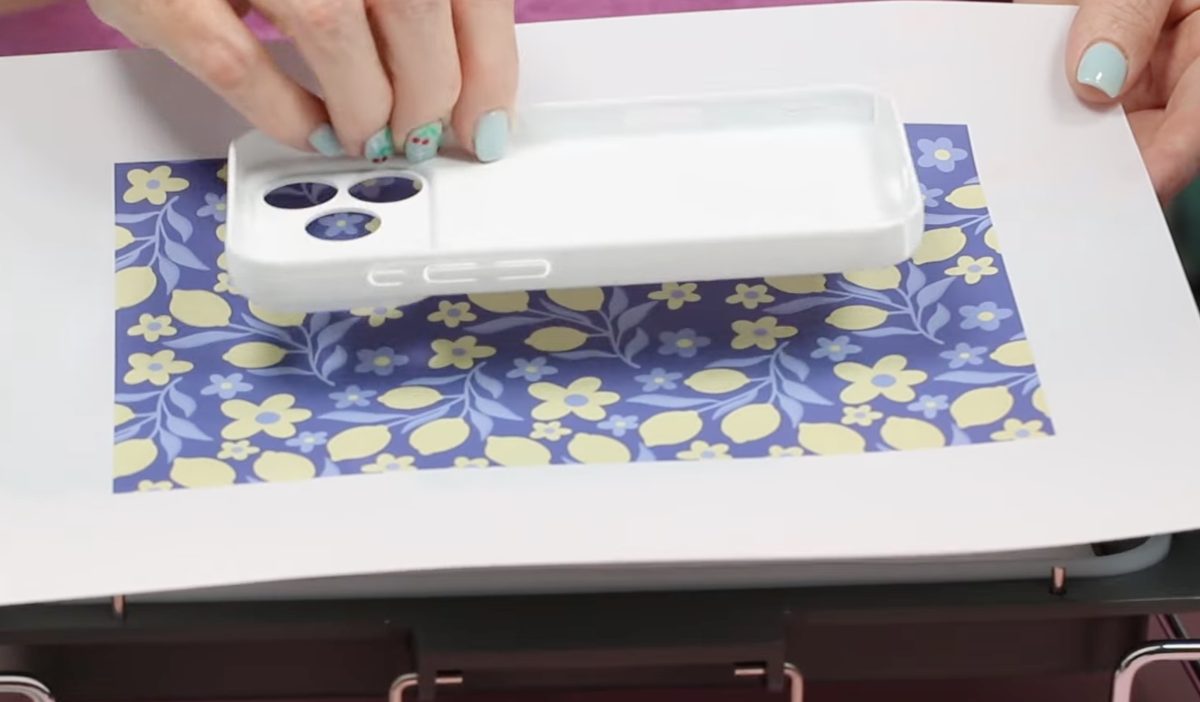
Because I am using the medium tray, I needed to trim the film a little bit to fit the tray correctly.
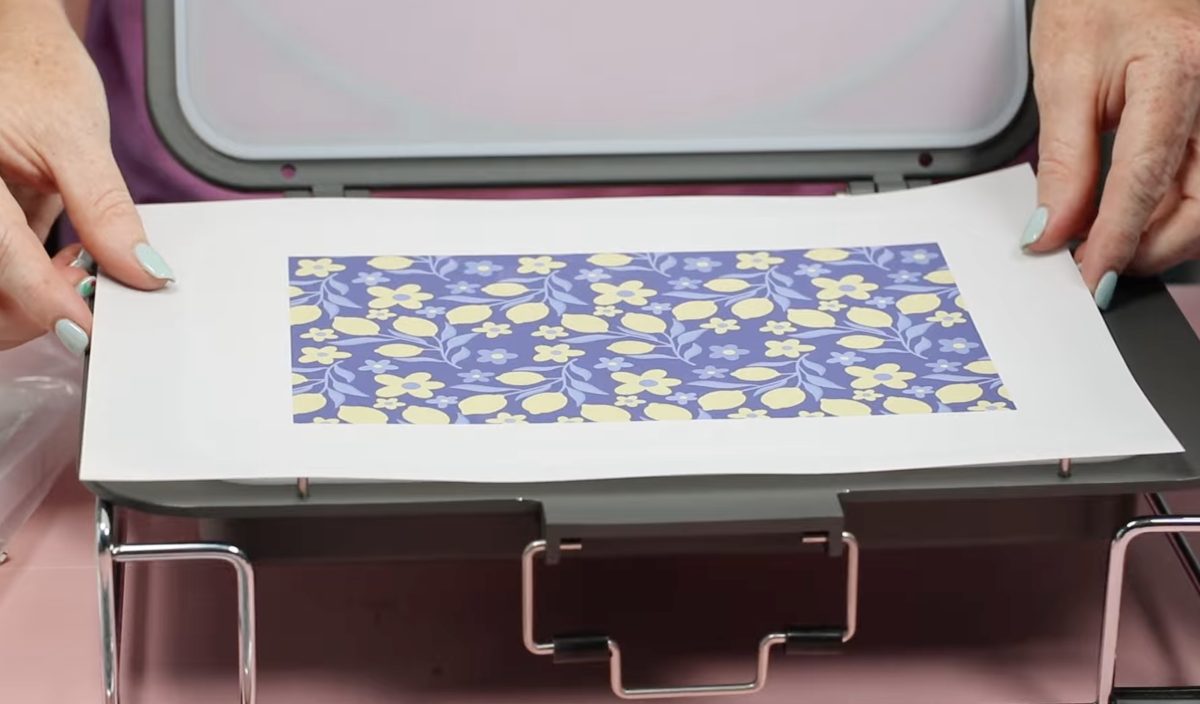
On the tray, you'll see four pins.
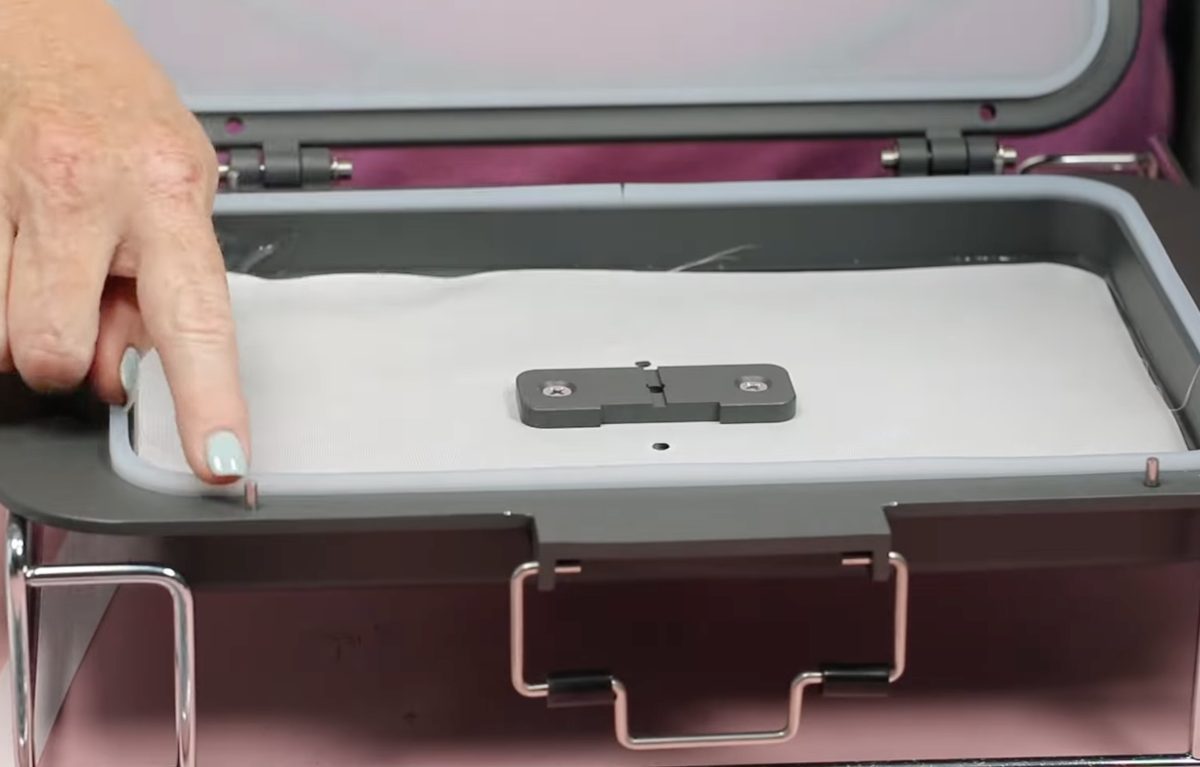
Everywhere there is a pin, you need to use the included hole punch and punch a hole in the sublimation film.
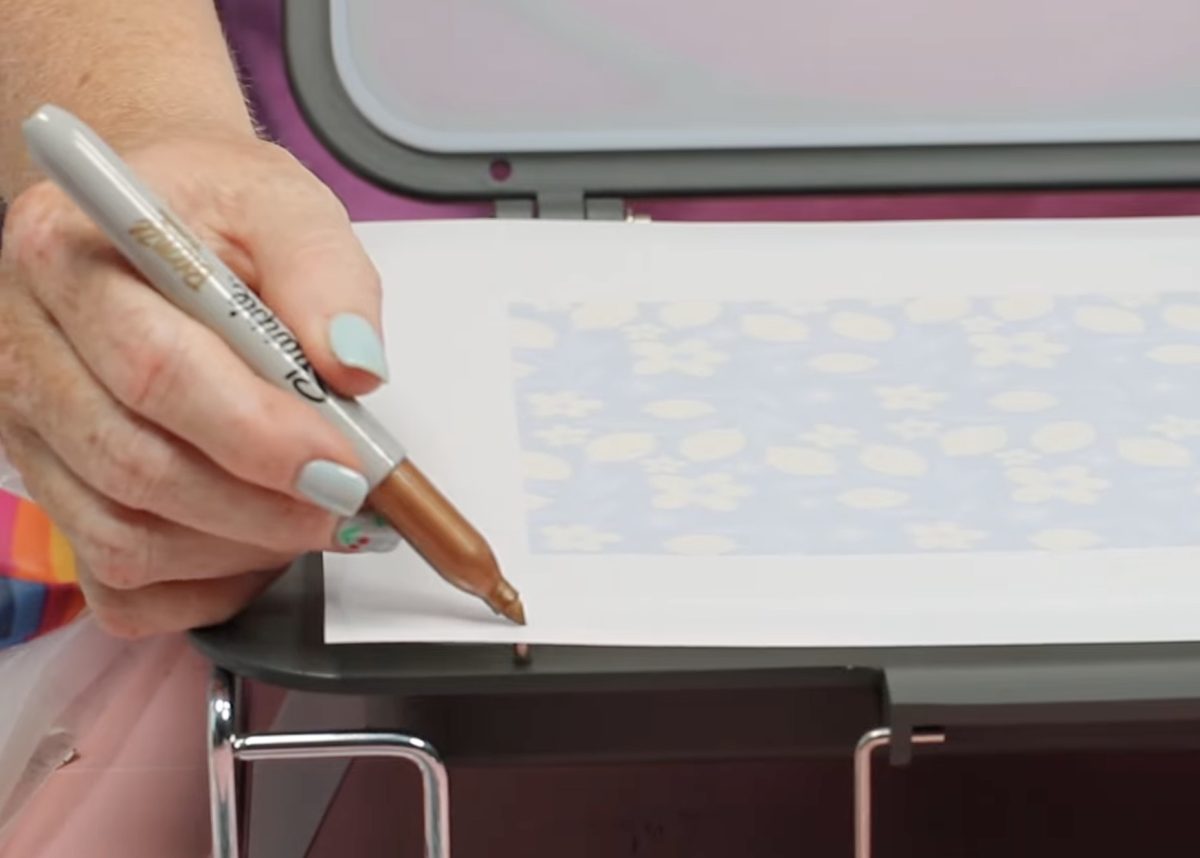
Make sure to orient the print facing the right way (ink side down) when marking where the pins are.
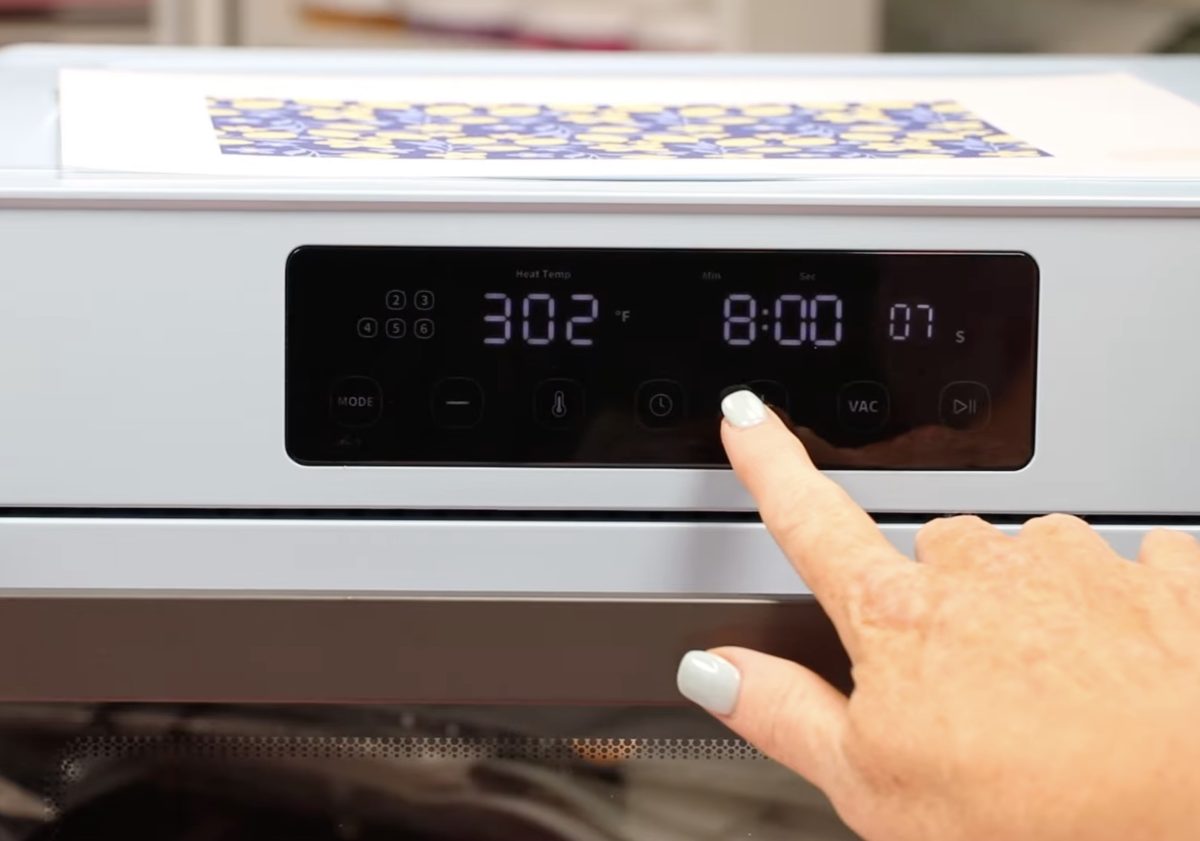
Punch the holes in the film, and while your oven is preheating, place the film on top of the oven, ink side up, to ensure the ink is dry before you sublimate it.
Step 2. Prepare the Oven
You'll set the time and temperature for the oven the same way we did before, except now we need to set a vacuum preheat time.
First, set the temperature to 302 degrees and the time to 8 minutes. Next, hold down the time button for about 3 seconds, and the preheat time will start flashing. When that starts flashing, I can adjust the time, and I've set mine for 12 seconds.
Step 3. Prepare the Vacuum Tray
This process should all be done before you preheat the vacuum tray.
The vacuum tray needs to have the sheet placed down on the inside, and then you'll use the screws and screwdriver to attach the piece that holds the jig.
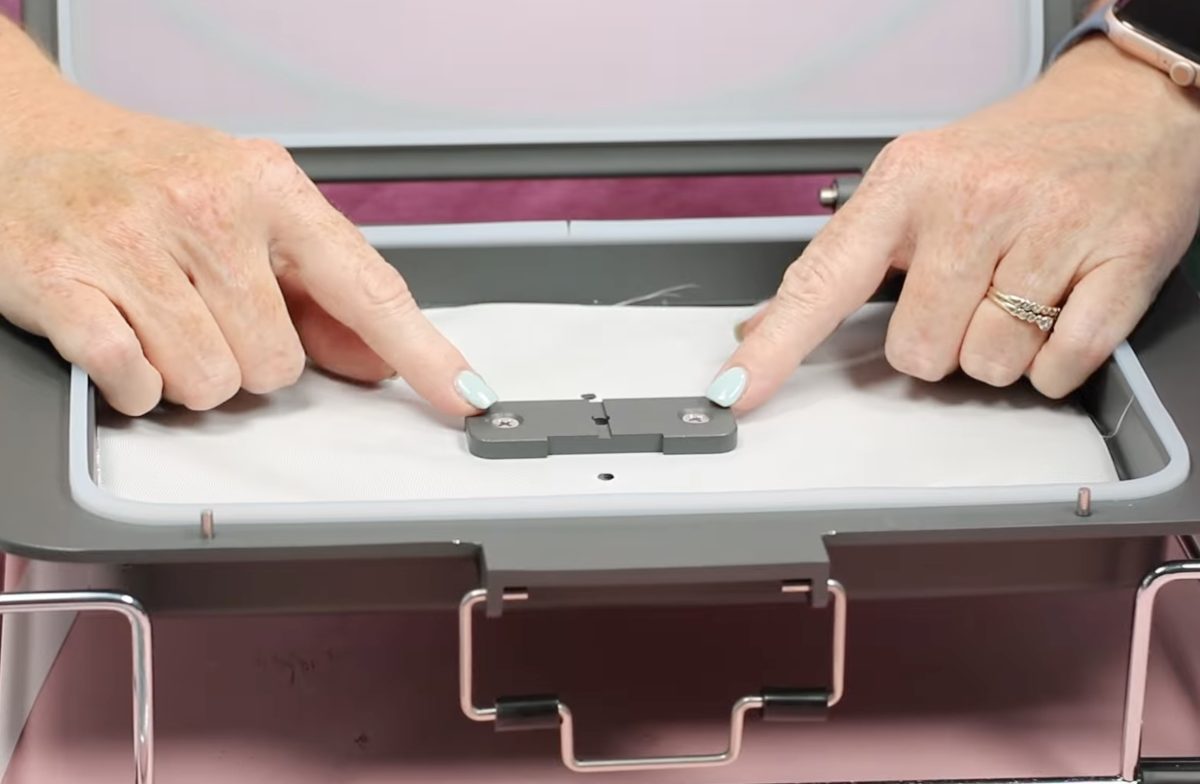
Place the jig in the vacuum tray.
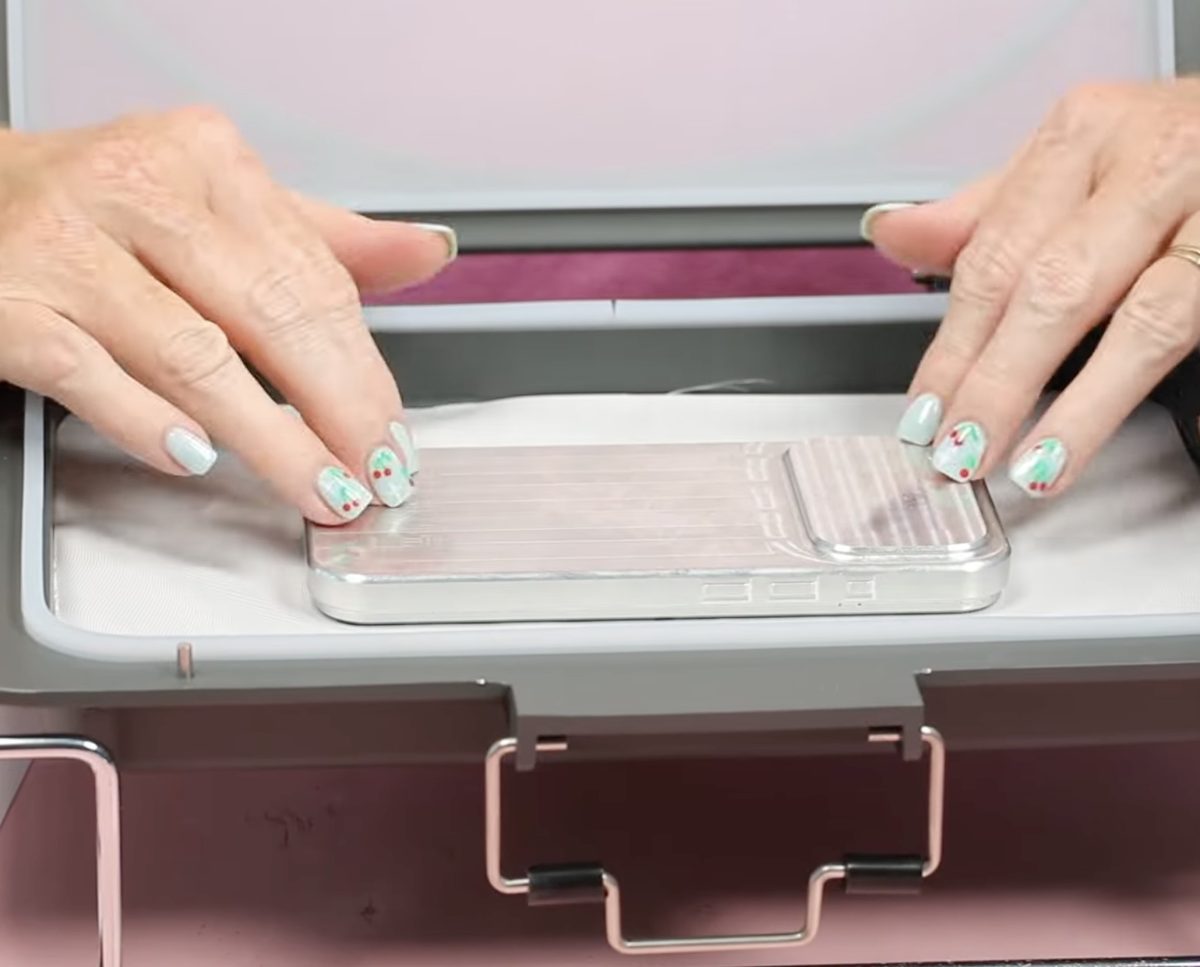
When using the specialty film, you don't need the silicone cover. You can remove it, but you need to add a seal ring around the top. The ring needs to reach all the way around the top. I found it easiest to push the seal ring into place in one spot and stretch it as I push it in place around the whole thing.
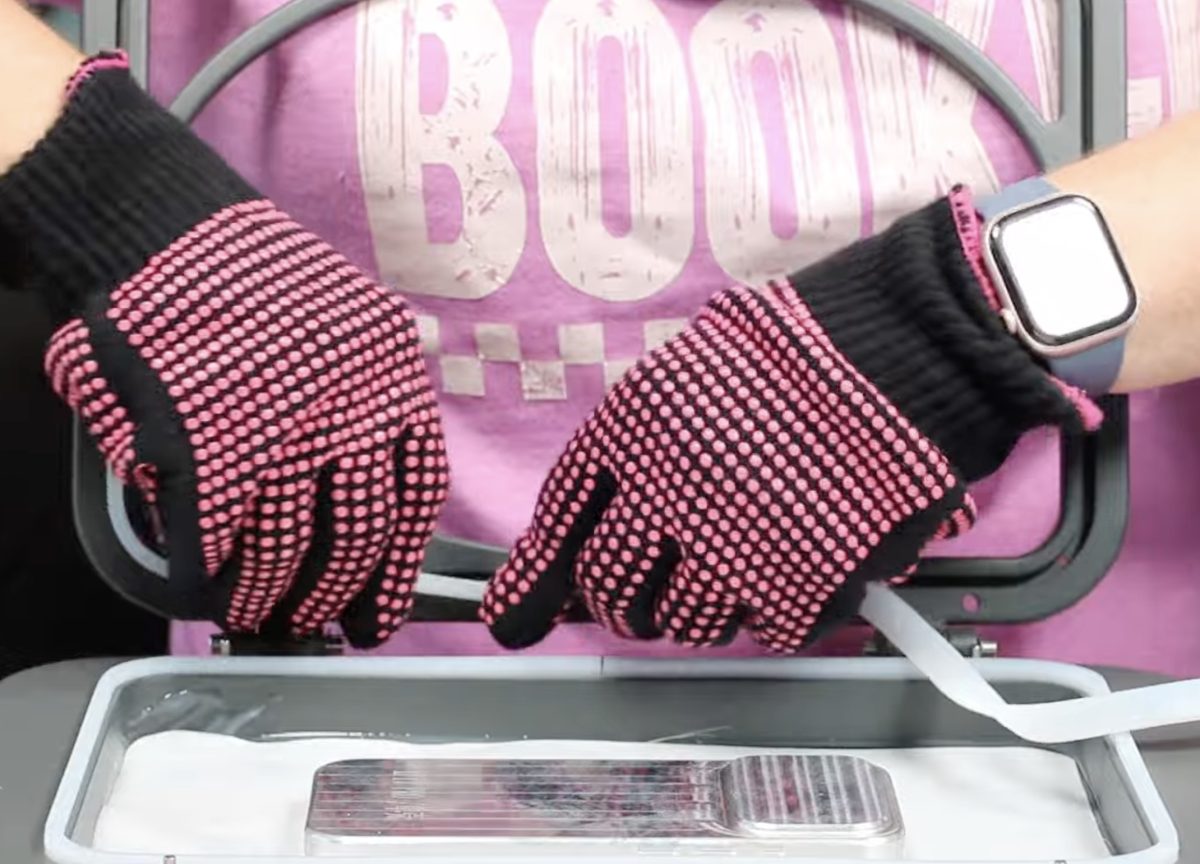
Open the oven and remove the rack. The rack will be hot; using heat-resistant gloves, place it on a heat-resistant mat.
The front of the tray has the handle; the back has a piece that sits against the hole at the back of the oven.
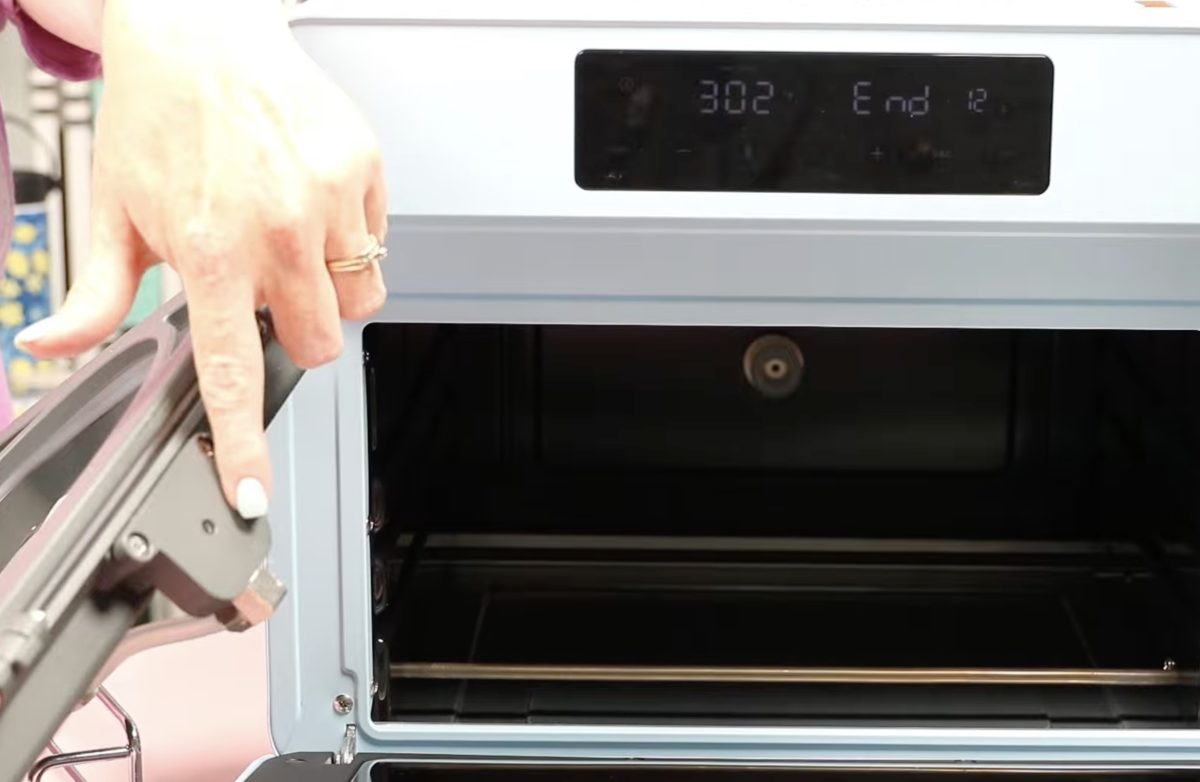
Slide it in place, making sure you have it on the right level so it can press against the back of the oven.
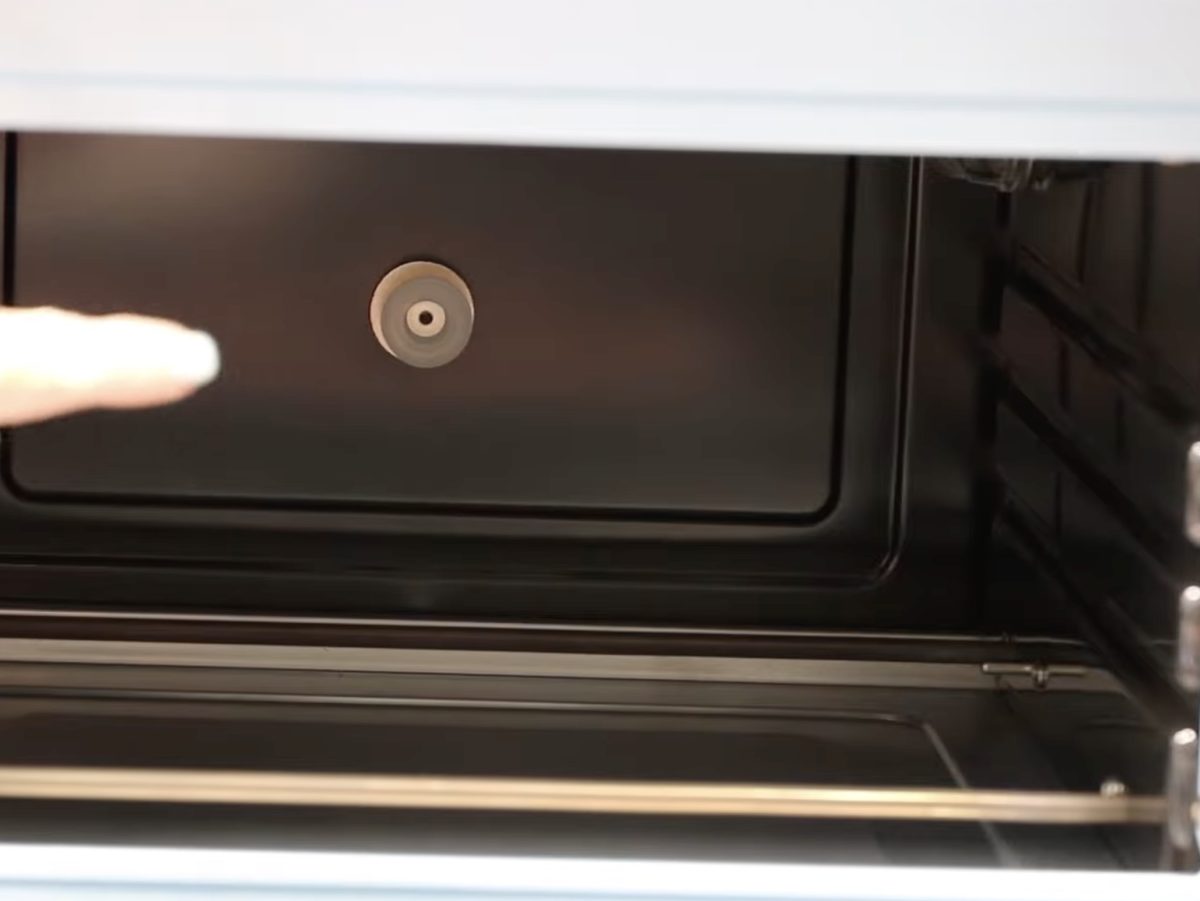
Make sure the tray is pushed all the way in and then close the door. Press the Play button to preheat the oven with the tray inside.
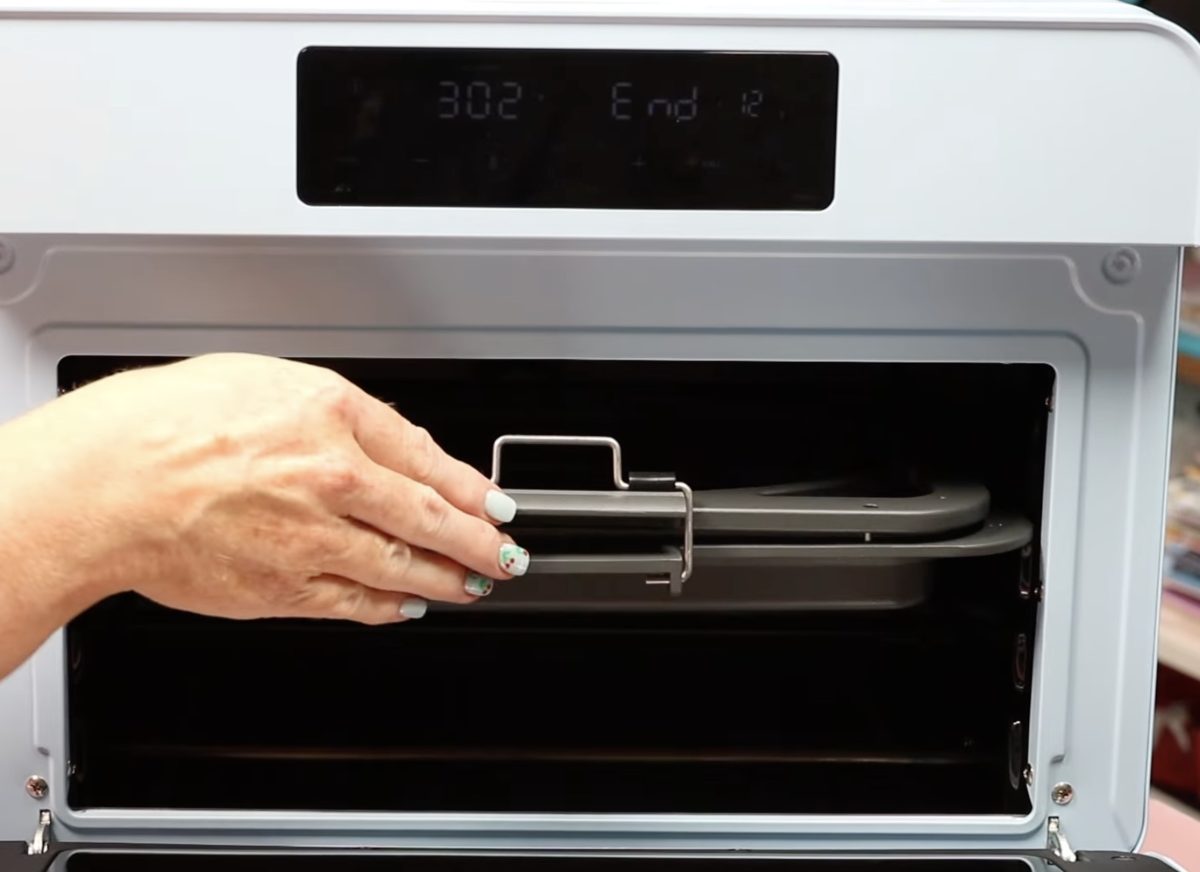
Step 4. Sublimate a Custom Phone Case with the Vacuum Oven
When it's preheated, the oven will beep. Remove the tray and place it on the rack. Close the door of the oven to keep it from cooling down too much.
While the tray is hot, pop the phone case on the jig and place the sublimated film print side down.
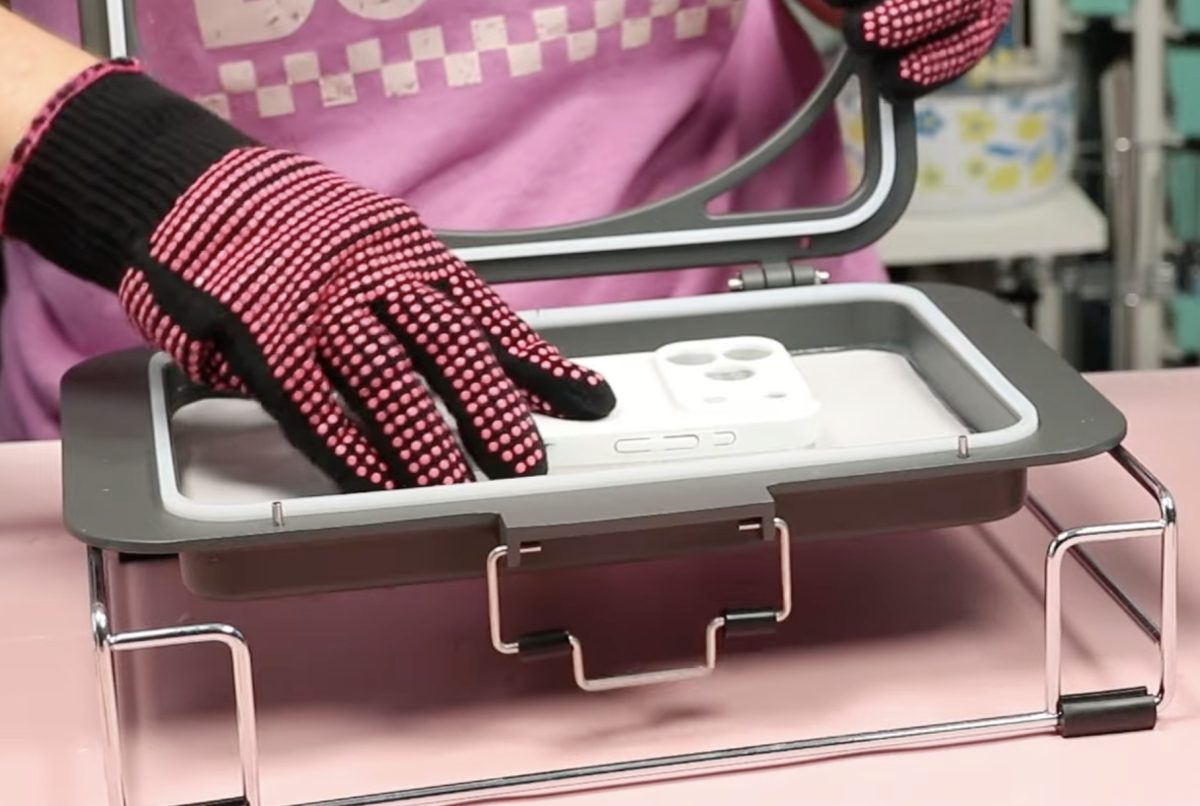
Lining up the holes with the pegs can be a tight fit. Get all four holes on the pegs.
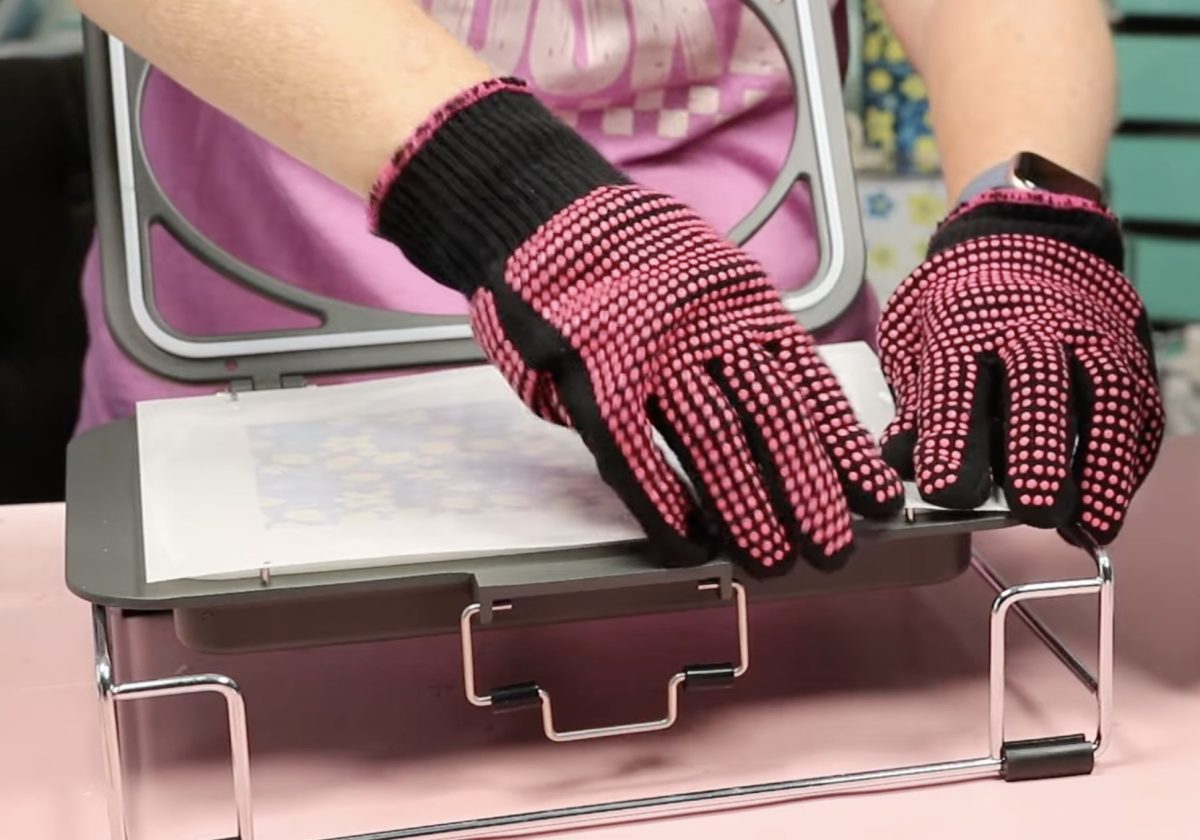
Now we're ready to close the vacuum tray. It does take a bit of effort to close the tray; make sure the latch is closed completely.
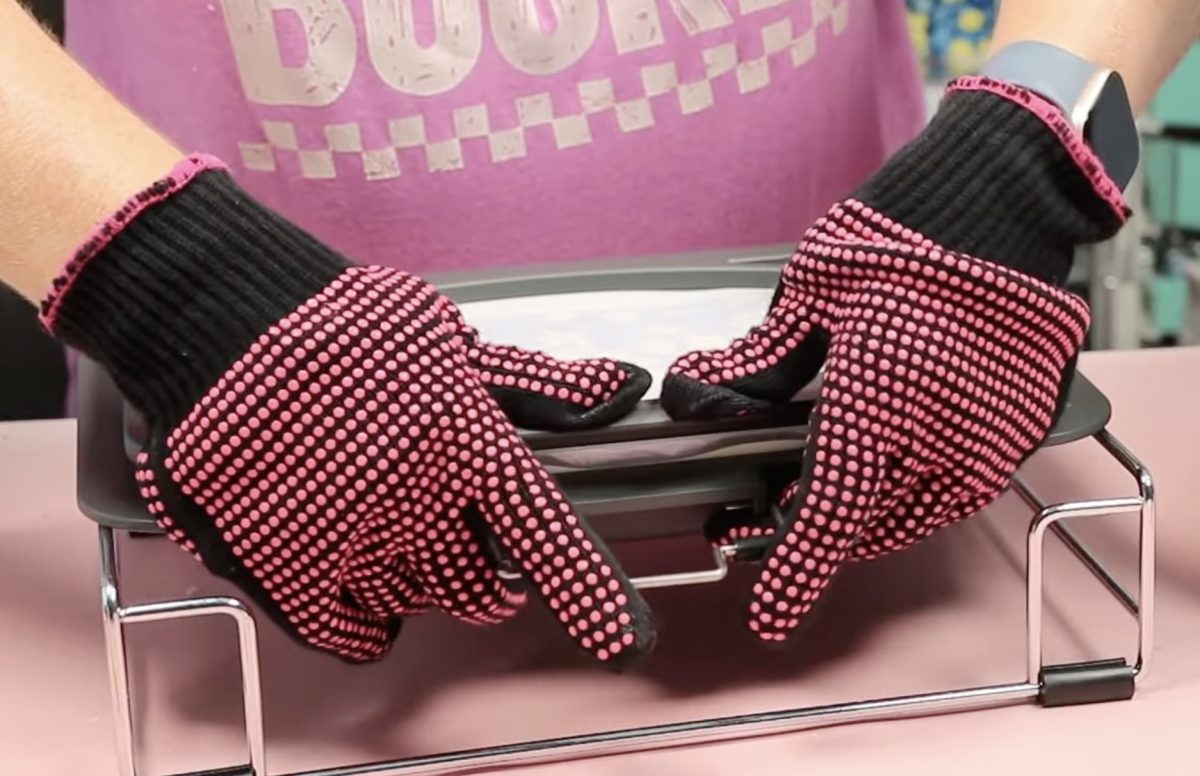
Place the vacuum tray back in the oven in the same spot as before.
Press the Vacuum button to turn on the vacuum mode and then press the play button to start the timer.
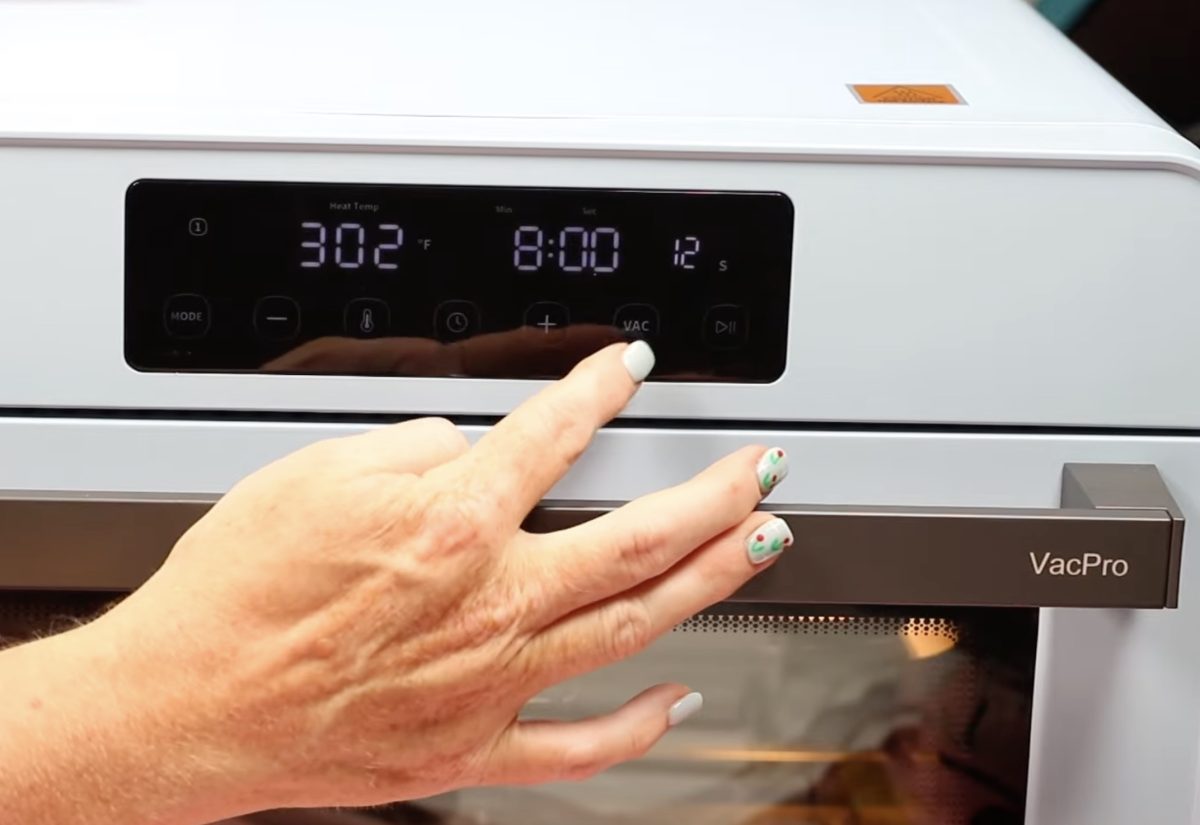
First, the oven will count down the 12 seconds for the vacuum preheating; when it's done, you'll hear the vacuum start.
This vacuum isn't as loud as some others I've used, but there is still noise.
Step 5. Reveal the Finished Vacuum Sublimated Phone Case
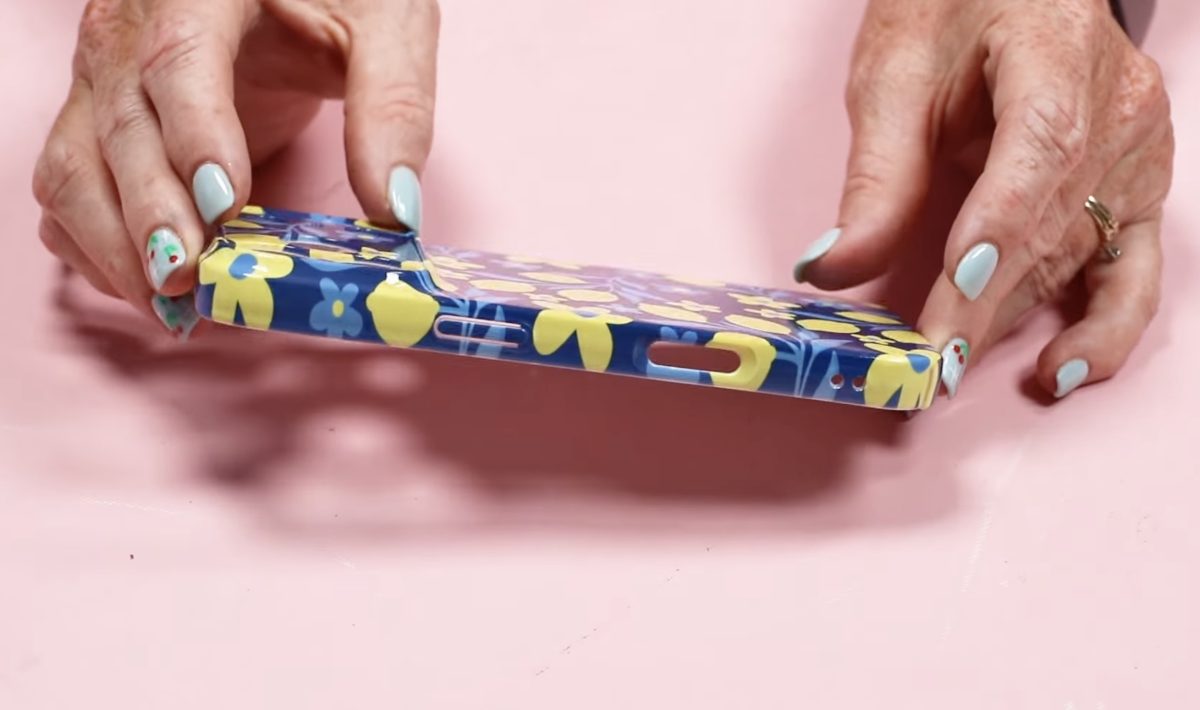
When the time is up, remove the vacuum tray. While it's hot, you should see that the film is vacuumed all the way down on the phone case. The film goes all the way around the phone case, wrapped to the edges.
Remove the film right away while it's still hot and pop the phone case out as quickly as possible.
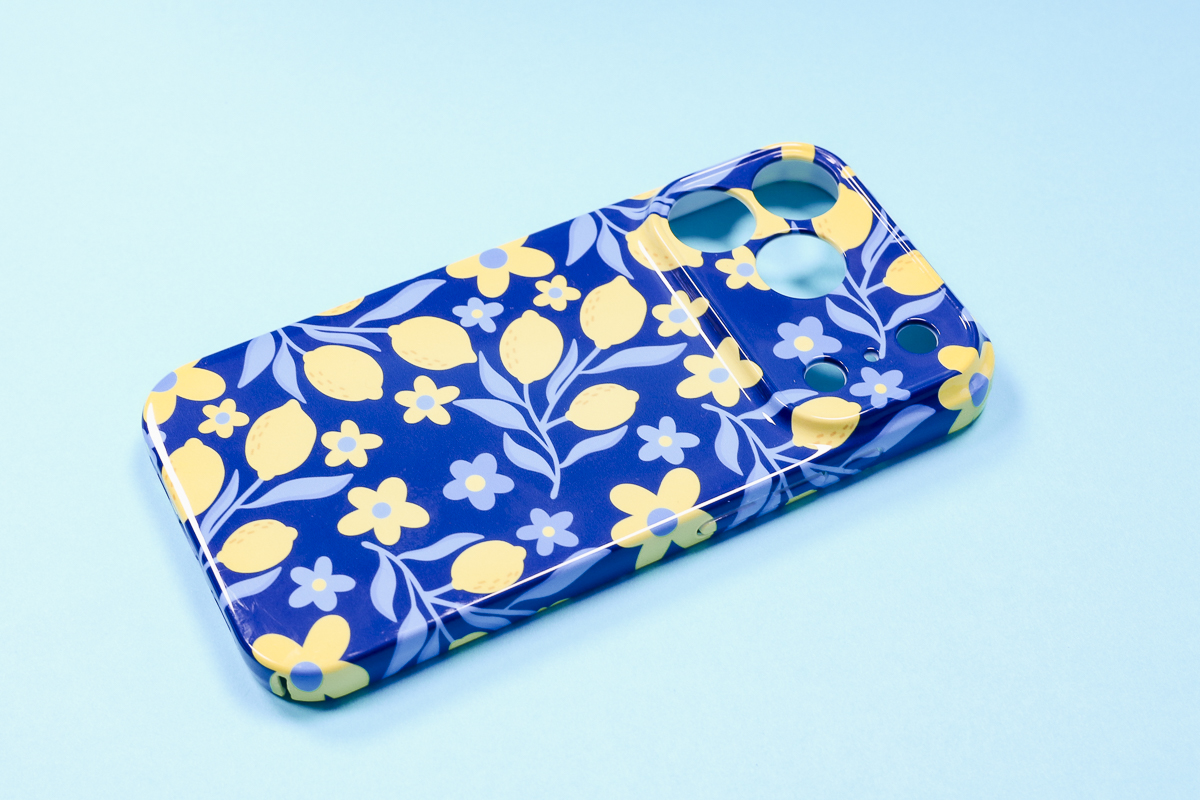
The sublimation phone case turned out perfectly. The way the design wrapped around the edges turned out so good.
How to Sublimate Coasters with a Sublimation Print
Now, I'm ready to use the vacuum sublimation tray with a regular sublimation print. The coasters don't require a jig, so there are some changes we need to make to prepare it for the coasters.
Step 1. Prepare the Tray
First, use the screwdriver to remove the piece in the center.
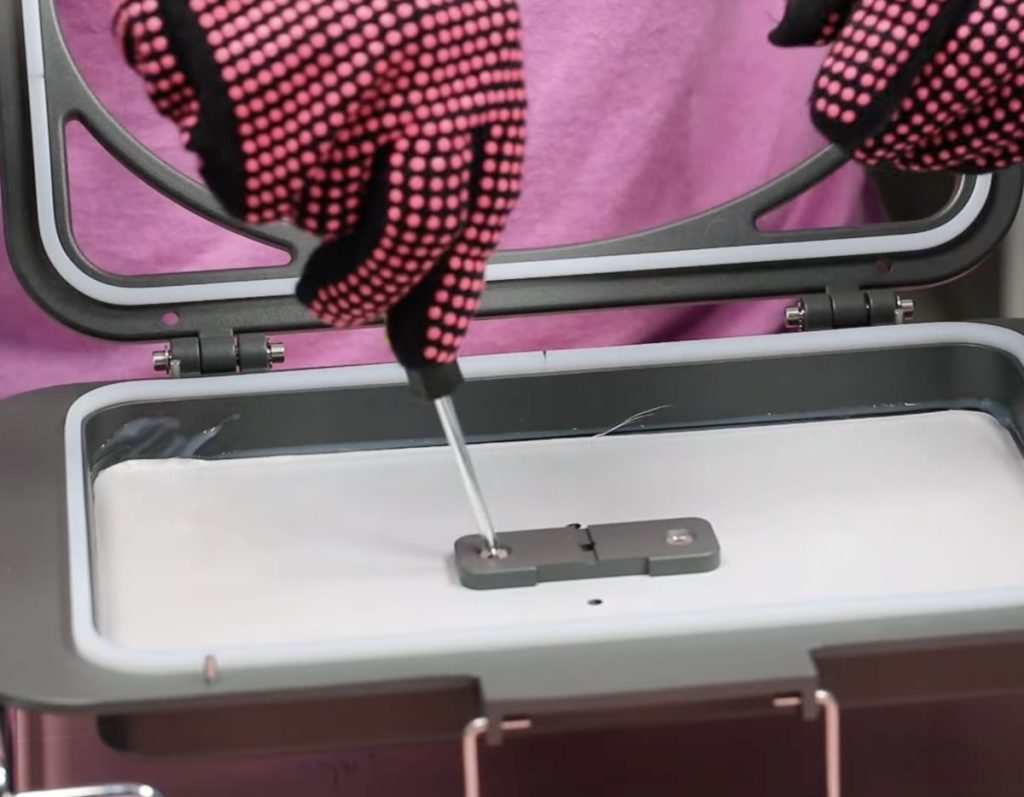
With the piece removed, you'll see there are holes in the bottom of the tray.
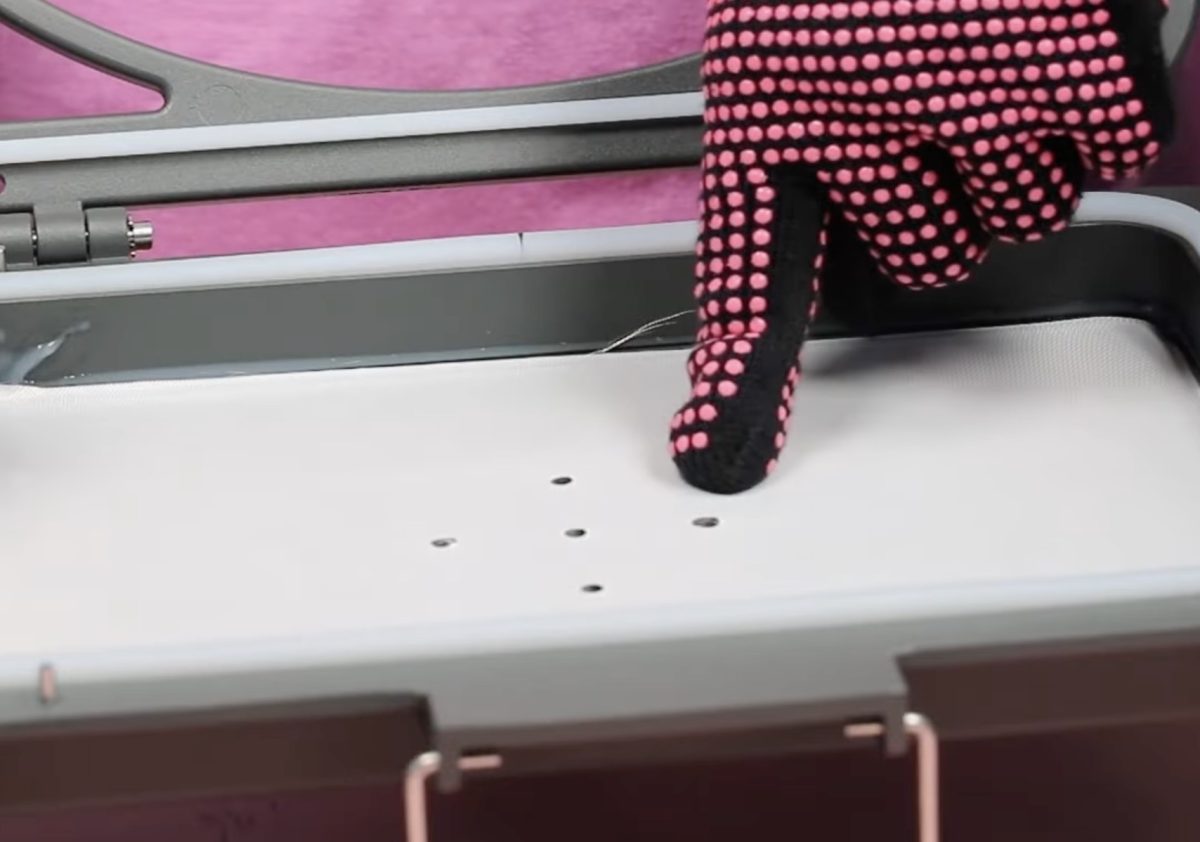
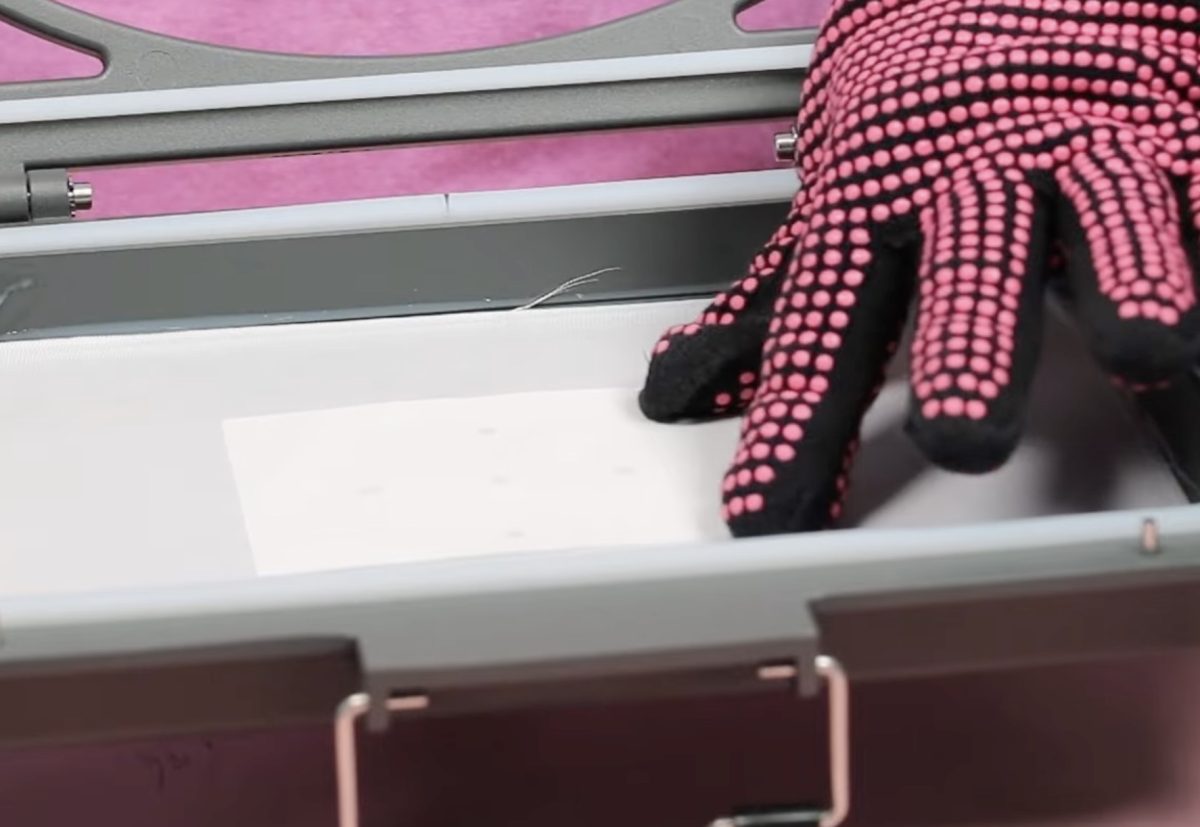
The vacuum tray comes with some cloth covers; use one of those to cover the holes in the tray.
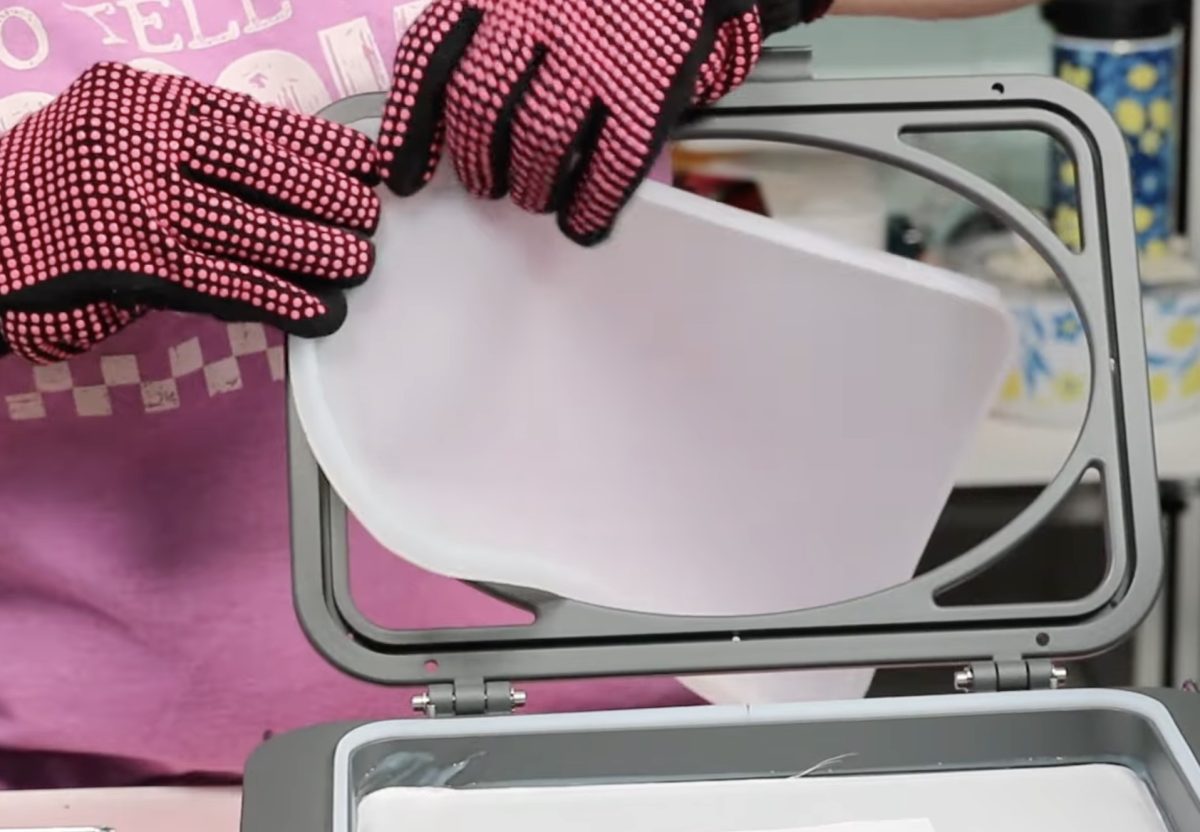
Remove the seal and replace the silicone piece by pressing it inside the groove all the way around.
Preheat the tray again. This time I have the temperature set to 356 degrees for 5 minutes.
Step 2. Prep the Coasters
To sublimate the coasters, all you need is a sublimation print. This is sublimation ink, printed on sublimation paper, from a sublimation printer; no specialty film is required.
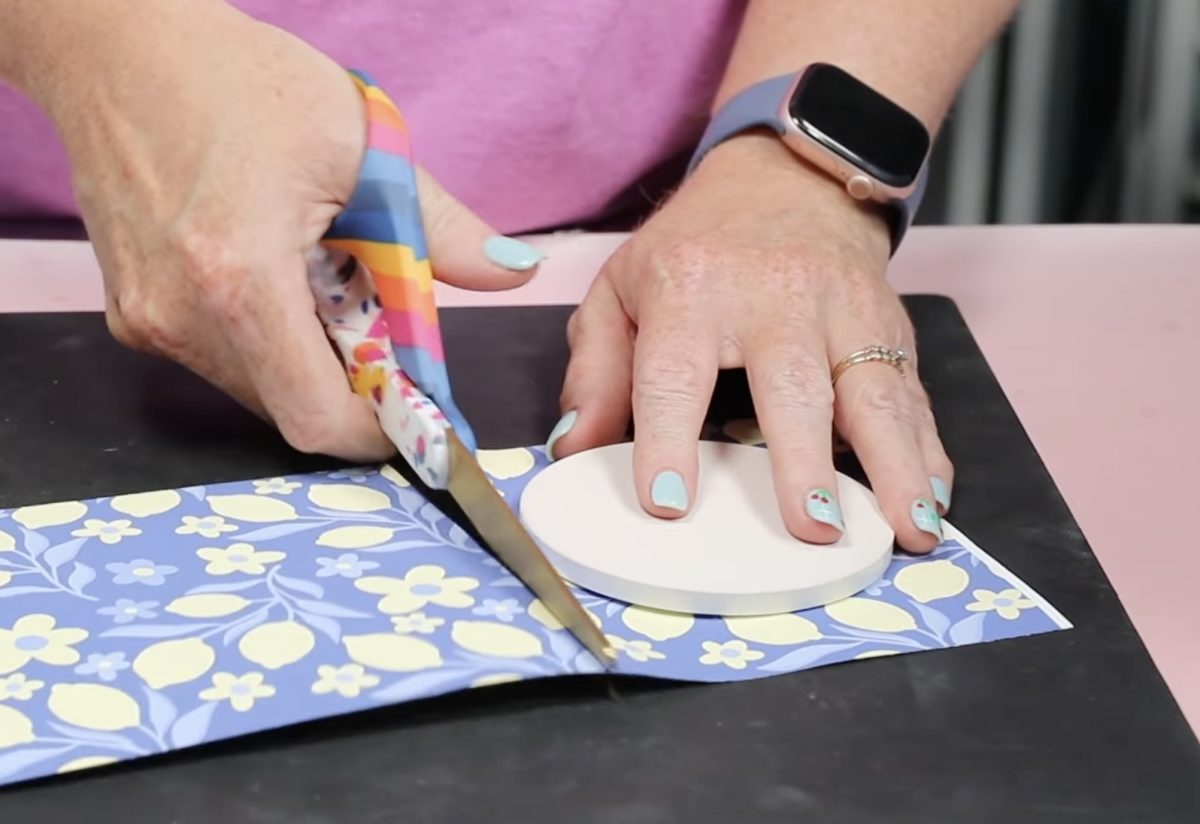
If you've ever made sublimation coasters before, the process is very similar. Place the sublimation print ink side down on the top of the coaster. Use heat-resistant tape to secure it in place.
When the tray is preheated, remove it from the oven, place the coaster inside, and place protective paper above and below it to protect the tray from sublimation ink.
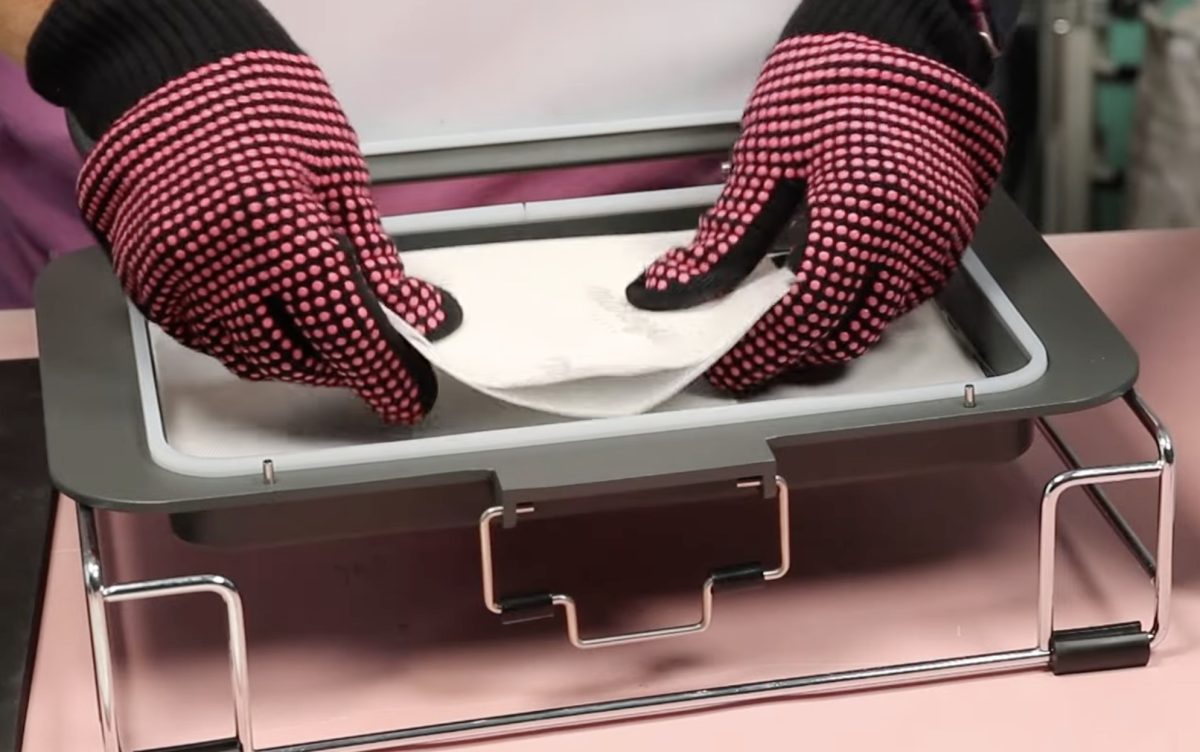
Make sure the paper is covering the holes in the middle of the tray.
Step 3. Sublimate the Coasters
Close the tray and place it back in the oven, making sure it's pressed right against the back of the oven on the hole.
The coaster can slide in the tray; try to keep it nice and level so the coaster doesn't move. I have mine right in the middle of the tray.
Press the Vacuum button and then the Start button.
Step 4. Review Finished Sublimation Coasters
When the timer is up, remove the vacuum tray from the oven and place it on the stand.
Since we didn't use a shrink sleeve or the sublimation film, it isn't as important to move fast. Open the vacuum tray, lift the cover, and remove the protective paper and sublimation print.
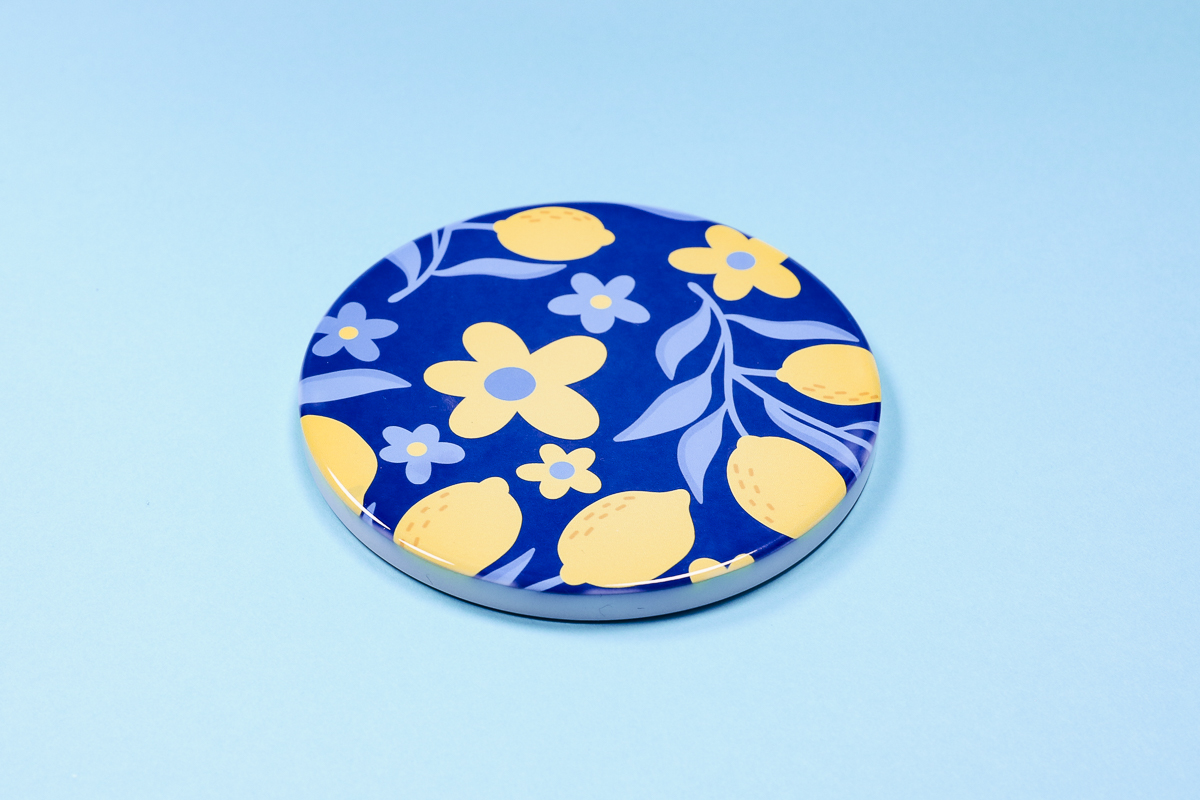
You can see that the sublimation print transferred beautifully, but because we didn't use the film, it doesn't wrap around the sides.
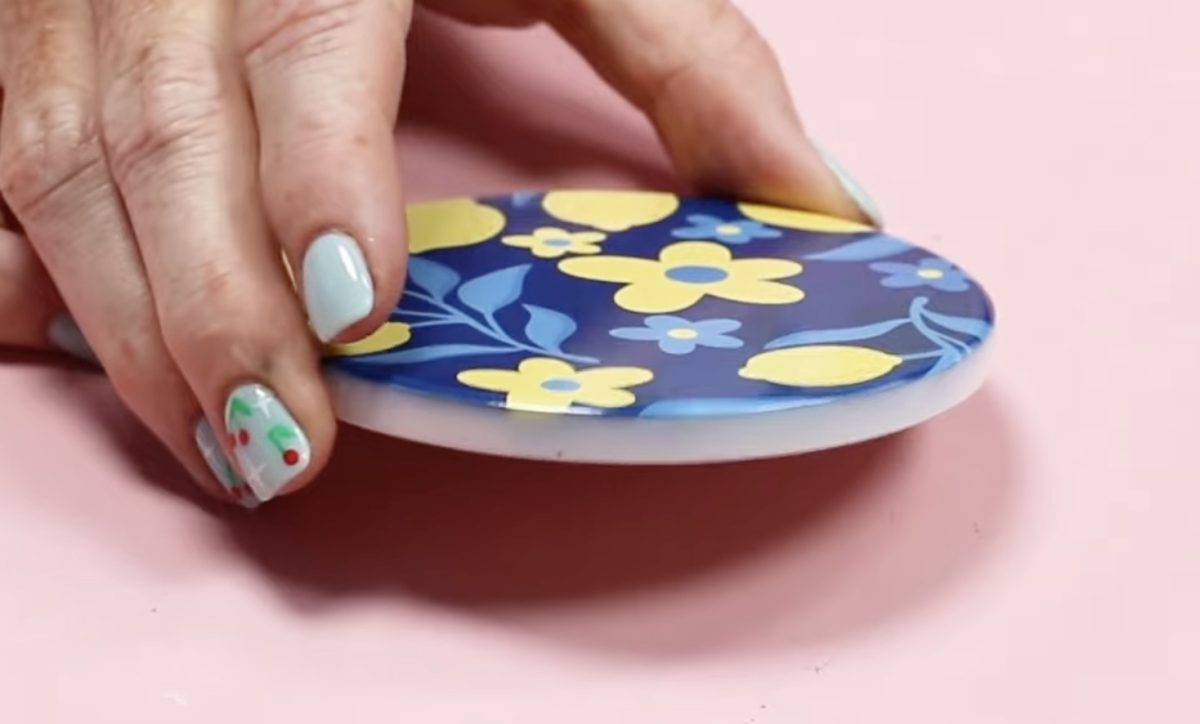
If you want the design to wrap around the edges, use the specialty film.
Are You Ready for Vacuum Sublimation?
Now that you've seen the PYD Life Sublimation Oven with Vacuum at work and the amazing projects you can make with it, are you ready to get started?
I love that without having to make any major changes to the oven, you can use it for regular sublimation projects and projects that require a vacuum.
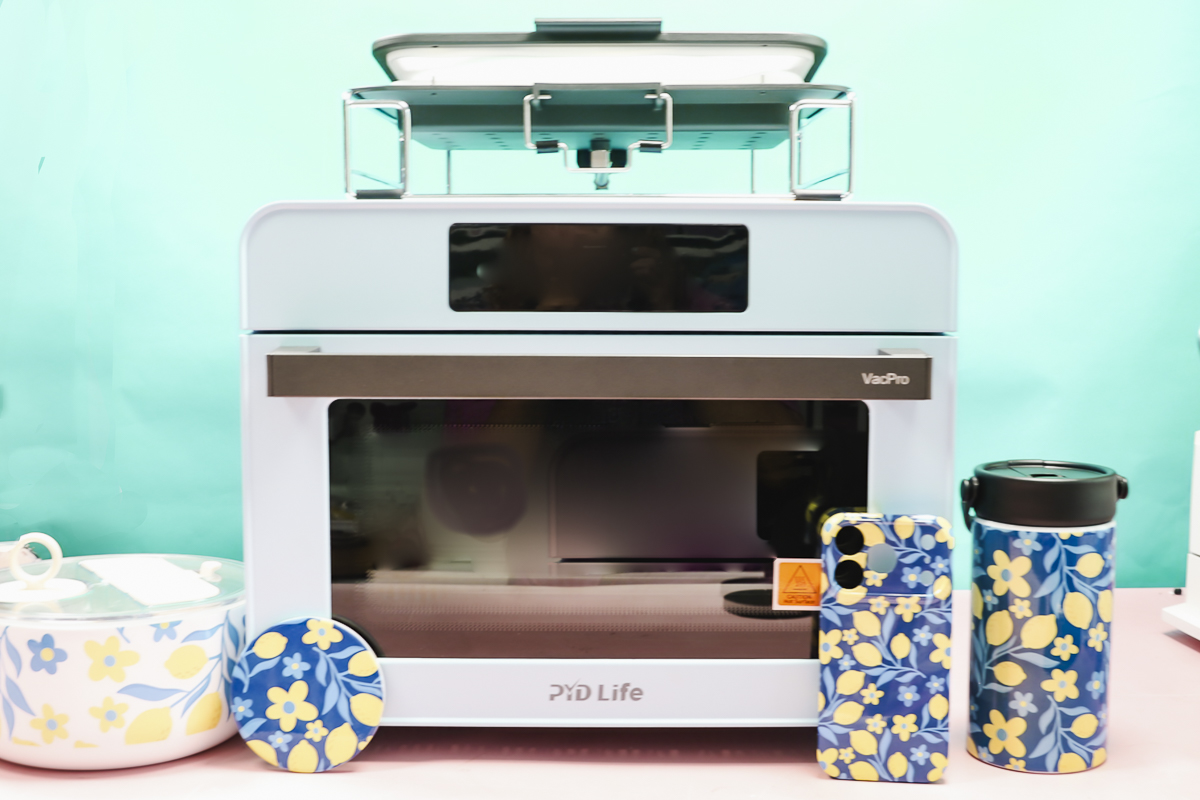
I used the medium tray today. It is on the smaller size. The phone jig fits in it, and I was able to do one at a time. For the coasters, I could potentially do two, but that would be the max for this coaster.
If you want to do something larger, like the 8 by 8 slate I had that didn't fit in the medium tray, I would get the large vacuum tray.
If you've been thinking about a sublimation oven, I would look at this one. Even if you don't want to use the vacuum tray right away, you have the option to add the vacuum tray at a later date without having to convert the oven as I did in my last sublimation oven.
I am very excited about this sublimation oven with vacuum abilities. It will be the sublimation oven I recommend moving forward and may replace all the other sublimation ovens I have in my craft room.
I hope I've answered any questions you have about the PYD Life Sublimation Oven with Vacuum. If you have any additional questions, leave them in the comments, and I'll be happy to answer them for you.