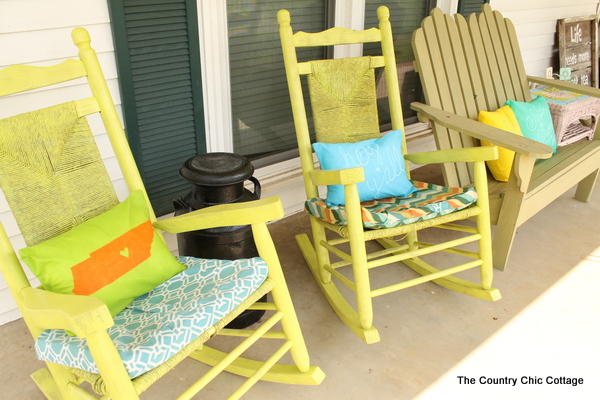
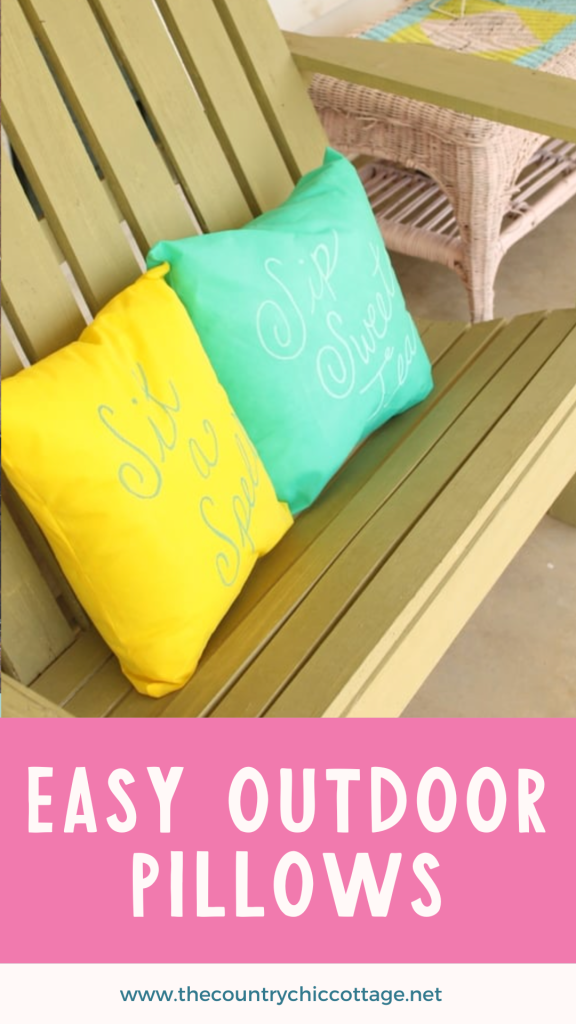
Creating your own outdoor pillows is a fun and rewarding project that anyone can tackle! With my easy step-by-step instructions, you’ll be on your way to designing beautiful, custom pillows for your outdoor space in no time. Plus, I’ll share tips on how to add your favorite quotes using a paint marker, giving your decor a unique and personal touch. Although this project is sponsored by Fairfield, the ideas and opinions are entirely my own.
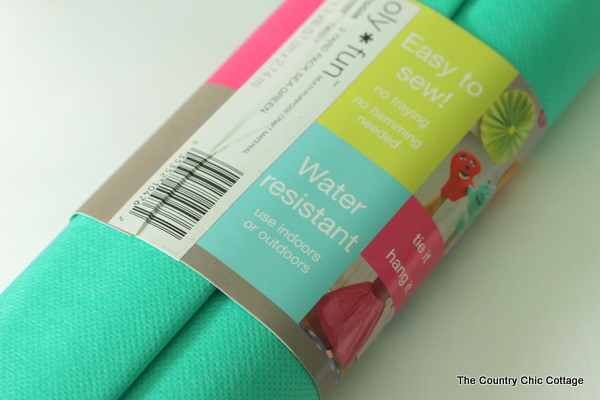
The fabric we are going to use to make these pillows is called oly*fun. It is amazing stuff that can be cut, and it will not fray. It is great for a wide variety of craft projects.
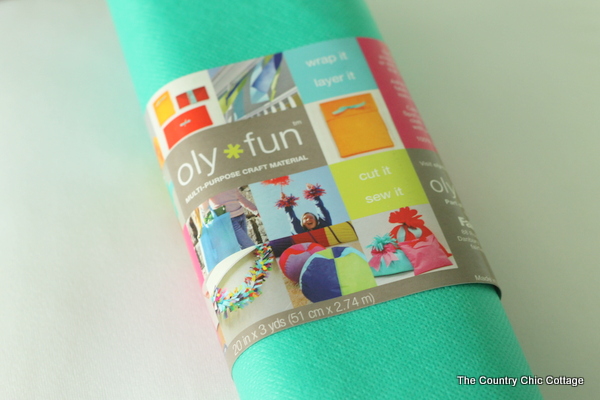
I love it for use on outdoor pillows because it is already water-resistant, y'all! You can click here to shop the wide variety of colors online, or you can find Oly*Fun in craft stores now as well.
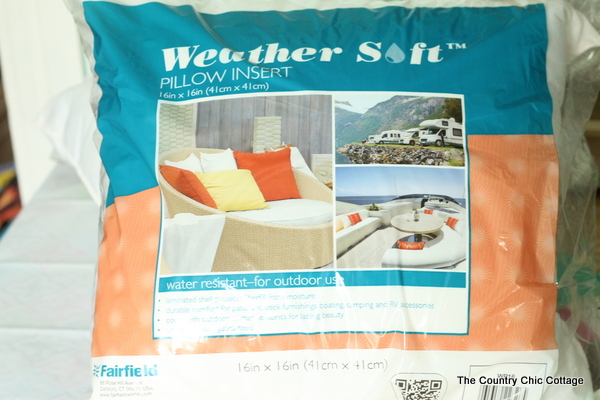
Now, what type of pillow insert do you use outside? Did you know that they make a special weather-resistant one just for that purpose? The pillow form is from Fairfield, and you can click here to purchase online or look for the package below at your craft store. They come in 18 x 18, 16 x 16, and 12 x 18. I used the 16 x 16 and 12 x 18 in my project.
Start with the Oly*Fun and cut it to width. I left about 1/2 an inch of extra room on the sides of my pillow, plus added a 1/4 inch seam allowance to both sides. So for the 16 x 16 inch pillow cover, I cut a strip 17 inches wide. I made an envelope-type pillow cover, so you will need to make the length twice as long as you need it, plus add about 3 – 4 inches. In this case, you would need 16 1/2 plus 16 1/2 plus the 3 – 4 inches. No need to add seam allowance to the length. In this case, I would cut it around 36 to 37 inches long. Then fold it as shown below with the overlap to the back of the pillow cover. Pin into place. REMEMBER: Oly*Fun does not have a front and a back; it is the same on both sides, so it does not matter when folding your fabric.
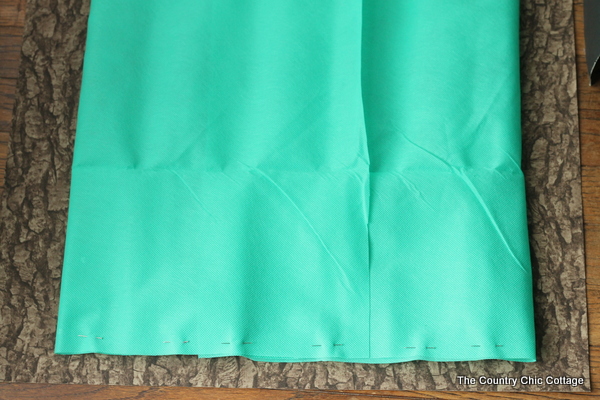
Remember I said Oly*Fun does not fray. There is no need to do anything to that overlap. Just leave the edge raw. That is what makes these outdoor pillows so quick and easy to make! Just sew down both sides with your 1/4 inch seam allowance. Flip the pillow right side out. Now we want to add something fun to the front. I drew out some words on cardboard with a black magic marker, slipped the cardboard into the pillow, then traced the letters with a paint pen. Be sure to go over them a few times to get a bold line. Yes, you can see just slightly through the Oly*Fun, so this method worked for me. If you are having issues, try this transfer paper method as seen in this t-shirt post.
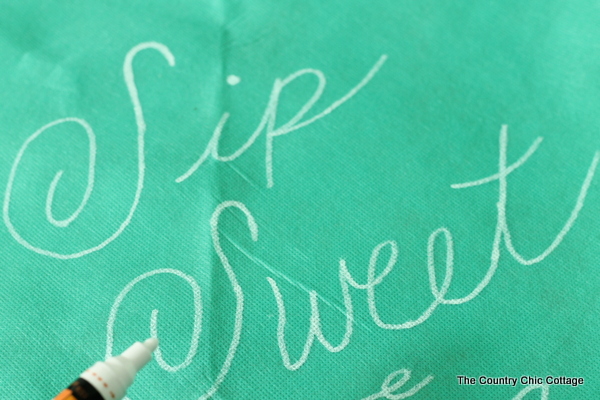
Allow the paint to dry completely, then add your pillows to your porch. These outdoor pillows will definitely invite your guests to sit and stay a while.
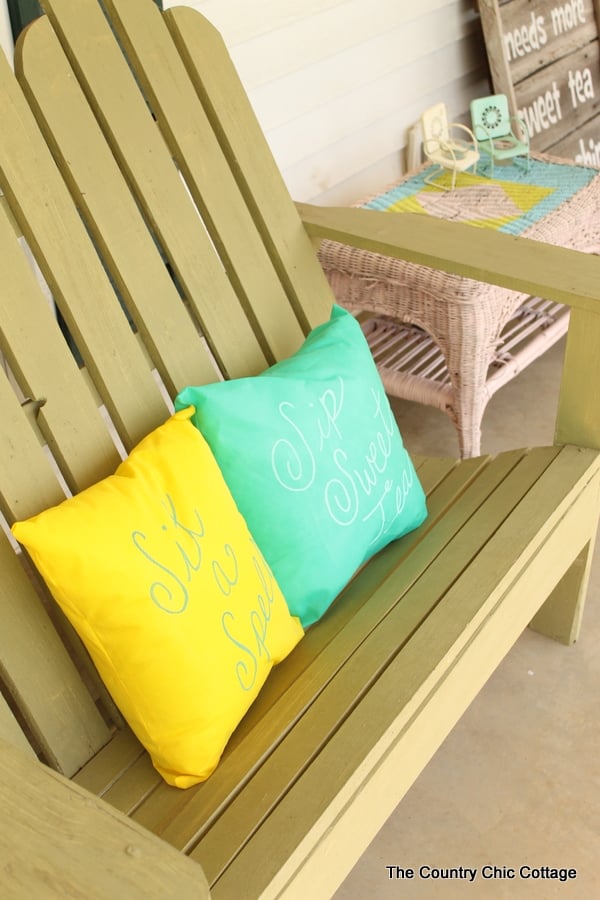
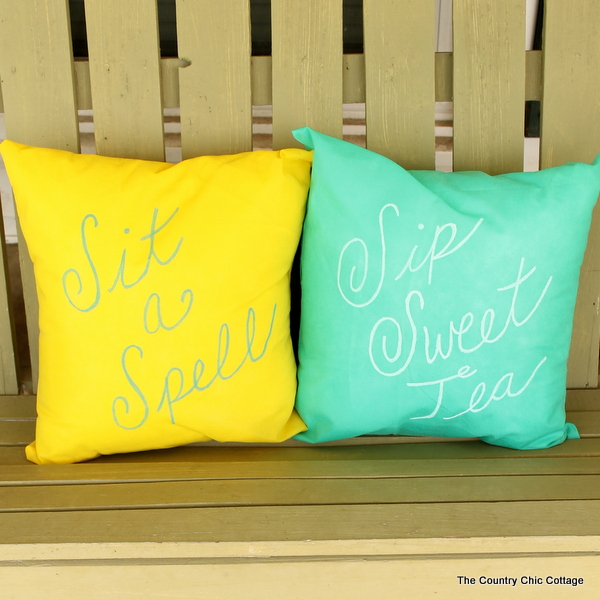
My personal favorites are the two pictured below; however, they all turned out great!
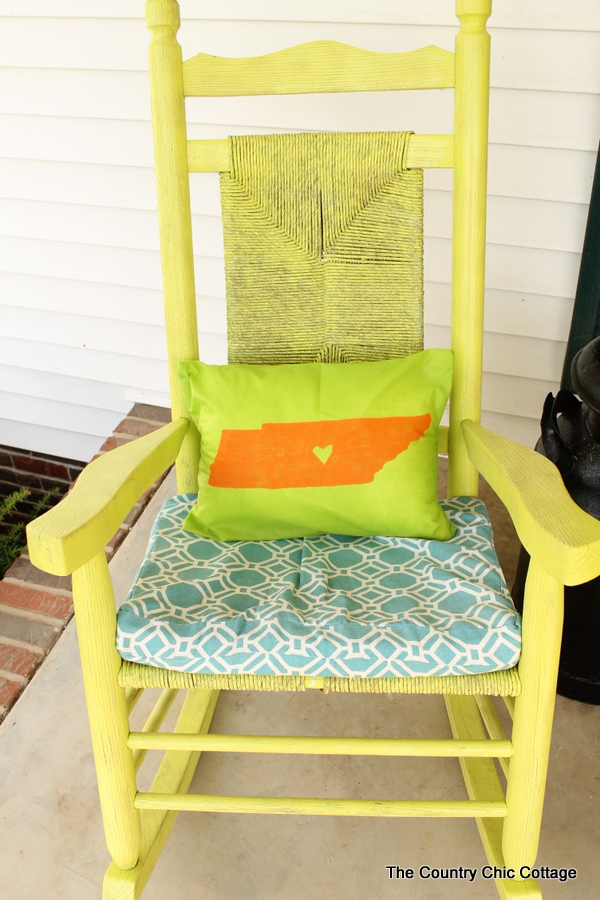
I changed it up a bit and did a Tennessee pillow in addition to the quotes. Just use the same method as above, but use a printout of your state instead of the words mentioned above. Tennessee worked great on the long pillow form, but you might need a square form depending on your state shape. Don't forget to add a heart in there to let everyone know where your heart lies. I actually used the paint pen on this one as well and just filled it in slowly. You can grab some fabric paint instead for a large area like this.
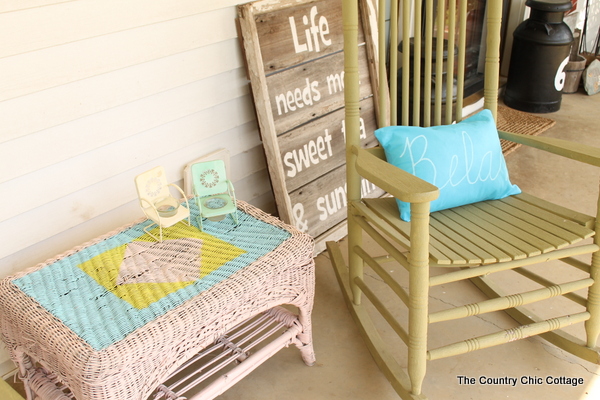
My porch is now relaxing and inviting with comfortable outdoor pillows on all of the seats. You can find more about that wicker table by clicking here, and the sweet tea sign by clicking here.
Grab your supplies from Fairfield and get started on these great outdoor pillows for your home. You will love how quickly they come together and the huge impact they make on your outdoor space.
