
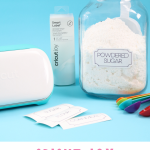
Did you know that you can make customized Cricut Joy labels?! The latest SmartLabel product from Cricut is actually writable vinyl. This means that you can write on it with pens to create labels for every area of your home. One more reason why I love my Cricut Joy, and I am sure you will as well! Want to use this material with your Cricut Explore or Maker? Keep reading, as I have tips for you as well.
Today, we are also continuing with Craft Week, where I am joining in to bring you great crafts all week long. You can find the crafts from the other bloggers at the bottom of this post! So far this week, we've created my tulip wreath and my painted handle cutting boards.

Cricut Joy Labels Video Tutorial
If you'd like to watch me create these pantry labels, you can view the video below. It includes a complete set of instructions for creating your own labels with the Cricut Joy.
Can't watch the video or missed some of the steps? I've also added written instructions below.
How To Make Cricut Joy Labels
Making writable labels with the Cricut Joy is so easy! You will literally want to organize everything in your home once you see just how easy it is.
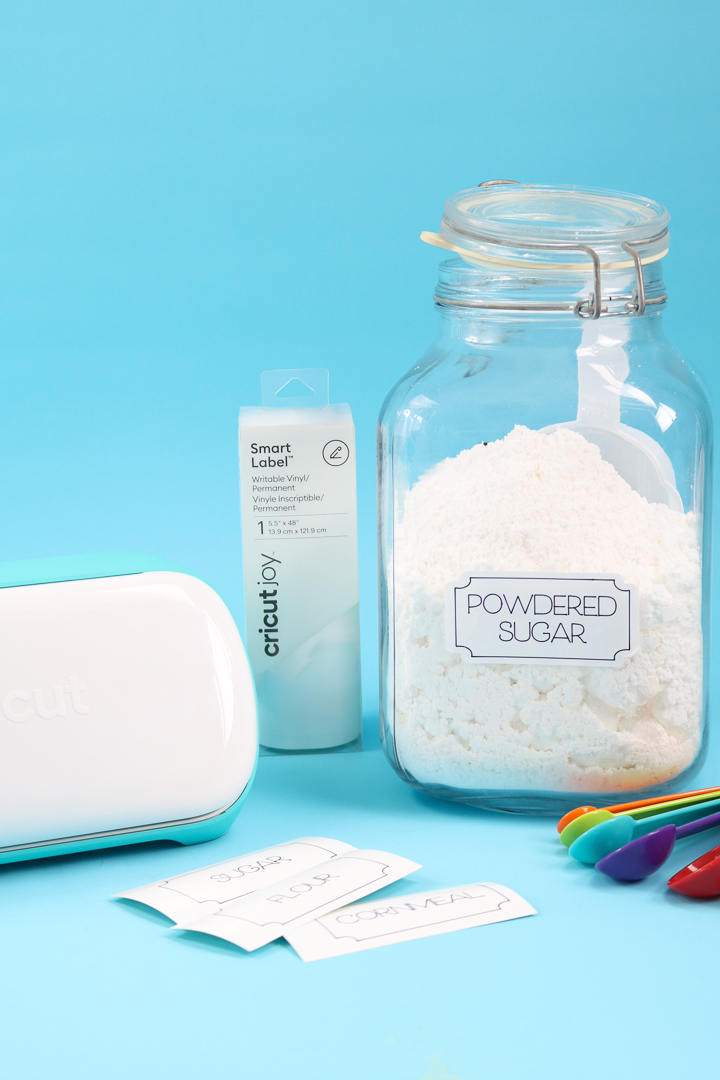
I am sharing pantry labels below, but you can use this method to design labels for just about any area of your home. In fact, you can see a video on Instagram here where I've already made some labels for my craft room.
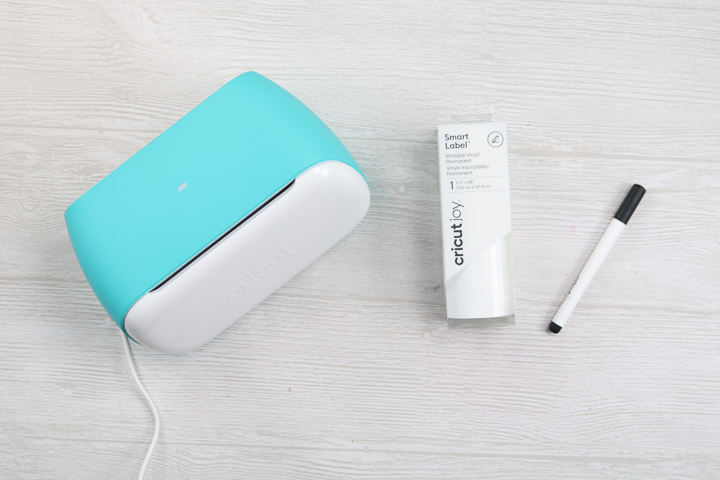
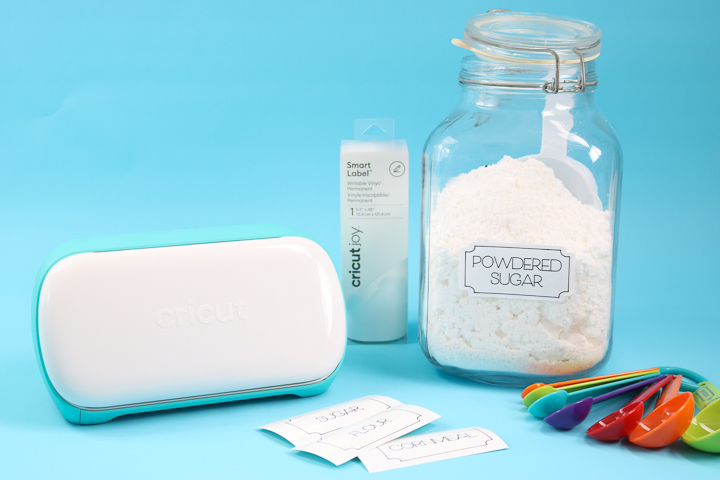
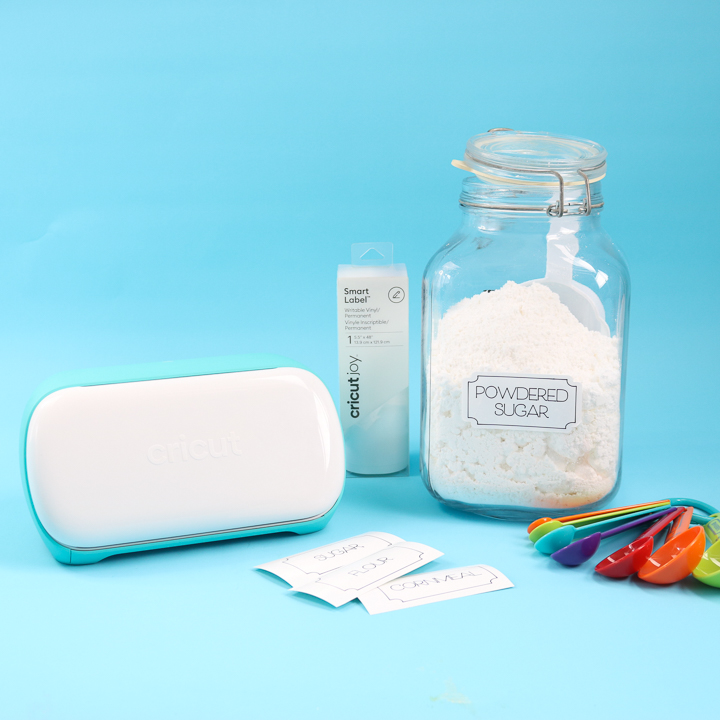
Supplies Needed To Make Cricut Joy Labels
- Cricut Joy or Joy Xtra (I am giving tips below for making this same project on a Cricut Explore or Cricut Maker)
- SmartLabel Material
- Cricut pens (be sure to get the Cricut Joy pens for the Joy)
- Cricut Design Space file (click here for my Design Space profile and scroll down to Cricut Joy Writable Pantry Labels)
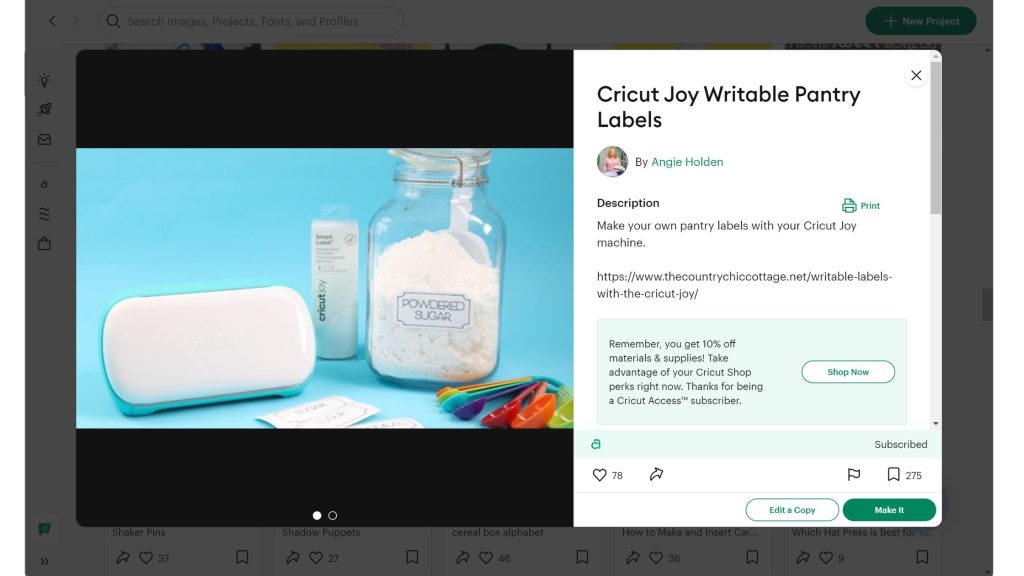
Step 1: Upload File To Cricut Design Space
Pull up the Cricut Design Space file. You can click “Edit a Copy” to easily customize the labels.
Duplicate it as many times as needed and delete any pre-made ones that you do not require.
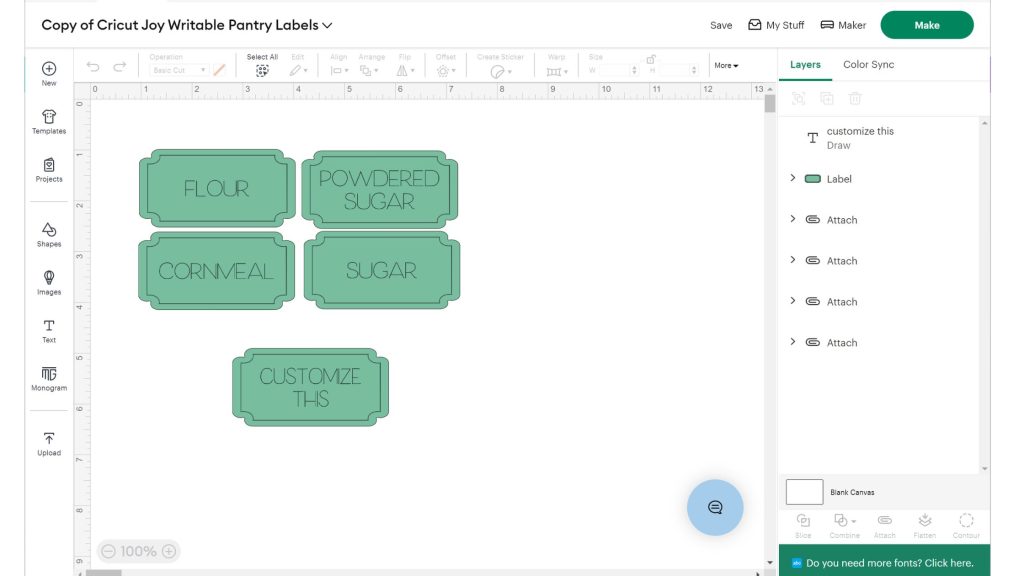
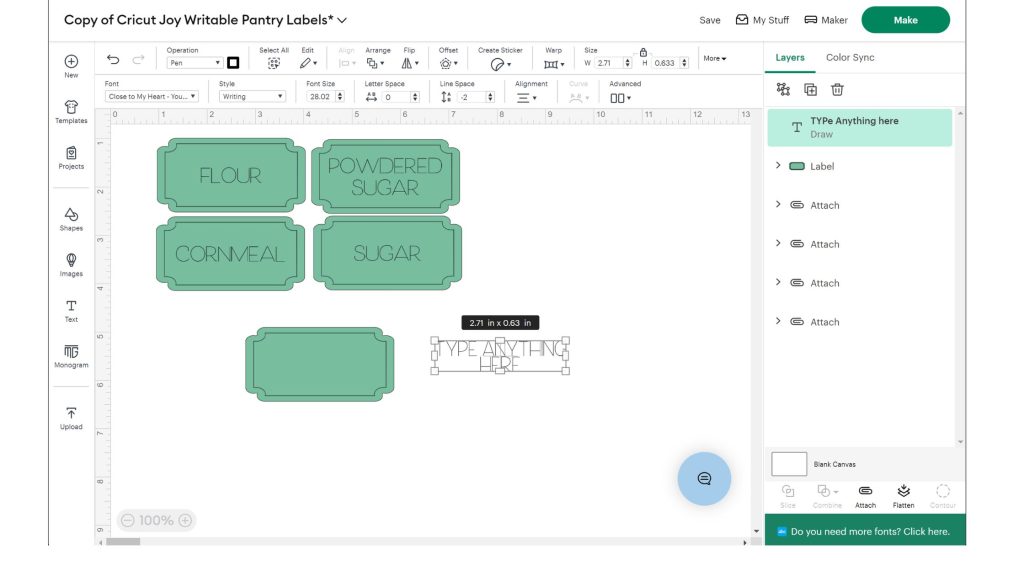
Step 2: Customize Text On Labels
Change the text of the labels to anything that you want. You may find it easier to move the text to the side to make changes.
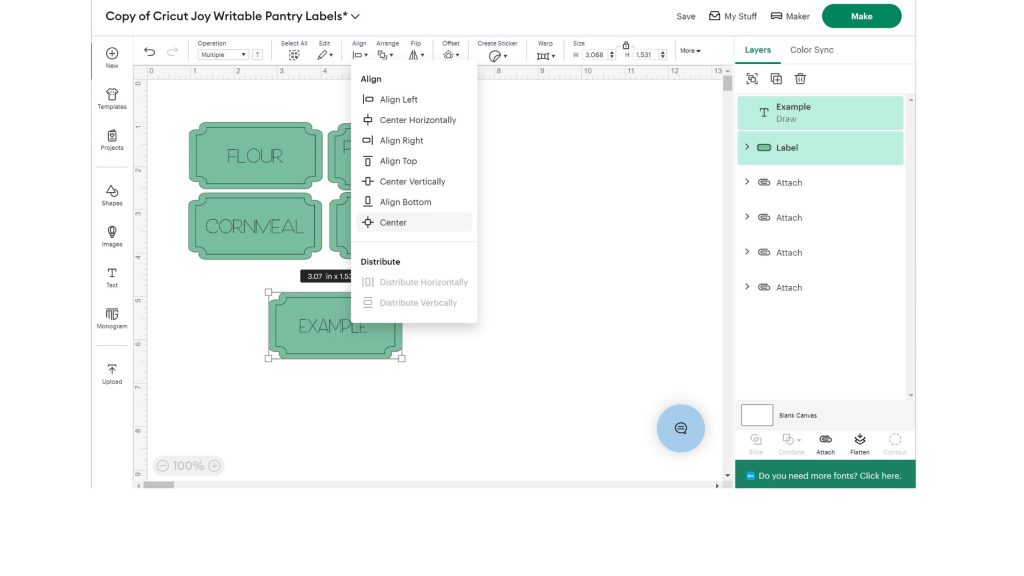
Step 3: Attach Text To Labels
Put the text over the label. Then, select both the text and the labels, click “Align,” and then “Center” to center the text both horizontally and vertically. You will also want to click “Attach” in the lower right-hand corner while both pieces are highlighted.
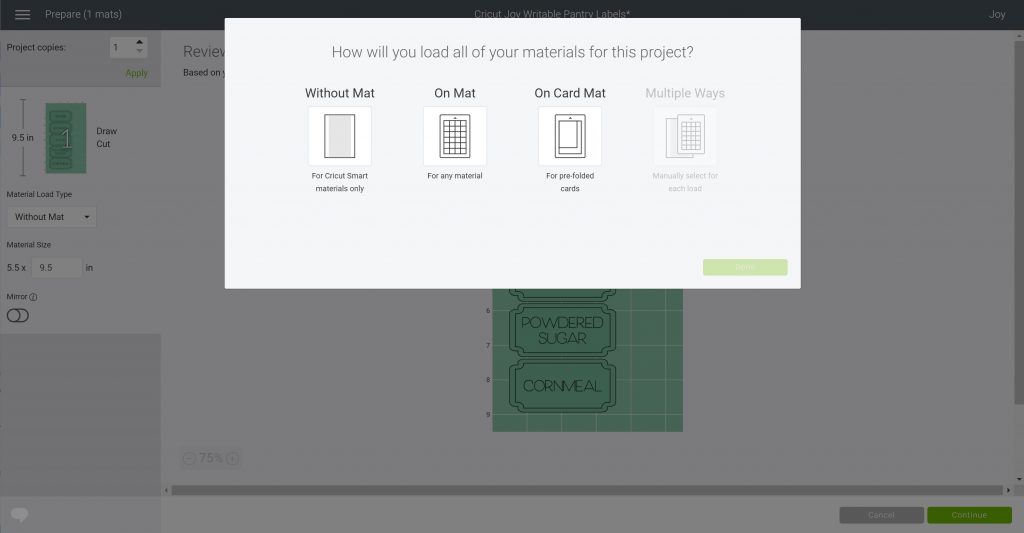
Step 4: Click Make
Then click “Make” to make the labels. You will need to choose the “No Mat” option before continuing.
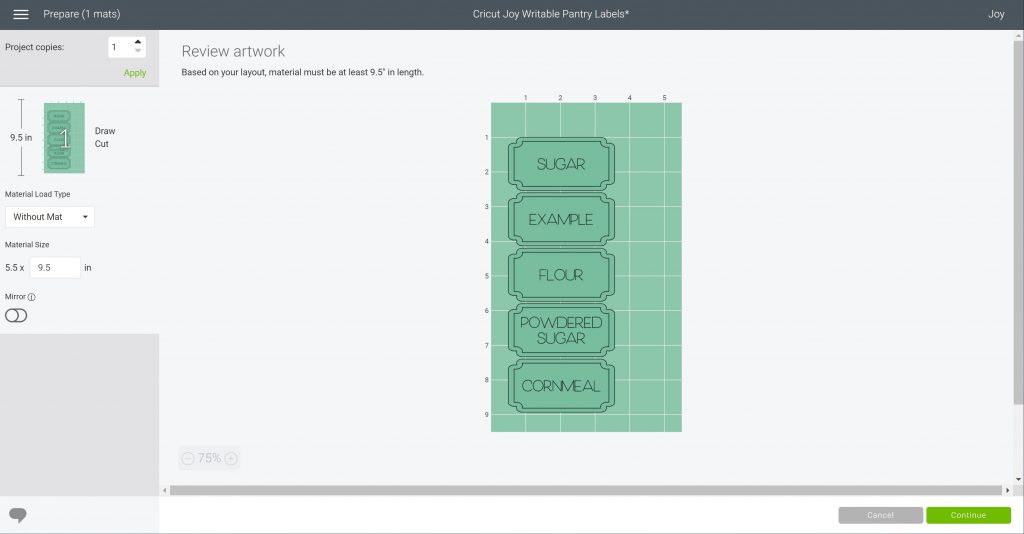
Step 5: Hide Selected
Then you have something that looks like the screen below. You can hide any objects from this screen that you forgot to delete in the first few steps of this tutorial. Do this by clicking the three dots and choosing “Hide Selected”.
Step 6: Load Pen Into Cricut Joy
Click continue and pick the SmartLabel material from the material list. The machine will then ask you to load the pen into the holder. Do this by unclamping, removing the blade, and dropping the pen into place. Remember that there is no need to push the pen down on the Cricut Joy. Just drop the pen and lock the clamp.
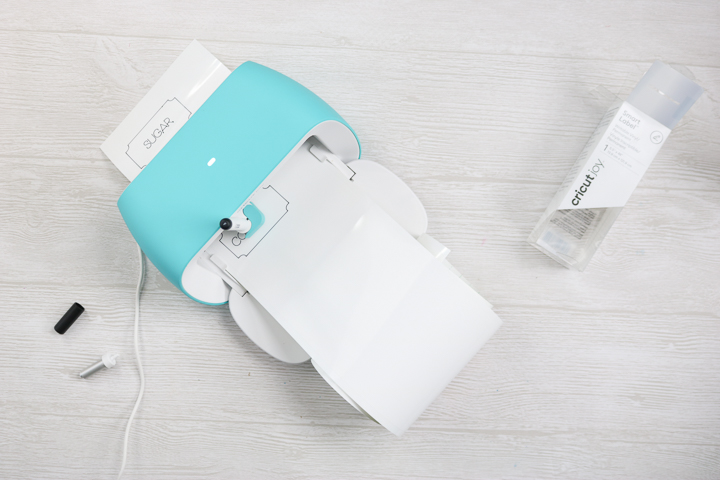
Step 7: Load Cricut SmartLabel Material
To load your material, put the SmartLabel material under the guides. The Cricut Joy will sense the material and automatically feed it in. Then, it will measure the material to ensure you have enough for your project.
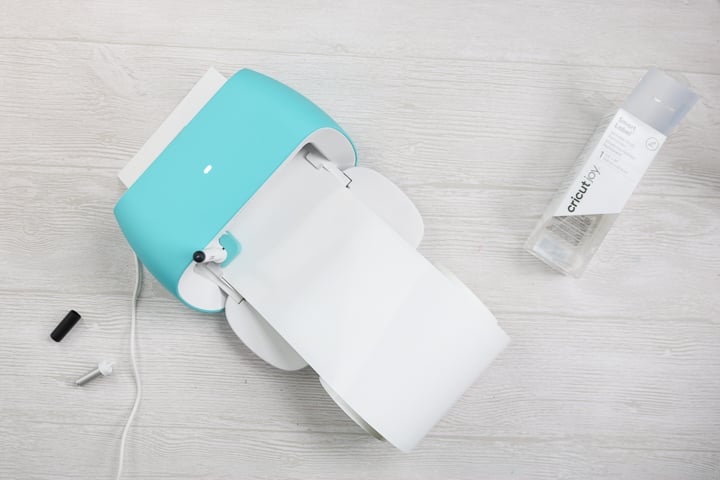
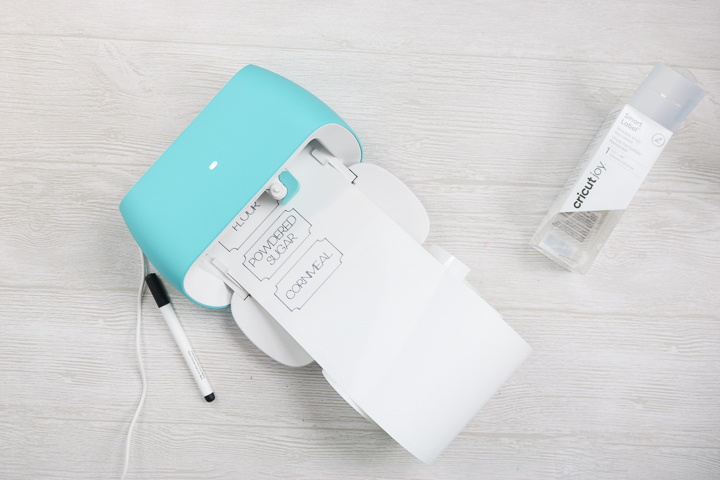
Step 8: Unload The Pen And Add Blade
The Joy will then write the labels with the pen. Cricut Design Space will then prompt you to unload the pen and add the blade to the machine, and the Joy will then cut your labels.
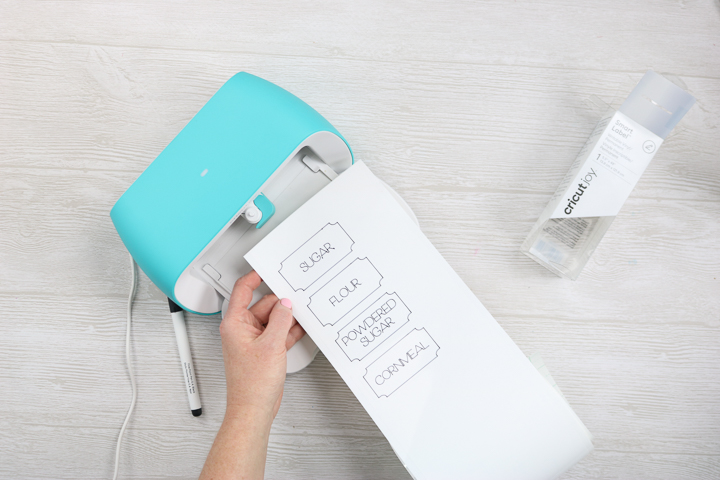
Step 9: Unload Labels From Cricut
Once cut, Cricut Design Space will prompt you to either unload your material or try again (which means to cut again). Once unloaded, your writable labels are ready to add to any surface.
The writing on the labels remains smudge-free even immediately after coming out of the machine. This is thanks to a special coating on the vinyl that allows the ink to cure properly. However, it’s important to note that these Cricut Joy labels are not waterproof; the writing may smear slightly when wet. Therefore, avoid using these labels in any location where they might come into contact with water.
How To Use The SmartLabel Material With The Cricut Explore And Cricut Maker
If you have a full-size Cricut model like the Explore or Maker, you can also use SmartLabel material to create home labels. SmartLabel Writable Vinyl is available in a larger size for your machine, so you're all set!
With the SmartLabel materials, you can use any Cricut machine to make these organization labels for your home.
Will you be making some writable labels with the Cricut Joy? I can't wait to see what you create! Be sure to join our Cricut Joy Facebook group to share your projects.
FAQs About Cricut Joy Labels
Here are answers to some of the most frequently asked questions I receive about creating Cricut Joy labels. If your question isn’t listed, feel free to drop it in the comments, and I’ll be happy to help!
I Want To Make Labels, But How Do You Know What Size To Make Them?
I measure my containers and decide how big I want them.
How Do I Make A Vertical Pantry Label With The Cricut Joy Smart Label Vinyl?
You would just turn the box vertically and do the writing the same way. You can make them literally any size or shape you want!
Can You Use Multiple Colors In The Label Design?
Yes! Just change the colors in Design Space, and the machine will prompt you to change pens.
Are The Labels Repositionable, And Do They Ruin The Items If Taken Off?
I have not tried them on enough surfaces to say it won't harm the surface. However, they can come off. It may leave some adhesive that can be removed with a product like Goo Gone.
Do You Have Any Tips on How to Prevent These from Smudging When Coming into Contact with Water?
Unfortunately, these are NOT waterproof.
12 More Crafts For National Craft Month
Did you love learning about how to make Cricut Joy labels, and are looking for more crafts for National Craft Month? Then check out the projects below!
- Cruise Shirt with Infusible Ink
- Two Ingredient Hand Sanitizer
- Enneagram Shirts
- Thinking of You Card
- DIY Sign
- DIY Notebook Tabs
- Travel Toiletries with a Cricut
- Disneyland Countdown Calendar
- Rainbow Baby Picture Frame
- Just Between Us Parent and Child Journal
- Easter Bunny Plate
- DIY Ruler Growth Chart


Thank you for all your You tubes but I am still having trouble with my Joy.. When I choose Smart Writable Vinyl it tells me that the pins are not recommended and there is no way that I can find how to over ride this. It is not clear how you do it. Please help.
Sharon
It is probably the pen you have picked. The colors/sizes are limited on Joy and it is looking for a specific one. Pick your writing and pull down the pen options. Choose a black pen and see if that helps.