
Today, we're going to talk about the wet vinyl application method for adhesive vinyl. Why would you use this method? How well does it work? Are there any issues with the vinyl after it has been applied? I answer those questions and many more in the post below. I will say that if you're looking to avoid bubbles when applying vinyl, you might want to try applying it when the surface is wet. It's an easy Cricut hack that you'll use again and again.

Wet Vinyl Application Video Tutorial
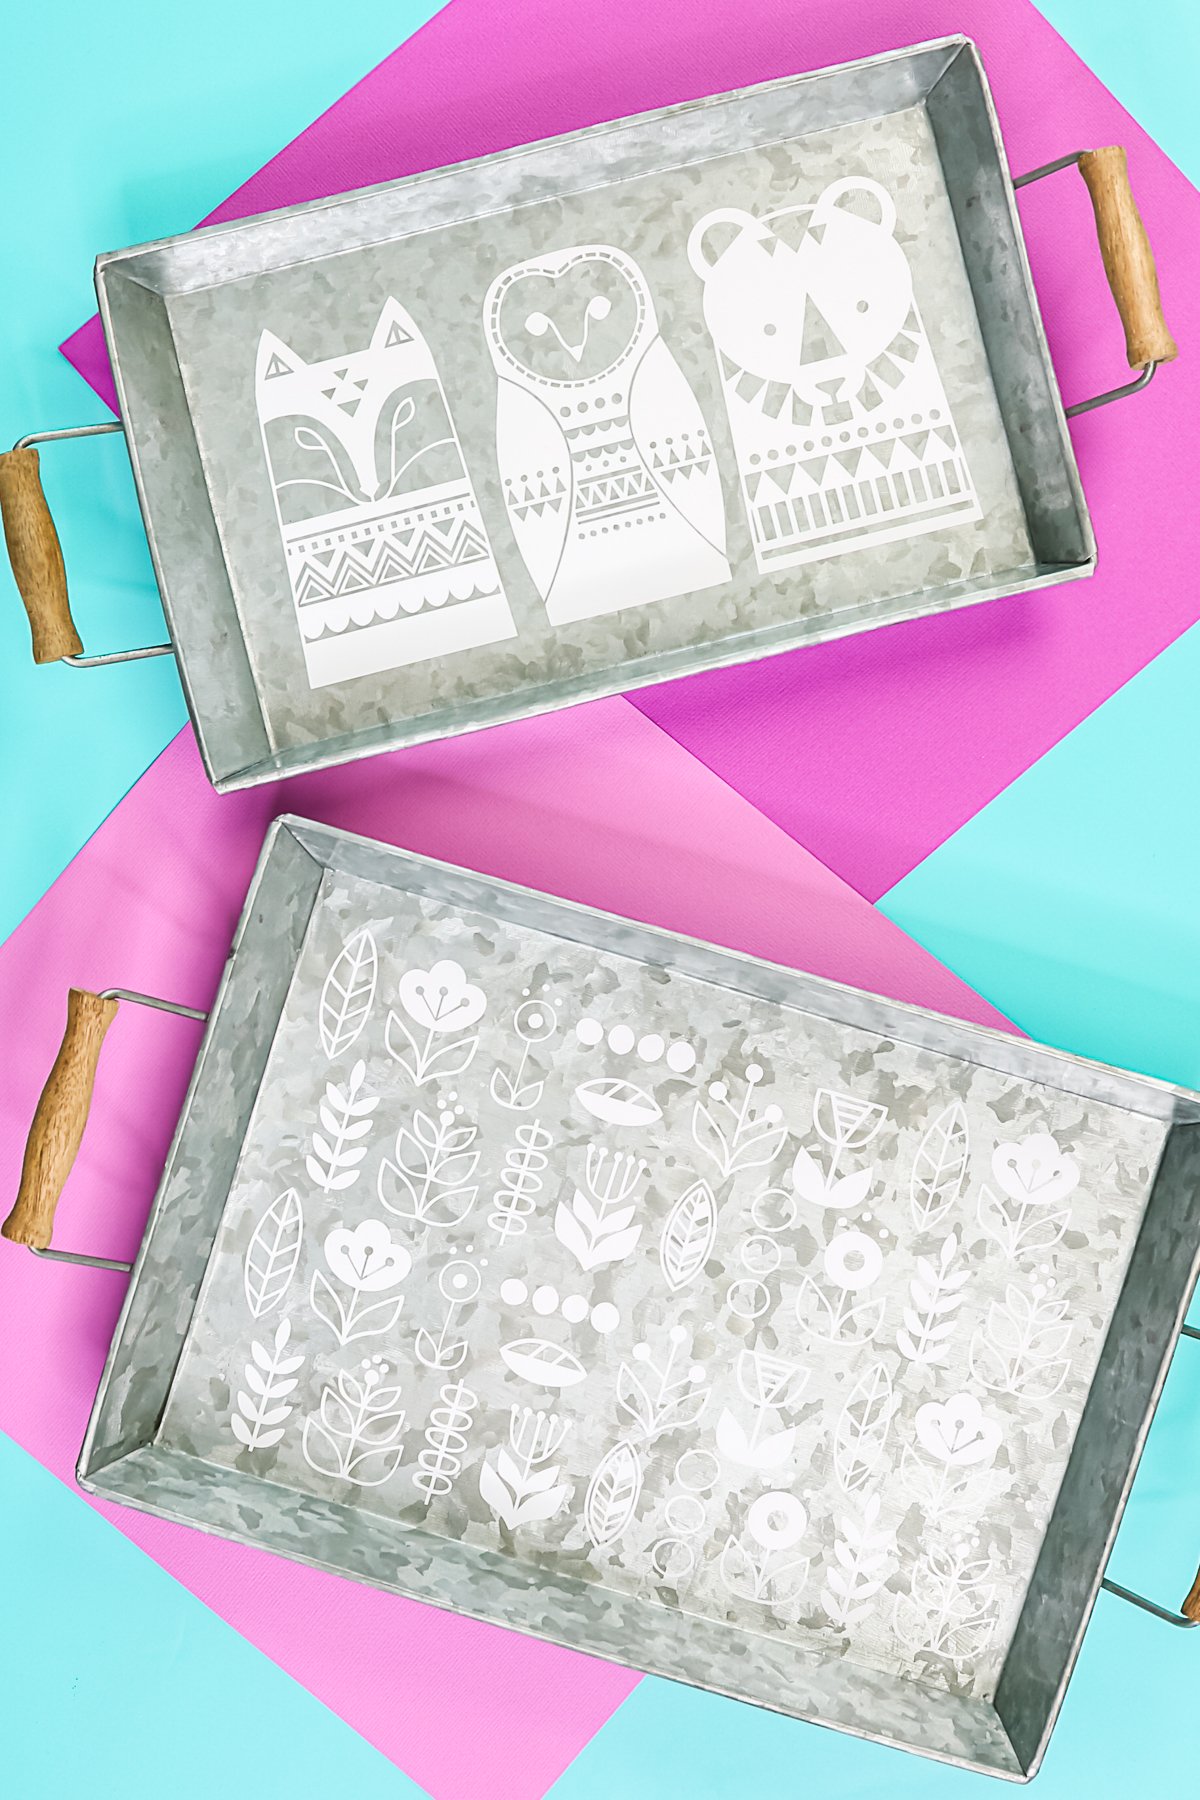
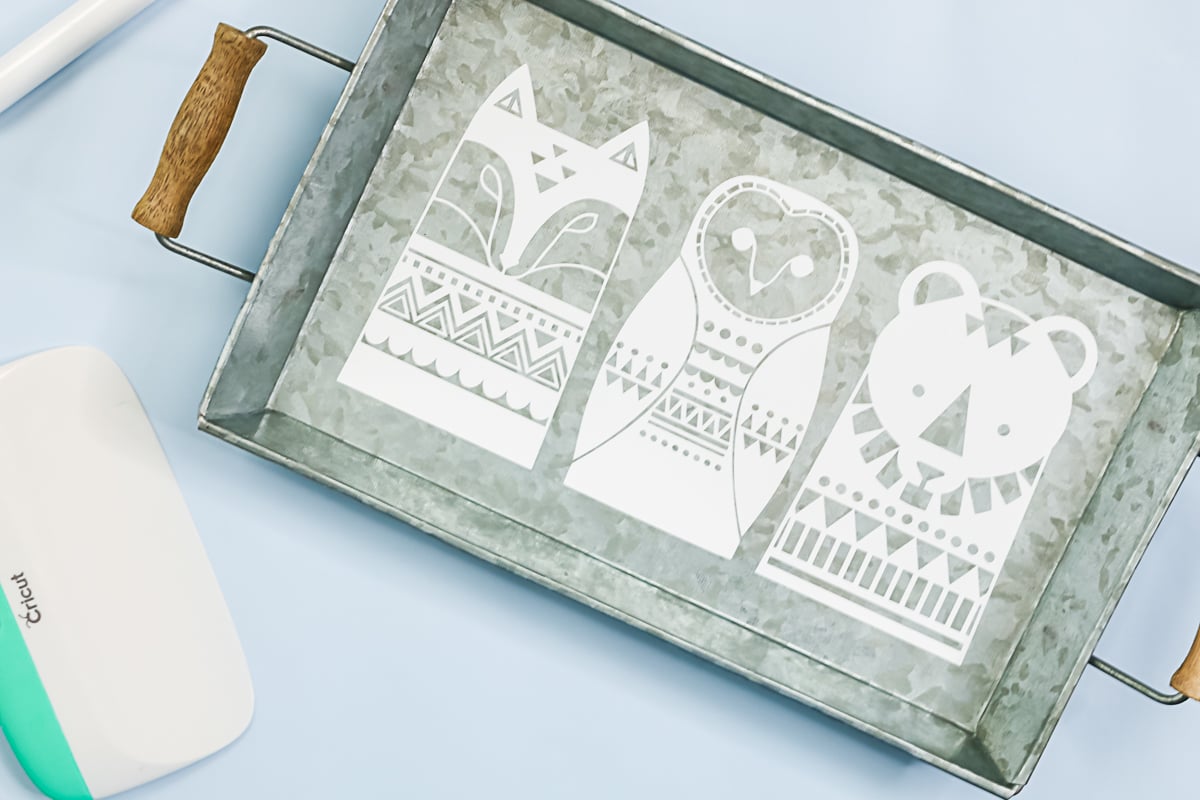
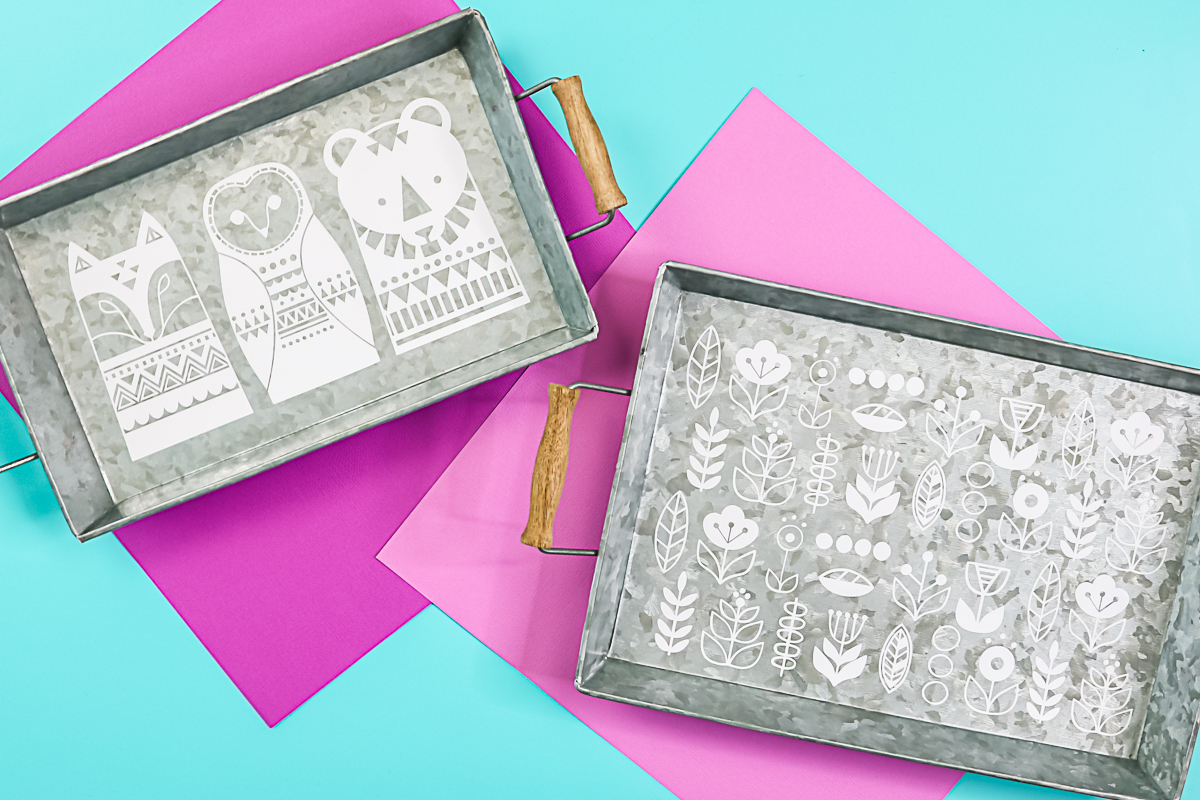
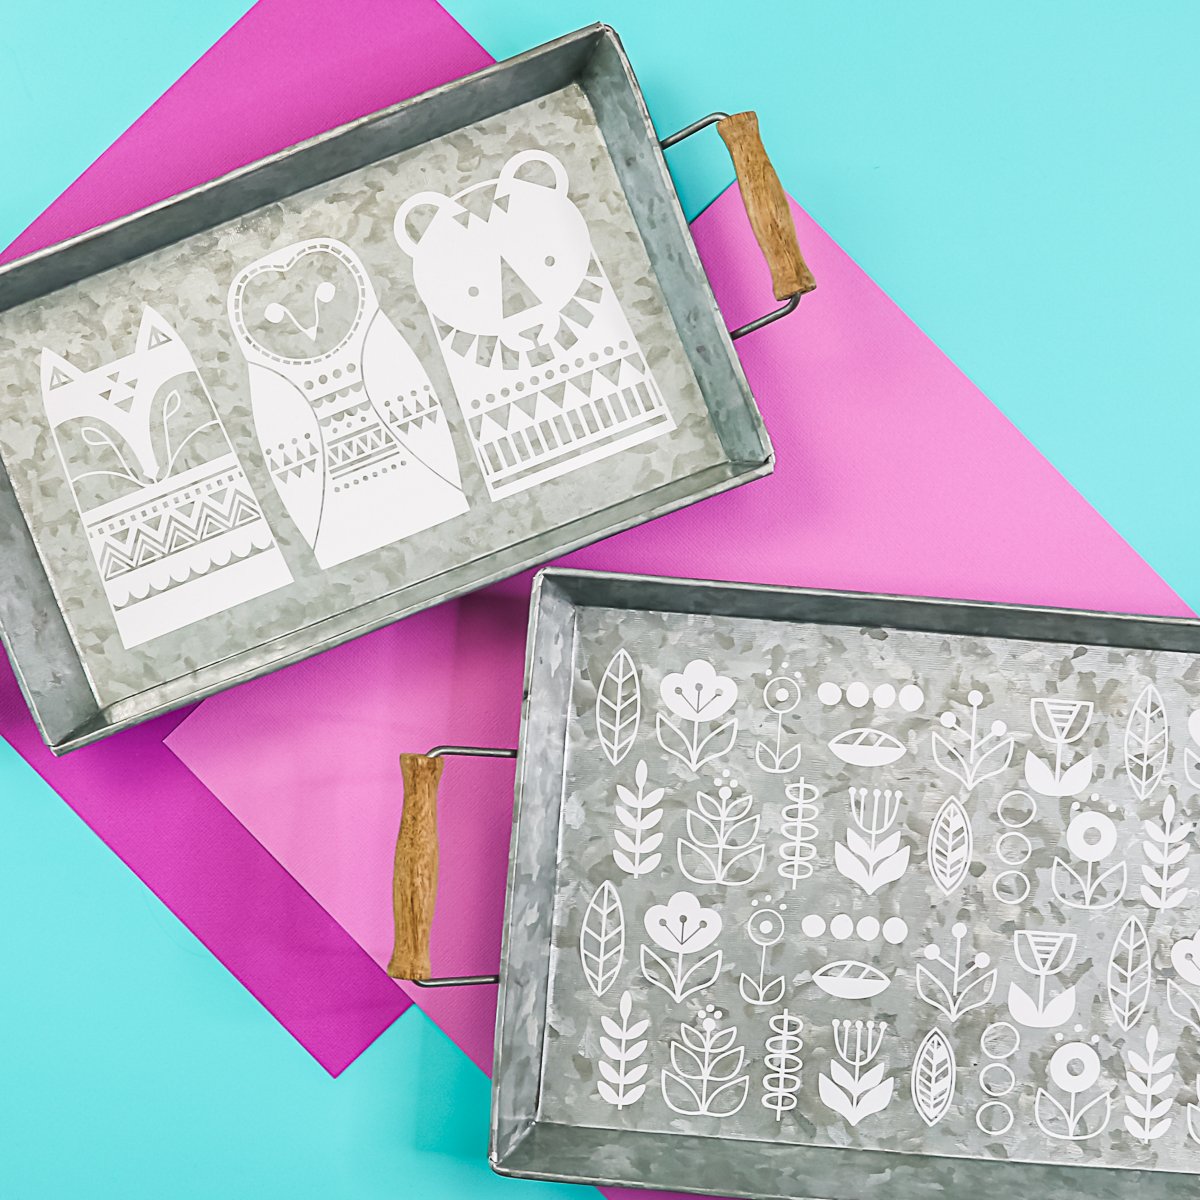
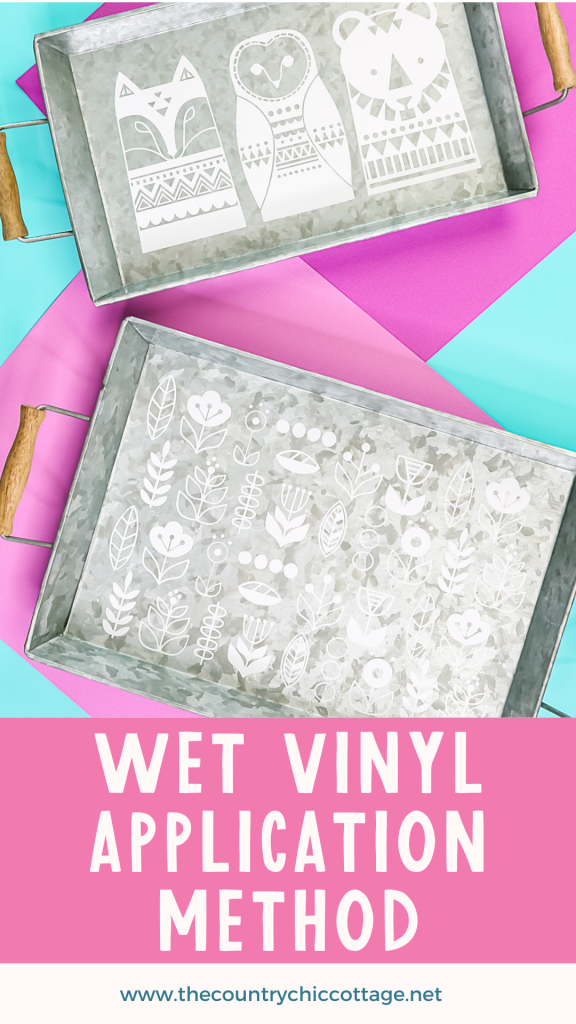
To make the wet vinyl application method easier to understand, I've created a video that you can view below. In the video, I demonstrate the wet vinyl application method on two galvanized metal trays. You'll love how easy this method is and how well it works for applying vinyl to non-porous surfaces.
If you can’t see the video or need additional instructions, please refer to the information below.
Wet Vinyl Application
This wet vinyl application technique will become your new best friend, and you'll wonder why you didn't try it sooner! So, if you are ready to try something new and get rid of those pesky air bubbles in the process, then keep reading!
Oh, and let's make some cute trays too!
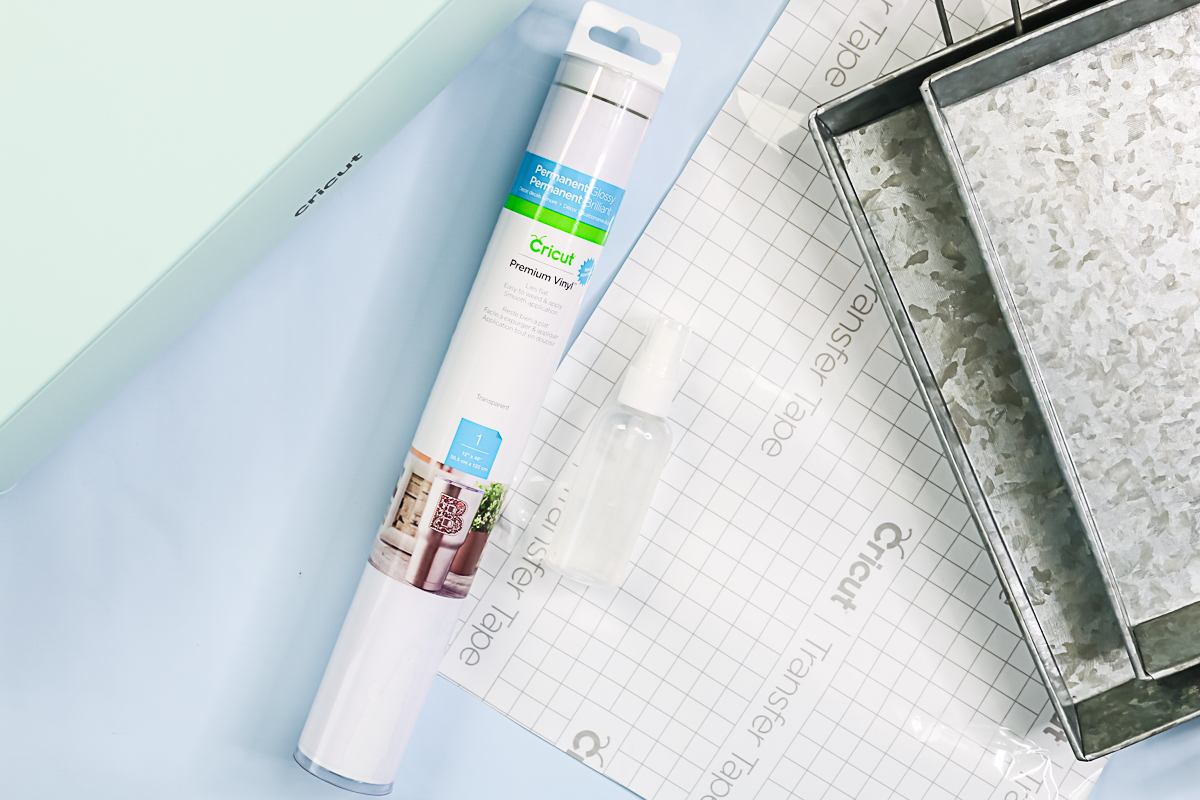
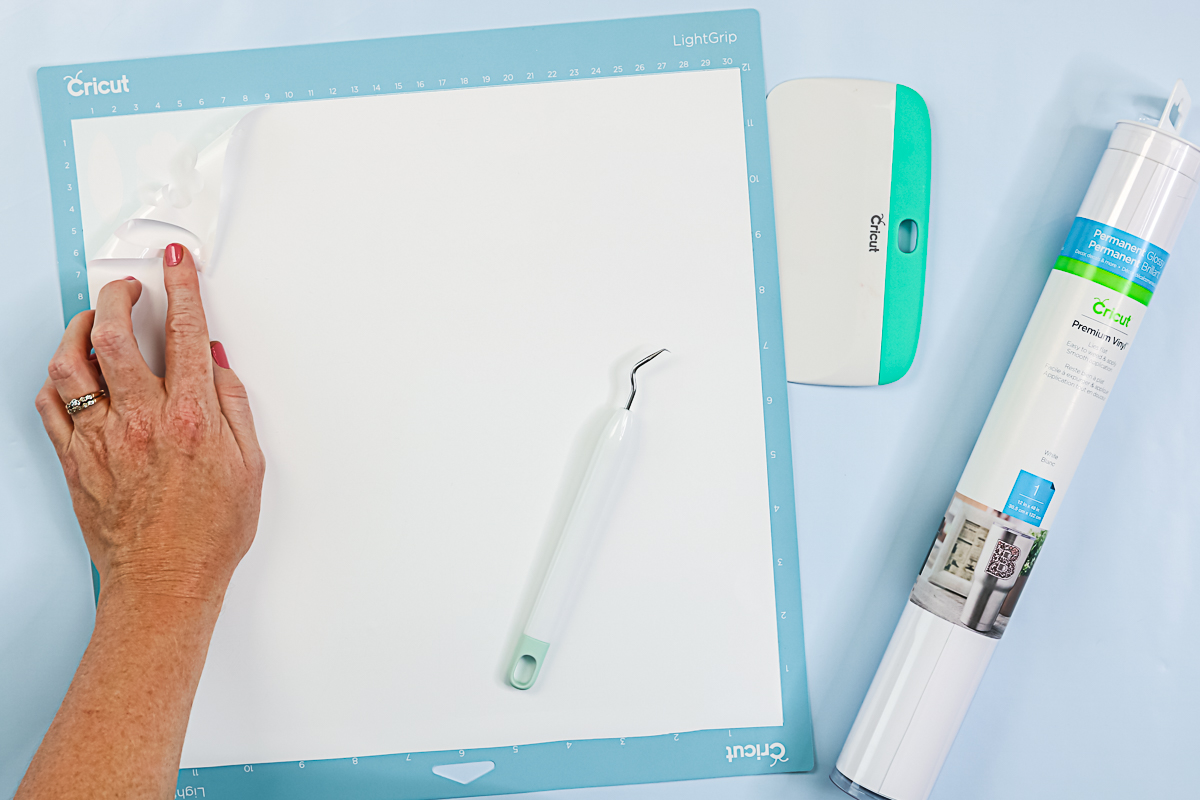
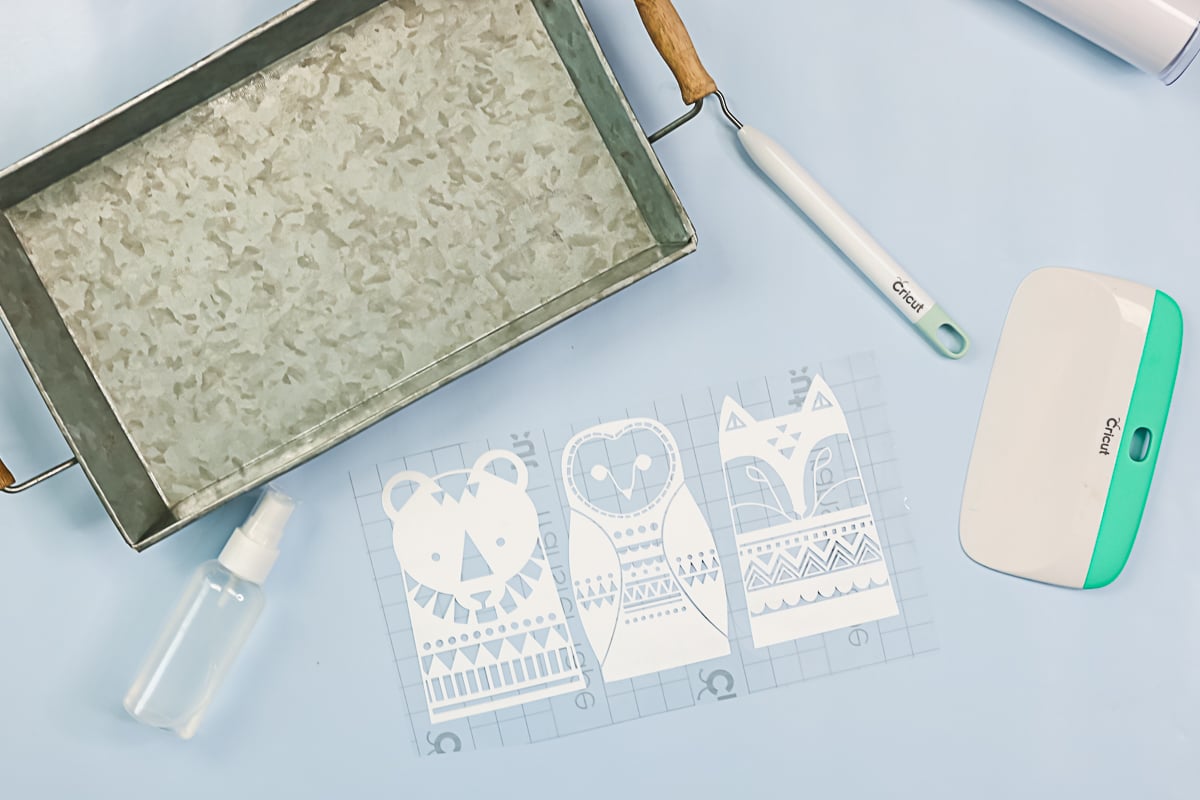
Supplies Needed For Wet Vinyl Application
- Cricut machine (any will work)
- Vinyl (I am using white permanent.)
- Transfer tape
- Blank (hard surfaces like metal, glass, and plastic) (You can find the trays I used here.)
- Water in a spray bottle with a drop of dishwashing liquid
- Weeding tools
- Scraper (I prefer the large scraper for this project.)
- Paper towels
- Design Space Project (must be logged in)
Why Use The Wet Vinyl Application Method?
So, why would you want to apply adhesive vinyl to a surface while it's wet? My favorite reason for using this technique is to eliminate those bubbles. If you've ever applied a large piece of adhesive vinyl to a non-porous surface, such as glass or, in this case, metal, you may notice that bubbles form underneath the flat surface. When you use water to apply your vinyl, it helps to push those air bubbles out and eliminate them from your final project.
The second reason I love the wet vinyl application method is that it allows you to float the vinyl on the surface and get it exactly in the right location before committing to actually sticking it down. You can also do this with the parchment paper hack, but this is another option.
Designs In Cricut Design Space
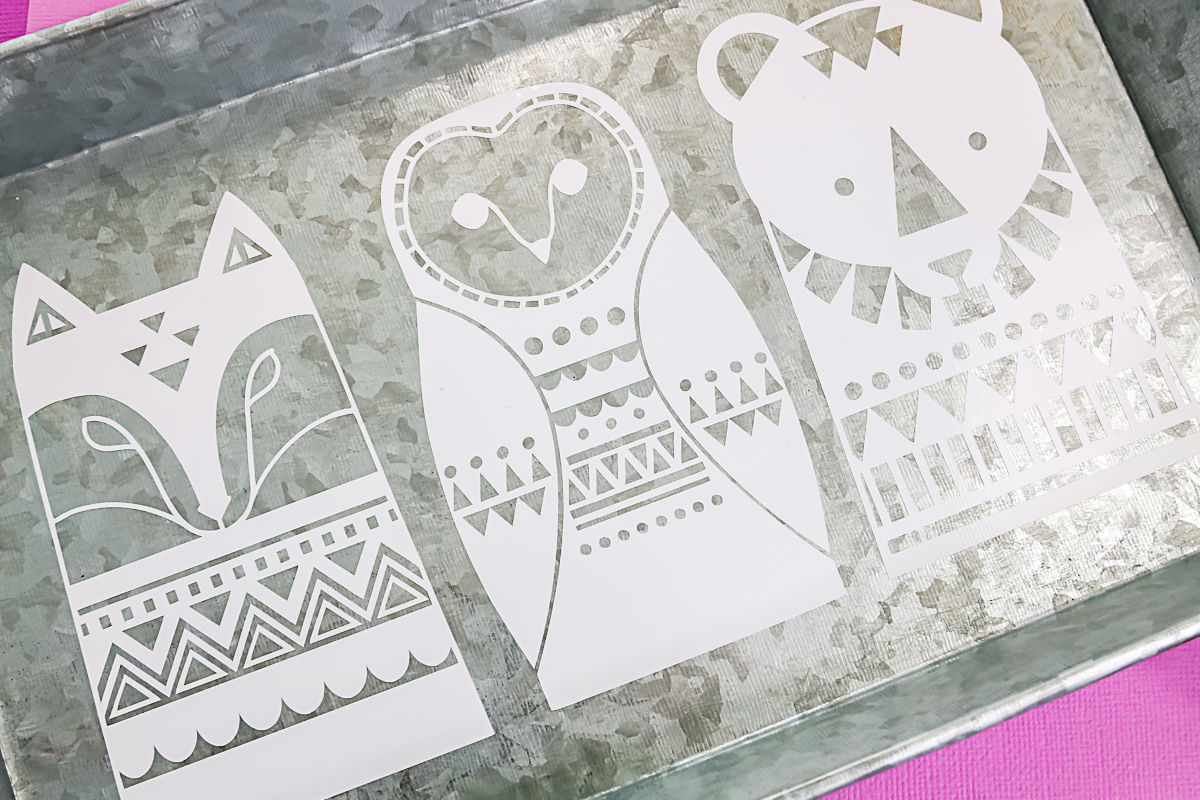
You can use any design you want with this technique. I've chosen a couple as examples. Both of these are single-layer designs, meaning I will cut them all out of the same color. You can do that, or you can use this with multiple colors. I'll discuss multiple colors and this technique at the end of this post.
For these two, I went ahead and measured the bottom of the tray. To do that, I used a sewing tape measure so that I could take into account the tapered sides. Then, I ensured that my designs would fit in the bottom of the tray and attached them together in Design Space.
For this project, I used images from my Design Space. You can visit my profile in Design Space to find this specific project, or you can search for other images in Cricut Design Space to discover options that fit your project ideas.
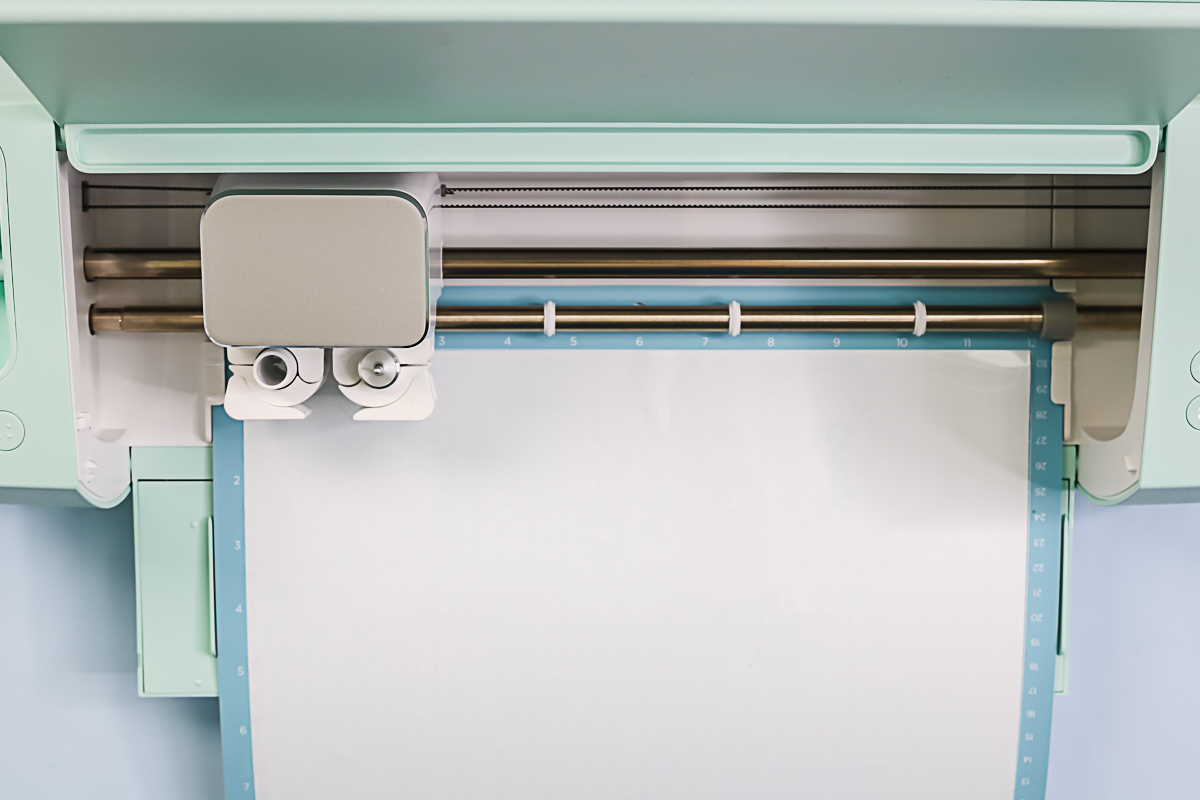
Cutting Your Viny
Add your vinyl face up onto a light grip mat. The grid side of the Cricut vinyl should be placed on the sticky part of the mat.
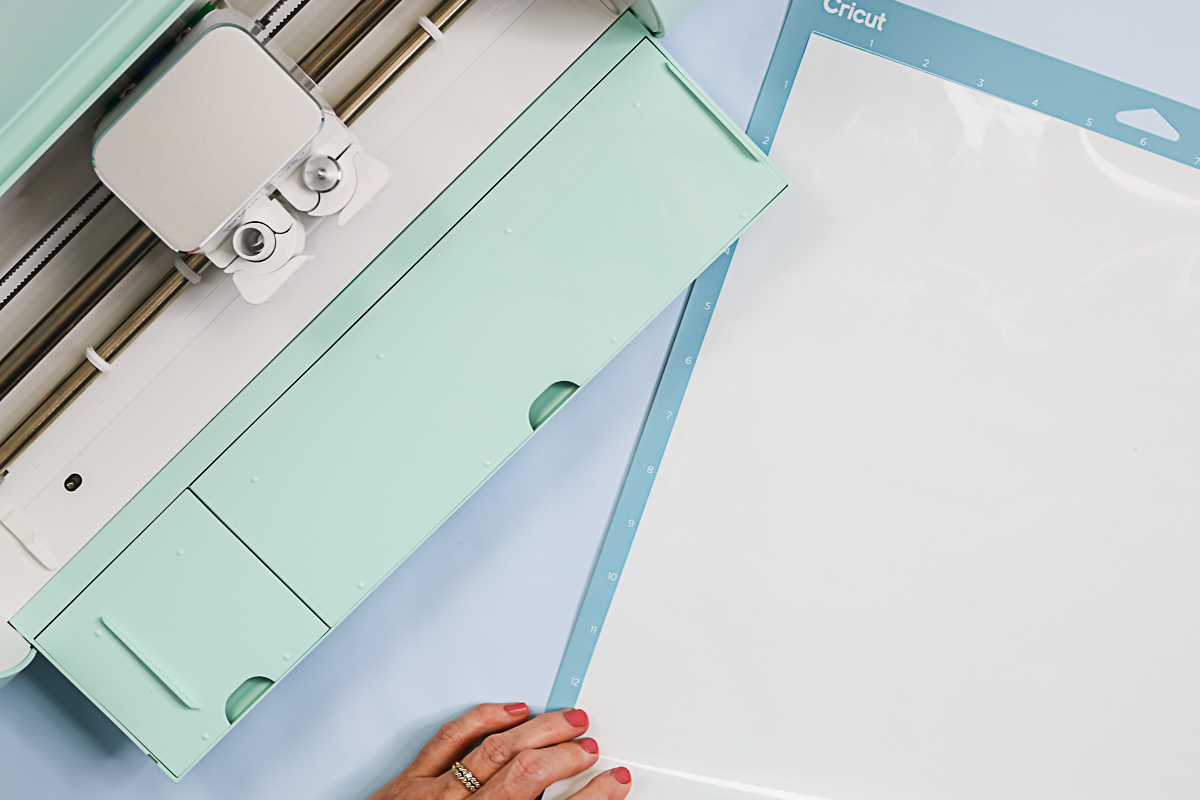
Vinyl cuts with a standard fine-point blade that comes with all models. Load your mat into your machine and press the “go” button to cut. Once your cut is complete, just press the flashing button to unload your mat.
Weeding Your Vinyl
I often leave my vinyl on the mat to weed it. To begin, I pull down from a corner and start peeling it away, removing all the excess material from the edges. Additionally, I remove anything else that I don't want in my finished design, such as the centers of the leaves.
Pro tip: Refer to the image in Design Space to see which bits should be removed.
Here are my two weeded pieces of vinyl. Now, I'll cut transfer tape to approximately the same size.
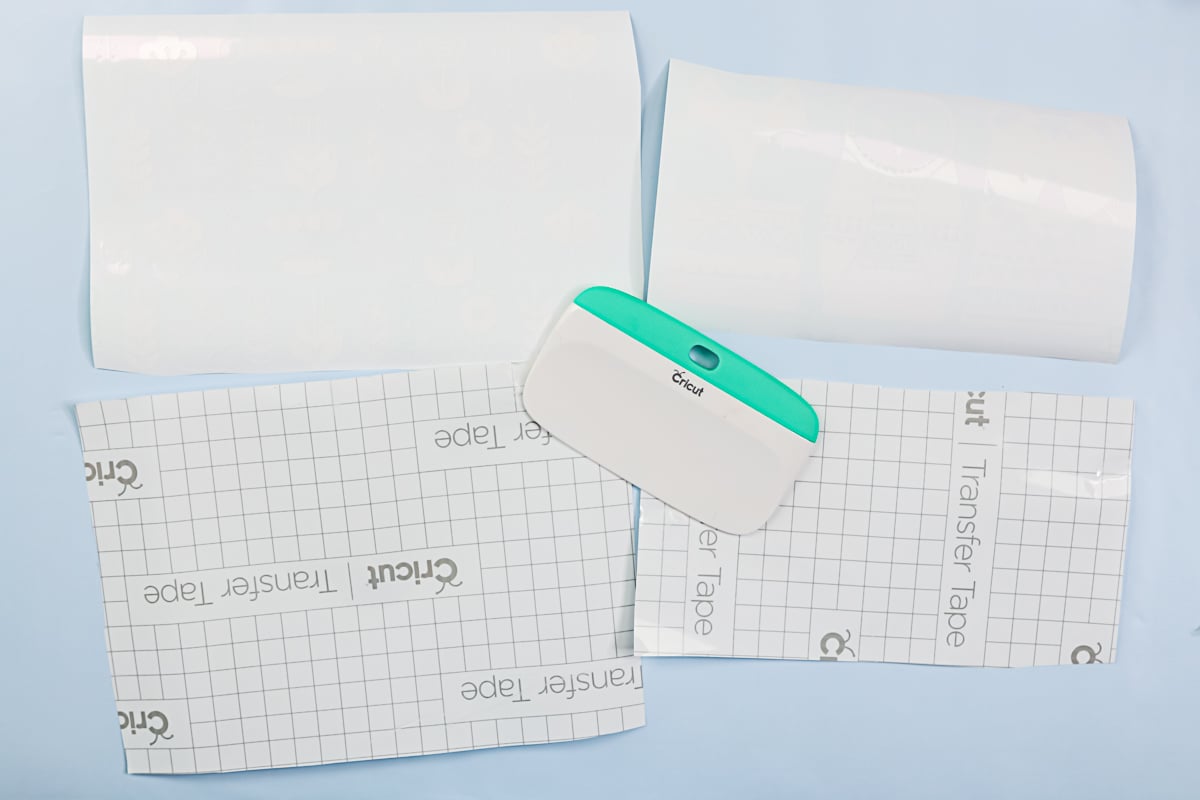
Applying Vinyl With Water
Apply the transfer tape to the vinyl and burnish it thoroughly. Then, flip that over and peel back the backing paper from the back, leaving just the vinyl on the transfer tape.
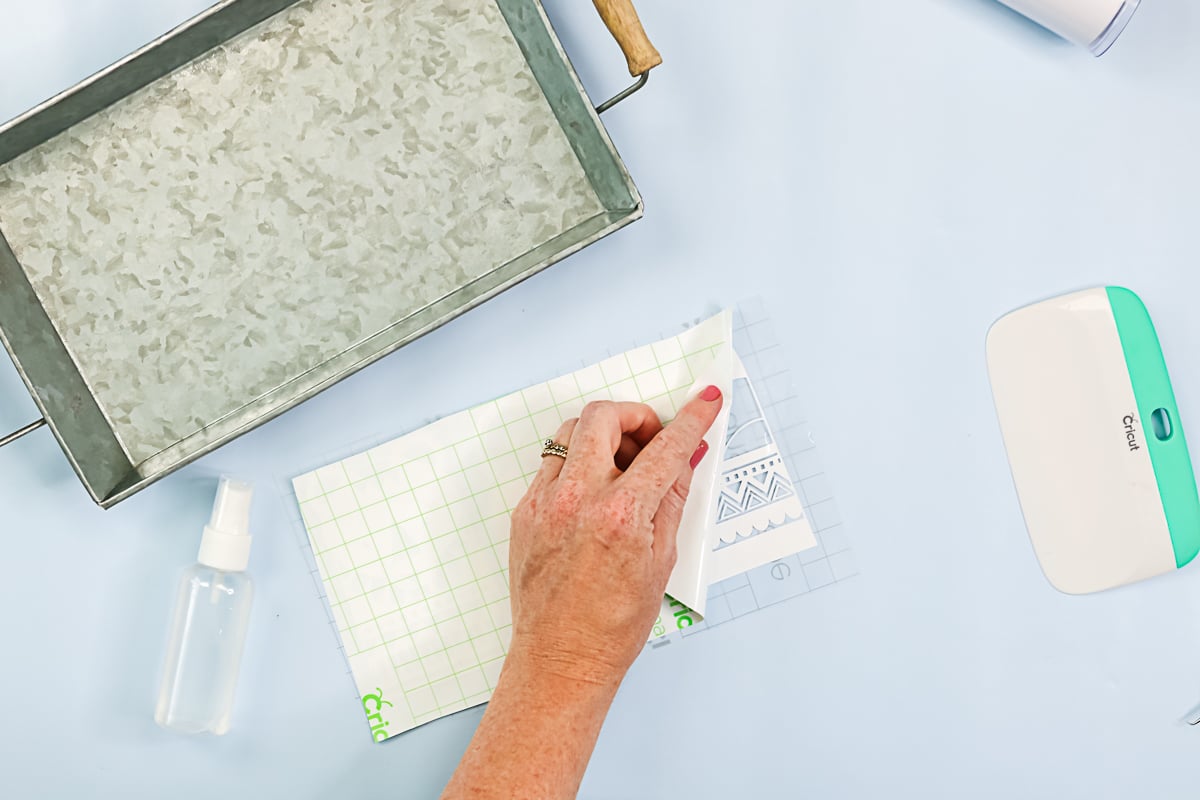
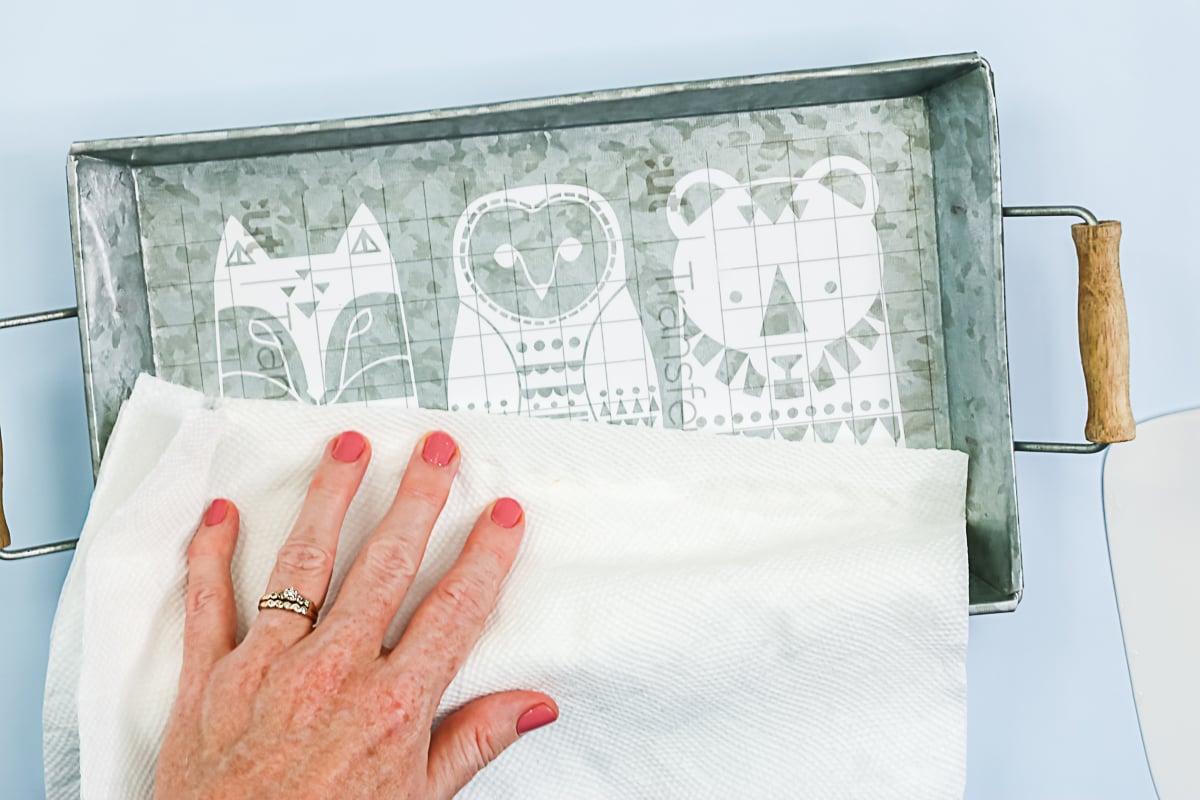
Spritz the surface with the water/soap mixture. It can just be barely damp. Mist the back of your vinyl as well to ensure everything is wet. Then turn it over onto project surface.
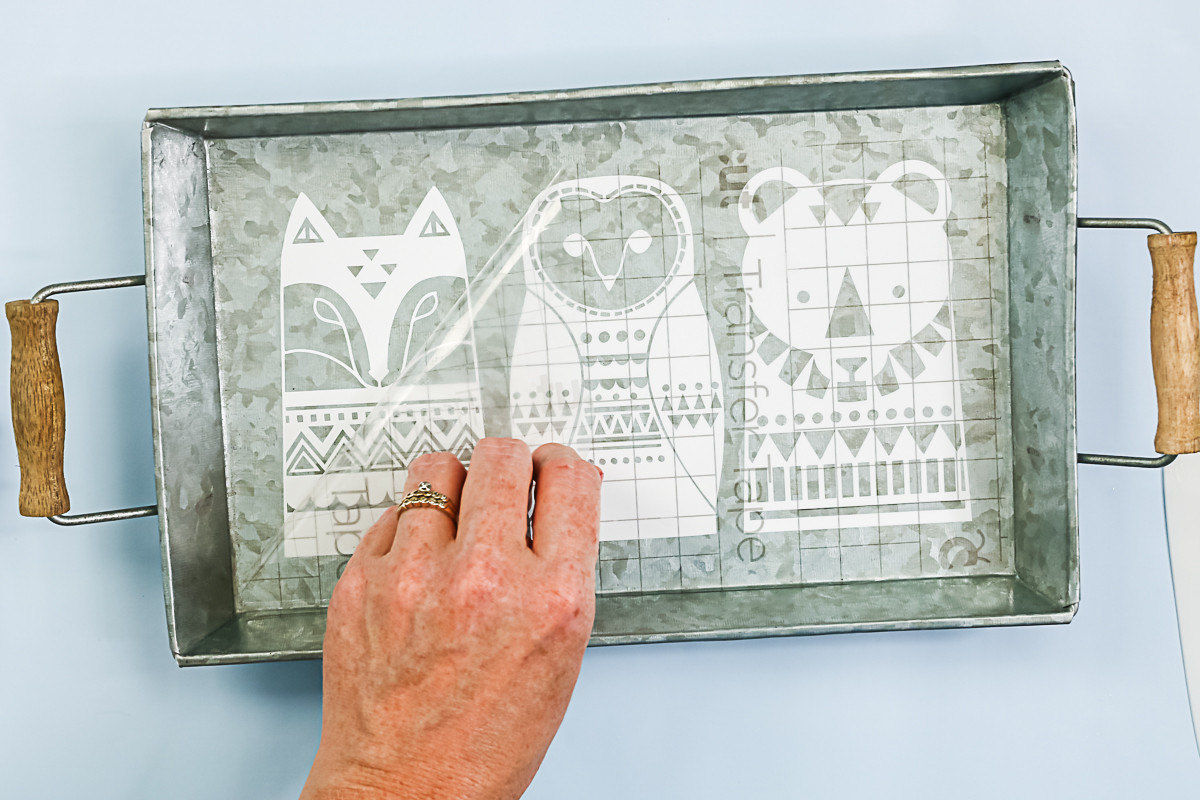
Since everything is wet, you have a few minutes to work with the vinyl and place it where you want. It won't adhere to the surface for several minutes. Start by positioning the vinyl in the desired location, then use a scraper to push out any water underneath it. Continue to push out the water and allow it to dry for about 60 seconds.
As you push the water out, use a paper towel to dry the surface. Repeat this process for a few minutes until everything seems to be really dry.
Once you think you have everything pretty dry, go ahead and start trying to peel the transfer tape back. If the vinyl does not stick, the water is probably not completely removed. Just keep pushing more of that water out and drying until the vinyl is firmly adhered to your surface. Once it's stuck down, peel back the transfer tape, leaving the vinyl on your surface.
You may find some water in certain areas, and you can simply dry it up as you go along with a paper towel to remove any additional moisture that's on the surface.
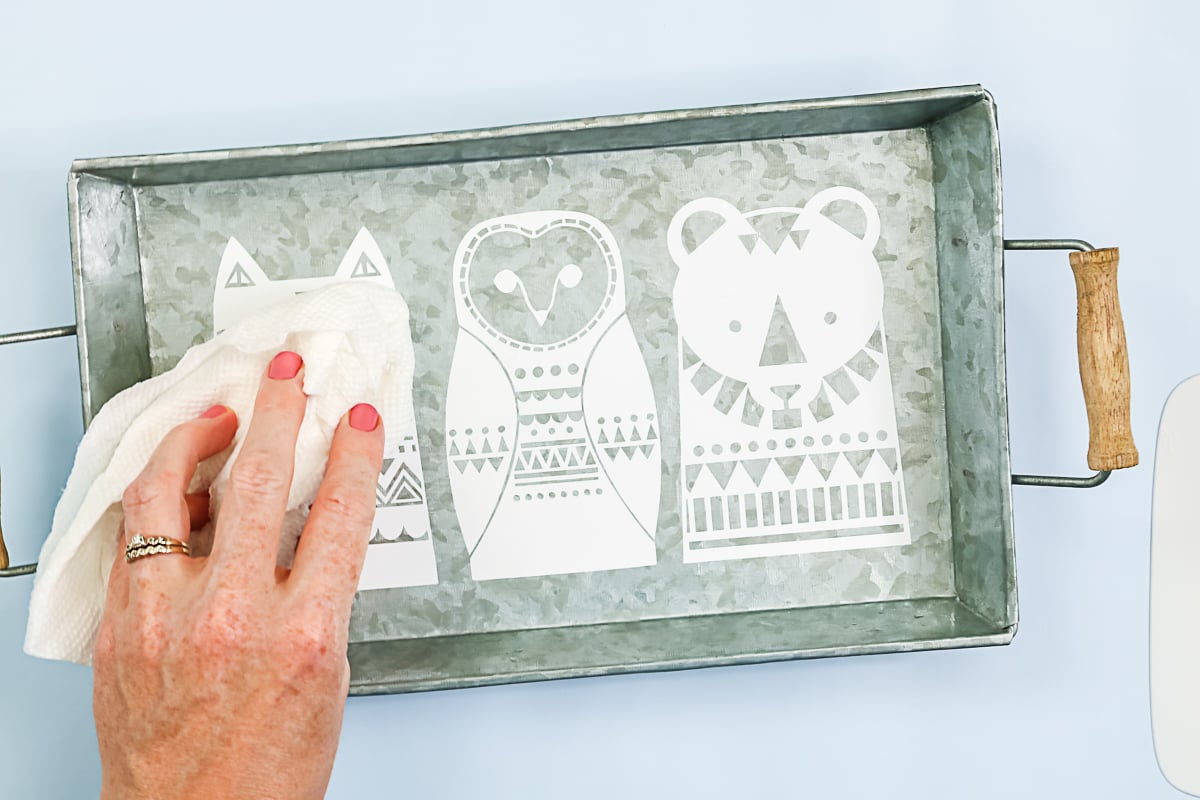
Burnish down your vinyl even more, just in case there's still some water underneath some of your pieces. Once everything is on there and dry, your project is ready.
FAQs About Wet Vinyl Application
Here are a few common questions that I often see readers asking about the wet vinyl application technique. If you have a question, please check if I’ve already addressed it below. If you don’t see your question listed, please leave it in the comments!
How Can You Apply More Than One Color?
You could do two colors in a similar method. You can apply one color using a wet vinyl application method and then add another color on top. Alternatively, you can layer your pieces on transfer tape and then apply them all at once with the wet vinyl application method. You could do it either way, but this method will definitely work for one, two, three, four, or however many colors you have in your project.
Will The Vinyl Last?
The second question I get all the time with this method is: Will my vinyl last as long? This application method actually originated from people who apply vinyl stickers to cars, as it helps remove bubbles when applying the vinyl to the vehicles. When I've used this method, I haven't noticed any deterioration in the lifespan of my vinyl on the project. I often receive comments suggesting that this method should not be used with Cricut vinyl. I haven't had any issues using it with Cricut permanent vinyl. That's in my experience. I would suggest trying it out if you'd like to. Try it on metal and glass to see how it works for you.
Do I Need To Seal My Vinyl?
I do not seal over the top of my permanent vinyl. I find it lasts a long time on the surface, just with the adhesive on the vinyl. A word of caution: allow this project to dry for at least 72 hours before use, as it takes that long for the adhesive to bond with the surface. That's the case whether you use the wet vinyl application method or not. Vinyl needs time for the adhesive to cure before you use your project.
Can Wet Vinyl Application Be Used On Wood?
The only thing about wood is that it will absorb water. Therefore, I would only use this technique with a smooth, painted wood. Additionally, ensure the painted wood is completely cured before attempting this wet vinyl application method.
Can Wet Vinyl Application Be Used On Rounded Surfaces?
Yes, it can! You would use the same method I showed above, but on a rounded surface (such as a mug, tumbler, etc.).
Now that you have seen how to use the wet vinyl application method to eliminate bubbles and position your vinyl correctly, will you try this technique on your project? Be sure to try it on glass, metal, and more.
I love using water to apply vinyl, which helps me achieve a smooth finish. This is quite possibly one of my favorite techniques for Cricut crafts.
So, give the wet vinyl application method a try the next time you have a Cricut vinyl project. I think you will love the results!
5 More Cricut Resources
Did you love learning about wet vinyl application, and want more Cricut resources? Then check out the links below!
- My 10 Best HTV Tips and Tricks
- Choosing the Best Protective Sheet for Your Heat Transfer Project
- How to Clean Cricut Mats
- The Complete Cricut Dictionary: Cricut Lingo and Terms You Need To Know For Crafting Success!
- 10 Cricut Hacks That You Need Now


Thanks Angie! This is a great tip that I am definitely going to try.