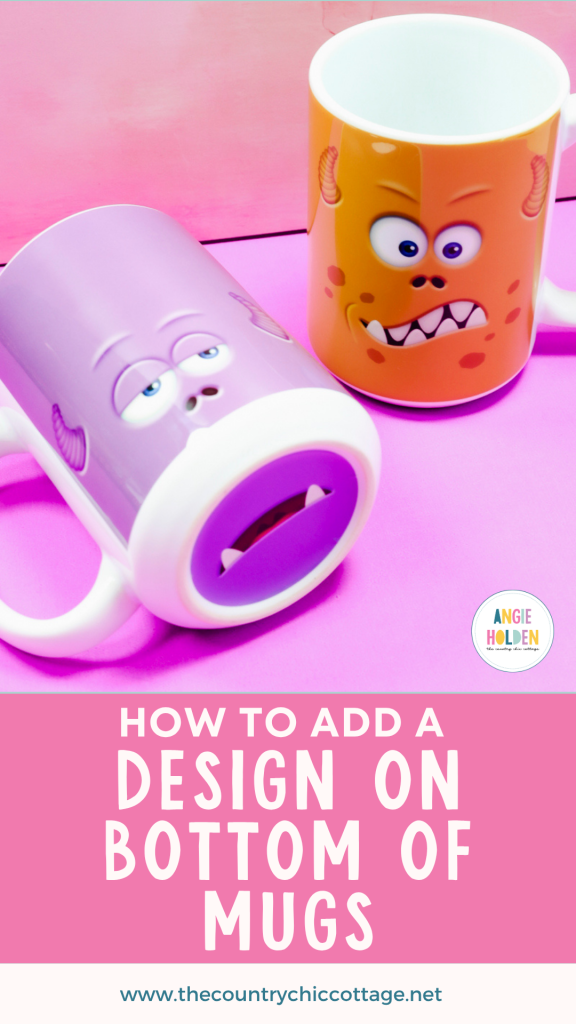
If you've ever wanted to add a design to the bottom of mugs, you're going to love this project. I'm going to show you how to add a UV DTF sticker to the bottom of a sublimation mug to create a fun project guaranteed to bring smiles.
This project combines sublimation and UV DTF. This is the best combination I've found for adding designs to the bottom of mugs in a way that will last over time.
Make sure you read the entire tutorial because there are a lot of tips you'll want to follow to get the correct results.
You can also watch me make these mugs from start to finish by pressing play on the video below.
How to Make Mugs with Designs on the Bottom
For this project, I am using designs I found on Etsy. I will link to those below so you can make these same mugs. You can use this tutorial to add any designs to the bottom of a mug, including a logo, washing instructions, etc.
Can I Sublimate the Bottom of a Mug?
You may be wondering why I don't just sublimate the design on the bottom of the mug. The reason I am using a UV DTF sticker instead of sublimating the design on the bottom of the mug is that sublimation coating isn't intentionally added to the bottom of the mugs.
When the sublimation coating is applied, the focus is on the side walls of the mug, not the bottom. This means your design may not transfer.
Another reason I think UV DTF stickers are a better choice is that the bottom of the mugs has a rim, making it difficult to achieve a tight fit so that the sublimation actually transfers.
If you decide to try adding a sublimation design to the bottom of a mug, be aware that just because it works once doesn't guarantee it will work again.
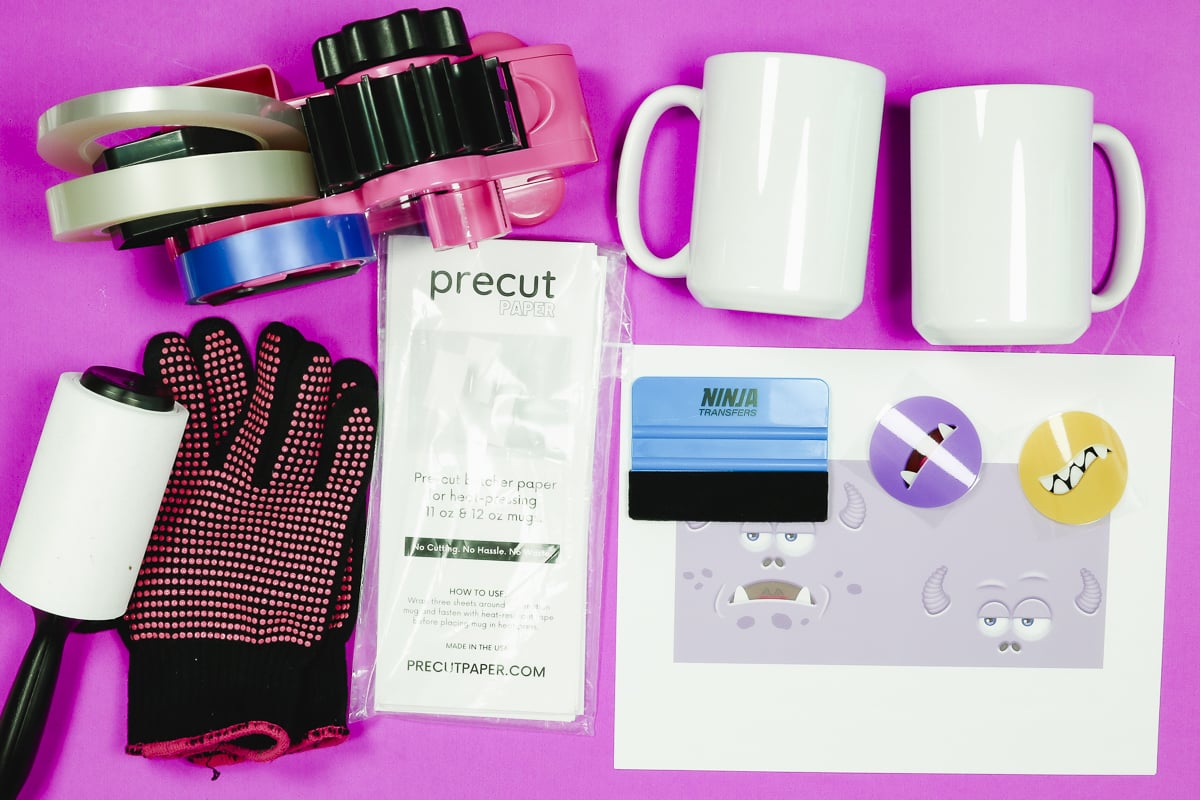
Supplies Used
Let's look at the supplies I am using today.
- Design Used
- Sublimation Mugs with White Bottoms
- UV DTF from Ninja Transfers
- Cricut Mug Press
- Heat-Resistant Mat
- Brother Sublimation Printer
- Sublimation Paper
- Lint Roller
- Heat-Resistant Tape
- Heat-Resistant Gloves
- Tape Dispenser
- Protective Paper
- Paper Dispenser
Step 1. Measure the Mug
The first thing we need to do is measure the mug. This will help us with ordering UV DTF stickers and sizing our sublimation prints.
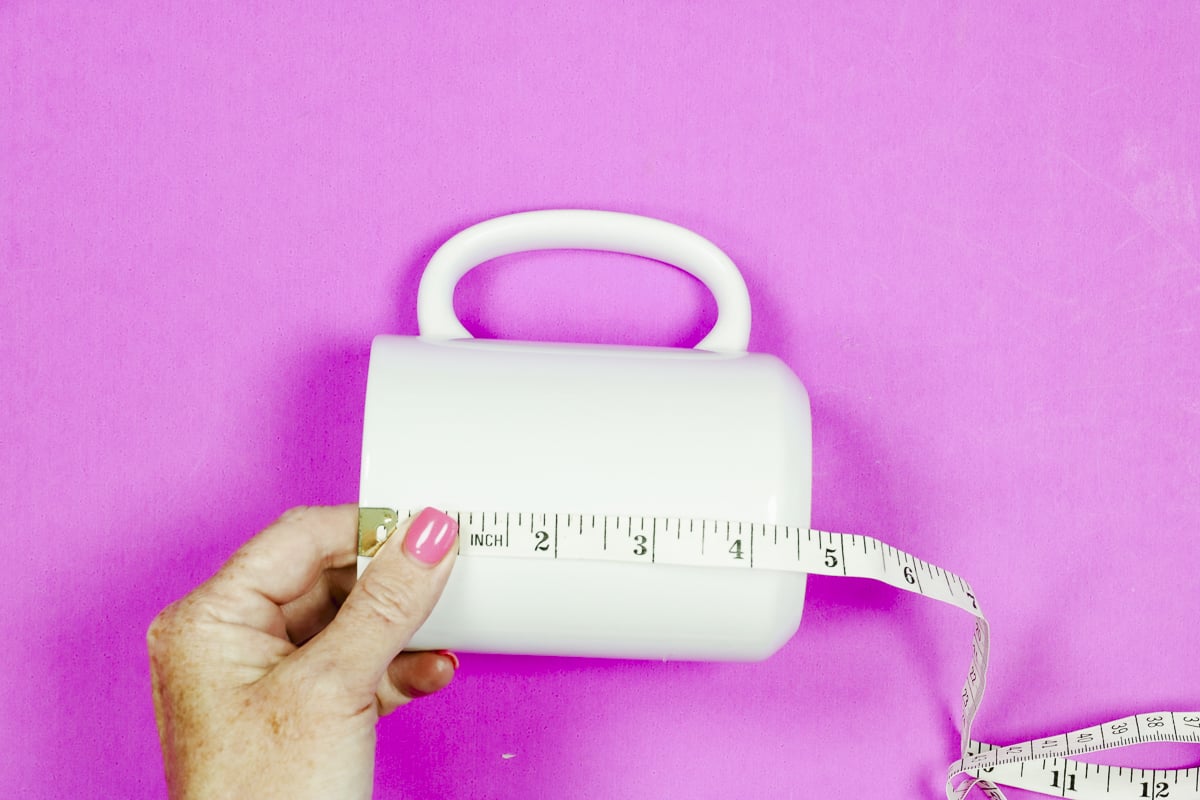
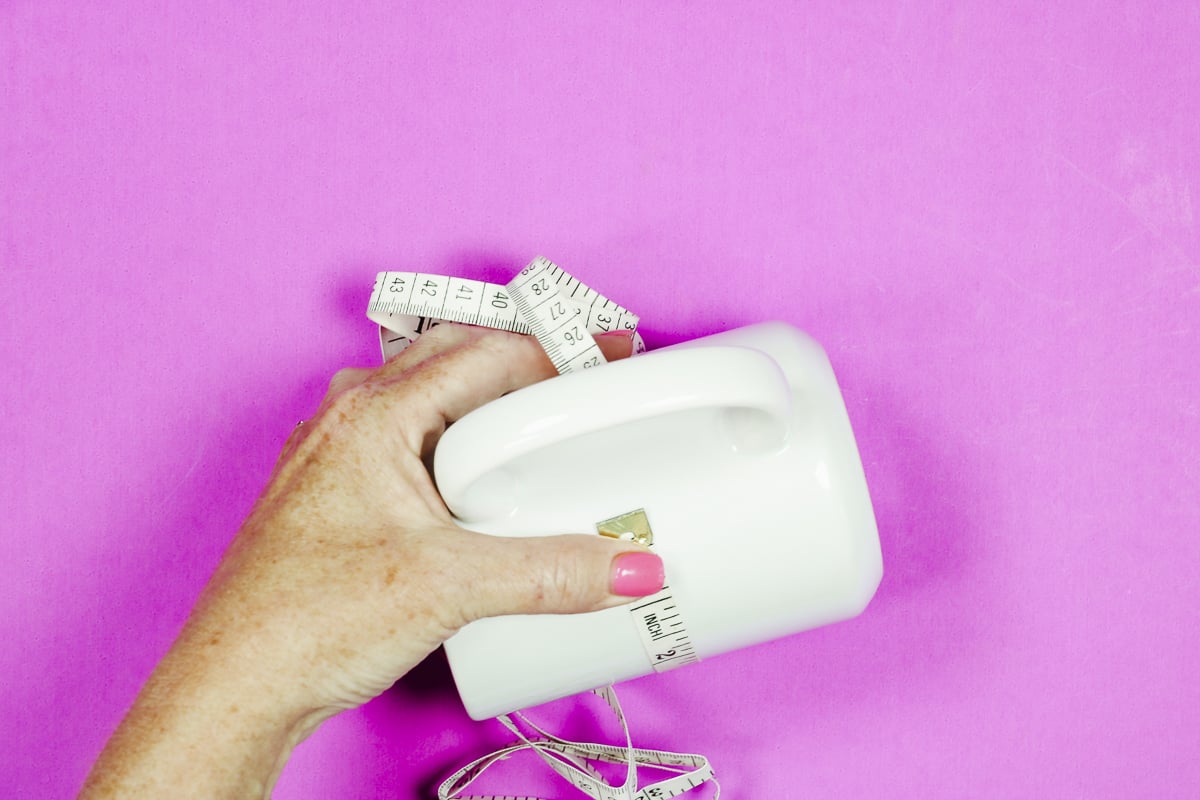
For the sublimation print, we need to measure from top to bottom and then all the way around the outside. Document both of those measurements.
Remember, if you are using a mug press, you'll need to stay about half an inch away from the handle on both sides.
For the UV DTF measure across the bottom inside the rim, if there is one.
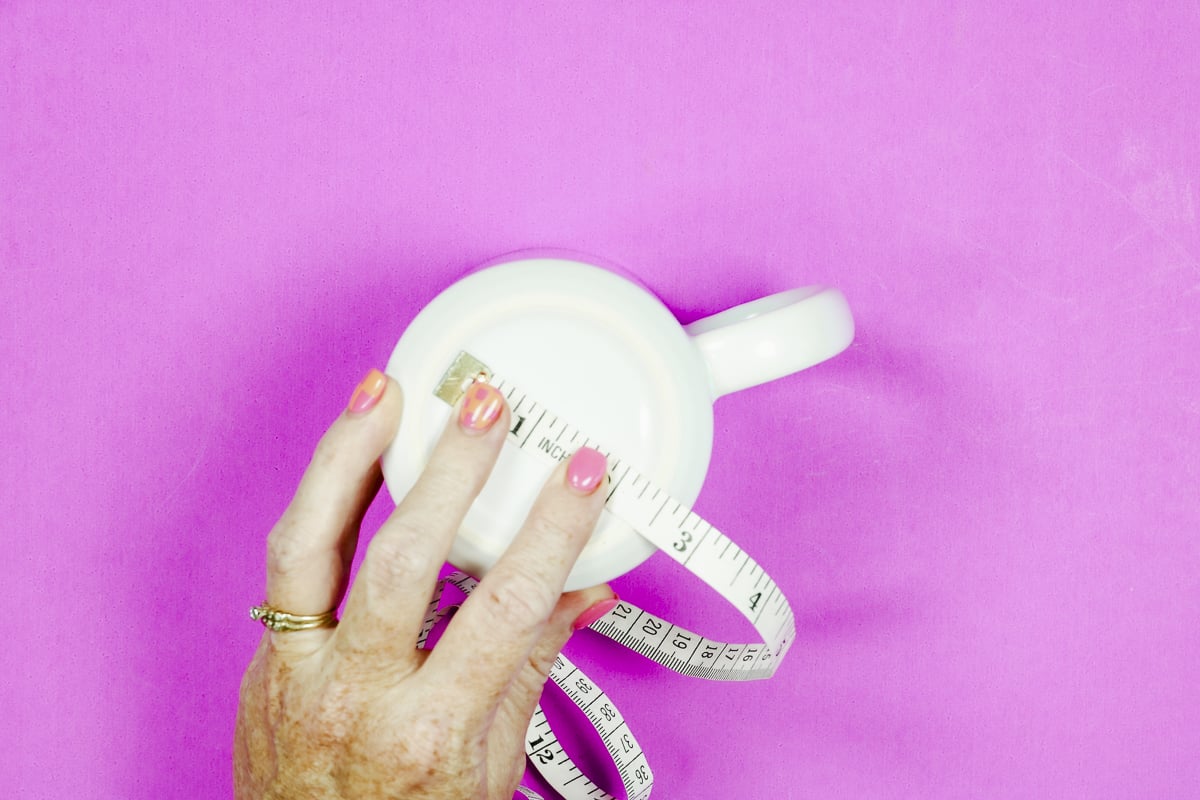
With these measurements, we're ready to order our stickers and create our sublimation prints.
Step 2. Order UV DTF Stickers
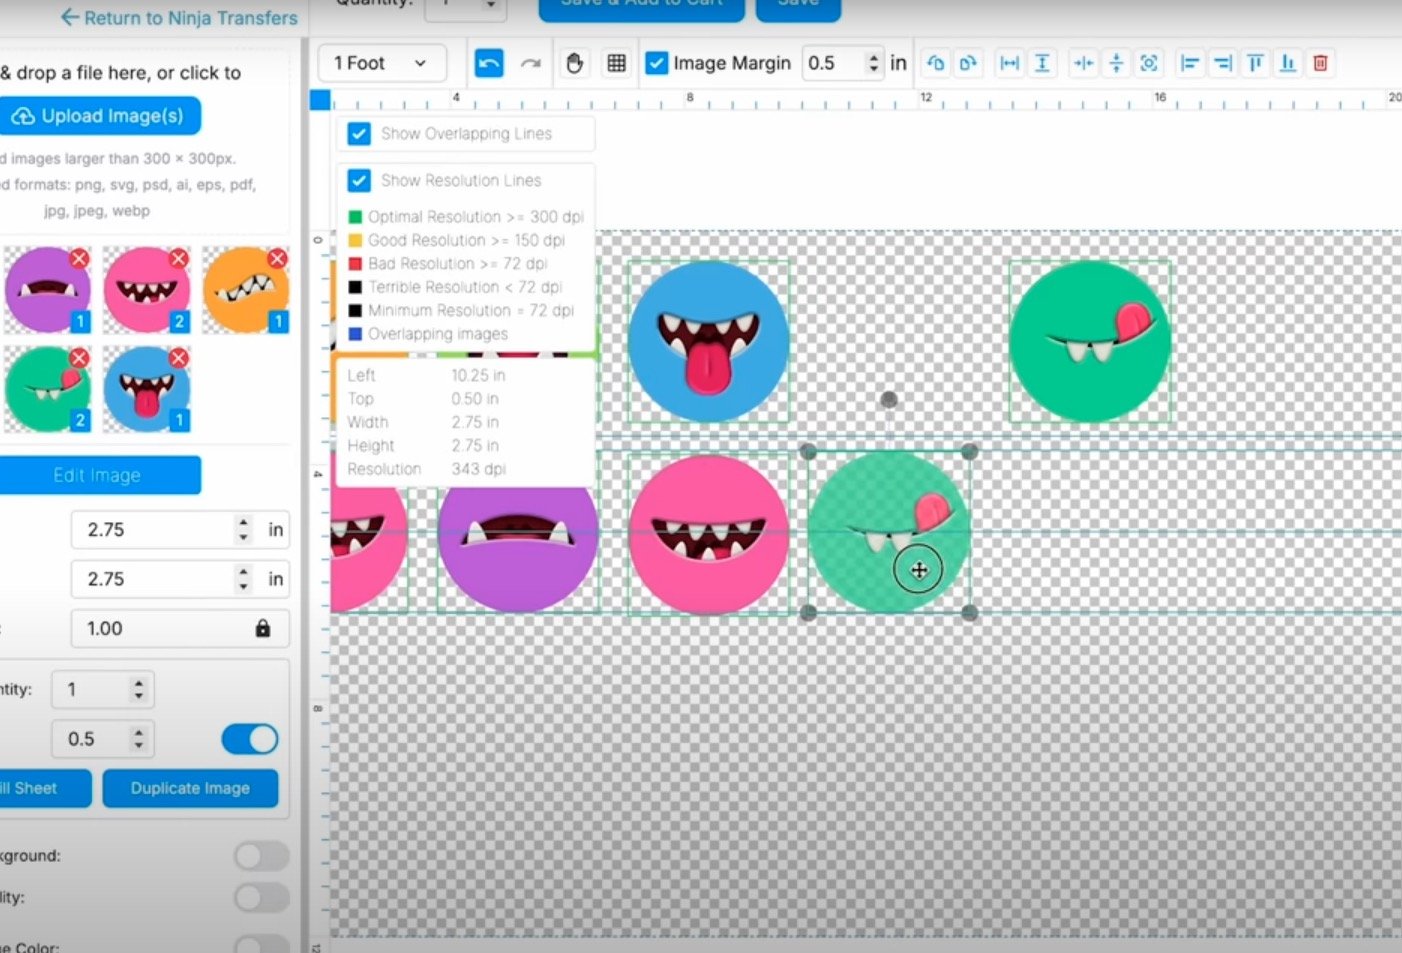
I'm ordering my UV DTF stickers from Ninja Transfers. To order the stickers, we need to create a Gang Sheet. Creating a gang sheet is just adding multiple images to one sheet so they can be printed all at once.
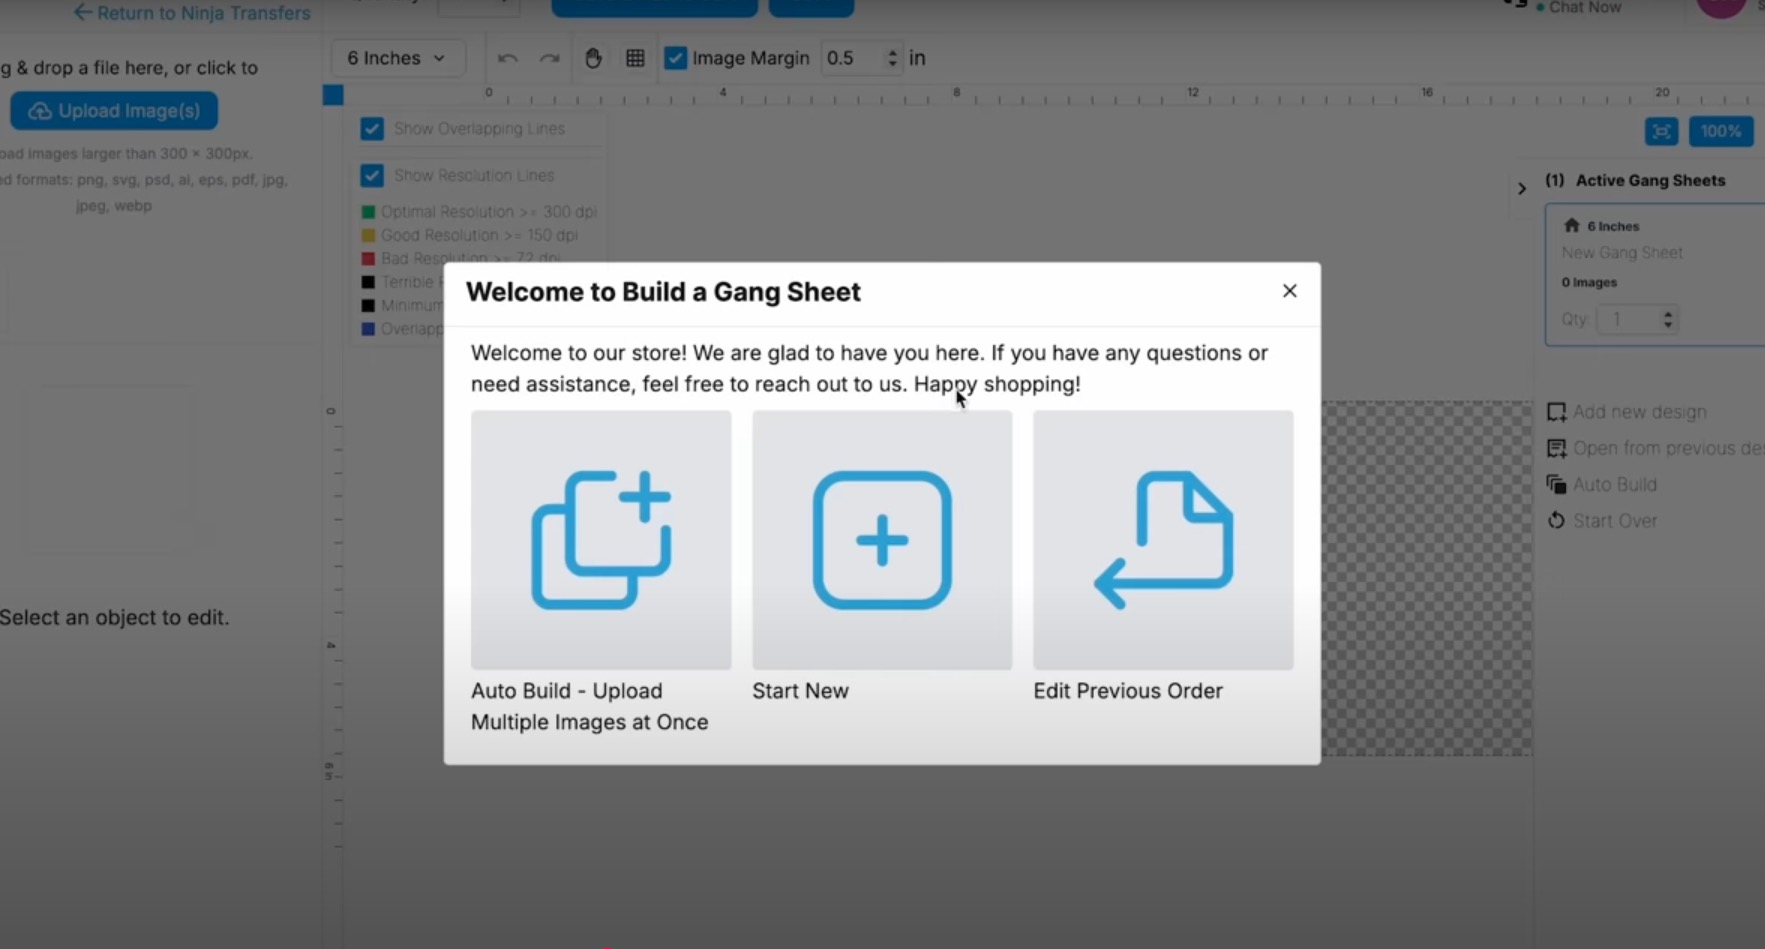
With them on the gang sheet, you can resize them to the size you need for your mug.
Remember to fill the entire sheet. You aren't charged per image; you're charged for the length of your print, so fill the sheet to get the most out of your order.
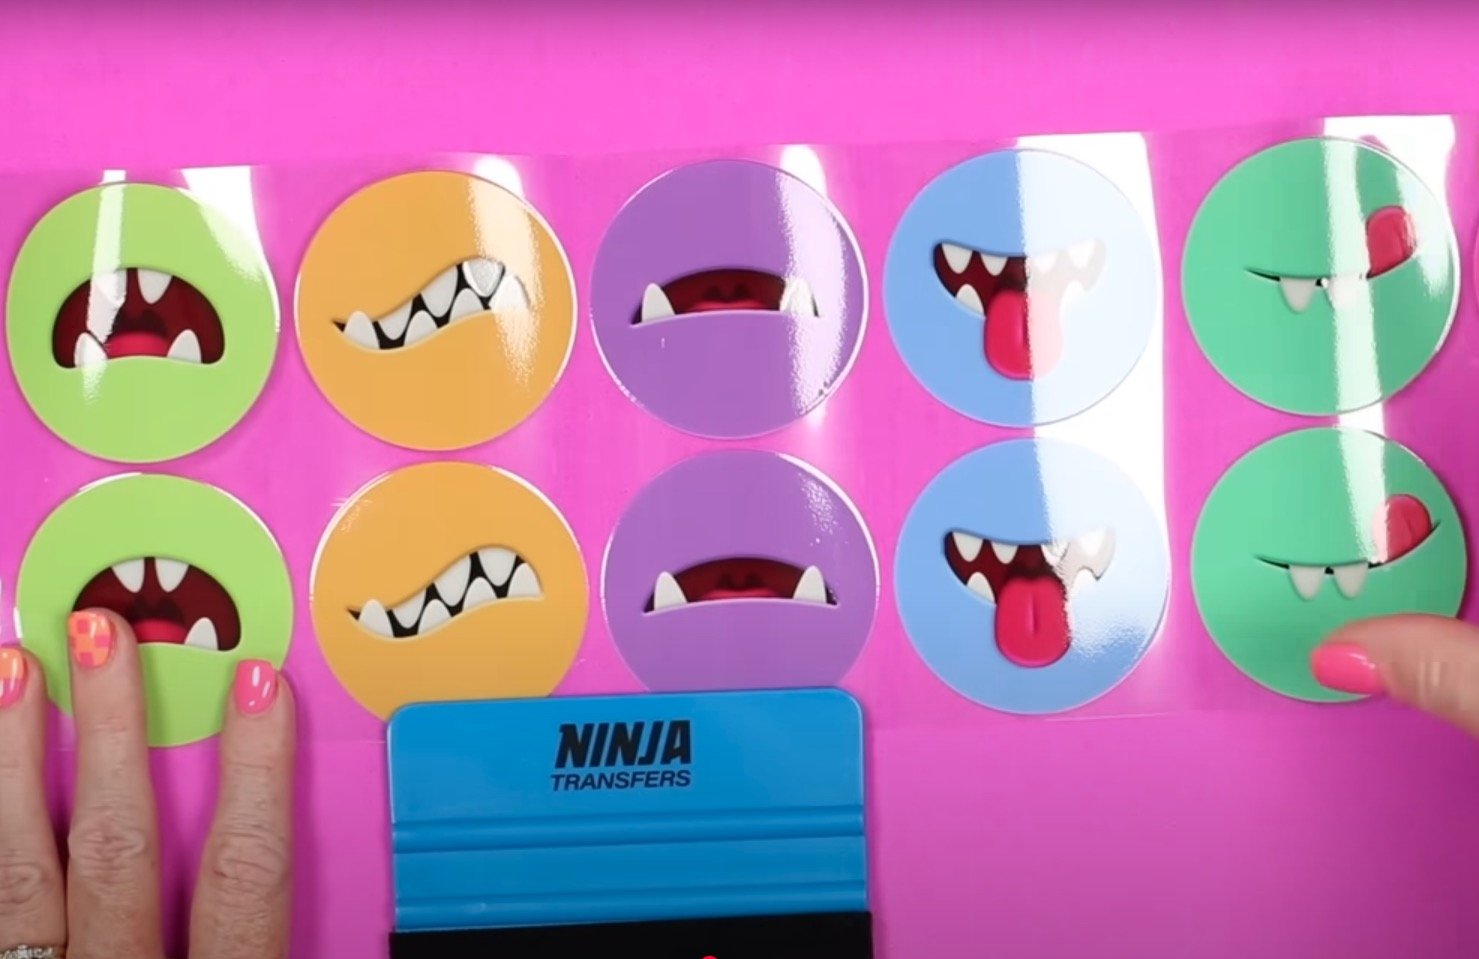
If you have a UV DTF printer, you can print your designs at home. If you order from Ninja Transfers, when you receive your order, it will include a squeegee to help with the application process and some other UV DTF designs that you can use to practice the application process.
Step 3. Print Sublimation Designs
Now it's time to make our sublimation prints. I am using Canva and created a canvas that was a custom size of 8.5 by 11 inches. This is the same size as my sublimation paper.
Next, upload the designs you want to use and add them to the canvas.
Resize the designs to be the size of your mug measurements. You can click Position to see the exact size and make any needed adjustments.
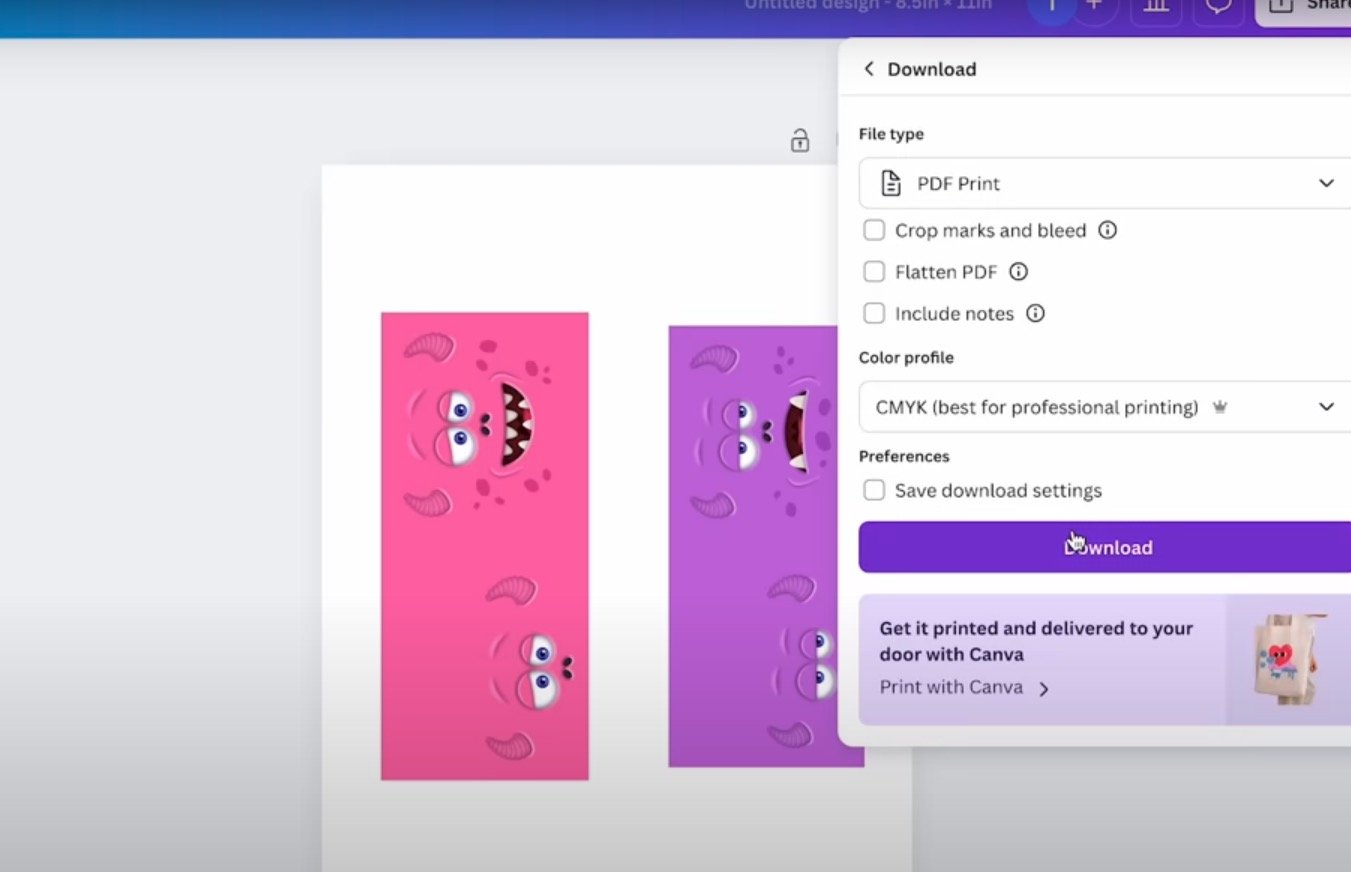
With all the images sized correctly, we're ready to print. You cannot print directly from Canva. Click Share and then Download, and then download as a PDF for Print with CMYK for the best results.
Open the design and print it out. Make sure you mirror the design and ensure you're printing sublimation ink on sublimation paper from a sublimation printer.
Step 4. Add Sublimation Print to Sublimation Mug
Before we add the UV DTF sticker, we're going to add the sublimation design.
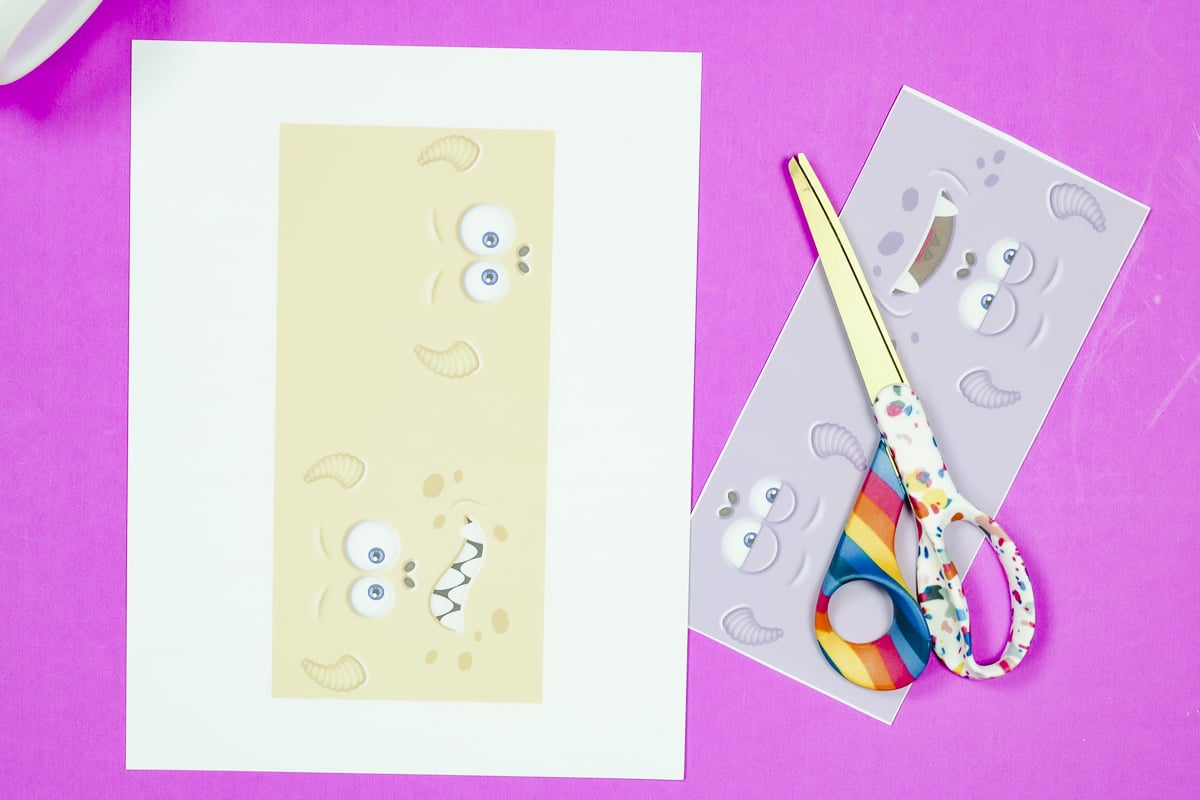
Use scissors or a paper trimmer to trim around the image. I like to leave a very thin white line all the way around the image.
Clean the mug using rubbing alcohol and a lint-free cloth or a lint roller. If you use rubbing alcohol, make sure it's completely dry before you add the sublimation print.
Wrap the design around the mug, leaving an equal measurement on both sides of the handle.
Use heat-resistant tape to hold the design in place, ensuring it is tight on the mug.
Add protective paper around the outside to protect your press. Use heat-resistant tape to hold that in place as well.
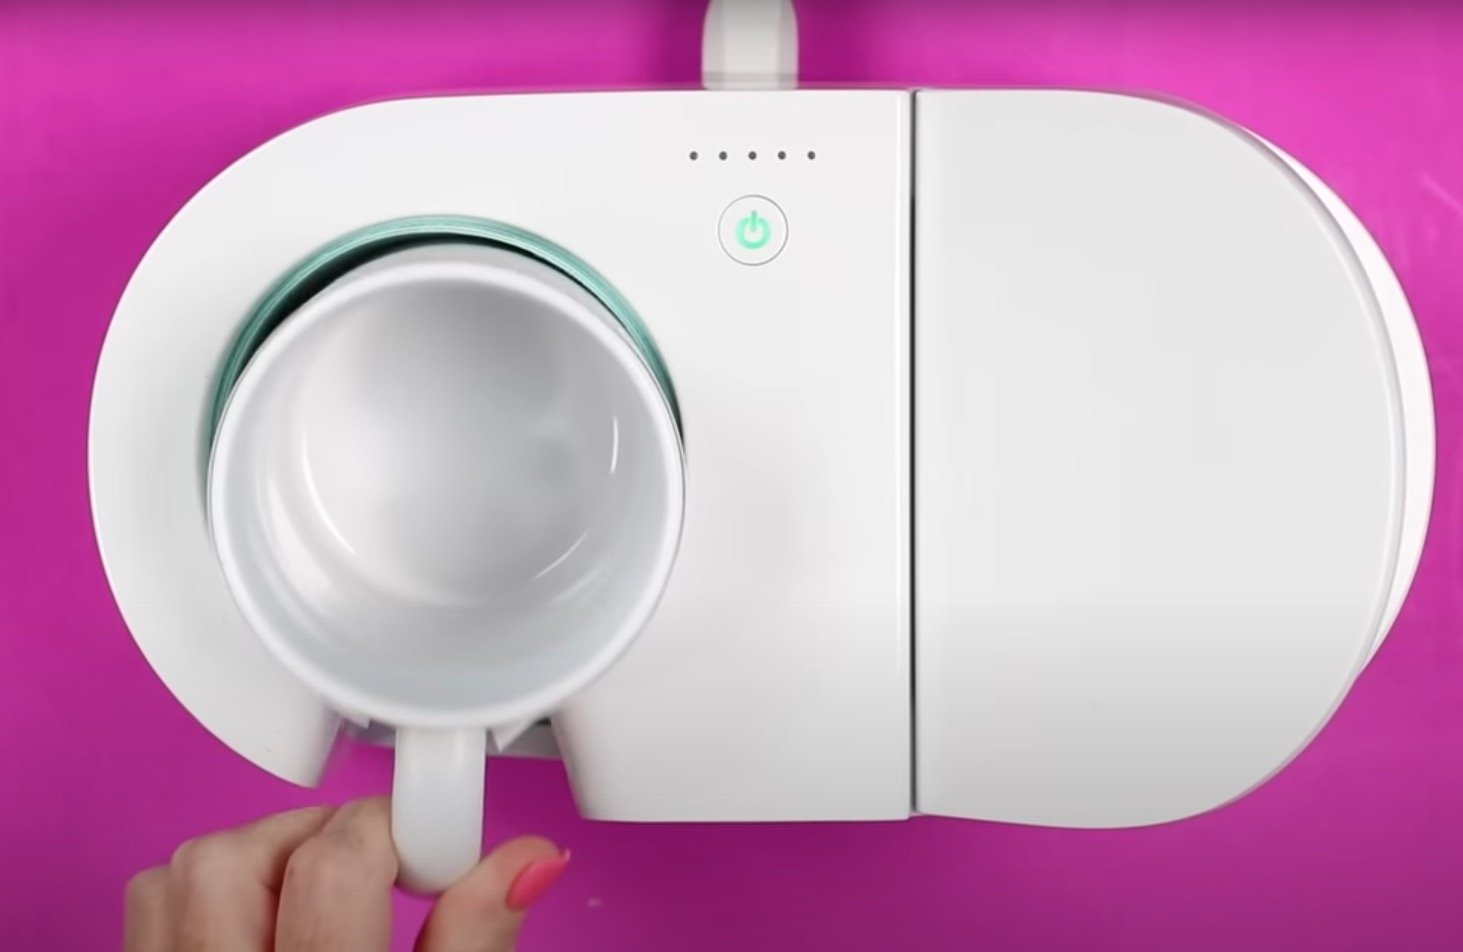
Step 5. Press Sublimation Mug
I am using my Cricut Mug Press today. With the mug press, you don't have to set the time or the temperature. If you're using a different mug press, follow the pressing instructions for your mug.
Place the mug inside the mug press and press the handle down. When the time is up, the press will beep, lift the handle, and remove the mug.
Place the mug on a heat-resistant mat. Remove the protective paper and sublimation print and allow the mug to cool completely.
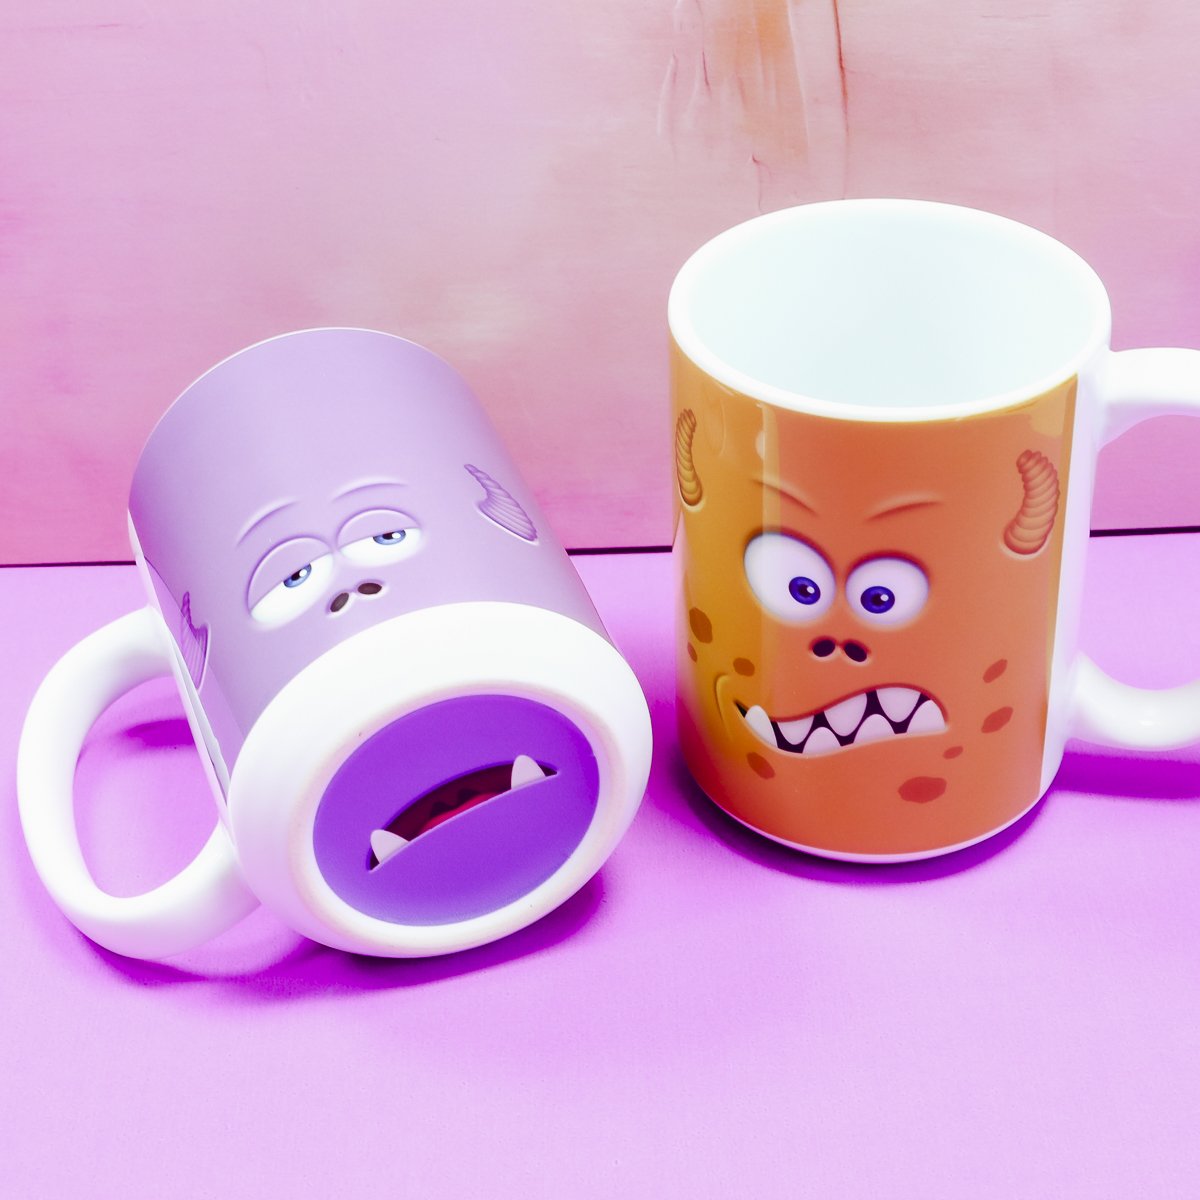
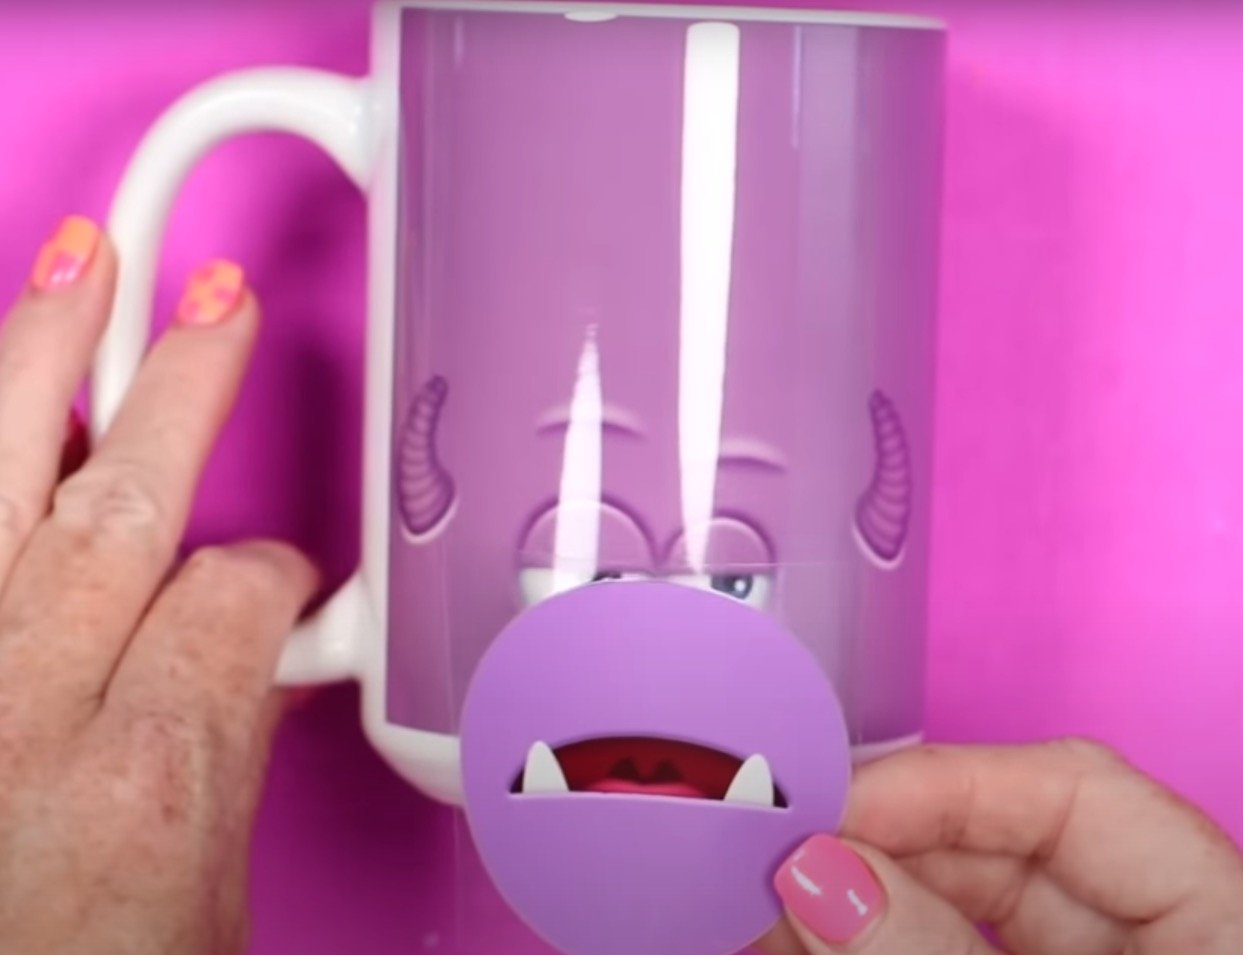
Step 6. Decide on Orientation of UV DTF Sticker
When the mug is completely cool, we're ready to add the sticker to the bottom of the mug.
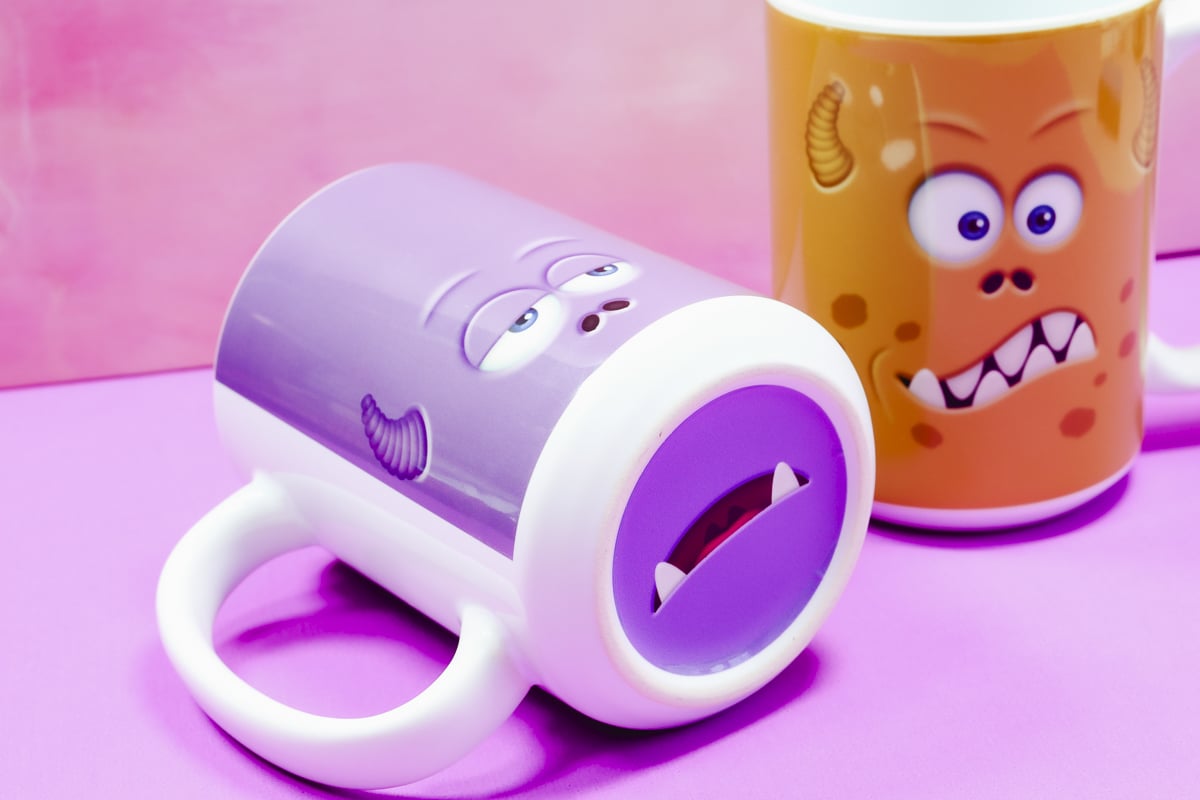
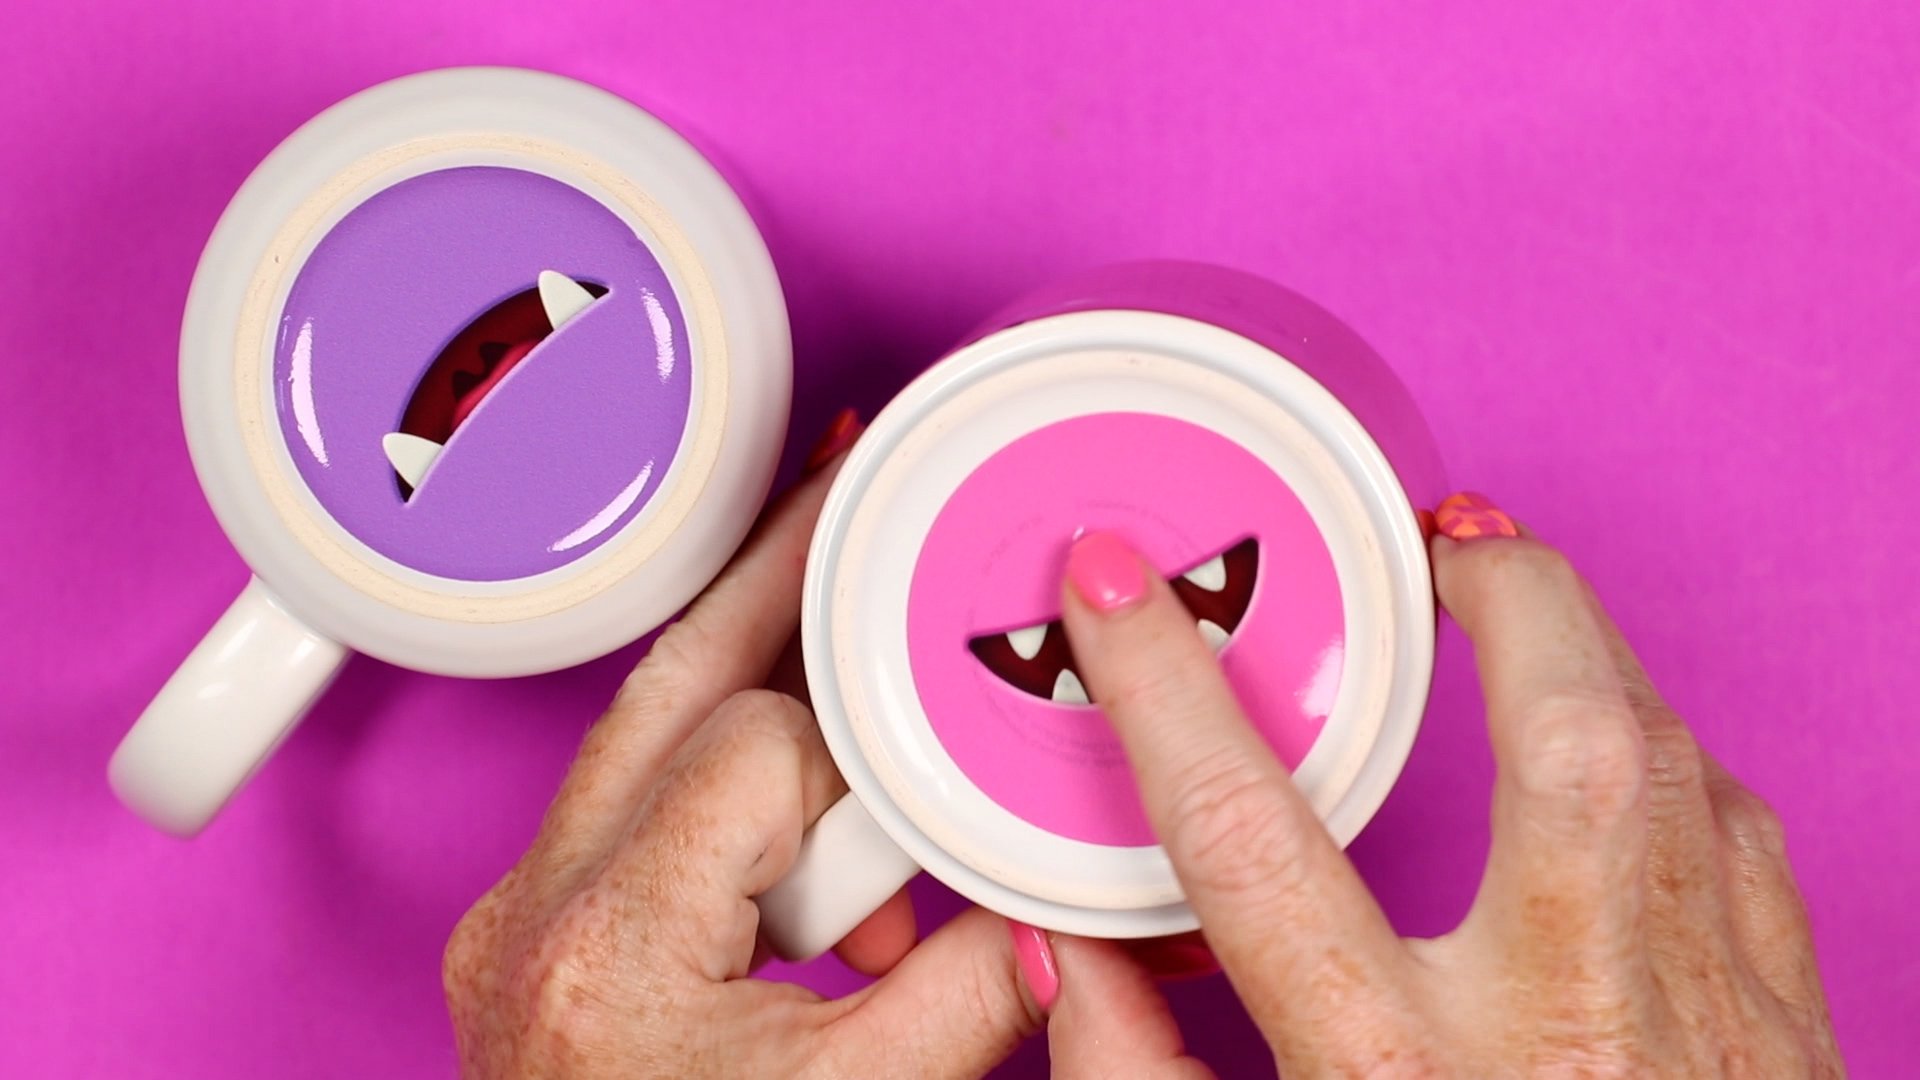
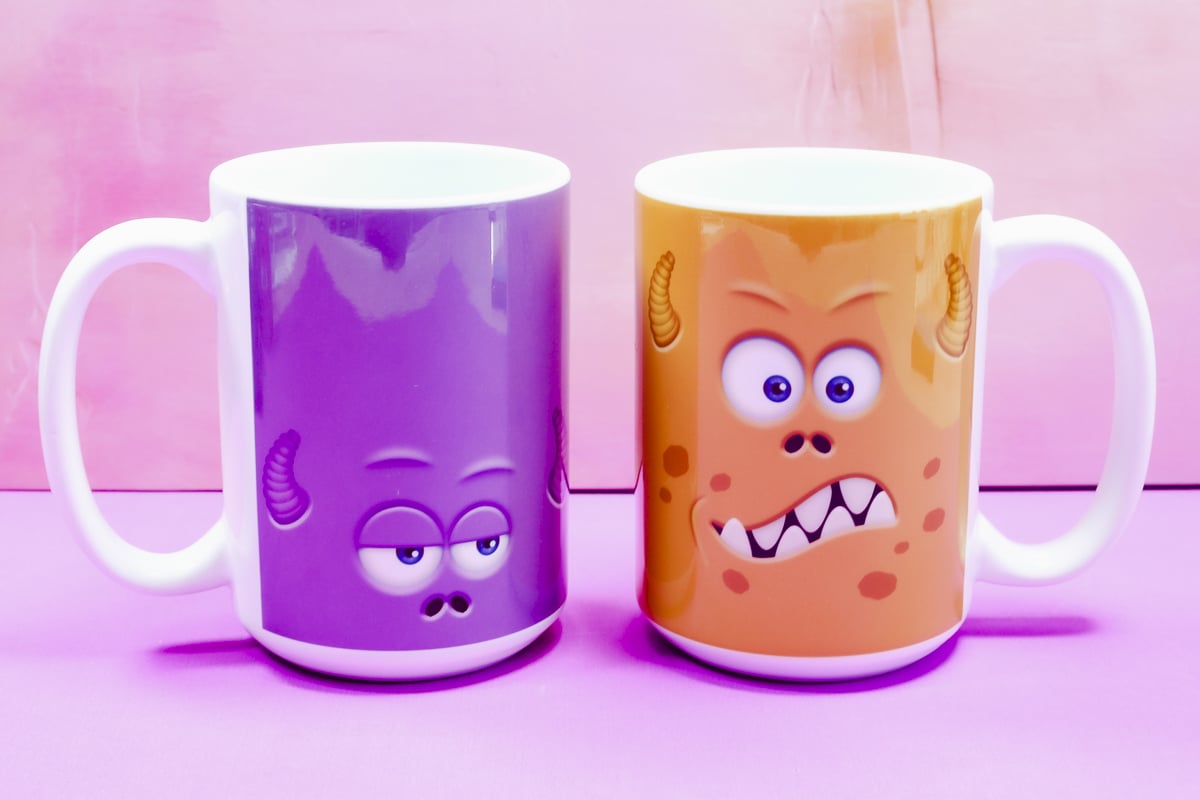
Pay attention to the placement of the sticker. Note the design on the mug, one side has the full monster face, and the other side has the eyes and nose.

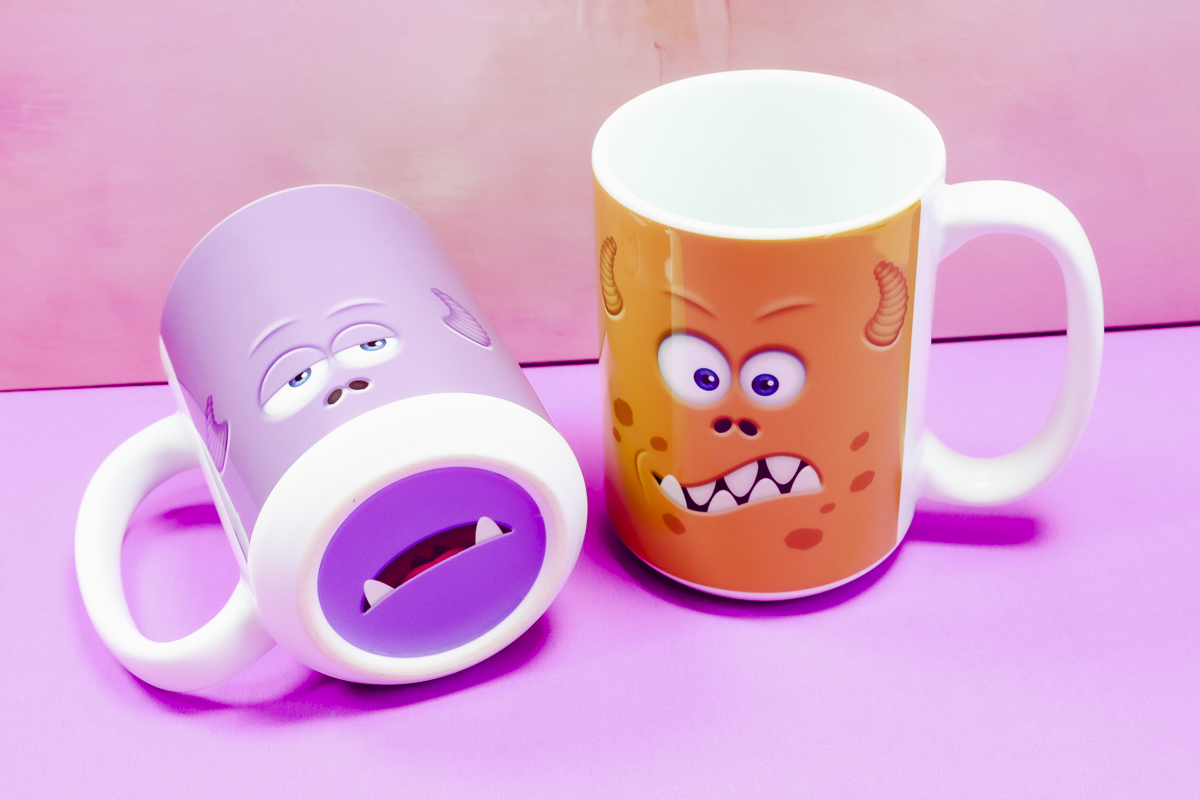
Orient the sticker so that when you lift the mug, the mouth sticker matches the mouthless monster design.
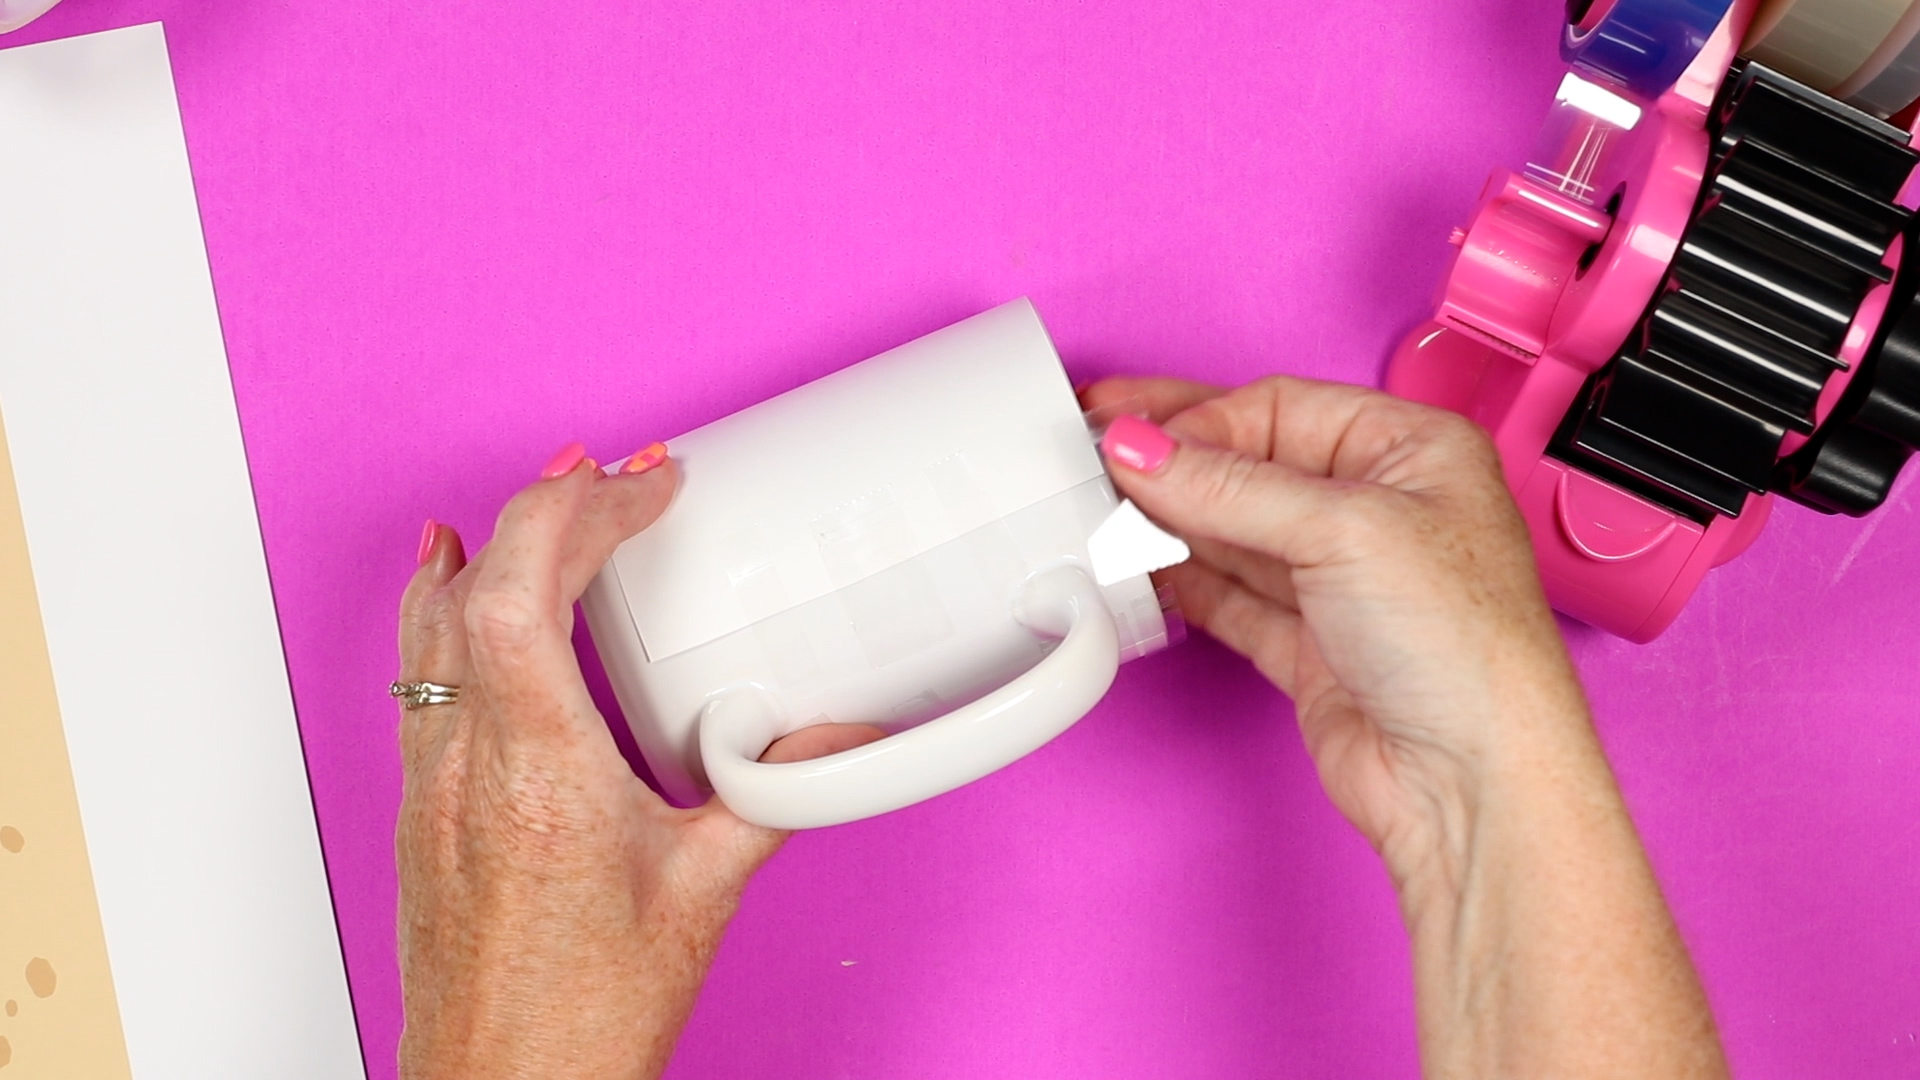
Step 7: Apply Design to Mug Bottom
The UV DTF sticker comes with a carrier sheet, sticker, and sticker backer. Rub the carrier sheet over the sticker and peel the backer away from the sticker.
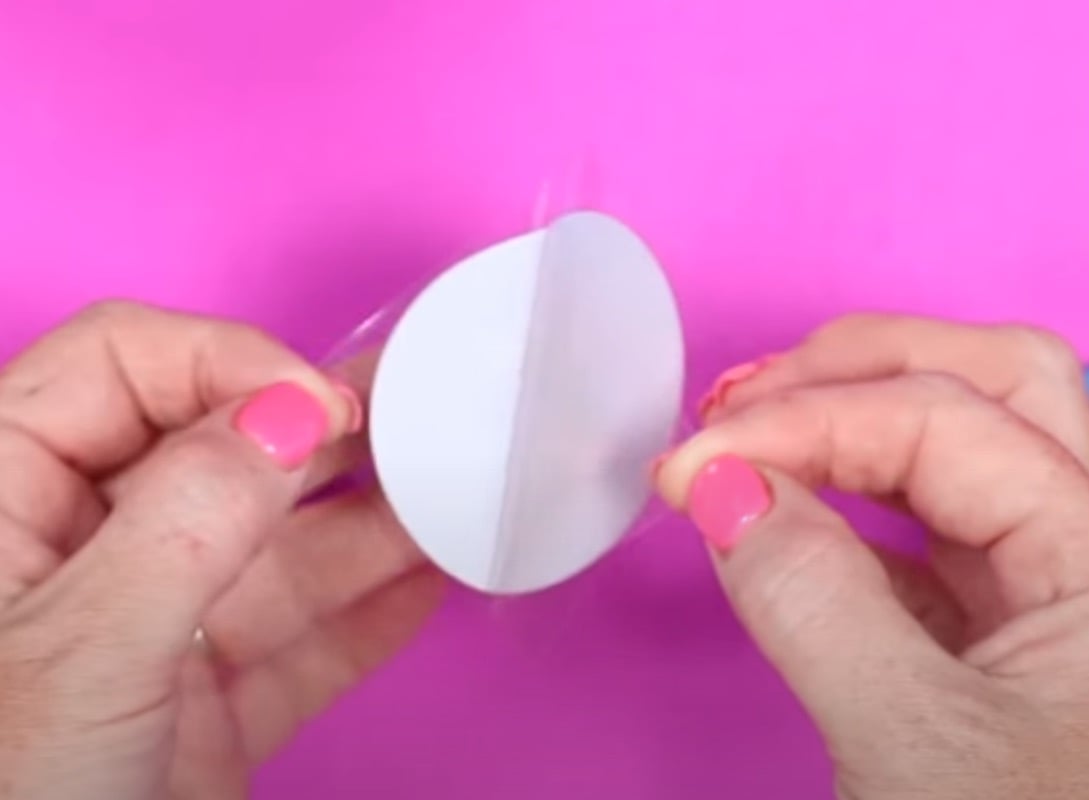
Don't touch the adhesive; we want to keep it clean and sticky.
Make sure the mug is clean and dry, and we're ready to apply the sticker.
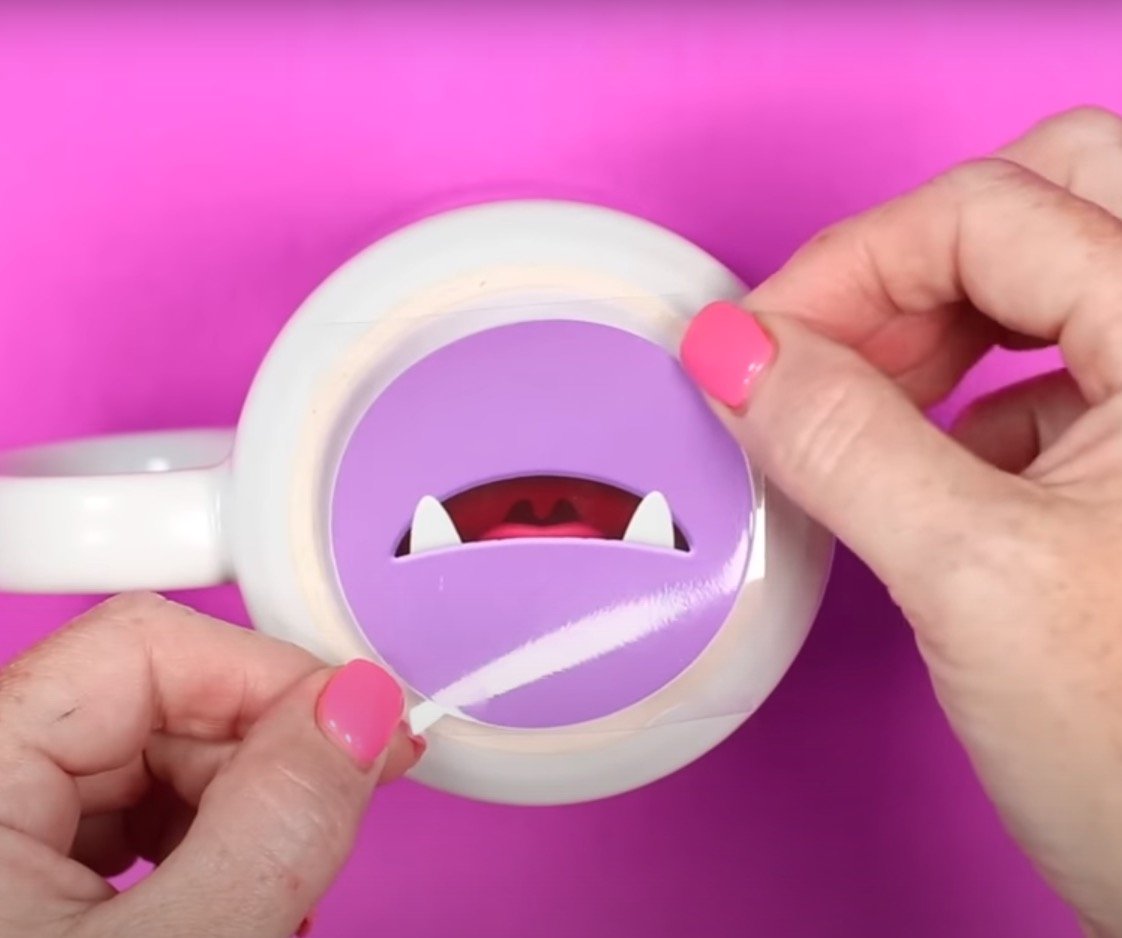
These stickers are very sticky; you can't relocate them once they touch down. Be careful when positioning your sticker.
I like to place one side down and gently push to the opposite side to ensure it's stuck down really well.
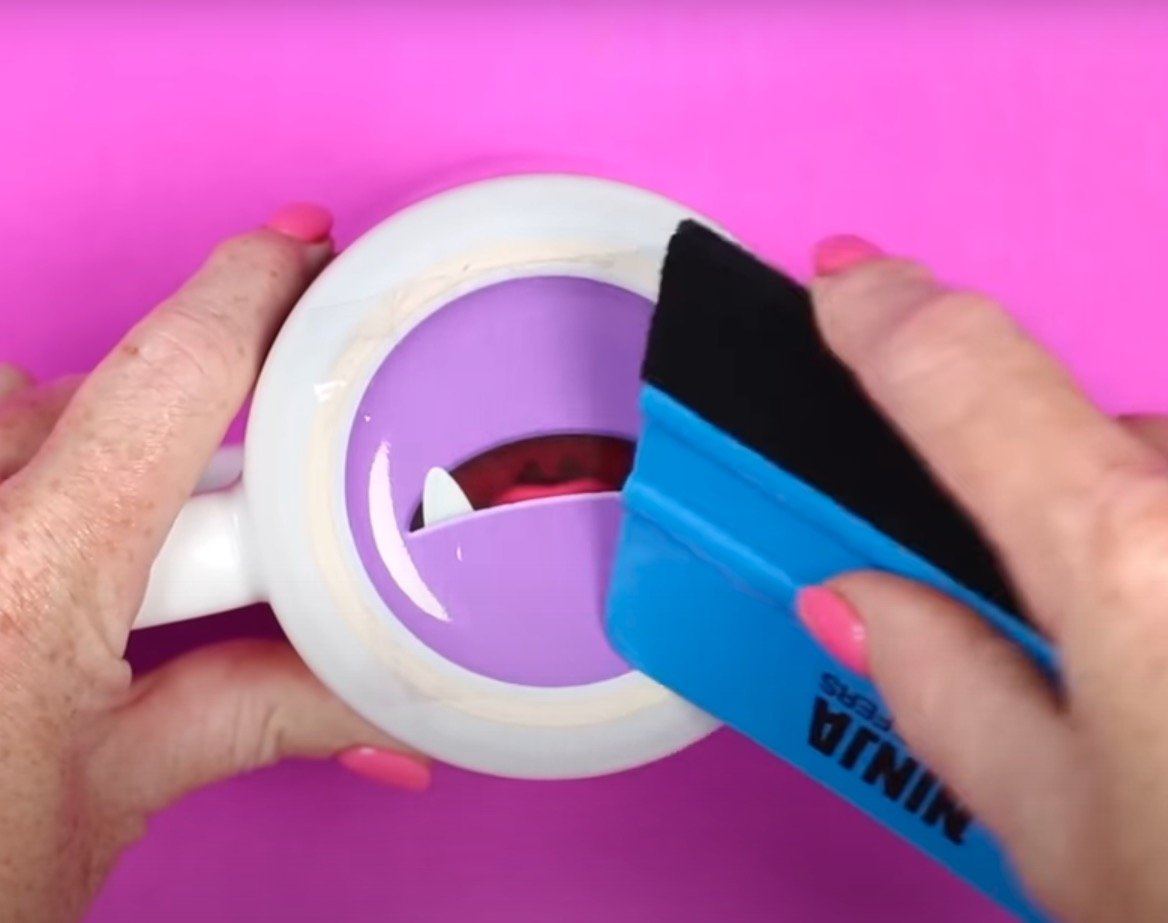
Because the bottom of my mug is concave, I am using the scraper to make sure it's stuck down all the way around.
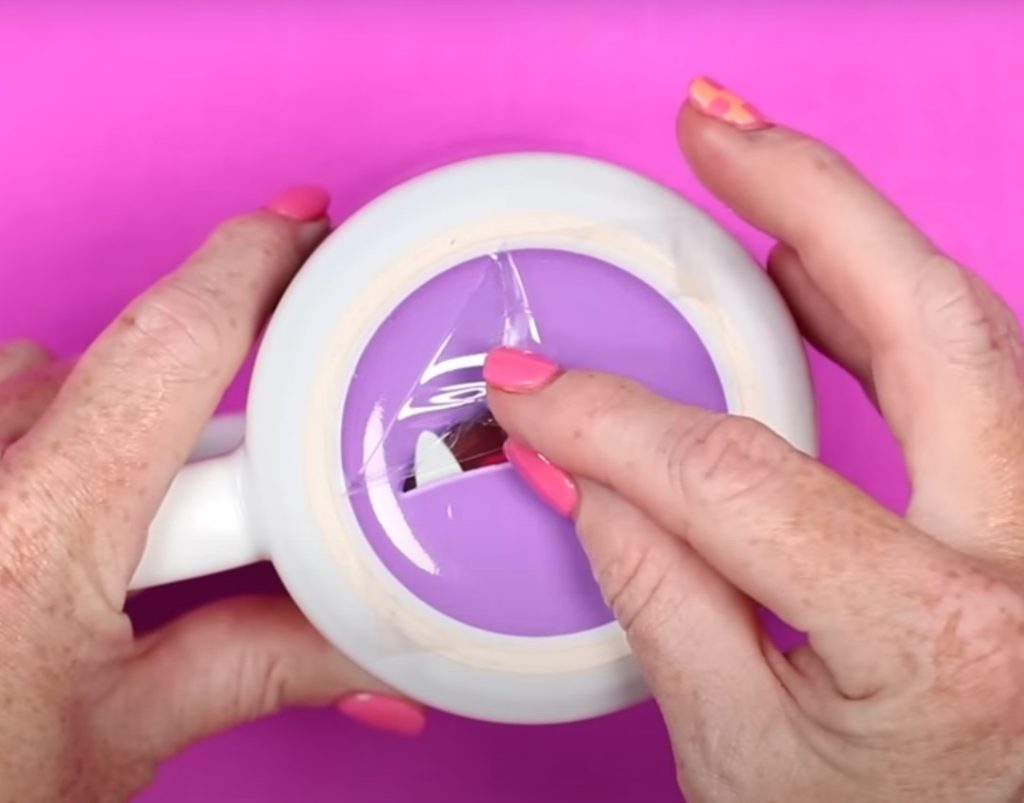
Peel back the top carrier sheet, leaving the UV DTF sticker stuck down. To ensure it's stuck down really well, I used the felt side of the scraper and went over it again.
Step 7. Finish the Mug
Finishing the mug is very simple; don't use it for at least 72 hours.
This will give the UV DTF sticker time to adhere to the mug. This will help the sticker last wash after wash.
Now that we have our mug complete, let's answer some questions.
Frequently Asked Questions
Do I have to use certain mugs?
To make a mug like I did, you have to use a sublimation mug, and you need a mug that is completely white on the bottom.
I tried using a mug that had a logo on the bottom, using these same Ninja Transfers UV DTF stickers, and you could see the logo through the sticker, even the darker colored stickers.
Mugs that are blank on the bottom work best.
What if I want the mug to be left-handed?
My finished mug is oriented for someone right-handed. If you want the mug to work correctly for left-handed users, don't mirror the design. This really only works for designs that do not have text or numbers that will be backward if not mirrored.
Remember, the orientation of the bottom design when you lift the mug to take a drink is important, so ensure you're locating it correctly.
Are these mugs dishwasher safe?
I do not put my UV DTF projects in the dishwasher. While they are very sticky and will last a long time, they're not meant for high-heat cycles in the dishwasher.
Mark them for hand wash only, and don't soak them. If you follow these directions, your mugs will last a long time.
I hope I've answered any questions you have about the best way to make mugs with a design on the bottom. Remember, this technique works for other designs, not just monster faces. Use this process to add logos, instructions for care, hidden images, etc.
If you have any other questions leave them in the comments, and I'll be happy to answer them for you.