

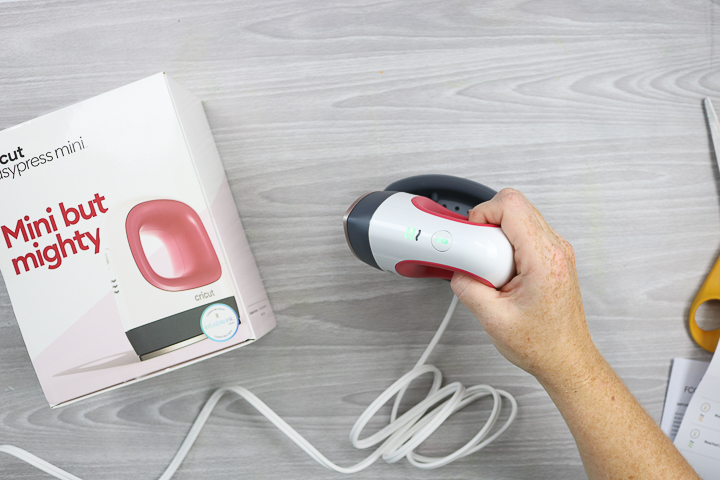
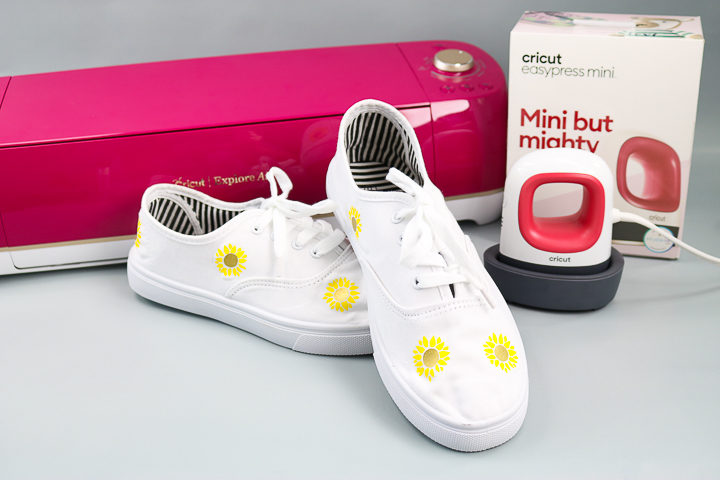
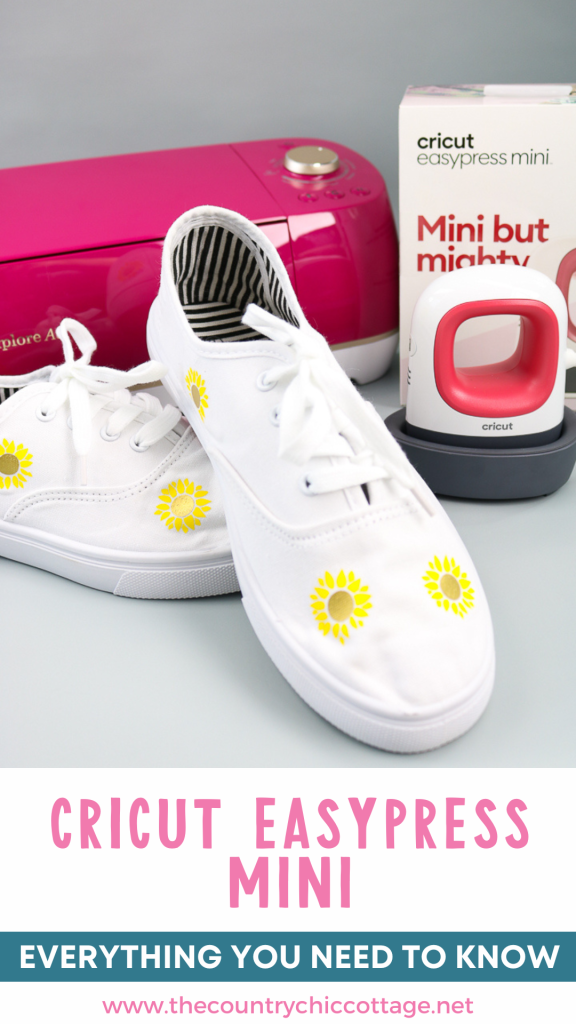
Have you seen the Cricut EasyPress Mini? If not, you’re in for a treat! If you have one, keep reading to see how I use this Cricut Mini to easily customize hats, shoes, and so much more
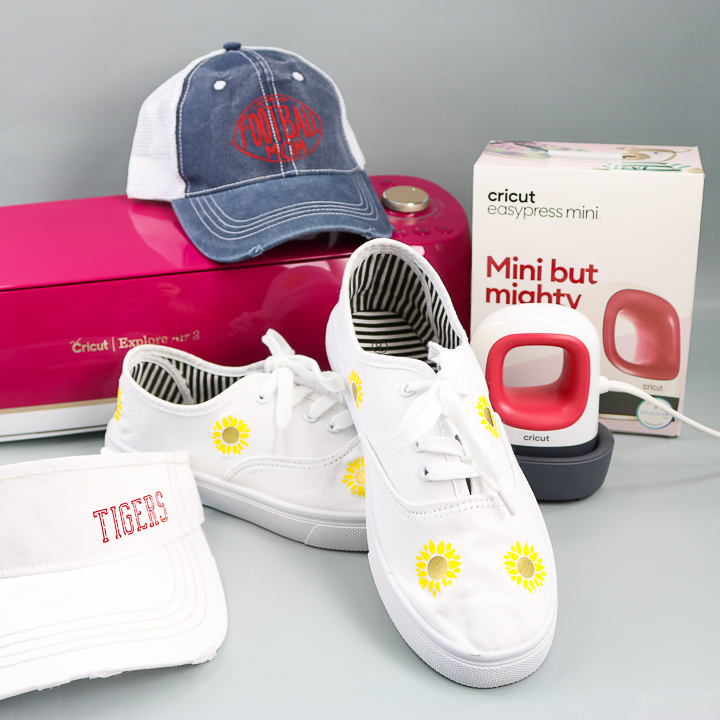
This product is excellent for applying Cricut iron-on to various surfaces that the original EasyPress cannot reach. I never had success using heat transfer vinyl to make shoes before, but today I finally did it! I love the ability to create custom shoes right at home!
All About the Cricut EasyPress Mini:
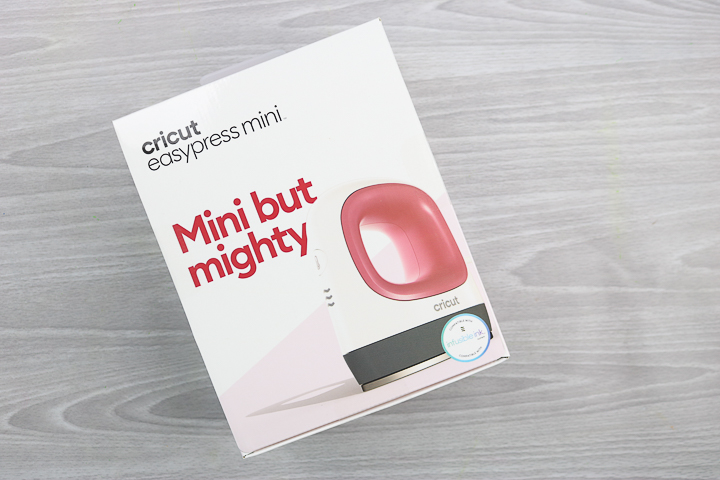
The Cricut EasyPress Mini is a compact, handheld heat press ideal for small and oddly shaped projects. Think hats, shoes, stuffed animals, and other projects. If you have been looking for a mini-iron to meet your heat transfer vinyl needs, this is one you'll definitely want to consider. It also comes in some pretty cute colors like Blue Zen and Raspberry! Let's dive into the Mini itself and some of the features you will love.
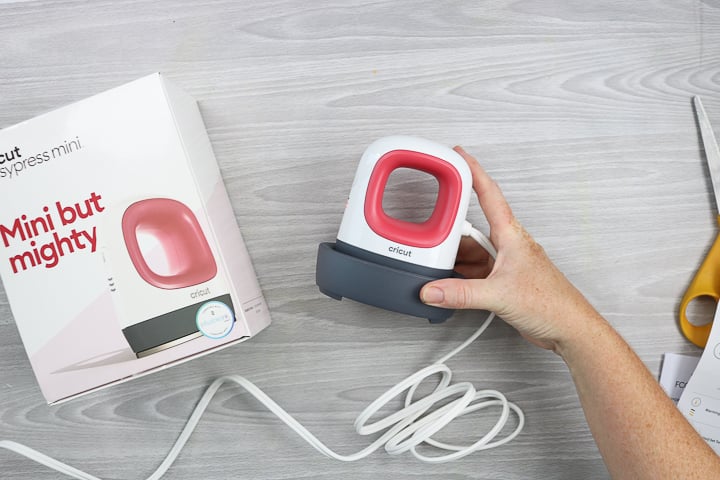
What is in the Box:
In the box, you will get the following:
- EasyPress Mini
- Safety Base
- Instructions
EasyPress Mini Features
Just a few of the features of the Cricut EasyPress Mini:
- The compact size (2.1 inches by 3.4 inches) is ideal for small projects and hard-to-reach areas.
- A pointed shape that allows you to get into small areas easily.
- Ceramic-coated heat plate for dry, even, edge-to-edge heat that is comparable to the other sizes of EasyPress.
- Three heat settings for foil/delicate, regular Iron-on, and Infusible Ink!
- Insulated safety base, allowing you to rest your Mini safely when it's hot.
- An auto-shutoff feature so you don't have to worry about forgetting to turn it off.
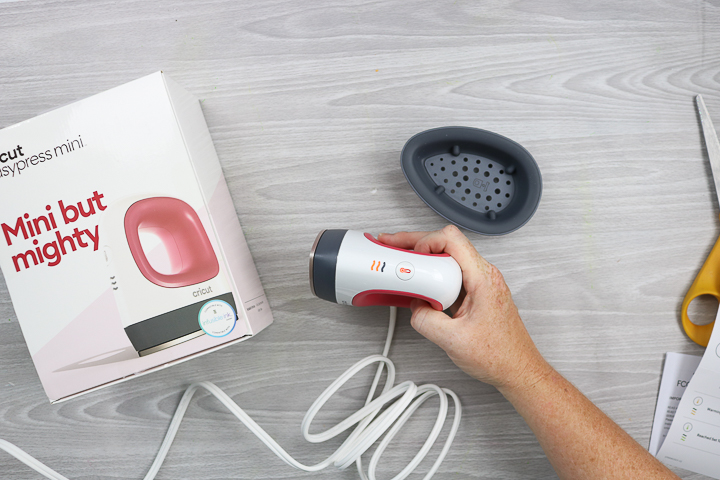
There are a few features the Mini doesn't have that most EasyPresses do:
- The Cricut EasyPress Mini does not have a timer. You will need another device for timing.
- There is no temperature gauge. It only has three heat settings for temperature control. It does, however, change from orange to green and beep when the temperature has been reached, and it is ready to press.
Video of EasyPress Mini from Cricut:
Would you like to learn about the Cricut EasyPress Mini? Watch the video below!
Missed something or need more information? Just follow along below.

Not sure which heat press is for you? Heat Press Roadmap has your answer! This extensive course is designed to guide you on your journey to deciding on the best heat press for your needs, space, and budget.
Join Angie Holden and Cori George as they explore 17 heat presses in 27 videos. Get the details and sign up for Heat Press Roadmap here!
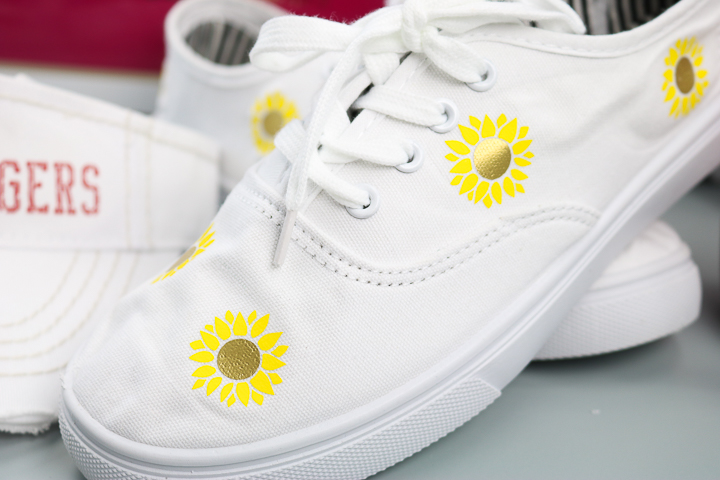
How to Add Iron-on to Shoes
When I first opened my Cricut EasyPress Mini, the first project I wanted to tackle was making shoes. Months earlier, I had attempted to create custom shoes using the smallest EasyPress and accidentally melted the soles in the process. After that mishap, I gave up on the idea of adding heat transfer vinyl to shoes. However, when the Cricut EasyPress Mini was released, I knew I had to give it another try. This time, I succeeded completely! Read on to learn how you can create your own custom shoes using iron-on vinyl.
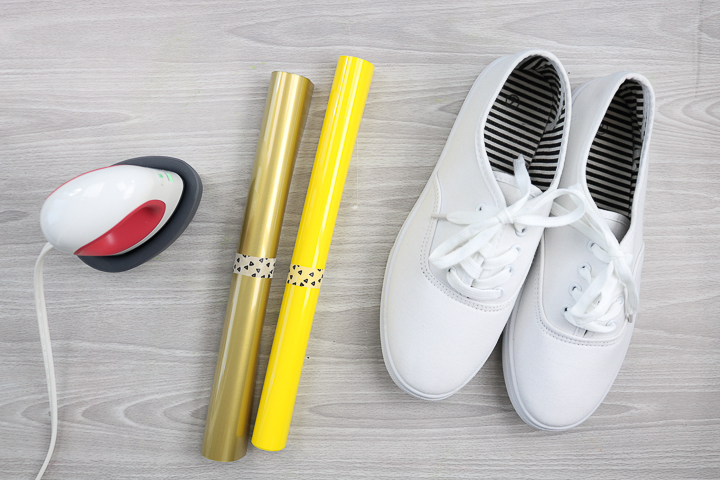
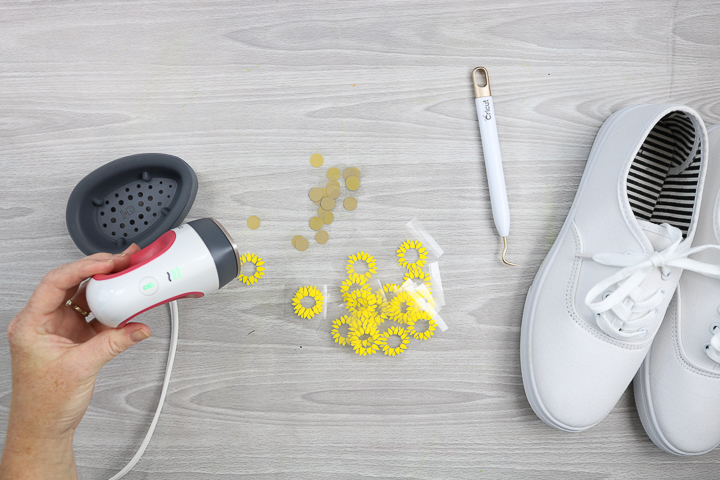
Supplies needed
- Cricut Iron-on in two colors (I used gold and yellow)
- Canvas shoes
- Cricut EasyPress Mini (pick your favorite color, or match your craft space!)
- Cricut Explore Air 2 (or any other Cricut machine)
- Sunflower cut file
- Weeding tools (optional, but recommended)
- Scissors
- Towel
- Iron-on Protective Sheet
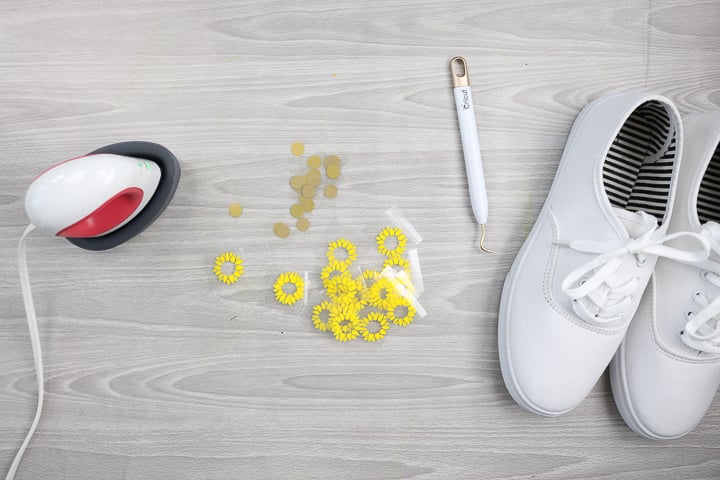
Step 1 – Cut your vinyl
Start by cutting your Cricut Iron-on into the desired shapes for your shoes. You can find a similar cut file for the sunflowers here. Size them and cut as many as you want to add to your shoes.
Step 2 – Weed your design
Then weed away all excess vinyl and cut the backing paper so you are left with small pieces to add to your shoes.
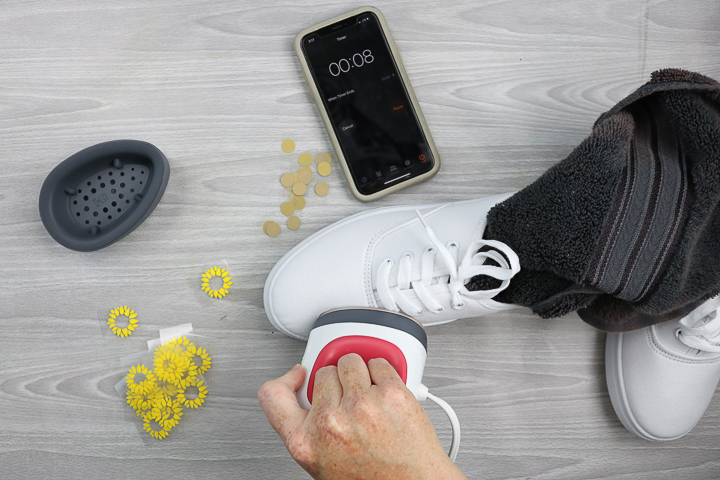
Step 3 – Heat your press
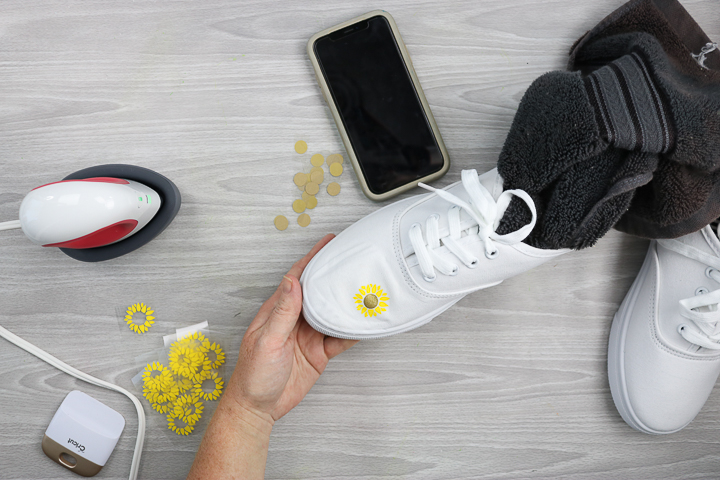
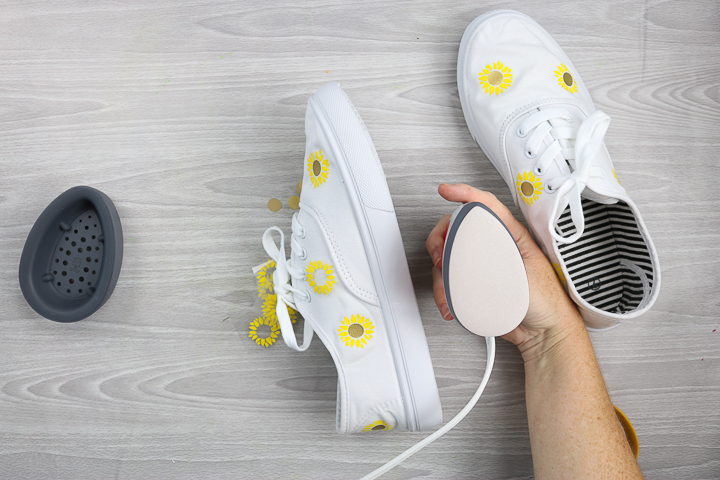
Heat the Cricut EasyPress Mini to the appropriate temperature for your iron-on material. I am using the medium setting. You can find the temperature settings on the heat guide here. When the Mini is heated, the lights will turn green and a tone will sound.
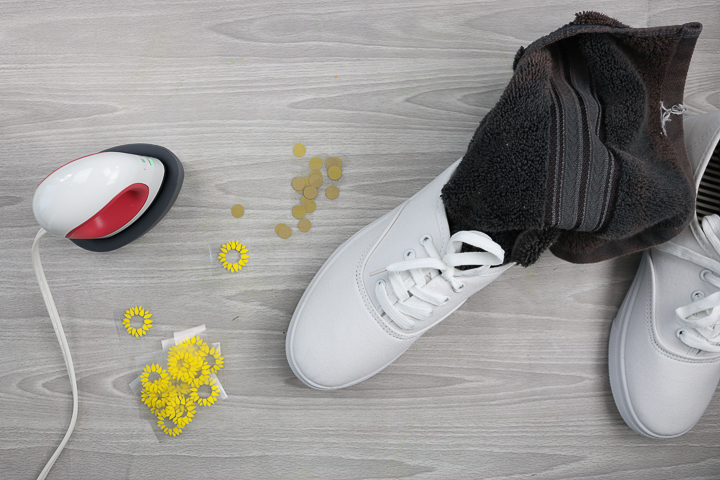
Step 4 – Use a towel inside the shoes
Add a towel to the inside of your shoes so you have something firm to press against while ironing.
Step 5 – Pre-heat your surface
Using your EasyPress Mini, preheat the surface where you are placing the vinyl. This helps remove moisture from the fabric, improving adhesion.
Step 6 – Add the vinyl
Then start adding your Iron-on vinyl to the shoe! Use the time indicated on the Cricut heat guide. Press the center of the flower first. Then remove the carrier sheet and press the petals over it. Pro Tip: You will need a timer, as the Cricut EasyPress Mini does not have one built in. (You can see from the photo that I use a timer on my phone.)
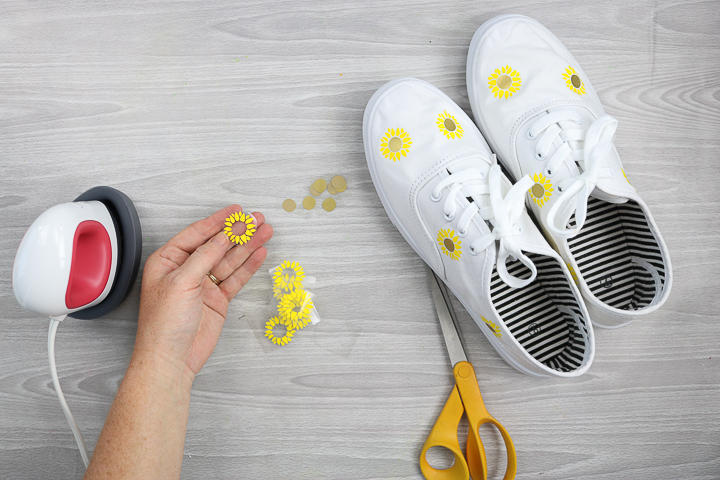
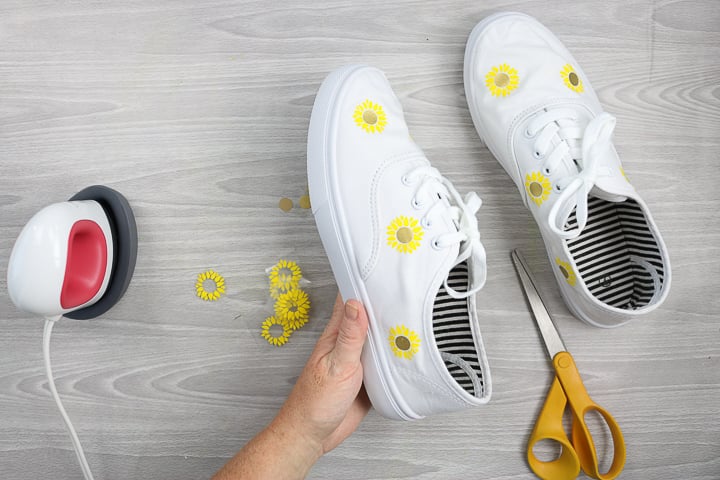
Step 7 – Repeat as needed
I did have to press the petals a few times to get them to stick. I think because the surface is rounded, I had to press one way then the other to get all of those little petals completely down.
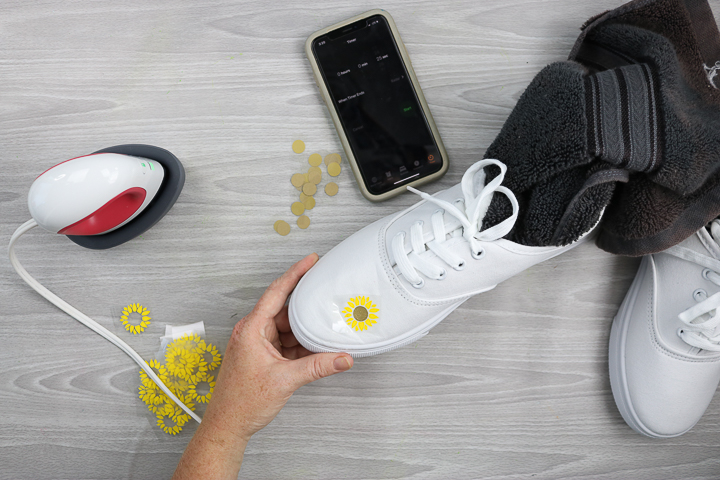
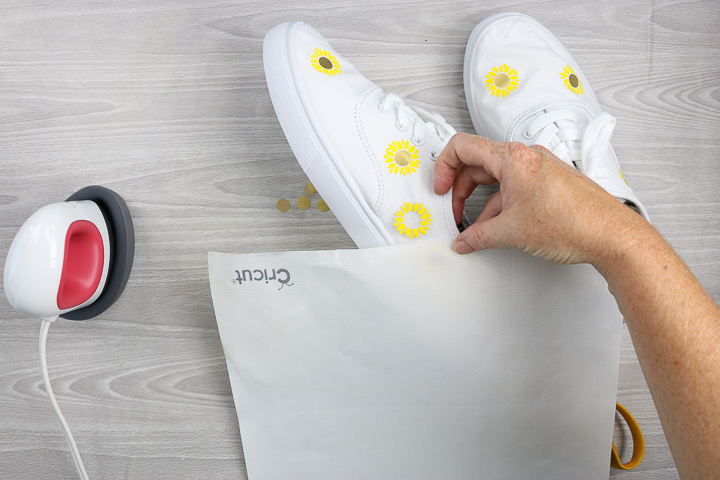
But after pressing a few times, the sunflower petals adhered to the shoe, and I was able to remove the backing. I like to add the iron-on protective sheet on top and press again for 15 seconds or so, to ensure everything is properly adhered. I only do this on odd surfaces like shoes when I can't press from the back of the item.
Tips When Adding Heat Transfer Vinyl to Shoes
- Trim the carrier sheet with scissors, keeping it close to your design. That way, when adding to weird spots on the shoes, the carrier sheet does not rest on, say, the seams and hold the heat transfer vinyl off of the shoe surface.
- I kept all of my sunflowers small so they fit on the shoes in various locations. When creating a larger design, you need to trim the iron-on around areas such as the sole and seams to ensure the design fits properly.
- If you want to put your flowers close together, cover the flower that is already pressed with the iron-on protective sheet before pressing the second flower. You never want the Cricut EasyPress Mini (or any EasyPress) to come directly in contact with heat transfer vinyl.
- When adding custom designs to weird areas of your shoes, use the unique shape of the Cricut EasyPress mini to really get in there. You will also want to ensure that the EasyPress is not sitting on the seams, eyelets, or any other objects that could lift it off the surface. It is also very important not to let it come in contact with the soles of the shoes, as they will melt!
How to Add Iron-on to Hats
I really couldn't resist. I had to make some hats as well! I mean, just using the Cricut EasyPress Mini on shoes did not seem like enough of a test. So, I broke out both a hat and a visor to see how well the mini iron would perform, and I was so impressed!
If you'd like the Football Mom cut file, you can download that for free once you join our Facebook group here.
Do You Need the EasyPress Mini from Cricut?
Now that you have seen both hats and shoes, is the new Cricut EasyPress Mini iron for you? Should you add this one to your wish list? Here are my thoughts:
- The EasyPress Mini is ideal for applying iron-on designs to a variety of irregular surfaces with rounded edges. I have never successfully done this with any other EasyPress size.
- The small size and shape of this machine are perfect for customizing just about any small surface.
- Need to make a ton of hats to sell? I would go with a traditional large hat press.
- Need to make a few hats in a year for gifts and to wear? The Cricut EasyPress Mini is definitely the answer!
- Want to do Infusible Ink in small sizes or on weird surfaces? This is the only thing I know of that can reach that high a temperature.
I hope these points help you decide whether to add the mini to your craft room.
Where to Buy the Cricut EasyPress Mini
You can pick up the Cricut EasyPress Mini on the Cricut website or at Target, Amazon, Walmart, and Michaels. Be sure to add it to your wishlist! Don't forget to add some blank hats and shoes to the list, as well, as you will want to dive right into some projects.
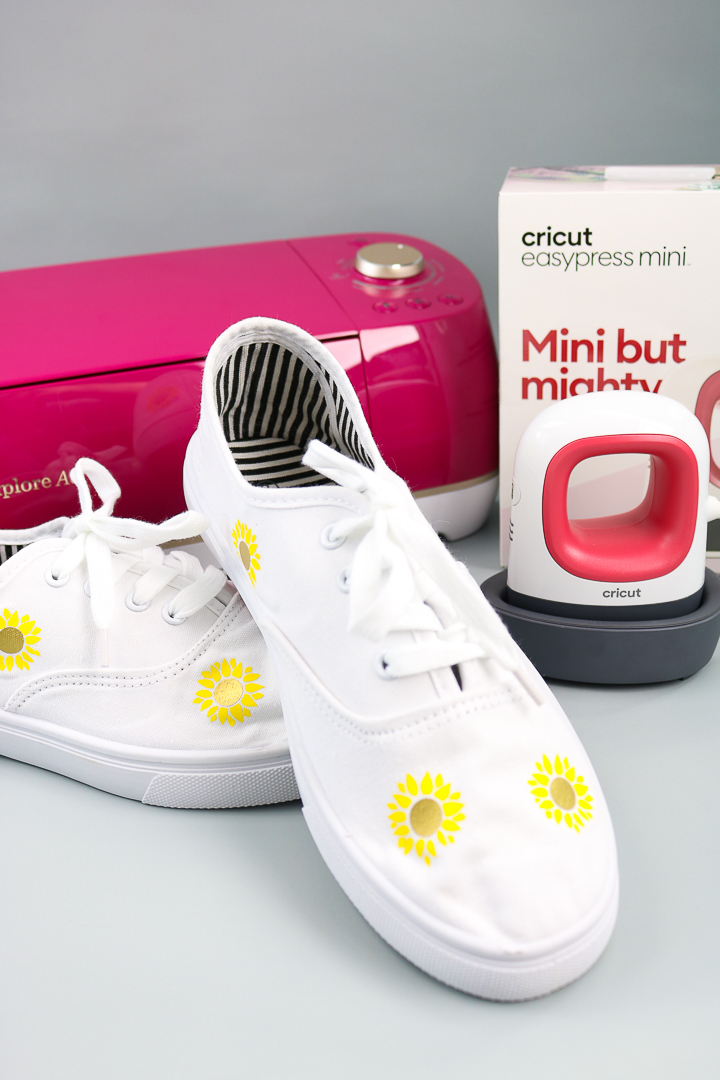
Once you get your Cricut EasyPress Mini, you will love using it to customize things you never thought you could! From shoes to hats, stuffed animals, and so much more. This Cricut Mini iron will reach spots you could never access with a traditional heat press or even one of the other EasyPress sizes. Would you like to see me use this machine on other surfaces? Comment below with what you want to see! You can also subscribe to our YouTube channel to stay up-to-date on other videos featuring this machine.


Great demo of this new Cricut product! I learned a lot, and enjoy all your videos. Thanks!