
DTF Transfers (Direct to Film) are perfect for those of you who do not have a Cricut machine. Yep, you read that right! These transfers allow you to make projects for your home and gifts with just an EasyPress or other heat press. They are so easy to use that I whipped up four projects in no time at all. Ready to jump in? Just follow along below!
Note: The images and projects below were created using Cricut Iron-On Designs, which are no longer available. But you can recreate these with DTF transfers using the instructions below.
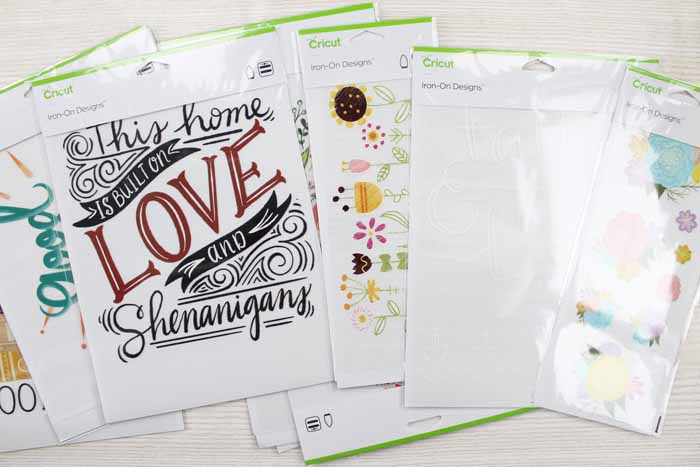
DTF Transfers come in a wide variety of designs, and you can custom-order them in any design you want! This means that your iron-on project ideas are endless! These are ready to use right out of the package, meaning you don't have to have a Cricut machine to use them. If you do have a Cricut machine, you can, of course, personalize these designs with additional materials.
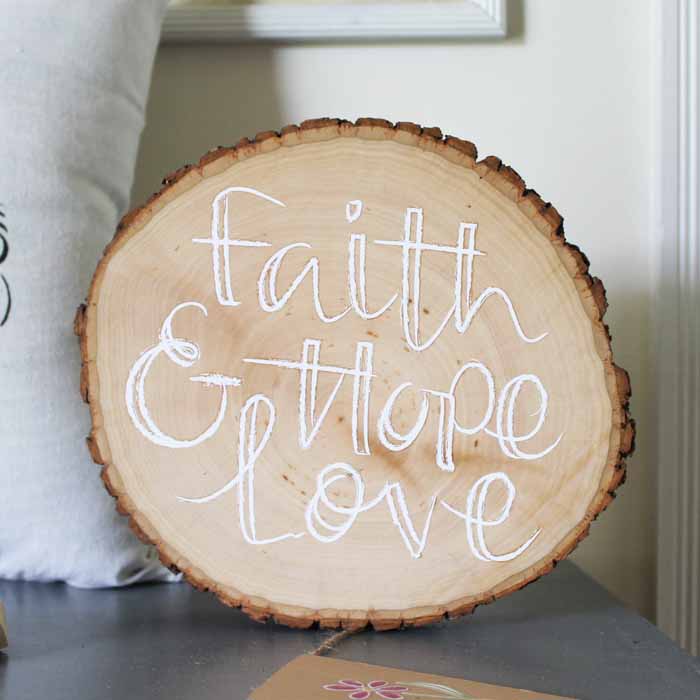
I started by making a quick video explaining all about the product, as well as applying one of the designs to wood. Yes, you can apply DTF Transfers to wood! Watch the video below to see how!
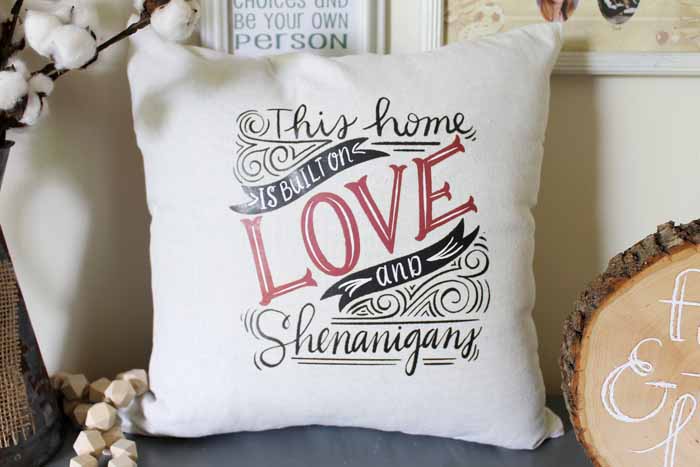
But I couldn't stop with just one project. I mean, when the projects are this quick and easy, you have to keep going! Next, I am going to share how to make a fun pillow cover.
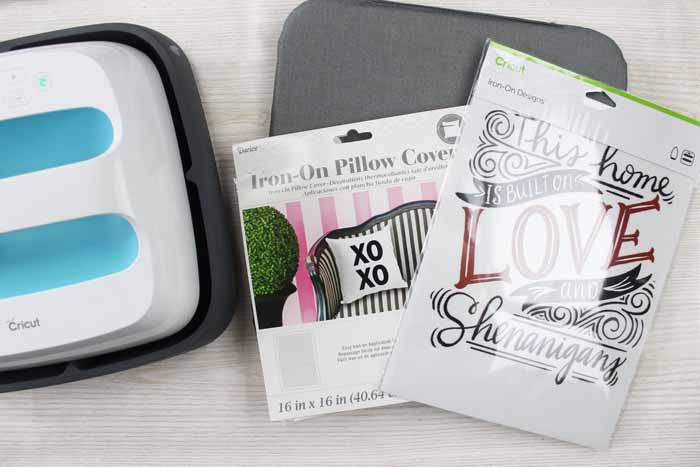
Supplies needed:
- DTF Transfer in the design of your choice
- Cricut EasyPress or other Heat Press (See why you need an EasyPress here!)
- Cricut EasyPress Mat (optional)
- Heat-resistant tape
- DTF Cooling block (optional)
- Pillow cover
- Pillow insert
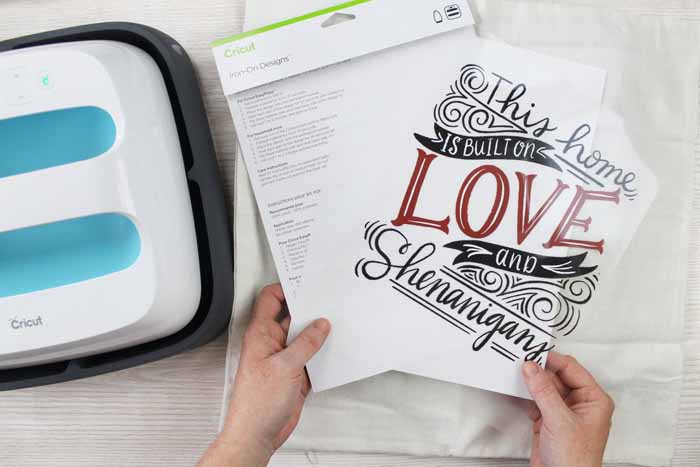
Step 1 – Prepare the DTF transfer
Start by removing your DTF transfer from the package. It comes ready to press with all excess removed on a carrier sheet. There are instructions included right in the package. You will also need the settings for your EasyPress or Heat Press to begin your project.
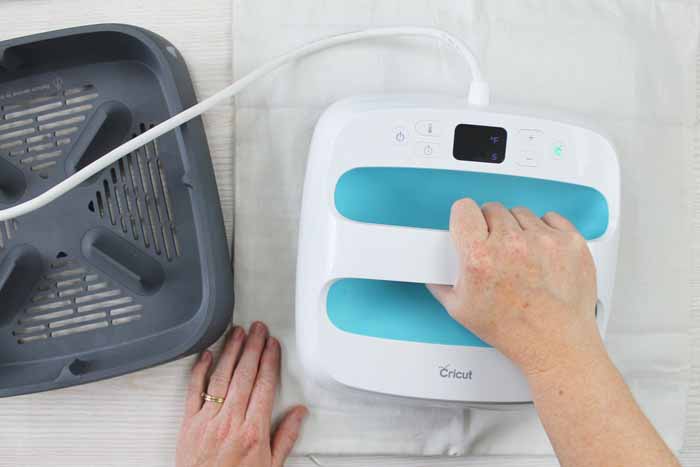
Step 2 – Pre-heat the blank
To begin, pre-heat your material for 10-15 seconds. This will help to remove any wrinkles and any moisture. You will see in the images below that I am, in fact, using my EasyPress mat. I find that it works much better than a towel at protecting my surface from both heat and moisture.
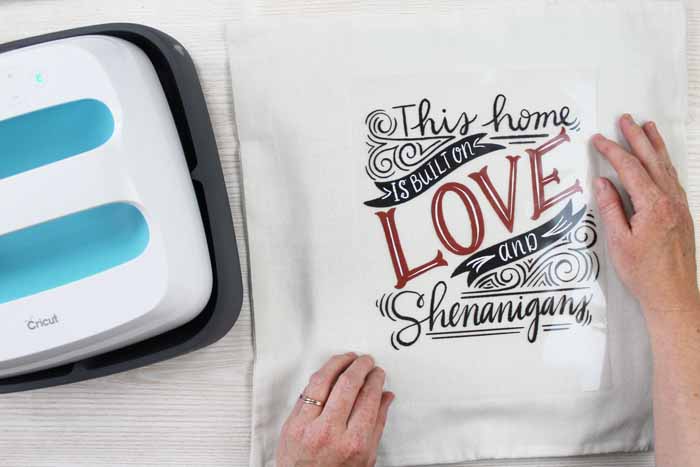
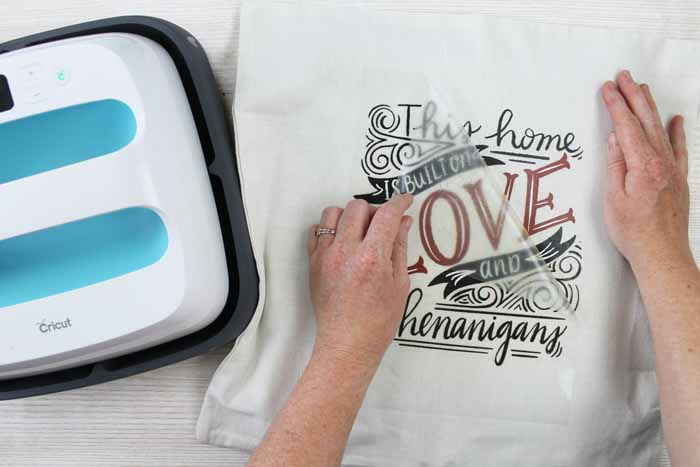
Step 3 – Add DTF transfer to the blank
Place your design on the pre-heated blank, making sure to center it on your pillow cover. If using an EasyPress, add a couple of pieces of heat-resistant tape to keep the transfer in place while pressing. Love this design? Here is a similar one that you can order as a custom DTF transfer.
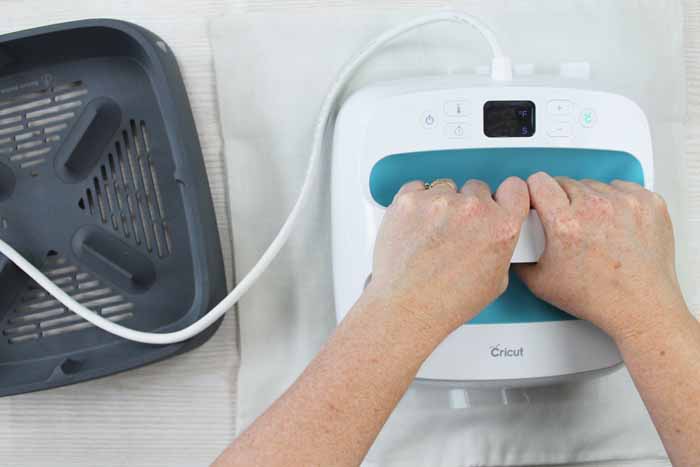
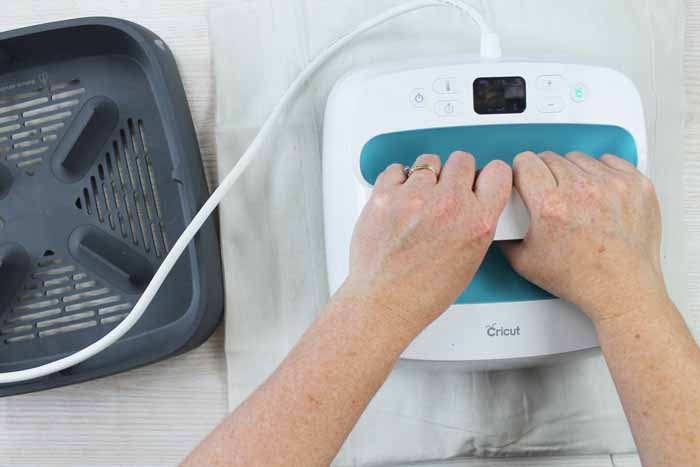
Step 4 – Press transfer to the blank
Follow the instructions for pressing the DTF transfer to the pillowcase for the recommended time and temperature.
After pressing, allow the DTF print to cool before peeling back the carrier sheet. You can speed up the cooling process by rubbing a DTF Cooling Block over the surface.
When the design is cool, peel back the carrier sheet in a continuous motion. If you notice some places not adhering, put the carrier sheet back on a press for a few seconds longer, cool, and try again.
Step 5 – Post-press the transfer
With the carrier sheet removed, cover the print with a Teflon sheet or a piece of parchment paper. Press again for the recommended time and temperature. This second press will finish the adhesion of the print and get it into the fibers of the pillowcase!
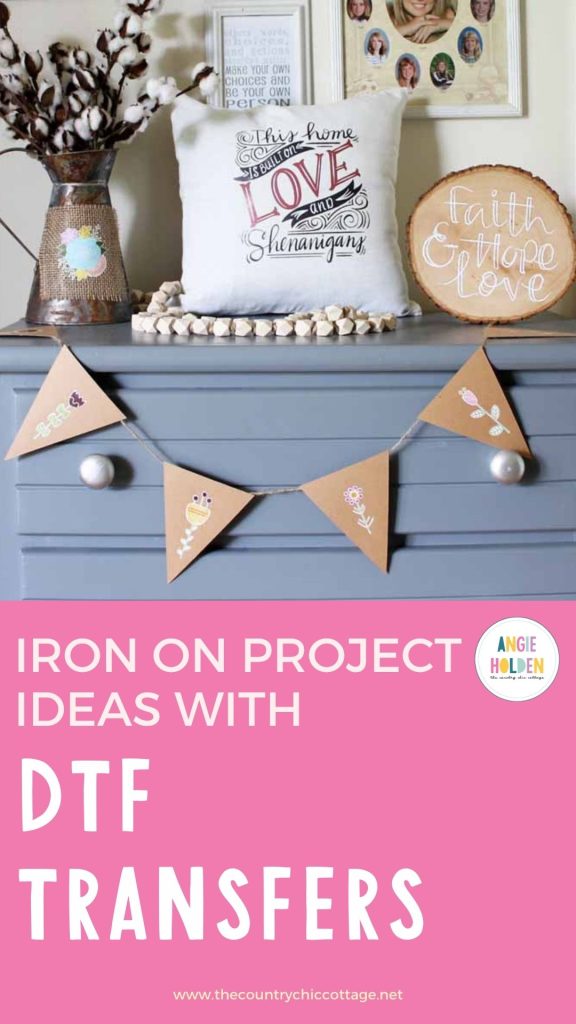
This pillow cover is complete! Yes, just that quickly, we have a cute pillow! That is why I love DTF transfers, y'all.
Other iron-on project ideas
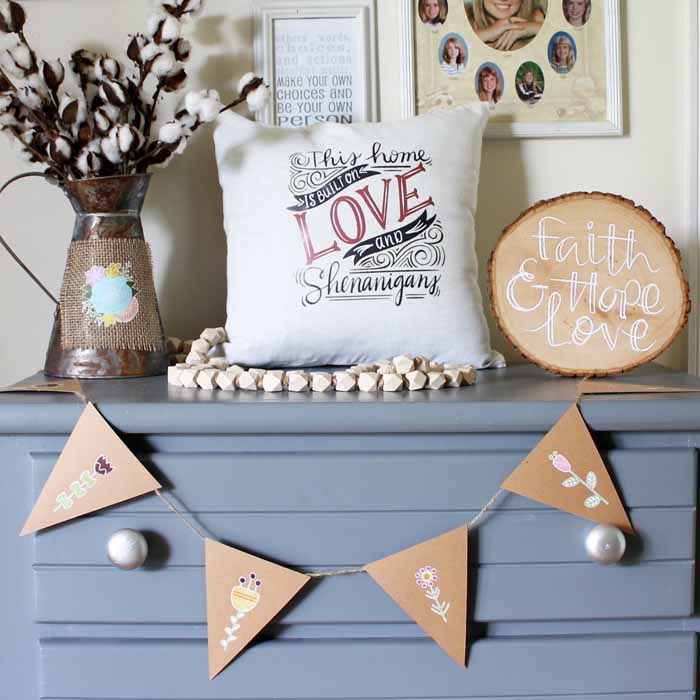
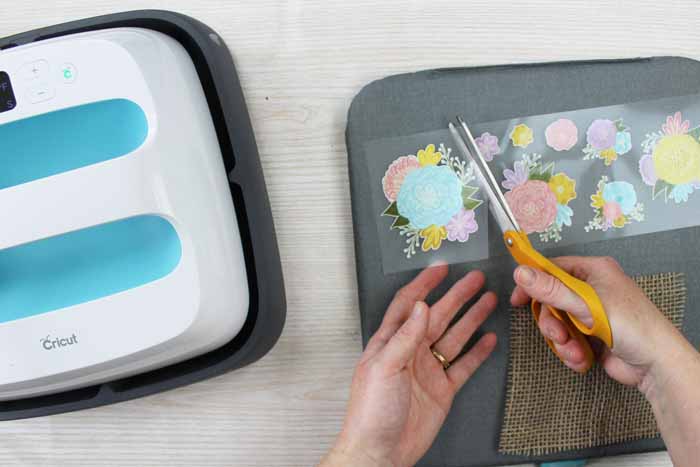
I did want to talk a bit about a few of the other things I made as well. You see, these DTF transfers are great for apparel, home decor, tote bags, and more! So, I couldn't stop with just two projects. For my next two designs, I cut the DTF transfers into pieces. This gives you even more options for using them on smaller projects.
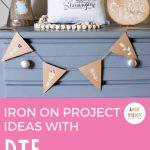
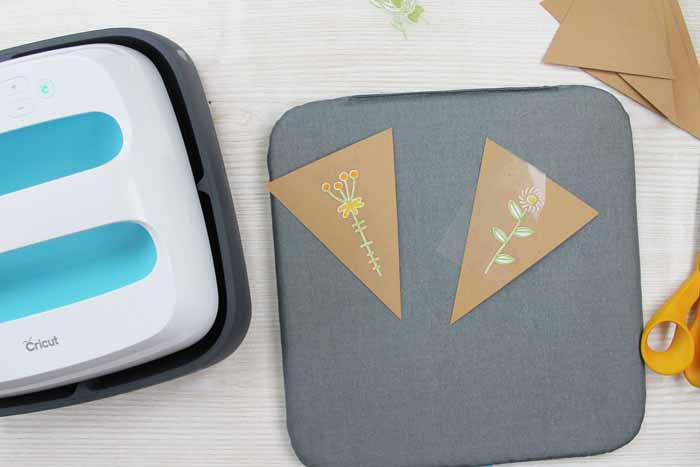
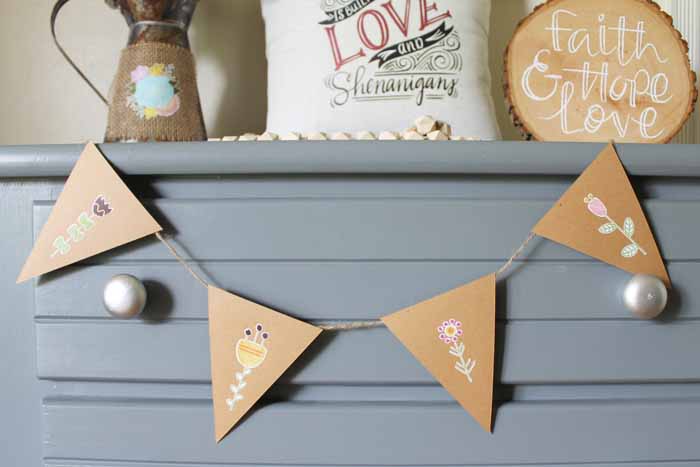
I even added a few of these transfers to paper to make a banner. My tip when working with paper is to trim the liner close to the design all the way around. Otherwise, I found that I had a slight staining on my paper.
Tips for working with DTF Transfers
A few notes about the care of your projects (especially those fabric ones):
- Allow 24 hours after application before washing.
- Wash and tumble dry inside out.
- Do not bleach.
- If you need to iron, only iron on the backside of the garment.
Now you are ready to set up all of your projects and enjoy! Yes, I made all of these in under an hour total. Now that is some quick crafting!
That paper banner turned out great! Using DTF transfers with paper opens up an entirely new world of crafting, y'all.
And, of course, you saw me make this rustic wood slice in the video at the top of this post. I love how this one turned out!
I just can't decide which is my favorite project from this bunch. Which is your favorite?
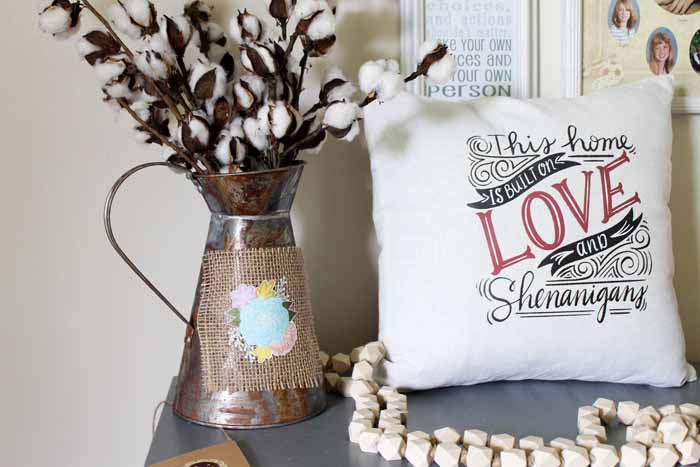
I ended up adding one of the small flowers to burlap and it worked perfectly! That one ended up on the front of this rustic pitcher.
Just another way to use DTF Transfers to make all of the projects! I am sure your head is spinning with ideas by now. What will you make first? I can't wait to get my hands on more of these designs.


Very interesting! I had never seen this product before! 🙂 Lisa
Stunning, that just opens up so many possibilities. Love that pillow btw Angie, so apt for our house