
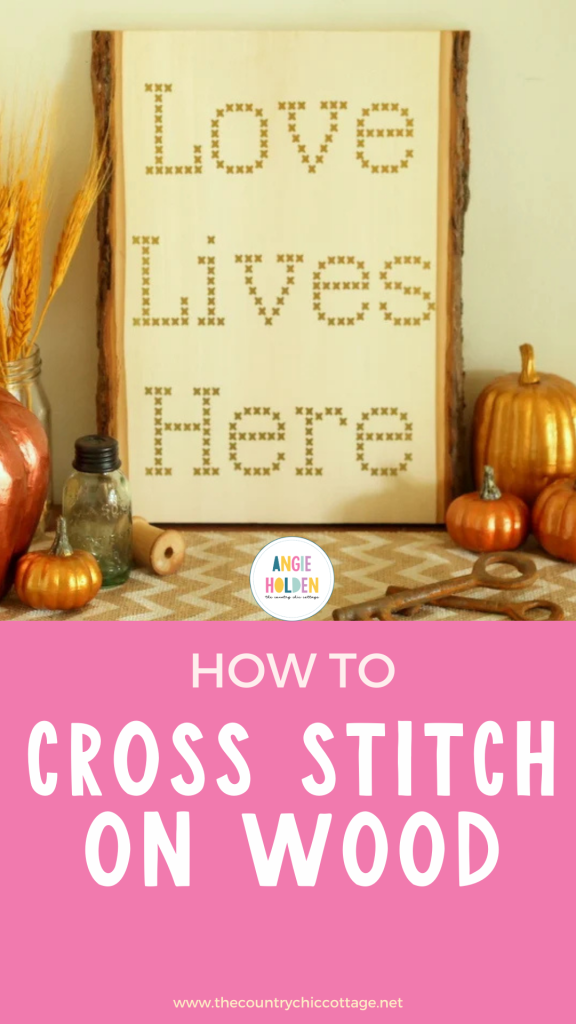
Cross stitching on wood is a fun and easy craft that allows you to take any design or font of your choice and turn it into an eye-catching piece of art. All you need is a Cricut machine, gold vinyl, and a wooden sign or board – and with just these few supplies, you can create beautiful pieces of artwork that will last for years to come! In this blog post, we'll cover everything from what cross stitch is to how to choose the perfect font – so let's get started!
Cross stitch was my very first ever true “craft” that I learned. So seeing it come back in new ways lately had me itching to do a project. And what better way to get back into cross stitch than on a wooden sign?
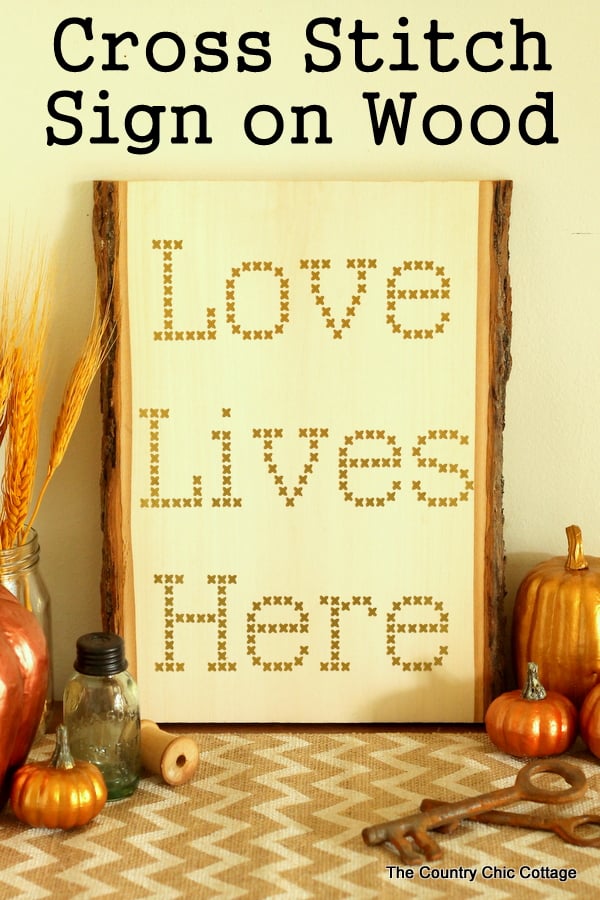
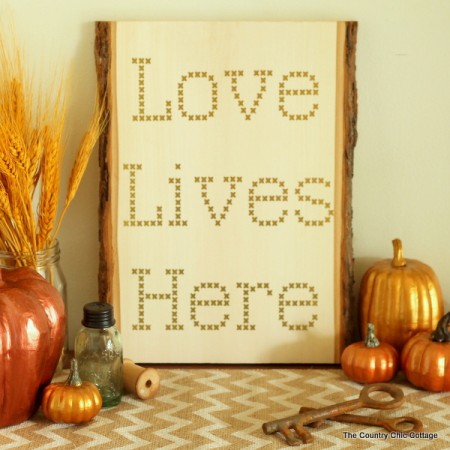
Cross-stitching on wood is a fun and easy way to create personalized pieces of artwork that are sure to impress your friends and family. My cross stitch sign can be made in just minutes!
What Is Cross Stitch?
Cross stitch is a form of embroidery that has been around for centuries. It involves stitching Xs in alternating directions to create intricate patterns and designs.
It's one of the most popular forms of needlework, and it can be used on just about any material imaginable – including wood!
How To Cross Stitch On Wood
Learning how to cross stitch on wood is a relatively easy process. Just follow these easy steps, and you'll be making gorgeous pieces of art in no time!
Supplies Needed
Here's what you'll need to gather:
- Cricut Explore, computer, and internet connection
- Gold metallic vinyl
- Vinyl transfer paper
- Wood sign (look for this Walnut Hollow Basswood Country Plank for the same look)
Cross Stitch Instructions
Follow these step-by-step instructions on how to use cross stitch font on a wooden sign.
Step 1
The first thing you need to know is something I just figured out….you can download great cross stitch fonts right to your computer! I used Kingthings, which you can download here!
I tried a variety of them, and that one seemed to work best in this application.
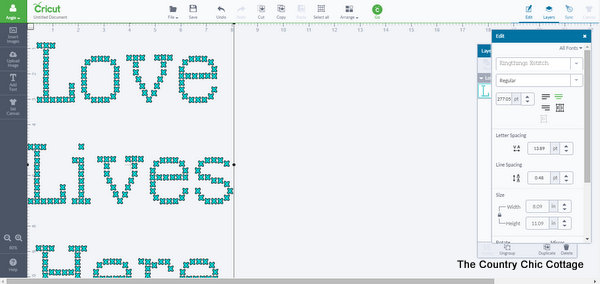
Step 2
After you have downloaded the cross stitch font, load it up into Cricut Design Space and choose your preferred size so that it will fill your board but not go over the sides.
Choose whatever phrase you like!
Step 3
Then, cut the words from some gold metallic vinyl loaded into your Cricut.
Note: This is some I had on hand, and I am unsure of the source…sorry!
Step 4
Remove everything except for those little Xs using some weeding tools (if you have them).
Step 5
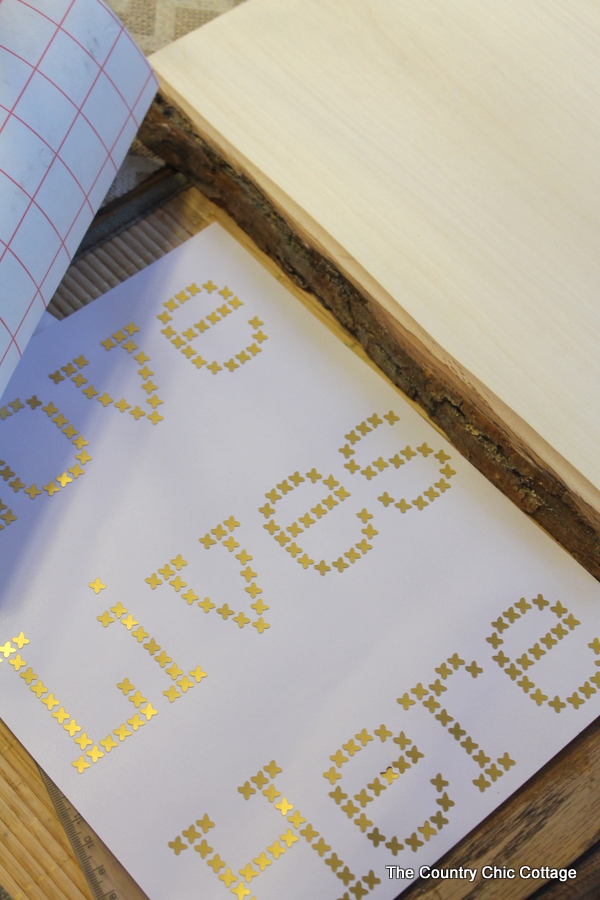
Apply the vinyl transfer paper and remove the vinyl from the backing.
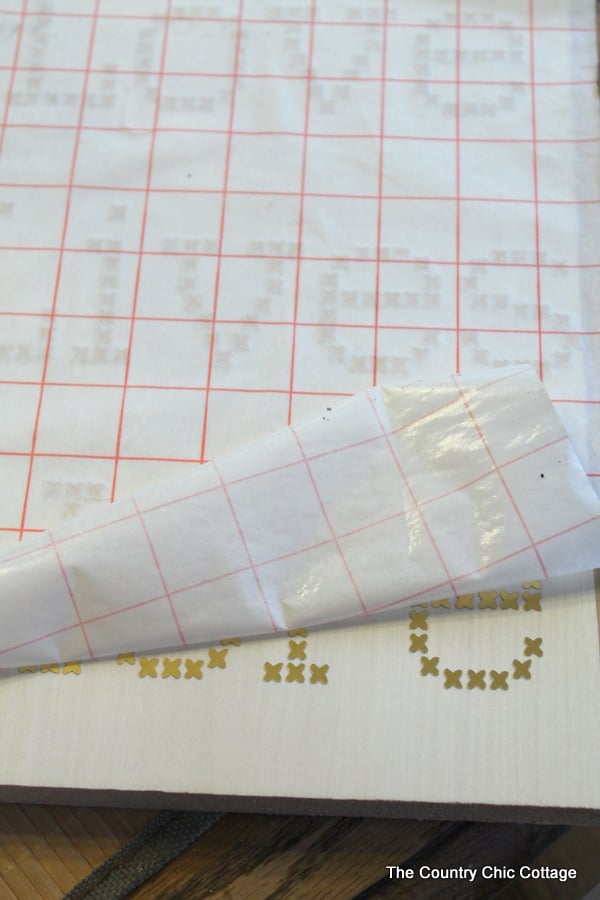
Step 6
Center on your wood plank and press down firmly. Then, SLOWLY remove the transfer paper to reveal your project.
Tip: Just go slow and steady through each step and make sure you don't leave any of those precious Xs behind.
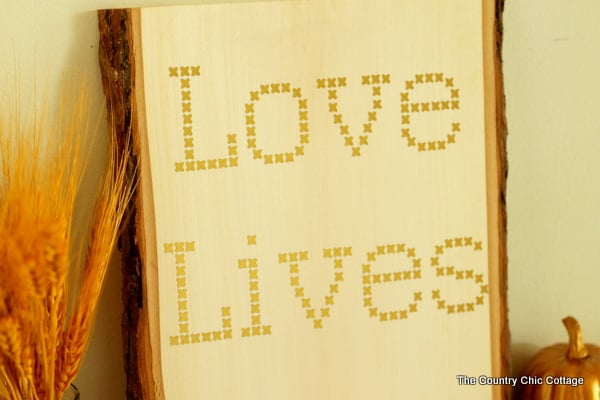
You will have a completed cross stitch wood sign in no time at all!
I am in love with this technique and am dreaming of other things I can make. I love that cross stitch look, but this can be applied to a variety of surfaces, and it is so quick and easy.
This particular project makes great home decor or even a holiday gift. Y'all enjoy this project and head on over to learn more about the Cricut Explore!
FAQs
If you have questions about how to cross stitch, I have answers for you! Please leave your question for me in the comments if you don’t see it already answered below.
What is the difference between cross and embroidery?
Cross stitch is a form of embroidery, but while with embroidery you can create more intricate designs, cross stitch gives a finished look that resembles an overall pattern.
Do I have to use transfer paper?
Yes, transfer paper is necessary in order to get the vinyl onto your wood.
Can I use any type of wood for this project?
Yes, you can use any type of wood but make sure it is unfinished and smooth.

More Cricut ideas
If you love this project and want to make more Cricut projects, we have those for you! Just follow the links below.
- How To Get Color Engraving With A Cricut Machine
- Free Templates For Maximum Cricut Print and Cut Sizes
- How To Use A Scorch Marker For Cricut Wood Burning
- Etch Slate With A Cricut
- DIY Cricut Wood Earrings
Supplies
- Cricut Explore computer, and internet connection
- Gold metallic vinyl
- Vinyl transfer paper
- Wood sign look for this Walnut Hollow Basswood Country Plank for the same look
Instructions
- Download great cross stitch fonts right to your computer! I used Kingthings, which you can download here!
- After you have downloaded the cross stitch font, load it up into Cricut Design Space and choose your preferred size so that it will fill your board but not go over the sides.
- Choose whatever phrase you like!
- Then, cut the words from some gold metallic vinyl loaded into your Cricut.
- Remove everything except for those little Xs using some weeding tools (if you have them).
- Apply the vinyl transfer paper and remove the vinyl from the backing.
- Center on your wood plank and press down firmly. Then, SLOWLY remove the transfer paper to reveal your project.
- You will have a completed cross stitch wood sign in no time at all!
Notes
- This vinyl is some I had on hand, and I am unsure of the source…sorry!
- Just go slow and steady through each step and make sure you don't leave any of those precious Xs behind.


LOVE how this turned out, Angie!!! Cross stitch was my first craft, too, so I hold it near my heart. I love this modern take on it!