
What happens when you dye curtains for one daughter? Naturally, the other daughter will want some too! This time, I’m using a dip dye technique that turned out fantastic. Follow today’s easy tutorial to learn how to dye curtains using this dip dye method!
How To Dye Curtains
As I mentioned earlier, this is not my first time dyeing curtains! Below are the original tie-dyed curtains that I made for my daughter, which inspired me to create even more curtains!
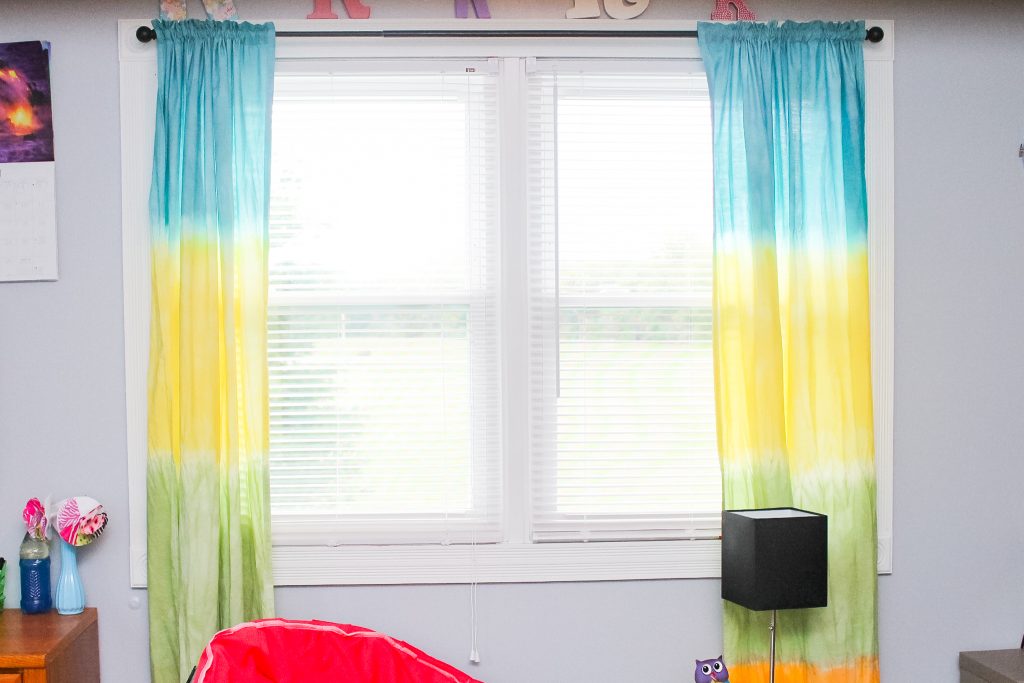
If you like the tie-dye curtains, click here for the full tutorial on how to make them and the dye mixture I use.
Today, I will show you how to make dip-dyed curtains that are perfect for any bedroom, bathroom, college dorm room, or even a laundry room!
Supplies For Dip Dye Curtains
- RIT Liquid Dye
- This time, I used just the aquamarine dye from RIT. I prefer this brand and the liquid form, but use whatever color and brand you love.
- White Curtains
- Gloves
- Trash Bag
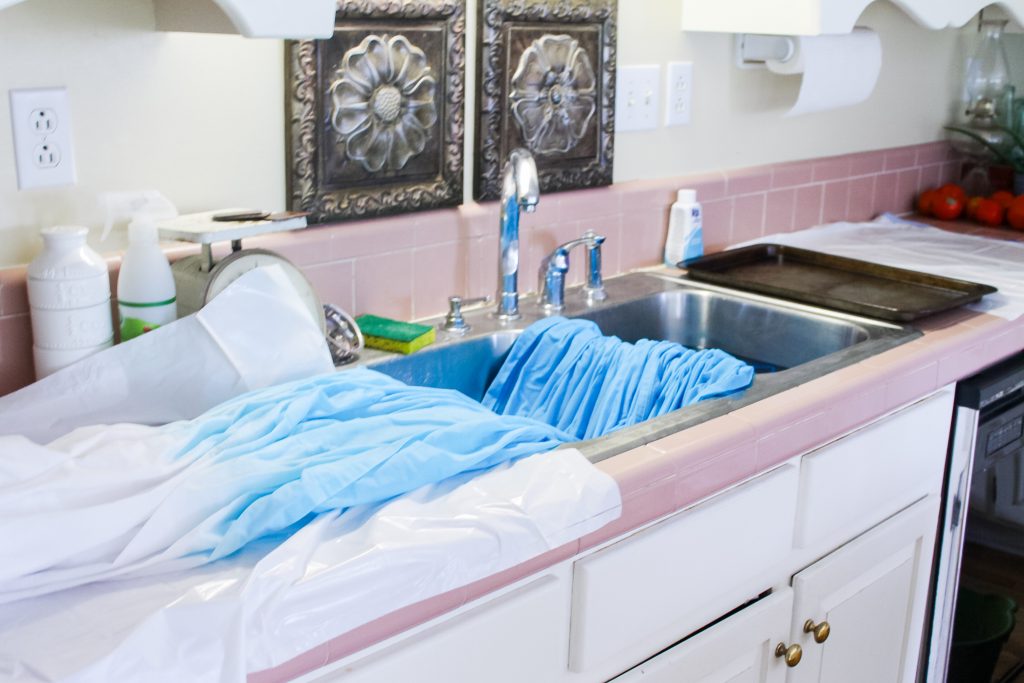
Step 1: Cover Your Work Surface
I will be working at the sink, so I covered part of my counters with a white trash bag to protect the surface.
Step 2: Read The Directions Of Your Chosen Dye
Before you begin dyeing your curtains, it's important to read the directions of your chosen dye. This is because all dyes can vary in terms of mixing, application, drying time, etc.

Step 3: Dye Curtains
After reading the directions on the back of your dye, put on your gloves (ALWAYS WEAR GLOVES WHEN WORKING WITH DYE!!) and start dyeing!
My setup looked like the one below while I was dying. The dye is in the right sink, and I would rinse it in the left sink. The curtains are slightly ombre as I left the bottom in the dye longer than the top-most dyed portion. You can decide how you want yours to look. This is just an easy setup for handling a large amount of fabric.
I did two panels and dyed them both at the same time.
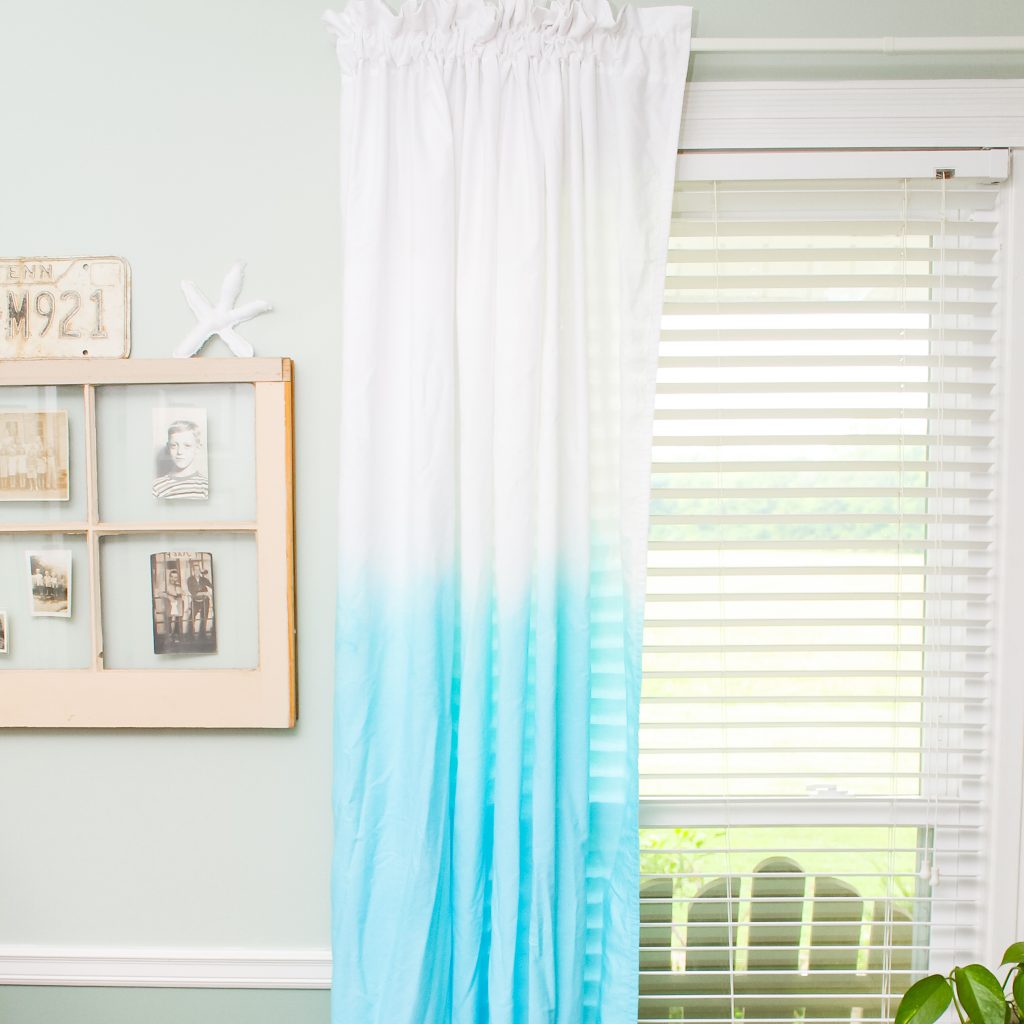
Step 4: Hang Curtains To Dry
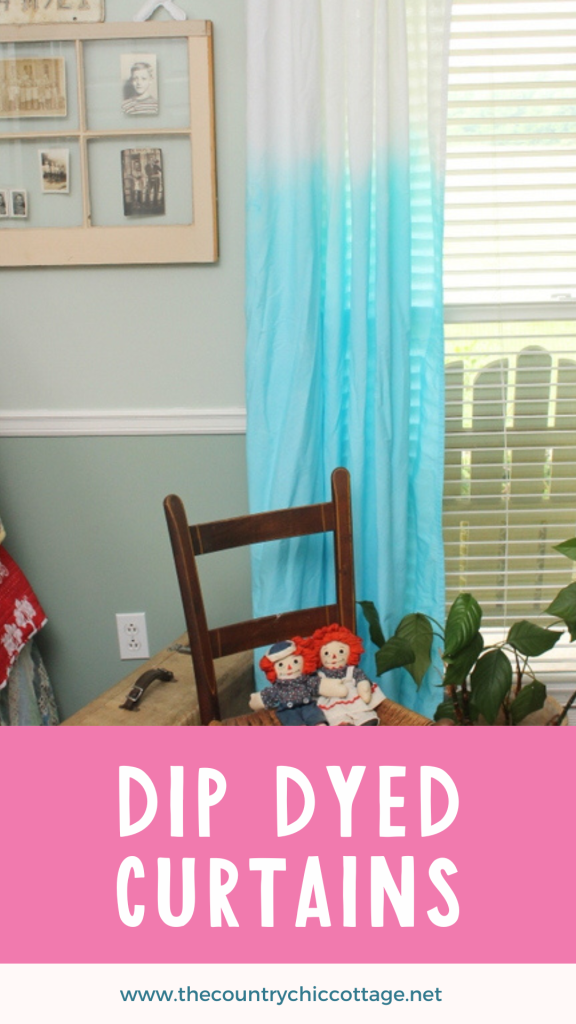
Once they were completely rinsed, I put them on the clothes line outside to dry. Then I brought them in for a little photo session!
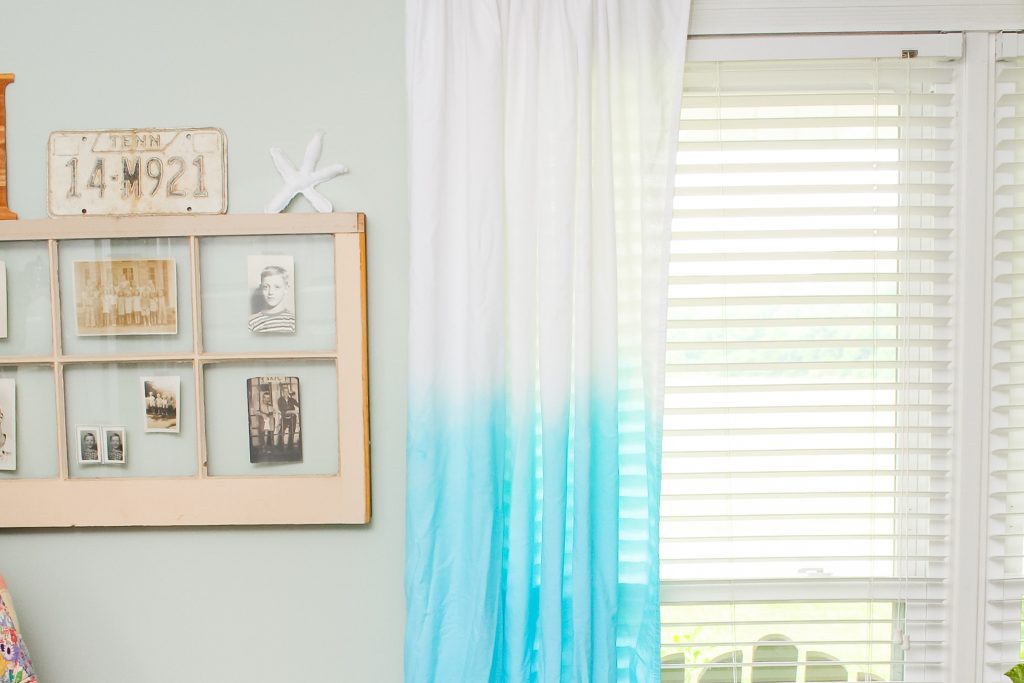
They are staged in my room here, but quickly left for the college daughter's apartment. I think I might have to dip-dye another pair for this room. What do you all think? Do you love 'em?

Tips and Tricks for How To Dye Curtains
Now that you’ve seen how to dye curtains, are you ready to make your own? Here are a few tips and tricks to ensure your project goes as smoothly as possible!
- Cover Your Work Surface – I can't say this enough, but cover your work surface! Since we using dye, it can stain the surface that you are working on. Due to that, you will want to cover up your work surface with an old towel, a mat, or even a Dollar Tree tablecloth that you can throw away later.
- Make Your Own Curtains – If you don’t want to buy store-bought curtains, you can make your own from a queen-sized sheet instead! Learn how to make your own by following this tutorial!
- Play Around With Color – For these curtains, I liked the look of the white curtains being dipped into the aquamarine blue. However, you can start with a colored curtain and ”dip it” into another color instead. For example, you could have blue curtains dipped in orange or red curtains dipped in pink!
- Skip The Sink – If you don't want to dip dye your curtains in your sink, you can use a large plastic bucket instead!
5 More Curtain DIYs
If you love learning how to dye curtains, here are some other curtain DIYs that you won’t want to miss!


