Did you know that you can create a DIY acrylic cake topper using the Cricut Maker? This versatile machine can cut plastic, enabling you to design cake toppers that resemble those expensive acrylic versions. By making your own cake toppers at home with your Cricut, you can save money! I’ve successfully used my Maker to cut acrylic in the past, but I received many questions about whether this method would work for cake toppers. That’s why I decided to create a project to show you how to do it!
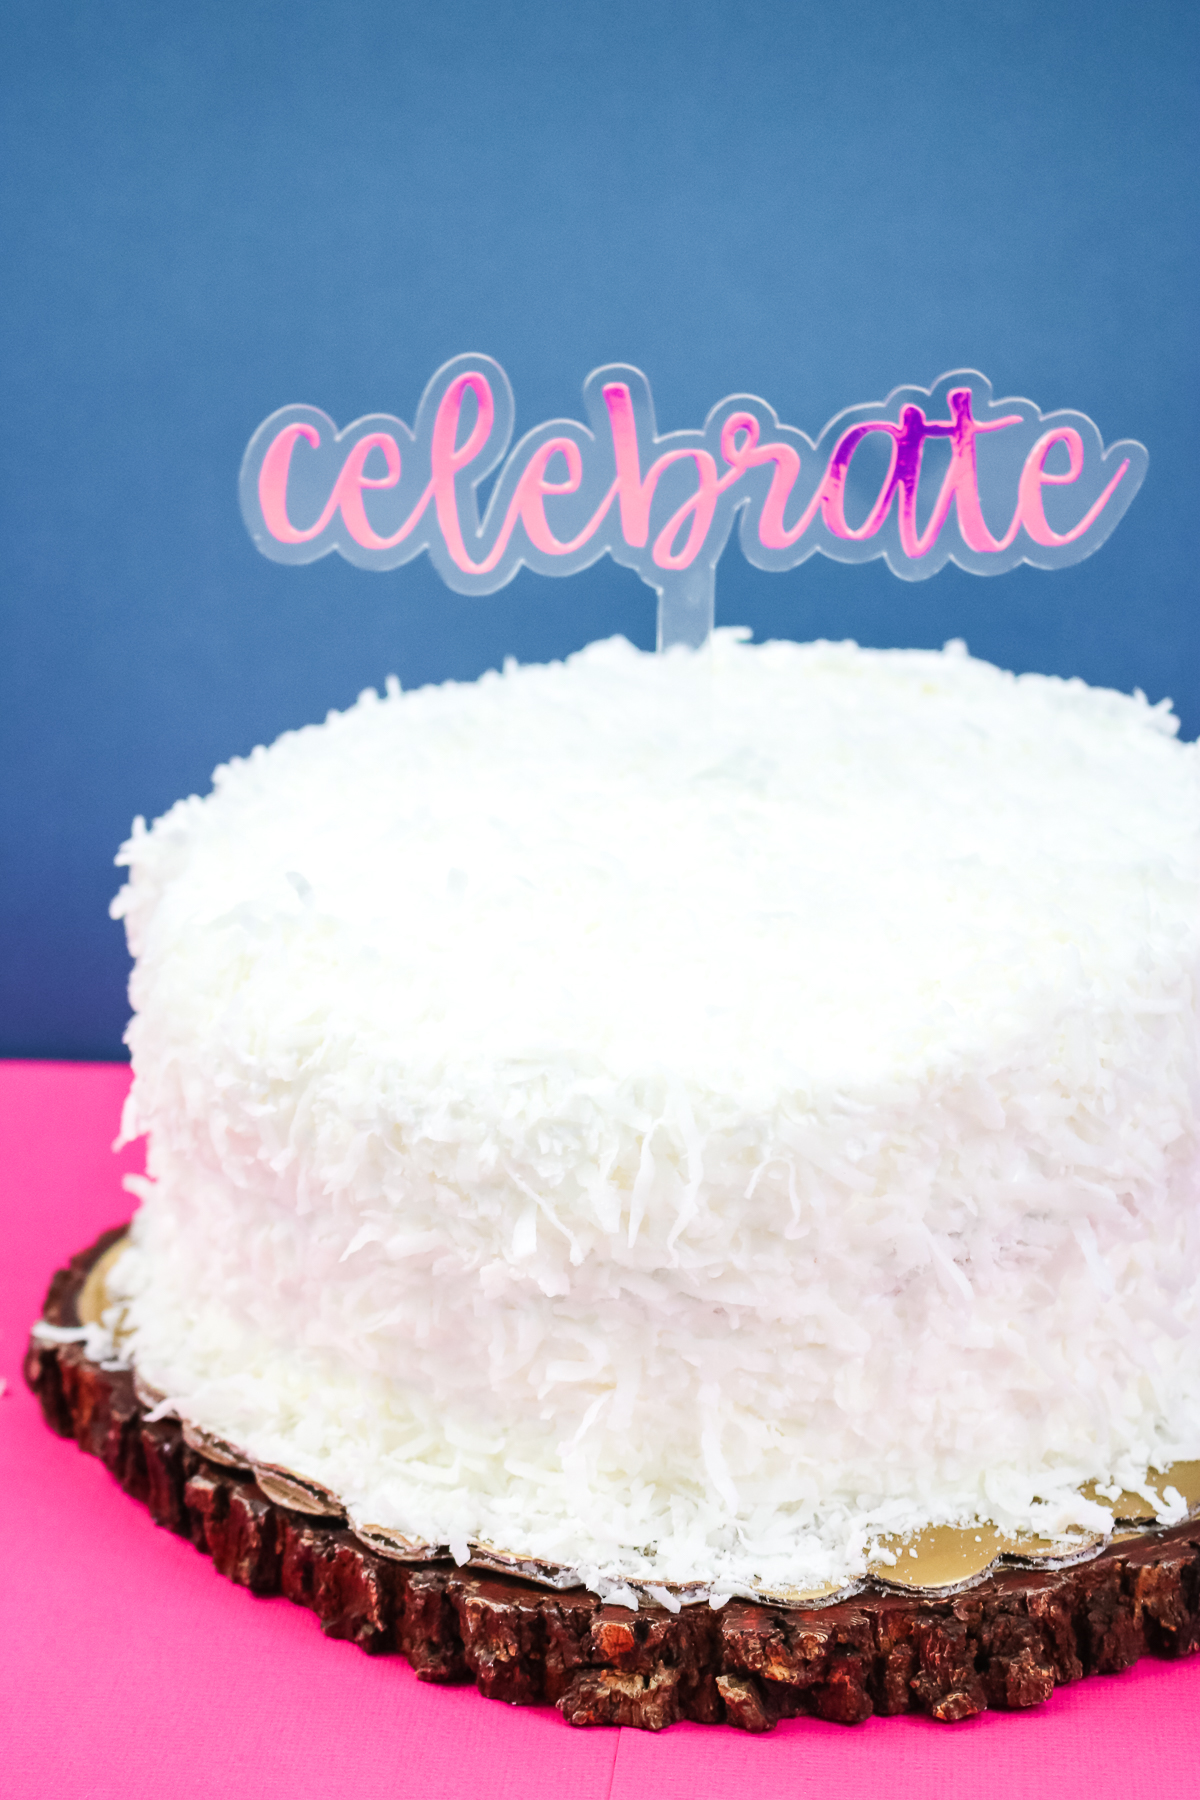
DIY Acrylic Cake Topper
You can watch me design and cut an acrylic cake topper in the video below. Just click play to see all the details of creating this craft for your next party or event.
Can't watch the video or missed some of the information? You can keep reading below for further details.
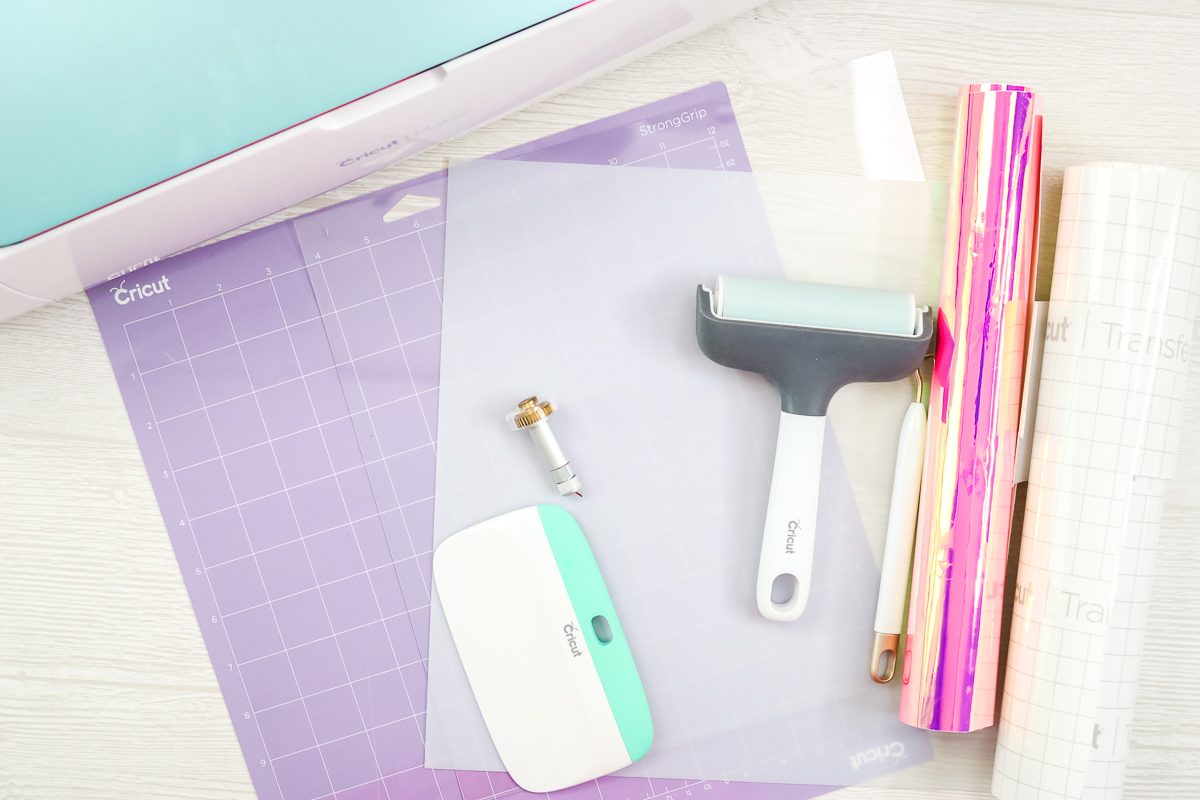
Supplies Needed
- Cricut Maker
- Knife Blade
- Acrylic Sheets (I find that this .020 size works great in the Maker, as thicker materials don't cut through.)
- Pink Holographic Vinyl
- Weeding Tools
- Scraper
- Brayer
- Transfer Tape
- Painter's Tape
- Strong Grip Mat
Designing Cricut Cake Toppers in Design Space
To start, you'll need to create your design. You can use the same design I used by going to Cricut Design Space and searching for image #M1BB38912. Or you can make your own design in just a few minutes. Follow the instructions below to make a variety of cake toppers for your next party.
Option 1 – Cake topper with an image
To create a cake topper using an image, you'll need the image you intend to use, as well as a circle or another shape to surround it, and a long, thin rectangle that will go into the cake as a post. You can use the shape tools to create your circle and rectangle. For my vinyl cut file, I simply searched for “happy birthday” images in Design Space.
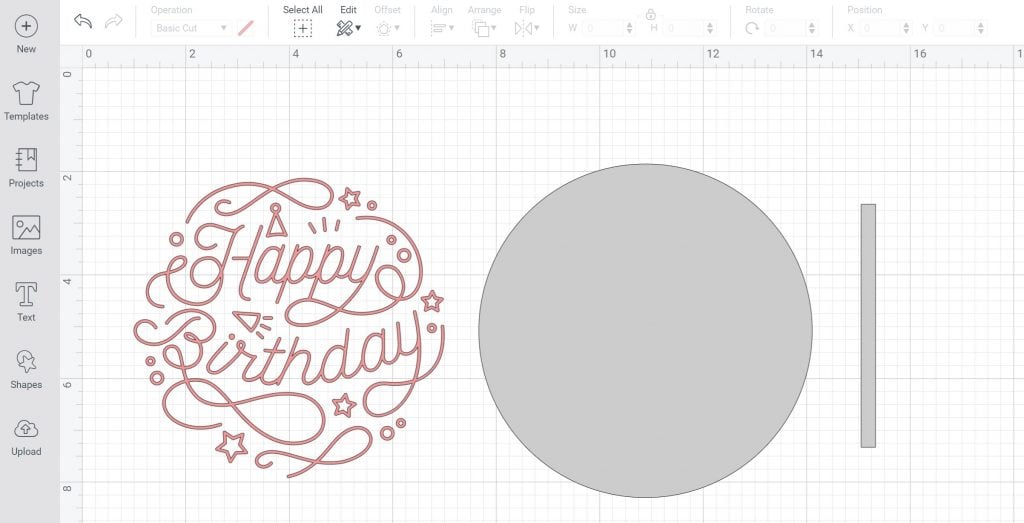
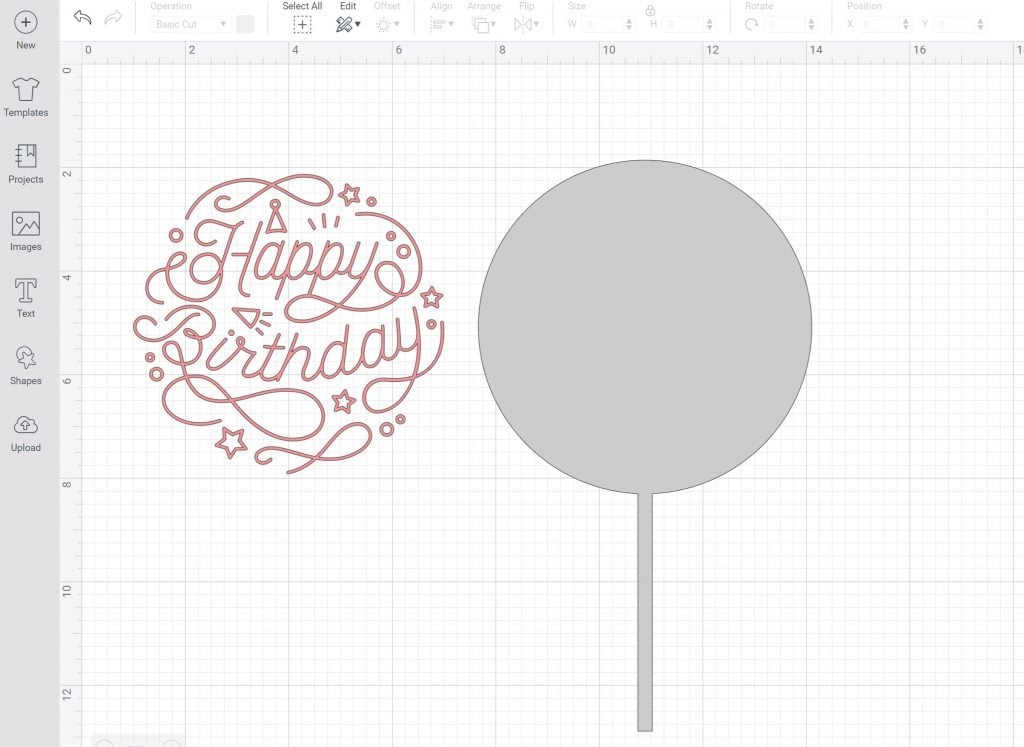
First, overlap the circle and the square, making sure to use the “Align” tool to center them horizontally. Next, select both objects and click “Weld” to combine them into one solid design. Once you’ve done this, the acrylic piece will be ready to be cut. The gray piece will be cut from acrylic, while the pink piece will be cut from adhesive vinyl.
Option 2 – Cake topper using text
You can also turn text into a cake topper. There are a few ways to do that. Check out this post to learn how to use the offset feature on some cursive text to make an outline of the text to use for your cake topper.
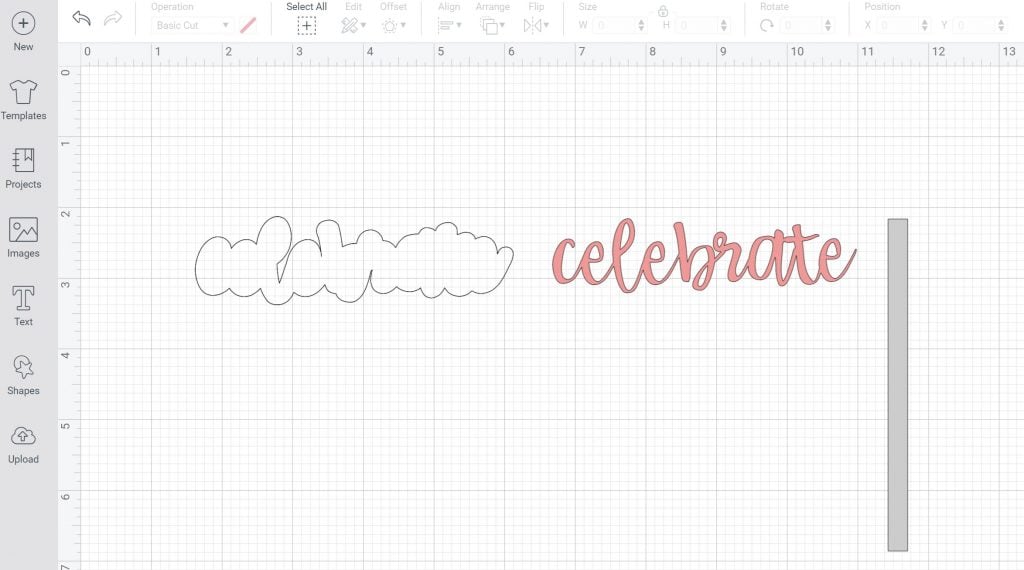
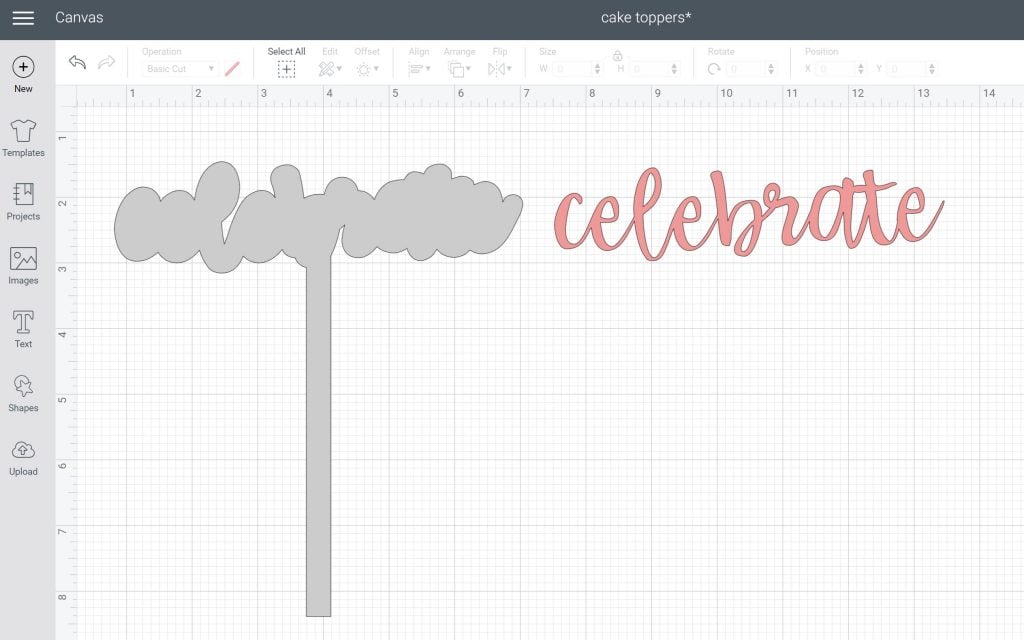
Then, using the same process as above, weld the offset piece together with a simple rectangle to make a shape for your acrylic piece. Now you can cut the grey from plastic and the pink from vinyl to create your cake topper.
Finally, you can use a stencil font as a cake topper. I prefer a stencil font so that all of my letters stay together. You will need the word, one rectangle for the bottom, and one to create the post to put in your cake.
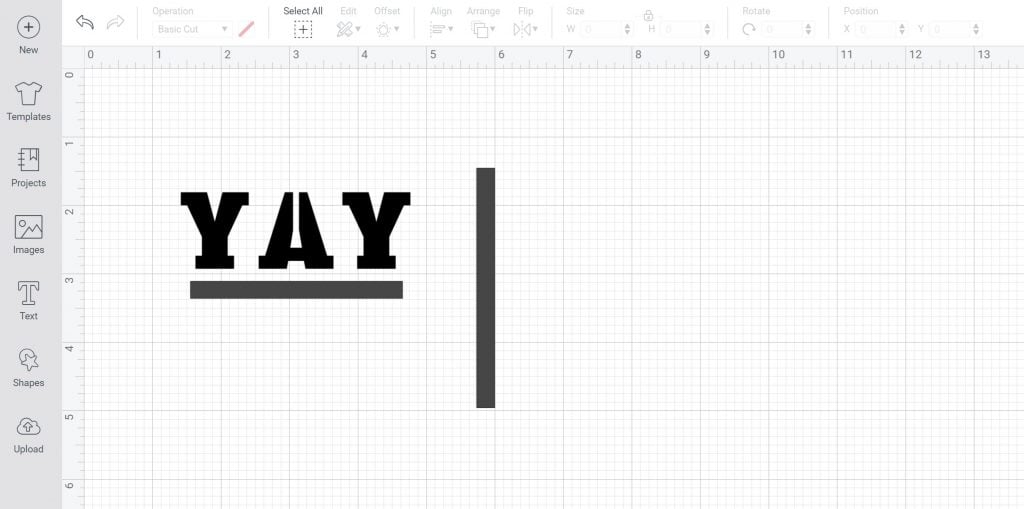
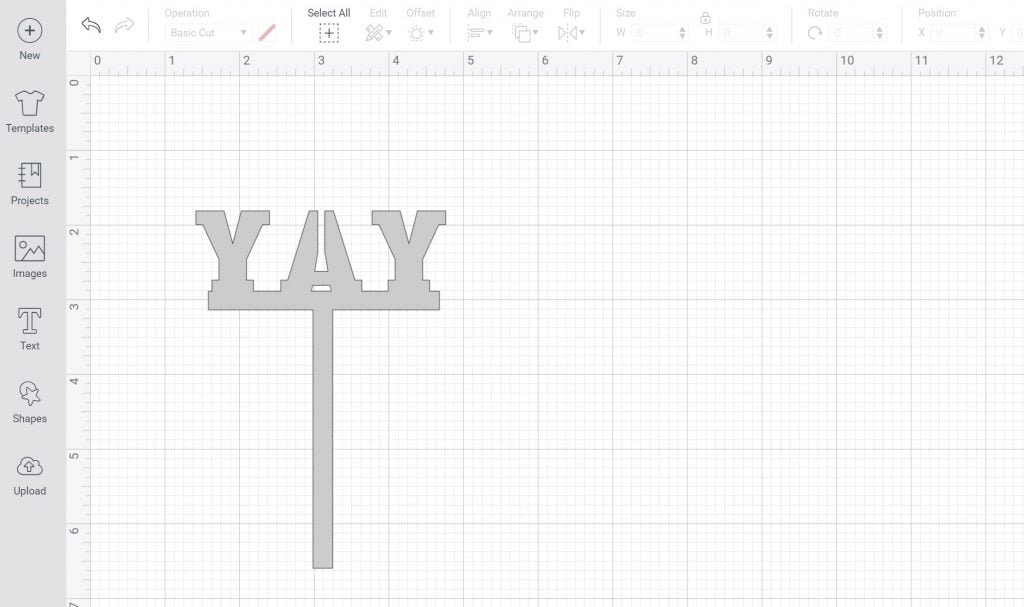
Then just weld all three pieces together and cut! This one is simple, and you can use it as is or even paint the back after it is cut.
Cutting acrylic for the Cricut Cake Topper
Now that you have your design, it is time to cut the acrylic with the Cricut Maker.
Step 1 – Prep acrylic sheet
The acrylic sheets (listed above) come with a protective film on the front and back. I usually remove that before cutting.
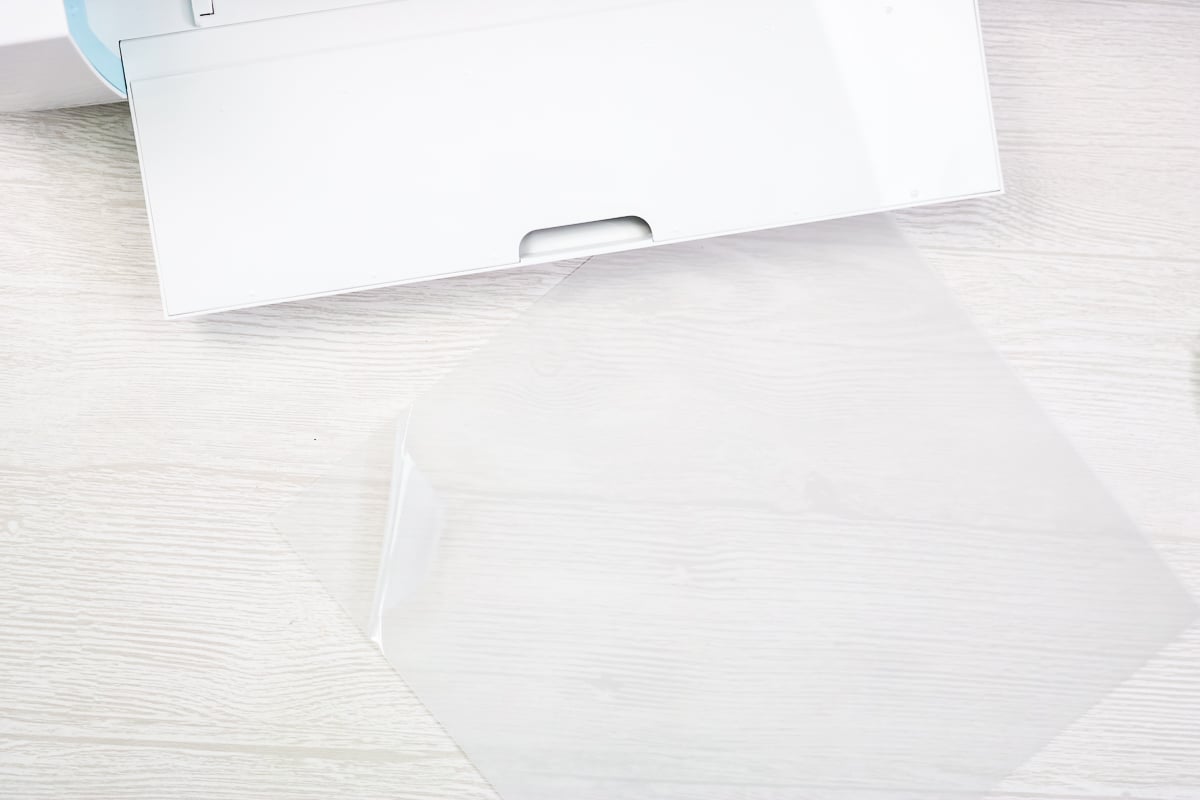
Step 2 – Place acrylic on mat
Then place it on your strong grip mat. Use a brayer to stick down to the mat well and tape all the way around with painter's tape to secure.
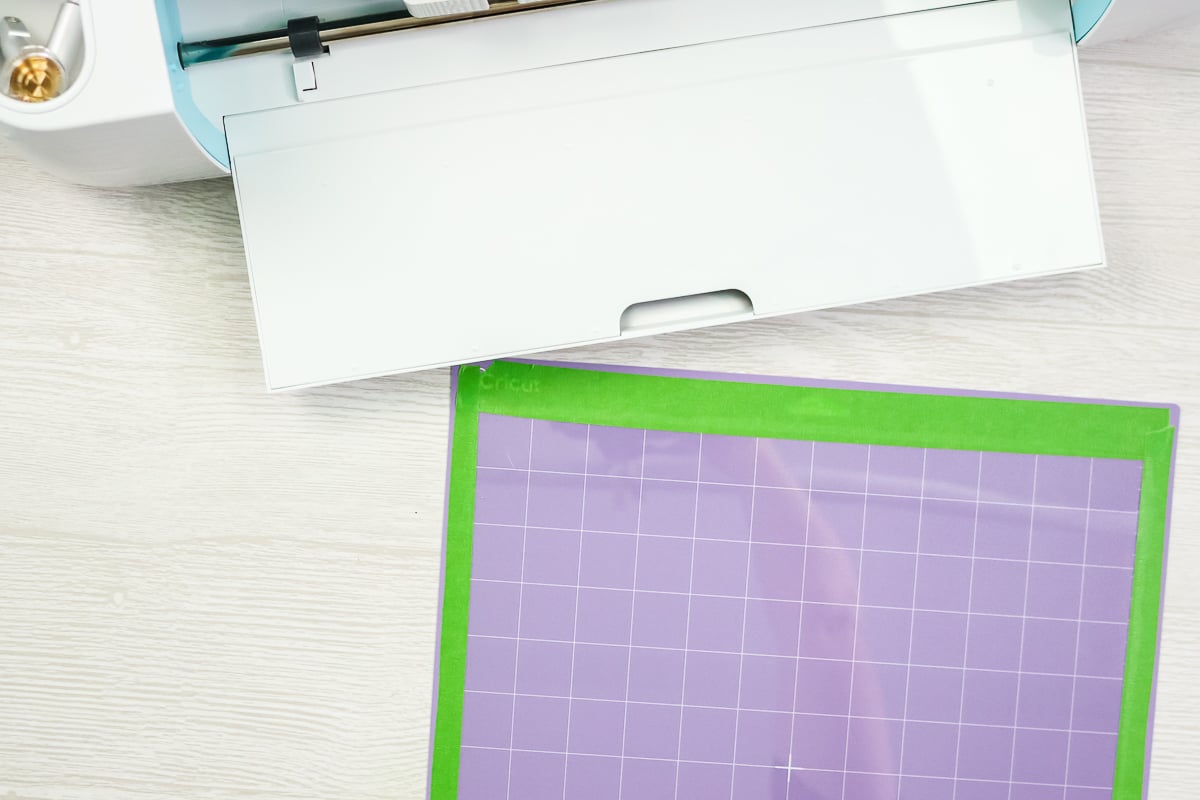
Step 3 – Move star wheels and load mat
Load your mat into your Cricut machine. Be sure to move the white star wheels all the way over to the right. I like to use the basswood setting and the knife blade to cut these sheets. Be sure to watch the cuts and pause the machine occasionally to check the cut. Mine went about 16 passes and was cut through. The curves will be the last to be completed.
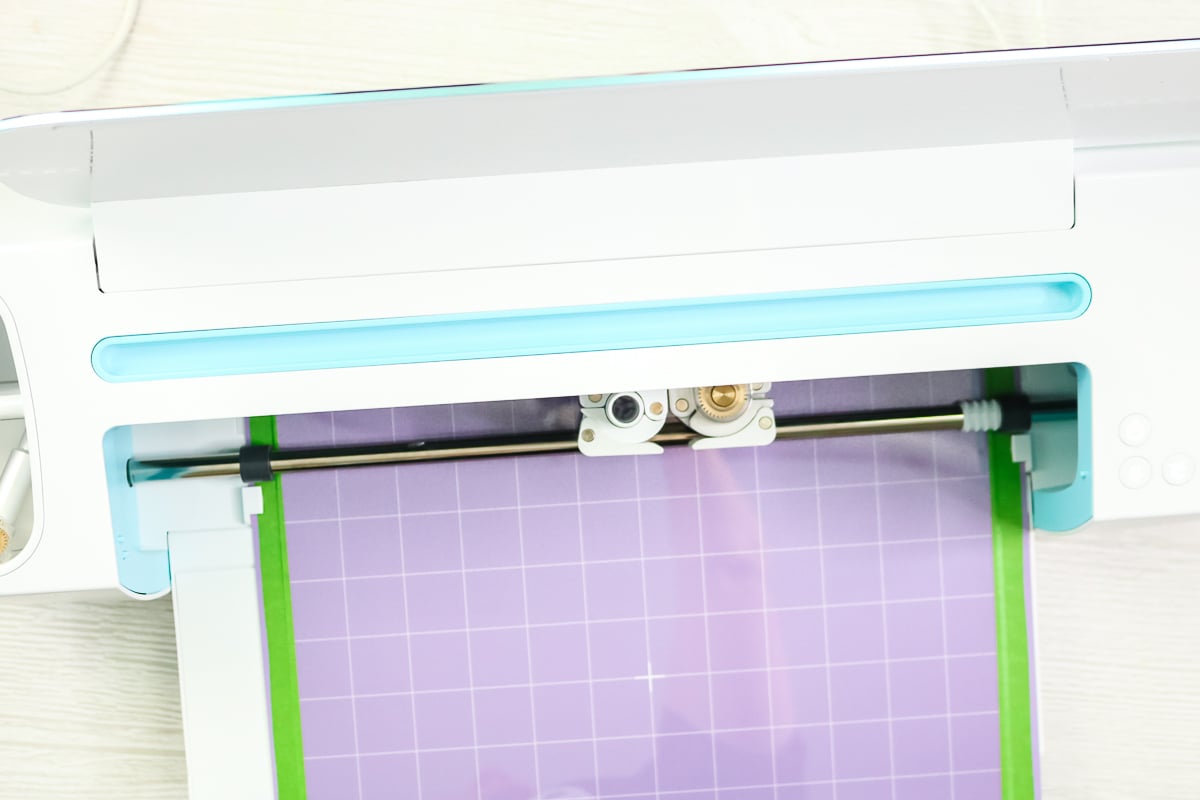
Step 4 – Remove the mat from Cricut machine
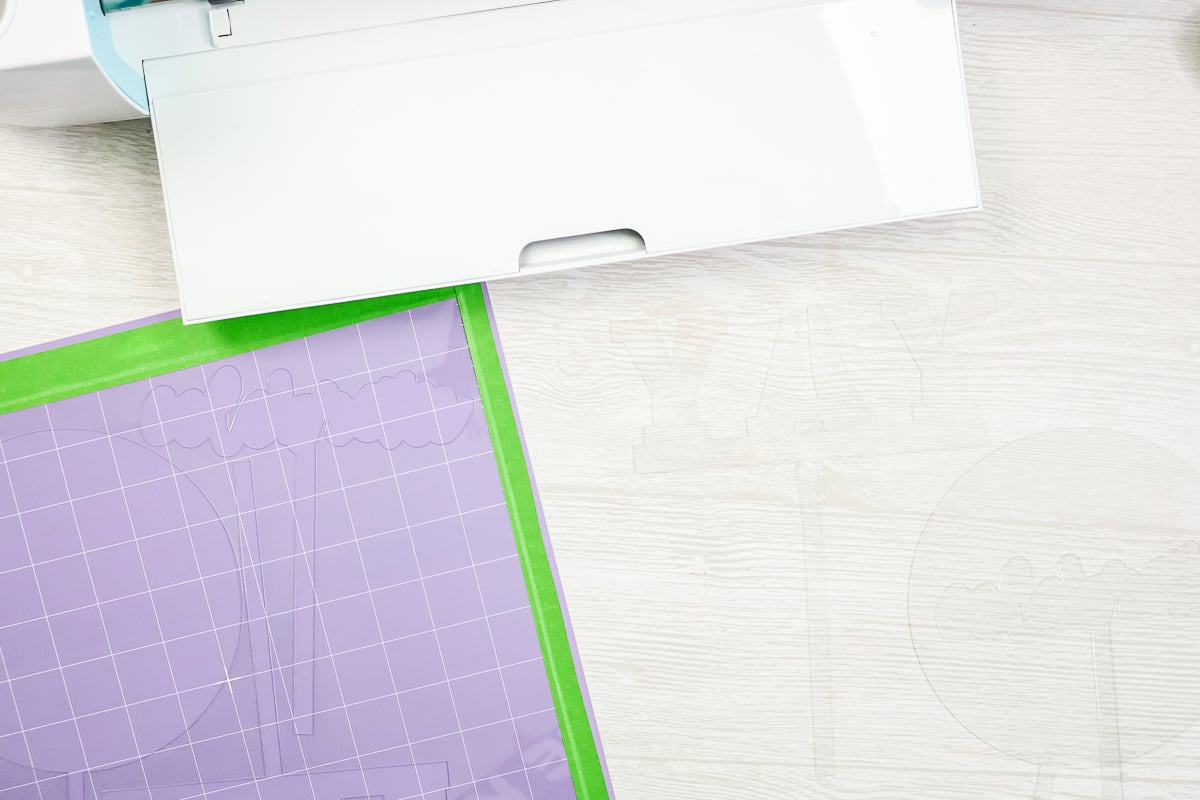
Once the cuts are complete, remove the mat from the machine, and then you can start removing your cut pieces.
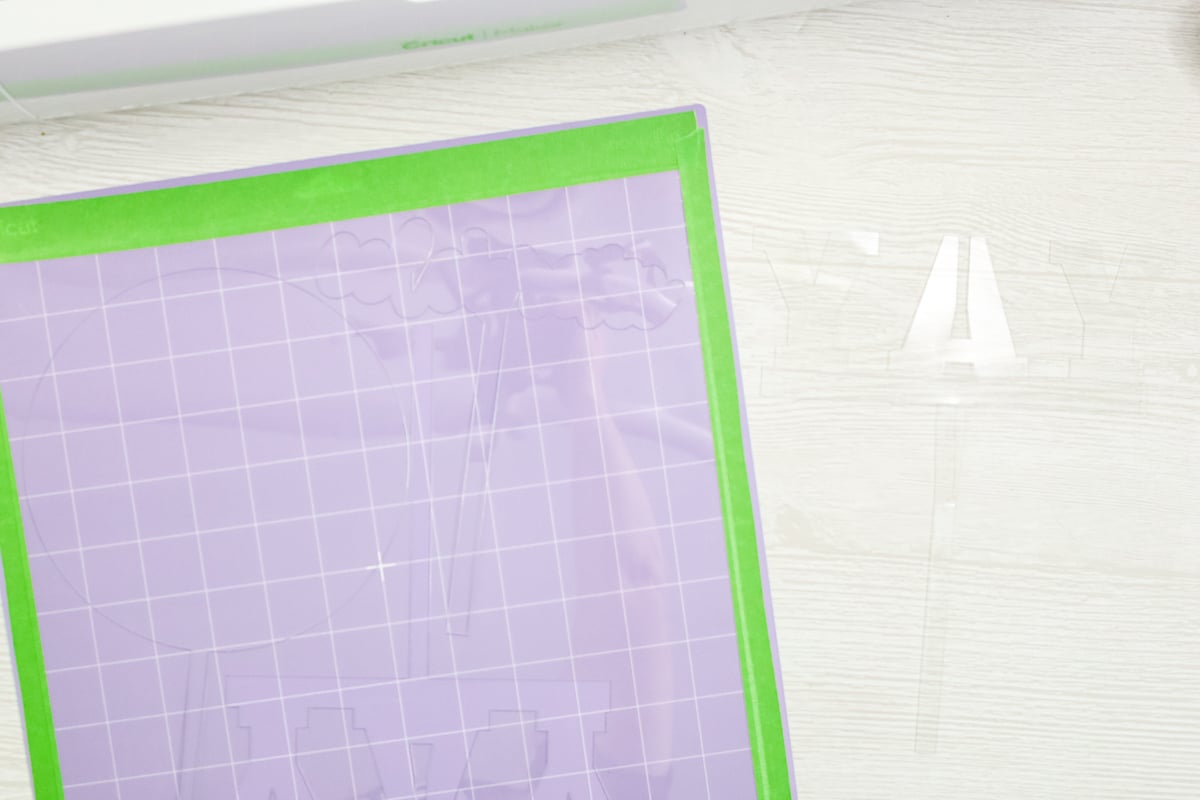
It may be easier to flip the mat over and pull the cut pieces off.
Add Vinyl to the Cut Acrylic Pieces
You will also want to cut your vinyl design, then you can add it to your cake toppers as well. Be sure to weed your cut vinyl, then add transfer tape over the top.
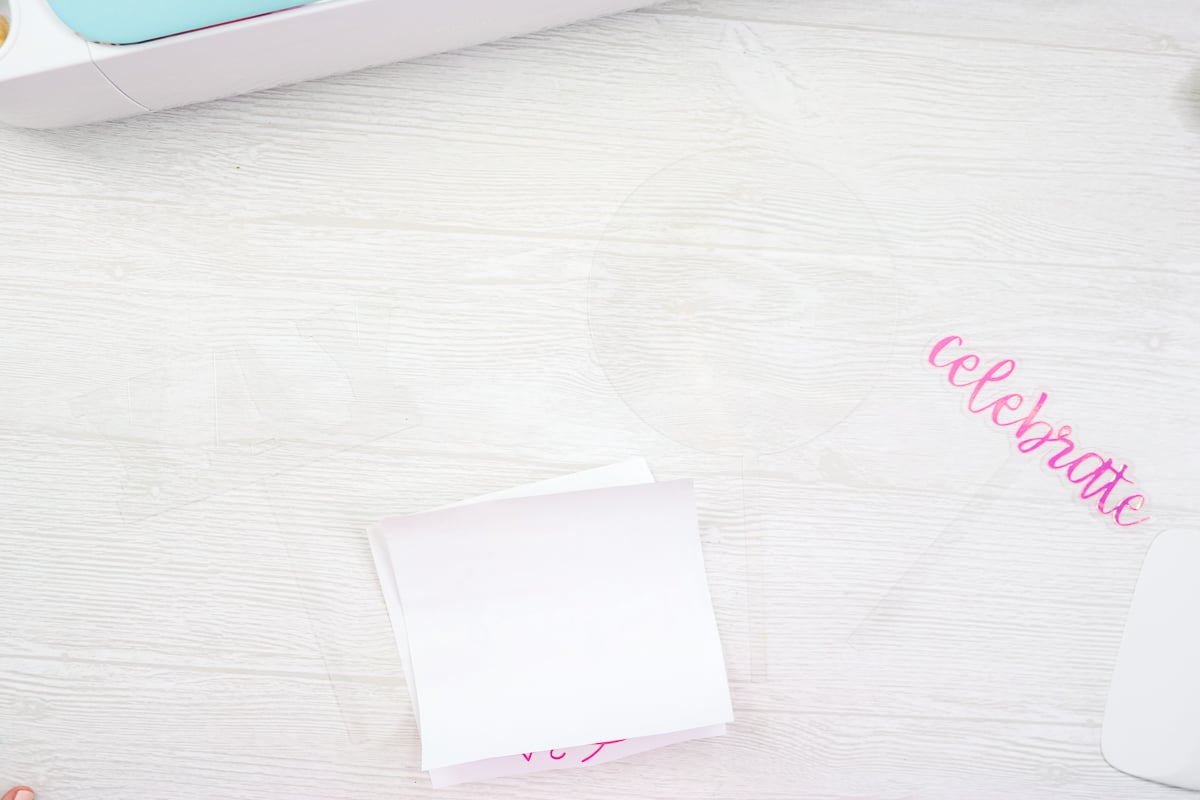
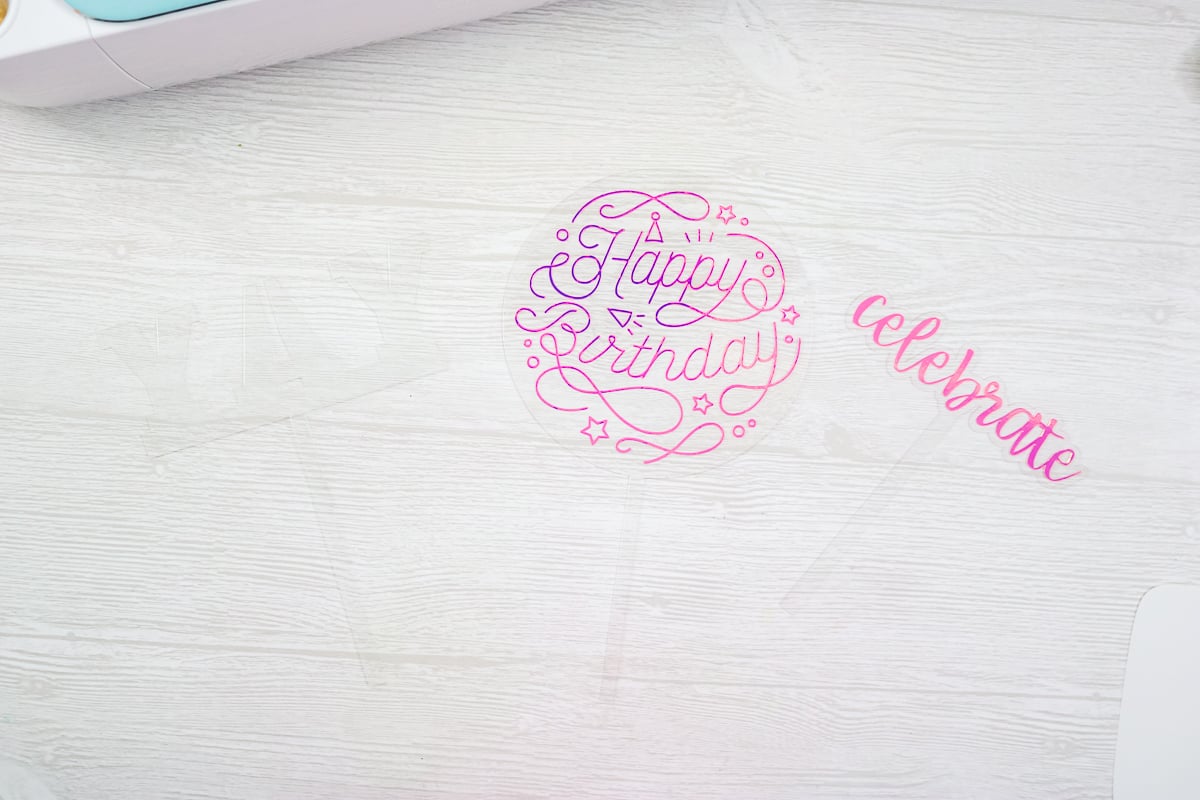
Peel the vinyl away from the backing, then place it on your cut acrylic. Press down well with your scraper, then remove the transfer tape. You have just made a Cricut cake topper!
Add the Cricut Cake Topper to Your Cake
Just put the long piece into your cake and press down. This thin plastic is fairly flimsy, but the cake will hold up enough for a party. You can also trim the part that goes into your cake with a pair of scissors if you get it too long.

If you make a larger cake topper like the Happy Birthday version, you will need to push it all the way down into your cake so that the cake itself helps to hold it up. Otherwise, this version would lean forward or backward when in the cake.
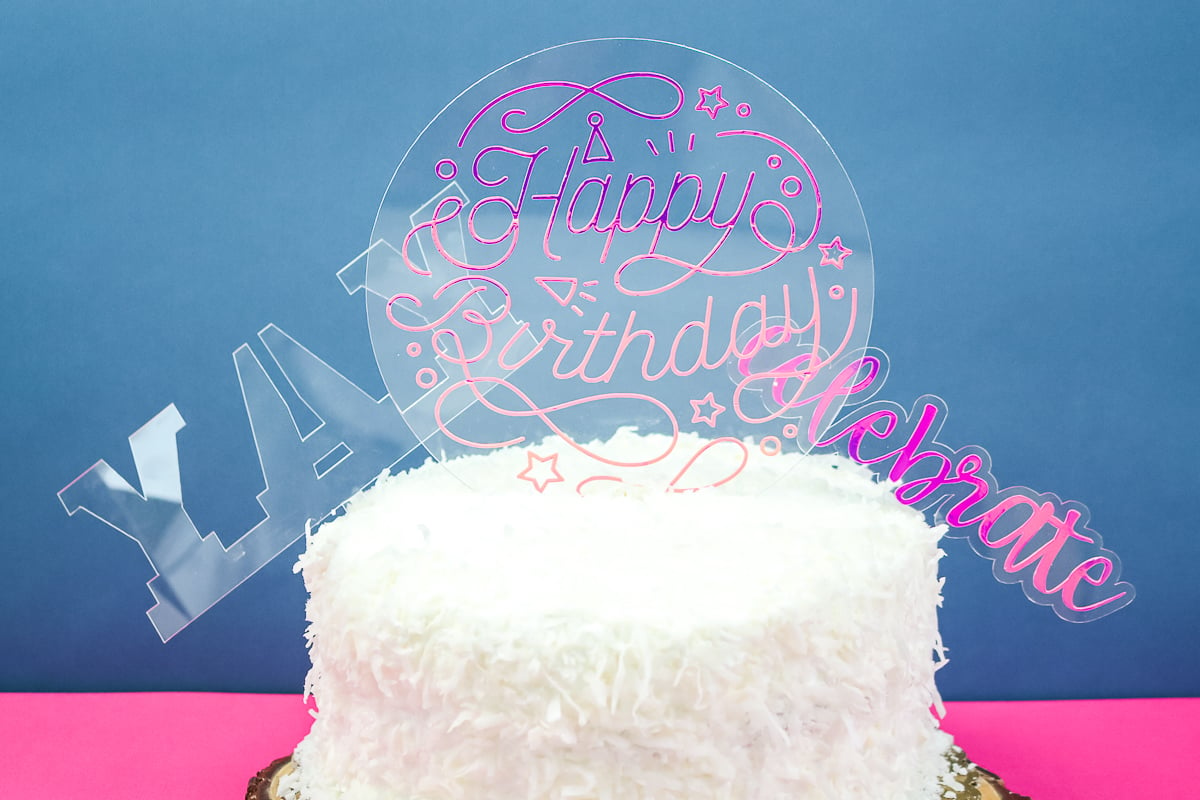
These cake toppers look amazing and are perfect for birthdays, anniversaries, graduations, and more.
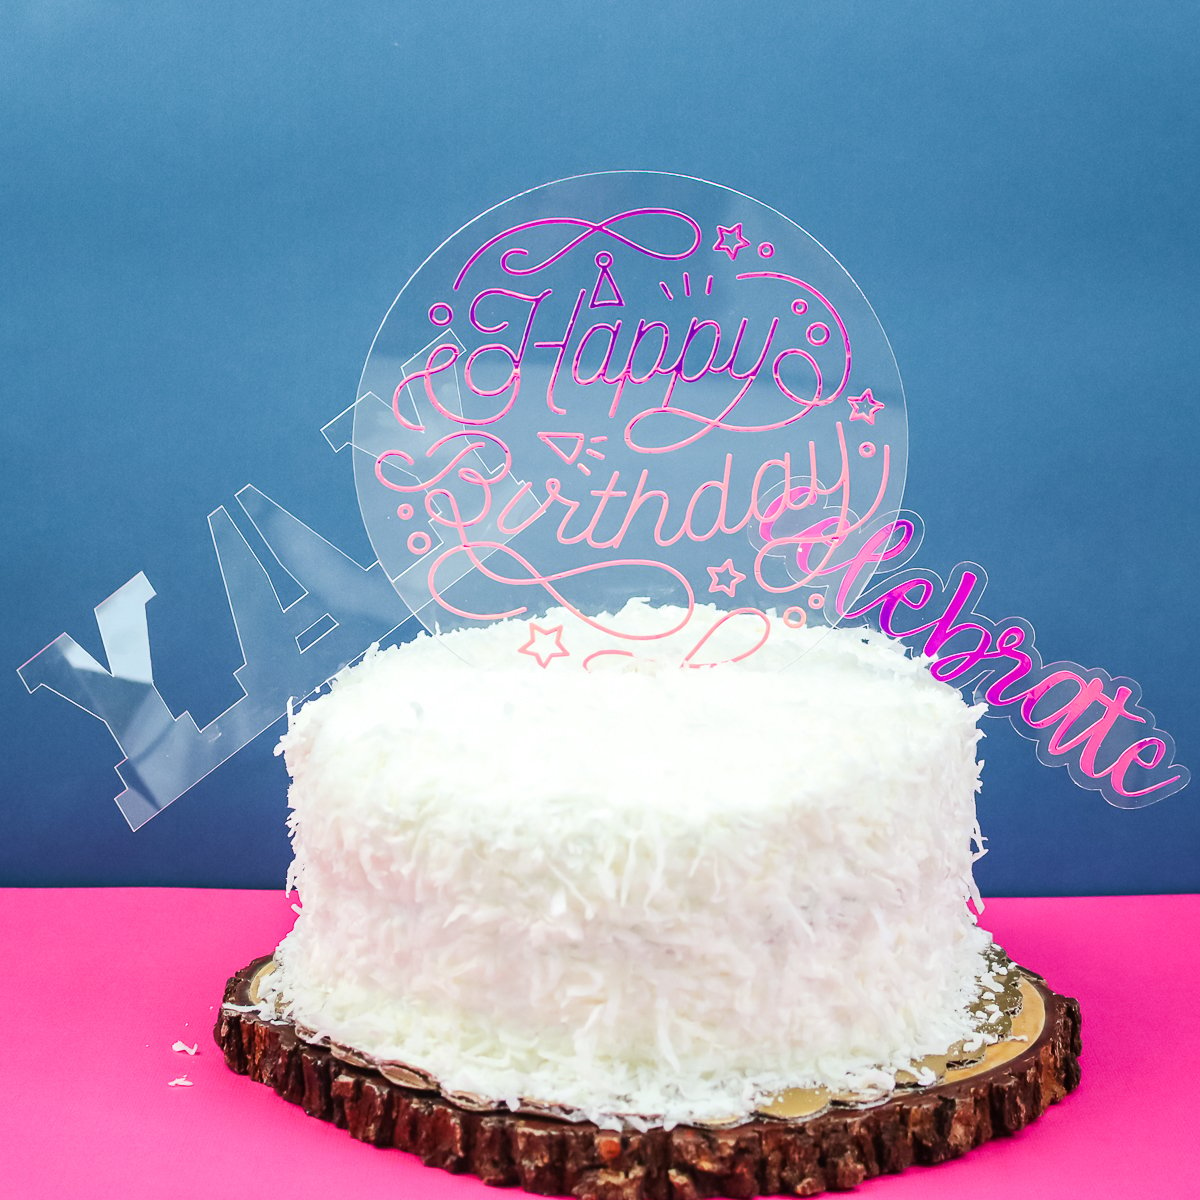
Make your own customized acrylic cake topper using a Cricut Maker. This project allows you to personalize it with any text, creating something amazing for any party you host.
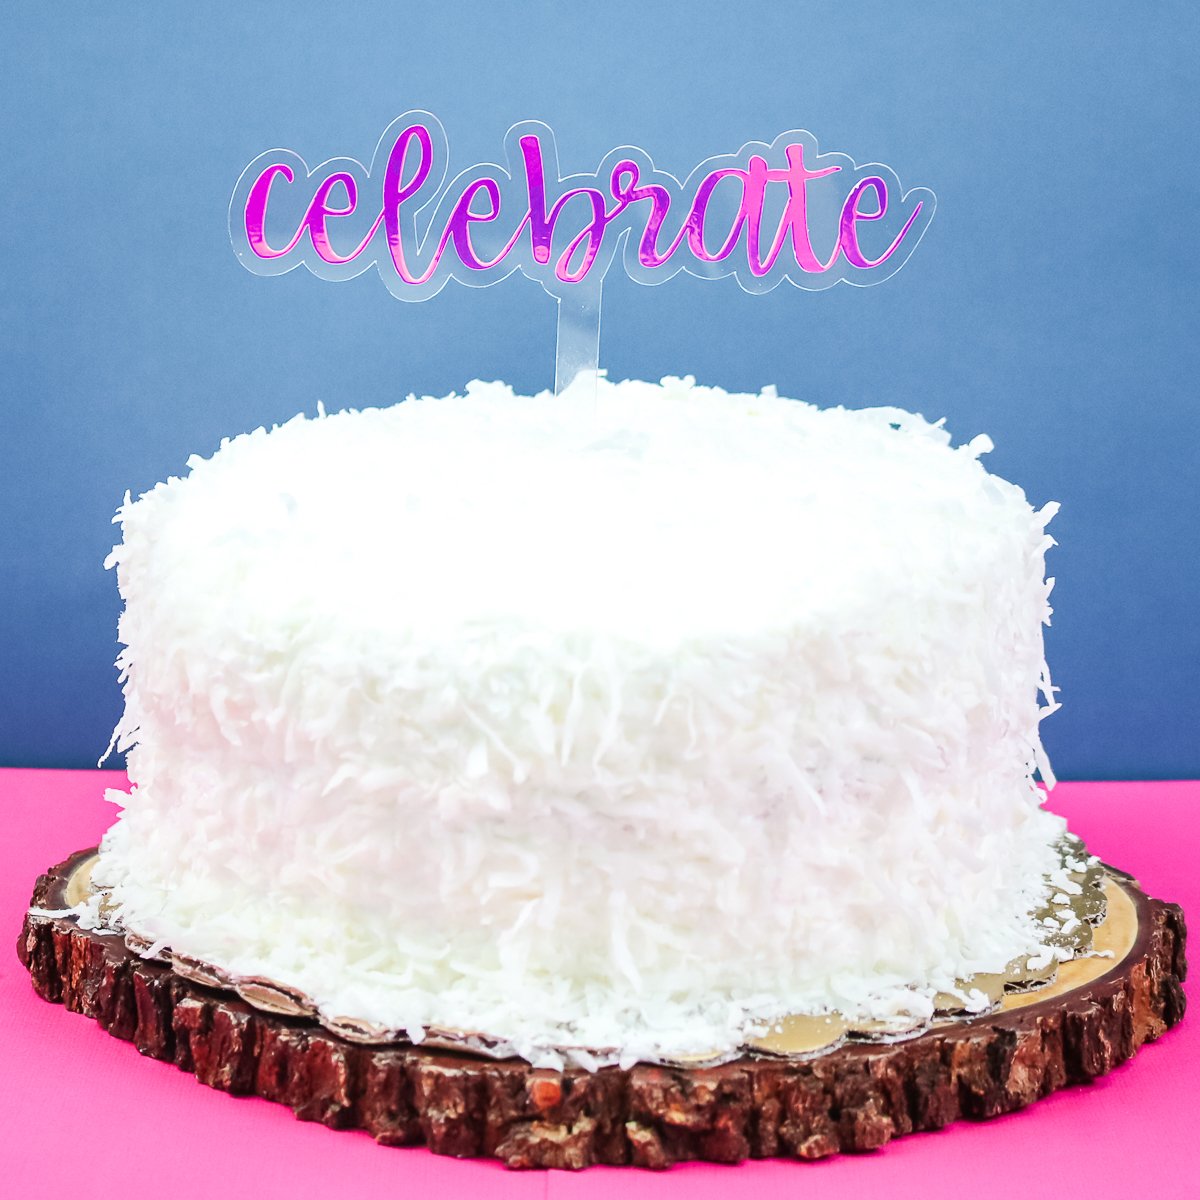
What will you celebrate with this simple Cricut party craft? I know you will love making your own DIY acrylic cake topper for any occasion!

More Cricut Ideas
Love this and want more projects that utilize your Cricut machine? Try the links below as well!




Will the explorer 2 cut acrylic
NO it will not.
I have a maker. When you say the “knife blade” do you mean the “fine point or deep point” blade or is there another blade?
With the Maker machines, there is a different blade called the Knife Blade. It can cut thin woods, leather, and chipboard 🙂
The video appears to use permanent vinyl but the supply list link is to HTV. Is it HTV used without heat or adhesive vinyl.
No, I am not sure how that got changed. This is a holographic adhesive vinyl. I am not sure of the brand I used.