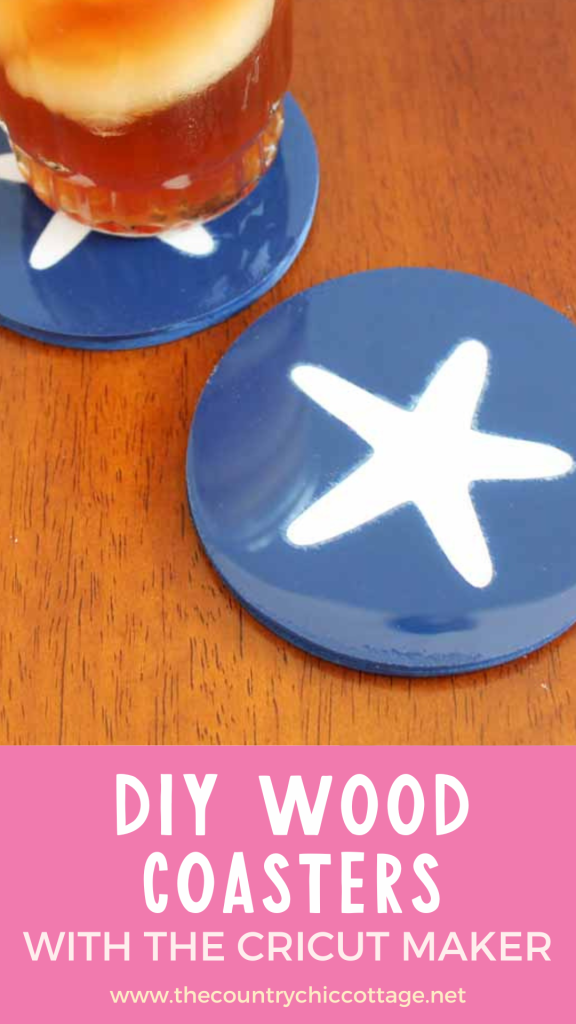
Did you know that you can create your own DIY wood coasters using your Cricut Maker? With the knife blade, the Cricut Maker is capable of cutting intricate shapes from wood. Today, I will demonstrate how to make DIY painted wood coasters. Although I'm using a starfish shape, you can follow this tutorial to make custom wood coasters in any shape you like!
How To Make DIY Wood Coasters
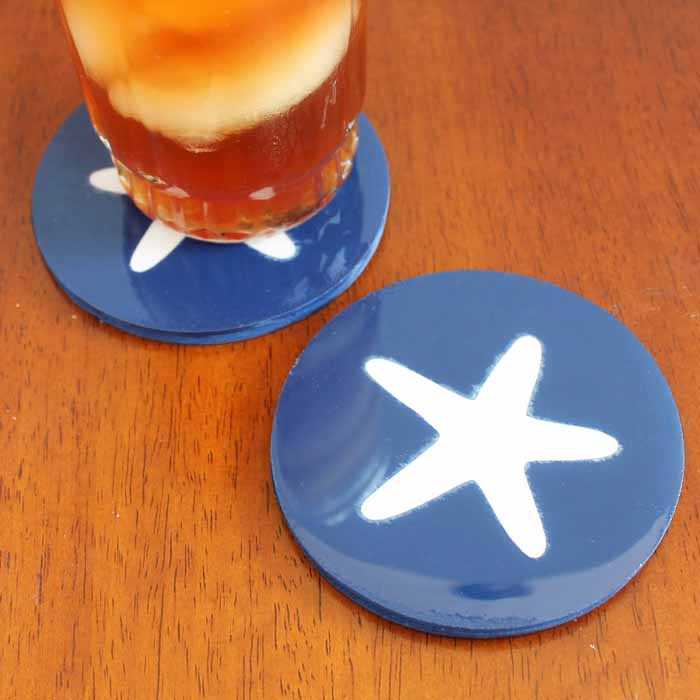
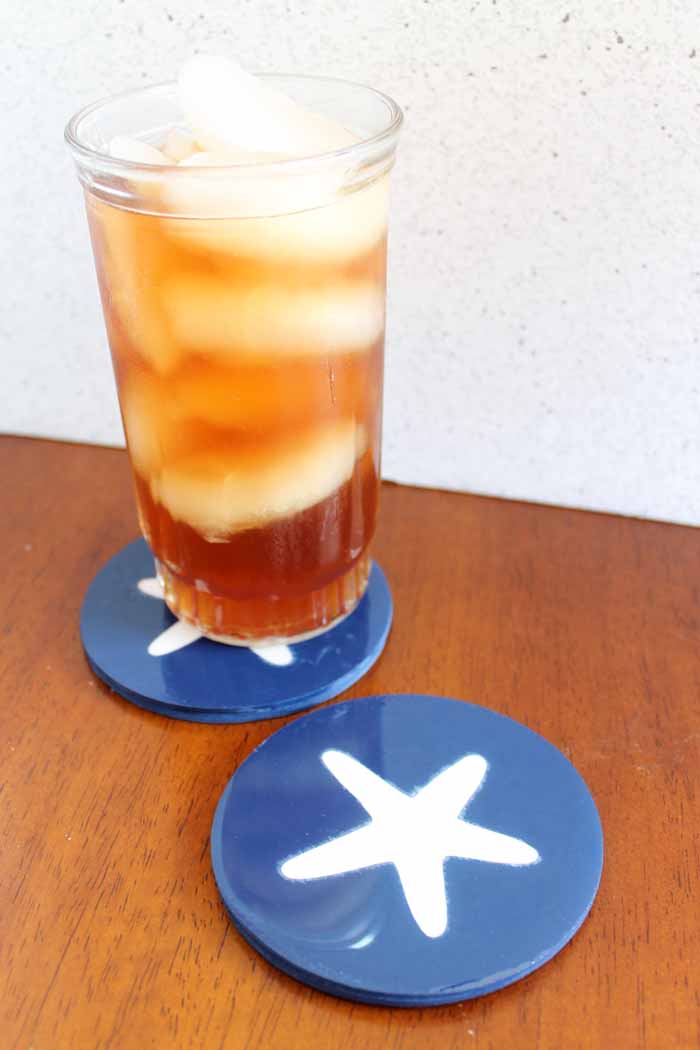
These coastal starfish coasters are perfect for summer, but you can easily swap out the shape to create coasters for other seasons or holidays!
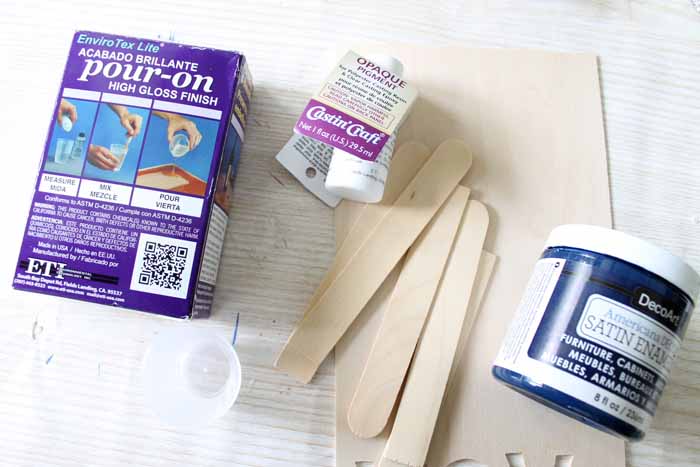
Supplies Needed To Make DIY Wood Coasters
- Basswood 1/16″ thick
- Cricut Maker (you can read more about using the knife blade with the Cricut Maker here)
- Knife blade
- Masking tape
- Craft paint
- Wood glue
- EnviroTex Lite® Pour-On High Gloss Finish
- Castin’Craft Opaque Pigment in the colors of your choice
- Stir sticks
- Measuring cups
- Mixing cups
- Cricut cut file (you can use a starfish file from Cricut Design Space or design your own)
Step 1: Cut Basswood
When cutting the basswood with the Cricut Maker and the knife blade, there are a few things to remember.
- Be sure to use your strong grip mat and tape the wood down around all edges with masking tape.
- Cut with the appropriate basswood setting and watch your machine carefully. At about halfway through the cut, check it to see if it is complete. Remove the material from your machine once all the pieces are cut through.
- This simple starfish design works well with the knife blade, but really intricate designs will not cut well.
You can see the knife blade in action, learn how to check your cuts midway through the cutting process, and get more tips and tricks in our post here.
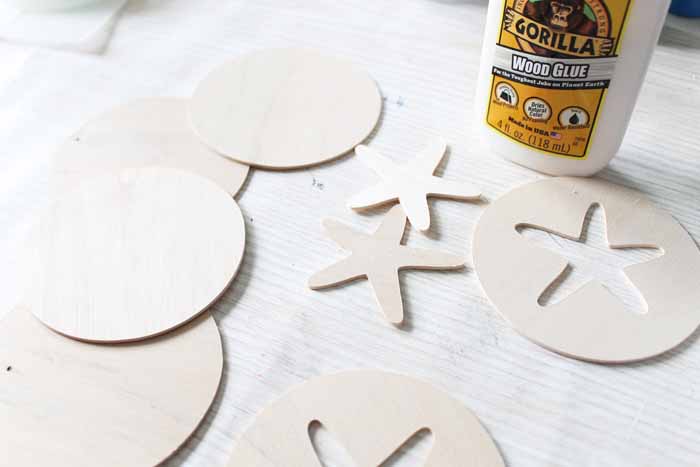
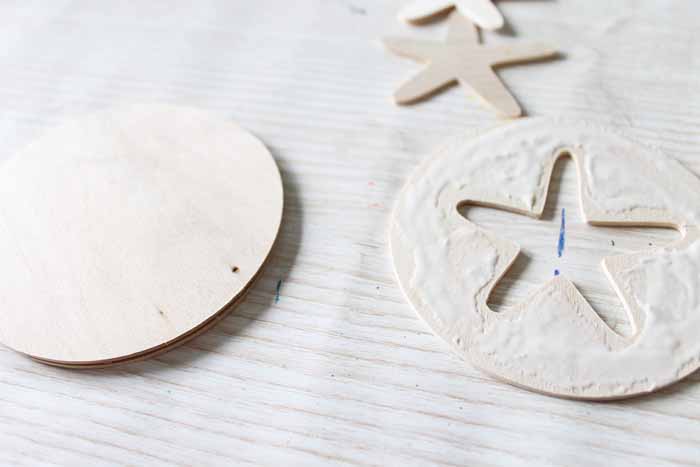
Step 2: Glue Wood Together
Once your pieces are cut, use wood glue to stack them together. Use two circles and one circle with a starfish cutout for each coaster. Set something heavy on top of your wood pieces and let them dry completely.
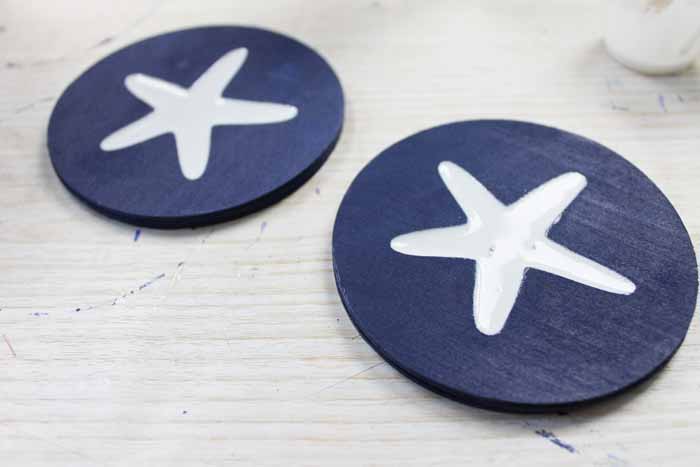
Step 3: Paint Wood
Once dry, you are ready to paint. Paint the coasters well on all sides, including the inside, with the blue paint. Allow those to dry completely.
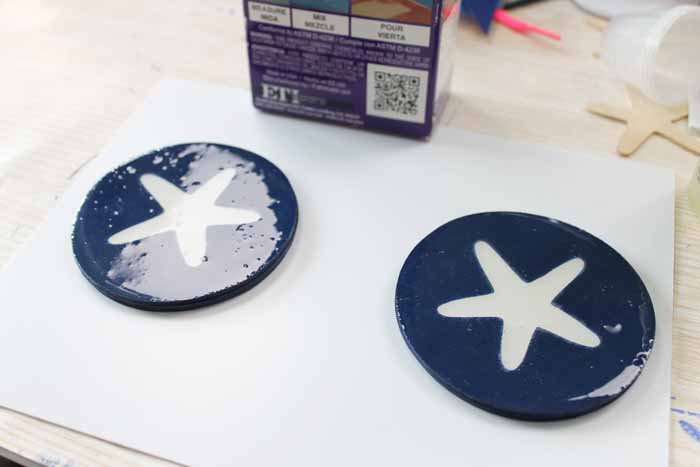
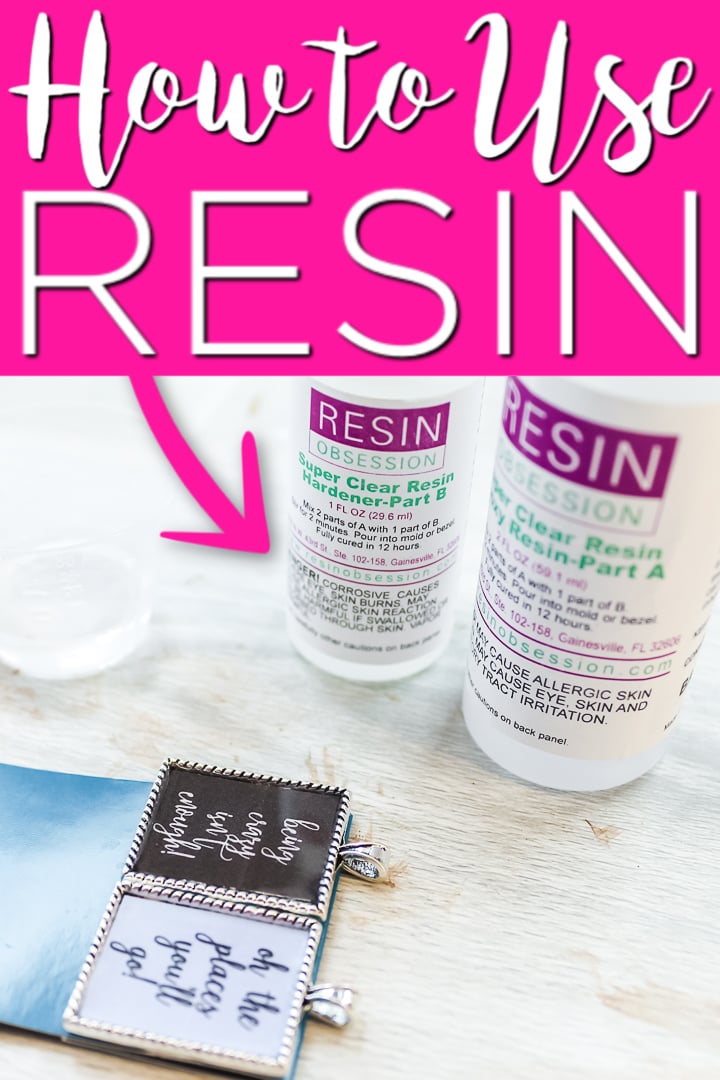
Step 4: Add Resin
You can then add the contrasting resin to your inlay. Mix a small amount of the resin according to the package directions. Use the pigment to tint it any color that you wish. Then pour this resin into the shaped hole. You will need to allow this to cure overnight. Be sure to pop any bubbles that rise to the surface with a heat gun and allow them to cure on a flat surface.
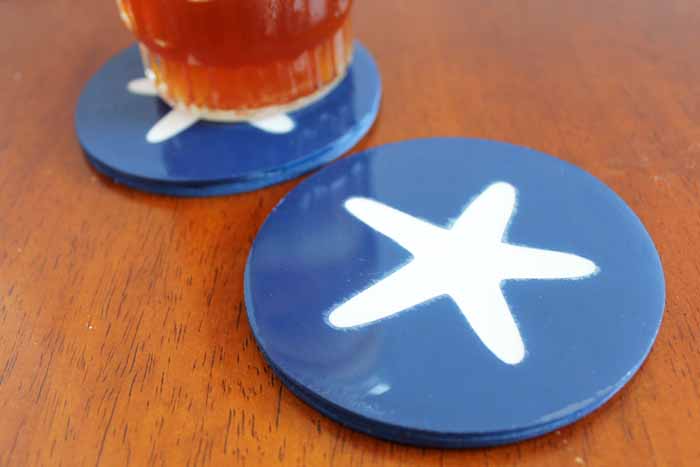
Step 5: Add Clear Top Coat
Once the white resin is cured, apply a clear top coat over the entire surface of my coasters. Once again, measure and mix the 2-part product according to the package directions. Then pour over the top.
Use just enough so that it does not spill over the sides. You can wipe away any excess that may spill over. Again, be sure to pop any bubbles with a heat gun and cure on a flat surface. Allow to cure overnight before touching.

Once your top coat has cured, your DIY wood coasters are ready for your drinks!
Now that you know how simple it is to create custom wood coasters, you can easily make unique coasters for any occasion. Consider applying this same technique to coasters for parties and various events. Think about all the shapes you can cut with your Cricut Maker. You can incorporate these designs into your DIY wood coasters for everyday use or special celebrations. They even make great gits!
I love this technique and can't believe how good these look once complete. I will be making more of these DIY-painted wood coasters soon!
So, have you cut wood with your Cricut Maker? Once you do, you will never want to cut wood any other way! It is so easy and makes projects like these custom coasters super simple.
FAQs About DIY Wood Coasters
Here are answers to some of the most frequently asked questions I receive about creating these DIY wood coasters. If your question isn’t listed, feel free to drop it in the comments, and I’ll be happy to help!
Can I Use Another Cricut Machine For This Project?
Technically, you could use the Cricut Explore series; however, I highly recommend using the Cricut Maker series because it is designed to cut a variety of wood materials.
I Have Never Cut Wood With My Cricut Maker. Do You Have Any Resources To Help Me?
Yes, I do! If you want to learn more about cutting wood with your Cricut Maker, check out my How to Cut Wood with the Cricut Maker video.
What Other Shapes Could I Cut Out For These Wood Coasters?
When choosing a shape, I recommend choosing one that is simple to cut and not too intricate. Other than that, the sky is the limit! Below are a few shapes that would be perfect for these coasters.
- Seasonal: flower, pumpkin
- Holidays: heart, shamrock, witch hat, gingerbread man, tree,
- General: animals, butterflies, dog bone, letters, triangle, square
Where Can I Buy Resin?
You can buy resin at your local craft store or online. If shopping at your local craft store, resin would most likely be in the jewelry-making section.
5 Cricut Maker Crafts
Did you love these DIY wood coasters, and are looking for more Cricut Maker projects? Then check out the projects below!
- Make Your Own Puzzle with the Cricut Maker
- DIY Wood Sign
- Frame Ornaments with Your Cricut
- Personalized Ice Pop Holders with the Cricut
- Custom Mats for Frames Using The Cricut Maker
Struggling with resin and need help?
I know that a ton of you are intimidated by resin. Don't be! You just need to know the basics and gain some experience with the medium. I have a course that will help you master epoxy resin and give you the confidence you need to tackle this project and so much more.
With unique insights drawn from more than a decade of creating and selling resin jewelry worldwide, this course is from an Amazon best-selling author on the topic. This class goes beyond making a few projects. You get thirty video lessons to give you clear directions on how to make resin jewelry you can confidently share and sell. Want to see more?