

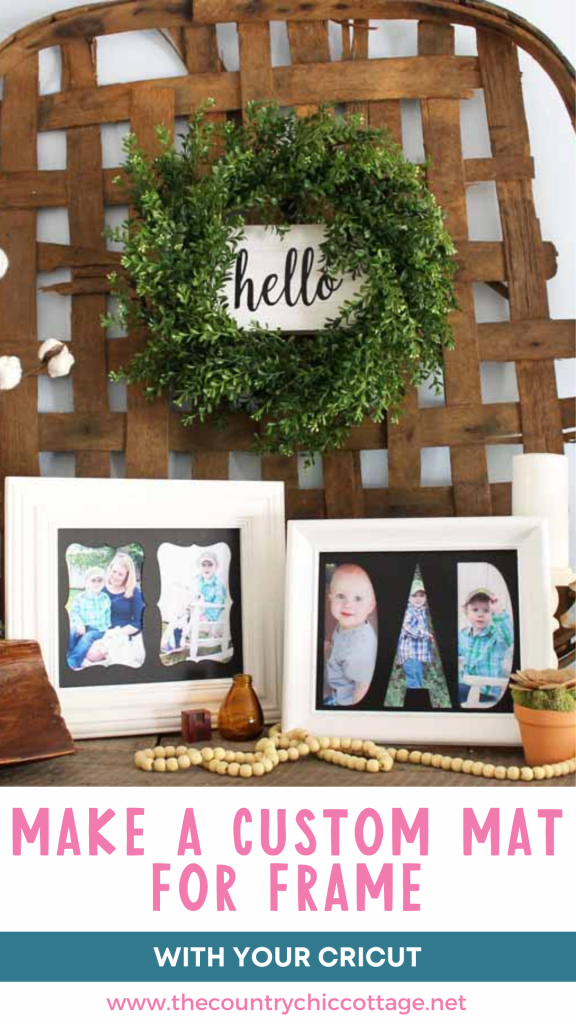
Custom picture mats are one of those things that feel fancy… until you realize you can easily make them yourself with a Cricut! With the Cricut Maker and the Knife Blade, cutting your own mat is surprisingly simple—and honestly a little addictive. You can just call it my latest crafty obsession, quite frankly. You can read more about the knife blade and my tests here. It’s quickly become one of my favorite crafting tricks. Let’s dive in, and I’ll show you exactly how to cut a custom mat for your frame.

Custom Mat For Frame Video Tutorial
You can cut your own custom picture frame mats with the Cricut Maker and the knife blade! See the full video tutorial below to see the process from start to finish!
Can't watch the video or missed some of the steps? Read on for more info.
How To Make Custom Mat For Frame
As you probably know, the Cricut Maker is a major game-changer! There are so many things you can do with this machine…it's mindboggling!
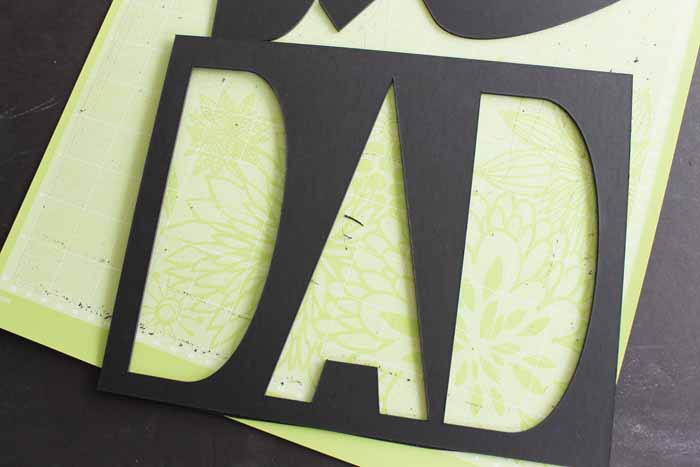
This craft is similar to creating a silhouette cut-out with the Cricut. It's a great gift and perfect for Father's Day!
Supplies Needed To Make Custom Mat For Frame
- Matboard
- Cricut Maker (Click here to learn about the differences between the machines)
- Knife Blade
- Scissors
- Craft knife
- Dad picture mat cut file
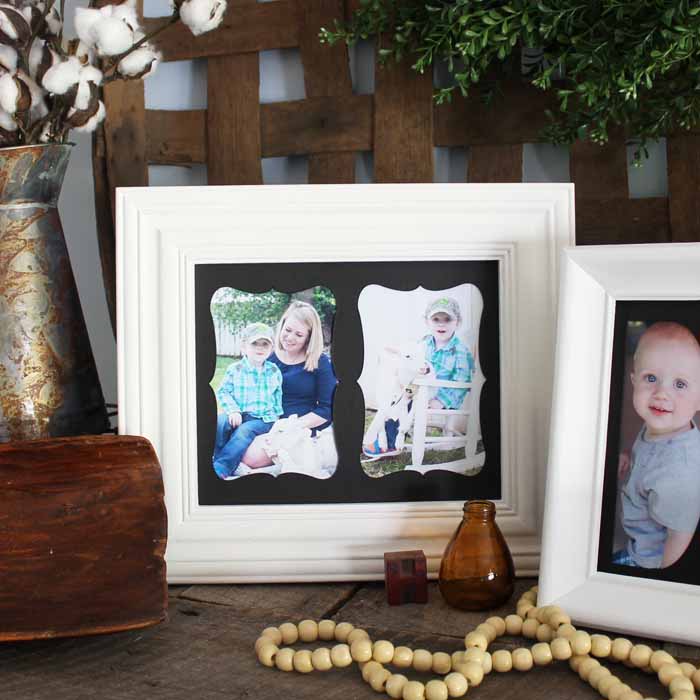
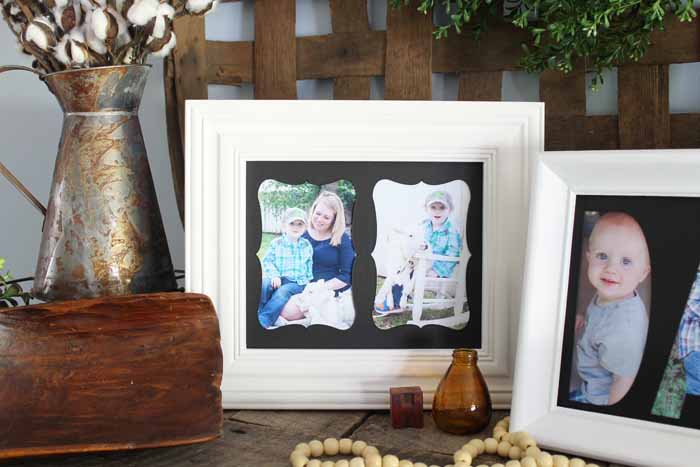
- Fancy rectangle picture mat cut file
Step 1: Trim Matboard
Start by cutting a piece of matboard with scissors to fit your cutting mat. Matboard can be picked up at your local craft supply store, and I used the 4-ply version. It comes in large sheets.
Step 2: Add To Cutting Mat
Once the matboard is cut, add the piece to your mat. I found the standard grip mat worked fine, but you may need a stronger grip mat. Be sure to move your star wheels all the way to the right before continuing to avoid damaging your project.
If you need more information on cutting with your knife blade, click here for a full tutorial.
NOTE: When the star wheels are moved over to the right, the matboard can only be 11 inches wide.
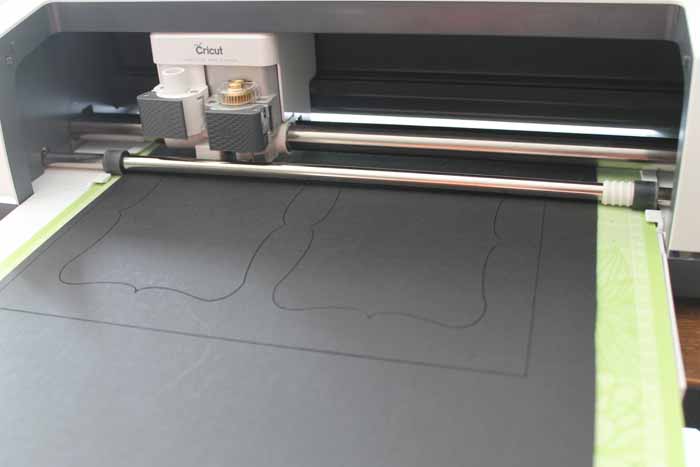
Step 3: Cut The Matboard
Next, open the cut file of your choice and begin cutting. You can find the links for both custom mats in the supply list above. Remember to pick the correct matboard before beginning your cut, as there are 2-ply and 4-ply versions.
Confused about Cricut Design Space? Download our beginner's guide here!
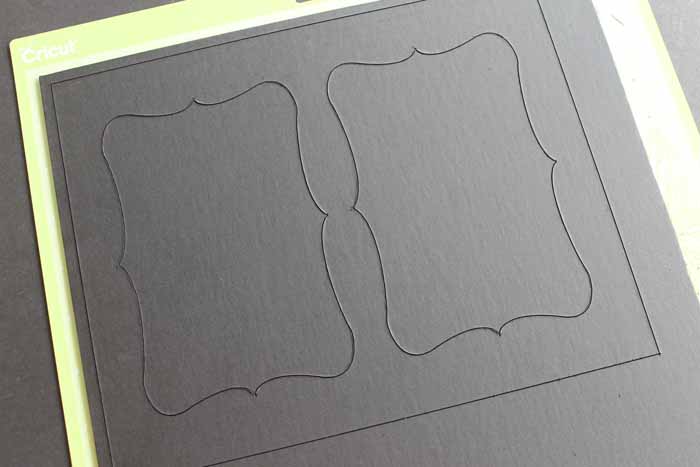
Step 4: Check The Cut
Once the cut is complete, check to ensure the mat is cut all the way through before removing it from your machine. If not, you can either make another pass with your Cricut or finish the cut with a craft knife. After my cut, one edge was barely hanging on, so I just used my craft knife. Using your craft knife will avoid excess damage to your mat.
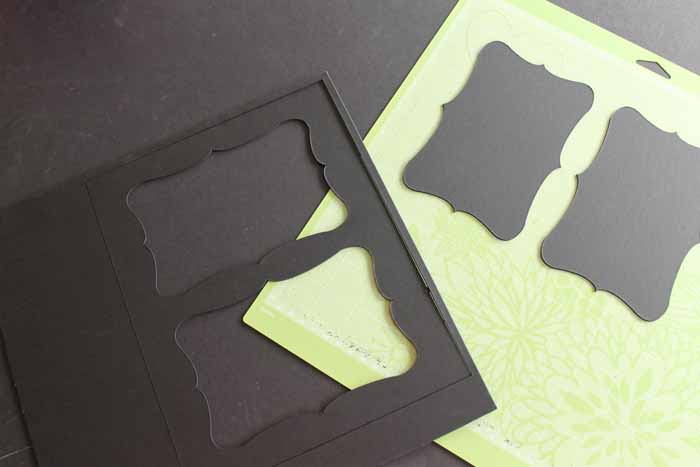
Step 5: Add Mat To Picture Frame
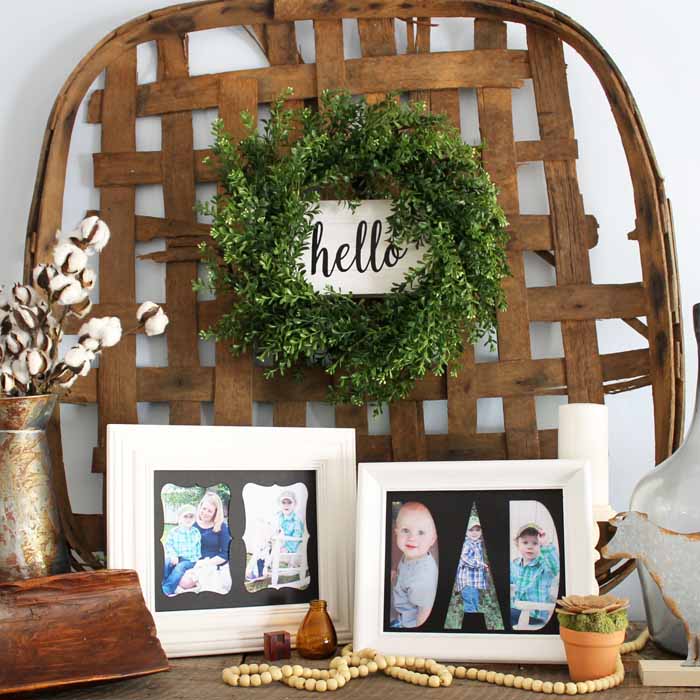
Then just remove your mat and add it to a picture frame! You can then continue to make as many custom mats for frames as you like! I love this DAD version, as it's perfect for Father's Day.
NOTE: Cricut recommends details no smaller than 3/4 inch when using the knife blade. Keep that in mind when making your own designs.
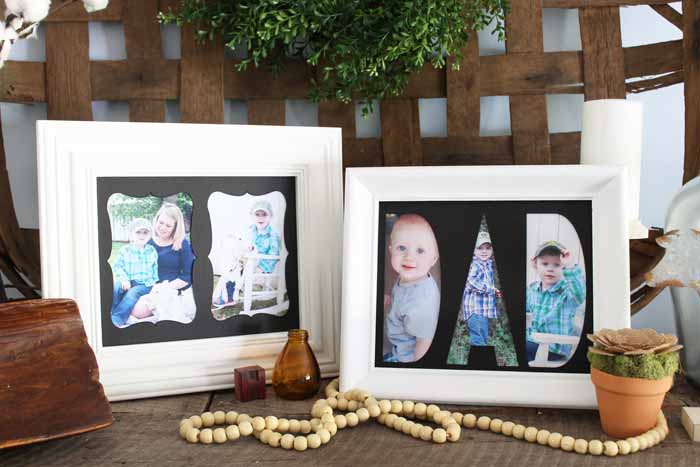
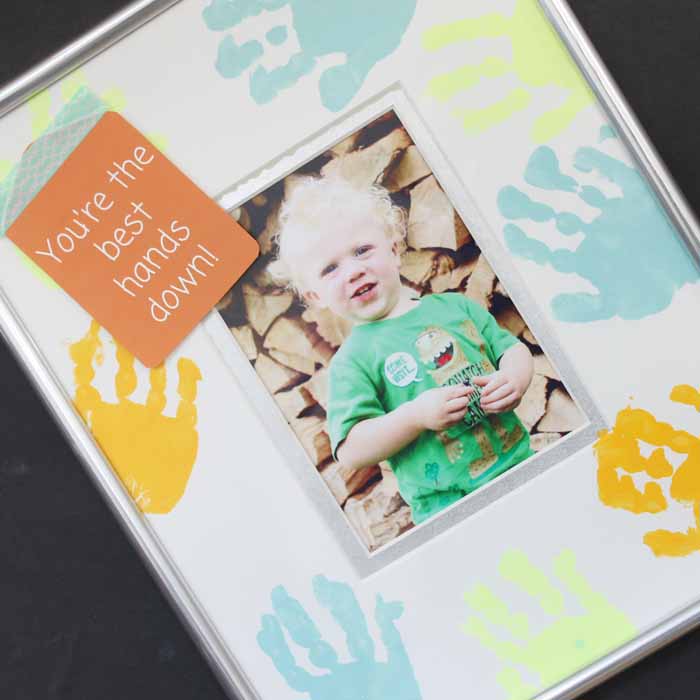
I then printed out a few pictures and popped them in the mats! This is a great project, and makes perfect gifts.

Now you know how to cut a mat for a picture frame. If you have a Cricut Maker and a knife blade, it is easy to whip one up!
Just imagine all of the possibilities with this project! I have been dreaming up different mats for days! I would love to see yours, so be sure to send me pictures!
Making custom mats for frames has never been easier than with the Cricut Maker and knife blade!
FAQs About Custom Mat For Frame
Here are answers to some of the most frequently asked questions I receive about creating a custom mat for a frame. If your question isn’t listed, feel free to drop it in the comments, and I’ll be happy to help!
What Cricut Machine Will Work For This Project?
This will work with a Cricut Maker, Cricut Maker 3, Cricut Maker 4, and the knife blade.
To Make A Custom Mat For Frame, Do I Have To Use The Knife Blade?
Yes. The knife blade is the only blade that will cut through the thick matboard.
Will The Knife Blade Work In Any Cricut Machine?
The knife blade is only compatible with the Cricut Maker models. No other machine has the adaptive tool systems to hold this blade.
Where Can I Find Matboard?
Matboard can be picked up at your local craft supply store or on Amazon, and I used the 4-ply version. It comes in large sheets that you can cut down to fit on your cutting mat.
Where Did You Get The Template For The Cutouts?
I just used shapes in Design Space.
What Specifically Is The Setting For Mat Board 4 Ply? When I Did A Search Under All Materials, I Didn't Find It.
If you have chosen a Maker model, the 4-ply mat board should be an option.
Additionally, this video is several years old, so the title may have been updated. Alternatively, if you have other elements in your design that are not cut lines, the Cricut will remove materials that it deems incompatible.
When You Said It Did 8 Passes, Do You Have To Run It 8 Times?
The Cricut will do that for you.
Is Cutting At An Angle/Bevel Like A Traditional Picture Mat Possible? Or Does The Cricut Always Cut Straight In?
It always cuts straight.
5 More Photo Projects
If you loved learning how to make a custom mat for a frame, here are some other photo projects that you won’t want to miss!


I can’t wait to try this with my Cricut. Thanks for sharing at the Inspiration Spotlight party @DearCreatives Pinned & sharing.
Love the DAD cut out, that’s a lovely idea for Father’s Day Angie
These are so cute! Pinned!
Visiting from Our Mini Linky Party
Blessings,
Amy
These are too cool and such a great idea. I love the Dad one too! Pinned! Thank you for sharing on Merry Monday! Hope to see ya next week!
Kim
Your Father’s Day Gift Idea is an awesome gift idea. I will be featuring it in my Father’s Day Gift Ideas post on Sunday at Merry Monday 6 pm PST. Hope to see you at the party.
I can’t download the file
Thank you for reaching out 🙂 I have updated the links in the post!
Thank you for reaching out 🙂 I have updated the links in the post!
Thanks for reaching out. I updated the links in the post recently so they should work. They aren’t a download, it should open right into Cricut Design Space. Please let me know if you have any other issues 🙂
Question, Can you cut mat board on a Explore Air 2?
I don’t believe the deep point blade cuts deep enough for mat board. You’ll want the Maker for that material.
Regarding 4-ply mat board, there’s no listing for “4-ply” mat board in list of materials as shown in your video. What type of list do you have? I have a Maker 3. Please advise as to why there’s no setting listed and what the settings would be if not on list. Thanks
I think they just changed the name of the setting. I haven’t tried it recently but there is now a matboard setting that wasn’t there when I used the matboard 4-ply setting so I would try that one.