
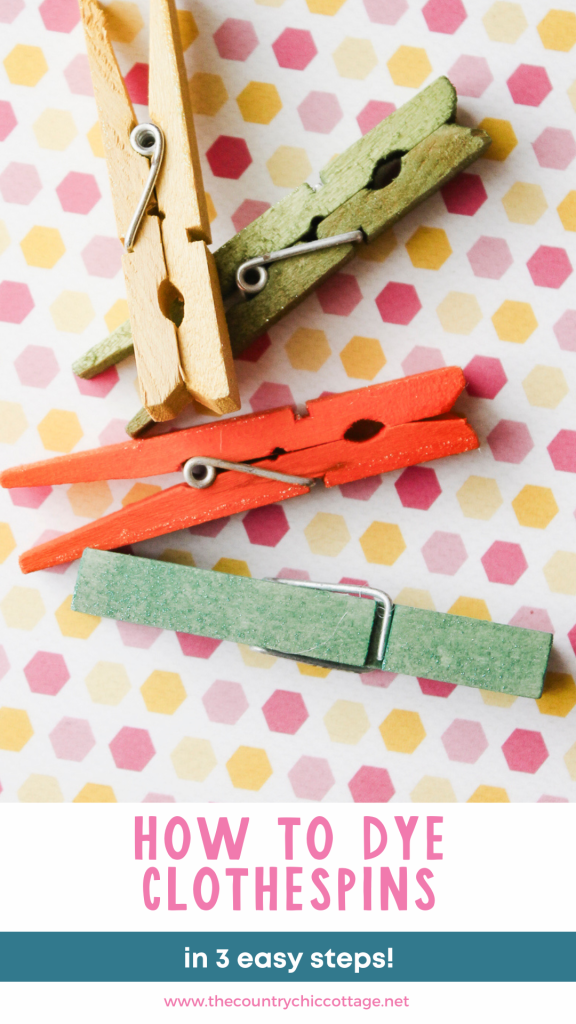
Want to add a little fun color to your life? Just learn how to dye clothespins and use them for decorations and so much more! This quick and easy craft is perfect for beginners to dying wood with fabric dye. It is a simple process and you can walk through the steps below!
I love clothespins! You can use them in your home decor or even in your office instead of paper clips. What do you do with these colored clothespins after they are ready? Use them on something like this clothespin picture frame!
Step by Step Guide to Dying Clothespins
Painting clothespins can be challenging! Dye them instead! Did you even know you could dye wood? Well, you can! And in this case with all of those nooks and crannies — it makes turning these clothespins a color super simple!
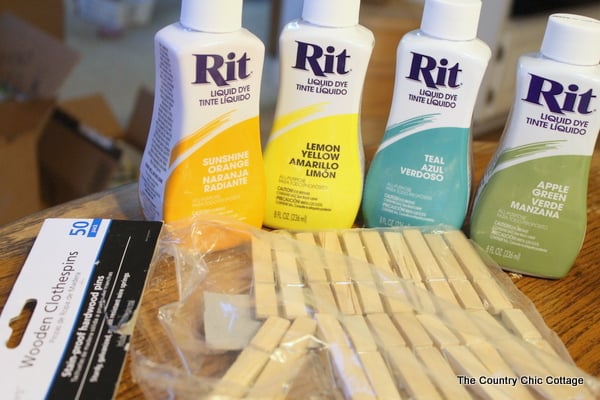
Supplies needed:
- RIT Dye in the color of your choice
- Plain wood clothespins
- Salt
- Liquid dish detergent
- Bucket or another container
- Protective gloves
- Glitter paint (optional)
- Paintbrush (optional)
Step 1: Prepare Dye Bath
IMPORTANT: Always wear gloves when working with dye to avoid staining your hands!
Prepare your dye bath in a bucket or another container where staining will not be an issue.
- Add 1/2 cup salt to the bucket.
- Pour in 1 gallon plus 2 cups of VERY hot water and stir to dissolve salt.
- Add one drop of liquid dish detergent and stir.
- Add 1/4 cup dye and stir.
Step 2: Add Clothespins to Dye Bath
You can add as many clothespins as your heart desires to the dye bath. There is no reason to disassemble them!
I add a rag on the top of my clothespins to hold them down so they do not float. Then just allow them to sit for 15 minutes.
Step 3: Remove and Rinse
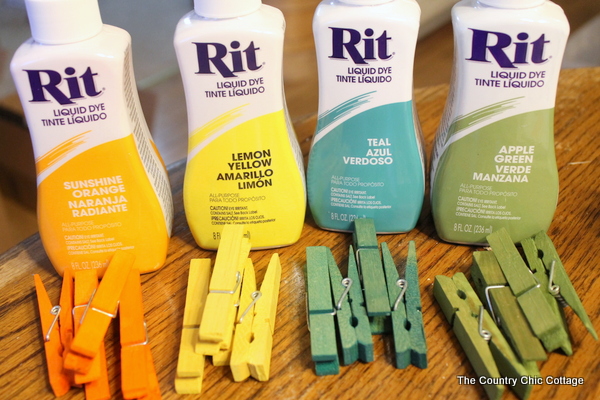
Remove the clothespins after 15 minutes and rinse under cold water until the water runs clear. Once they are completely dyed and rinsed, allow to dry completely. You can repeat this process with as many colors as you would like.
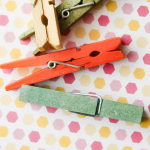
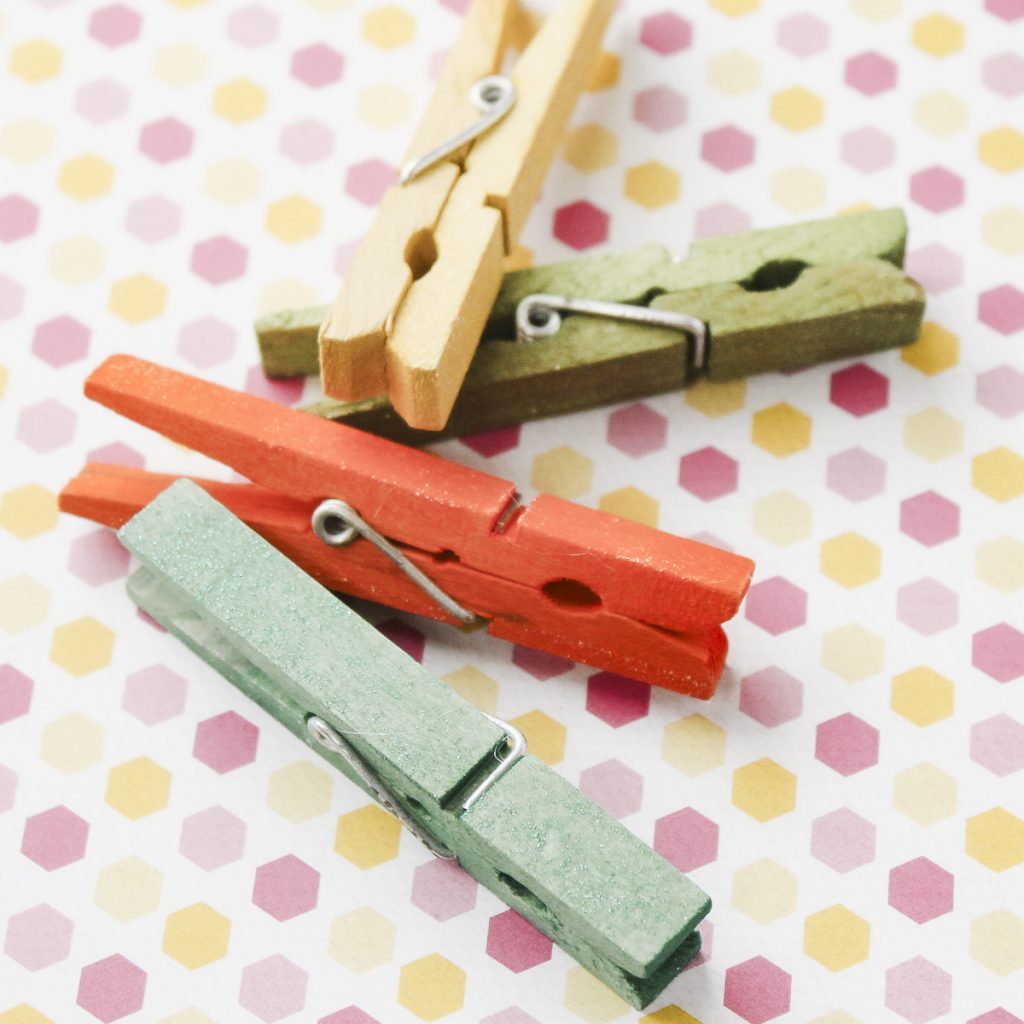
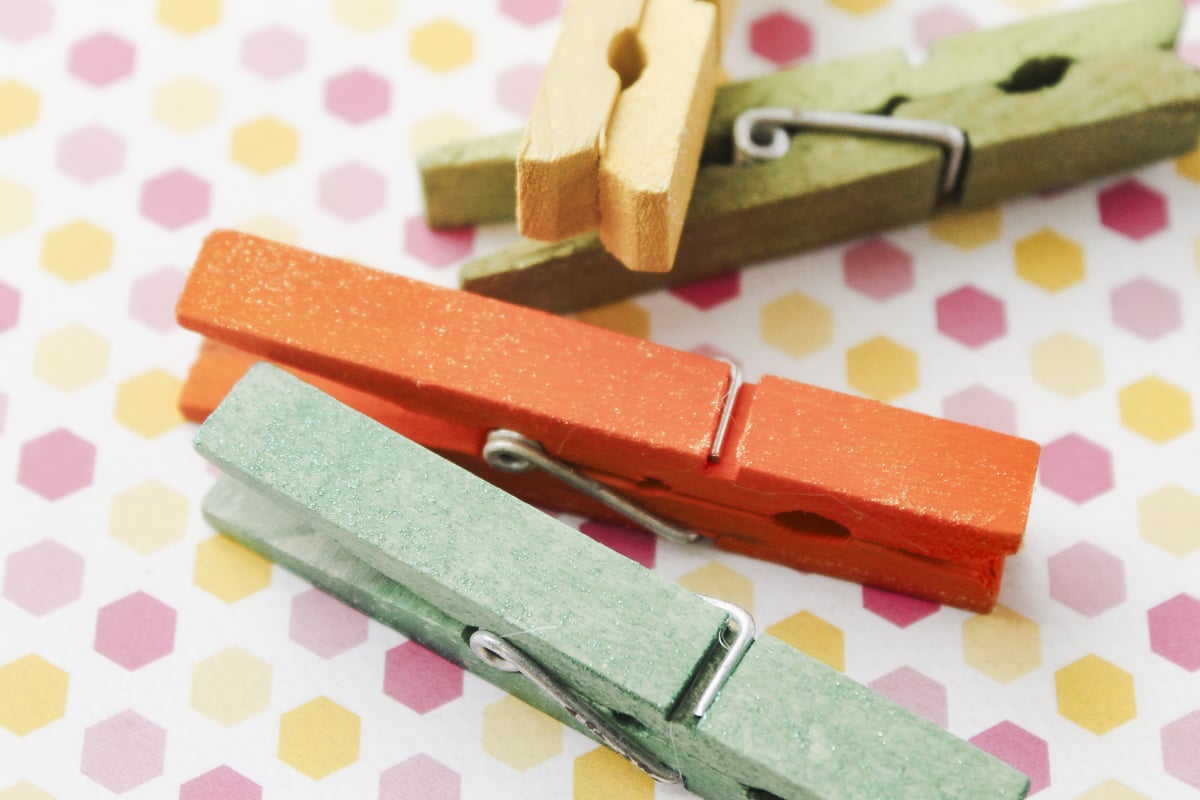
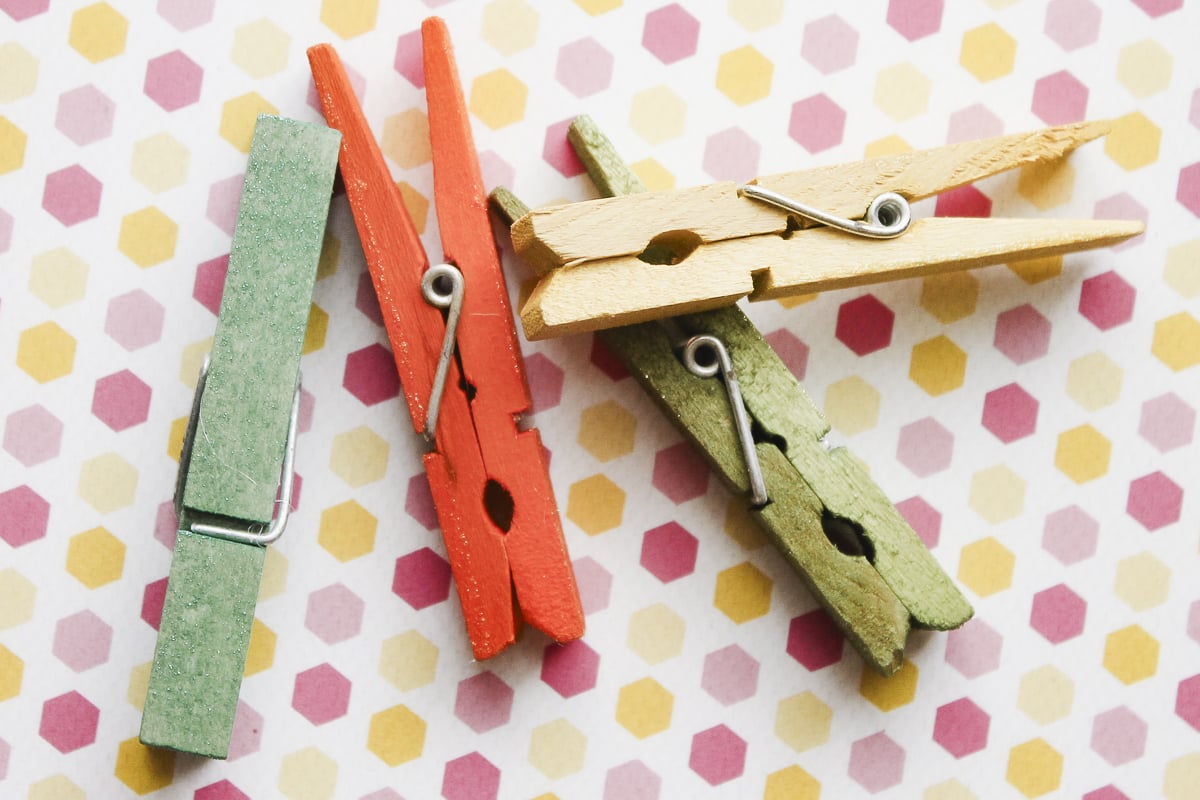
You can see in the image below the results that came from each color that I used.
Step 4: Add Glitter (optional)
Not happy with just the color and want a little glam? Now lets add the glitter.
Paint a couple coats of glitter paint just on the flat sides of each clothespin. It will add that gorgeous shimmer with no mess and you have dyed glitter clothespins ready for your home.
Colored Clothespins FAQ
Here are some common questions I get about this process as well as the answers to each one!
Is the dye permanent?
Yes! Once they are dry the result is completely permanent. I have used some dyed clothespins for years with zero issues or fading.
Is this just regular dye for fabric?
Yes! Fabric dye will also work on wood surfaces like these clothespins.
Do I need to seal these after dying?
I haven't found that any sealer is needed. Once the dye is on the surface, the results are permanent,
Do the clothespins have to be wood?
Yes you will need the porous surface in order to absorb the dye for this method to work.
How do I change the color?
You can play around with the amount of dye in the bath as well as the amount of time you leave the clothespins to soak. These factors will give you different shades of color.
Where will you use these dyed glitter clothespins? Are you excited about dying wood with RIT dye? I know right? Mind blowing! Run to the store to get your supplies! I used the same method for these as for my DIY tie dye curtains. Soon you will be dying everything in sight!


I love clothespins they remind me of a time gone by that was very peasant. Blessings, Catherine
Awesome! I am doing this for my sister’s grad party, for a clothespin photo display. Can I use dawn as my liquid dish detergent? Thanks!
Yep! That is what I used!
UGH!! I tried dyeing clothespins and I’ve got a different color than what is on my bottle of Rit Dye!!! I used Cherry Red but they came out a dark fuchsia! I followed the directions on a different website though. I took some really hot tap water and added 2 t. of the dye in a quart jar and added my clothespins and soaked them for about 5 hours. Any suggestions on what to do? I’m worried that if I repeat the process I will just get a darker fuchsia instead of red! I’m worried that if I follow the directions above that I’m going to end up with the same color! HELP!
Try just painting it one with a brush right onto the wood. Let it soak in then wipe away excess after a few minutes. Just try one and see if it looks better. 🙂
going to give this a try
Tried the lemon yellow and my clothespins are barely tinted. I used the whole bottle of rit dye
Can I dye wooden spoons? Maybe just the handles if the can’t go in food?
I wouldn’t use RIT dye on wooden spoons because it is not food safe. If I was going to dye wooden spoons I’d try using a food coloring to see if it would work 🙂