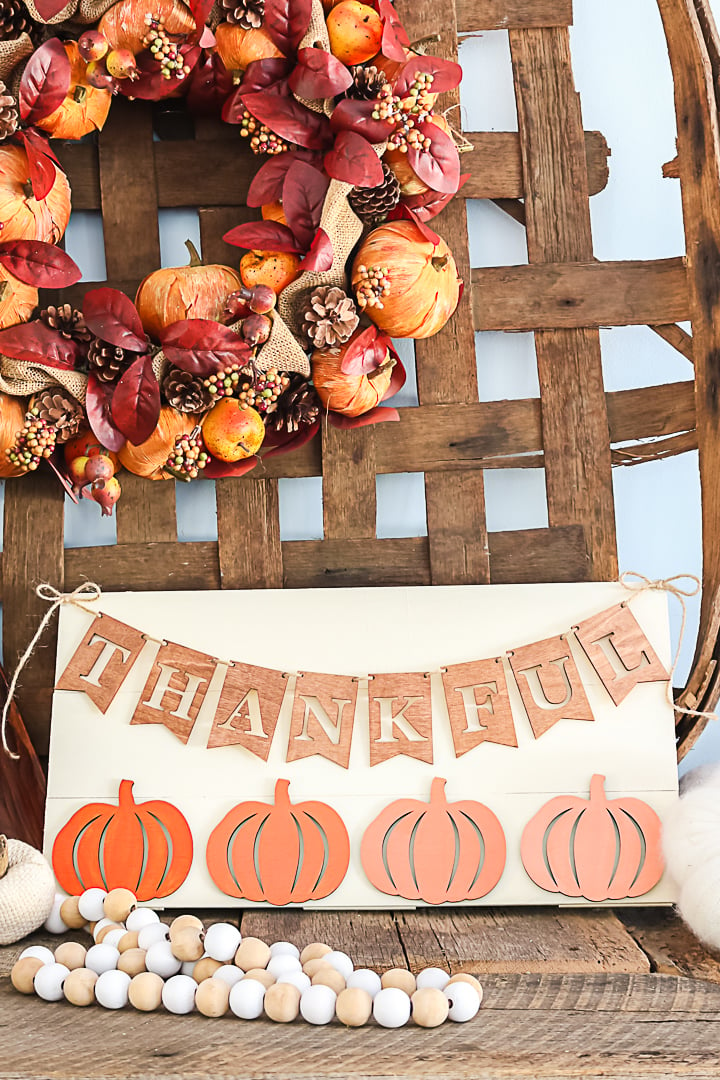
This DIY fall sign is one of my favorite craft projects of all time. I actually love decorating for fall and adding pumpkins and more to my home's decor. This sign mixes my love of pumpkins, farmhouse style, and a cool gradient color effect to make something amazing. Are you ready to see how to make your own version? Just follow along below!
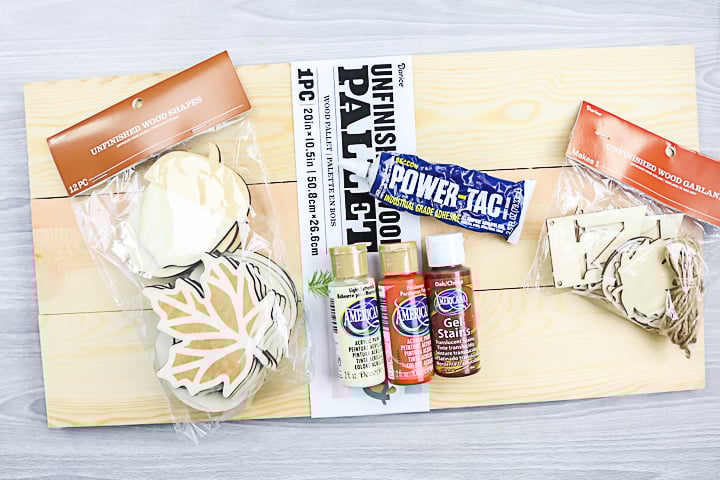
Supplies needed:
- Pallet sign (or you can make your own from pallets)
- Cricut Maker or Craft Laser
- Cricut Basswood or Proofgrade Basswood (for Craft Lasers)
- Cut Files for Banner and Pumpkins (or you can purchase pre-cut wood pieces, as pictured below)
- Craft paint in orange and a creamy white
- Hemp cording (or ribbon)
- Wood stain
- Paintbrushes
- Adhesive (I used Beacon Power-Tac)
- Hot glue and glue gun
- Rag
How to Make a DIY Fall Sign
Now that you have gathered your supplies, it is time to make this easy farmhouse style sign. You can follow along with the simple steps in the card below and even print them if you need to for reference later.
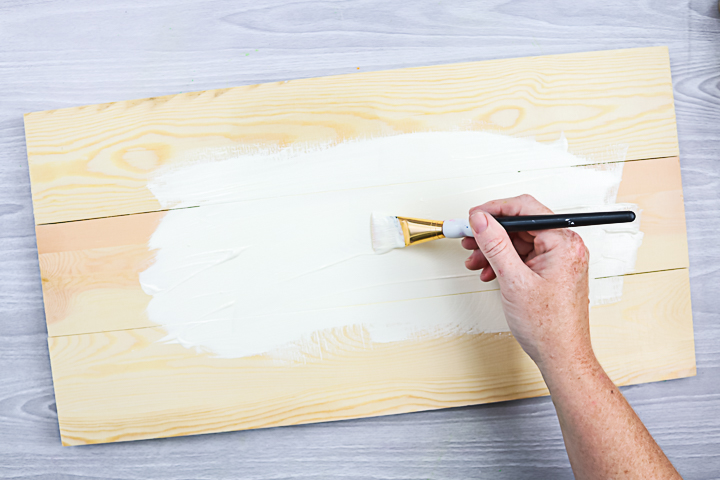
Step 1
Paint the sign with the cream paint and set aside to dry. For me, one coat on this sign was perfect as I love a rustic look. You can definitely add more coats if needed.
Step 2
While the sign dries, you can cut out the pumpkins and banner pieces with either your Cricut Maker or Craft Laser.
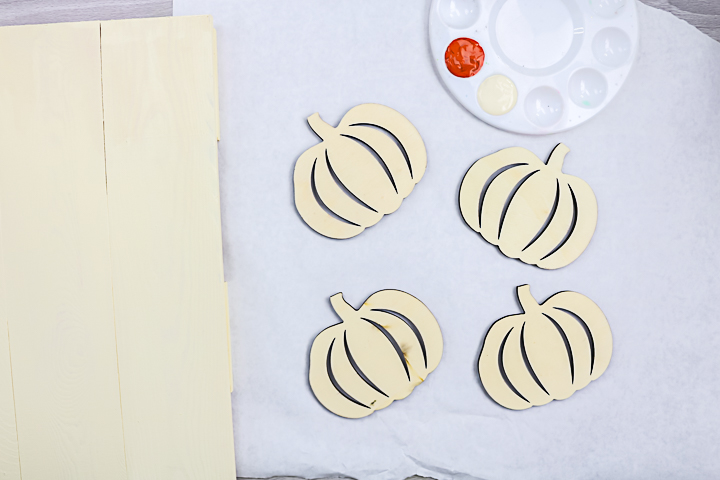
Step 3
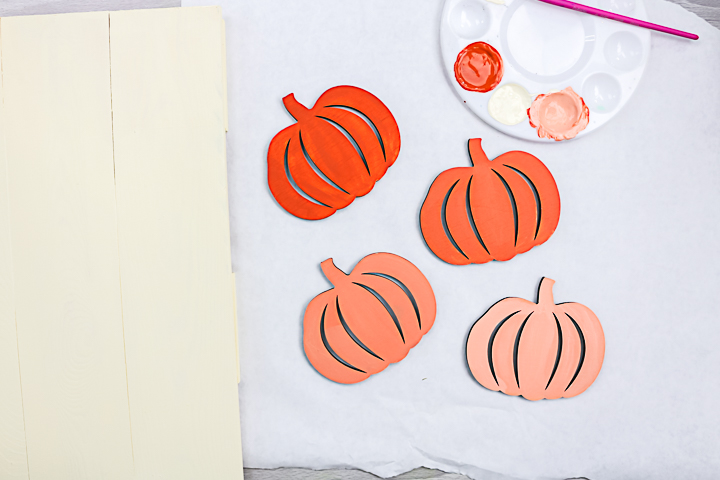
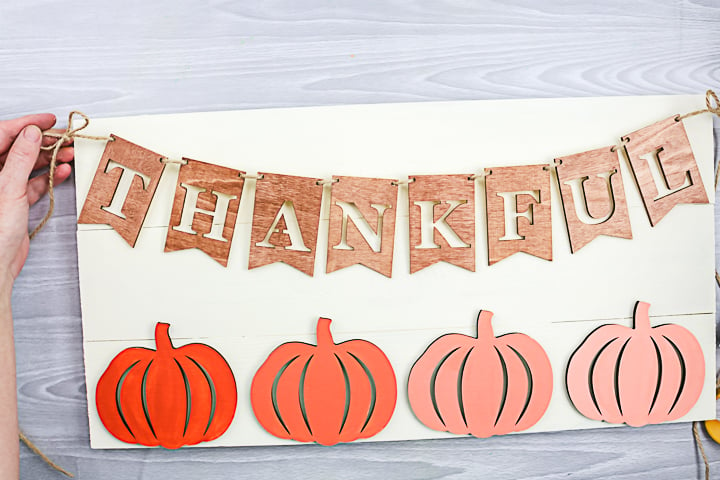
Once you have your cut pieces, it's time to paint. I used an orange and cream paint to mix and paint all four of my pumpkin shapes. Paint the first pumpkin with just the orange paint that has no cream paint added. Again, I like the look of just one coat of paint and I left the edges of these cut pieces raw. You can choose to add more coats and paint the edges depending on the look you would like on your finished piece.
Step 4
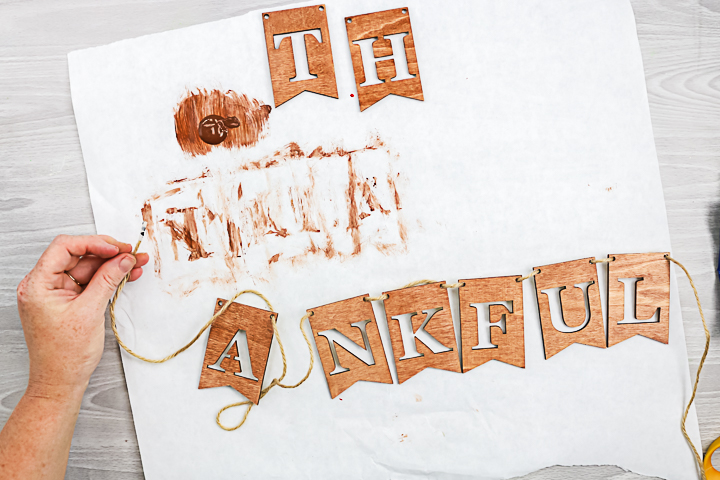
Once all of your pumpkins have been painted, set them aside to dry. Then you can stain the wood pieces for your banner. Just brush the stain on, allow to sit a few seconds, and wipe away any excess with a rag.

Step 5
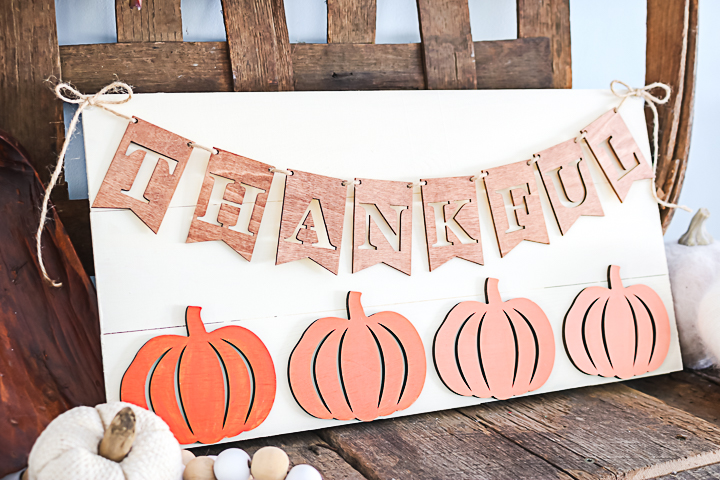
Set these pieces aside to dry as you finish them. They should dry quickly. Add them to some cording in order so that they spell “thankful”.
Step 6
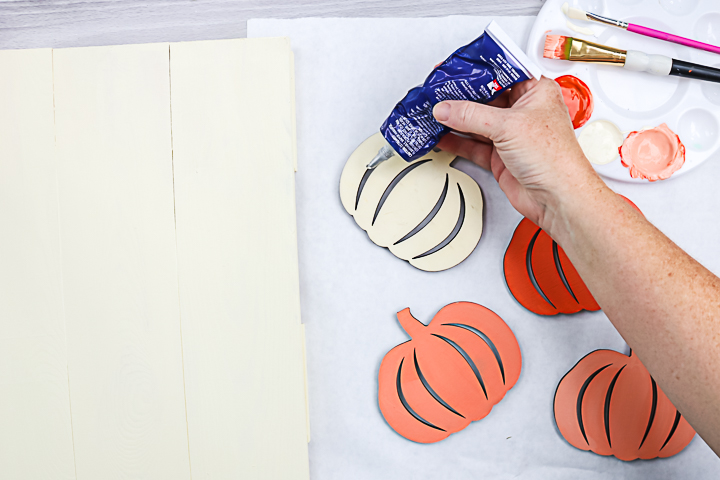
Add adhesive to the back of each of the wood pumpkins
Step 7
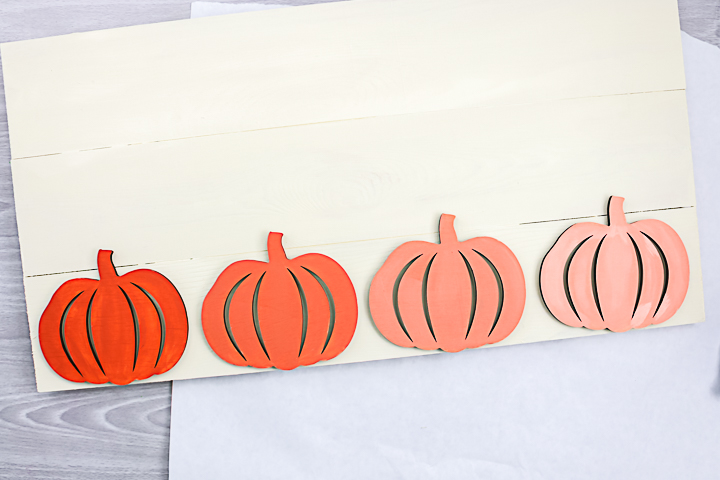
Then add the pumpkins in a row at the bottom of your sign.
Step 8
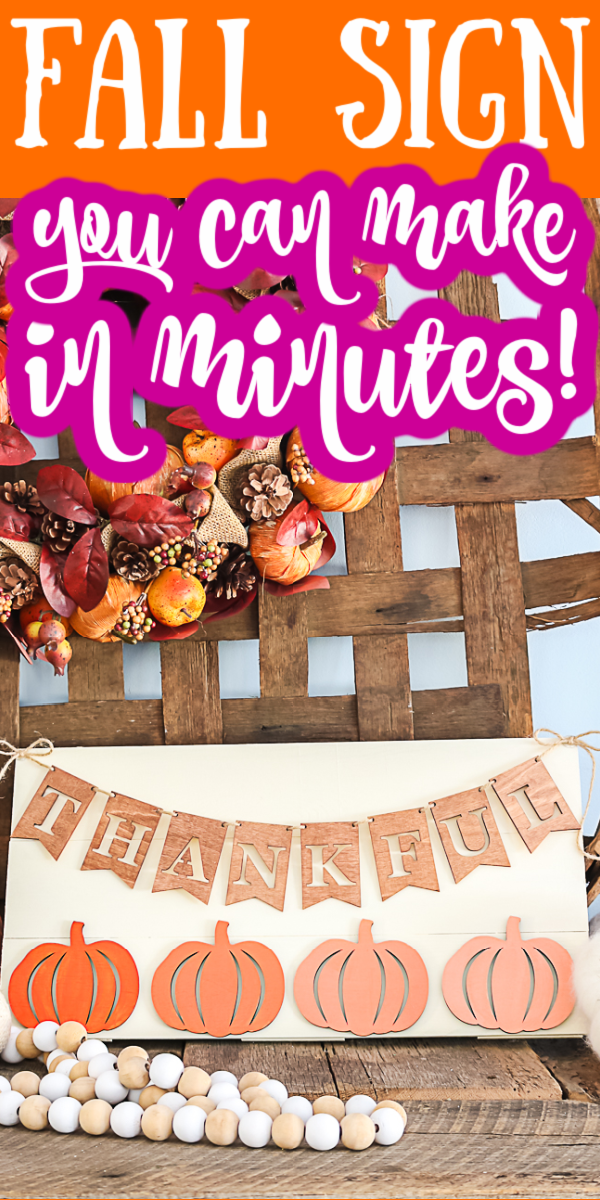
Add the banner to the top of your sign and make the ends of the twine into a bow. Use hot glue to secure the bow into place on each side. Then just add your completed sign to any room of your home!
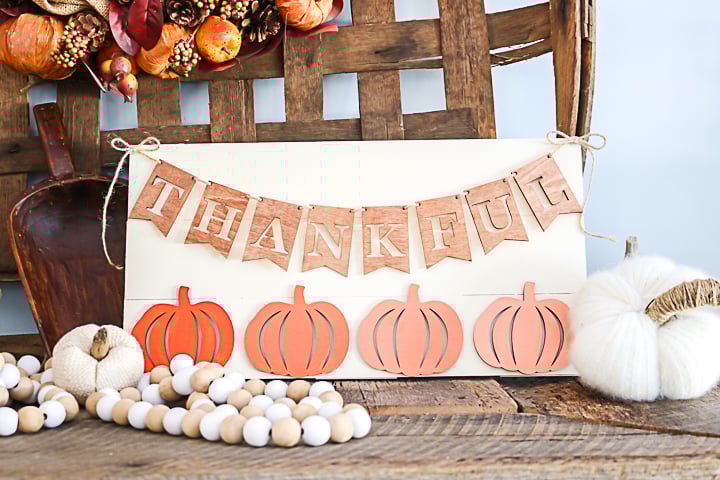
I love the way this sign looks on my fall mantel but you could also seal this one and add it to a porch or patio. Wherever you put it, you are sure to love how cute this sign looks!
I love that you can cut your pumpkins and banner with your Cricut Maker or Craft Laser. You could even cut them from colored paper and just add to the pallet frame. Either way, use this sign idea as a starting point to make your own creation.
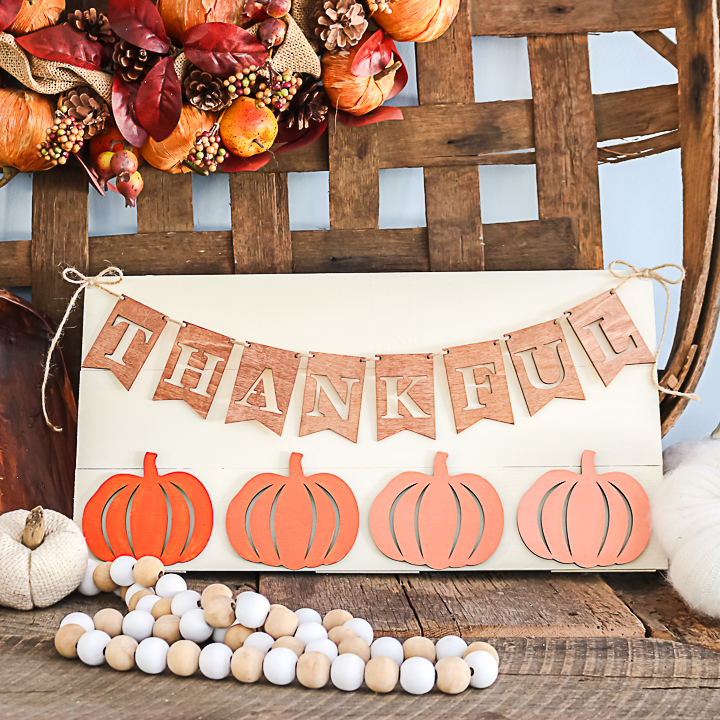
I personally love the ombre effect on the pumpkins at the bottom but you can also choose your own colors here. Perhaps you want them all to be one color or all completely different colors. That is fine! Customize the look of this sign to fit your style and your home.
Fall is definitely one of my favorite seasons and adding these cute touches to my home just puts a smile on my face. This project is also easy enough that you might want to make one for your family and friends as well. Be sure to buy enough supplies to do just that. After all, everyone will love this fall wooden sign!
More Fall Projects
Love this project and want more ideas? You should definitely try the links below as well!