

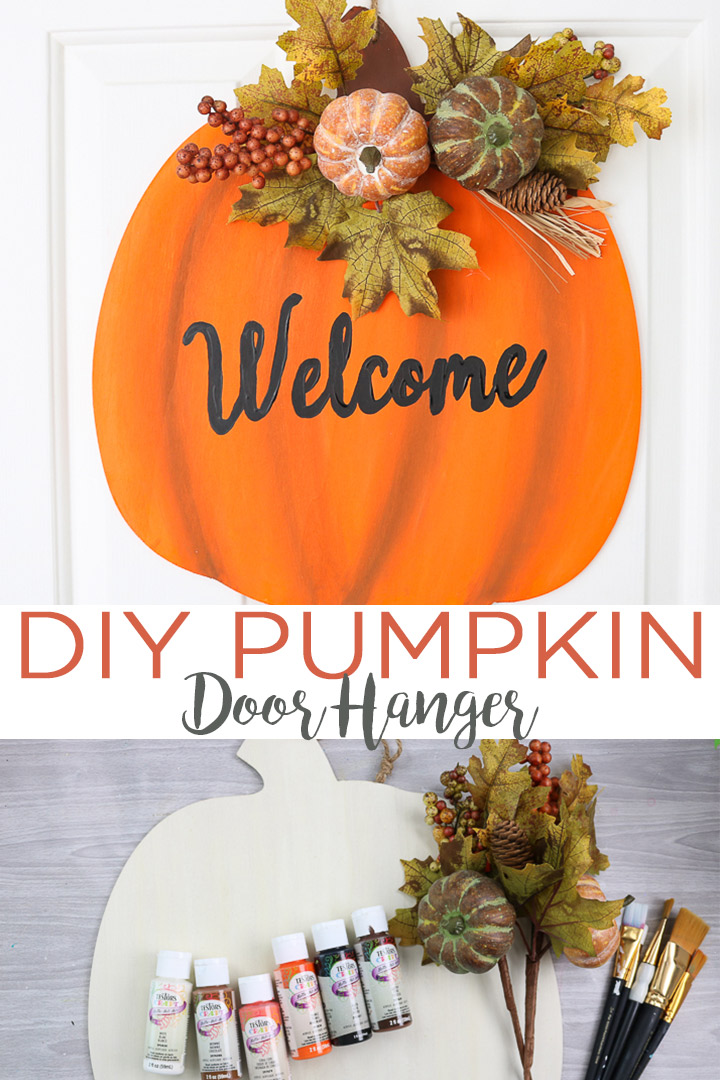
If you are anything like me, you are feeling antsy for fall! Invite the season in with this simple DIY project: a pumpkin door hanger.
By the way, this is a great project to do with some friends. Grab a couple of your nearest and dearest and have a crafternoon—I'll show you how below. You will love spending time with friends and family getting crafty this fall!
This is one of my all-time favorite fall projects! I love crafting, and this gives me the chance to show my creation off to all my visitors.
Supplies Needed to Make This Fall Door Hanger:
- Large raw wood pumpkin (see info below)
- Craft Paint in a variety of colors (I'm using Testors)
- Paintbrushes
- Fall florals
- Glue gun and hot glue
- Twine
- Welcome printable (download and print here)
- Printer and ink
- Pen
Where can I buy a wooden pumpkin?
This cute pumpkin is the star of the show. I found this one at Hobby Lobby, and have seen it there a few times since. You can also check other craft stores such as Michaels.
Of course, there are also plenty of options for wooden pumpkins online! Etsy is a great place to look—you'll just need to plan ahead as shipping times can be longer. Amazon also has a lot of options too.
Wherever you get your pumpkin from, just make sure you pay attention to the size.

Video: How to Make a Pumpkin Door Hanger
Want to watch me make this pumpkin door hanger on video? Just watch below!
Can't watch the video or missed some of the steps? I have instructions for you below as well.
How to Make a Pumpkin Door Hanger
If your door hanger came pre-strung with twine, start by removing the twine from the top of the door hanger so you don't get paint on it.
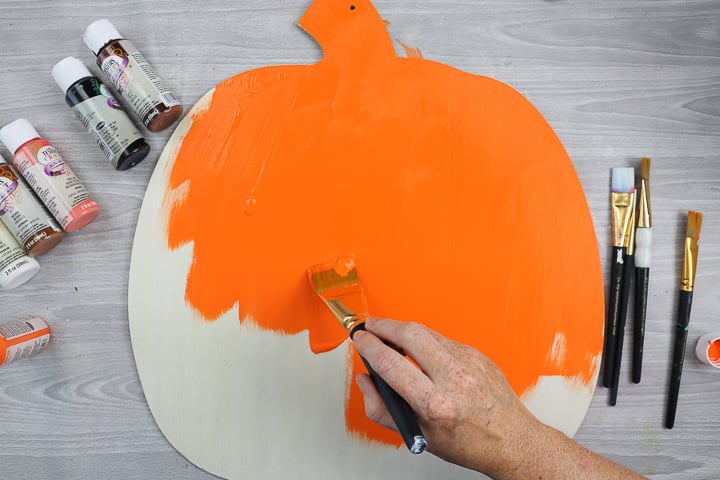
Step 1: Paint
Then paint the entire pumpkin with orange paint.
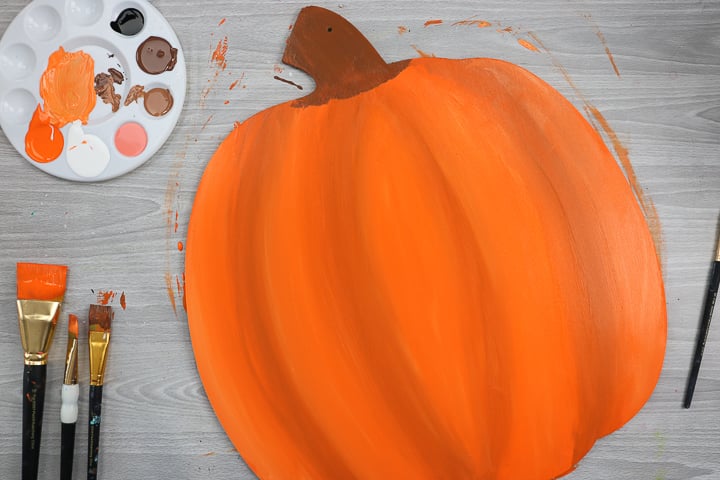
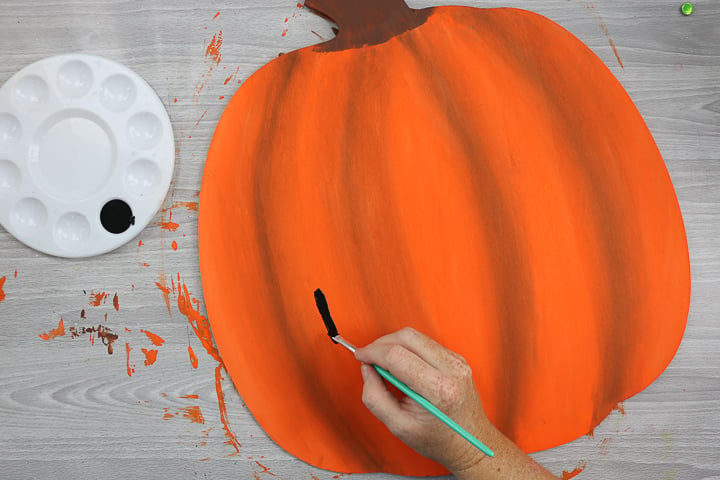
While the orange paint is still wet, add in other colors for shading. Don't be intimidated…shading is easy! I show you how in the video.
I added two shades of brown, light orange, and even some black. Blend these colors until you are happy with the look. You will also want to paint the stem at the top of the pumpkin in brown.
TIP: be sure to paint the sides of your wood piece for a more finished look.
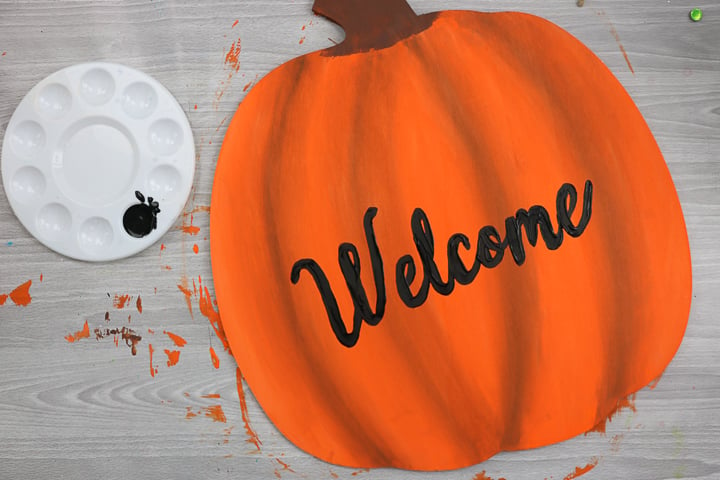
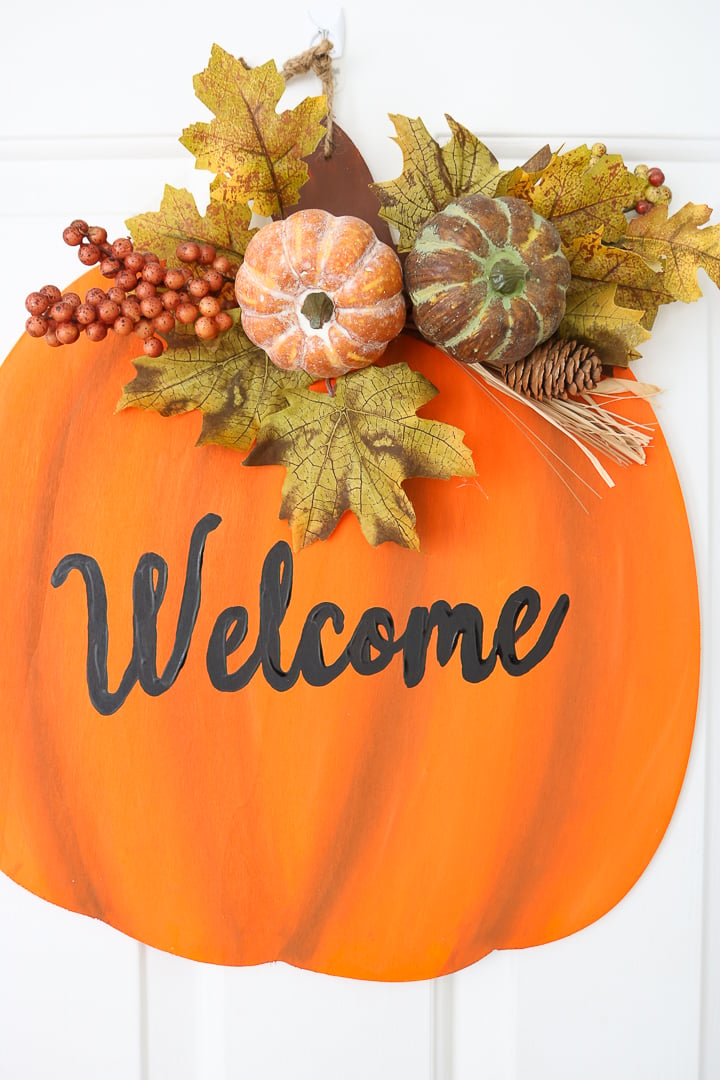
Step 2: Add the Welcome Sign
Allow the paint to dry completely. In the meantime, print out the welcome sign on regular printer paper. Place on the pumpkin however you like.
Once you are happy with the positioning, use a pen to trace around the letters while pressing down hard. This will leave an indention in the wood that you can use as a guide when painting.
So much easier than freehanding!

Fill in these lines with the black paint.
Once complete, allow this to dry completely.
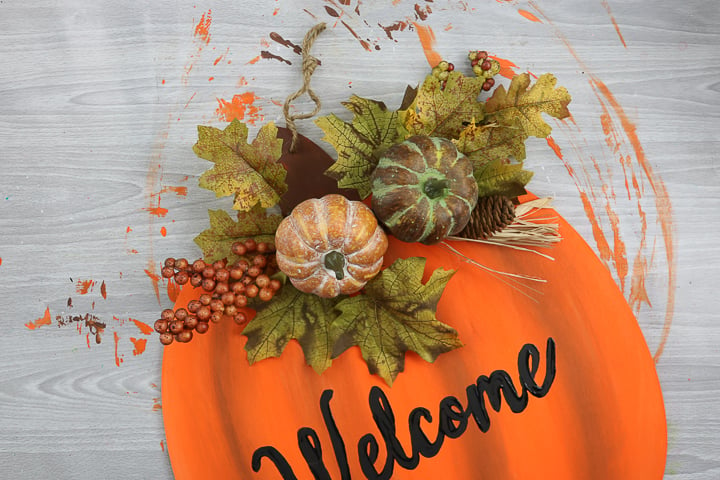
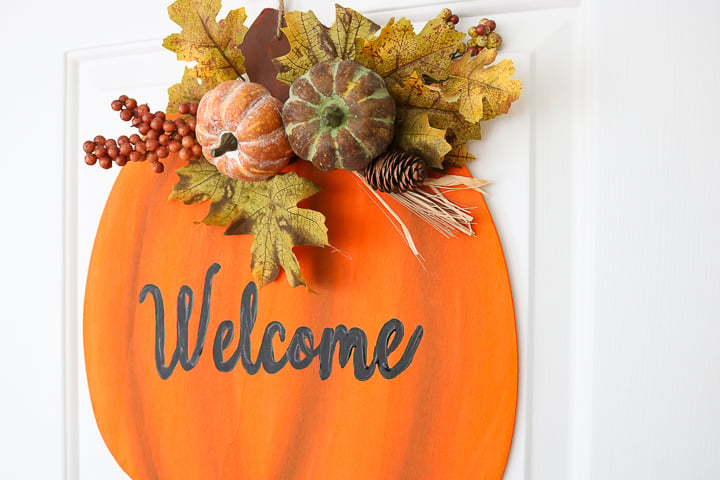
Step 3: Add Florals
Add fall florals to the top of your pumpkin door hanger, then secure with a bit of hot glue. Let dry.
You will also want to add twine back to the hole in the top of the stem.
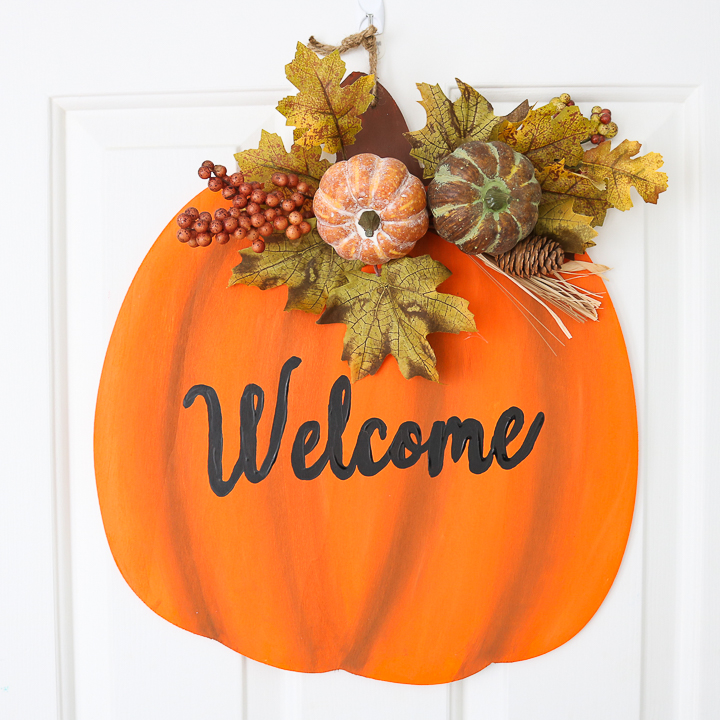
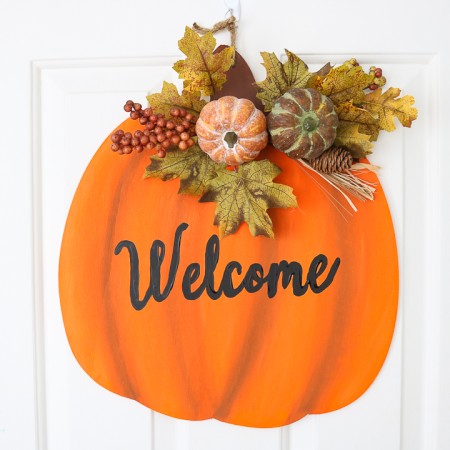
Step 4: Hang and Show Off Your Hard Work!
This next part is easy: just put your fall door hanger on any door to welcome your guests.
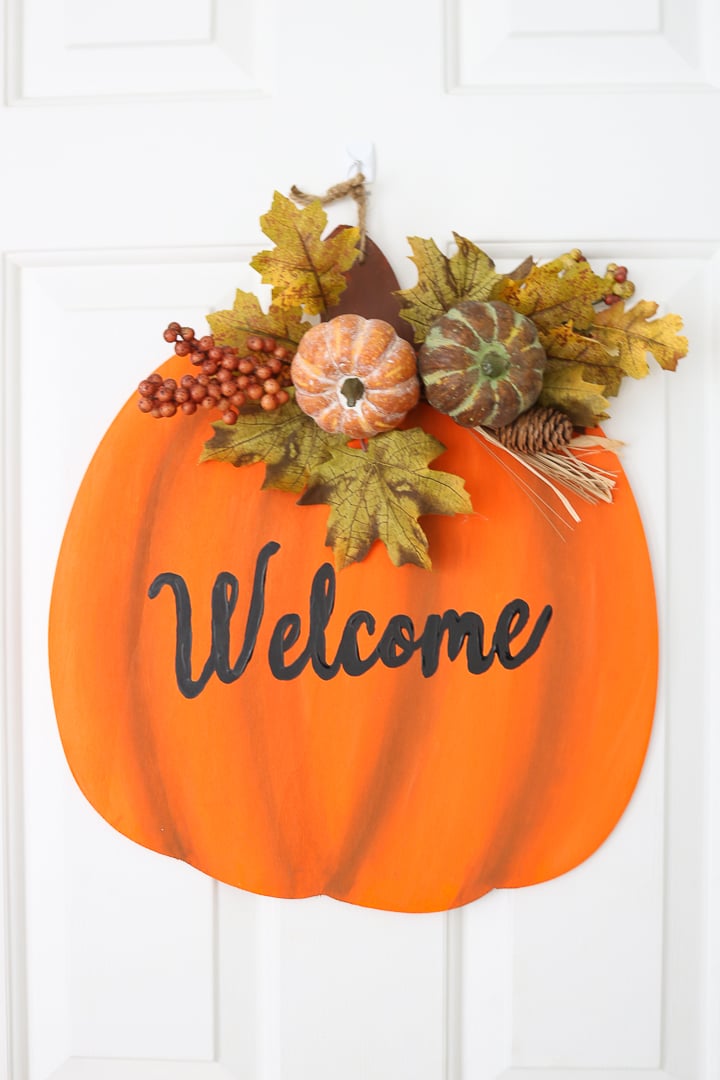
This one is perfect for welcoming fall dinner guests or even adding a little extra something to your door for Thanksgiving.
Hosting a Crafternoon
Why not make a day of crafting with your friends? This is one of my favorite things to do. Setting it up is easy. Simply coordinate a day and time, and pre-purchase the supplies. You can ask everyone to pitch in, or to bring a different supply with them. Make sure to have some snacks on hand as well as your favorite beverages.
You can even gather your supplies for a couple of fall-themed projects. I actually have quite a few to choose from here:
- Pumpkin door hanger (this post!)
- DIY Halloween Pillow with a Spider
- Halloween Signs and Testors Crafternoons
- Halloween Tree for Testors Crafternoons
- Easy Halloween Crafts for Kids: Pumpkin Magnets
- Halloween Lanterns: Testors Crafternoons
- Halloween Wood Sign with Testors
Now that sounds like my kind of party!
For me, a wreath is something that is a must-have. So this pumpkin door hanger is right up my alley! The easy to follow instructions make it perfect for making on a Crafternoon.
Will you make this wood door hanger for your home this fall? My pumpkin door hanger is already on my front door to welcome guests and I am sure it will stay until the Christmas bug bites.
Love this door hanger craft idea and want to print the instructions? Just use the card below!
Equipment
- Glue gun and hot glue
- Printer and ink
- Pen
Supplies
- Large raw wood pumpkin mine came from Hobby Lobby
- Testors Craft Paint in a variety of colors
- Fall florals
- Twine
- Welcome printable
Instructions
- Start by removing the twine from the top of the door hanger so you don't get paint on it. Then paint the entire pumpkin with the orange paint.
- While the orange paint is still wet, add in other colors for shading. I added two shades of brown, light orange, and even some black. Blend these colors until you are happy with the look. You will also want to paint the stem at the top of the pumpkin in brown. TIP: be sure to paint the sides of your wood piece for a more finished look.
- Allow the paint to dry completely. In the meantime, print out the welcome sign on regular printer paper. Place on the pumpkin however you like. Then use a pen to trace around the letters while pressing down hard. This will leave an indention in the wood that you can use as a guide when painting.
- Fill in these lines with the black paint.
- Once complete, allow this to dry completely.
- Add fall florals to the top of your pumpkin door hanger with a bit of hot glue. You will also want to add twine back to the hole in the top of the stem.
- Then just put your fall door hanger on any door to welcome your guests.


