
Are you looking for a fun and creative way to personalize your holiday decorations? Look no further! In this blog post, I’ll show you how to create beautiful DIY picture ornaments using your Cricut machine and some mat board. This easy and enjoyable project is perfect for adding a special touch to your tree, and it’s sure to become a cherished memento for years to come. Let’s get started!
DIY Picture Ornaments Video Tutorial
If you'd like to see the process in action, click the link below to find out how to create these DIY picture ornaments.
Can't watch the video or missed some of the steps? Just follow along below.
How To Make DIY Picture Ornaments
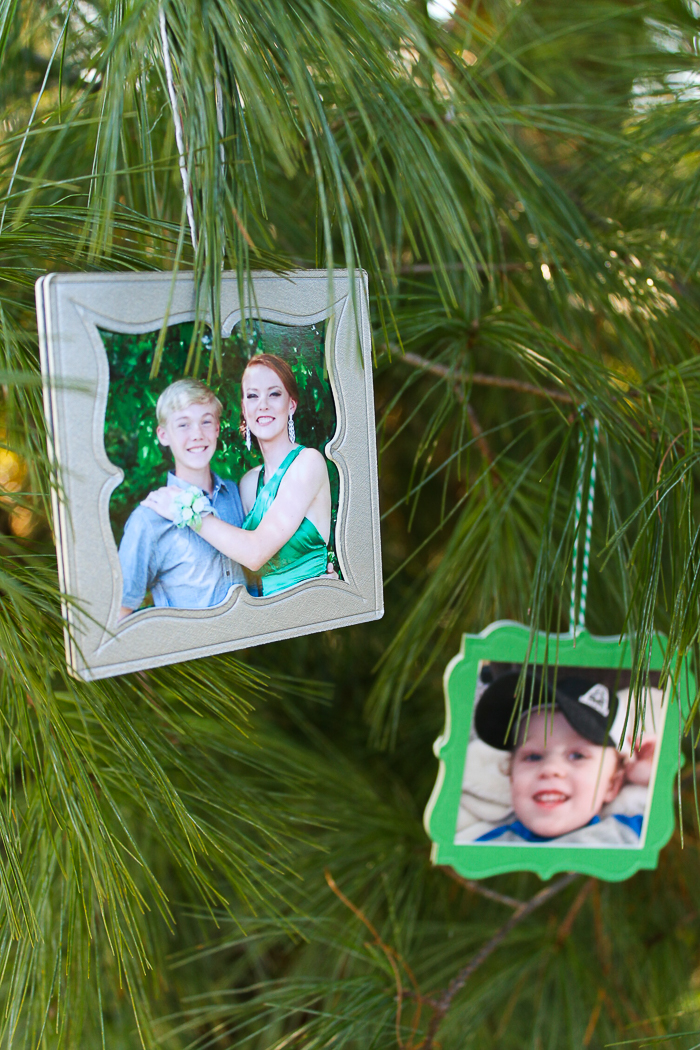
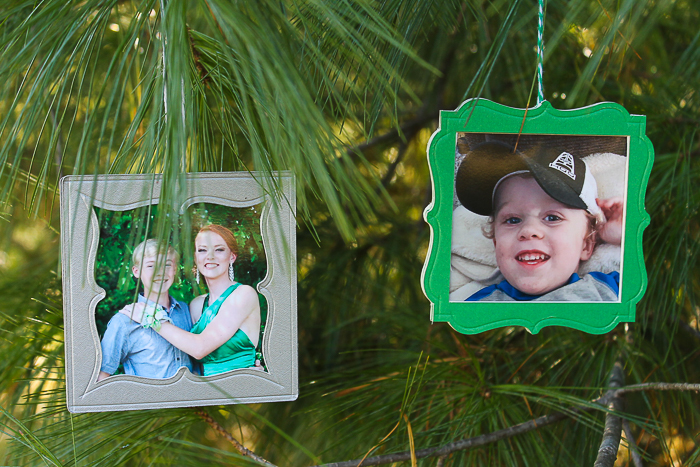
These picture frame ornaments are perfect for Christmas or even as gifts to hang on year-round holiday trees.
To create my projects, I love using my Cricut. If you’re considering a cutting machine, definitely choose a Cricut! You won’t regret it. It has made making my picture frames quick and easy.
NOTE: This project works with any Maker model.
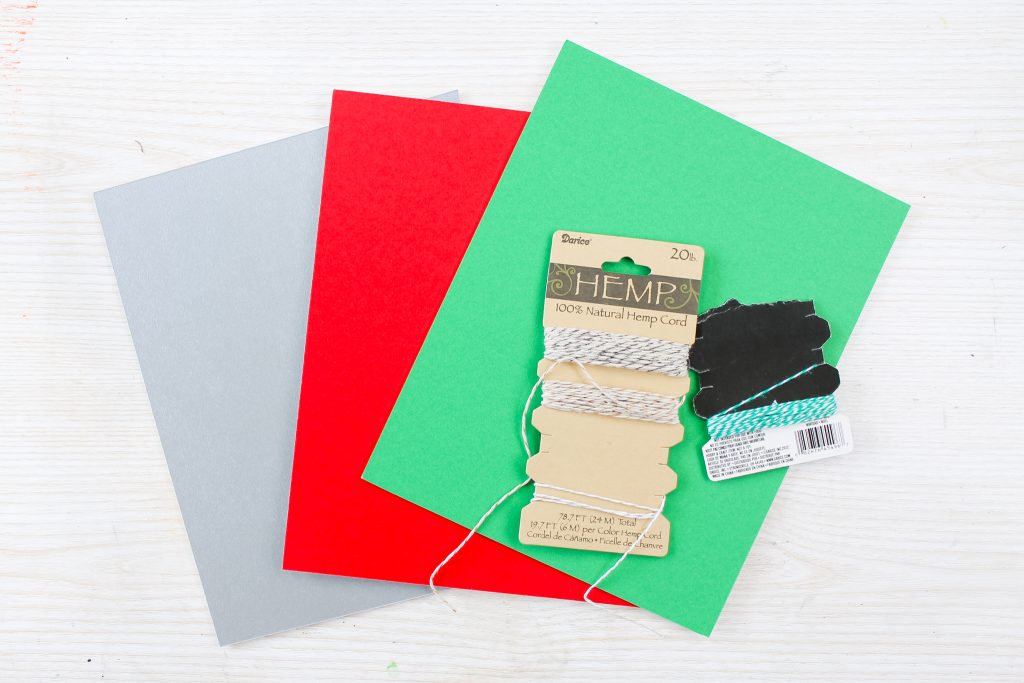
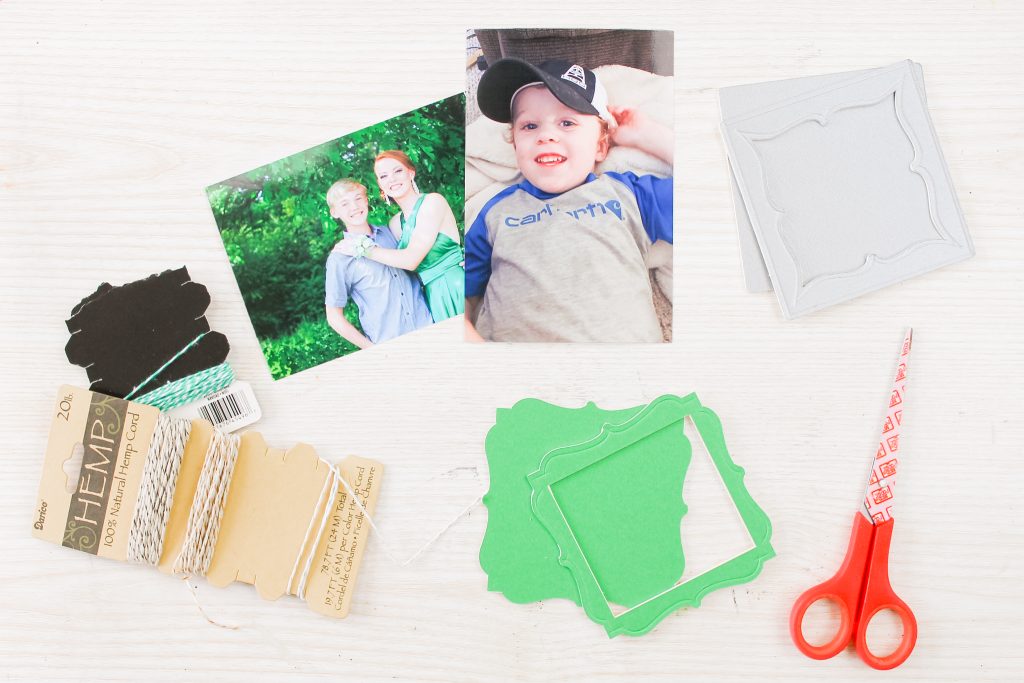
Supplies Needed To Make DIY Picture Ornaments
- 4-ply mat board in various colors
- Cricut Maker (click here to see why I love the Maker)
- Knife blade (click here to see how to use it)
- Scoring wheel (click here to learn more)
- Hot glue and a glue gun
- Twine
- Craft knife
- Self-healing mat
- Photos
- Scissors
- Cricut cut file (click here to access)
Step 1: Open The Frame Cut Files
The first thing you'll need to do is log in to Design Space and go to my profile. Then scroll down to the “Christmas Picture Frame Ornaments” to access the files. You could also pick or design your own frames, make sure to also cut a backing piece from the mat board.
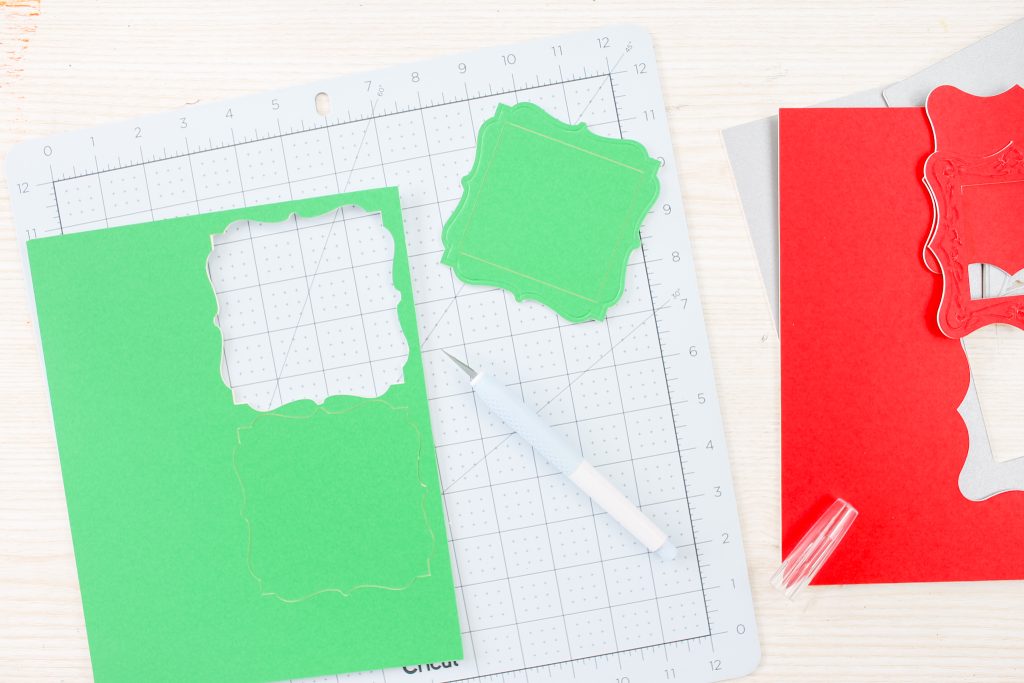
Step 2: Cut The Frame Pieces
Cut the frame pieces with your Cricut Maker and knife blade, and add the score lines with the scoring wheel.
TIP: Pick a 4-ply mat board when cutting and follow all instructions on the screen.
Check your cuts before removing your project from the machine! If they are not cut all the way through, send them through the machine again, or remove them and use a craft knife and self-healing mat to finish the cuts.
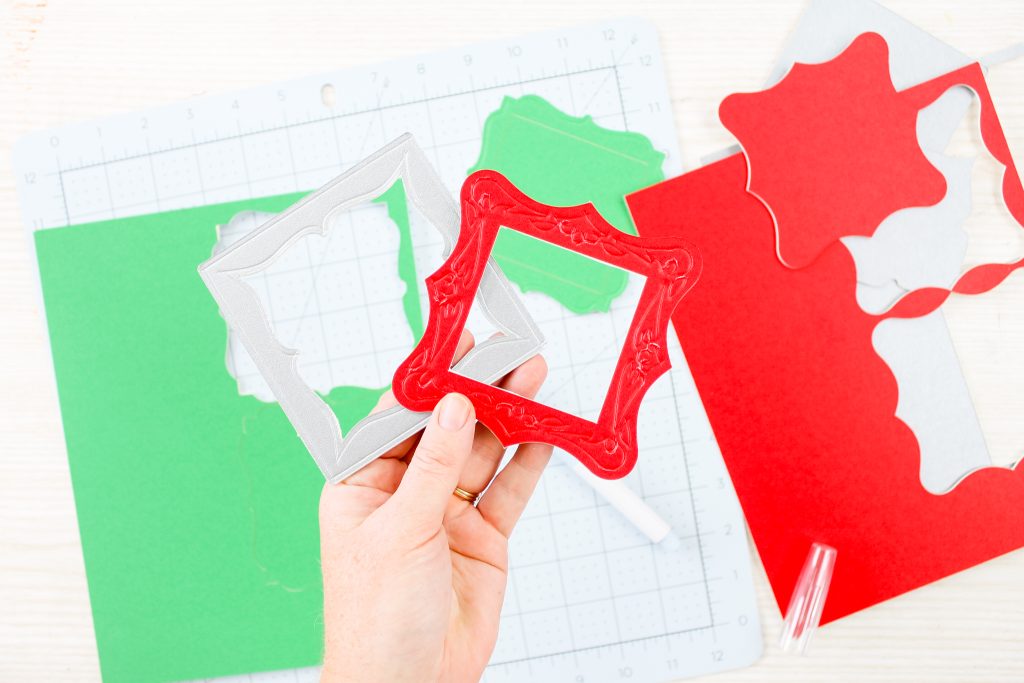
NOTE: Don't Get Too Intricate With Embossing
Now, a few words about the score lines. The two frame ornaments that I ended up making work perfectly with the scoring wheel and for adding those embossed details.
However, a quick word of caution… if you get too intricate with your embossing (as in the red example below), the mat board will start to crack, and the white core will show through.
The two frames in my cut file had no issues, so feel free to use them.
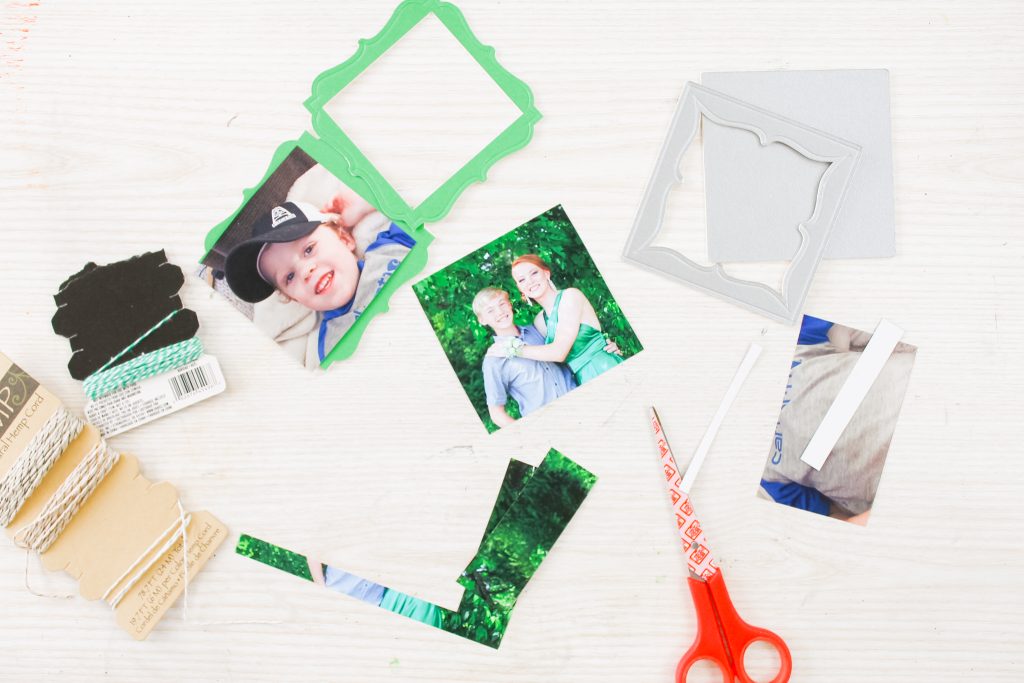
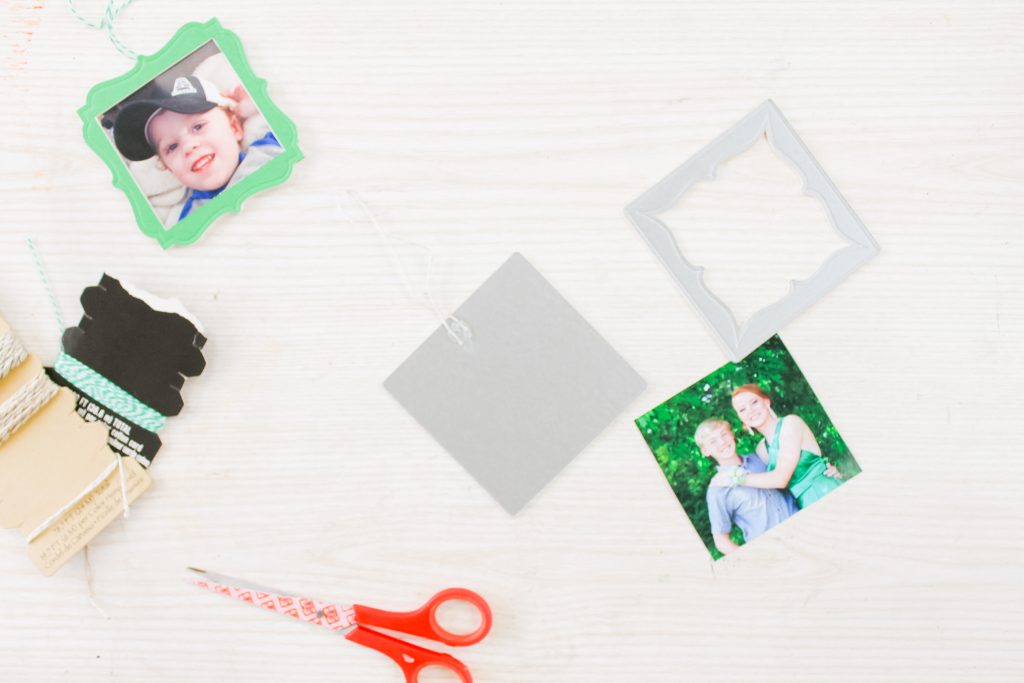
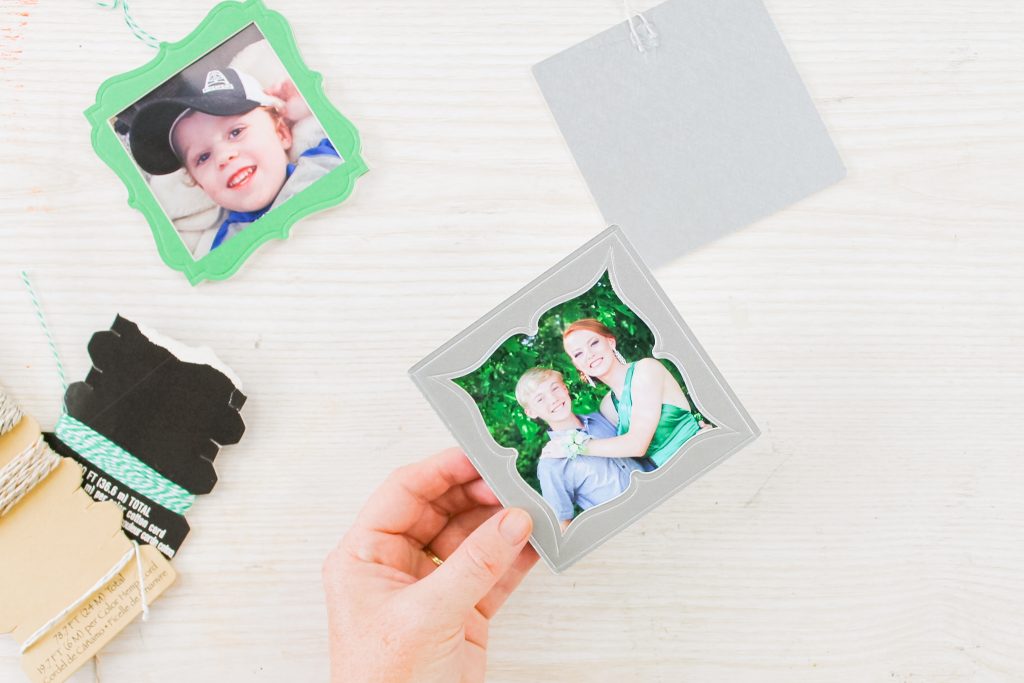
Step 3: Add Photos To The Frames
Once everything is cut, print some pictures to add to your frame ornaments.
Trim the pictures to fit the frame using scissors.
Step 4: Assemble DIY Picture Ornaments
Then assemble the entire thing with your glue gun.
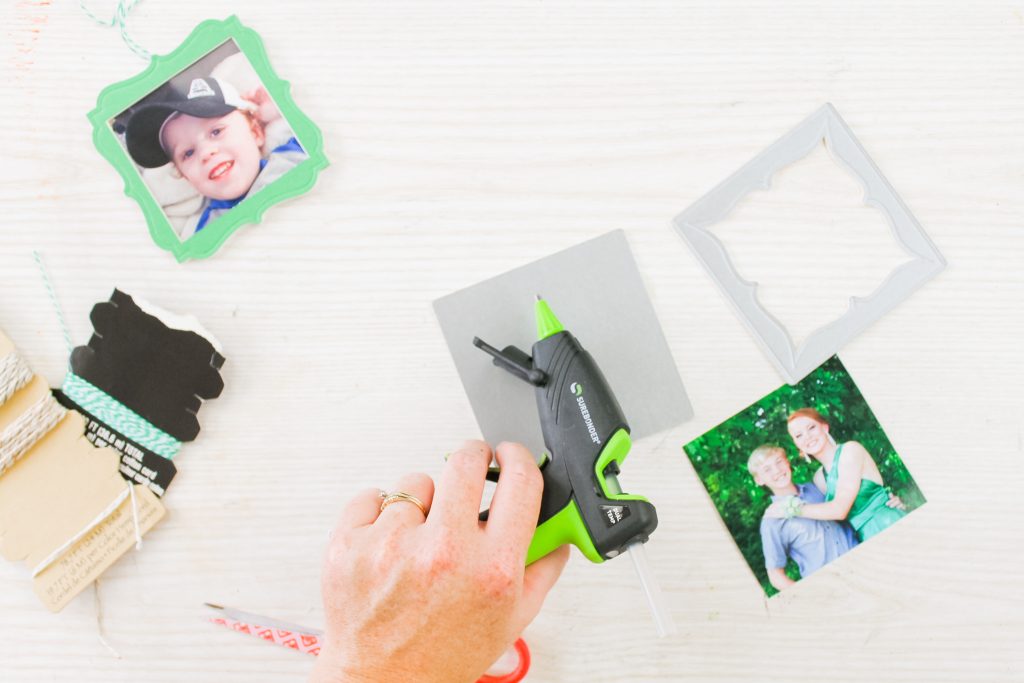
Start by adding a loop of twine to the back of your frame.
Next, use hot glue to attach your picture to the back of the front piece.
Then run a bead of hot glue around the back.
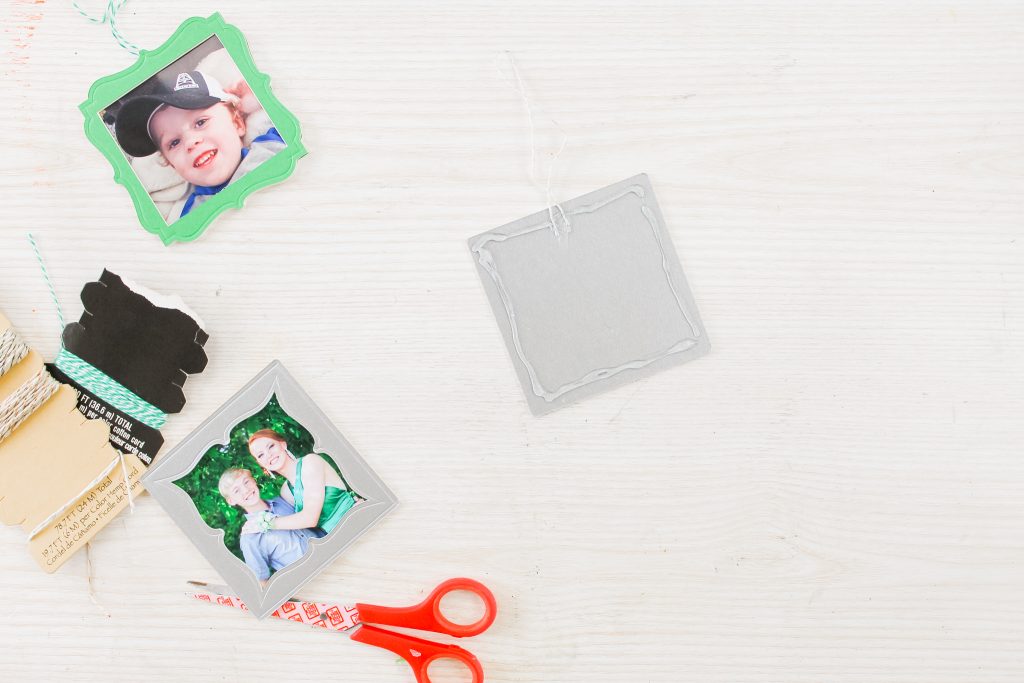
Assemble the entire thing together.
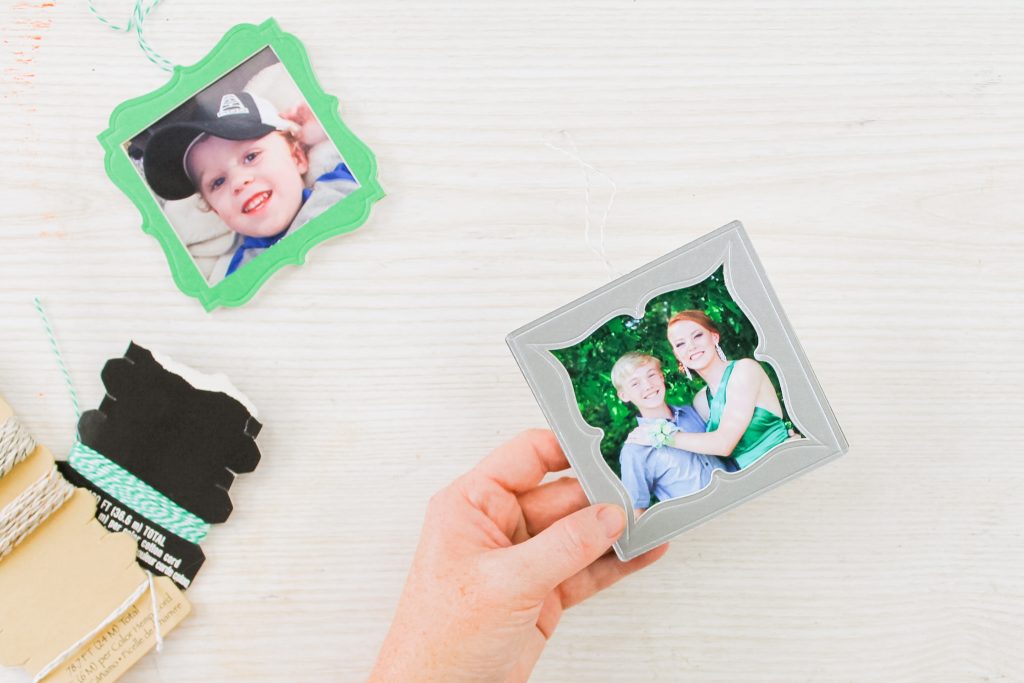
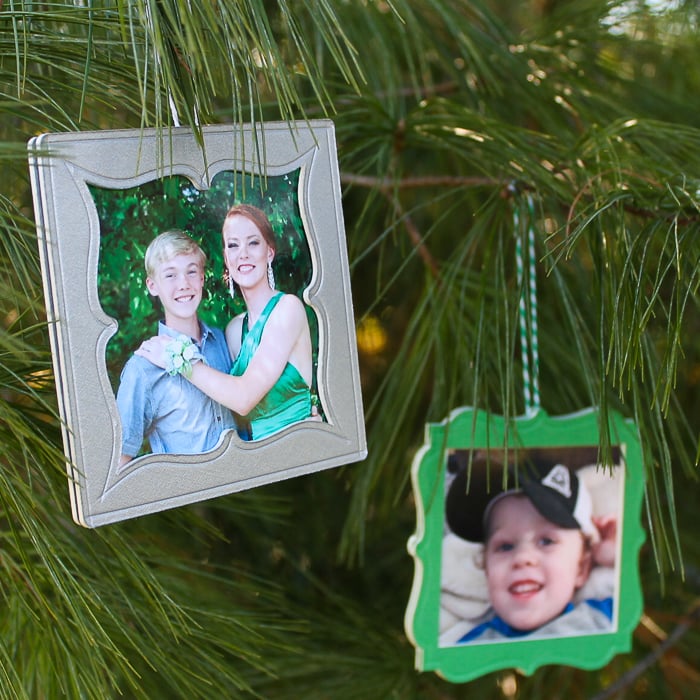
Finally, all that is left is to hang your DIY picture ornaments on your tree.
Just look at those embossed details and what they add to the project!
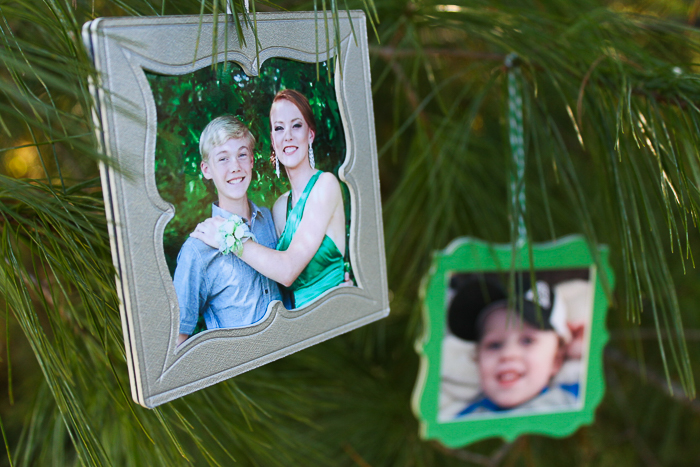
I am in love with the idea of adding score lines to the mat board, and now I am wondering what other projects I can make with this same technique.
Fill up your tree this year with frame ornaments and all of those memories you have made throughout the year!
Tips and Tricks for DIY Picture Ornaments
Now that you’ve seen these fun DIY picture ornaments, are you ready to make your own? Here are a few tips and tricks to help!
- Use Any Cricut Maker Machine – For this project, I used my Cricut Maker, but you can use any Cricut Maker model that you have to make these ornaments!
- Print Your Photos At Home – You can have your photos professionally printed if you prefer, but I find that it's much easier and cheaper to print your photos at home onto photo paper!
- Get Creative With Your Picture – When making your ornaments, remember that you can put anything in the frame! Below are a few picture ideas that would make for great ornament gifts.
- Photos from big life events: Weddings, Birthdays, Graduations, etc.
- Pet Photos
- Photos of Celebrities (this would be a funny gift to give if you know someone who loves a certain movie star or musician)
- Landscapes
- Quotes
- Scriptures
- Use Thin Ribbon or Embroidery Thread – When assembling my DIY picture ornaments, I used twine for the hangers. However, you can use thin ribbon or embroidery thread instead!
5 More Cricut Ornament Crafts
Did you love these DIY picture ornaments and want more Cricut ornament crafts? Then check out the projects below!
- Make Plaid Christmas Ornaments with a Cricut
- DIY Wood Slice Christmas Ornaments with Cricut
- DIY Leather Ornaments with the Cricut
- Make Personalized Cricut Ornaments with Craft Foam
- Making Vinyl Christmas Ornaments with a Cricut


Those are so pretty!
I love picture frame ornaments! It is such fun to see them every year as you set up the tree.Great video, and I can’t wait to try these out! Thank you for sharing at Celebrate it!
Hi Angie, Can you please tell me when your frames file will be available again to download? Thank you for your reply
Hi Angie, Can you please tell me when your frames file will be available again to download? Thank you for your reply
I am unable to get the frame ornament files. Am I missing something?