

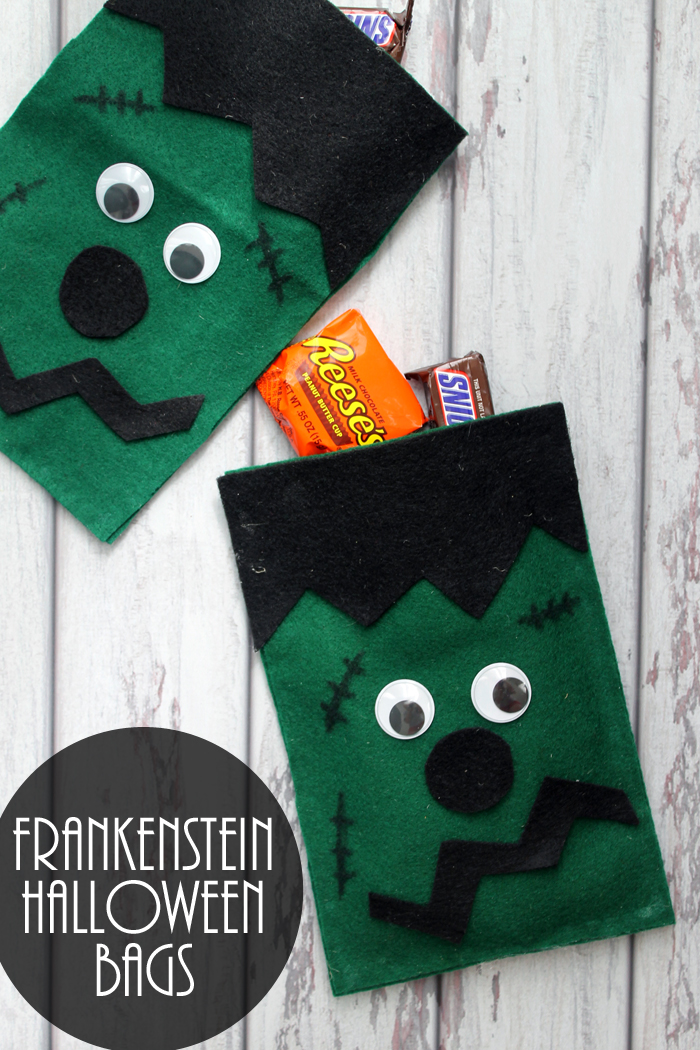
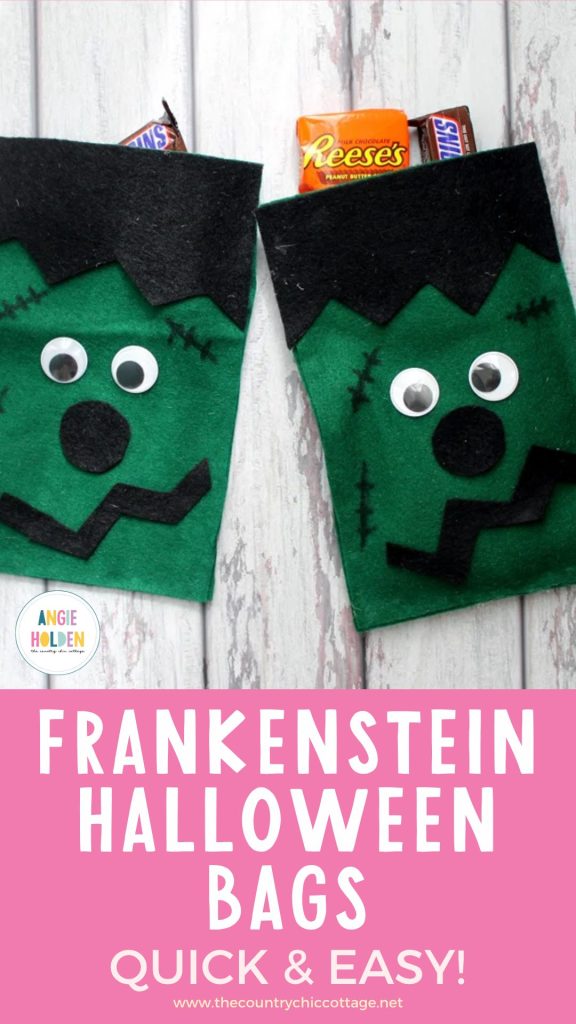
Make these Frankenstein Halloween bags in just minutes with our craft tutorial below. A quick and easy idea for Halloween parties, trick or treaters, classrooms, and more. Add these simple felt Halloween bags to your must-make list this year.
Some links may be affiliate links which means you do not pay anymore, but I may earn from qualifying sales.
If you missed our other 15 minutes or less Halloween crafts this week, be sure to check out the ideas from day 1, day 2, day 3, and day 4. You can also scroll to the bottom of this post for even more Halloween craft ideas.
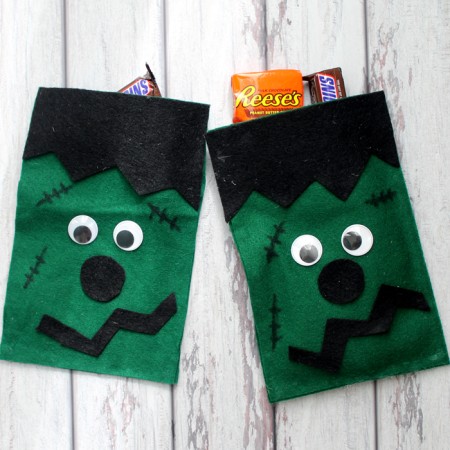
These are the cutest Halloween treat bags ever! These are so easy to make and fun to hand out.
You could stock these full of fun goodies to hand out to your students at a Halloween party or neighborhood trick or treaters!
I have several different Halloween versions of treat bags. Make a whole variety of these in different characters like scarecrows, candy corn, and more. Plus, there are plenty more Frankenstein crafts to make, too!
How to make Frankenstein Treat Bags
Supplies needed to make your own Frankenstein Halloween bags:
- Green felt sheet (one 9 inch by 12 inch sheet per bag)
- Black felt sheet (one sheet will make 4 -5 bags)
- Hot glue and glue gun
- Large google eyes
- Black marker
You can see the basic steps for making these Halloween bags in the super quick video below. Let the kids help with the cutting of the pieces and an adult can man the glue gun. You will have a bunch of these in no time!
If you missed any of the steps, you can read how to make these Frankenstein Halloween bags below:
Start by folding the green felt sheet in half. Cut along the fold and then again to create 2 pieces of green felt. This will be the front and back of the bag.
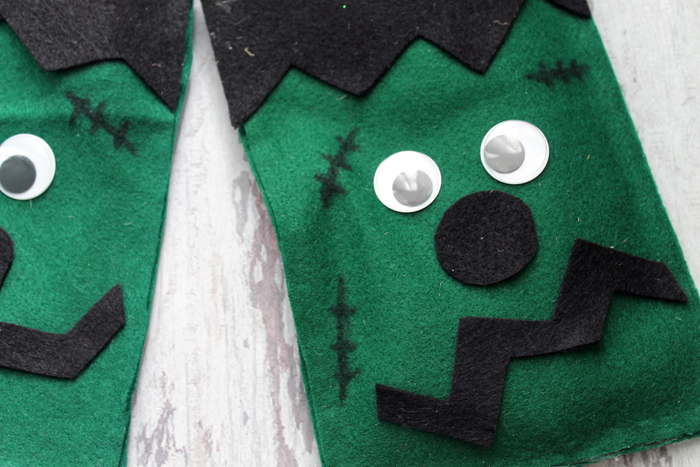
Next, make the “hair” by cutting spikes from the piece of black felt. With a hot glue gun, glue the hair to one of the green felt pieces.
From the black felt, also cut a nose and mouth and add those pieces and the google eyes to the green felt piece. You should begin to see a Frankenstein forming!
Use a black marker to draw on the scars in various places.
Then, hot glue around the bottom and the sides of the bag and press the front and back together to form the bag.
Allow the bag to dry, then fill with Halloween goodies!
These quick and easy Frankenstein Halloween bags will be the talk of the Halloween party! Start making a bunch today to give out candy on the big night.
Equipment
- Green felt sheet (one 9 inch by 12 inch sheet per bag)
- Black felt sheet (one sheet will make 4 -5 bags)
- hot glue and glue gun
- Large google eyes
- Black marker
Supplies
Instructions
- Cut the green felt sheet in half.
- Cut spikes from a black felt piece for the hair.
- Use hot glue to add hair to one of the green felt pieces.
- Cut nose and mouth from black felt sheet.
- Use hot glue to add these to bag as well as google eyes.
- Use marker to draw on “scars” in various places.
- Hot glue around three sides of bag and put front and back together.
- Add candy and your Halloween bags are ready to go!

Need more Halloween ideas that take 15 minutes or less to make? Check out the ideas from our blog partners below! Turn paper into fun Halloween treat boxes like these from My Craftily Ever After.

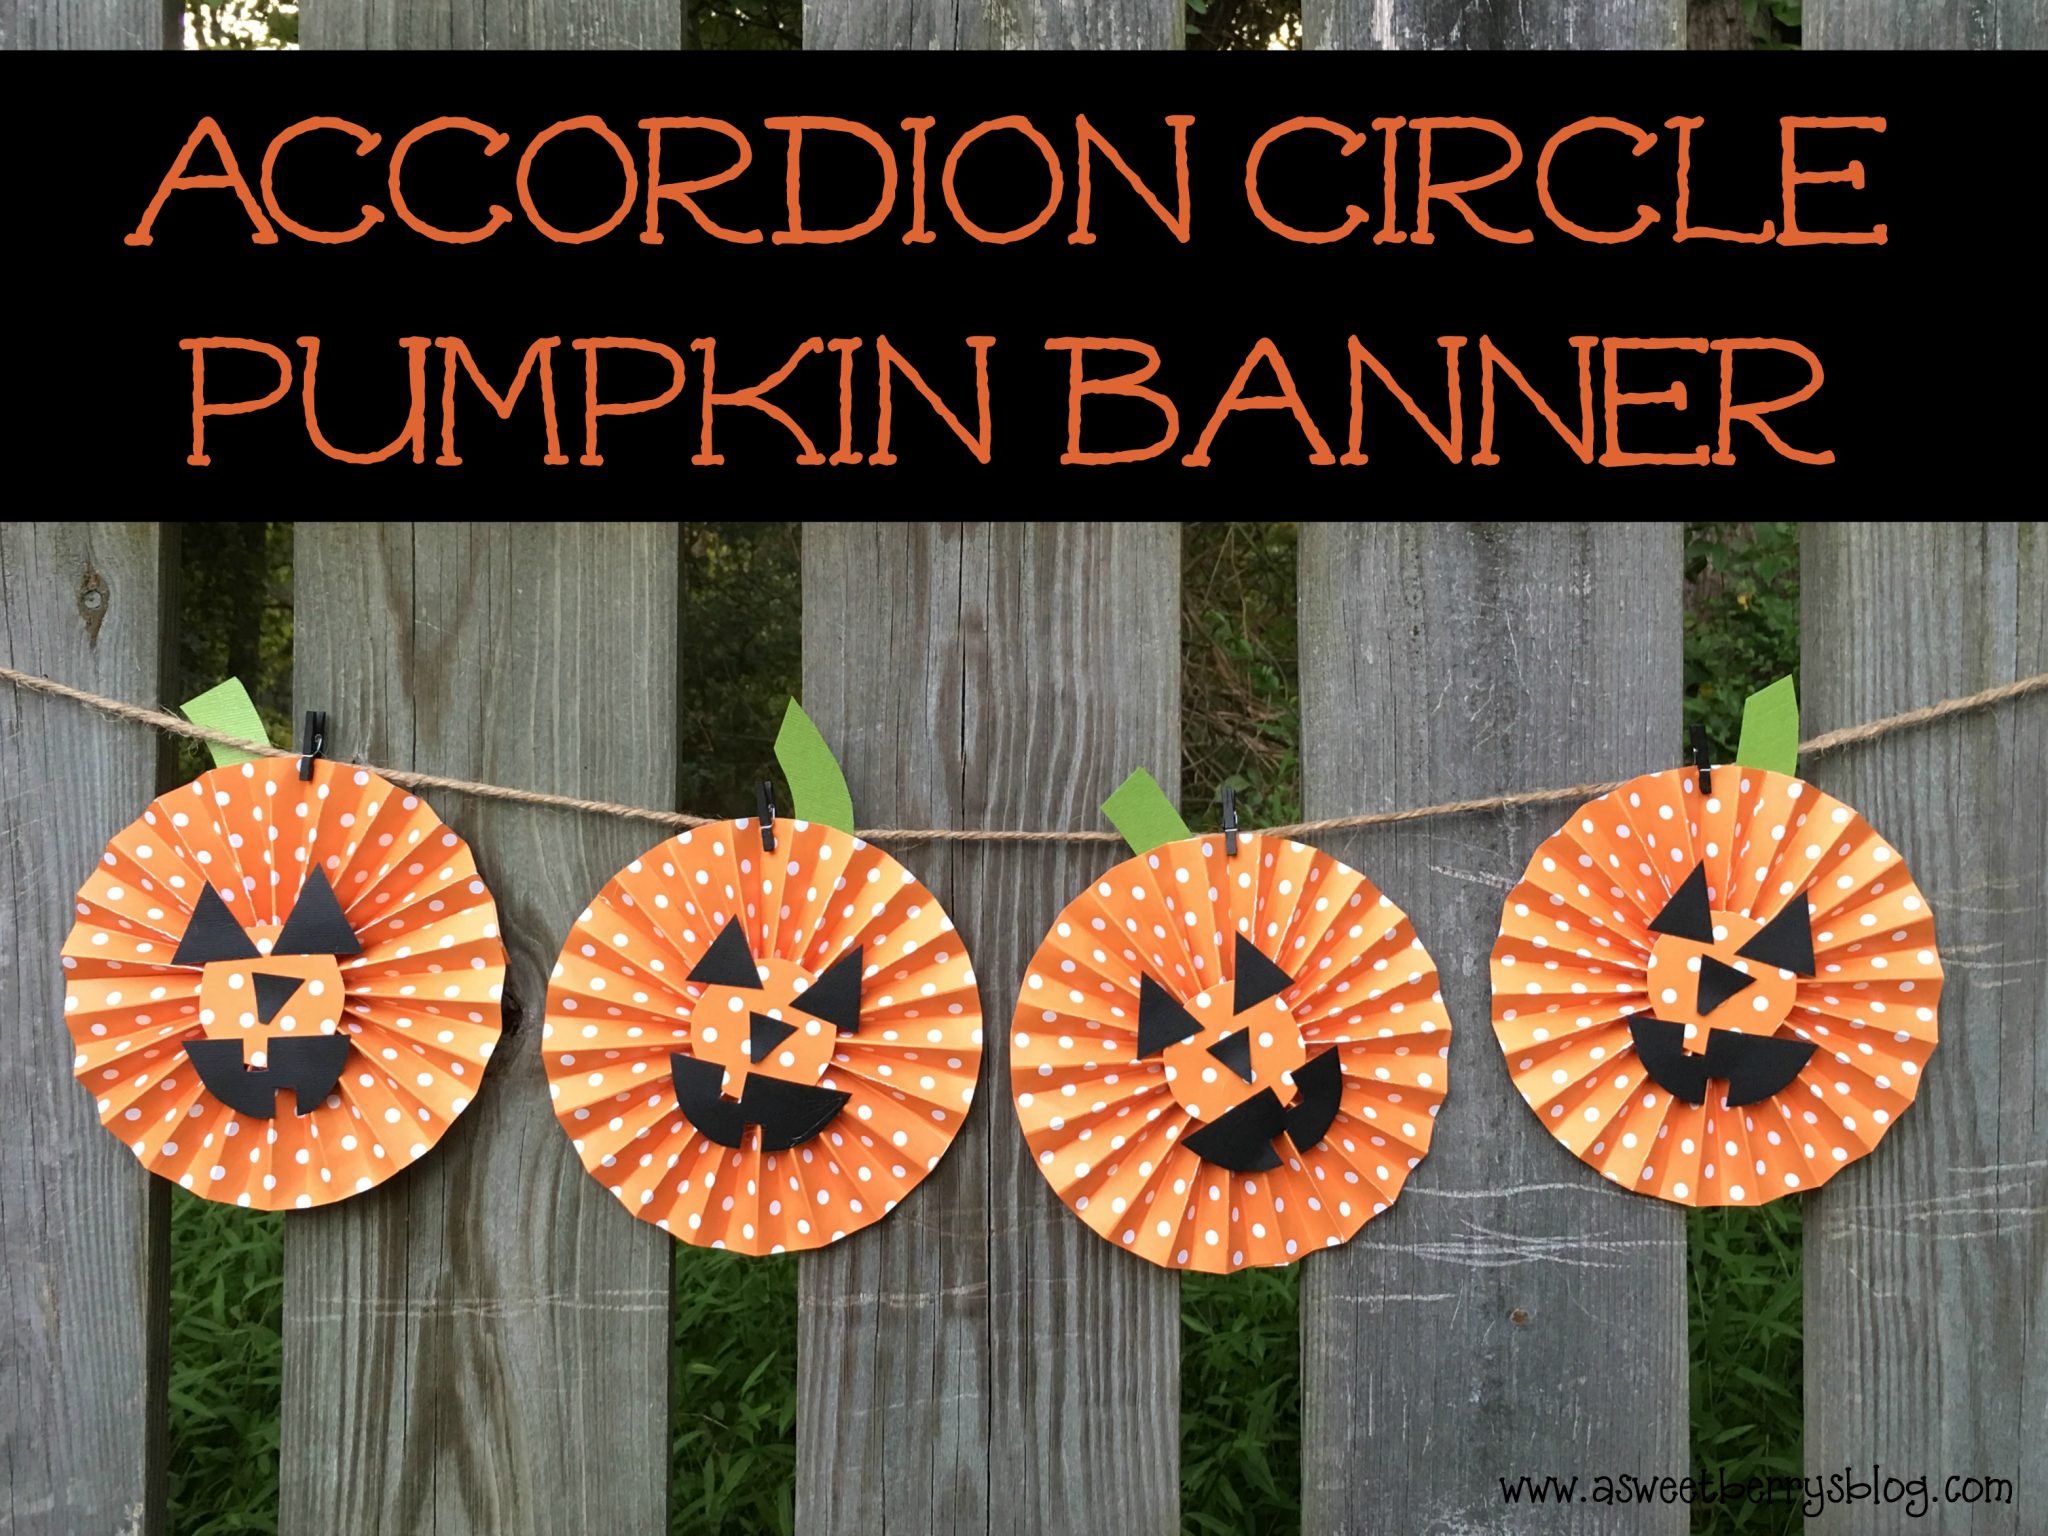
Paper can also be made into this great pumpkin banner from A Sweet Berry.
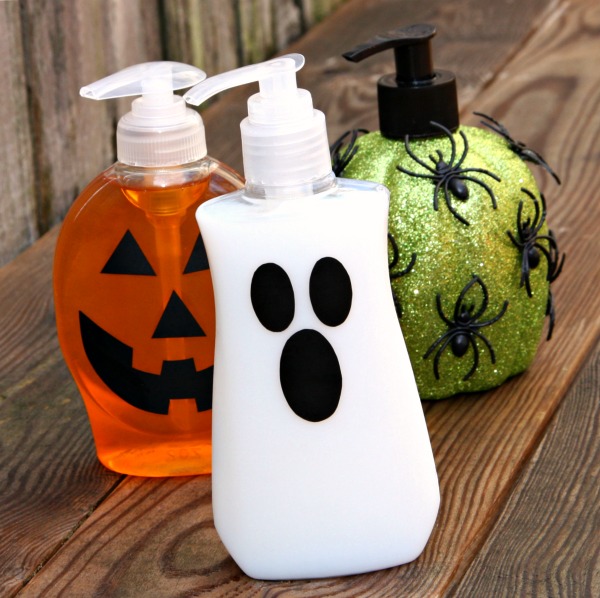
Make Halloween themed pump soaps easily with the instructions from Happy Go Lucky.
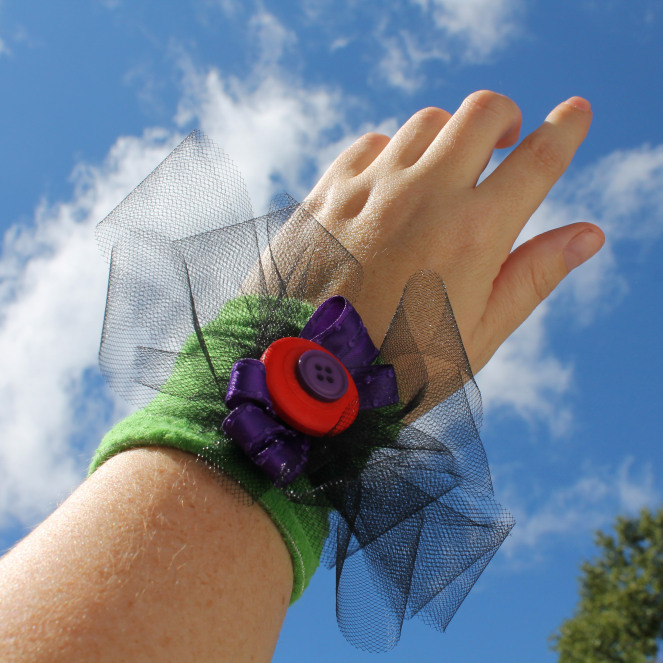
Add this 80s themed bracelet to your costume from Scrappy Chick Designs.
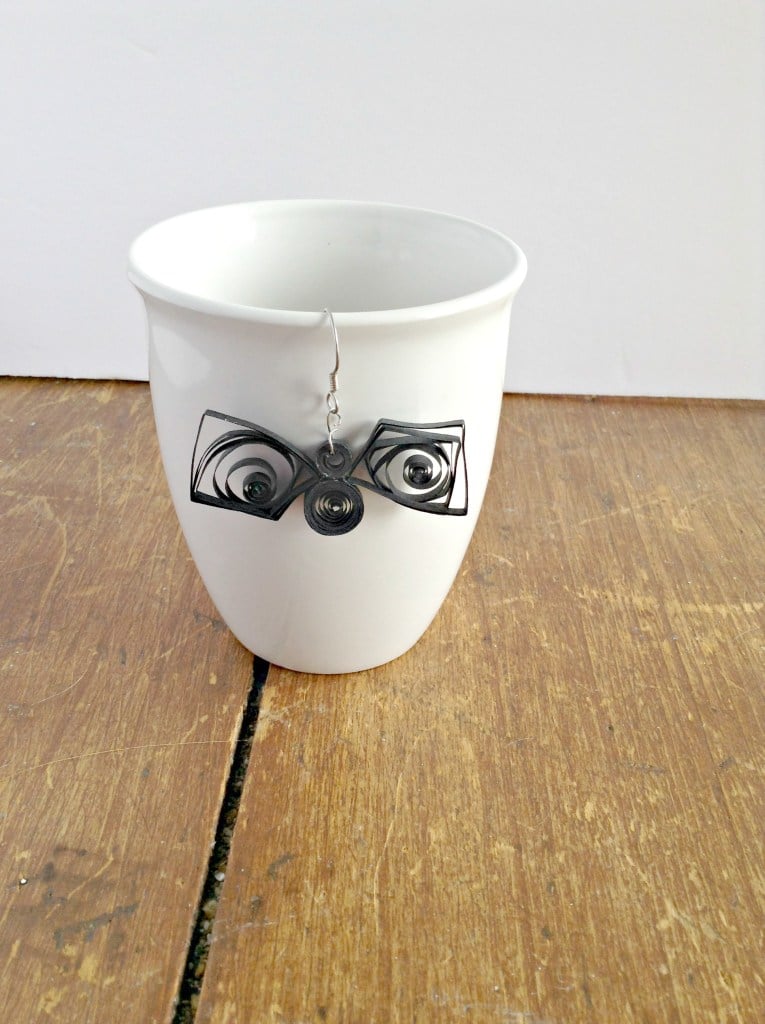
I love quilled paper projects! Creative Cynchronicity turned quilled paper into cute bat earrings!
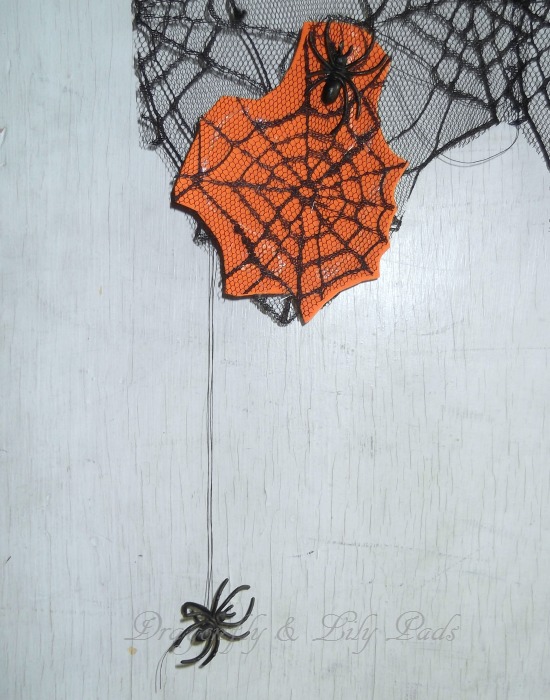
Add this fun spider wall hanging to your Halloween decor like Dragonflies and Lillypads.
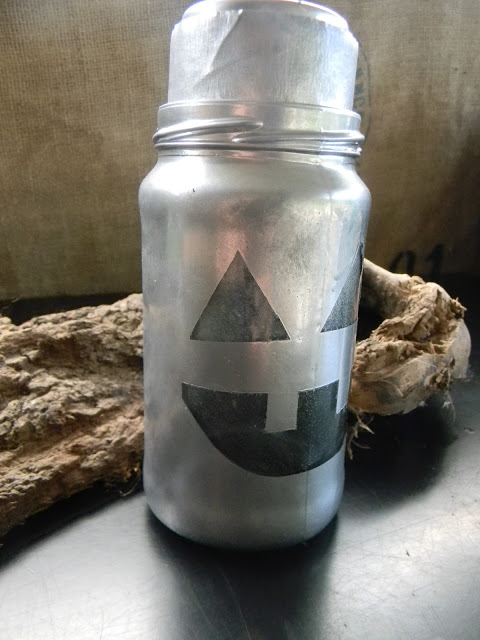
Turn any jar into a metallic pumpkin lantern with the tutorial at Artistic Endeavor.
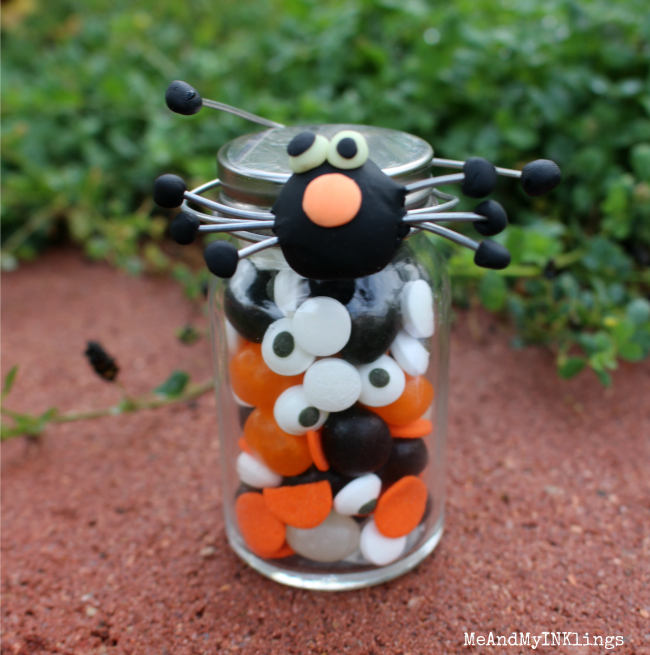
Glow in the dark clay?? Yep! Use it to make this glow in the dark spider jar over at Me and My Inklings.
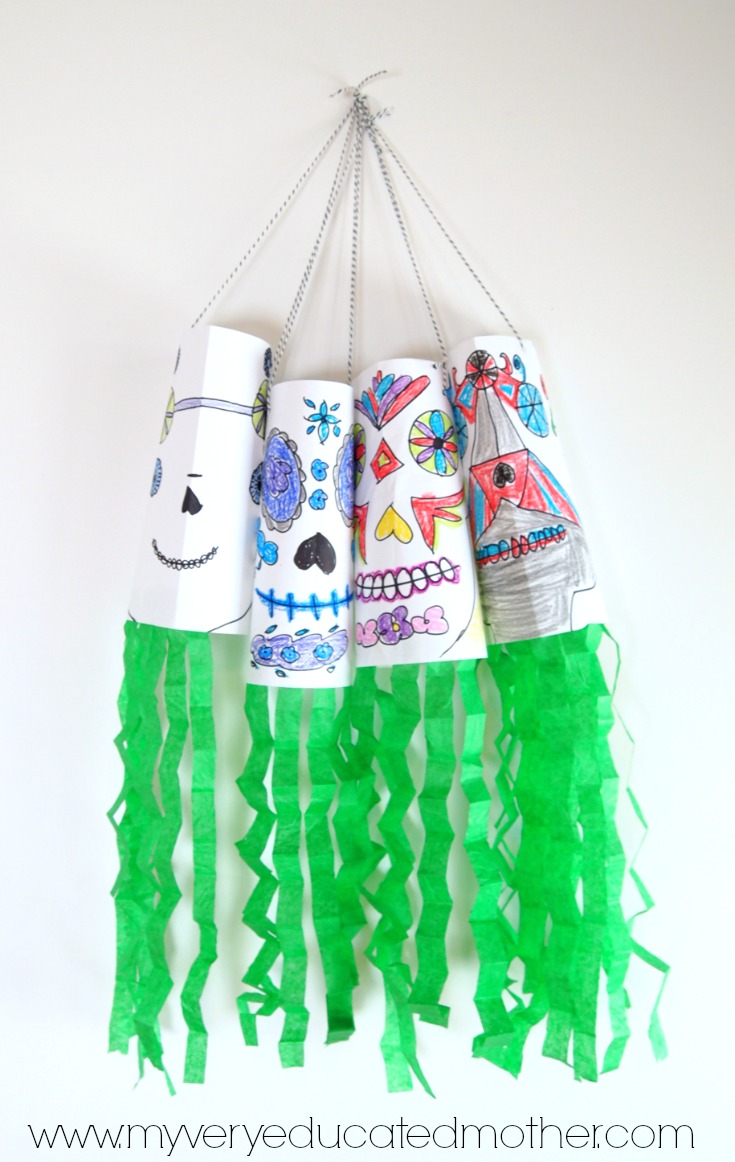
Celebrate the Day of the Dead with this great windsock project for kids over at Me and My Very Educated Mother.
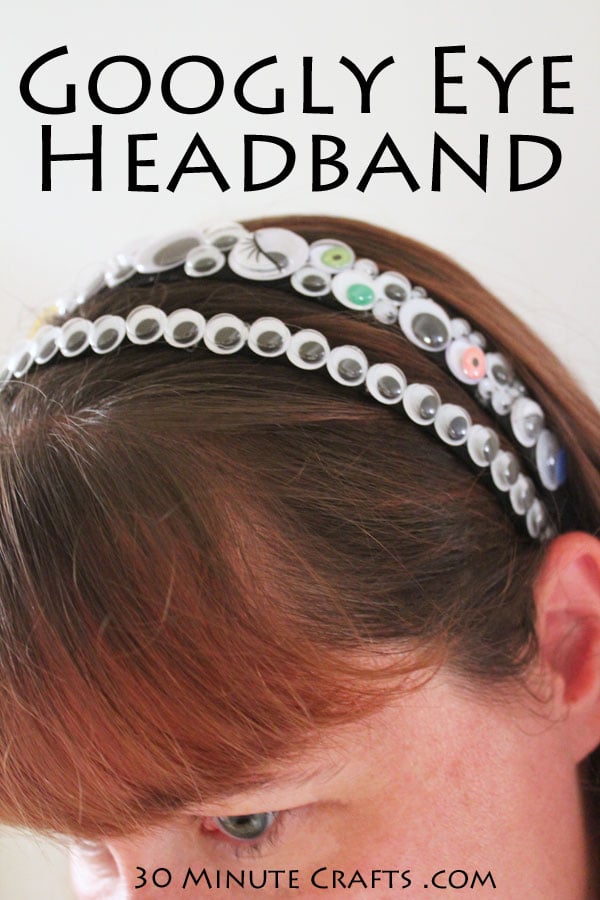
My co-hostess for this series is 30 Minute Crafts and she is all about the googly eyes! See how to make a googly eye headband here.
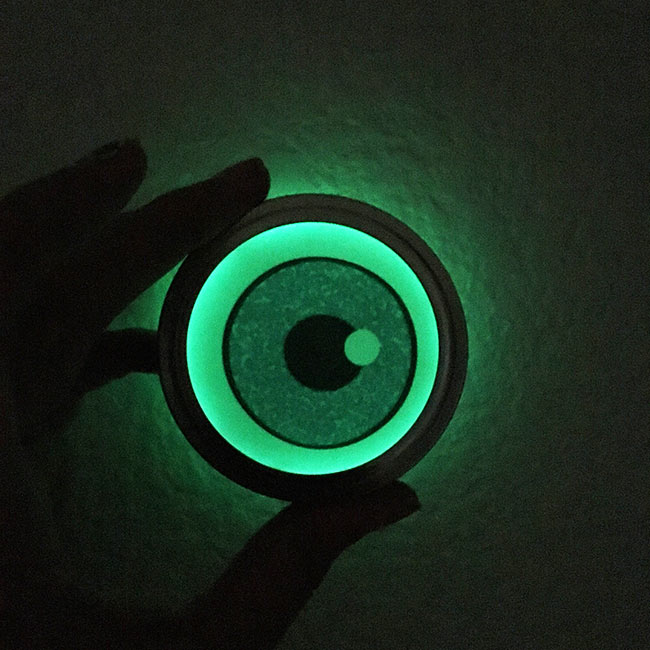
Our guest co-hostess is 100 Directions and she is turning mason jar lids into glowing eyes for use anywhere in your Halloween decor.
Make these Frankenstein Halloween bags or any of the other quick and easy Halloween crafts that were shared today!


Very cute idea! For Halloween you see a lot of Spider and Pumkin crafts, but I have never seen frankenstein. Like it and will pin it <3. Greetings from Vienna
These are super cute! My daughter loves all the Frankenstein craft, we will have to make these!
Gah! I can’t get over how cute these are!
I would love for you to share this with my Facebook Group for recipes, crafts, tips, and tricks: https://www.facebook.com/groups/pluckyrecipescraftstips/
Thanks for joining Cooking and Crafting with J & J!