
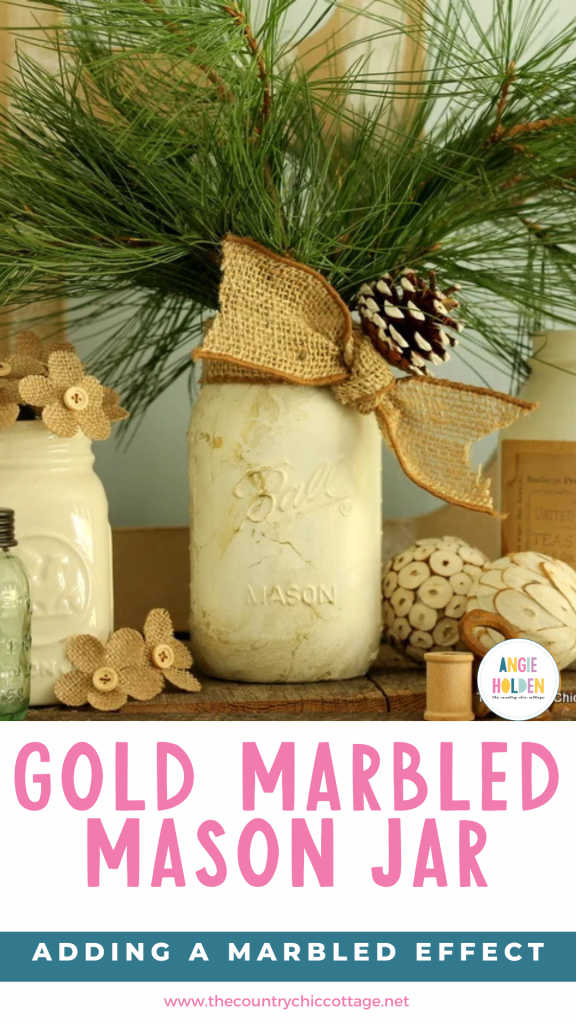
Gold marbled mason jars are such a pretty addition to your home for any season! This tutorial will teach you how to add a marbled effect to any mason jar with an easy technique. All you need is a mason jar, paints, and a floral arrangement in mind!
Grab your jars, ladies and gents! You will want to make a dozen jars like this one after this tutorial!
This project is actually really simple and the technique for marbling will blow your mind! This post is a part of my design team status with DecoArt however all projects and opinions are my own.
If you know me, then you know how obsessed I am! I've said it a thousand times, but mason jars are so versatile – you can use them as food storage, gifting, organizing, and decorating. Plus, they are really easy to paint and clean, too.
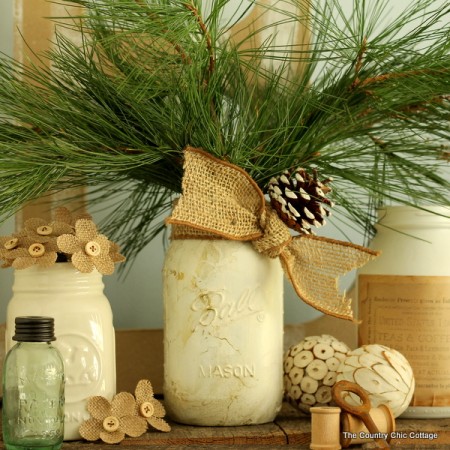
This particular design adds a beautiful holiday flare to your decor, but you could easily use this for any season. Instead of pine needles and pine cones, you could drop in sprigs of lavender, or add soft-colored flowers for a more casual, farmhouse style.
The burlap ribbon could easily be swapped for something more formal or casual – it all depends on the vibe you are going for! Again, that's why I love mason jars and crafts that let the creator choose the direction of the project.
How to Marble a Mason Jar
Items needed to make your own gold marbled mason jar:
- Deco Art Americana Chalky Finish Paint in Lace
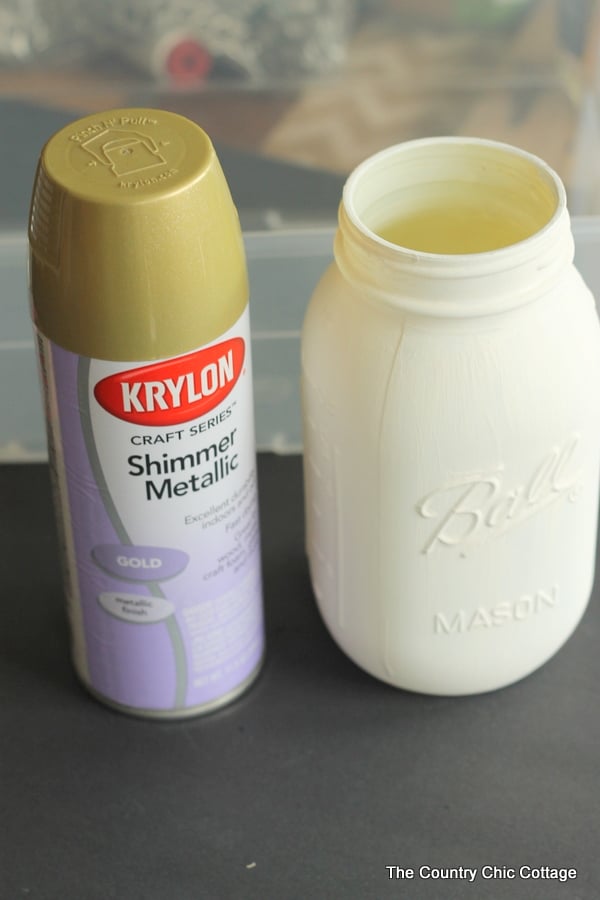
- Krylon Shimmer Metallic Spray Paint Gold Shimmer
- Ball mason jar (quart size)
- Burlap ribbon
- Pinecone
- Rubbing alcohol
- Paintbrush
- Plastic tub with water (shoe-box size)
- Protective gloves


Steps to make a marbled mason jar:
Clean your jar well with rubbing alcohol and allow it to dry. Alcohol will remove any residue from labels and stickers or anything else that might mess up the paint job.
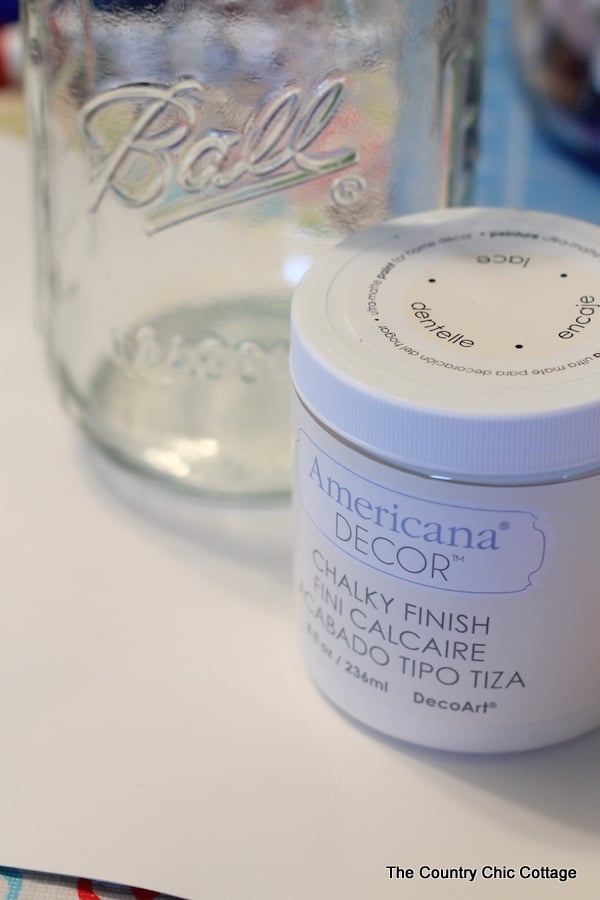
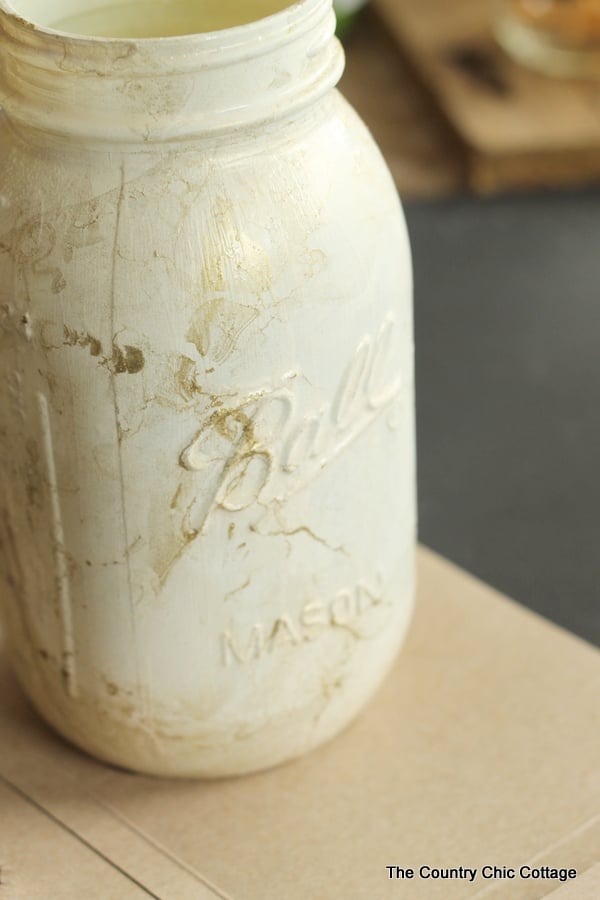
After your jar is squeaky clean, paint the outside with three coats of Americana Chalky finish paint in your choice of color. I used Deco Art Americana Chalky Finish Paint in Lace.
Allow the jar to dry completely in between coats and before continuing on to the next step.
Now it is time to do some marbling on that jar! I actually used this technique on a let it snow sign and thought it would work great on a mason jar as well! You can see me marble the sign in the video below.
To get the marbling effect, I filled a container with water and sprayed the shimmer metallic spray paint into the water. It seems a little nuts at first, but trust me!
Then, I carefully dipped the jar into the water to catch the shimmer paint onto the jar. You don't need to submerge the jar completely, but just enough to get the desired look.
After the jar was dipped, I placed the jar on scrap cardboard and allowed it to dry completely. No need to wipe off excess water. It dried super fast!
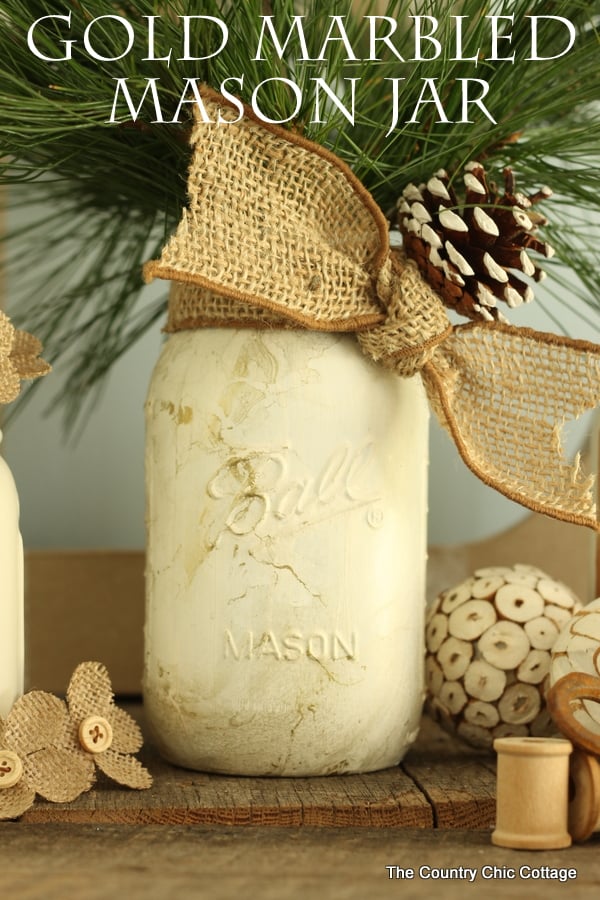
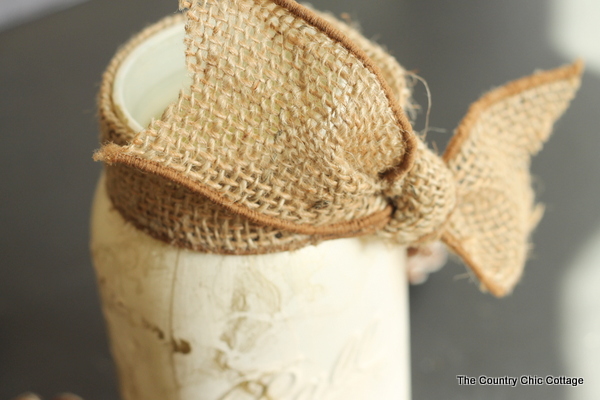
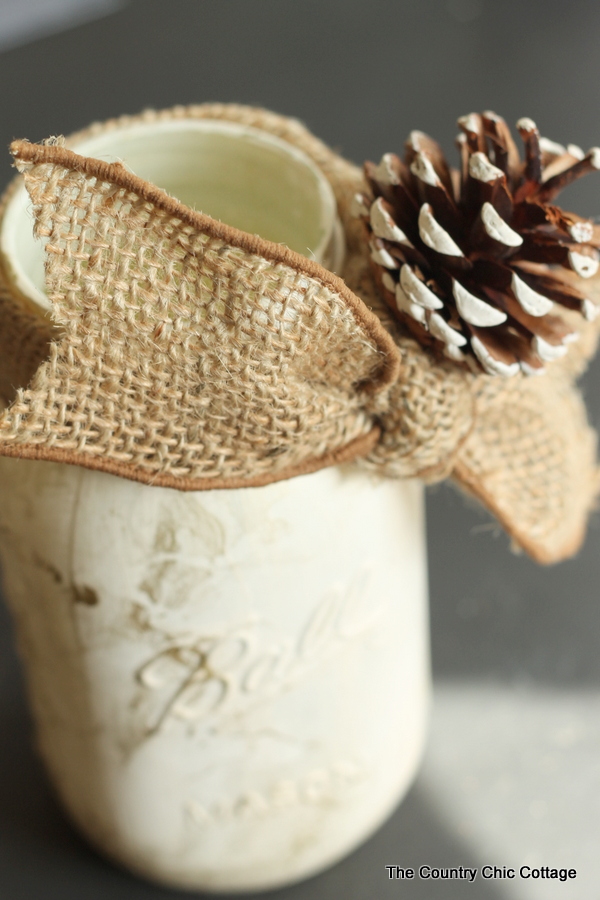
I added a burlap ribbon around the top and hot glued a pine cone to the side of the jar.
Seriously, I love the marbling effects on the jar! I think this one is great home decor for fall, Christmas, and winter. I love it when I make something that can be left out for a while.

What do you think? Will you be marbling all of the things now? I have another project to share with y'all tomorrow that I did the marble dip on as well so stay tuned! Until then gather up all of your mason jars and try this technique. You will love the results!

Supplies
- Deco Art Americana Chalky Finish Paint in Lace
- Krylon Shimmer Metallic Spray Paint Gold Shimmer
- Ball mason jar quart size
- Burlap ribbon
- Pinecone
- Rubbing alcohol
- Paintbrush
- Plastic tub with water shoe-box size
- Protective gloves
Instructions
- Clean your jar well with rubbing alcohol and allow it to dry.
- Paint the outside of the jar with three coats of Americana Chalky finish paint in your choice of color.
- Allow the jar to dry completely in between coats and before continuing on to the next step.
- To get the marbling effect, fill a container with water and spray the shimmer metallic spray paint into the water.
- Carefully, dip the jar into the water to catch the shimmer paint onto the jar. You don’t need to submerge the jar completely, but just enough to get the desired look.
- Then, place the jar on scrap cardboard and allow it to dry completely. No need to wipe off excess water. It dried super fast!
- Add a burlap ribbon around the top and hot glue a pine cone to the side of the jar, if desired.
- Add floral arrangements or greenery and display.


Love it! Thanks for the shout out! If you want, e-mail me and I’ll share some tips I’ve found recently to help you on your marbling journey. You’re awesome.