
Today, I wanted to share a tutorial on making clay ornaments for your Christmas tree! If you haven't tried oven-bake clay, you're in for a treat! It's a very forgiving medium that easily creates cute ornaments like these.
You will be hooked after using it just once. In fact, creating polymer clay Christmas ornaments could become a new family tradition!
You will be hooked after using it just once. In fact, creating polymer clay Christmas ornaments could become a new family tradition!
How To Make Clay Ornaments Video
Watch the step-by-step video below to learn how to make clay ornaments for Christmas.
Can't watch the video or missed some of the steps? Find the instructions below!
How To Make Clay Ornaments
Not only are these clay ornaments easy to make, but they can also be customized in a variety of ways! In the instructions below, I'll show you how to make the ornaments in general. However, feel free to get creative and make these ornaments in the style or theme that fits your Christmas decor!
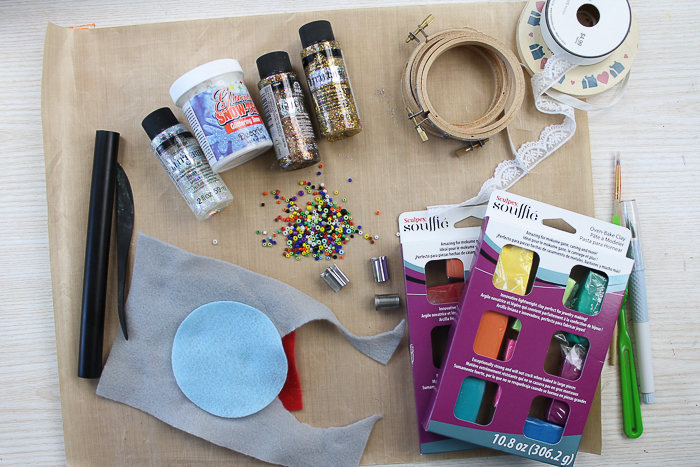
Supplies Needed To Make Clay Ornaments
- Embroidery hoops (I used a 3-inch size)
- Felt (in the color of your choice)
- Glitterific paint (in a variety of colors)
- Snow paint
- Sculpey Souffle Oven-Bake Clay
- Sculpey Essential Tool Kit
- Sculpey Clay Work Mat
- Sculpey Metal Cutters (optional)
- Beads
- Lace
- Ribbon
- Hot glue and a glue gun
- Paintbrushes
- Pallet knife
- Craft knife
NOTE: You'll also need access to an oven to bake your clay ornaments. I recommend having parchment paper or a Sculpey Clay Work Mat to put on the baking sheet.
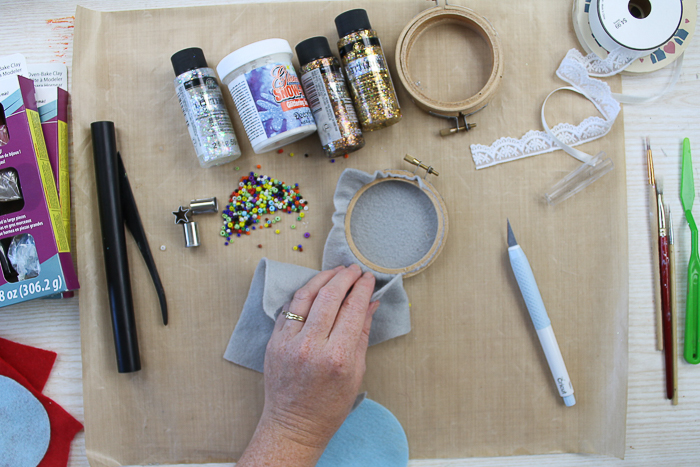
Step 1: Add Felt To The Embroidery Hoop
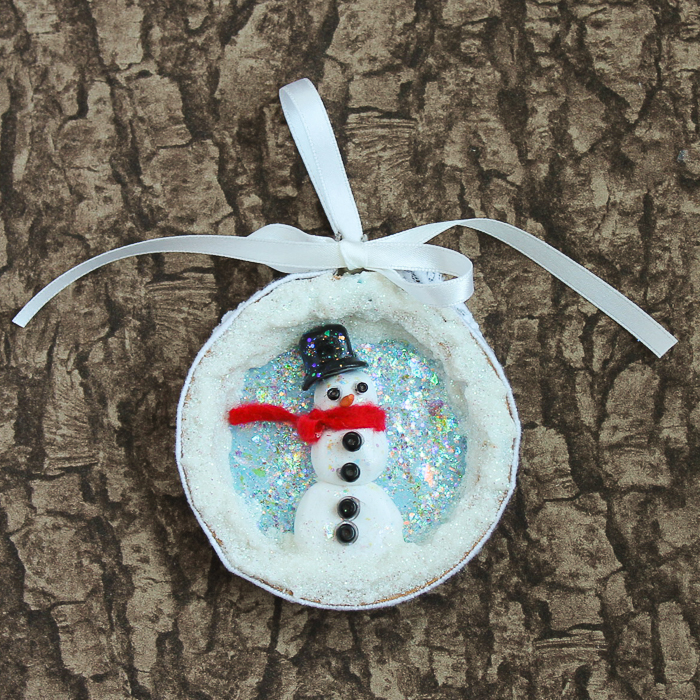
Start by adding felt to an embroidery hoop. I used grey on most of mine but blue on the snowman. Trim away the excess felt with a craft knife.
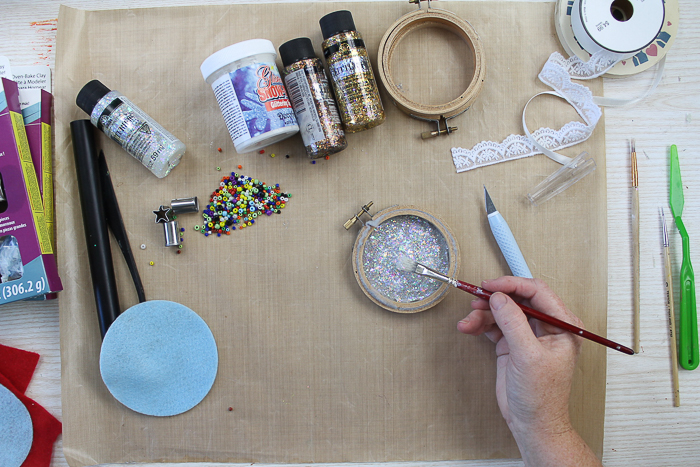
Step 2: Add Glitter Paint
Then, add a large amount of Glittery paint to the inside of the hoop, spreading it into an even layer with a paintbrush. I used clear holographic paint for all of my ornaments.
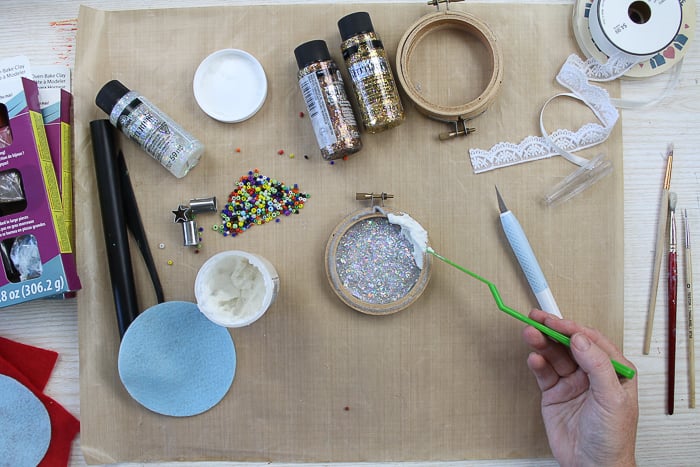
Step 3: Add Snow Paint
Then, as shown below, add snow paint to the inside surface of the hoop and the outside edge. This covers everything up and makes it look more like an ornament.
The best way I have found to apply this kind of paint is to use a palette knife.
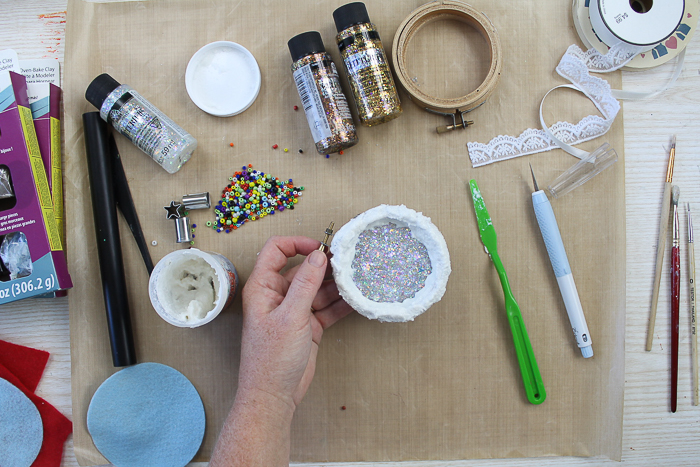
Once completely covered, set aside and allow to dry completely. It takes about 24 hours to dry, especially if you have applied a thick coat.
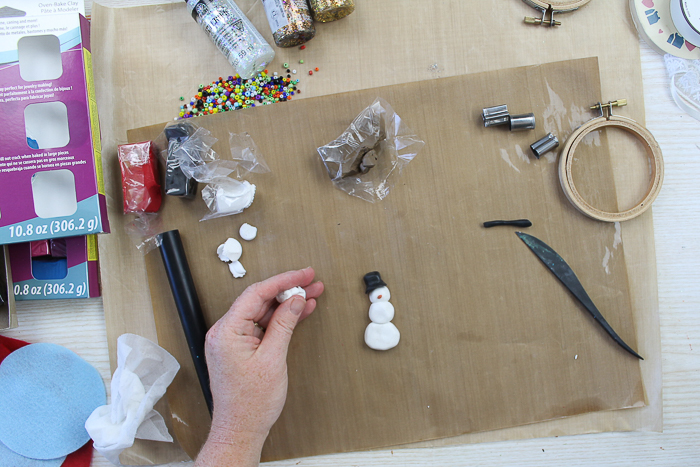
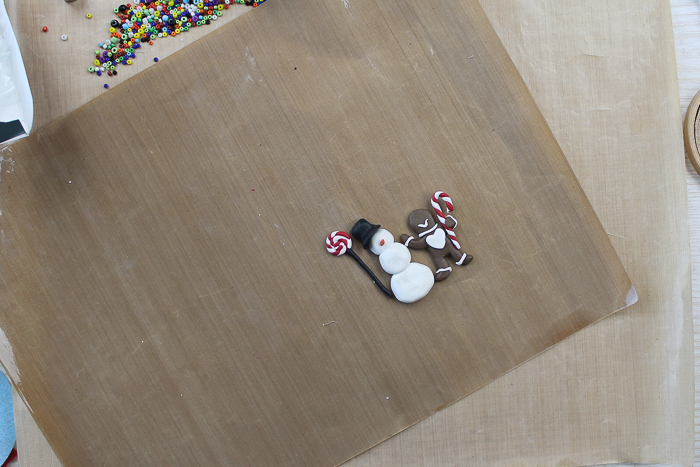
Step 4: Form The Clay
While that dries, you can work on your clay pieces to add to the inside of your ornaments. I worked on a Sculpey Clay Work Mat, which allows you to bake right on the mat. It is also non-stick, which makes it easier to create your projects.

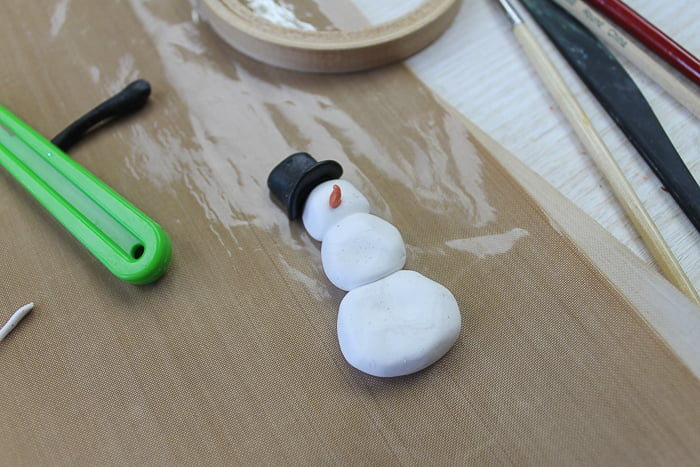
Then, just start rolling the clay to make the shapes you need for your Christmas ornaments. For the body of this snowman, for instance, I used round balls flattened.
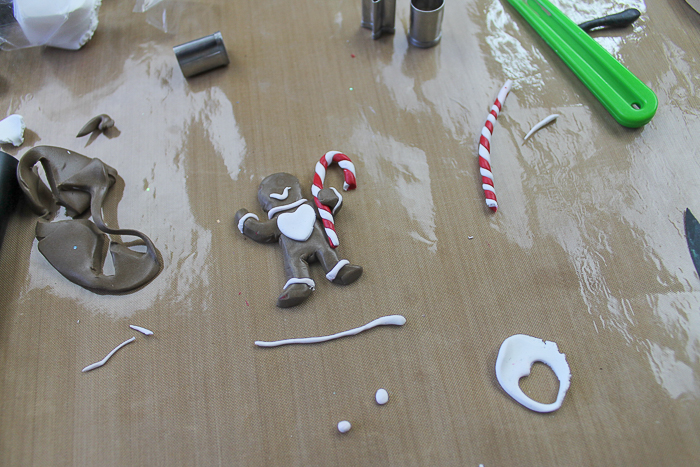
You can also flatten larger clay pieces and cut out shapes with a plastic knife like the gingerbread man below.
To create the candy cane strips, I twisted two long logs of red and white clay together.
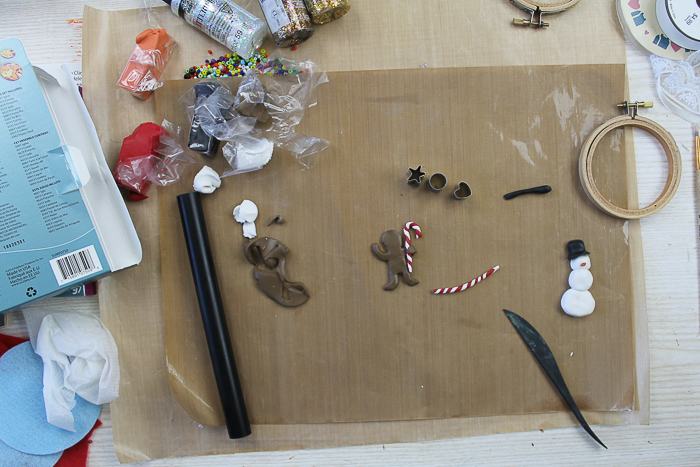
You can also use the Sculpey Metal Cutters or a small cookie cutter (don't use this on food afterward—it'll need to be just for crafts) to add shapes to your clay pieces.
If you look at the photo below, that's what I did to add the heart on the gingerbread man. You can also use one to make a star for the top of the Christmas tree.
Oven-baked clay typically does not dry out in the air, so you can continue to work on your pieces as long as you like.
I love the smooth feel of this clay and how forgiving it is when you work with it. It's quite therapeutic!
Step 5: Bake The Clay Ornaments
Once you have completed your clay ornaments, bake them in the oven according to the package directions. I wanted my candy cane to stand up, so I added a bit of aluminum foil to keep it level when baking. You can do this for any pieces that you may have hanging off.
Bake the pieces right on the mat on a cookie sheet. Then, allow them to cool completely. Once baked, the pieces will be firm, and you will no longer be able to alter the shape.
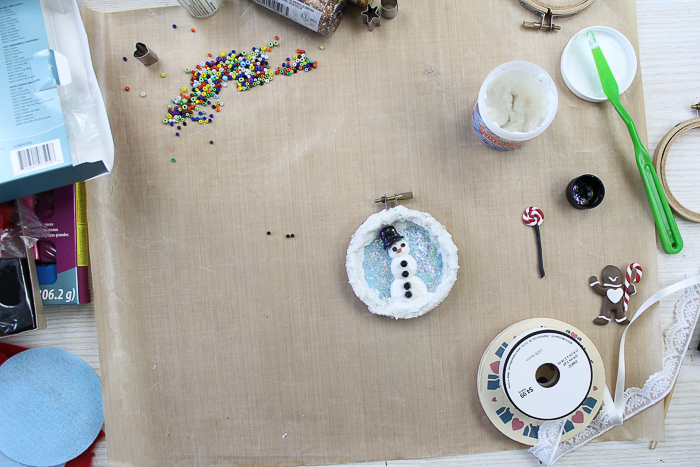
Step 6: Add The Finishing Touches
I wanted to add a little something extra to the pieces so I added more of the Glitterific paint to the clay pieces. Just paint right over them and allow them to dry. – You can use any color of paint that you like.
Allow to dry, then use hot glue to secure to the hoops. If needed, add more snow paint at this point to make your clay pieces appear to be sitting on the ground.
Then, use hot glue to secure lace around the outer edge of the ornament.
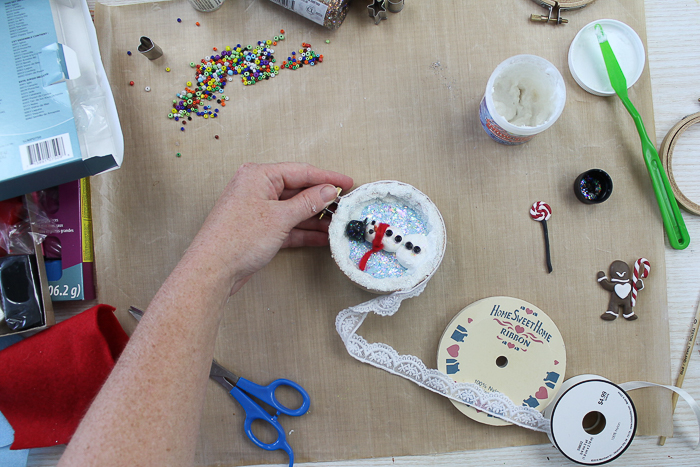
You can add more elements to your design, including beads or a felt scarf on your snowman. Just attach all of these pieces with hot glue.
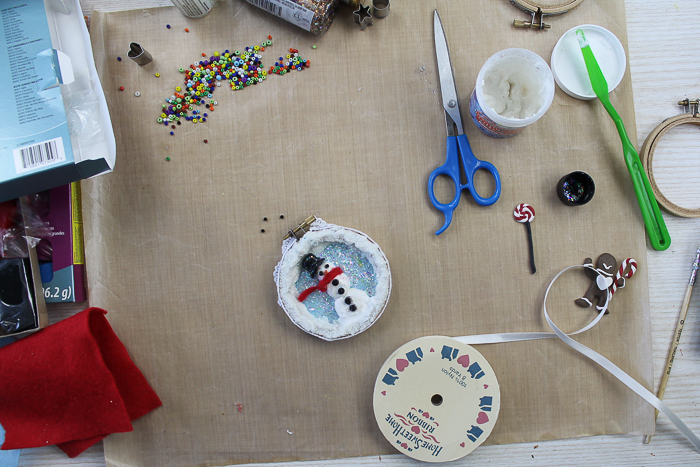
I also added a bow to the top of each one and another loop of ribbon for hanging.
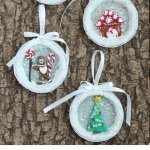
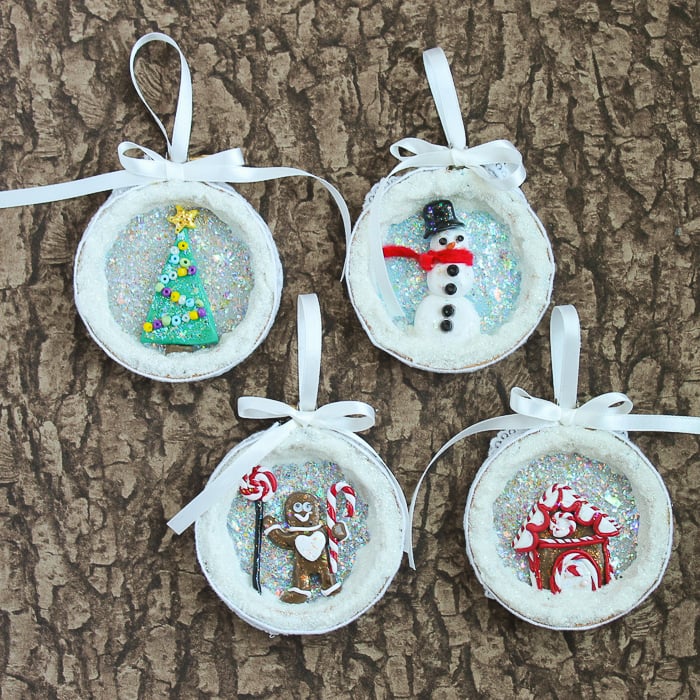
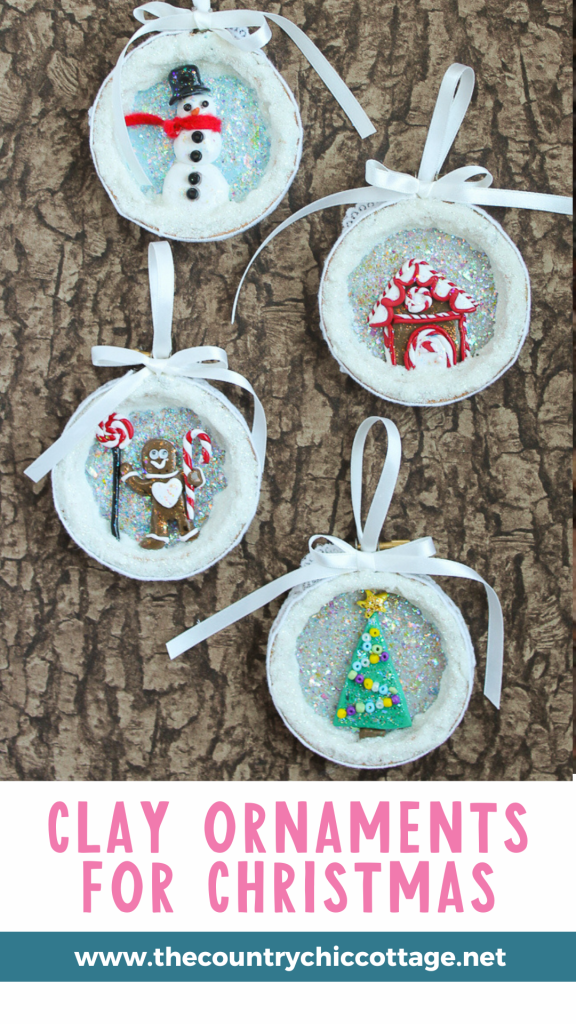
Four Christmas Clay Ornaments To Try
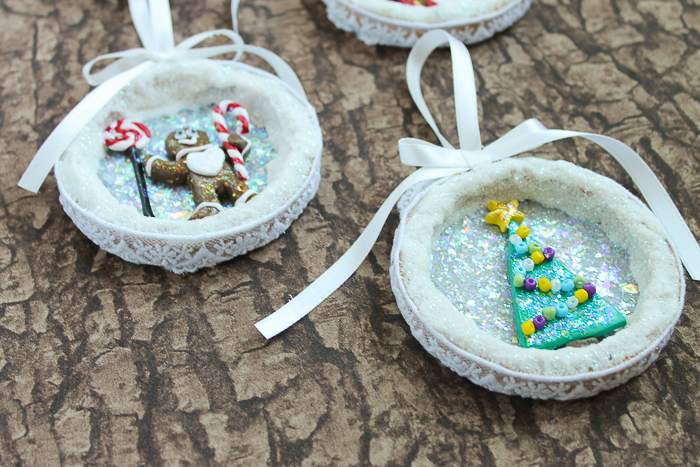
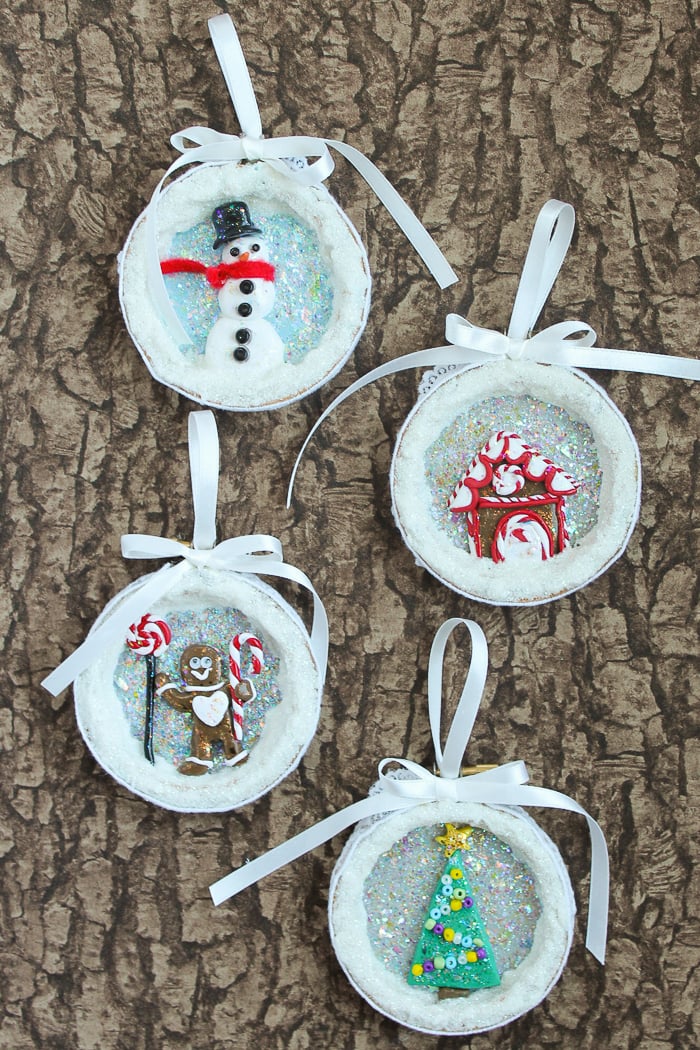
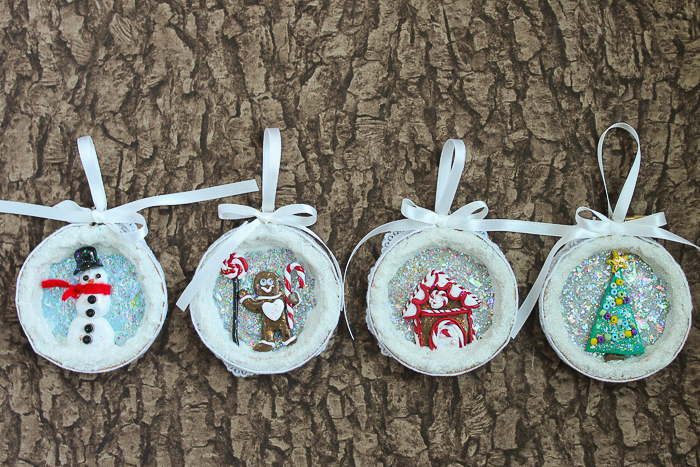
Once you learn how to make Christmas ornaments from clay, it is hard to stop at just one! I made four different versions.
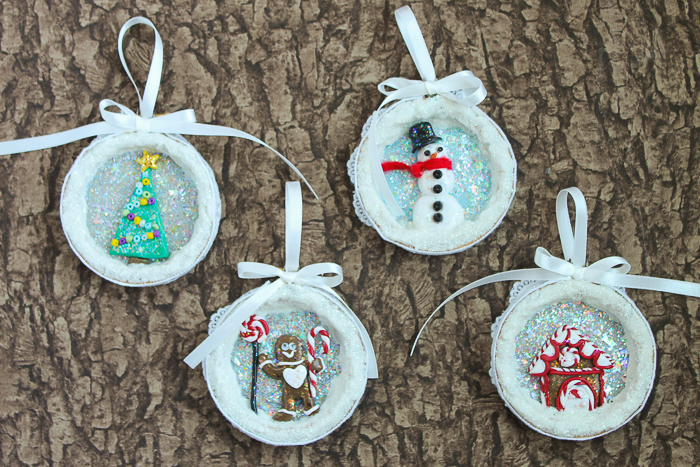
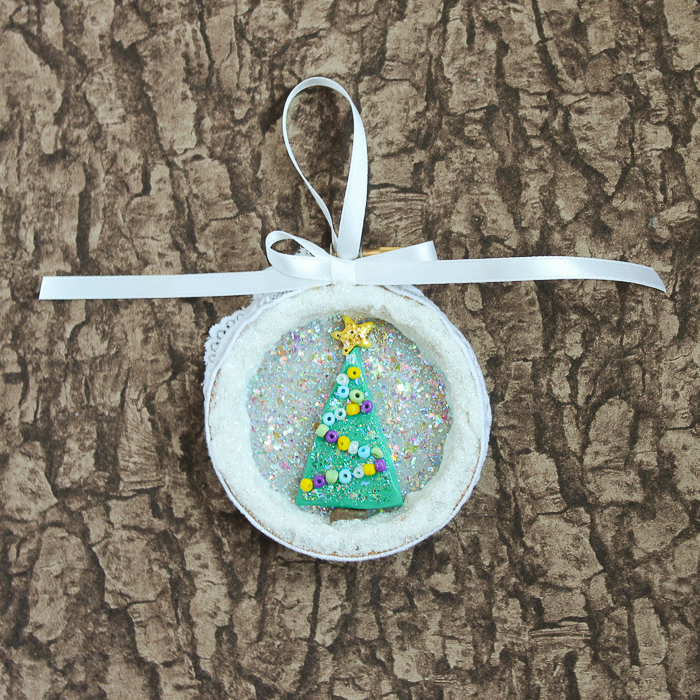
1. Christmas Tree
The first is a Christmas tree complete with a bead garland. Making the garland is great for little fingers to practice hand-motor skills with.
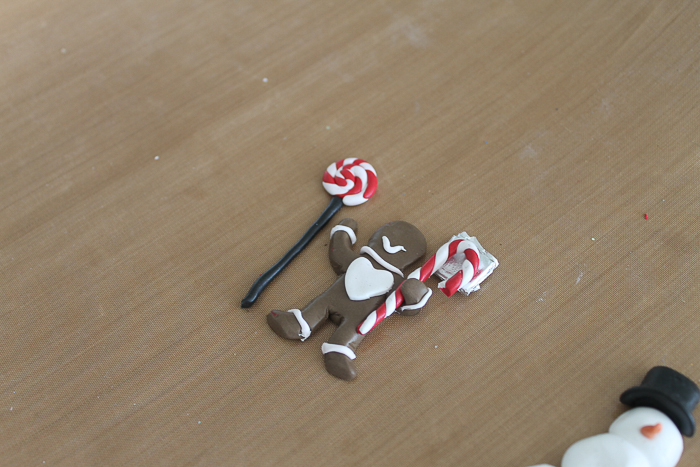
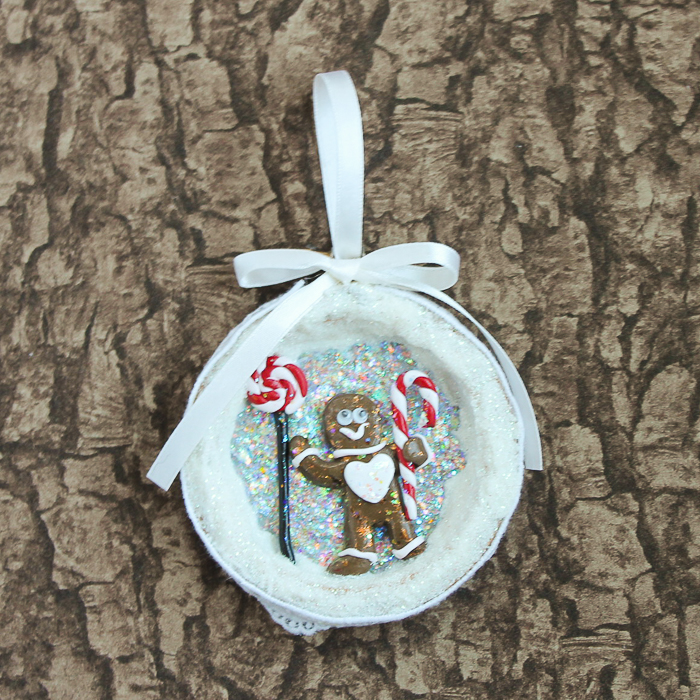
2. Gingerbread Man
The second is that cute gingerbread man with googly eyes holding a candy cane. Twisting together the peppermint was my favorite part!
3. Snowman
The third is an adorable snowman kept warm by his fuzzy scarf. I made the scarf out of a piece of felt, but you could also use ribbon or even a pipe cleaner.
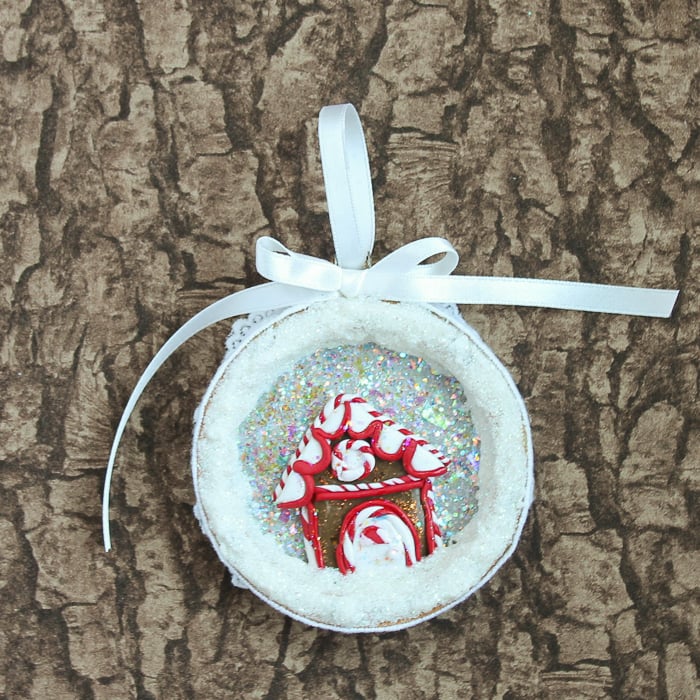
4. Gingerbread House
Finally, we have a gingerbread house all decked out in red and white. Instead of having a typical gingerbread house contest, let each child sculpt one in a clay ornament. So much fun!
These will look great on your tree this holiday season. Who knew that a tutorial on how to make Christmas ornaments could be so fun and easy?
Will you make some clay ornaments for your decor this year?
Grab your supplies and follow our tutorial on making Christmas ornaments from clay. You will love the results!
FAQs About How To Make Clay Ornaments
Here are a couple of questions that readers ask about making clay ornaments. If you have a question, please check to see if I’ve answered it below. Don’t see your question? Leave it for me in the comments!
Can You Make This Project With Air Dry Clay?
Sure! The steps will be very similar, except for the baking. Instead, you'll need to allow the clay to fully dry. I recommend keeping it on a shelf high, away from the reach of little ones, for at least 72 hours.
How Thick Should Clay Ornaments Be?
I would lean on the thicker side more than the thinner. If you make these too thin, they will easily crack and break over time, which would be so sad. About 1/4 – 1/2″ thick should work well.
What Size Embroidery Hoop Did You Use?
For these ornaments, I used a 3-inch embroidery hoop.
What's The Best Way To Store These DIY Ornaments?
To store these ornaments, wrap them carefully in several newspaper or bubble wrap layers. Then, put them inside a waterproof plastic container and avoid high heat and inclement weather.
What Other Christmas Designs Could You Make For These Ornaments?
The sky is truly the limit on what type of ornaments you can create using this tutorial. However, if you are looking for more ideas to get you started, below are a few more!
- Santa Claus
- Reindeer
- Penguin
- Elf
- Gnome
- Snowflake
- Mitten
- Christmas Stocking
- Wreath
5 More Christmas Ornaments
Did you love learning how to make clay ornaments and want more ornament crafts? Then check out the projects below!
- Making Vinyl Christmas Ornaments with a Cricut
- Gingerbread Birdhouse Ornament
- Rustic Christmas Ornaments from Wood Spools
- Cookie Cutter Resin Ornaments
- Sublimation Ornaments: How to Make Photo Ornaments


Cute, cute, cute, and I love the video! Thanks for sharing at Celebrate It!
The ornaments are so adorable. Thanks for sharing at the Snickerdoodle Create Bake Make Party.