
Save time and money by making your very own, custom hot glue gun holder! It's incredibly easy to do and much less expensive than the glue gun stands you can order online. Plus, you can make it in your favorite color — totally worth the effort!
How To Make A Hot Glue Gun Holder
Do you have a hot glue gun? Can you remember the last time you used it? Do you use it ALL THE TIME? If you answered “yes” to any of those questions, then this post is for you!
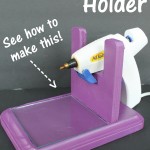
Today, I am going to show you how to make a hot glue gun holder that you can customize with your favorite color. This holder is sturdy, made with wood, and even includes a glass tile to catch drips. Y'all will love this for keeping your glue gun within reach and CLEAN!
Grab your power tools, ladies — let's get our craft space a little more organized with this quick, easy, and SUPER useful project!
Supplies Needed To Make A Hot Glue Gun Holder
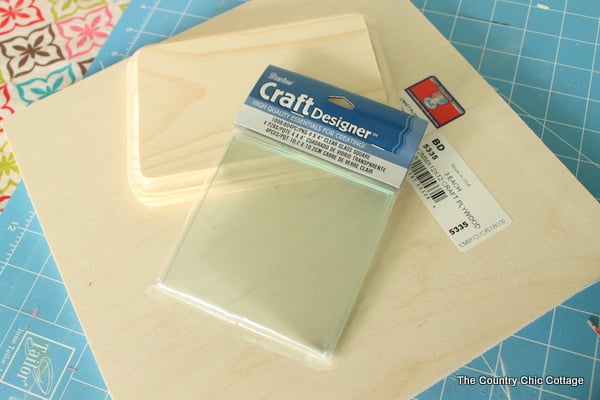
- Glass Tile Square 4 x 4 inches
- Wood Plaque 5 x 7 inches
- 1/2″ Plywood
- Router, optional
- Jigsaw
- Wood Carving Tool Set
- Sandpaper
- Krylon Rich Plum Paint or the color of your choice
- Wood glue
- Nails
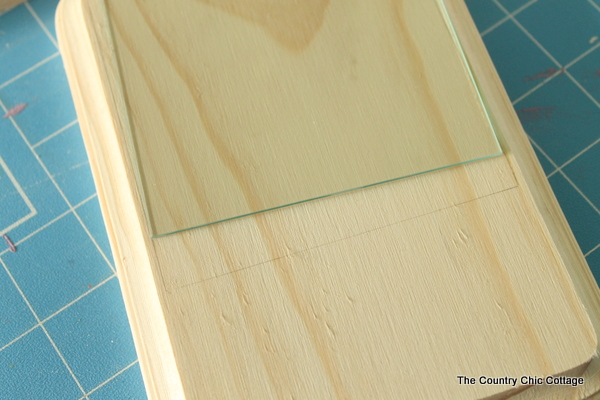
Step 1: Cut Space For Tile
NOTE: You can skip the first step if you do not have a router. You can attach the tile to the wood with glue instead; however, it will not be recessed into the plaque. If you have a router, lay out the tile where you want it on the plaque and mark around with a pencil.
Use the router to remove an area large enough for the tile. PLEASE NOTE I am not a professional woodworker, and there may be mistakes in my project. However, I am thrilled with the result of my DIY hot glue gun holder. Just jump in and do it, y’all!
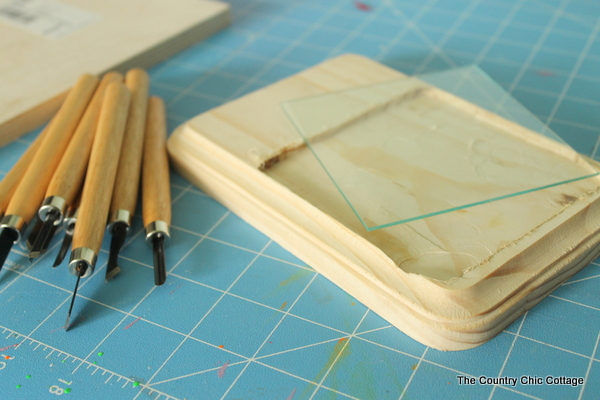
I used the wood carving tools to finish off the corners, and sanded everything smooth to make sure the tile would fit into place.
Step 2: Create Glue Gun Holster
Cut a “U” shaped piece of wood from the 1/2″ plywood. The size of this piece is determined by the size of your glue gun. I used a jigsaw to cut out this piece.
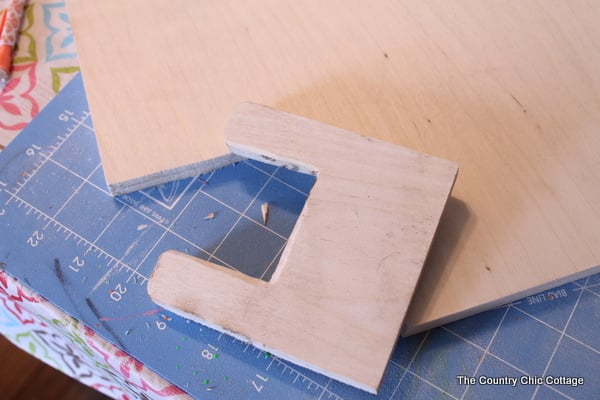
Step 3: Put The Pieces Together
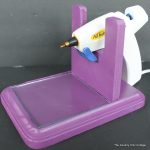
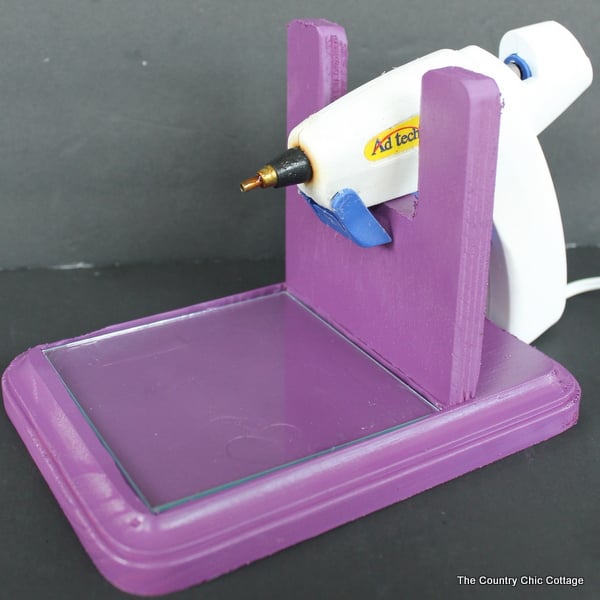
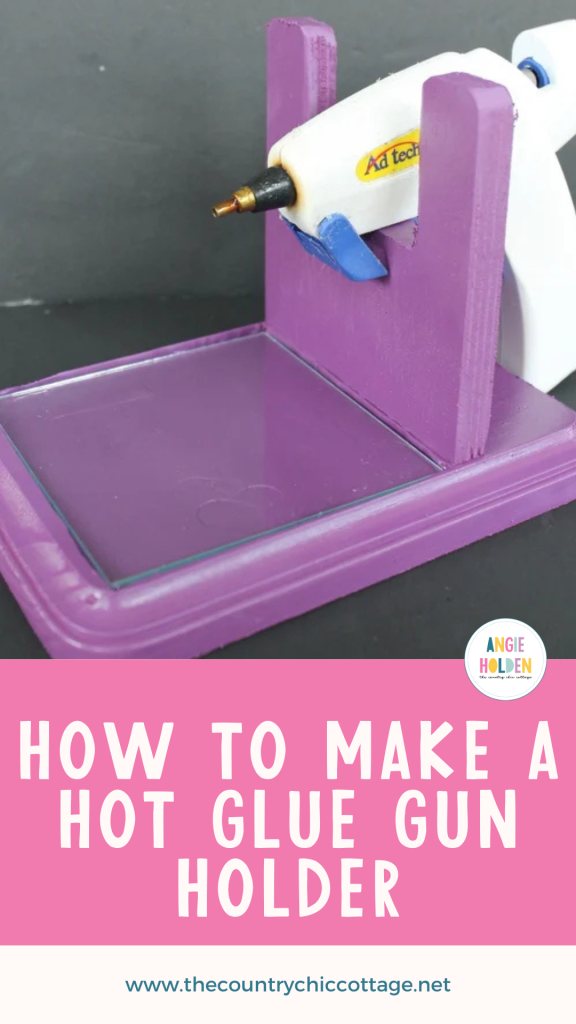
Dry fit everything together, and you should have something that looks like the image below. This image may also help you determine what measurements you need to use for your “U” shaped piece in the holster step above.
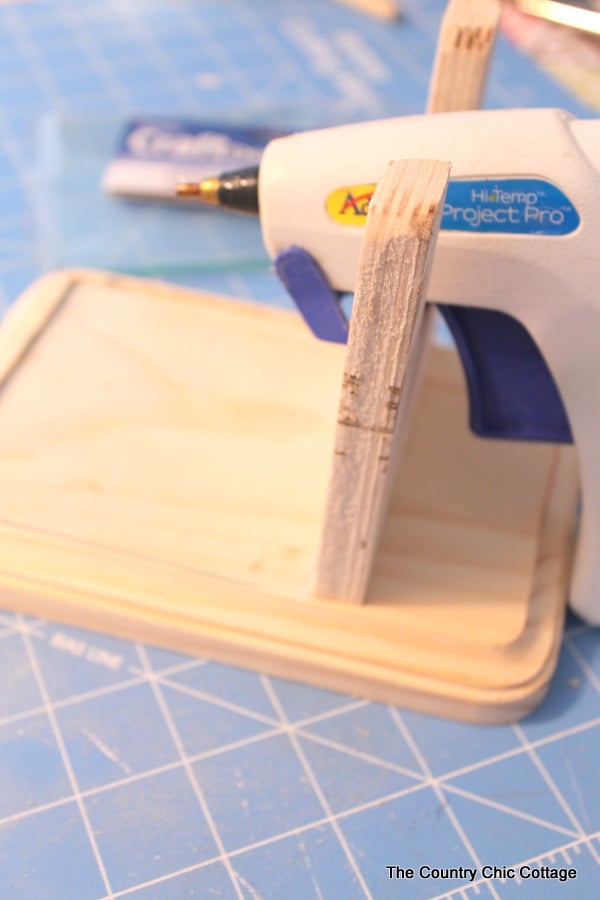
QUICK NOTE: I don't like to use the “kick stand” on my hot glue gun, so I made this hot glue gun holder so that the glue gun will hang in place. If you love your stand, then work with it and create a piece that will suit your needs!
Next, we are going to glue and nail the two pieces together. Measure and mark on the back where your “U” shaped piece will sit on the front. This will allow you to get the nails started before you glue. Then, add wood glue and nails.
Once you are happy with the look of the stand, set it aside to dry.
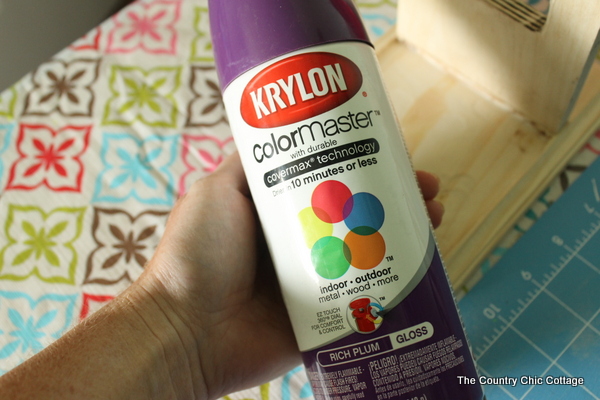
Step 4: Spray Paint Holder
Pick the Krylon paint in the color of your choice. Then begin spray painting your hot glue gun holder.
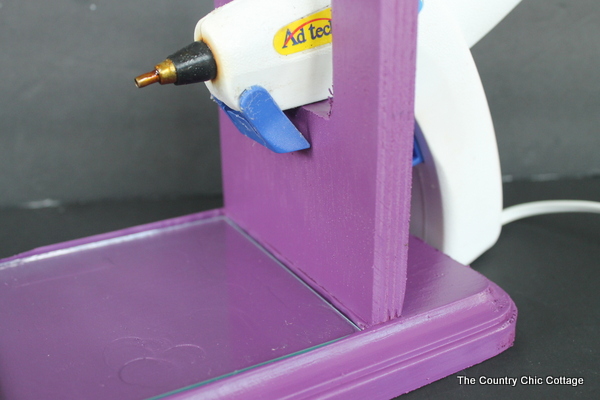
After a couple of coats, set your hot glue gun holder aside to dry. Then once it's dry, add in your glass tile, and it's ready for your craft room.
Do you love how easy this project is? Perhaps you want even more hot glue gun project ideas? Well, I have the book for you!
I partnered with Carolina Moore to write a book all about hot glue to bring you projects just like this one. We are using hot glue in ways that you never thought possible. Hot glue shoes? Oh yes! And so much more! Get the book here!
Tips and Tricks for Hot Glue Gun Holder
Now that you’ve seen this fun hot glue gun holder, are you ready to make your own? Here are a few tips and tricks to ensure your project goes as smoothly as possible!
- Pick Your Most Used Glue Gun – If you are like me and use multiple hot glue guns, I highly recommend that you pick your most used one for this project. This is because if you pick a glue gun at random from your stash, it might not be able to hold your most-used one, since glue guns come in all shapes and sizes.
- Use Wood Glue & Nails – As tempting as it might be to hot glue this stand together, don't! Instead, take the time to build a strong, sturdy stand by using wood glue and nails.
- Plan For Easy Cleanup – I did not use any glue to attach the tile to the stand on my version, as I wanted the tile to be removable for easy cleaning. If you did not use a router and do not have the indented space in the stand, attach the glass tile with something like E-6000. It will not be removable, but you can still clean the dried glue off easily.
- Give Your Glue Gun Some TLC – Speaking of cleaning… If you want to clean your glue gun up for your new project, be sure to check out this simple tutorial that really works!
58 Hot Glue Crafts
Do you love this hot glue gun holder, and are looking for more hot glue gun crafts? Then check out the projects below!
- Hot Glue Crafts: Over 30 Ideas in 15 Minutes or Less
- DIY Hot Glue Bowl
- Make Your Own Stamp with Hot Glue
- 25 DIY Hot Glue Gun Crafts and Projects
- How To Make A DIY Pencil Holder With Hot Glue


Hi! Thank you so much for this great post!!!
I would like your help to find the right machine to make simple wood toys. I am a real beginner on this world and if you could help I will be very grateful!
If you send me your e-mail I send the pictures of the toys I want to make.
Thank you and have a blessed day!
Julie
I really like the glue gun holder, now think of a way to add a glue stick holder to it… in a tray laying down or standing in an empty salt or pepper shaker. 😊
Yes definitely!
Very nice. I need to make something like this. Thank you for sharing.
If I didn’t already have one would be making this glue gun stand right away. Bought one several years ago. Love idea of glass tile however. Another wonderful solution, thanks so much.
This is a great idea!! I wish I had as many original ideas as you people have!!!
How about using a sheet of paper to catch the drips
it is easily disposed of and no cleaning up
Make base longer so glass can set on end with glue sticks
Love Love Love!