

Learn how to make a wedding bouquet with our simple step-by-step instructions. Using your favorite artificial flowers and accent colors, you can have your DIY bridal bouquet for you and your bridesmaids ready for your special day in just a few minutes!
How To Make A Wedding Bouquet
Do you hear that? Wedding bells are ringing! And whether you’re the bride-to-be or a maid of honor tasked with helping out, you’re probably feeling the pressure to make sure everything is perfect. But don’t worry, we’ve got you covered!
One of the most important parts of any wedding is, of course, the bouquet. This floral arrangement will be carried down the aisle, used in photos, and eventually tossed over your shoulder for good luck… so it’s important to get it right!
If you’re looking to save some money, making your own bouquet is a great option, and with our how-to guide, it’s easier than you think!
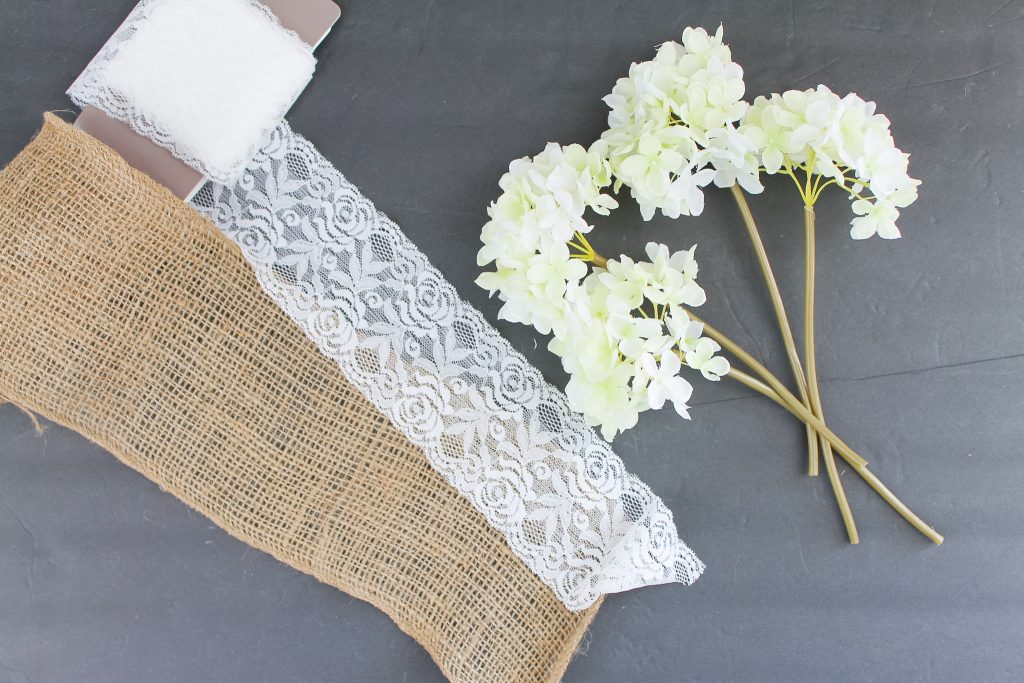
Supplies Needed To Make A Wedding Bouquet
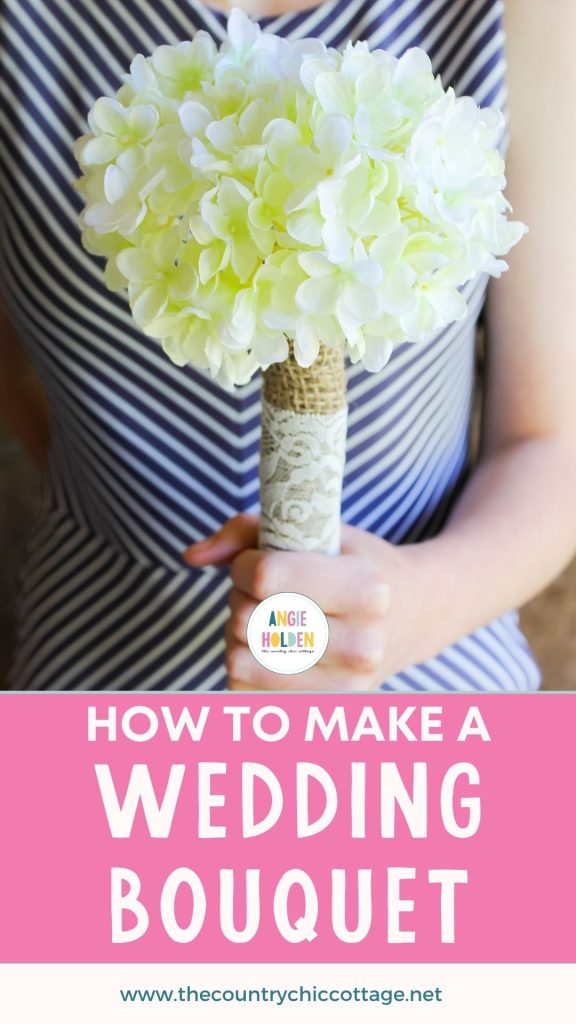
- Hydrangea Picks (you'll need four or more. Use whatever color you like!)
- 6-inch Burlap Ribbon
- 3-inch Lace Ribbon
- Hot Glue and Glue Gun
- Scissors
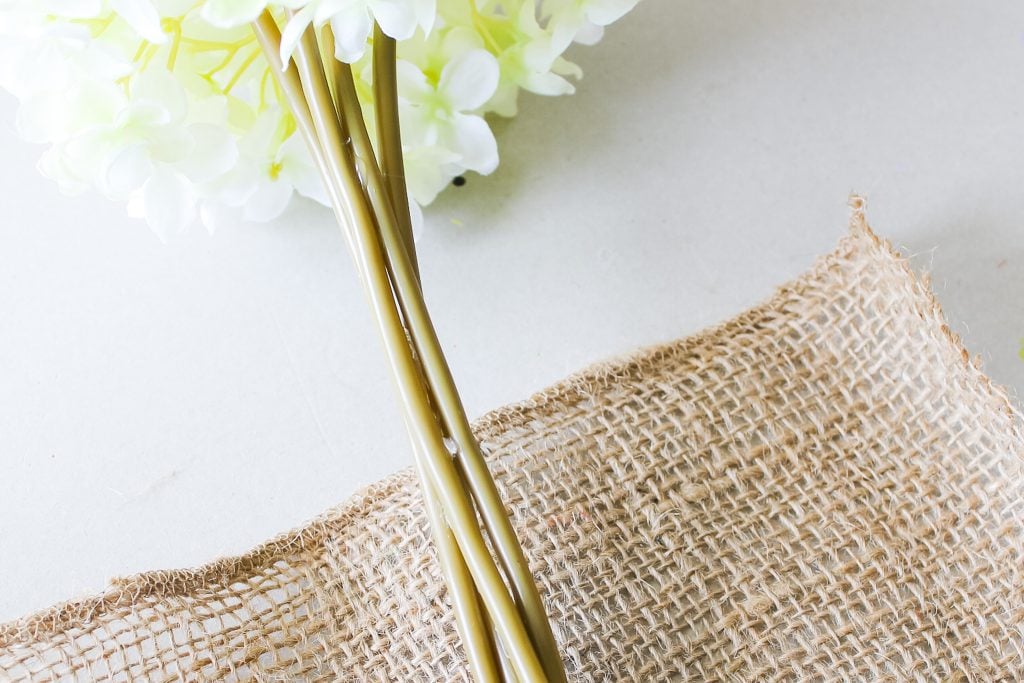
Step 1: Arrange Flowers Together
Start by arranging your hydrangeas until you love the look of the top. Use hot glue to adhere the stems together in several places. This helps hold everything together while you are completing your bouquet.
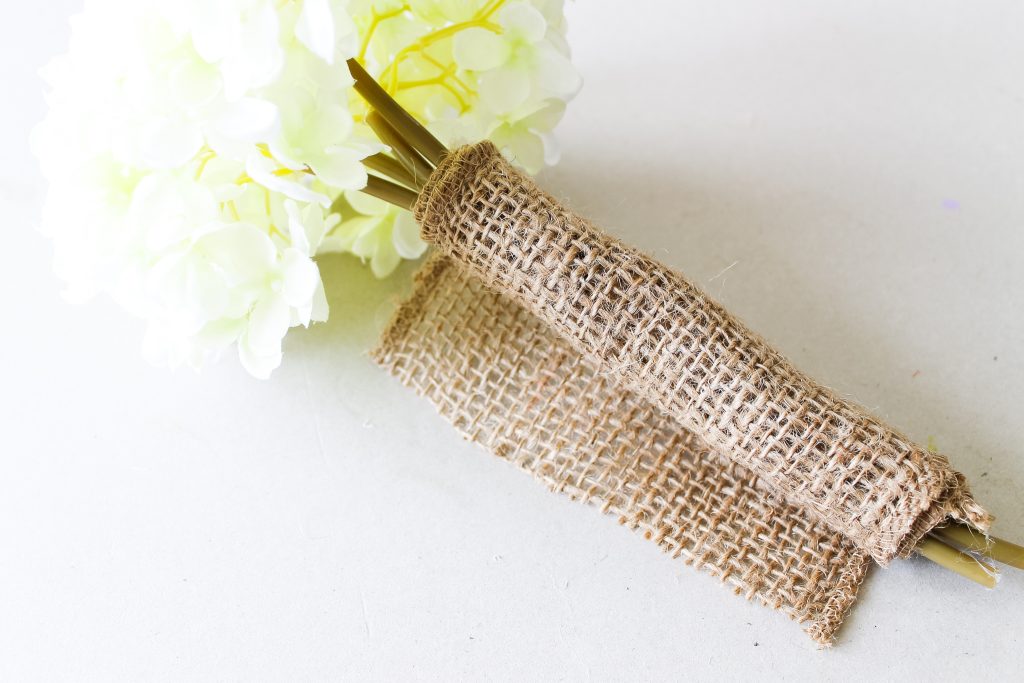
Step 2: Wrap Flower Stems With Burlap Ribbon
Wrap the stems with the burlap ribbon and secure them with hot glue.
Use caution when securing, as the hot glue will come through the burlap. It is hot!!!
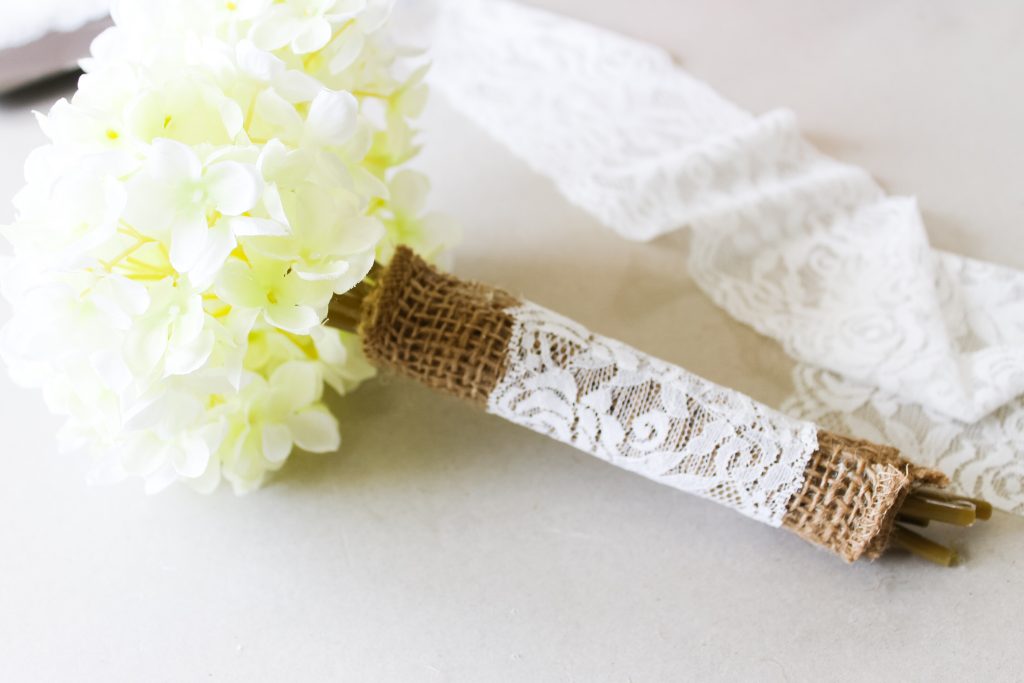
Step 3: Wrap Lace Ribbon Around Burlap
Repeat with the lace ribbon on top of the burlap. Again, make sure to use caution as the hot glue will seep through the lace.
I lined up the seam on the lace ribbon with the seam on the burlap for a more finished look.
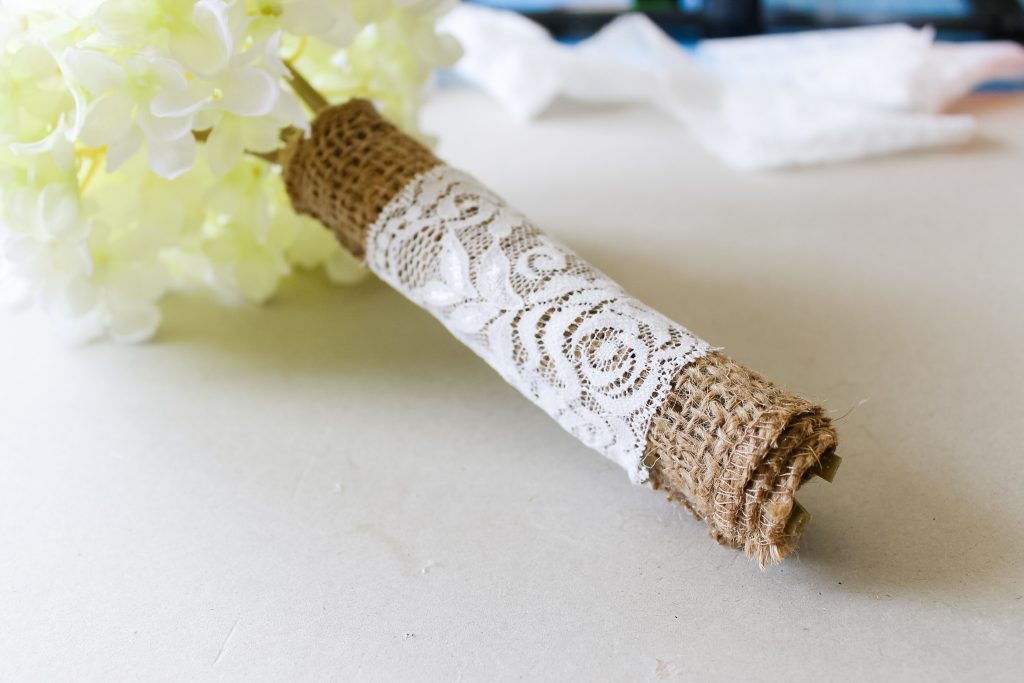
Step 4: Trim Stems
Trim any stem ends now that may be hanging out of your burlap wrap.
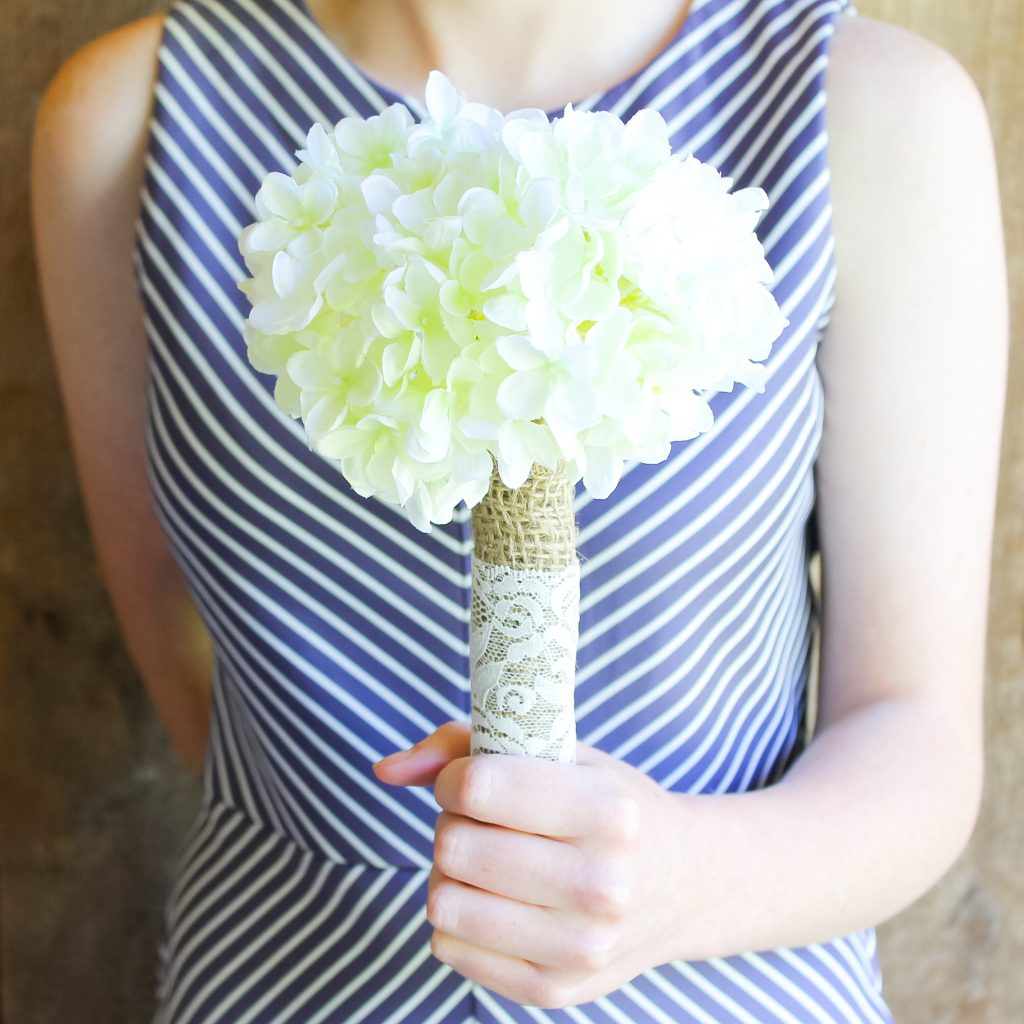
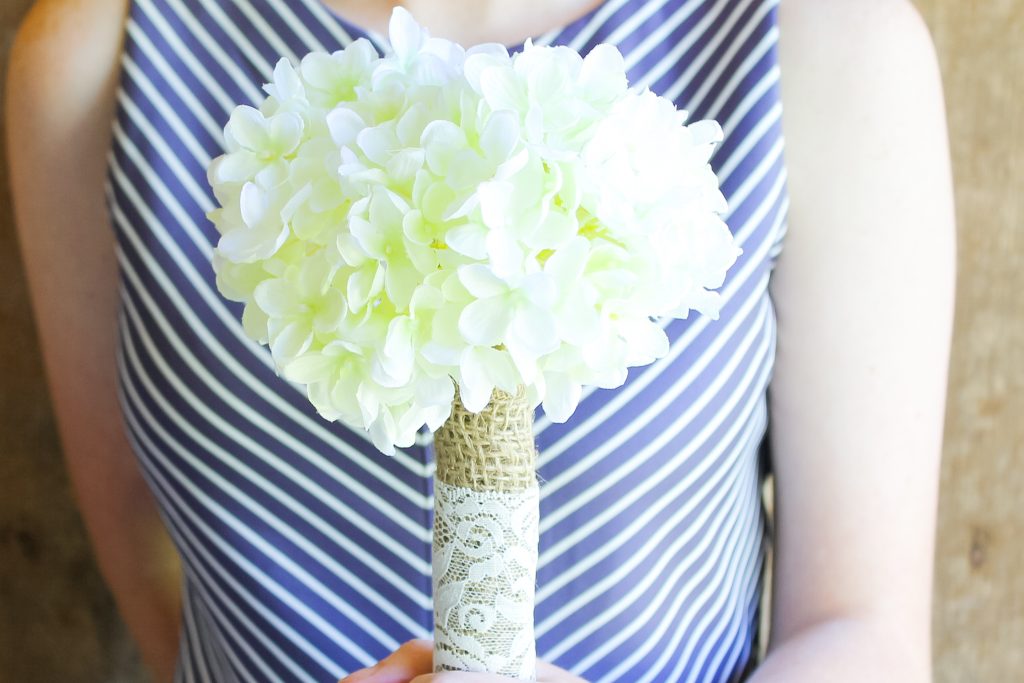
I told you it was easy to make a wedding bouquet! This one is complete and ready for your wedding party. Just repeat for as many bridesmaids as you will have at your wedding.
For the bride, you can add more floral stems for a larger bouquet if desired.
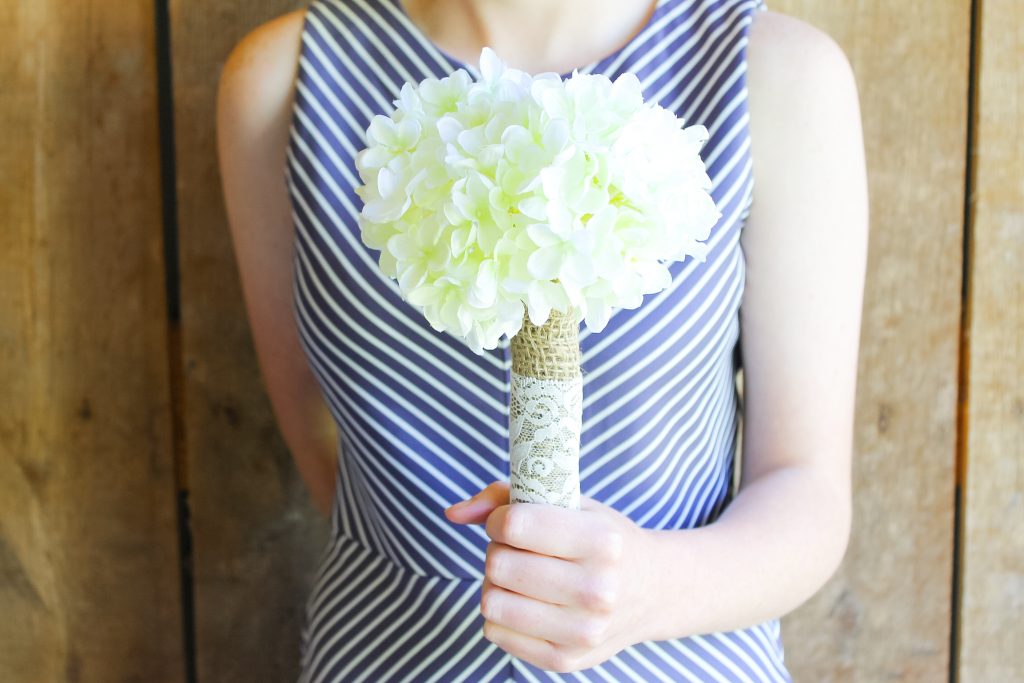
I love the simple look of this wedding bouquet and the rustic feel of that burlap wrap. Y'all, add this project to your DIY wedding list today. Make a wedding bouquet and save yourself some of the expense of flowers!
FAQs About How To Make A Wedding Bouquet
Here are a couple of questions that I see readers ask about learning how to make a wedding bouquet. If you have a question, please check to see if I’ve already answered it below. Don’t see it? Leave it for me in the comments!
Can I Use Real Flowers For This Wedding Bouquet?
Yes, you can! This same method will work for fresh flowers. Simply arrange your stems in a similar fashion and follow the steps to wrap the stems. You may need to use floral tape in place of the hot glue to secure everything together.
Is There Another Way To Secure The Bouquet?
If you don’t want to use hot glue, you can always try using floral tape. This is a stronger hold than hot glue and will work just as well to keep your bouquet together.
What Other Items Can I Use To Wrap The Bouquet?
If you are not a fan of the burlap wrap, check out this article for 20 ways to wrap a wedding bouquet!
Can I Make This Wedding Bouquet Ahead of Time?
Yes, you can! Actually, I would recommend it because it's one less thing to worry about on your special day.
5 More Wedding Crafts
Did you love learning how to make a wedding bouquet and want even more wedding crafts? Then check out the ideas below!


