
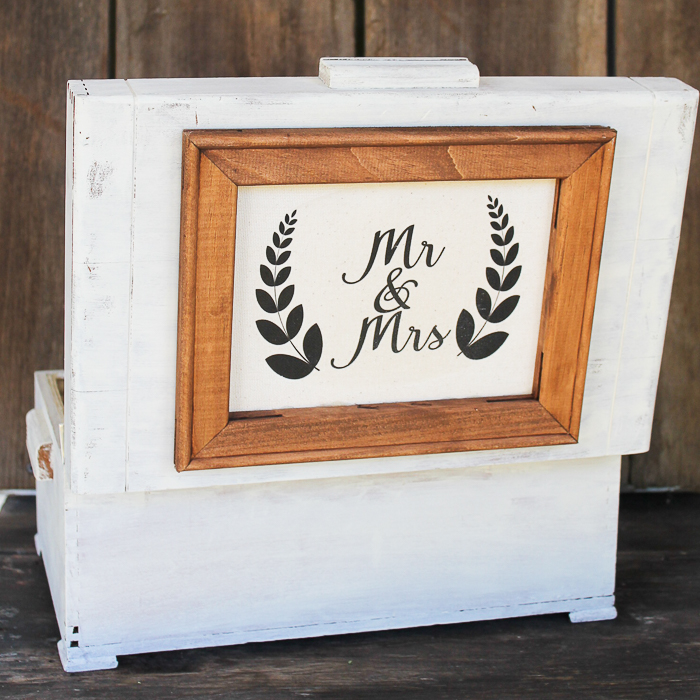
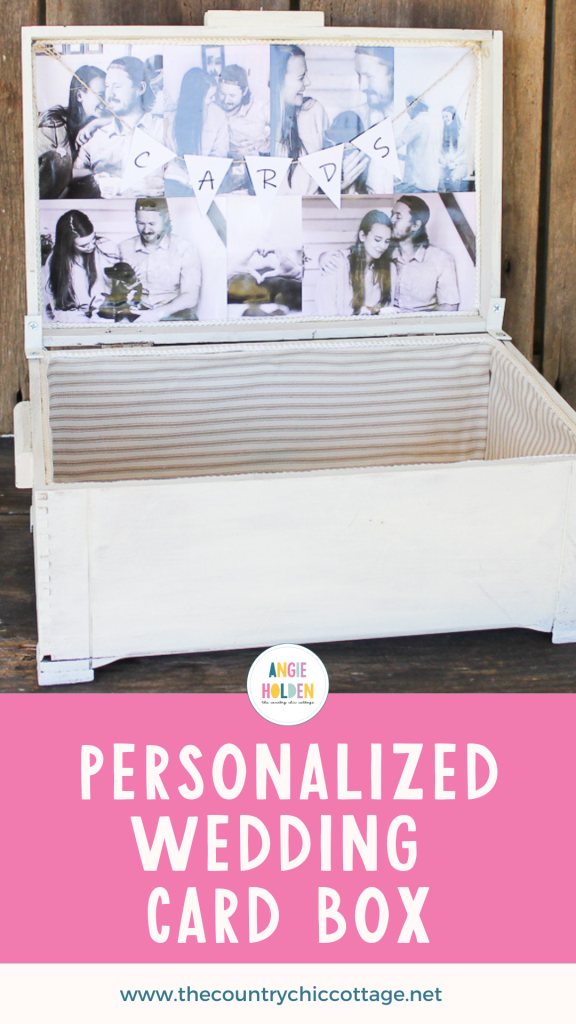
Make a DIY wedding card box for your wedding with our easy to follow instructions. The pictures on this project give it a personalized touch! This one also makes a great wedding keepsake box to keep all of those mementos in after your big day is over. So, make this rustic wedding card box for your wedding today!
DIY Wedding Card Box Video
Want to see the entire process in a quick video? Just watch below!
Can't watch or want more information on some of the steps? Just follow along below!
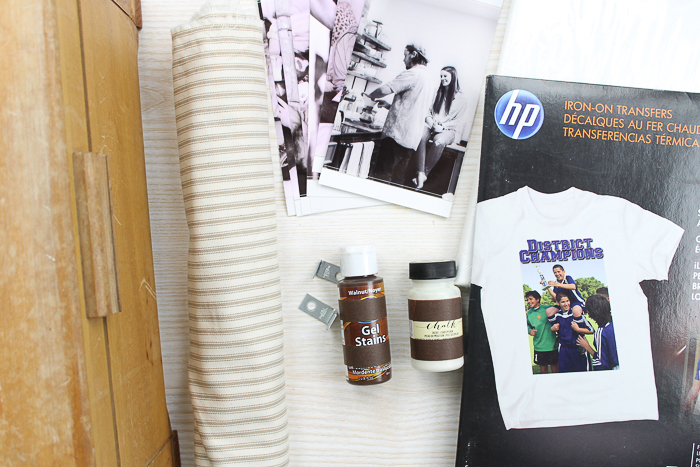
Supplies Needed
- Vintage wood box (any size that you like)
- Paint
- Paintbrush
- Fabric
- Hot glue and glue gun
- Printed pictures
- Tacky glue
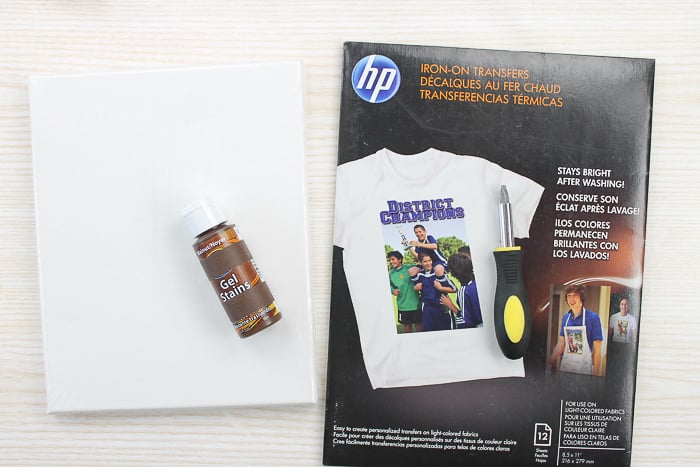
- Iron on transfers
- Canvas
- Stain
- Iron
- Screwdriver
- Pliers
- Craft knife
- Cord or rope
- Twine
- Cardstock
- Scissors
- Printer and ink
- L-brackets
- Screws
- Mr and Mrs printable file
- CARDS banner printable file
How to Make a DIY Wedding Card Box
Follow these step-by-step instructions to make this simple DIY wedding card box for your wedding.
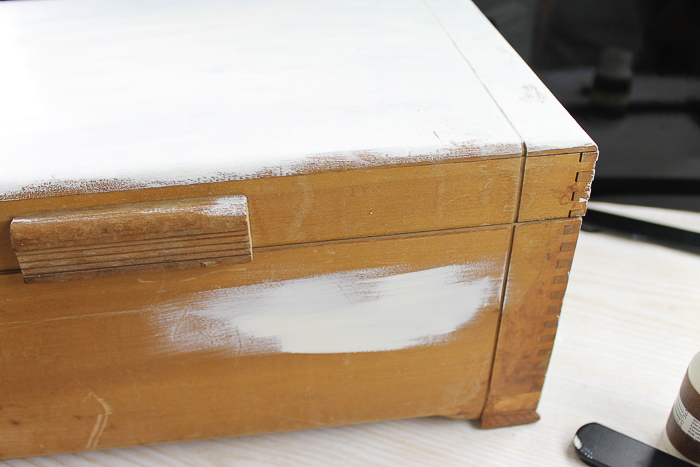
Step 1: Paint Your Vintage Box
Start by painting your box any color that you like. You can also build your own box if you're into woodworking.
I just did one coat with a fairly dry brush, so I got a rustic look. You can do a more polished look if you want. Just be sure to paint the box on all sides and allow it to dry completely before adding anything else to the box.
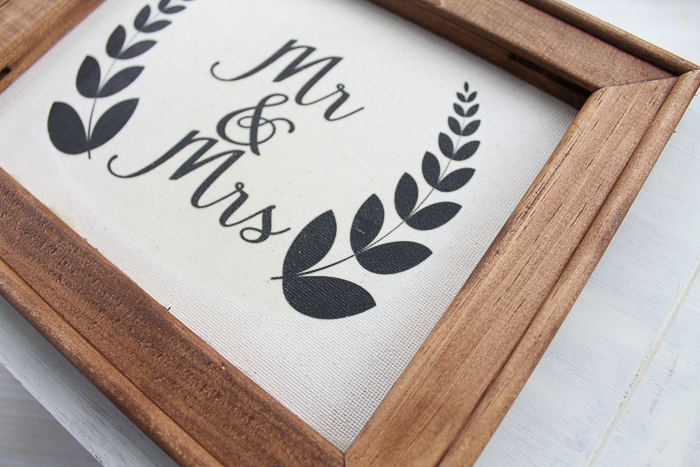
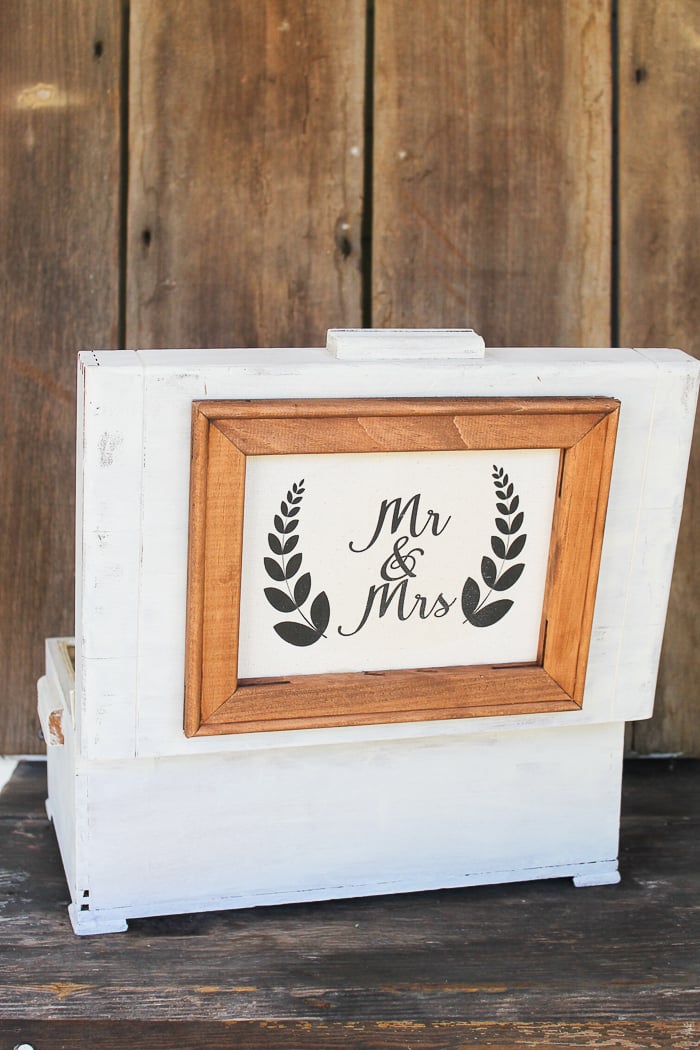
Step 2: Make A Reverse Canvas
I wanted this project to look great from the outside as well. So, I made a reverse canvas to add to the lid. It is an extra special touch that will make this box perfect for storing wedding keepsakes later.
Step 3: Remove Staples From Canvas
Remove the staples from the back of the canvas. The canvas itself can be any size, but you want it to fit on the lid of your box.
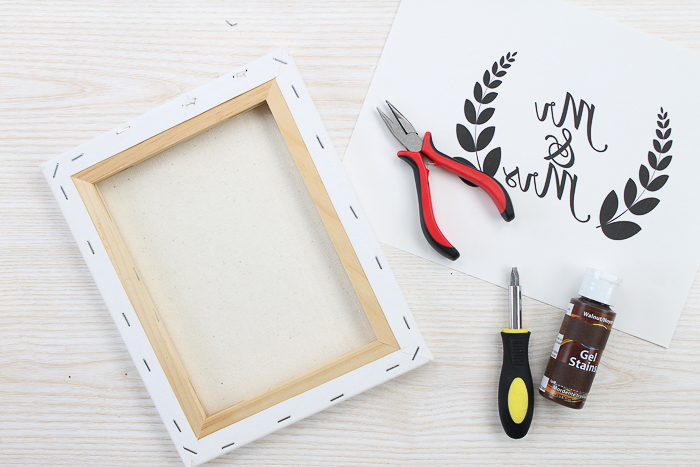
Step 4: Remove Canvas From Frame And Stain Frame
Remove the canvas fabric from the frame and stain the frame any shade you would like. You could also paint it if you desire.
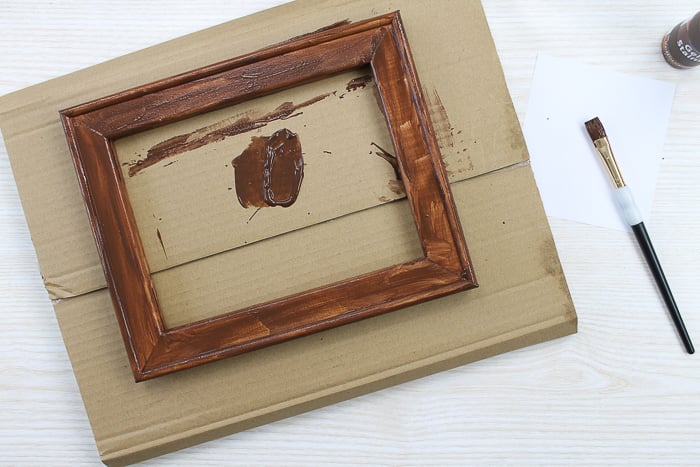
Step 5: Wipe Away Excess Stain
Just brush on the stain, allow it to sit for a few minutes, and wipe away any excess with a rag.
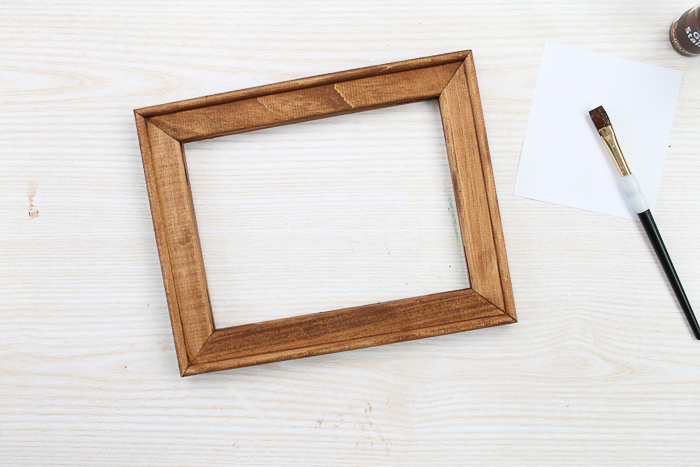
Set the frame aside to dry and start working on your canvas.
Step 6: Print Design
Print the Mr and Mrs file onto the t-shirt transfer sheets following all directions. You can also do this using your Cricut machine by following these reverse canvas instructions.
You will probably have to mirror the image before printing. Once printed, trim away any excess sheet from around your image.
Step 7: Iron Design To Canvas
Then iron onto the canvas according to the instructions that come with your transfers.
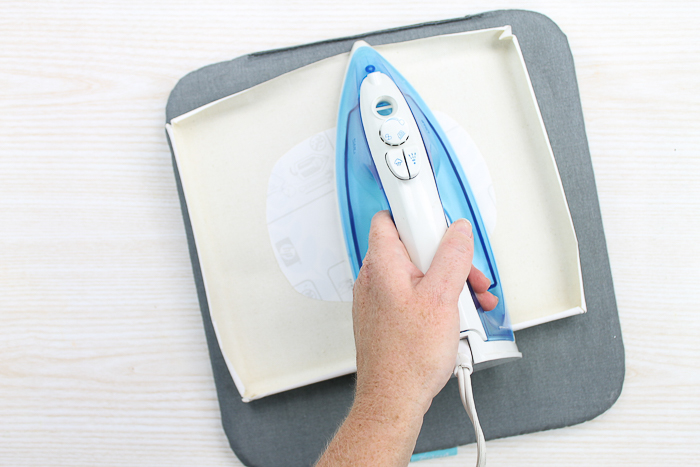
I actually added my design to the back of the canvas because it was a more rustic color, but you should be able to use either side.

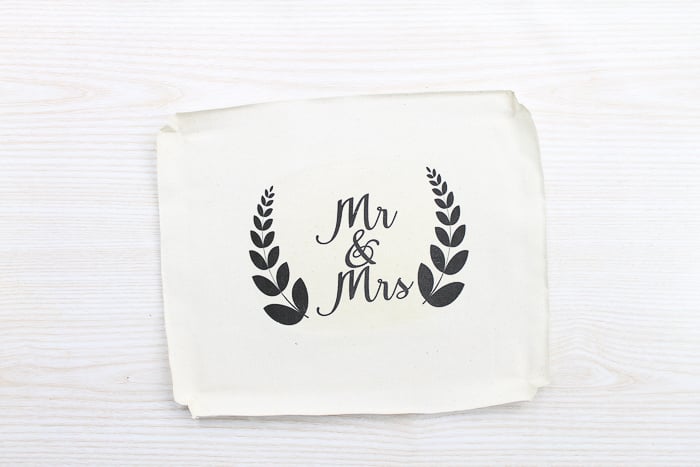
Step 8: Peel Off Liner
Once you have ironed completely, start to peel back the lining to reveal your transferred design.

You can now start putting your canvas back together.
Step 9: Secure Canvas To Frame
Use hot glue to secure the canvas portion to the back of your frame. Then, use a craft knife to trim away all of the excess canvas around the edges.
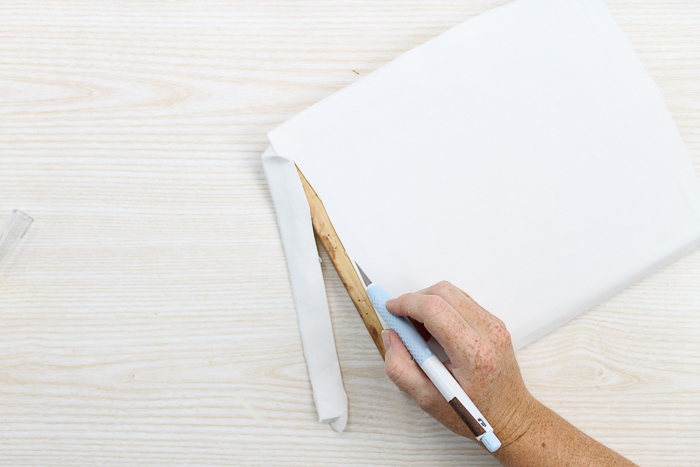
Your reverse canvas is now complete and ready for your wedding card box!
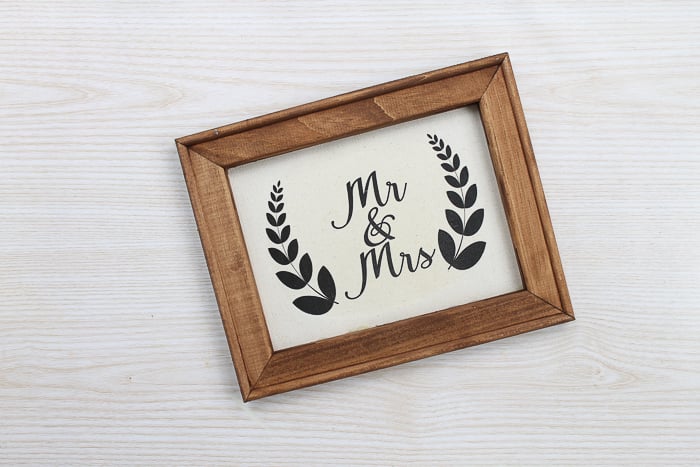
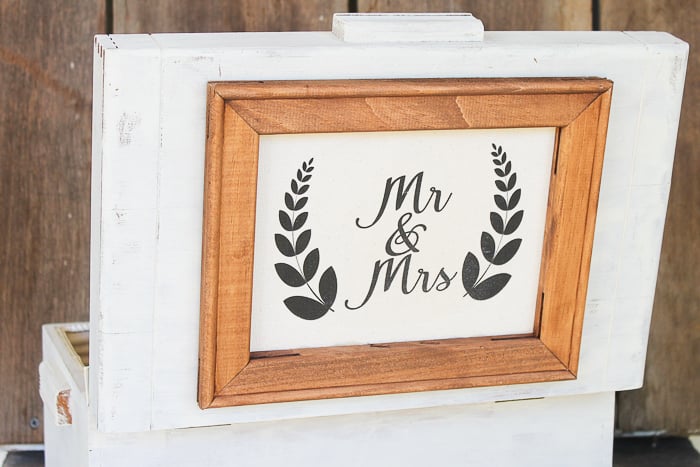
Step 10: Glue Reverse Canvas To The Top Of The Box
Just use hot glue or another adhesive to secure it into place right on the top of the box.
This will make your DIY wedding card box look great from any angle!
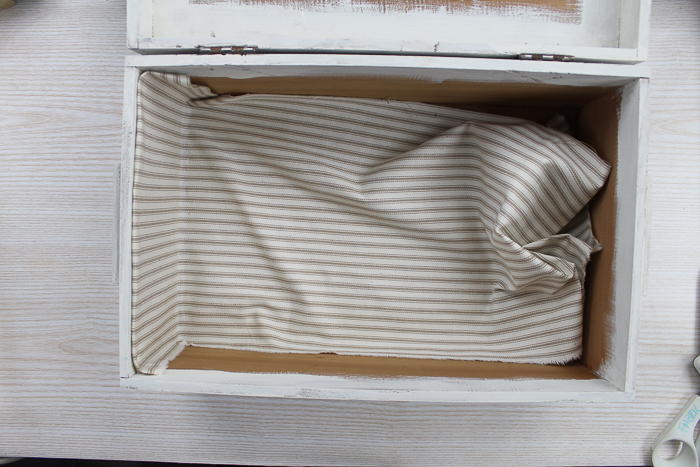
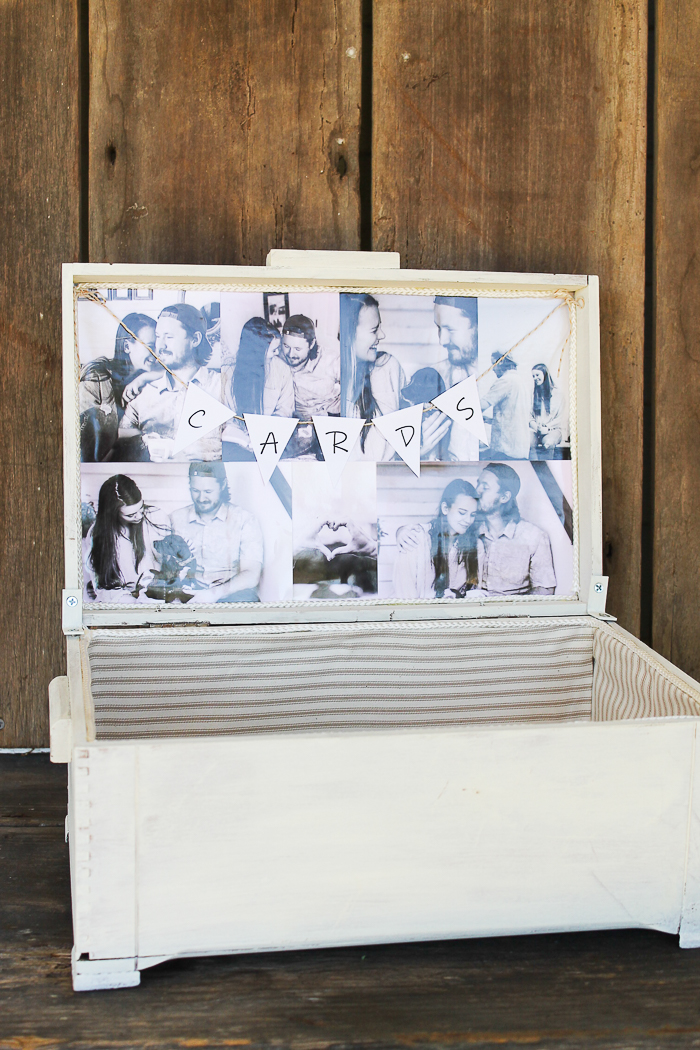
Step 11: Line The Inside Of The Box
Now, we need to work on the inside! I like a finished appearance, so I used some fabric to line the inside of my box. Just use hot glue to secure and fold over the raw edges.
Step 12: Add Cording Around The Lining
You can glue cording around the top to give a more finished look if you want.

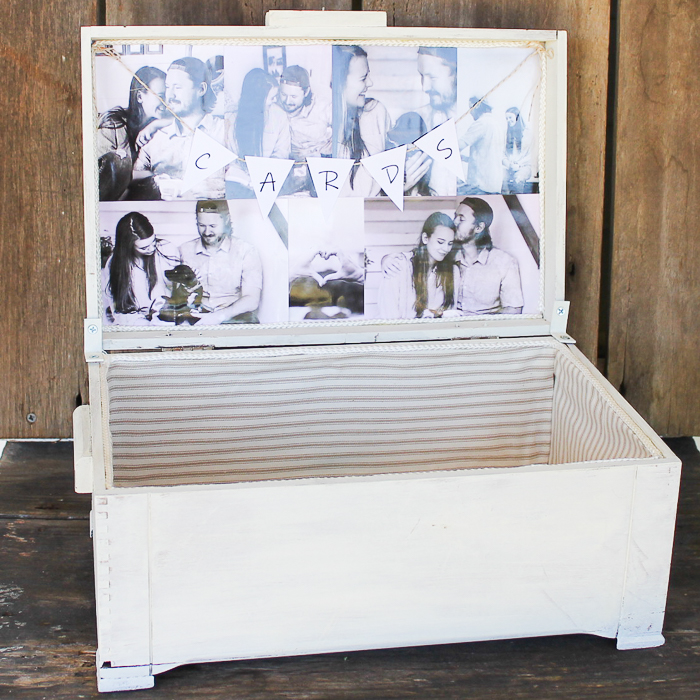
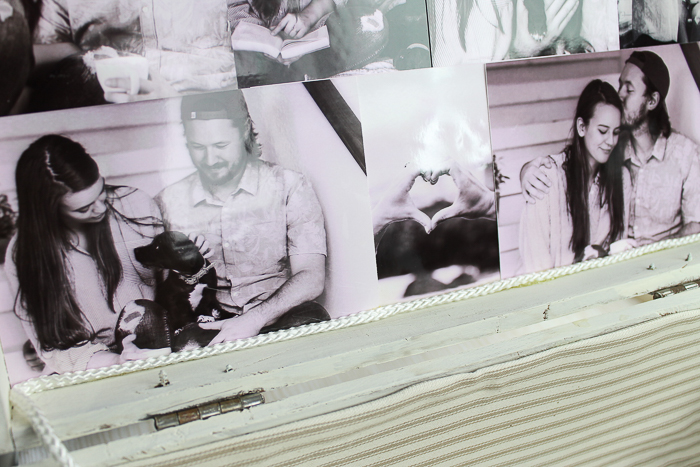
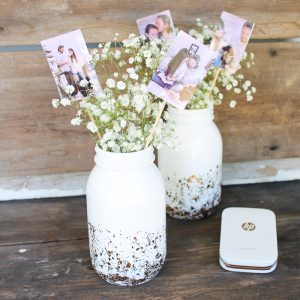
Step 13: Add Pictures of the Happy Couple
Now that your box is almost complete, a personal touch is always a great idea. Print pictures of the happy couple and use tacky glue to secure them inside the lid of your box.
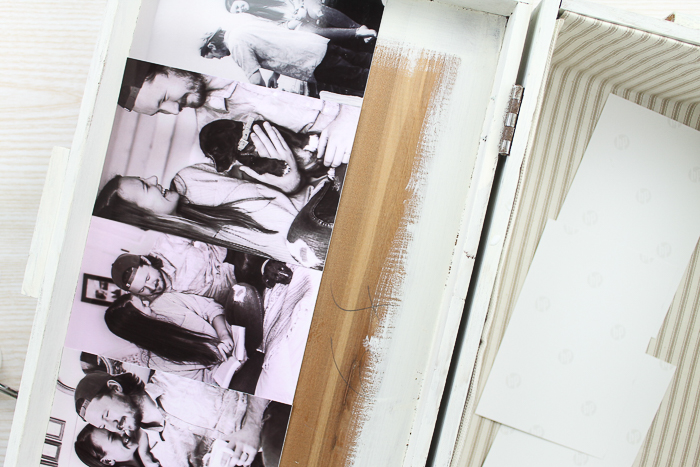
You can pick and choose whatever pictures you would like and collage them together.

Step 14: Add Cording Around Pictures
Again, you can add cording around the edge to finish it off if you would like.
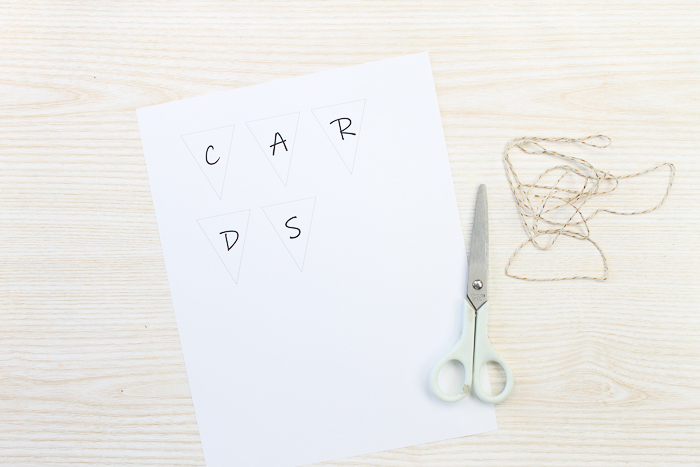
Step 15: Make Cards Banner
Now, we just need a sign to let people know that this box is for cards. I have you covered there as well! Just print the CARDS file onto white cardstock. Cut the pieces with scissors and secure them to twine with hot glue.
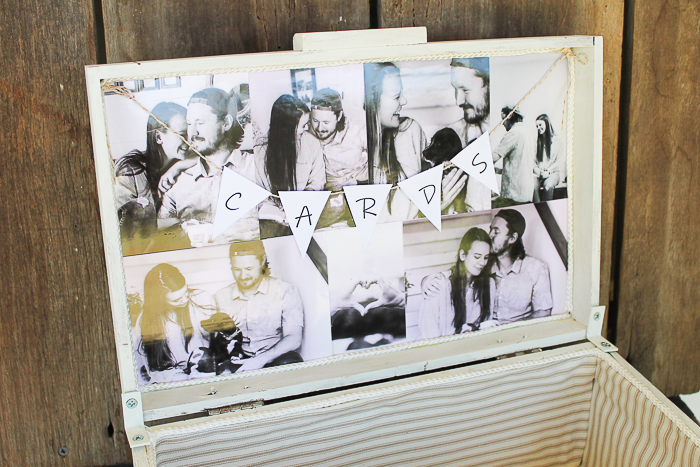
Step 16: Add Cards Banner To Pictures
Add this to the top of your box with a little hot glue.
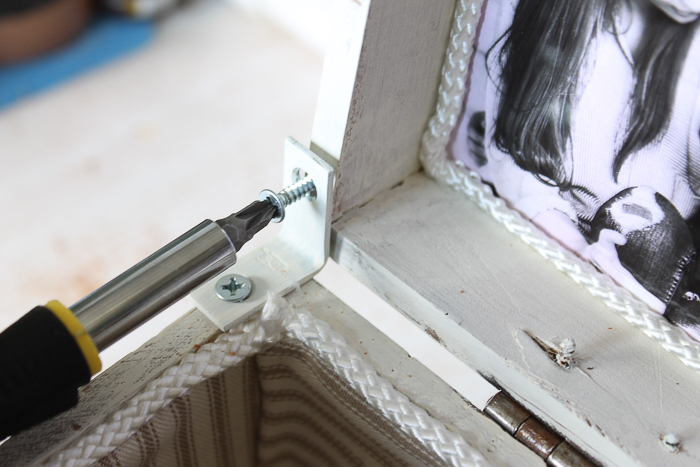
Step 17: Add L-brackets
You might also want to add some L-brackets to your wedding card box to hold the lid open. Just use some screws to secure them into place.
You can also paint them the same color as your box to help them blend in if desired. These can be removed after the wedding so the box can be used by the happy couple to store wedding memories.
Now, all that is left is to add this DIY wedding card box to your decorations! People can drop their cards inside as they come in.

I love the personal addition of the photographs to this piece. It takes this project from plain to personalized, and it is so easy to make.
Plus, any wedding idea that can be used after the big day is over is a winner in my book. I love the idea of the happy couple pulling this box out in 25 years and reminiscing over the contents.
So, will you make a DIY wedding card box of your very own? Be sure to follow our instructions and customize the look for your own wedding day.
After all, a rustic wedding card box may not be for everyone, but I am sure you can find a way to make this project your own.
FAQs About DIY Wedding Card Box
Here are the answers to some common questions I often get about this project.
Do I Need A Vintage Box For This Project?
No, you don't! You can use any box that you have on hand, or you can buy a brand-new unfinished wood box from the craft store.
If you are looking for a vintage box, I recommend checking out your local thrift store, rehab store, and possibly antique store.
Can I Adjust The Size Of The Box?
Yes, you can! The only thing to keep in mind is that the size of the box will affect how big your canvas should be and how much fabric you will need for the lining.
Can I Use My Cricut Instead Of A Printer?
Yes! You know I love my Cricut machines! So, if you would rather find an SVG file that you like, cut it out, and then add it to the canvas that is totally fine! In my DIY Canvas Art with Farmhouse Style blog post, I do this same reserve canvas technique but use a Cricut instead of an iron-on transfer.
Do You Have Any Wedding SVGs I Can Use For This Project?
Yes, I do! If you want to change the ”Mr. & Mrs.” to another wedding design, check out my Free Bride Tribe SVG Plus 15 More Wedding SVG Files blog post!
Can I Add Other Embellishments To The Box?
Yes, you can! You can add all types of embellishments that fit either the theme of the wedding or that relate to the happy couple. If you are looking for some embellishment ideas, check out the ones below. Just remember that you may have to make the embellishments smaller to fit in your box.
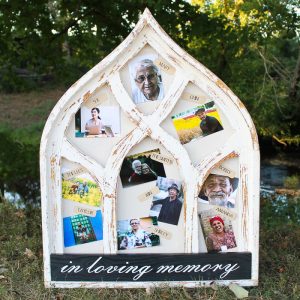
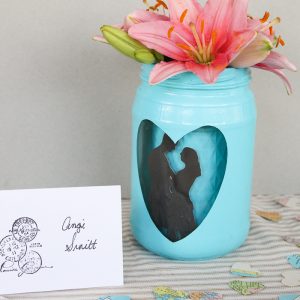
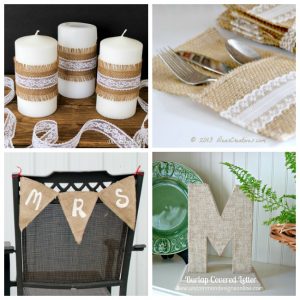
5 Easy Wedding Ideas To Make
So, do you love this DIY wedding card box and want more ideas? Then check out the projects below, which range from centerpieces to burlap wedding ideas!


