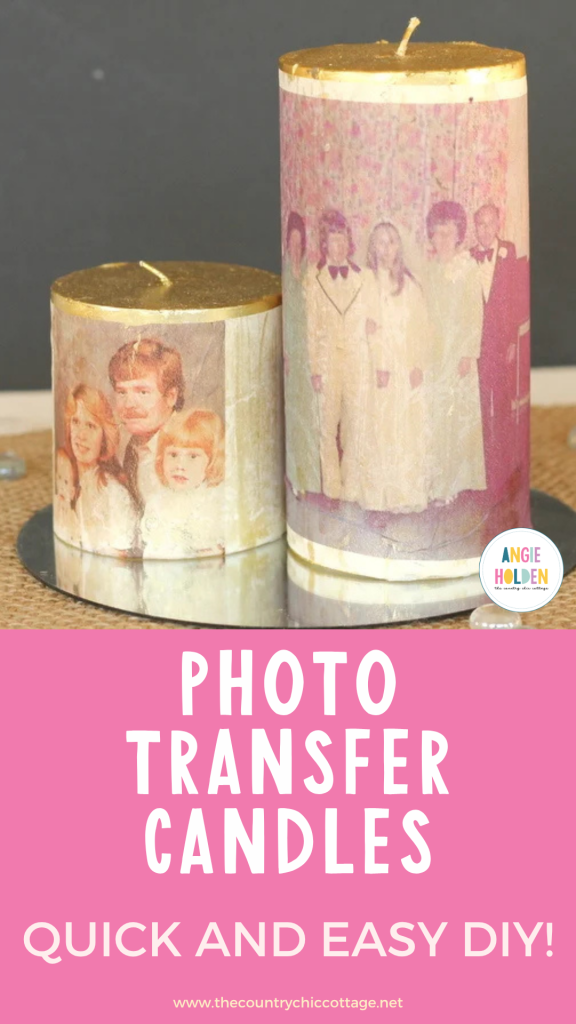
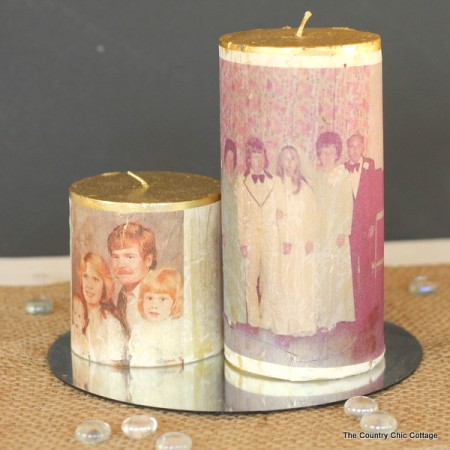
A quick and easy way to make photo transfer candles. Add an image to a candle with this craft project in just minutes! These would be fun for the centerpiece at a wedding or an anniversary party for family and friends. Photo candles are also a great gift idea for friends or family to use as floating candles inside their home, pillar candles, and they can also use cute candle holders of their choice to bring this piece together.
It is day 2 of Craft Lightning wedding week and I am back with a fun tutorial for photo transfer candles. If you have missed any of the Craft Lightning fun this week be sure to check out the projects from day 1. Plus, don't miss the links at the bottom of this post from our partner blogs for this series!
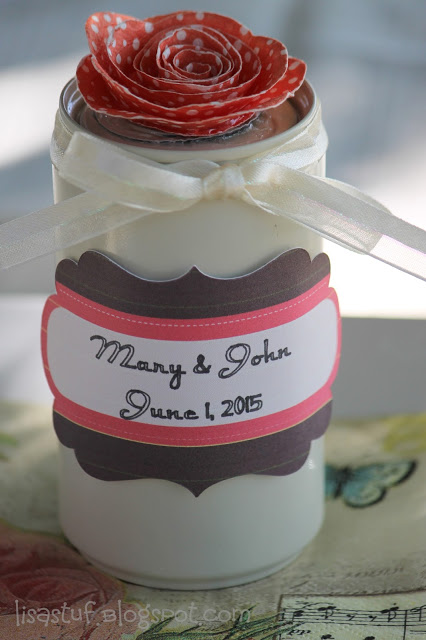
I love this idea for transferring photos onto candles to mark a momentous occasion. This would look beautiful alongside a photo mason jar centerpiece. If you need other wedding ideas, be sure and check out all of my wedding crafts. Plus, with this method, you aren't using the original photos, just a copy!
Add pictures of the bride and groom to these photo transfer scented candles for a fun wedding centerpiece. Or you can add wedding and family pictures. Whatever pictures you use, have fun with this quick and easy method for adding pictures to a candle.
Making DIY candles for a wedding centerpiece will add a lot of special touches that I know the guests will love. You can also incorporate fragrance oils to keep these homemade candles smelling fresh throughout the event.
NOTE: Please be cautious when lighting any candles, especially those wrapped in tissue paper. Never leave unattended.
How to make photo transfer candles
Supplies needed to make these photo transfer candles:
- Candles
- Tissue paper
- Card stock
- Tape
- Printer
- Americana Decoupage Medium
- Scissors
- Images of your choice
Instructions
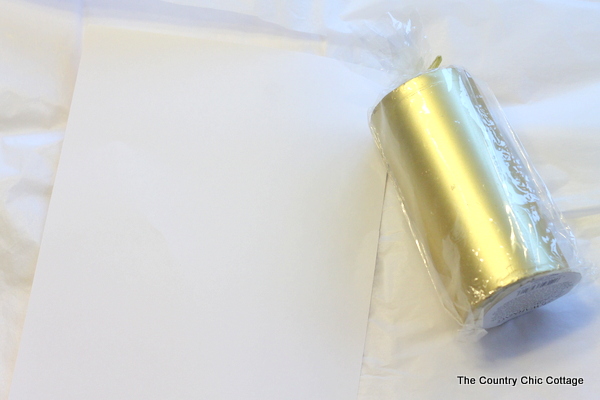
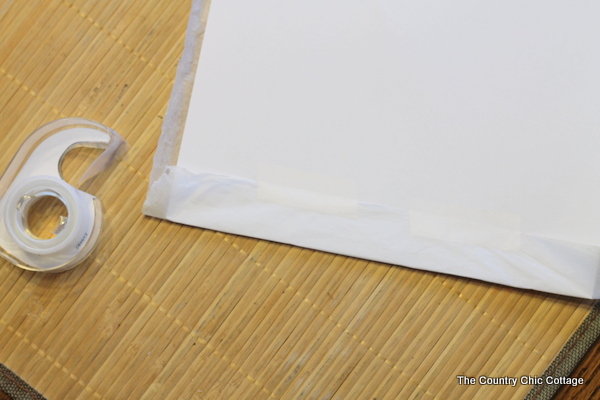
Put tissue paper on cardstock with the shiny side face down. Turn around to the back, fold over, and tape in place. Be sure to tape all the way around and leave no loose edges.
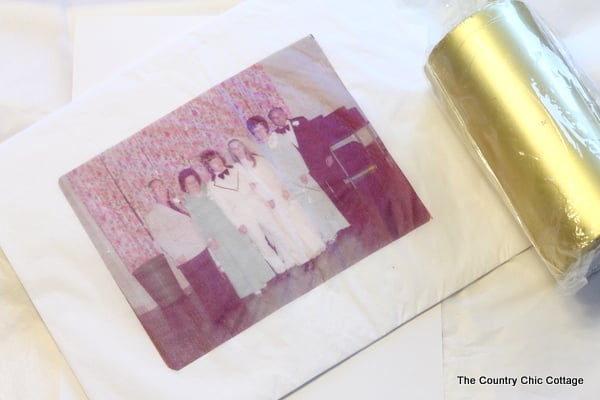
Run the tissue paper covered cardstock through your printer (tissue paper side UP). Print the image of your choice onto the tissue paper using a printer paper or what’s available to you.
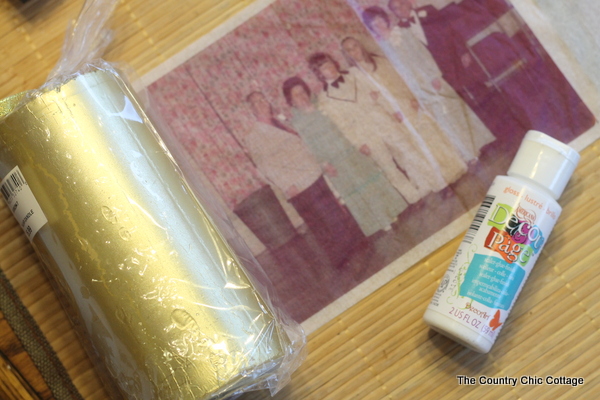
Cut tissue paper away from card stock then trim to size of the candle. The tissue paper should fit the candle height and wrap around the entire candle meeting in the back.
Apply Americana Decoupage to the candle then carefully lay on the tissue paper.
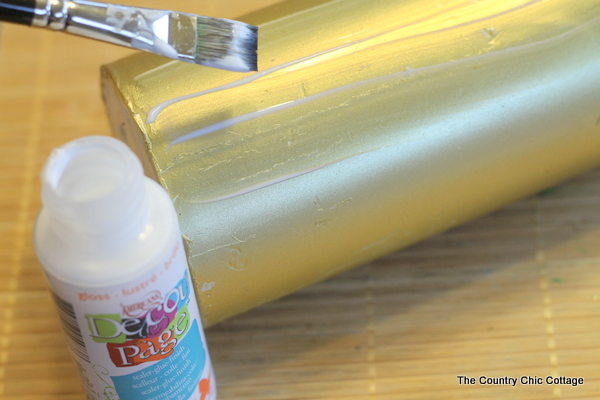
Please note that once you lay the tissue paper onto the decoupage covered candle you will not be able to move it without tearing. Place carefully and push down gently. Small tears will be fine but large ones can ruin your project. Allow the decoupage to fully dry before handling the candles.
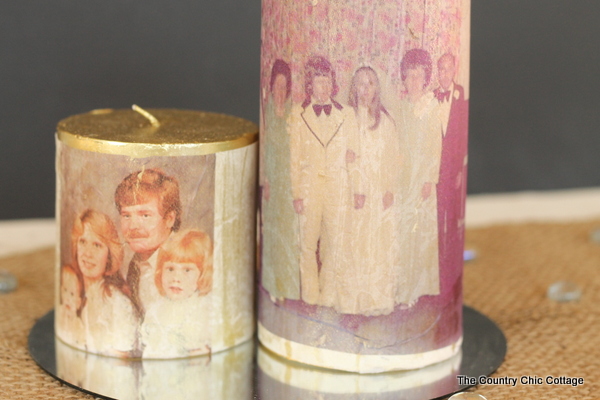
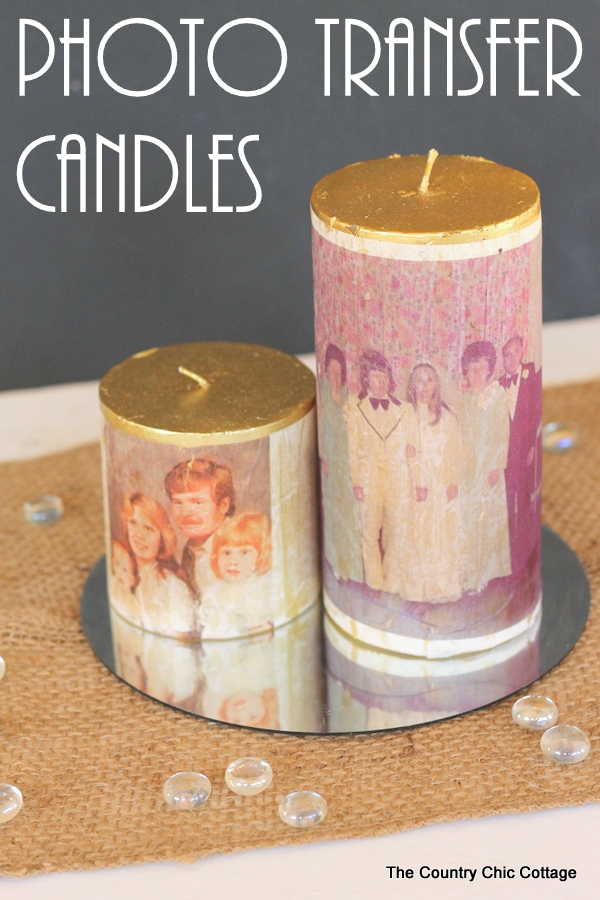
There you have it! Easy and simple wedding candles for a centerpiece. You’ll surely enjoy making this. Because I did!

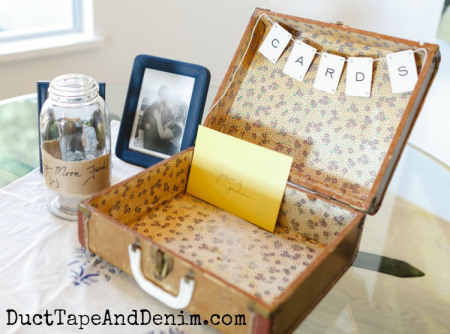
Now for even more fun quick and easy wedding crafts from our partner blogs. I am in love with this vintage suitcase turned card box from Duct Tape and Denim.
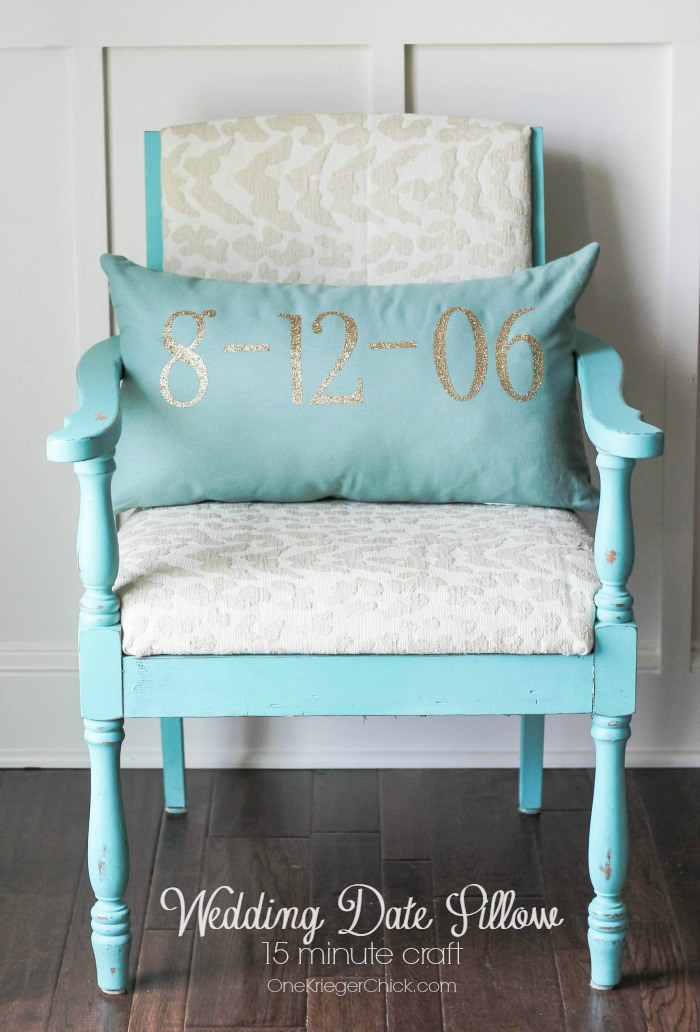
Turn the couple's wedding date into a fun pillow like this one from One Krieger Chick. This is great for an anniversary as well!
Save up those soda cans and make fun noise makers for the ceremony with these instructions from Lisa Stuff n Such.
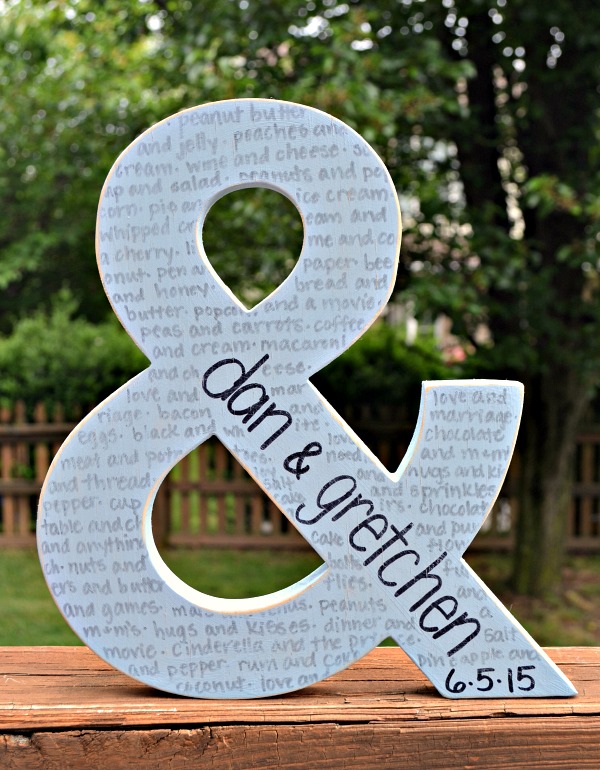
Do you think the couple goes together like peas and carrots? Let them know with this great ampersand! The instructions are available over at One Artsy Mama.
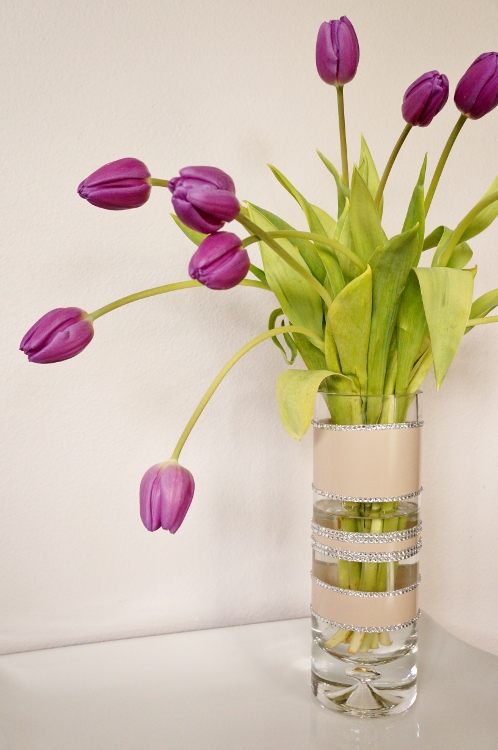
Grab a plain vase and jazz it up for wedding decor with a little spray paint and rhinestones. You can click here to see how over at DIY Inspired.
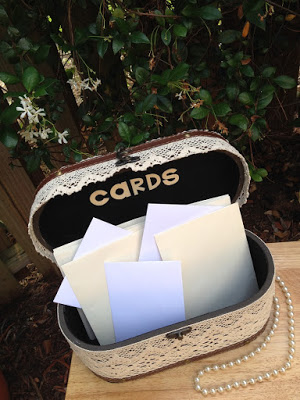
Need another idea for a card box? Try covering an old travel case in lace like this one from Beth Watson Design Studio.
Equipment
- Candles
- Tissue paper
- Card stock
- Tape
- Printer
Supplies
- Americana Decoupage Medium
- Images of your choice
Instructions
- Put tissue paper on cardstock with the shiny side face down. Turn around to the back, fold over, and tape in place. Be sure to tape all the way around and leave no loose edges.
- Run the tissue paper covered cardstock through your printer (tissue paper side UP). Print the image of your choice onto the tissue paper using a printer paper or what’s available to you.
- Cut tissue paper away from card stock then trim to size of the candle. The tissue paper should fit the candle height and wrap around the entire candle meeting in the back.
- Apply Americana Decoupage to the candle then carefully lay on the tissue paper.
- Please note that once you lay the tissue paper onto the decoupage covered candle you will not be able to move it without tearing. Place carefully and push down gently. Small tears will be fine but large ones can ruin your project. Allow the decoupage to fully dry before handling the candles.