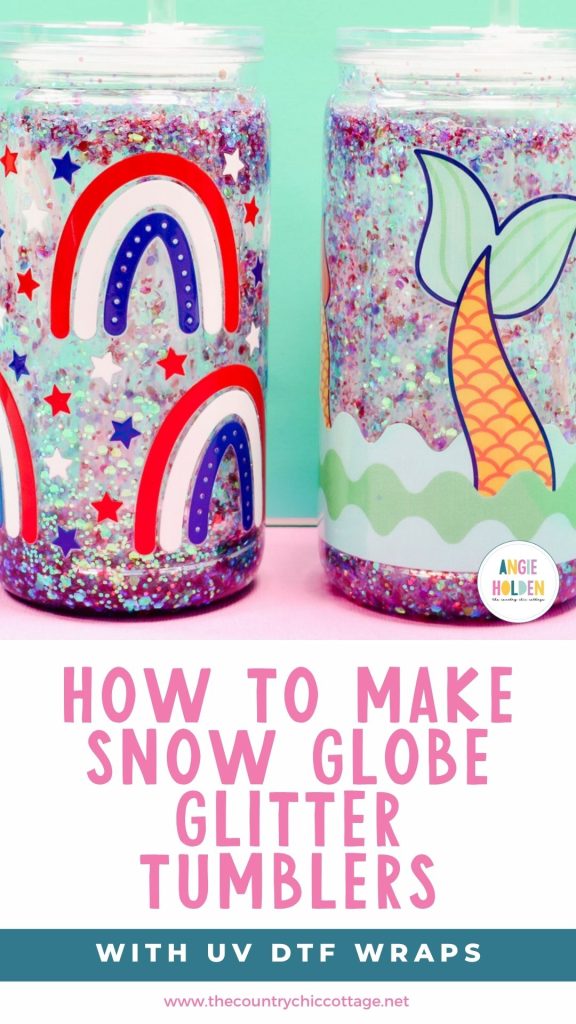
I'm going to show you how fun and easy it is to make snow globe glitter tumblers. I love that these tumblers can be customized for any color scheme, holiday, season, or event.
You can decide if you want chunky or fine glitter, glitter shapes, or a combination of all of the above. I'm combining the snow-globe look with UV DTF wraps, and I love how they turned out.
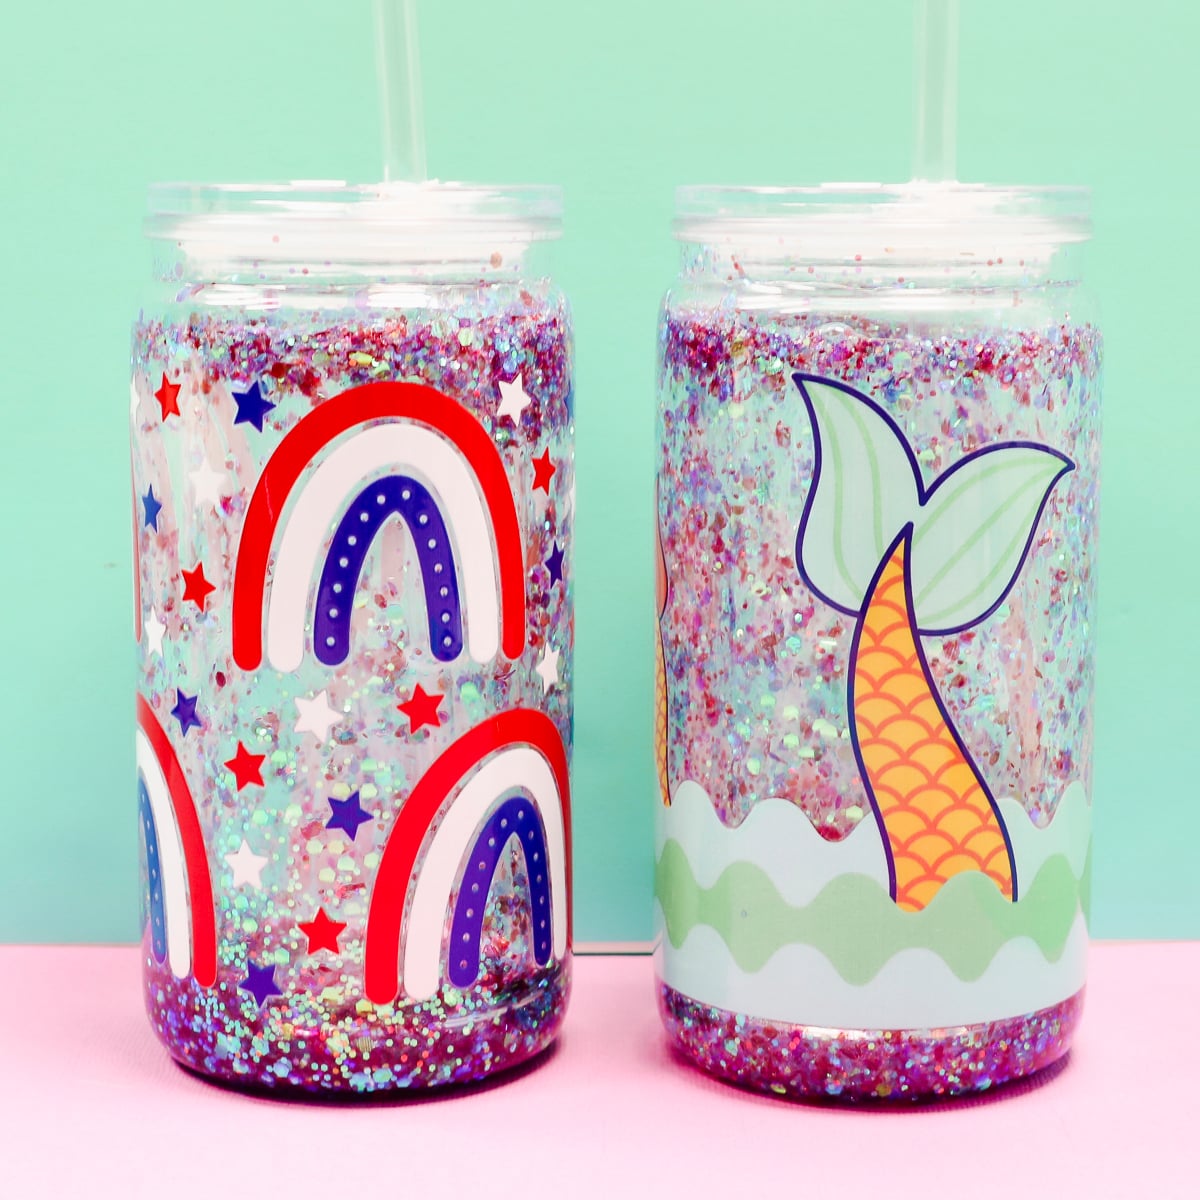
The examples I'm sharing today are summer-themed, but don't let that stop you. You can make these any time of year. They even make wonderful gifts.
I really think you're going to love making these, and after making one, you'll want to make more.
How to Make Snow Globe Glitter Tumblers
Snow globe glitter tumblers are made using double-walled tumblers, and you can add things between the two walls.
Often it's glitter, small foil cutouts like confetti, or other little elements. You'll also add a solution that helps keep the glitter and other elements moving slowly, like a snow globe.
Supplies Used
- UV DTF Prints
- Snow Globe Tumblers
- Magic Flow Solution (I am using two different solutions: one is the original medium flow, and the other is a suspended slow flow solution.)
- Glitter
- Tool Kit
- UV Resin
- UV Light
- Silicone Brush
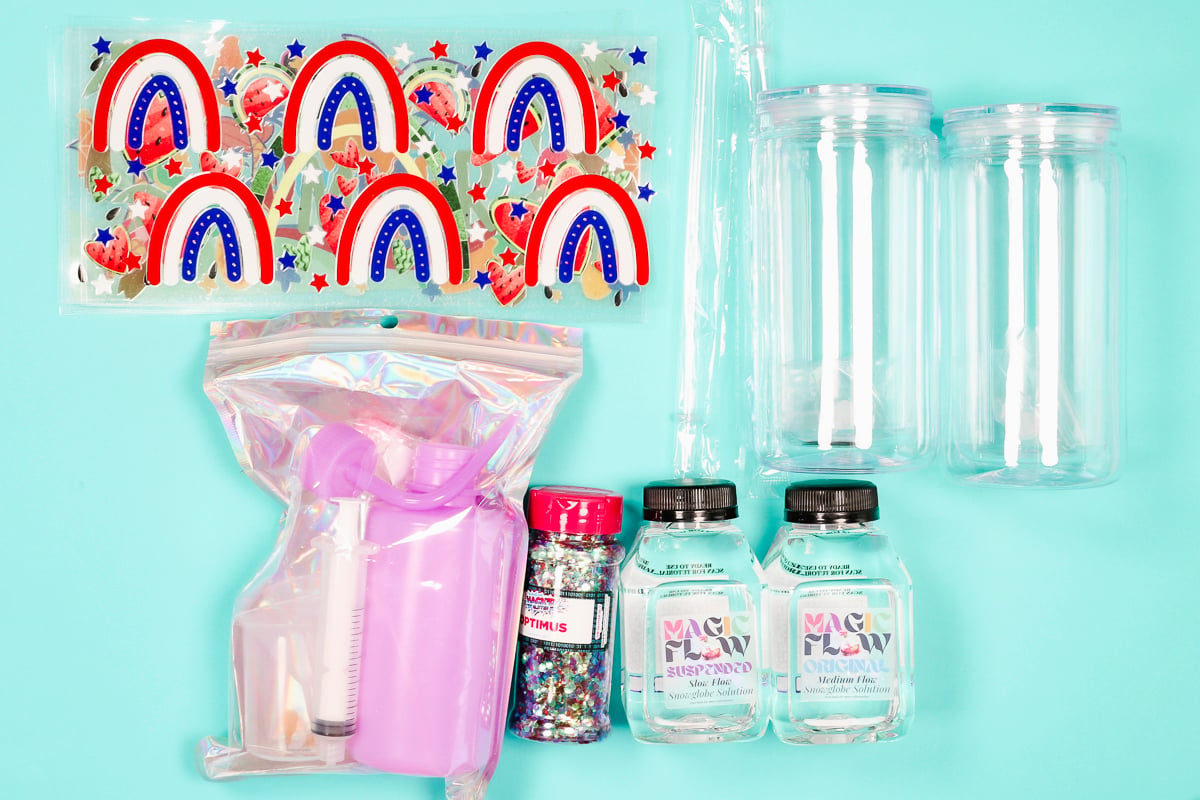
Make sure to go through the list. You may already have a UV resin or a UV light, and you don't need both solution types unless you want to try them both.
There are a variety of different double-walled tumblers to choose from. The tumblers listed above are pre-drilled and ready to use with the techniques shown below.
1. Clean the Tumbler
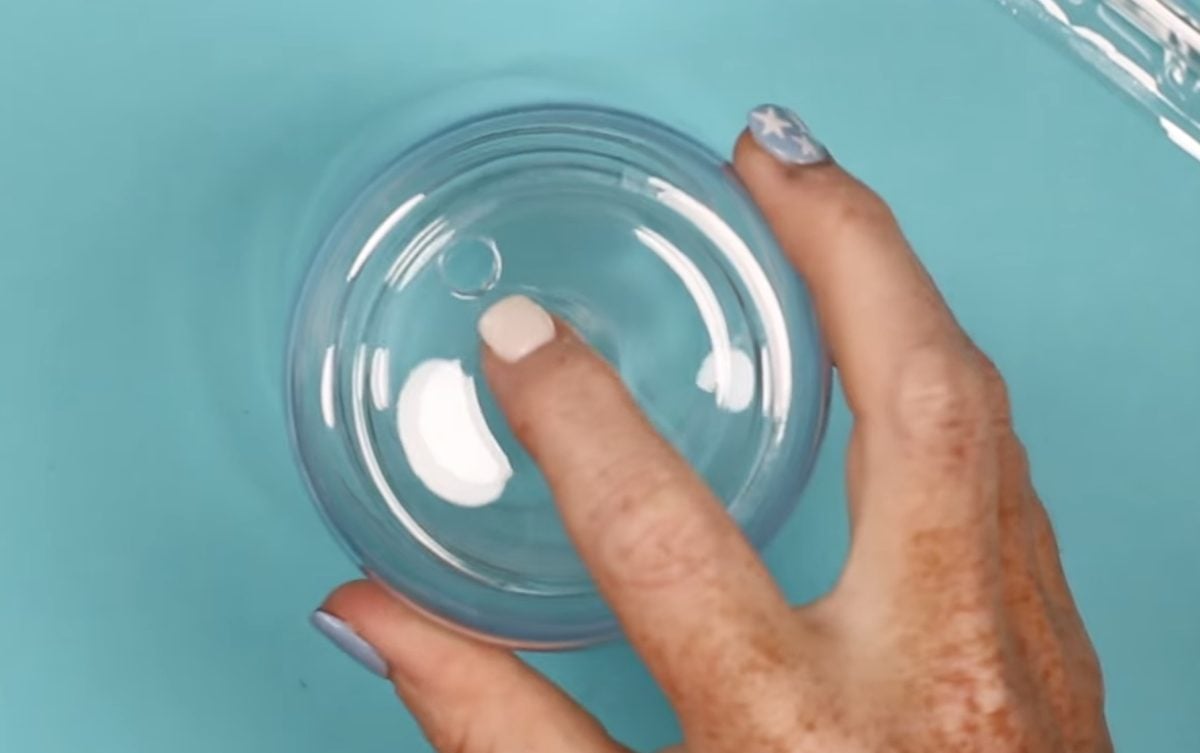
The first thing I'm going to do is add the UV DTF wrap to the outside of the tumbler. Remove the top, straw, and the plug from the bottom of the tumbler and clean the tumbler.
Use a lint roller or rubbing alcohol and a lint-free cloth to clean the surface. If you use rubbing alcohol, make sure the tumbler is completely dry before applying the UV Wrap.
2. Apply the UV Tumbler Wrap
If you're adding a UV wrap or decal, do it before adding the liquid solution.
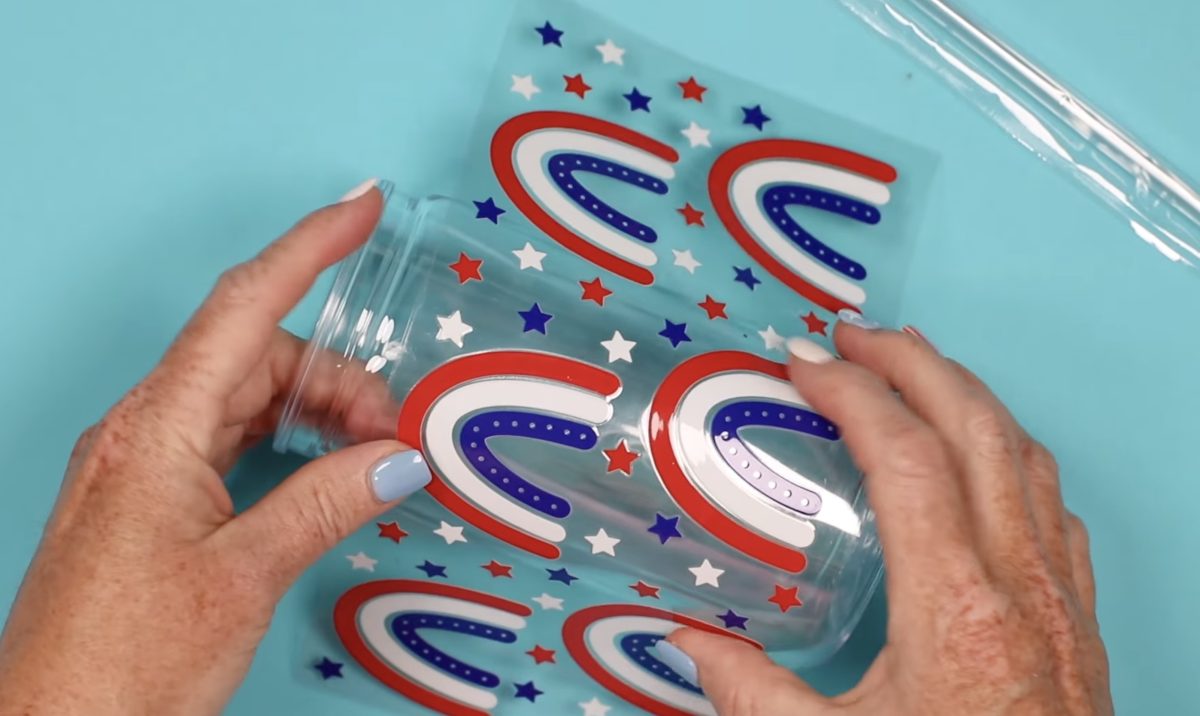
Before removing the backer from the UV wrap, I like to double-check that it is sized correctly. Mine looks really good.
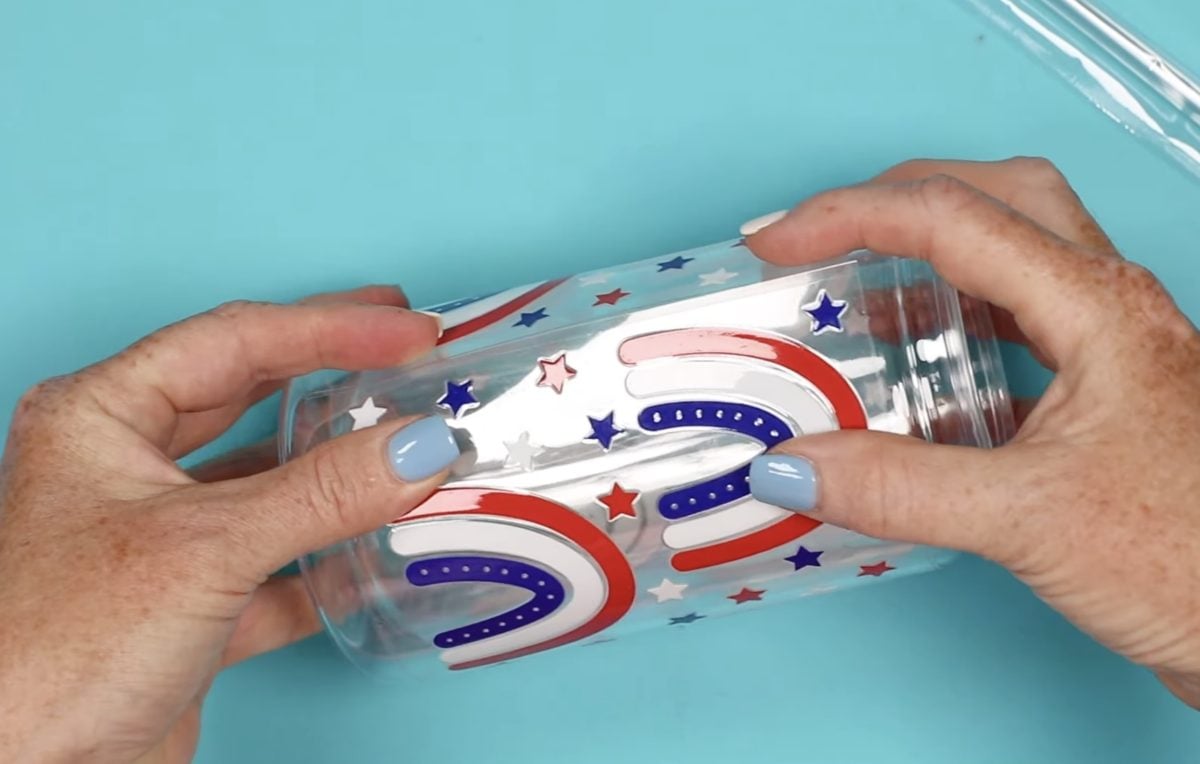
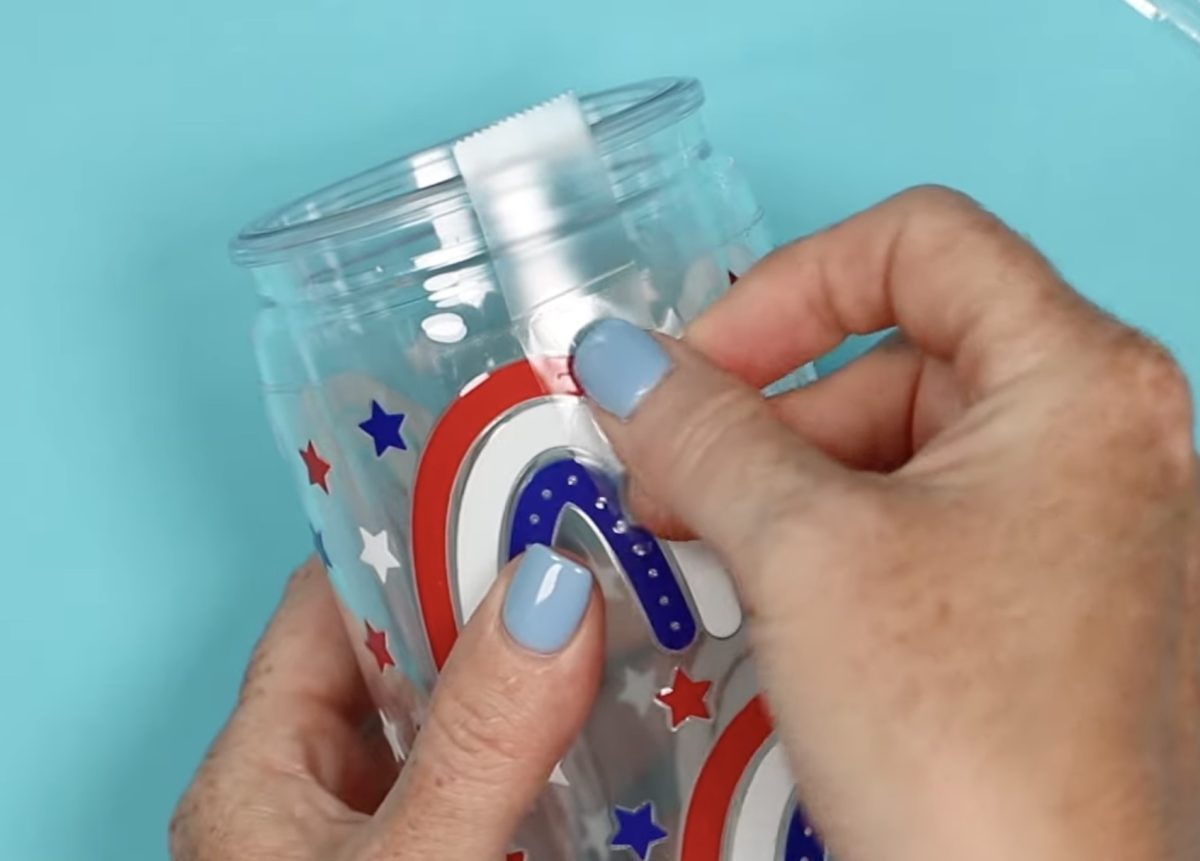
I'm using some tape and the hinge method to make sure the decal is located correctly.
Add the tape to the top and the bottom of the decal, near the center. Secure it in place on the tumbler.
The decal will have a top carrier sheet and a backer sheet. The decal is sandwiched between those two pieces.
Peel the backing sheet away from the decal from one end until you get to the hinge.
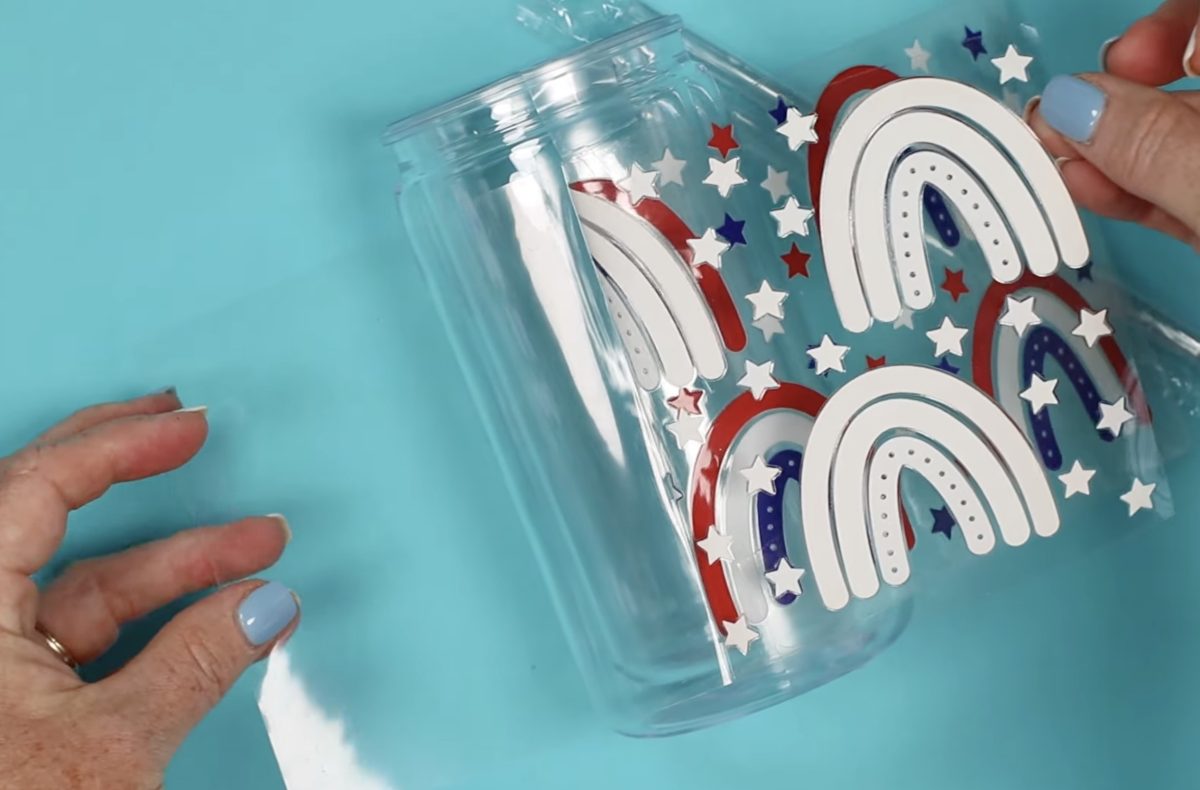
Use scissors to cut away the backing sheet.
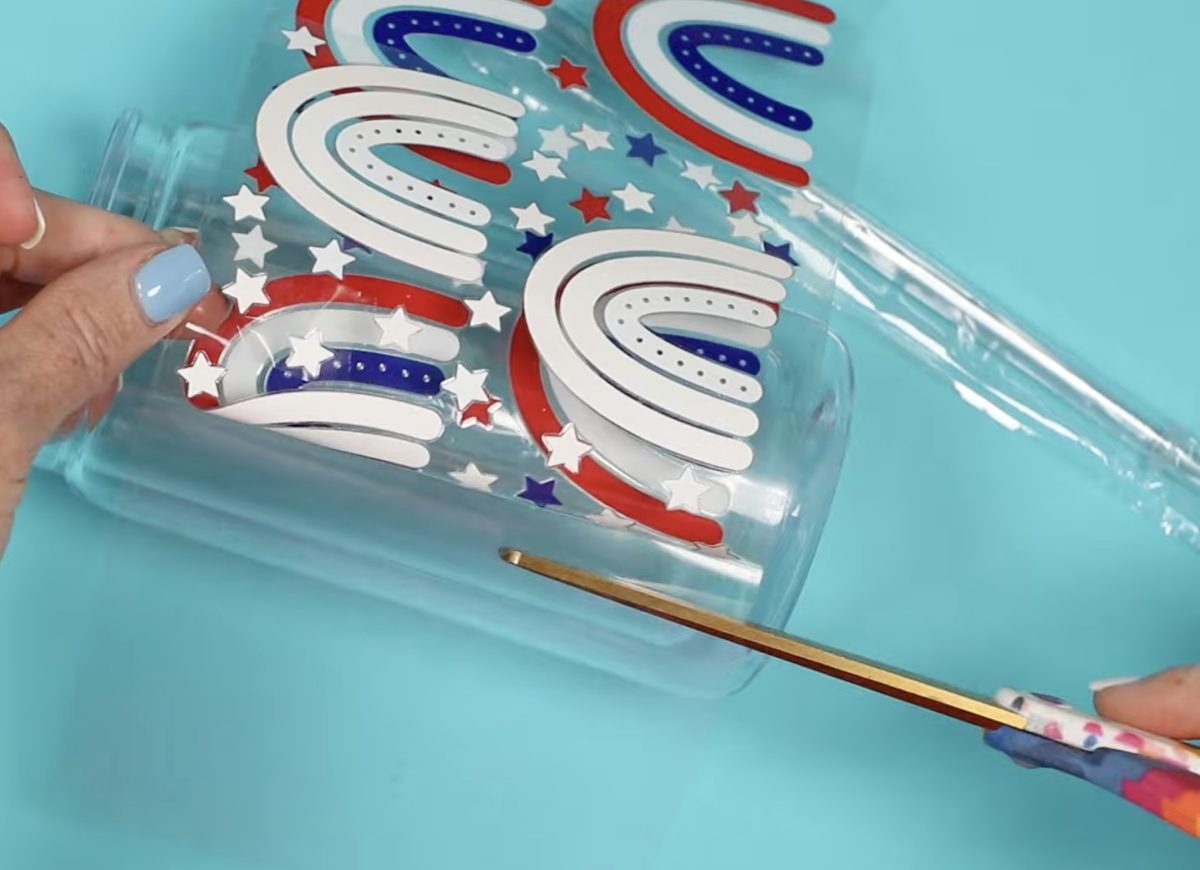
Fold the decal backward so the top carrier sheet touches back on itself. Use a scraper tool to gently smooth the decal onto the tumbler.
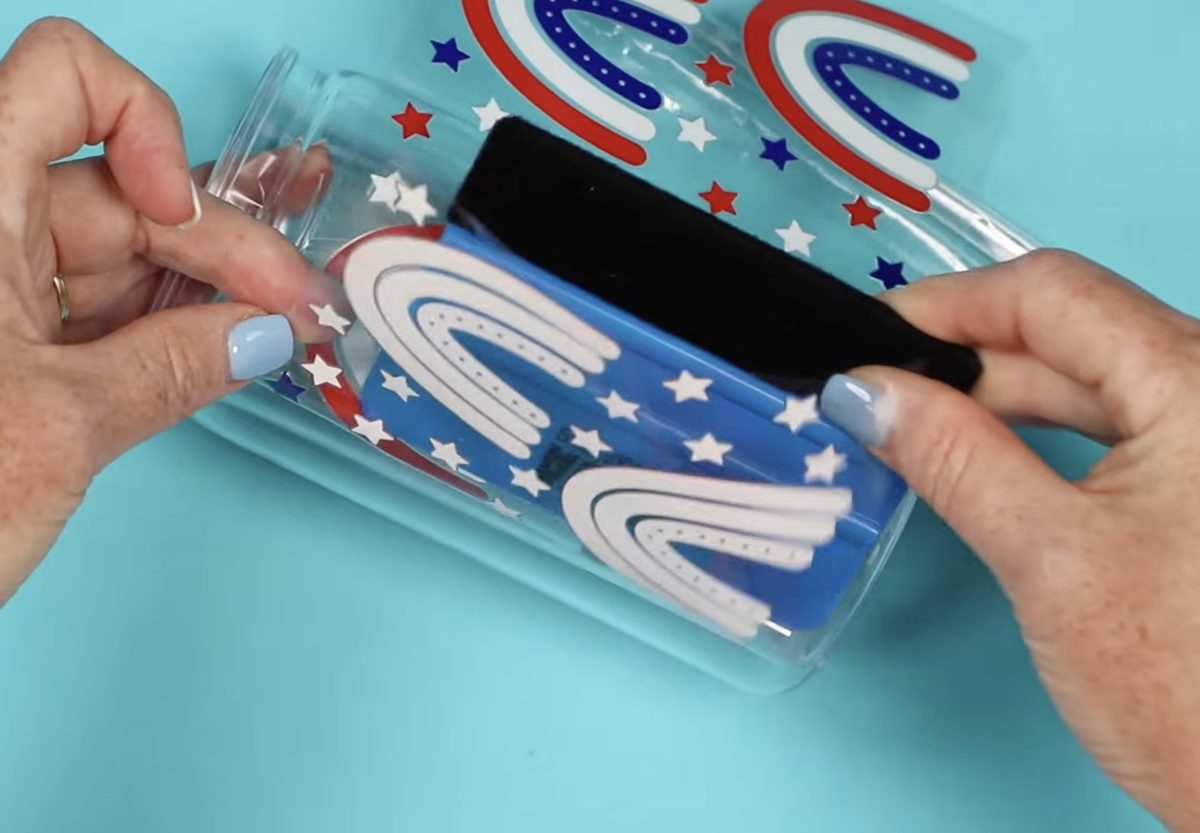
When it's all applied, use a felt-edged scraper to really press it down onto the tumbler.
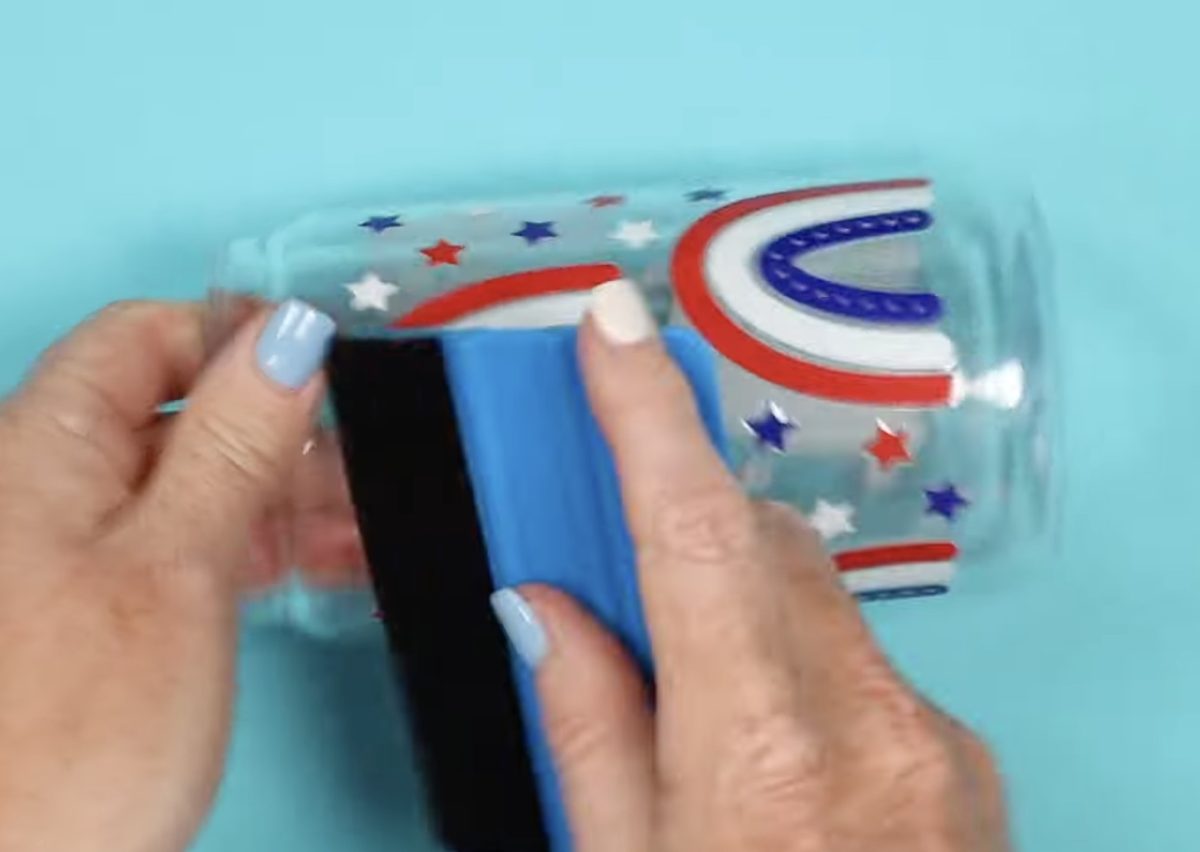
Repeat this process for the other half of the decal.
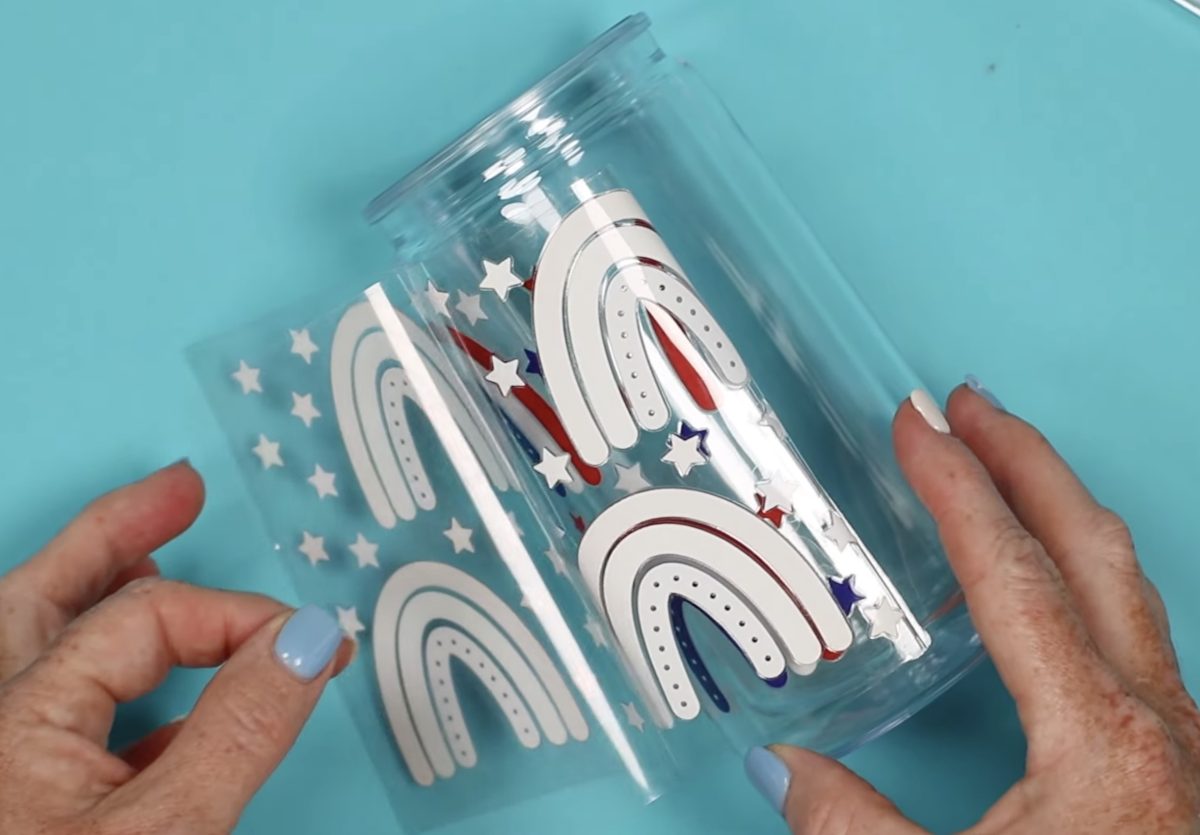
When you have the decal burnished onto the tumbler really well, find the seam and peel away the top carrier sheet. Go slow; pay attention to any small pieces and make sure they're stuck down really well.
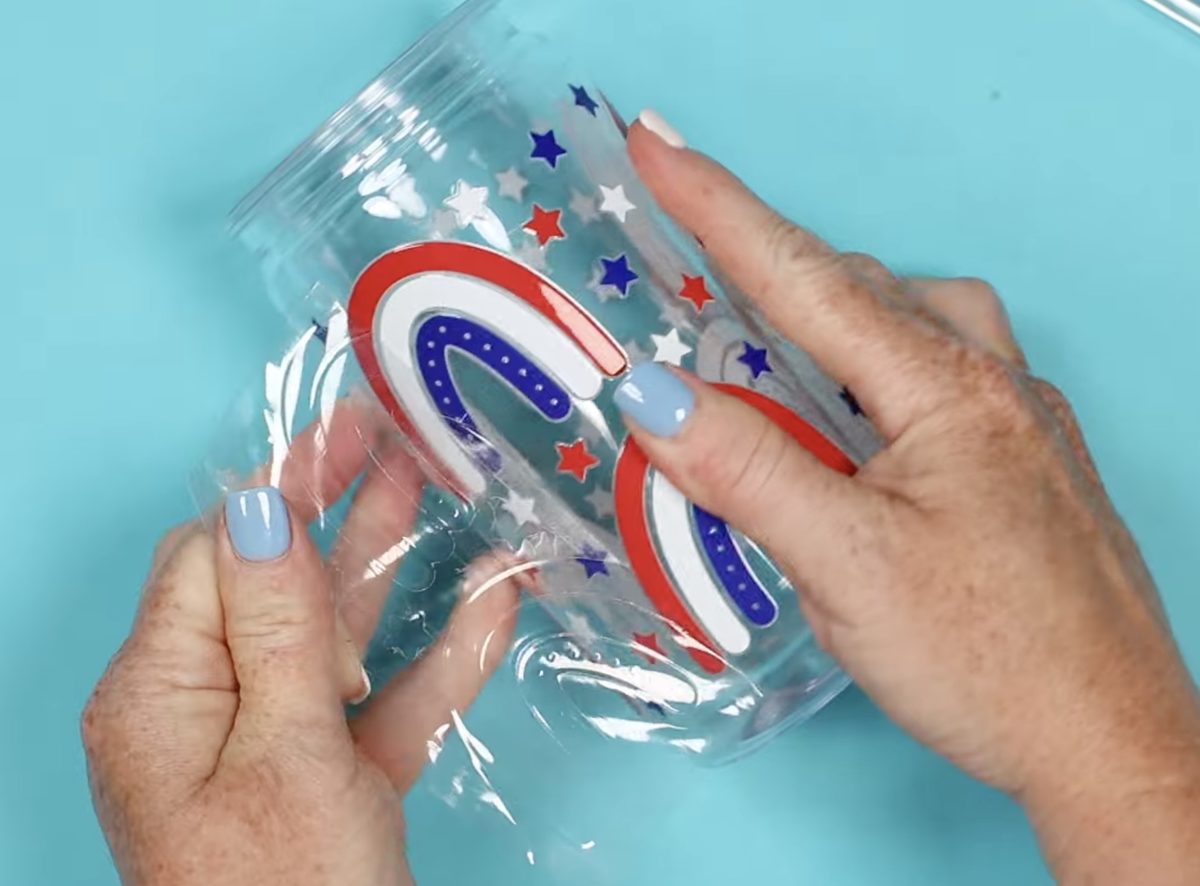
With the top carrier sheet removed, we're ready to create the snow globe effect!
3. Add Solution to the Tumbler
I am using the starter kit, and it includes a bottle that can be used for the solution. Simply add the straw to the bottle top and assemble the bottle.
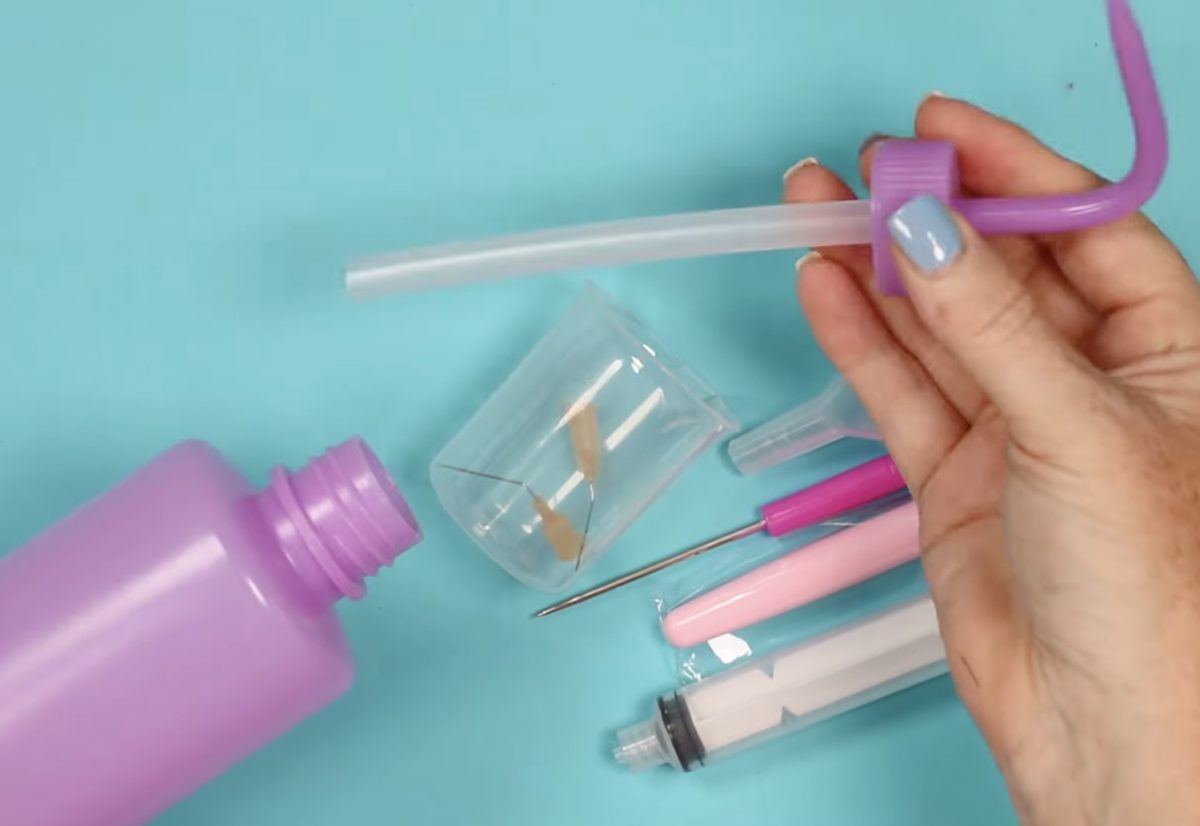
It also includes a syringe. You can use it for the solution. I think it's good to use if you want a lava lamp tumbler look.
Inside the starter kit, you'll see a couple of different-sized mini funnels for adding the glitter. There is a tool to help push things into the funnel hole and a brush to help clean up the glitter if needed.
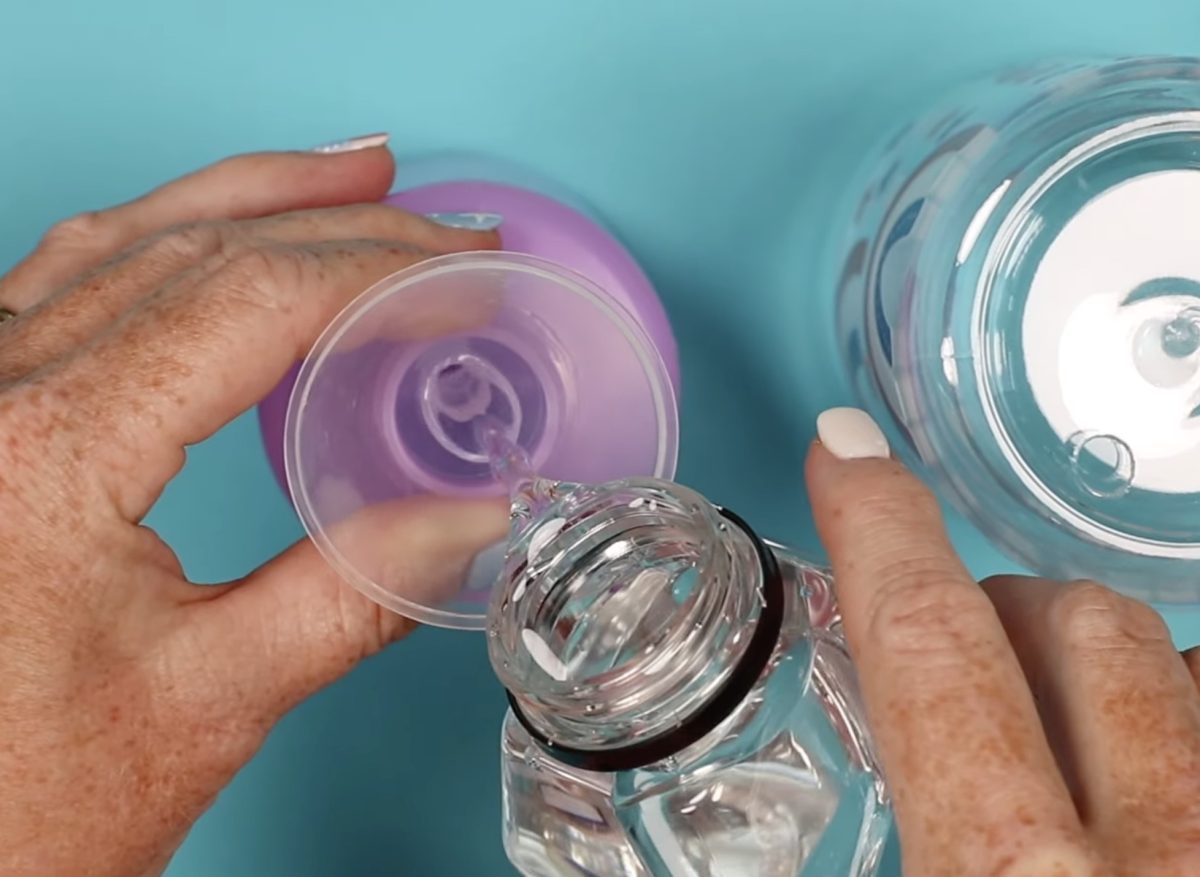
First, I'm going to fill the tumbler about halfway with the solution. This squeeze bottle is great because it has a straw inside the bottle. You don't have to tip the bottle; simply squeeze it, and it'll flow out of the bottle.
Place the tip of the bottle into the hole on the bottom of the tumbler and add the solution slowly. The space between the two walls isn't very thick, so make sure you're paying attention to how full it's getting.
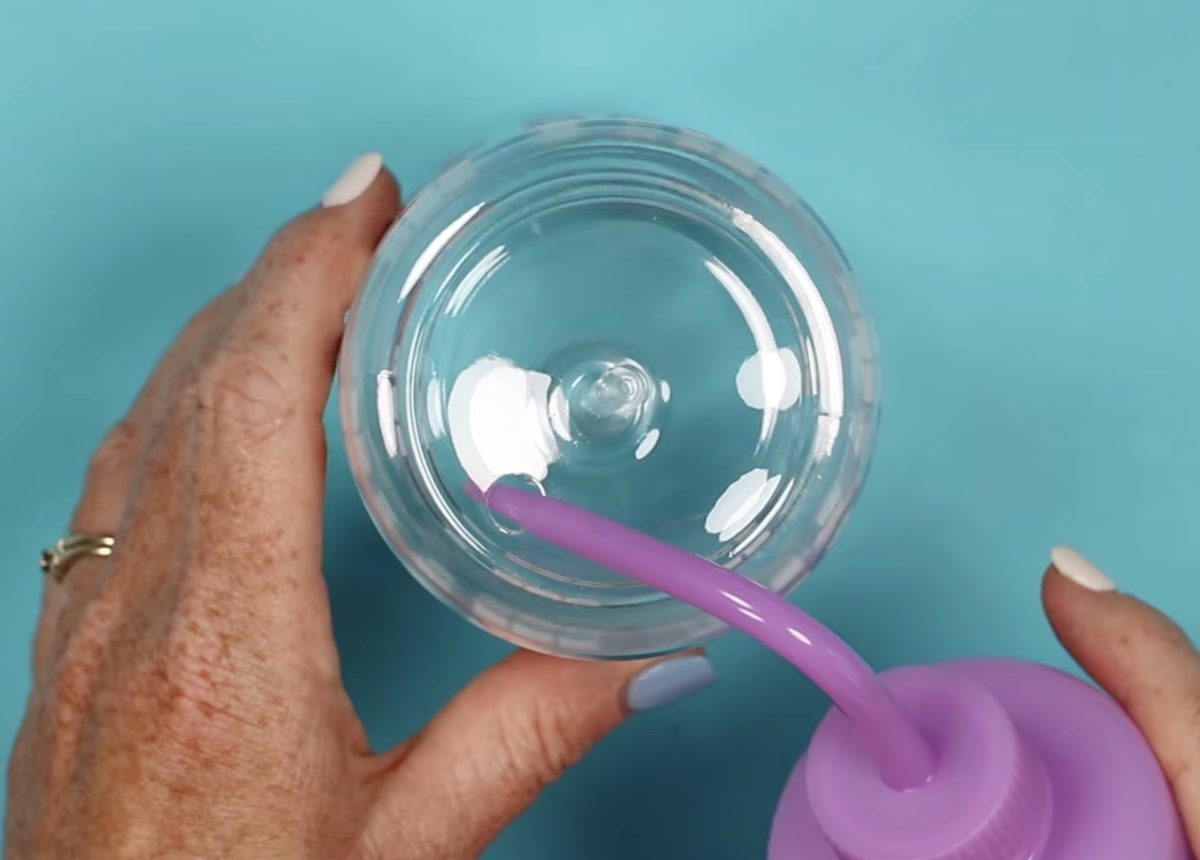
With the tumbler filled halfway with the solution, we're ready to start adding the glitter.
4. Add Glitter to the Tumbler Solution
Before adding the glitter, I am going to place the tumbler on a piece of paper so it can collect any glitter that spills onto the table.
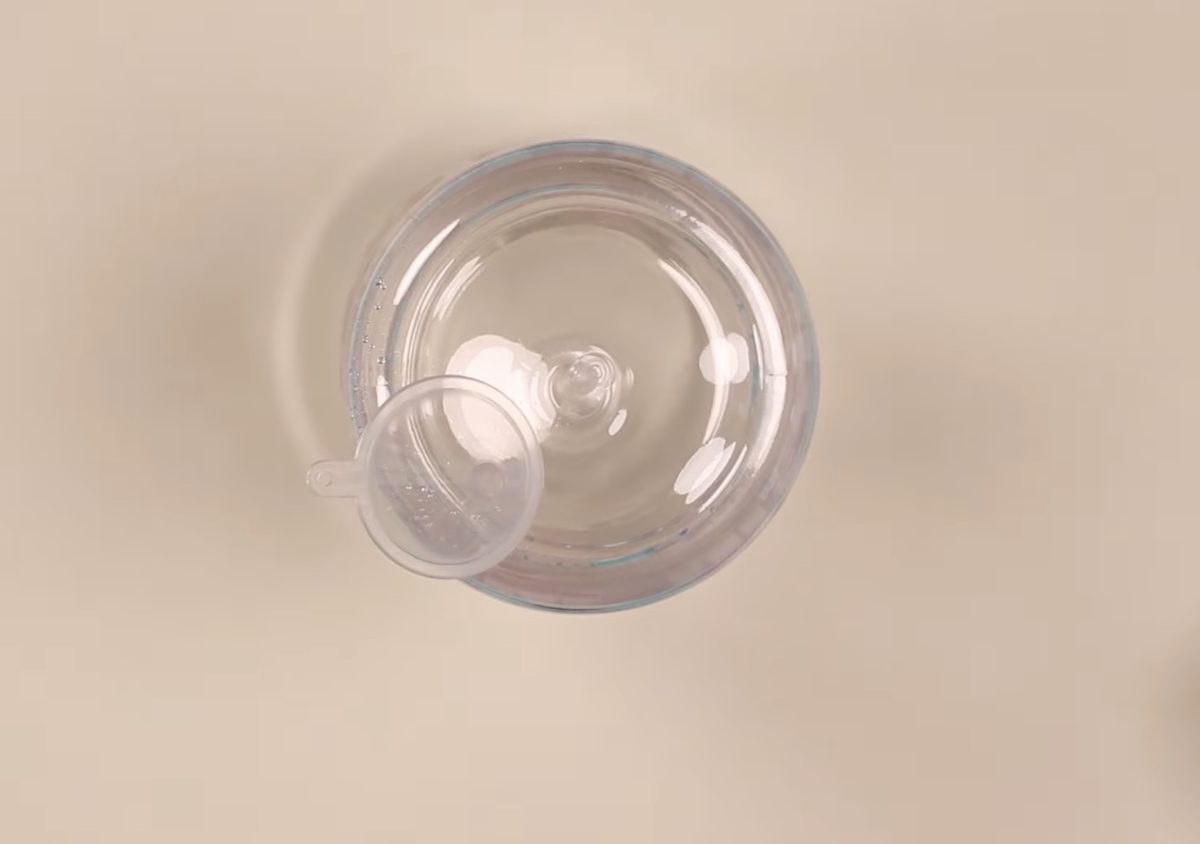
Take a funnel and place it in the hole, and add the glitter to the funnel. Use the pointed tool to help move the glitter down into the tumbler.
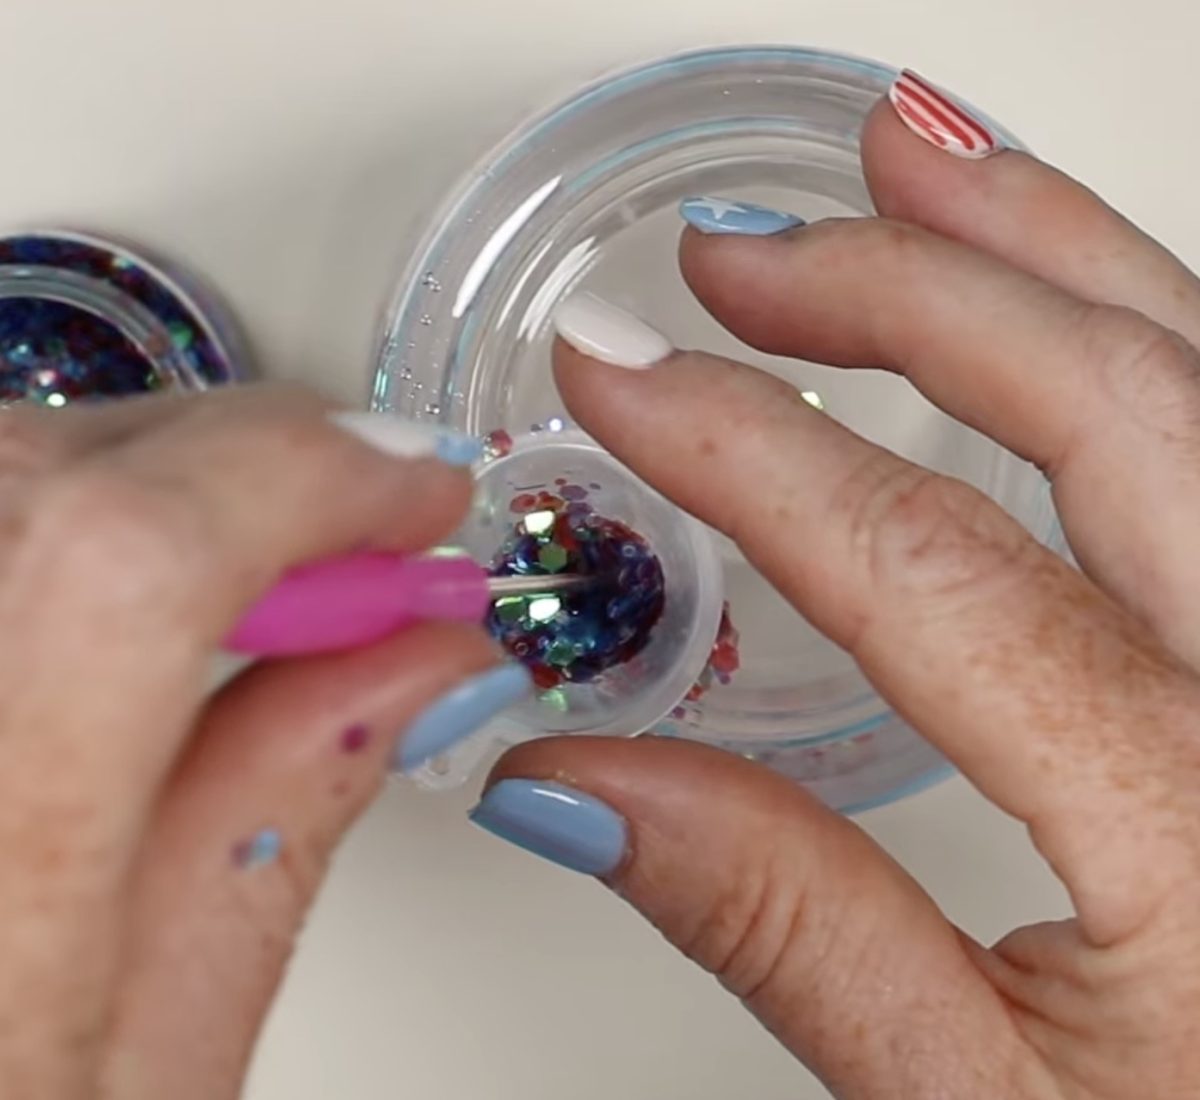
I am using a glitter that is a combination of chunky glitter in larger and smaller pieces. I really like the look of this glitter.
The great thing about these tumblers is you get to decide how much glitter you want to add. I like a lot of glitter, but you can add however much you want.
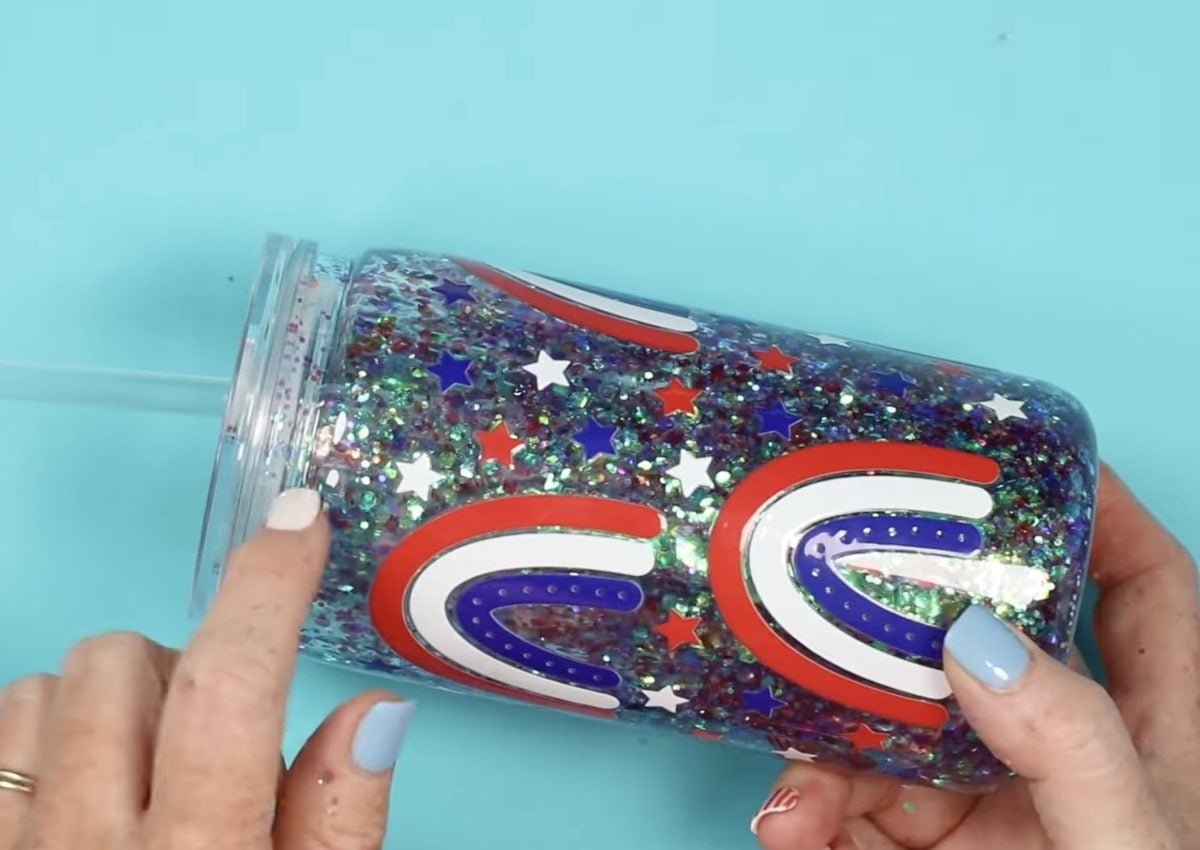
After adding some glitter, I like to seal the hole with my finger and shake it up to get an idea of how the glitter is looking. This helps me decide whether I need to add more glitter or not.
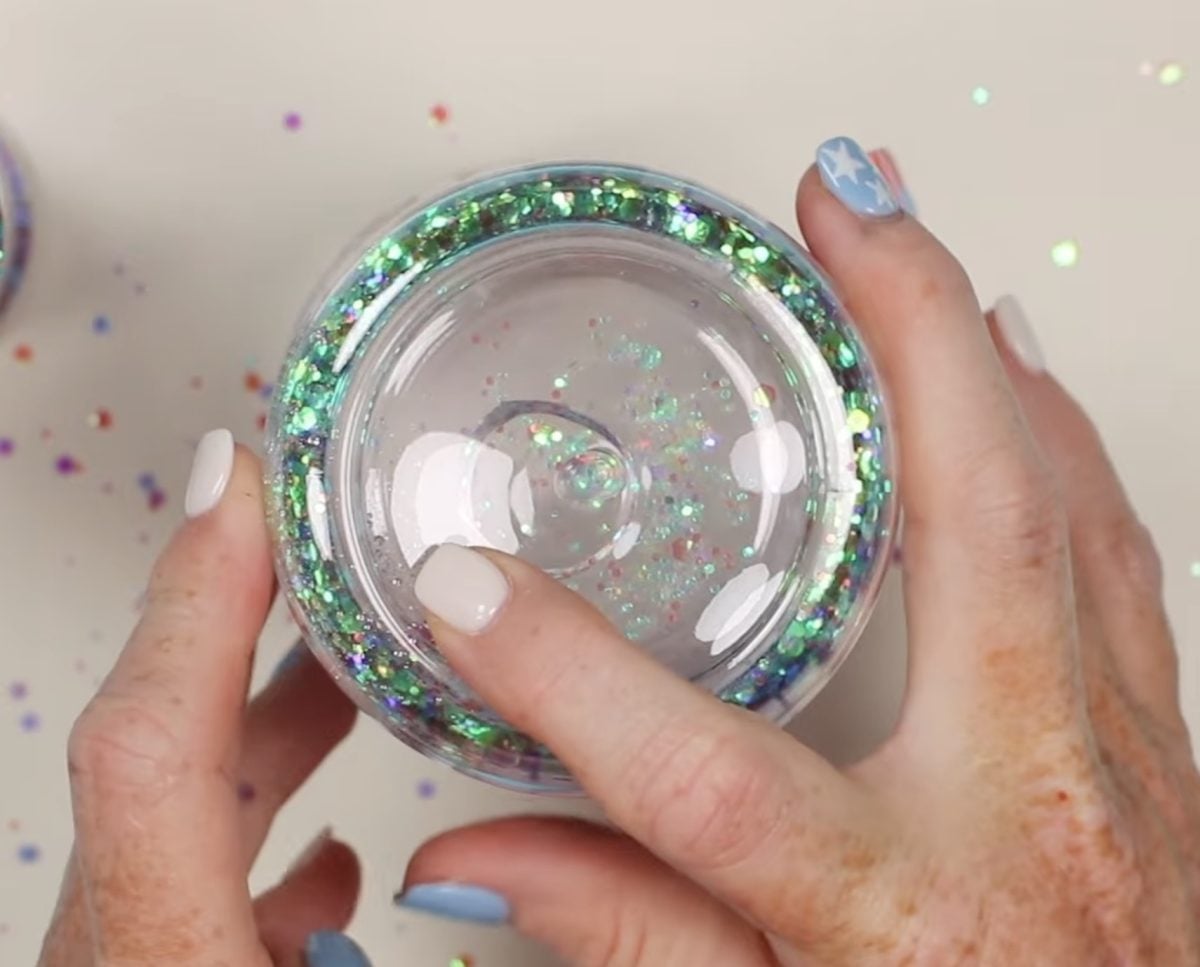
When I had the glitter where I thought I wanted it, I added more of the solution and shook it up again. With the added solution, I decided I wanted to add more glitter.
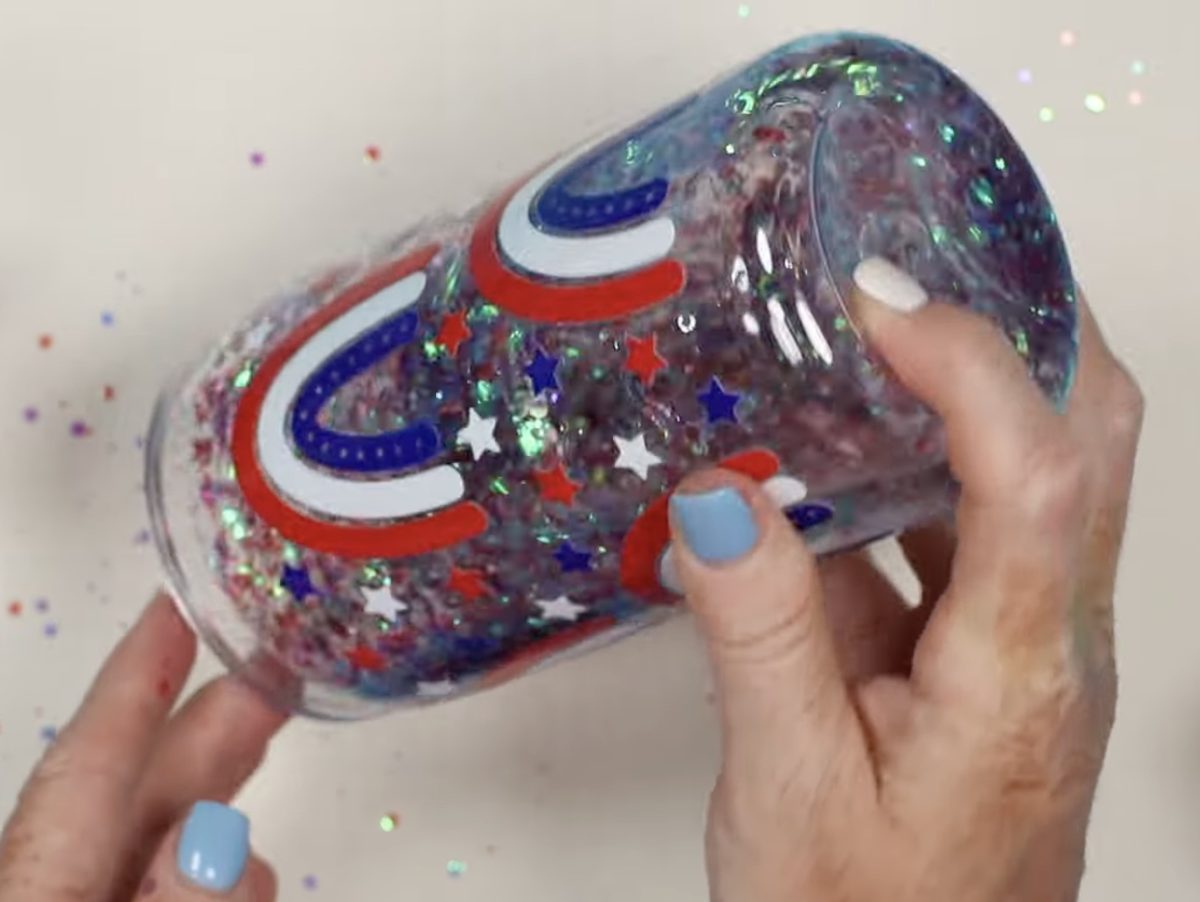
With more glitter added, it was time to finish filling the tumbler up with the solution. I tipped the tumbler to the side so that all the air was close to the opening. I slowly added more of the solution to the tumbler until it was as close to full as I could get it without overfilling.
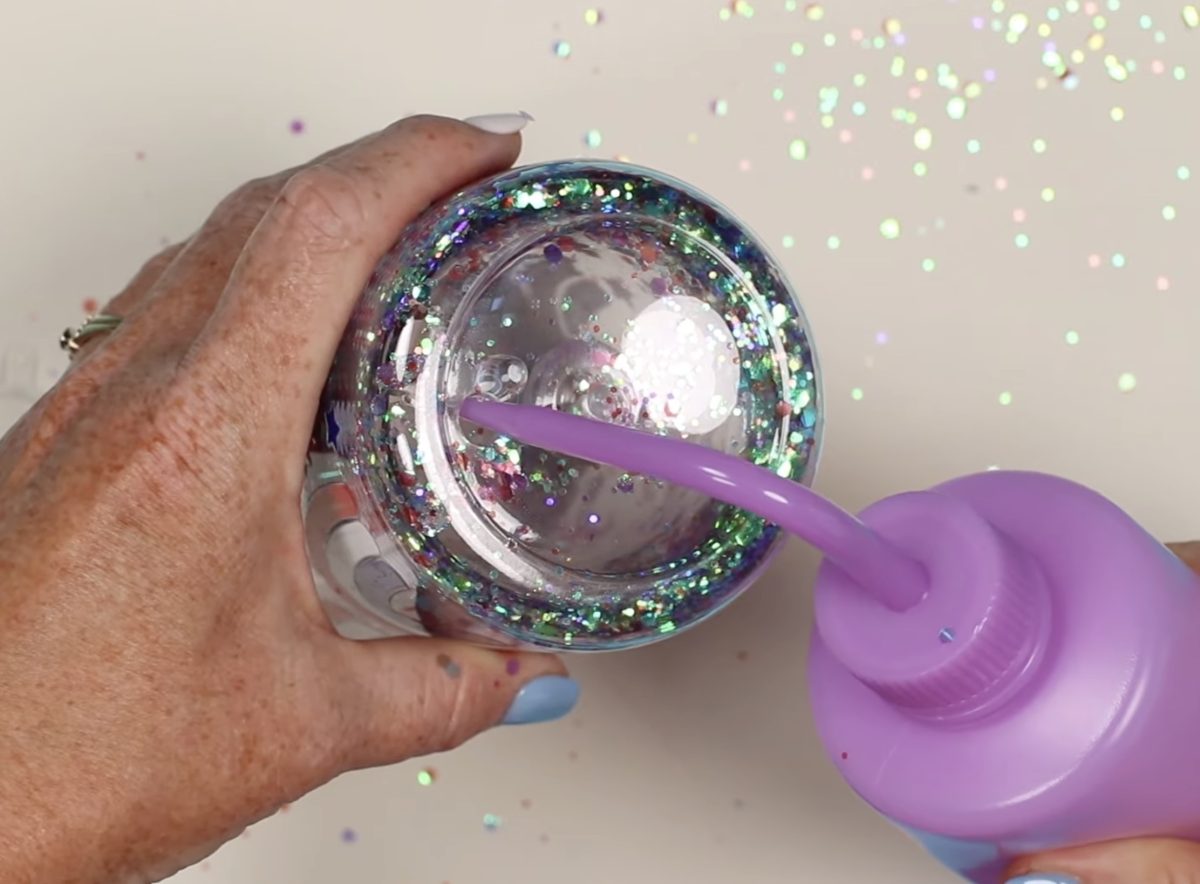
Because I want as little air in my tumbler as possible, before closing it up, I added a little more of the solution. I even shook the tumbler a little bit to help any air bubbles in the solution rise to the top.
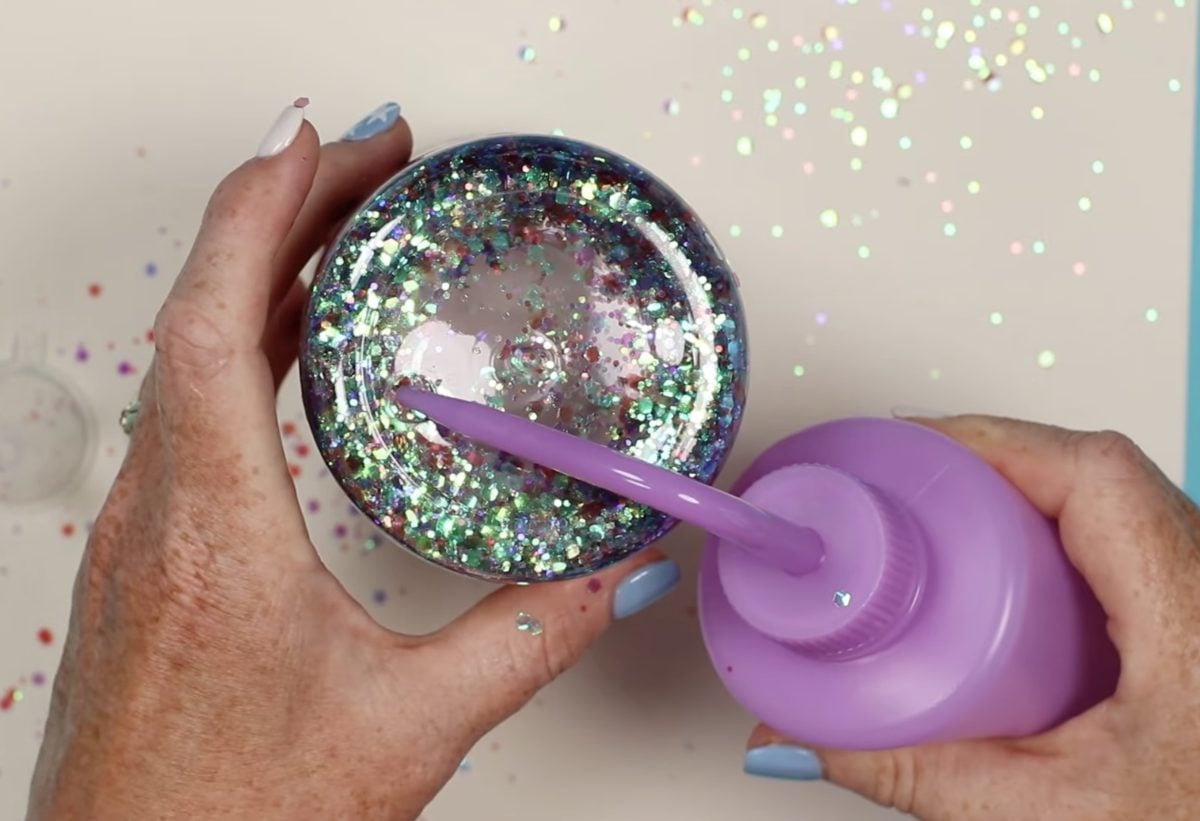
5. Seal the Hole in the Tumbler
Now that I have everything looking how I want it, I'm ready to close the hole. First, we need to make sure the surface is clean and dry.
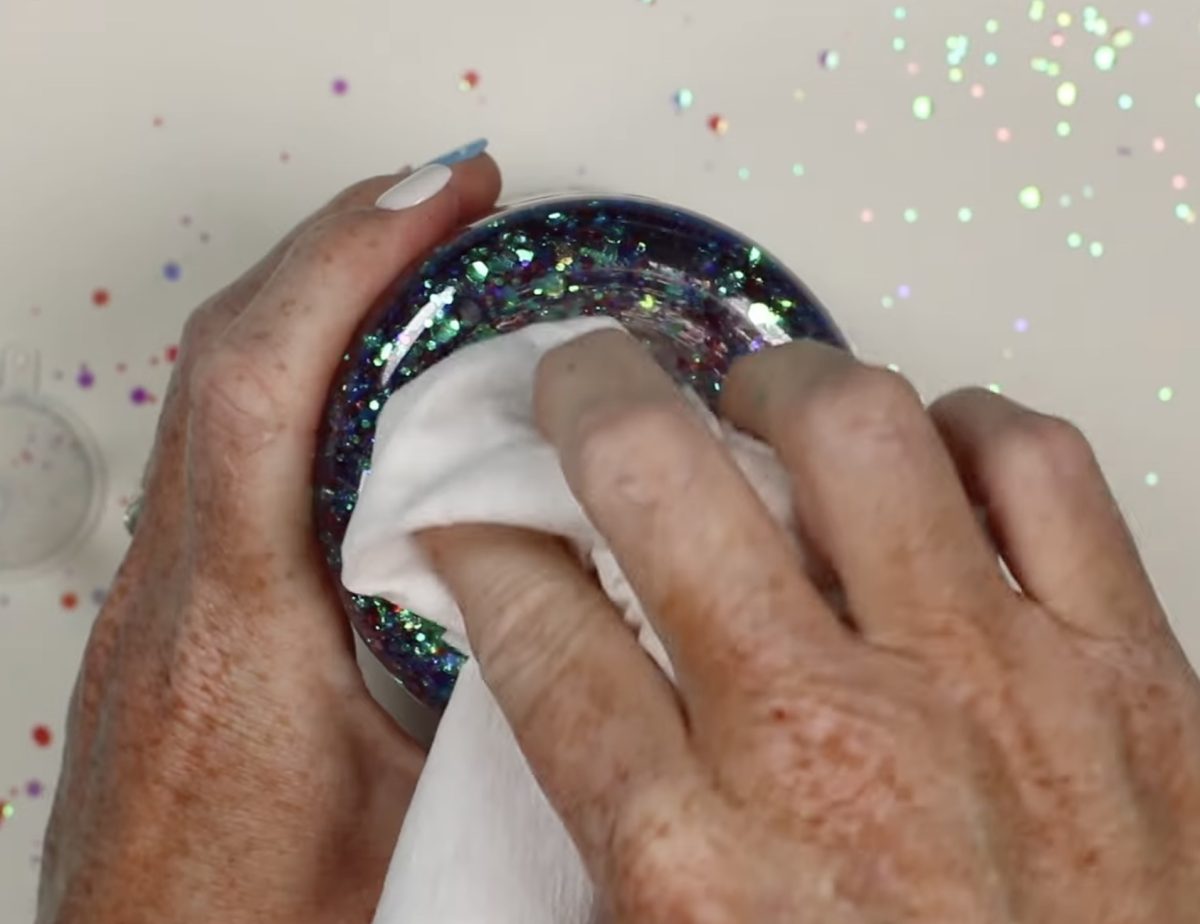
The tumbler came with a plug. Push the plug into place, and this is a great opportunity to check the solution and glitter again. Are you happy with how it looks? If you are, we can make the sealed plug permanent.
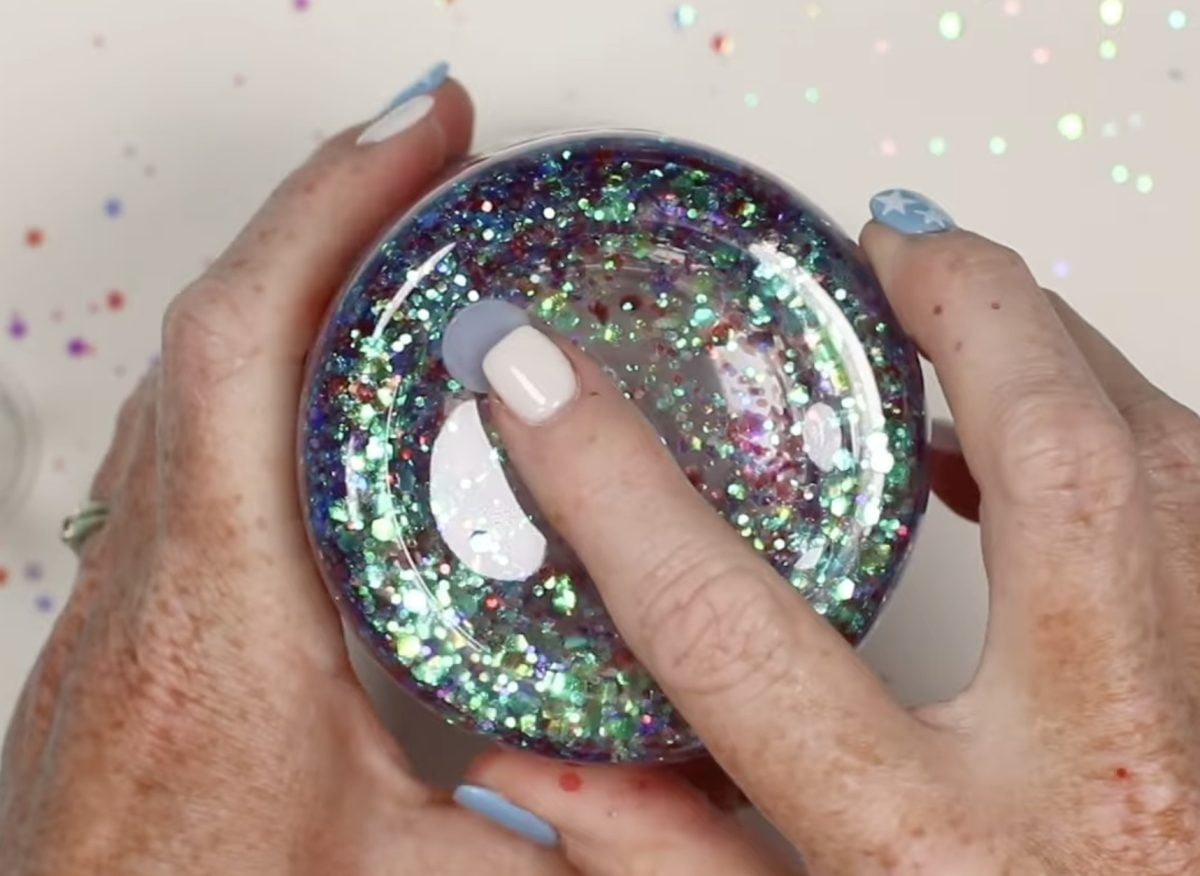
I am happy with how the glitter looks, so I'm going ot use UV resin to permanently seal the hole.
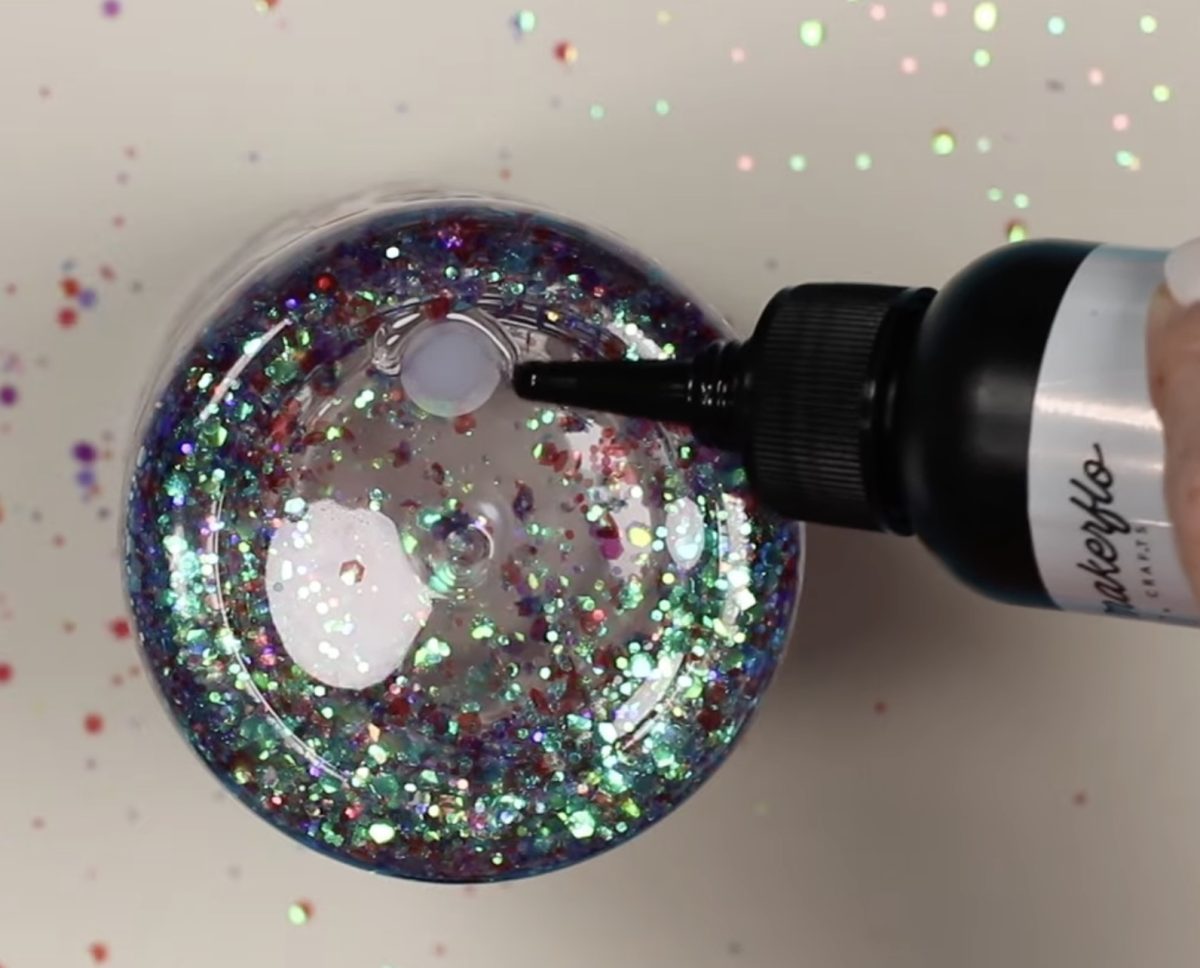
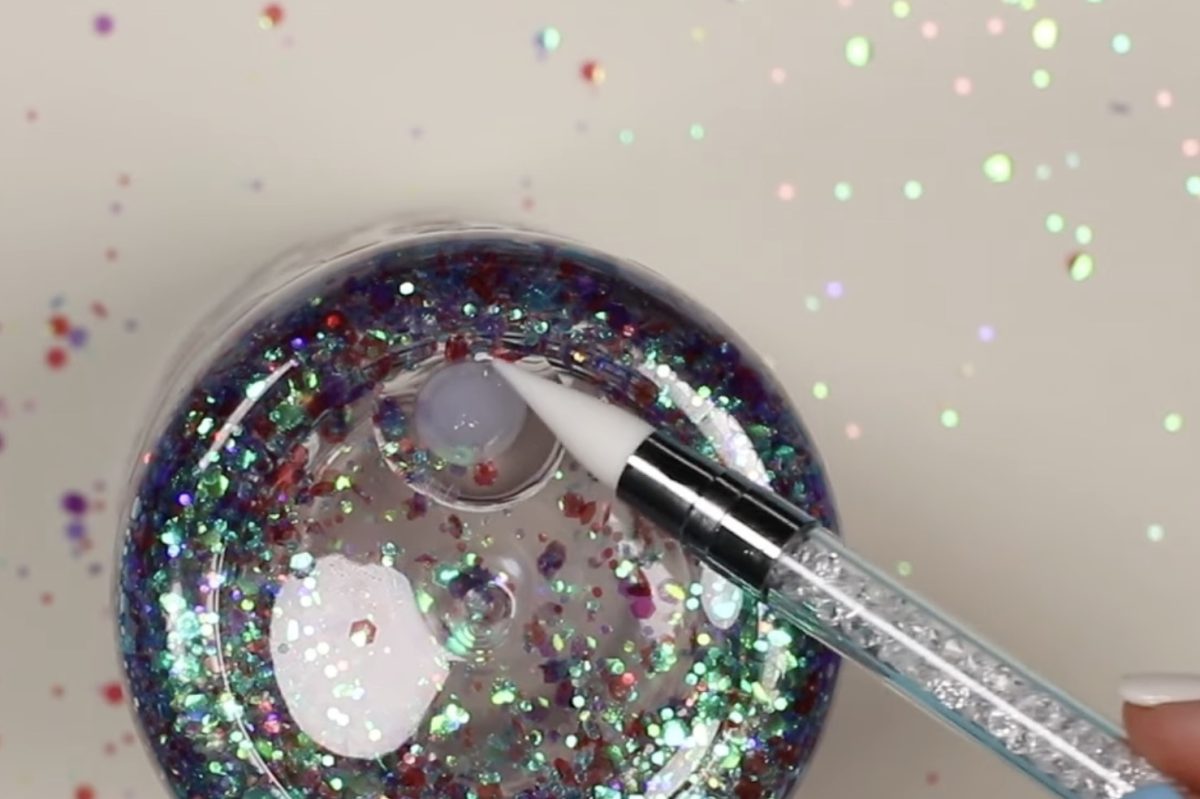
I added UV resin over the top of the plug, making sure it goes all the way around the outside edge. Use a silicone tool to move the resin around so you don't have to touch it with your fingers.
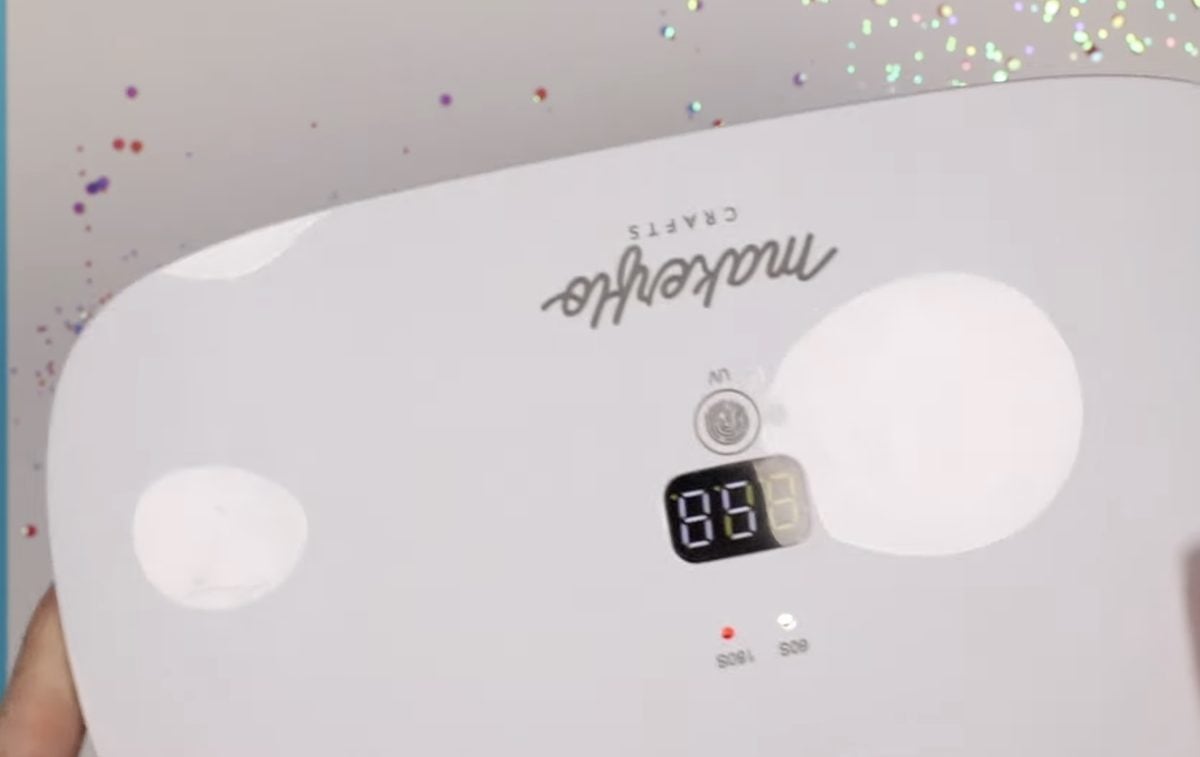
Use the UV light to cure the resin.
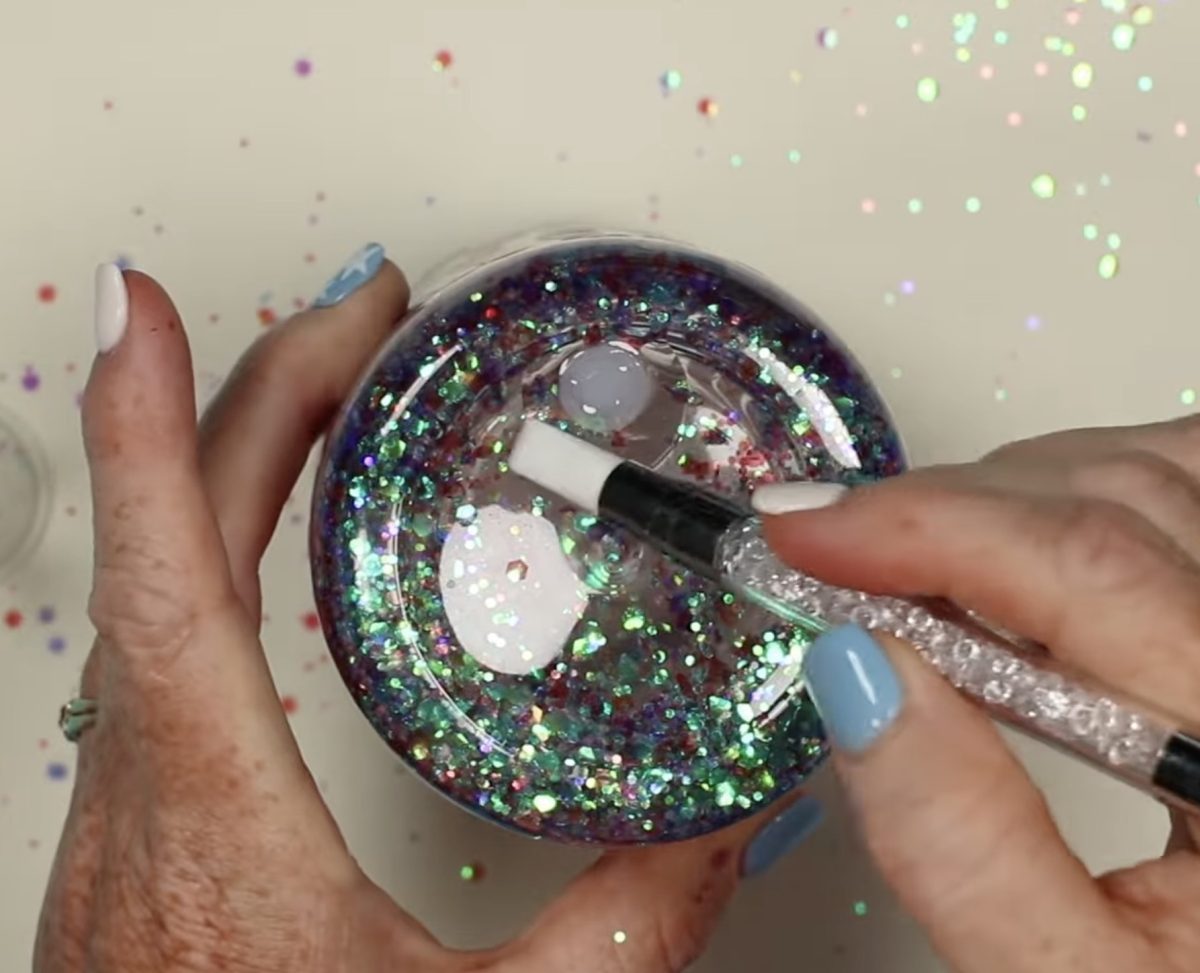
When the time is up, use the silicone tool to make sure it feels completely cured. Mine feels great, so it's ready to go.
Close-Up Look at the Glitter Snow Globe Tumblers
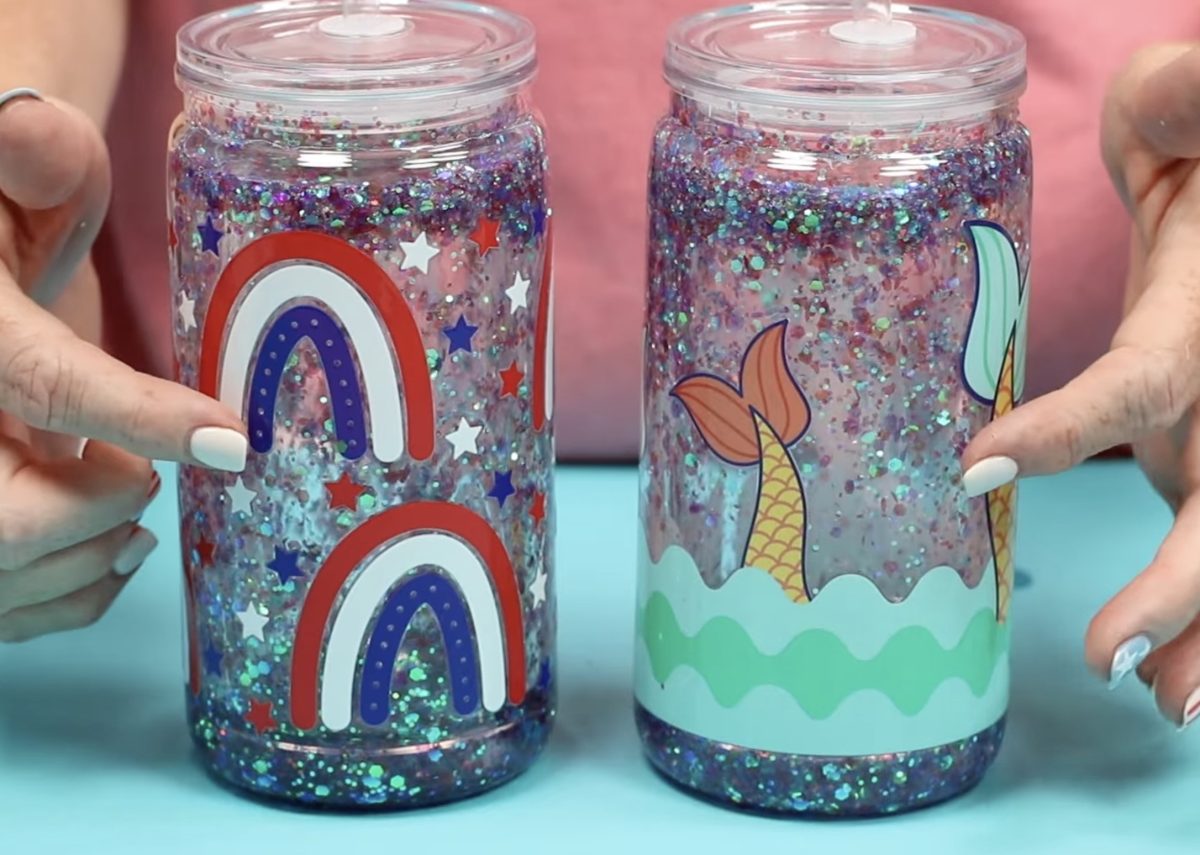
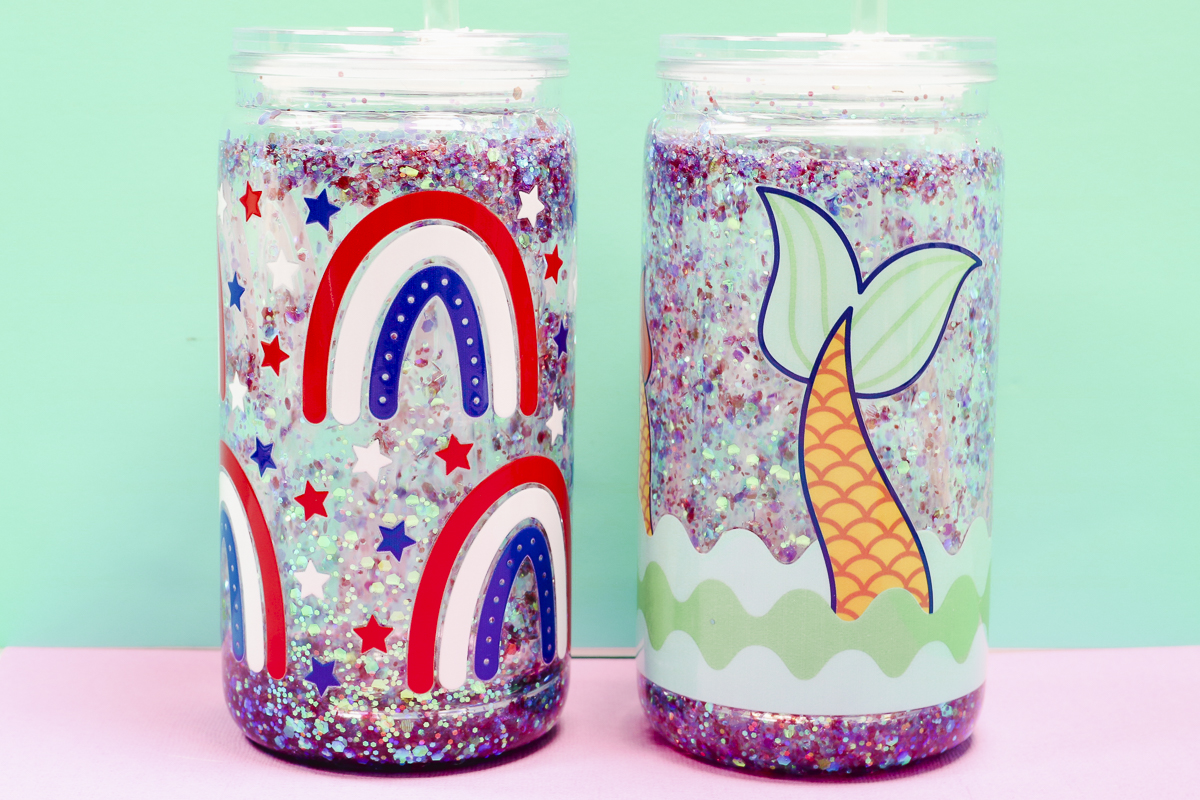
I repeated the entire process for a second tumbler using the slow flow solution. I really love how both of these glitter snow globe tumblers turned out.
I added less glitter to the slow-flow solution. Because the solution moves more slowly, the glitter stays up in the tumbler longer, so it doesn't need as much.
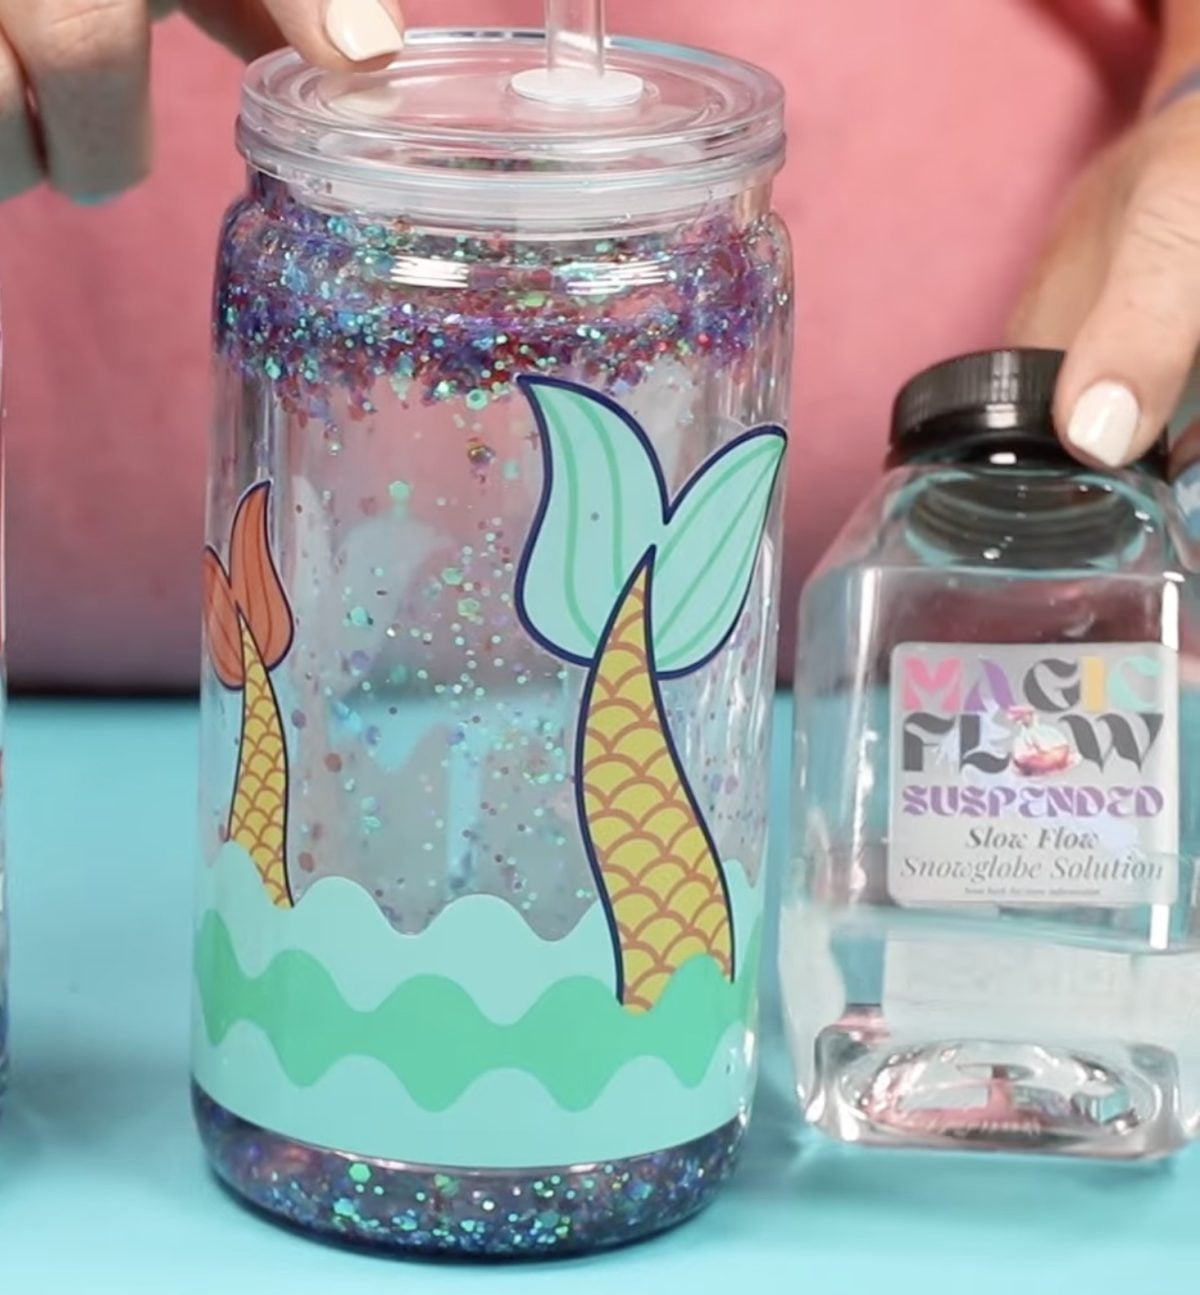
Both tumblers look amazing. Whether you want to use the regular medium flow solution or the slow flow solution will depend on which look you like best.
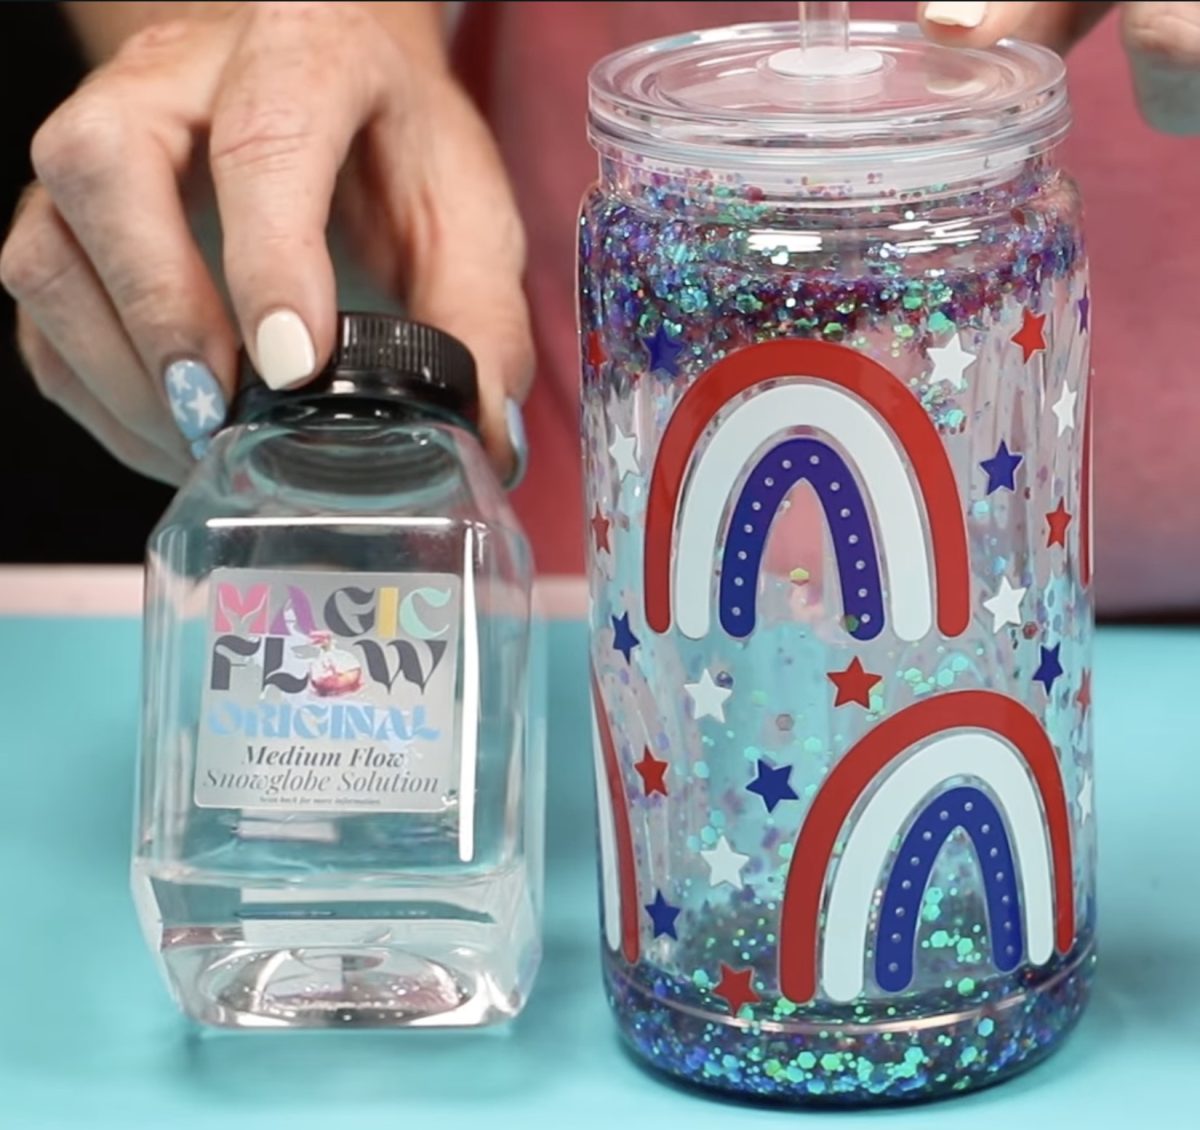
The medium flow solution moves the glitter around faster, giving you more movement. But the glitter will also settle on the bottom faster than the slow flow.
I do want to note that, for each tumbler, I used almost the entire container of Magic Flow solution. If you're making multiple tumblers, make sure you have plenty of the solution on hand.
Are You Ready to Make Your Own Glitter Snow Globe Tumblers?
I hope you had fun making these glitter snow globe tumblers with me today. They are so fun. I had a hard time deciding which tumbler I liked best. I think if I were forced to choose, I would say the slow flow because it keeps the glitter suspended longer. I think depending on the designs you use and the glitter, you may want to use one or the other. I am really glad we have options.
I hope I've answered any questions you have about making glitter snow globe tumblers. If you have any additional questions, leave them in the comments, and I'll be happy to answer them for you.